
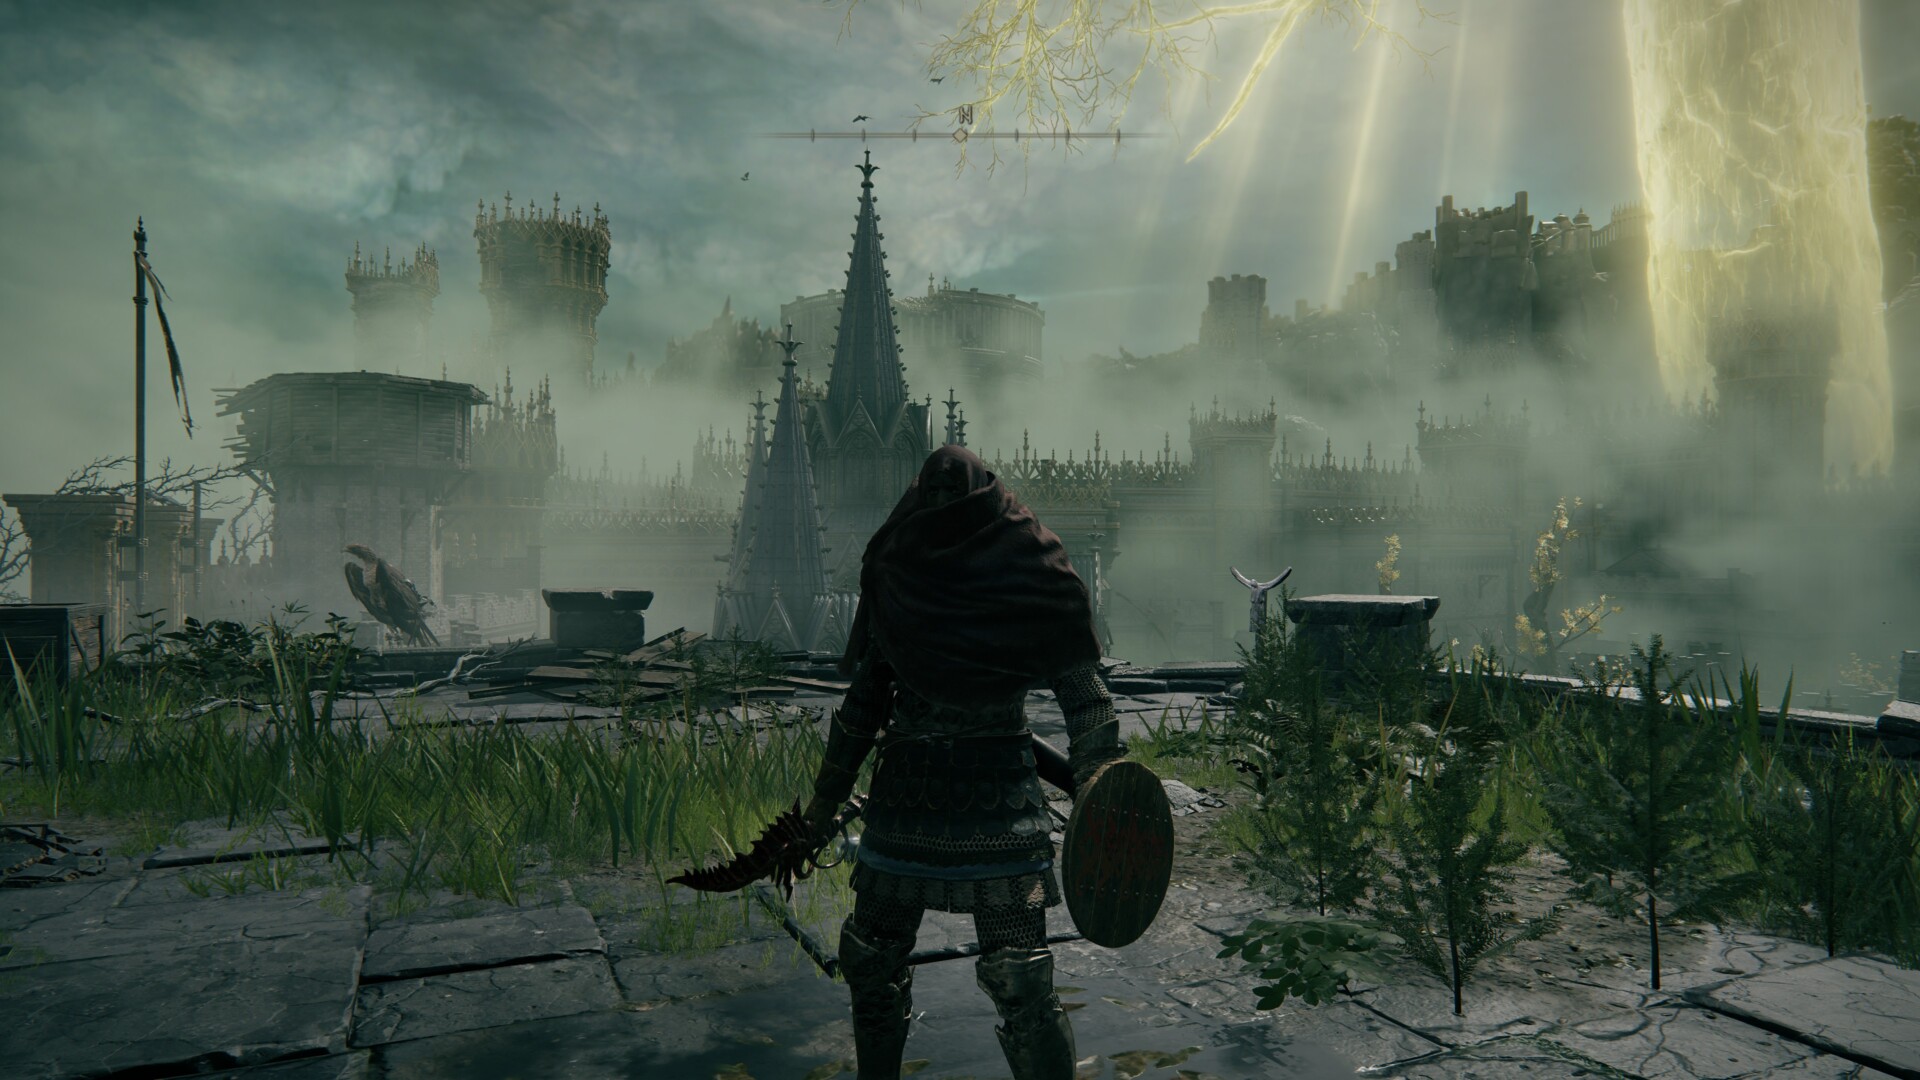
After vanquishing Margit the Fell Omen, you’ll see Stormveil Castle towering before you. This is the first Legacy Dungeon that you’ll encounter in Elden Ring, larger and more complex worldspaces that will prove to be challenging. Here’s our Elden Ring Stormveil Castle walkthrough guide to help you clear this area.
Note: For more information, check out our Elden Ring guides and features hub.
Elden Ring Stormveil Castle walkthrough guide
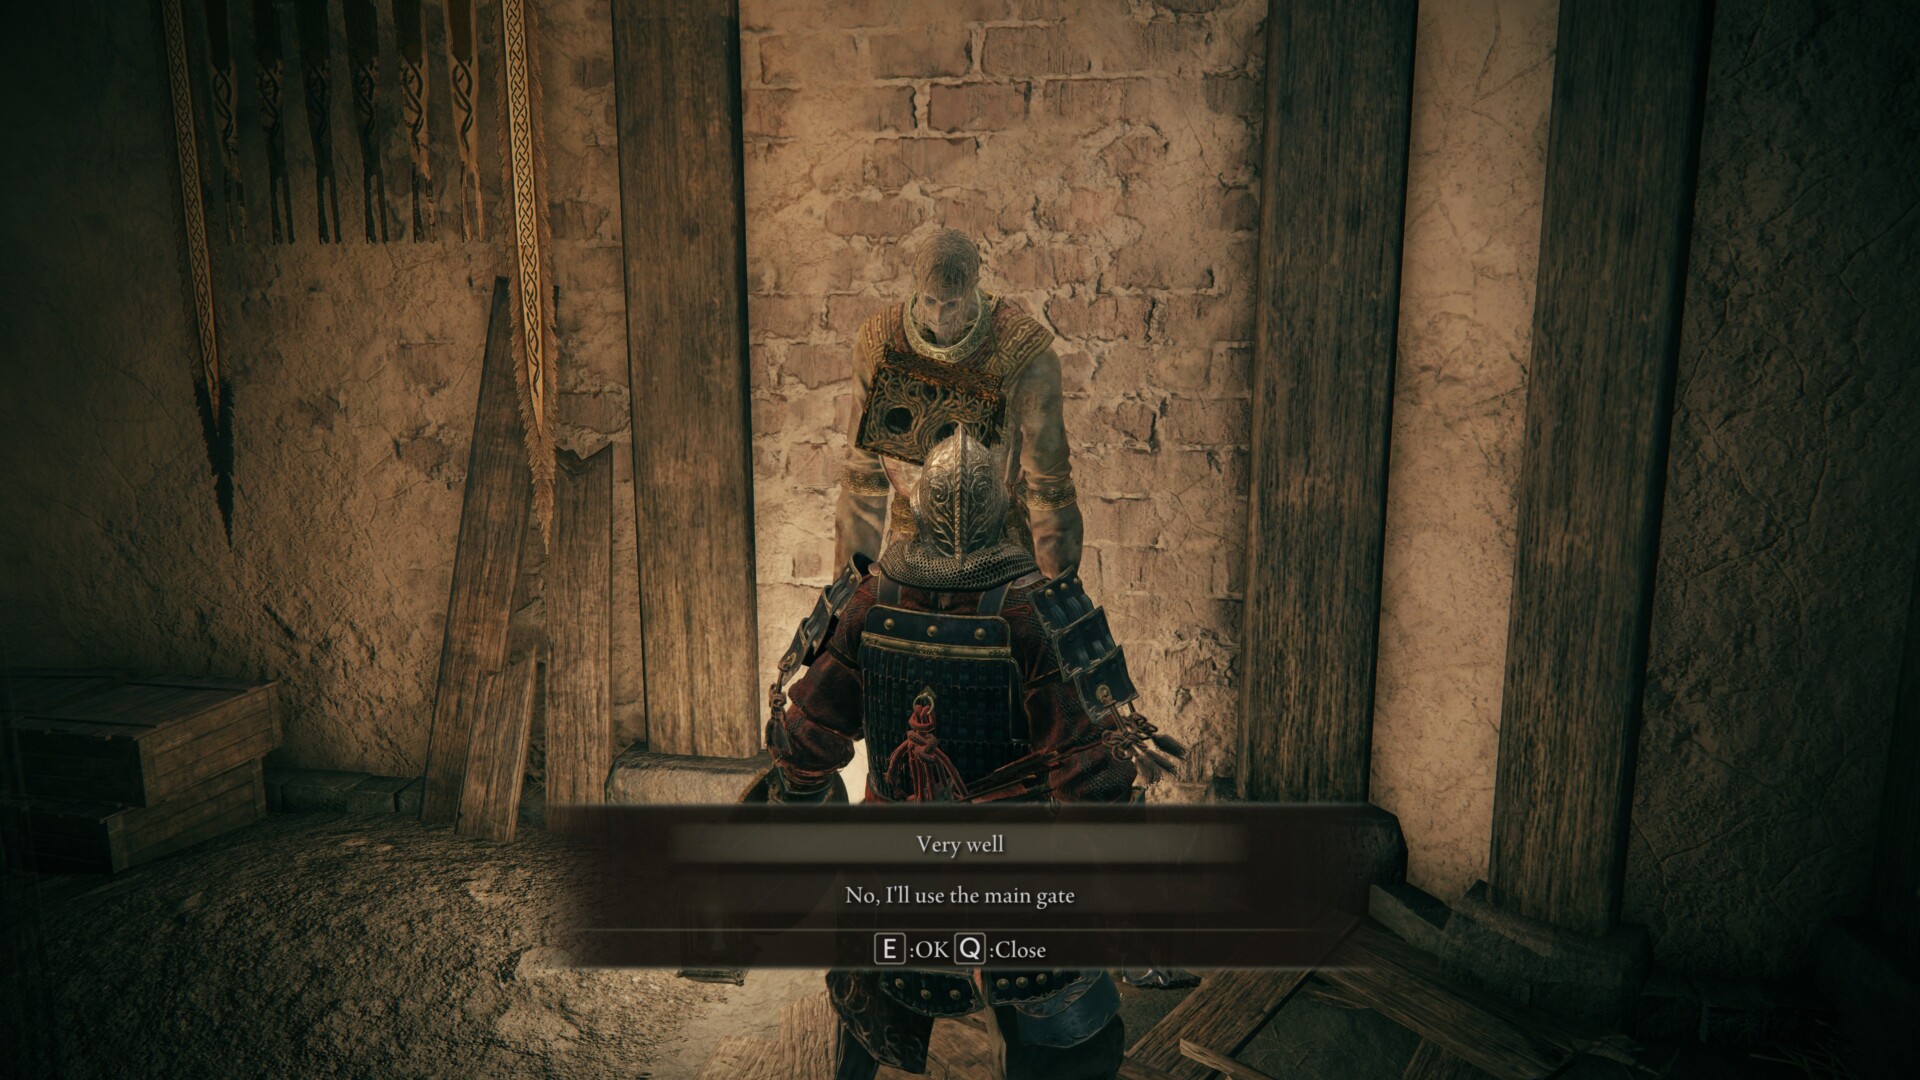
The large gate of Stormveil Castle in Elden Ring is right in front of you. Sadly, it’s locked. If you go through the side entrance, you’ll meet an NPC. Tell him that you’ll make your way to the cliffs.
Stormveil Cliffside
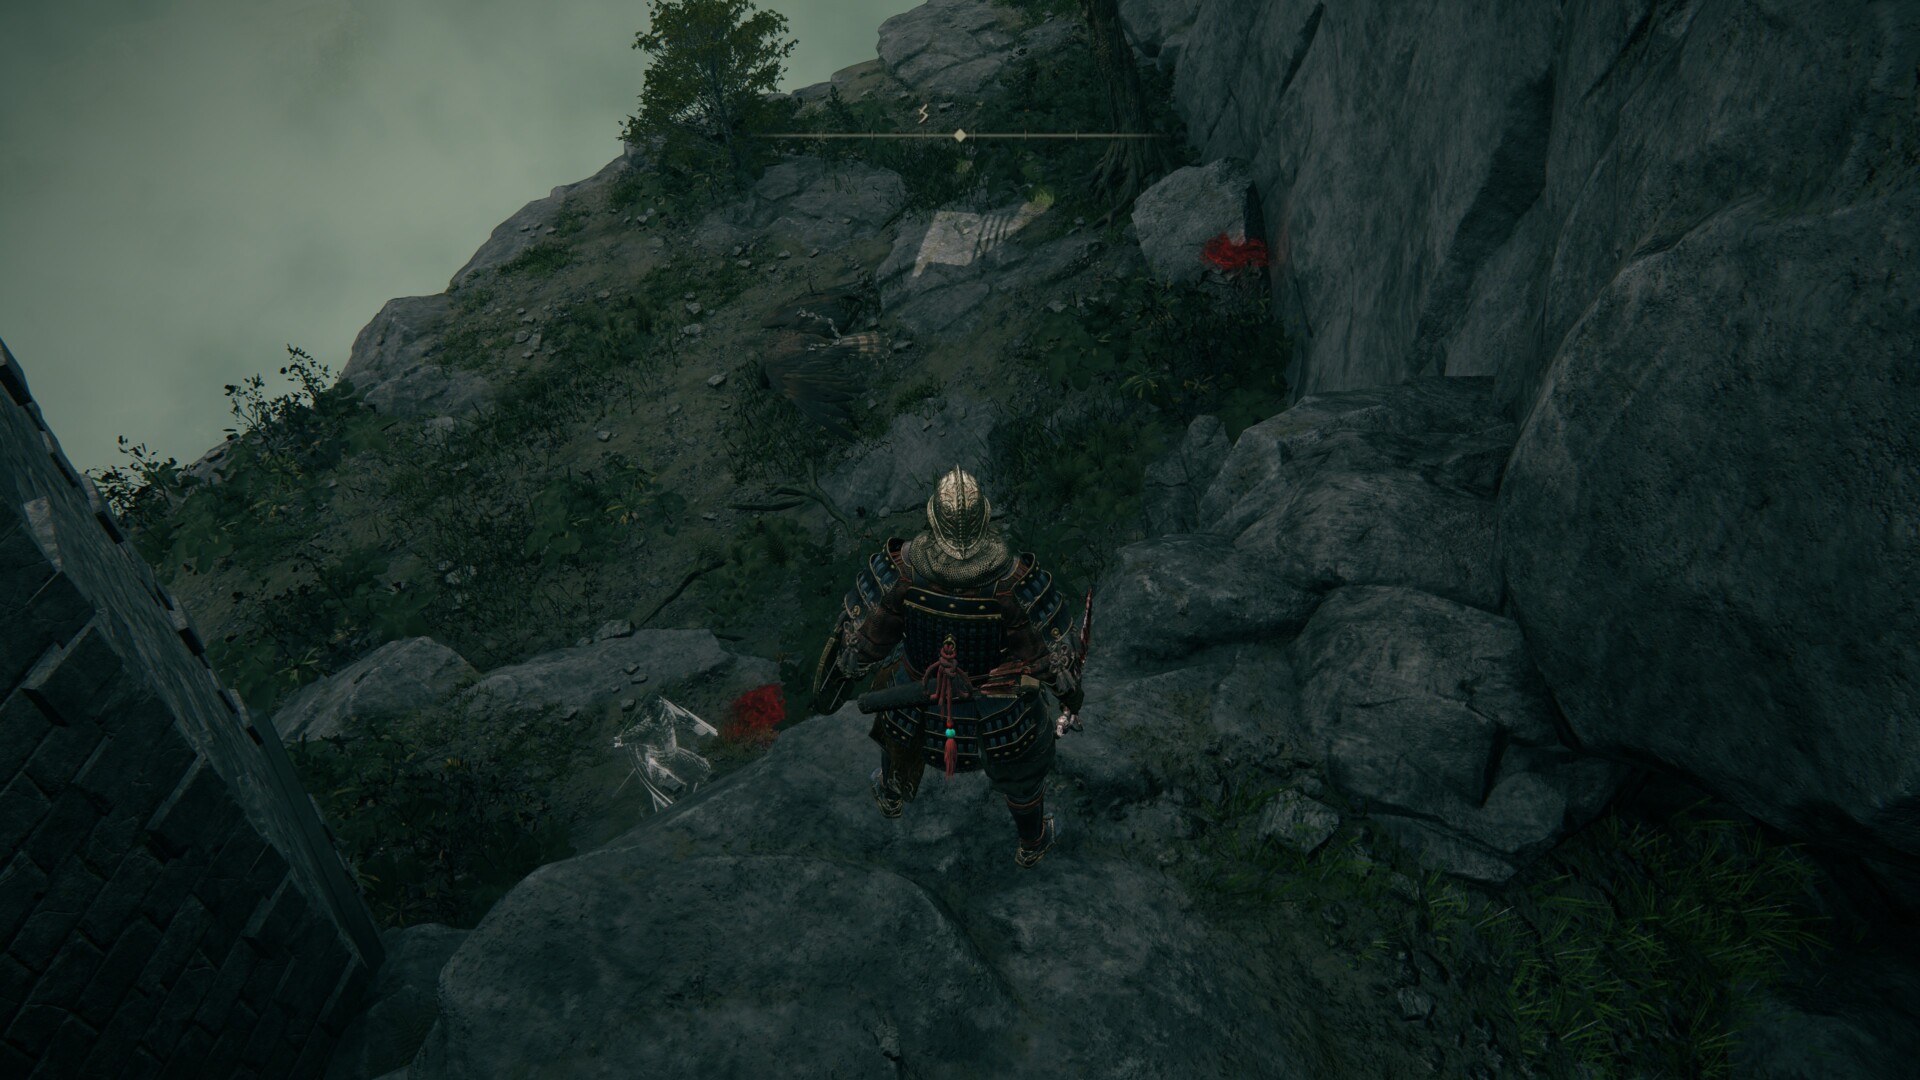
The Stormveil Cliffside area is fairly dangerous due to Warhawks. These are birds with blades on their feet, because why not? In fact, you’ll probably find a few bloodstains here due to all the players that have died.
Try to block or roll when they’re about to swoop in. Likewise, avoid their multi-hit combo where they’ll strike four times in quick succession.
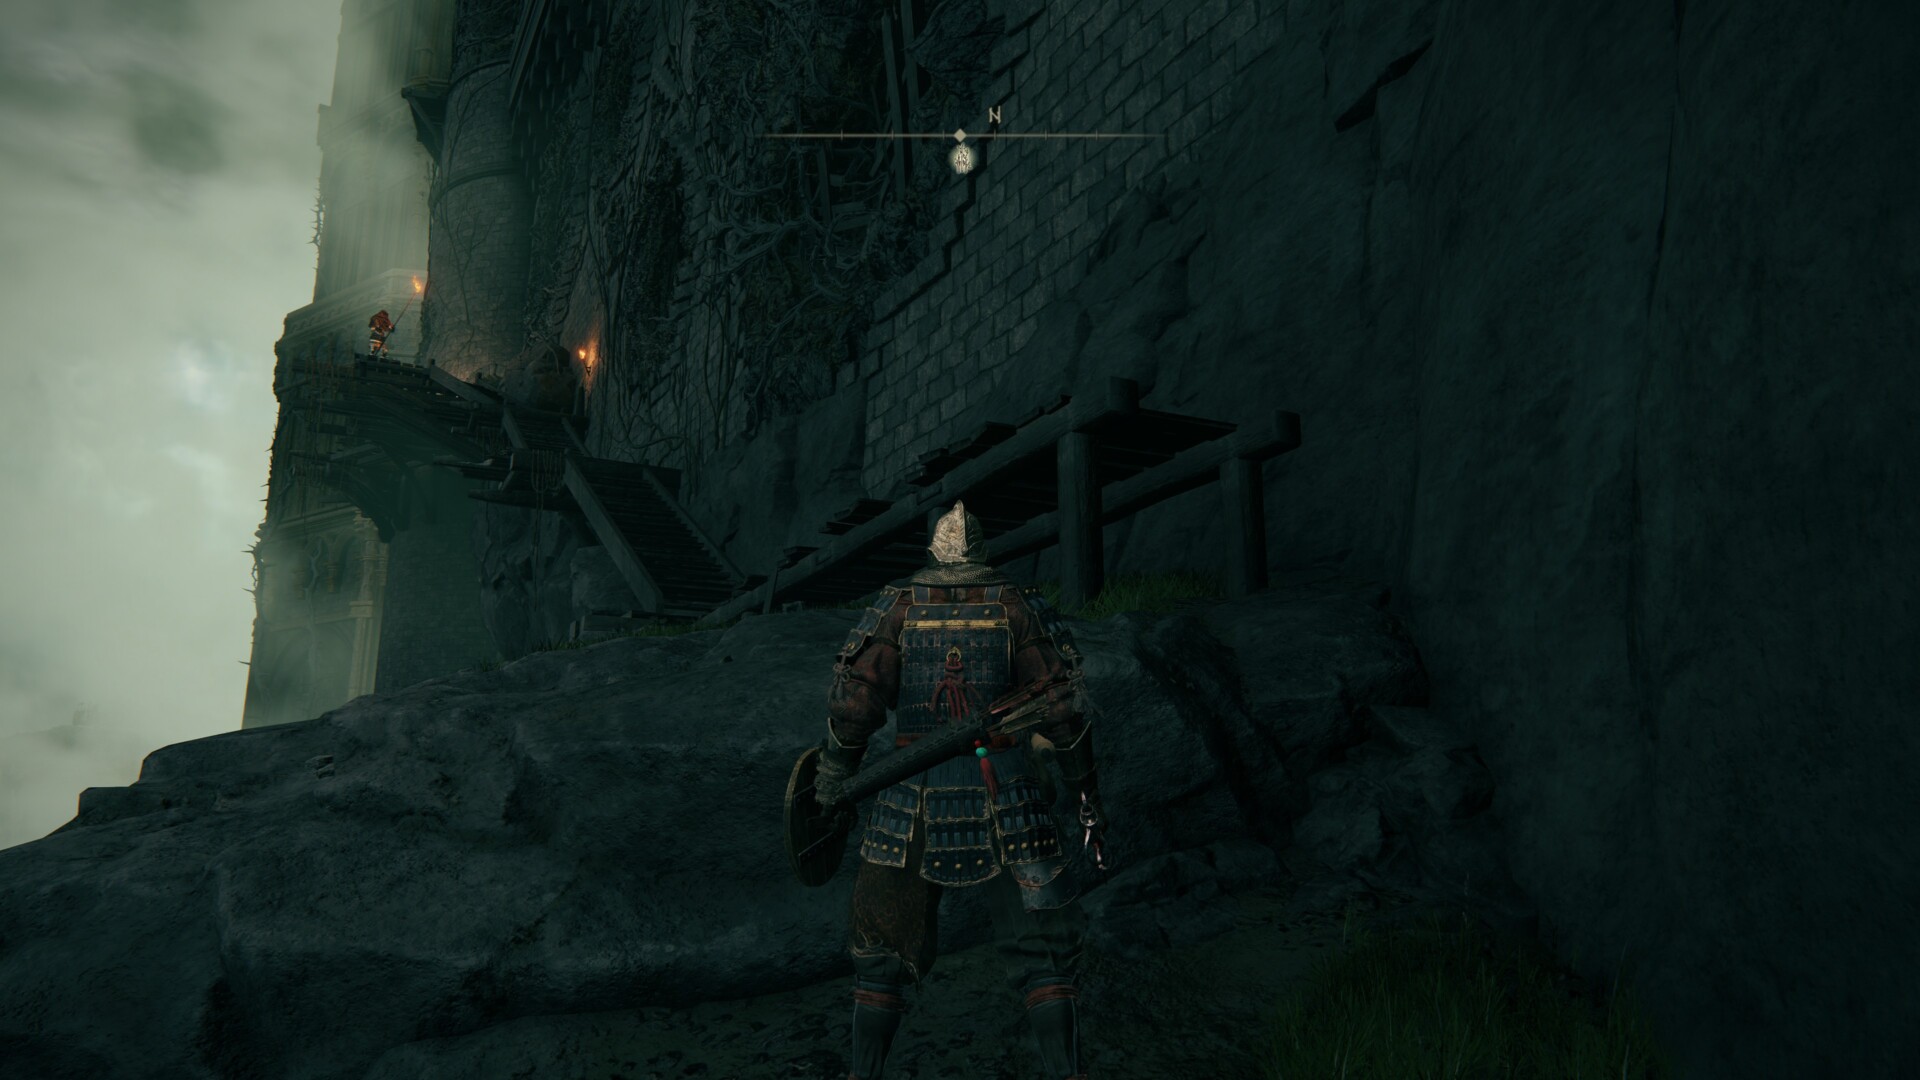
Eventually, this cliffside area will lead you to the wooden steps leading to the ramparts. There’s an Exile soldier patrolling here and, if you get spotted, he’ll bring two of his buddies.
Use the narrow pass to funnel them in before attacking, and try not to fall down.
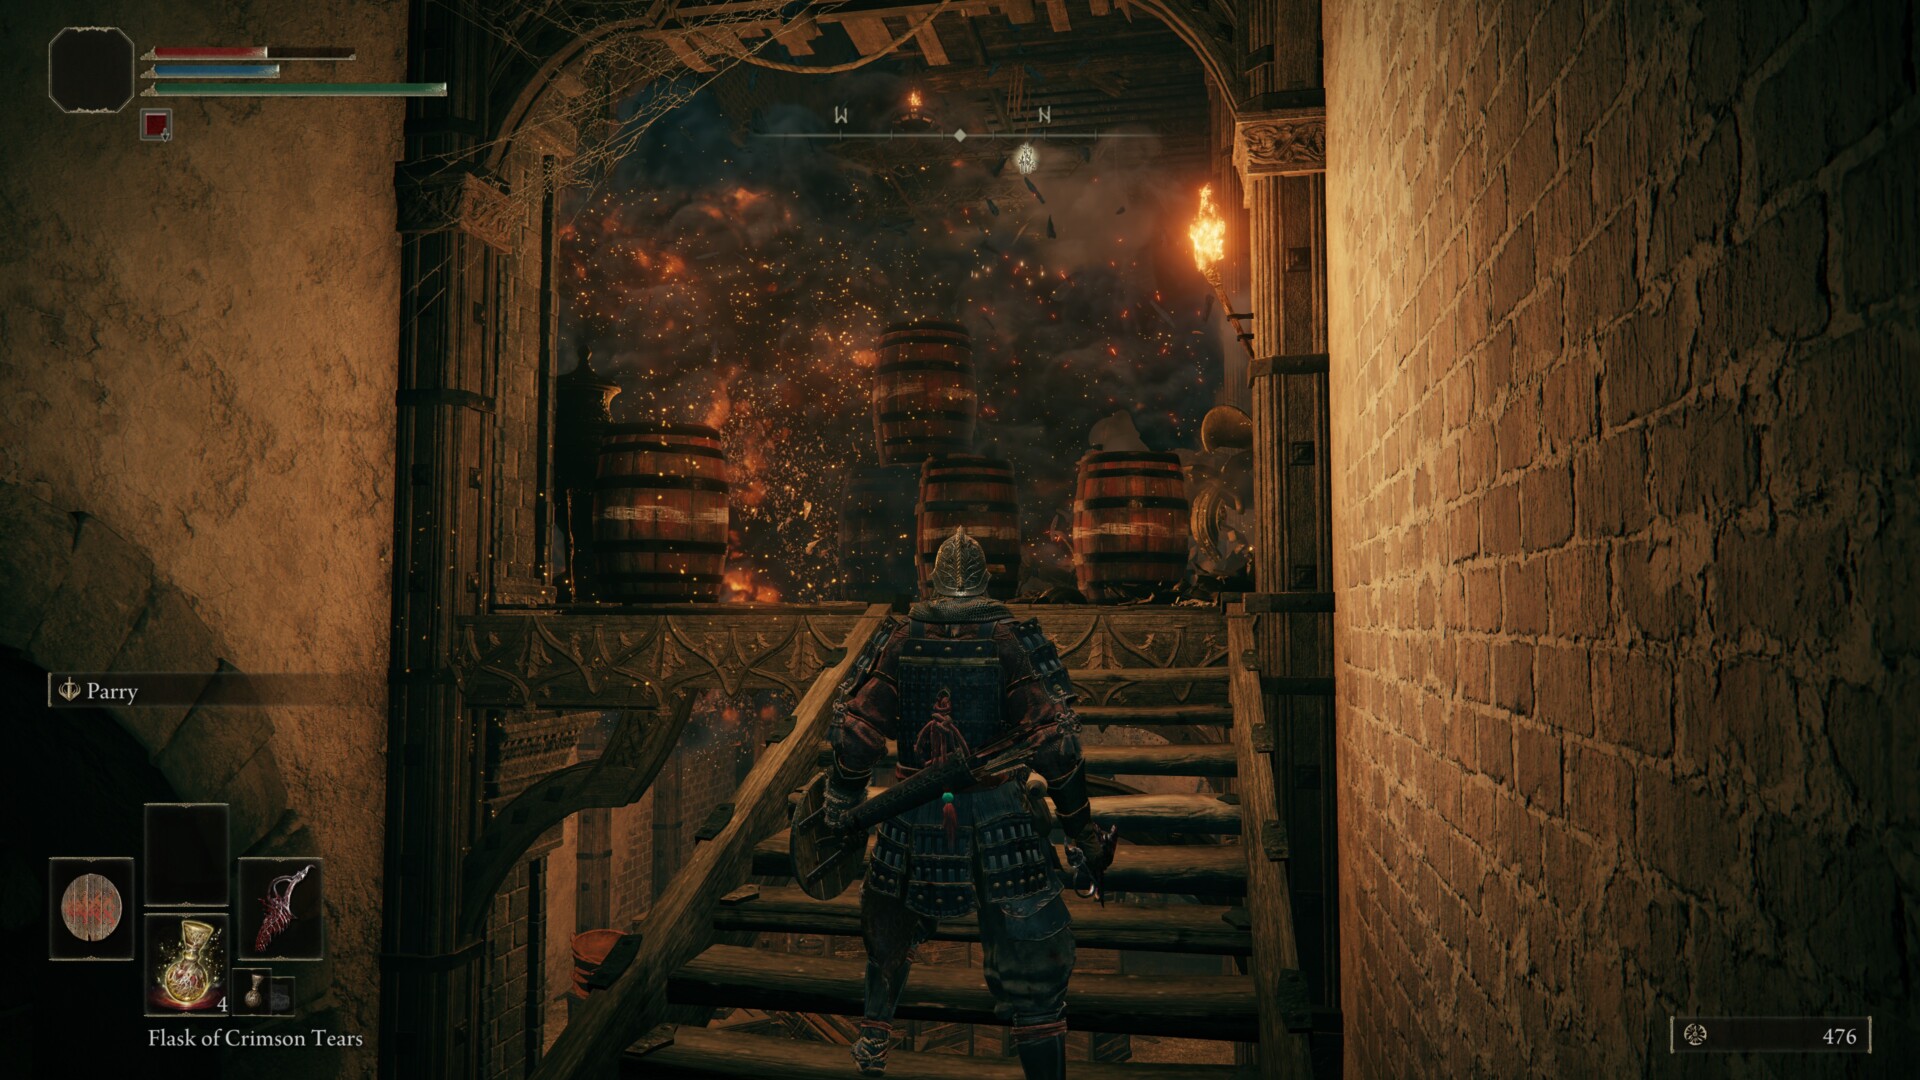
Next, you’ll see Commoner mobs. These are slow-moving peeps, but they tend to hide in corners or lob firebombs your way.
When you’re at the staircase, you can either wait for them to blow up the explosive barrels or roll through to attack them in close range.
In this section, you should find a locked door. And, when you get to the top, there’s a darkened room.
There’s a Banished Knight inside and it hits hard. For now, you can stay outside the doorway and just stab it when it’s not doing an attack animation. Beware when it does a whirlwind, since this can hit the area in front of it, too. Anyway, if you kill it, you’ll get a key that opens the locked door one floor below.
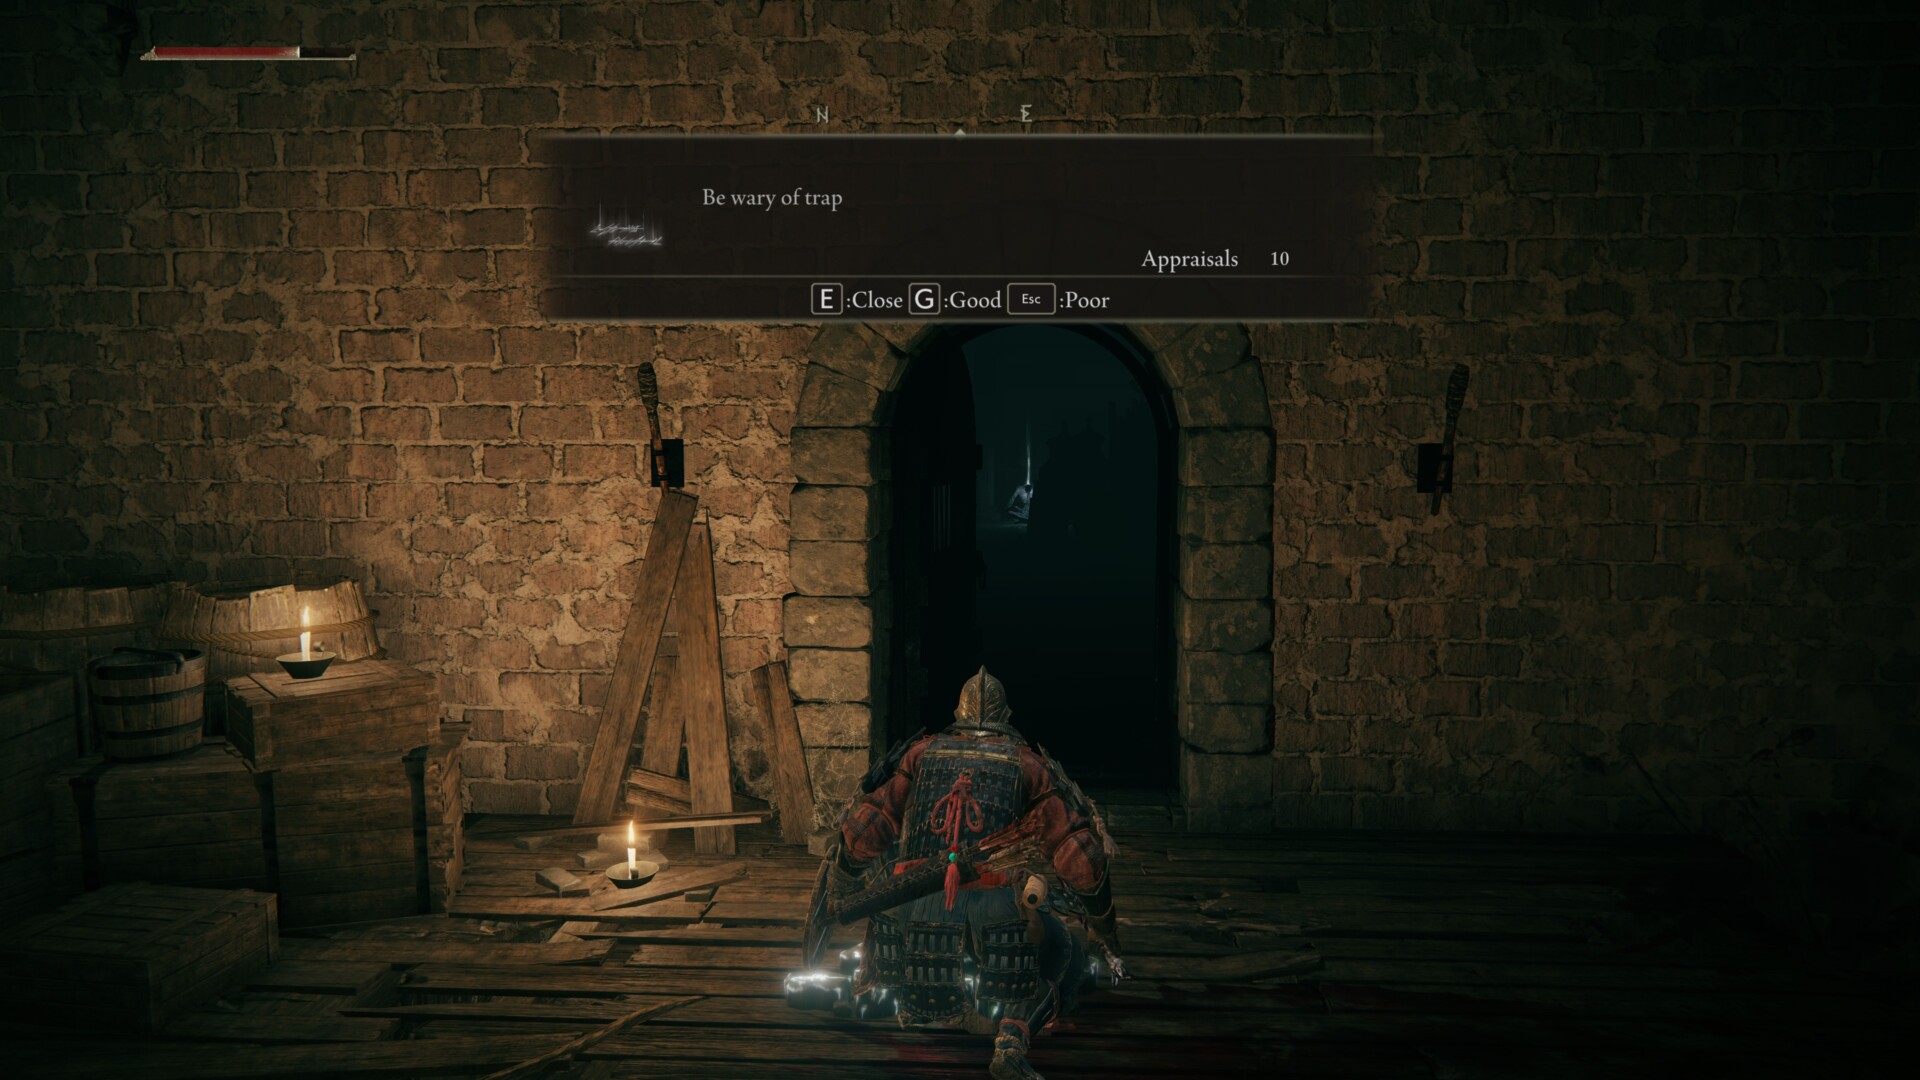
Note: Inside the dark room, you can pick up the Curved Sword Talisman from the chest.
After opening the locked door, climb the ladder and turn to your right. There are some Commoner mobs here, and a bunch of loot.
You may also follow the loop that leads outside for a couple of items.
Back at the ladder, you can turn left but be wary of the Commoner that will make a lunge for you. As you advance further, you’ll see an opening in the tower up ahead.
Another Banished Knight is waiting here, but you can run past it and go up the staircase. To not go to the very top. Instead, check the second floor for the Rampart Tower Site of Grace.
Rampart Tower and Sorcerer Rogier
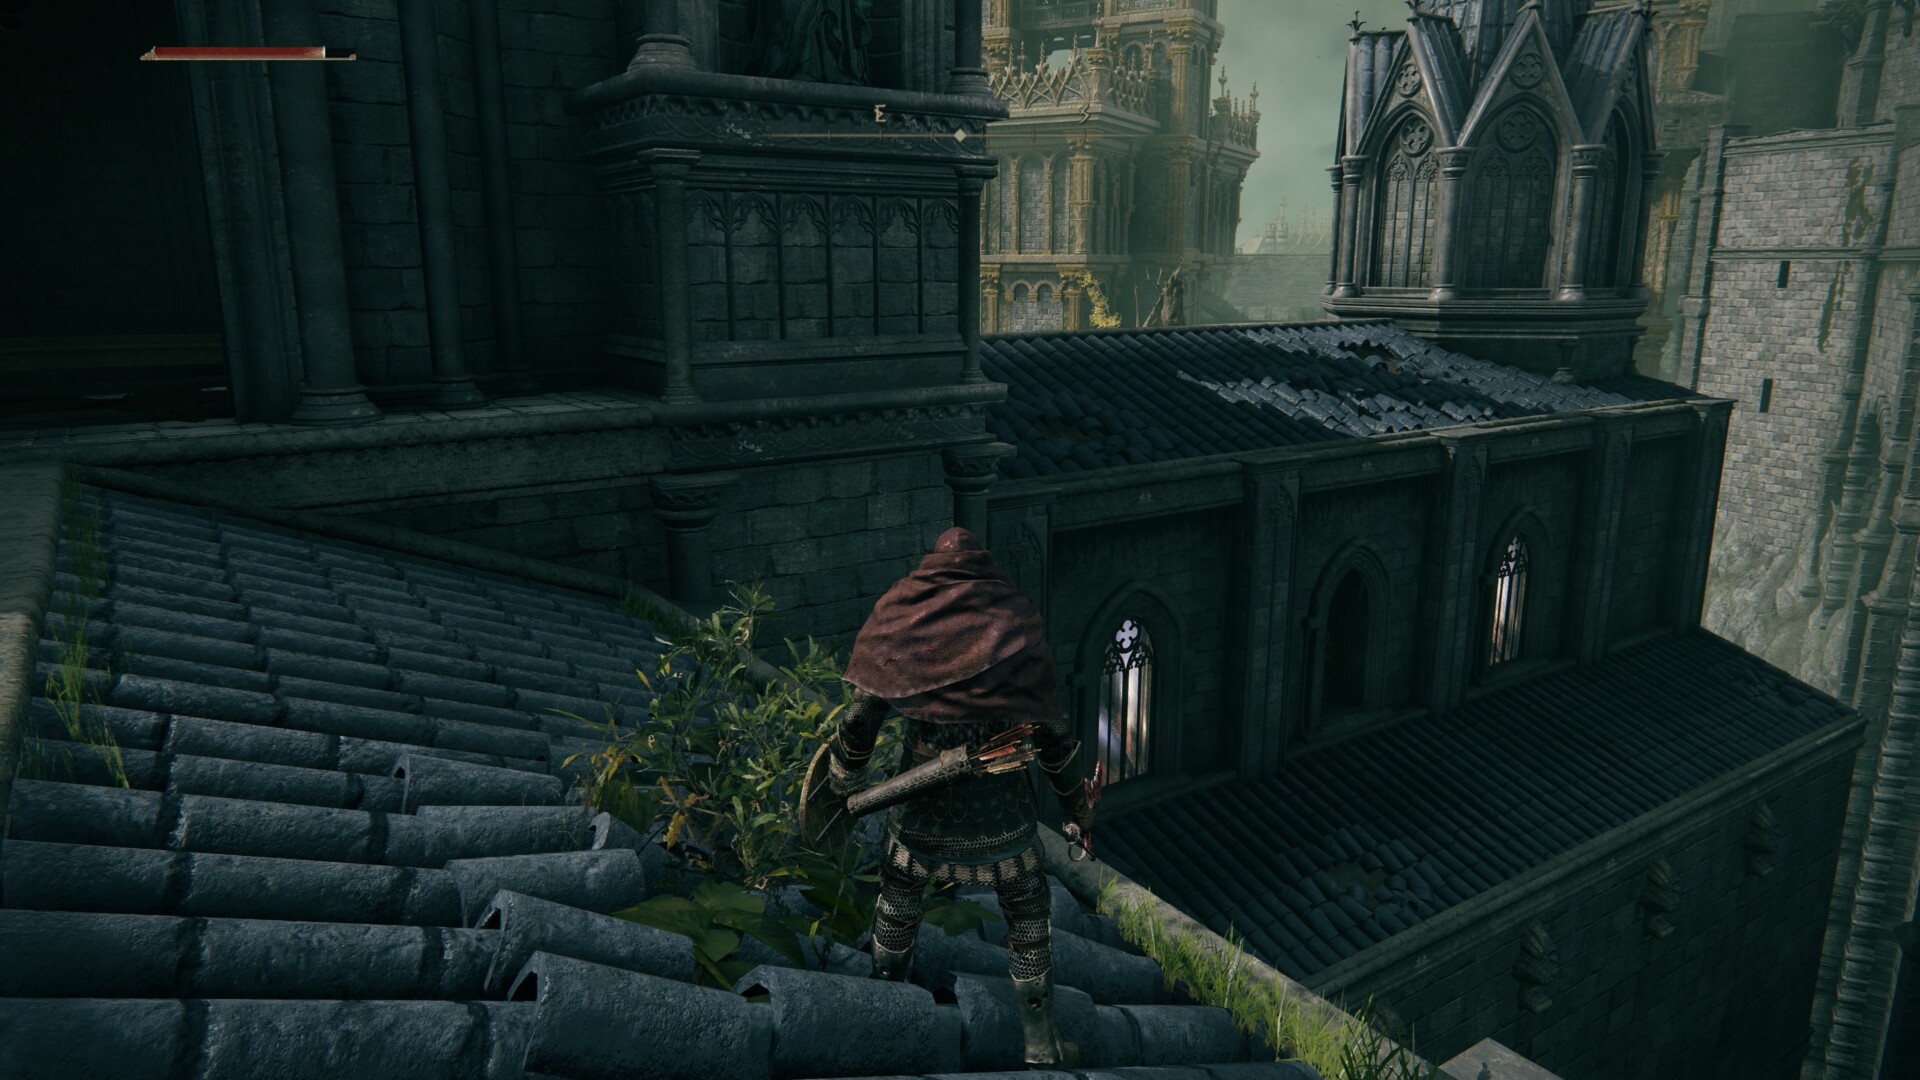
In the next section, you can take care of the Warhawks from afar by using ranged weapons.
If you get too close without engaging them beforehand, they’ll pick up explosive barrels and drop them on your head.
Past the Birds from Hell, you should see an opening in one of the chapel’s windows. Drop down and talk to Sorcerer Rogier, the same guy who helped you defeat Margit. He’s got some Ashes of War weapon skills for sale, too. Buy one that you like (or the cheapest option) so you can click all the dialogue options that remain.
Run like hell!
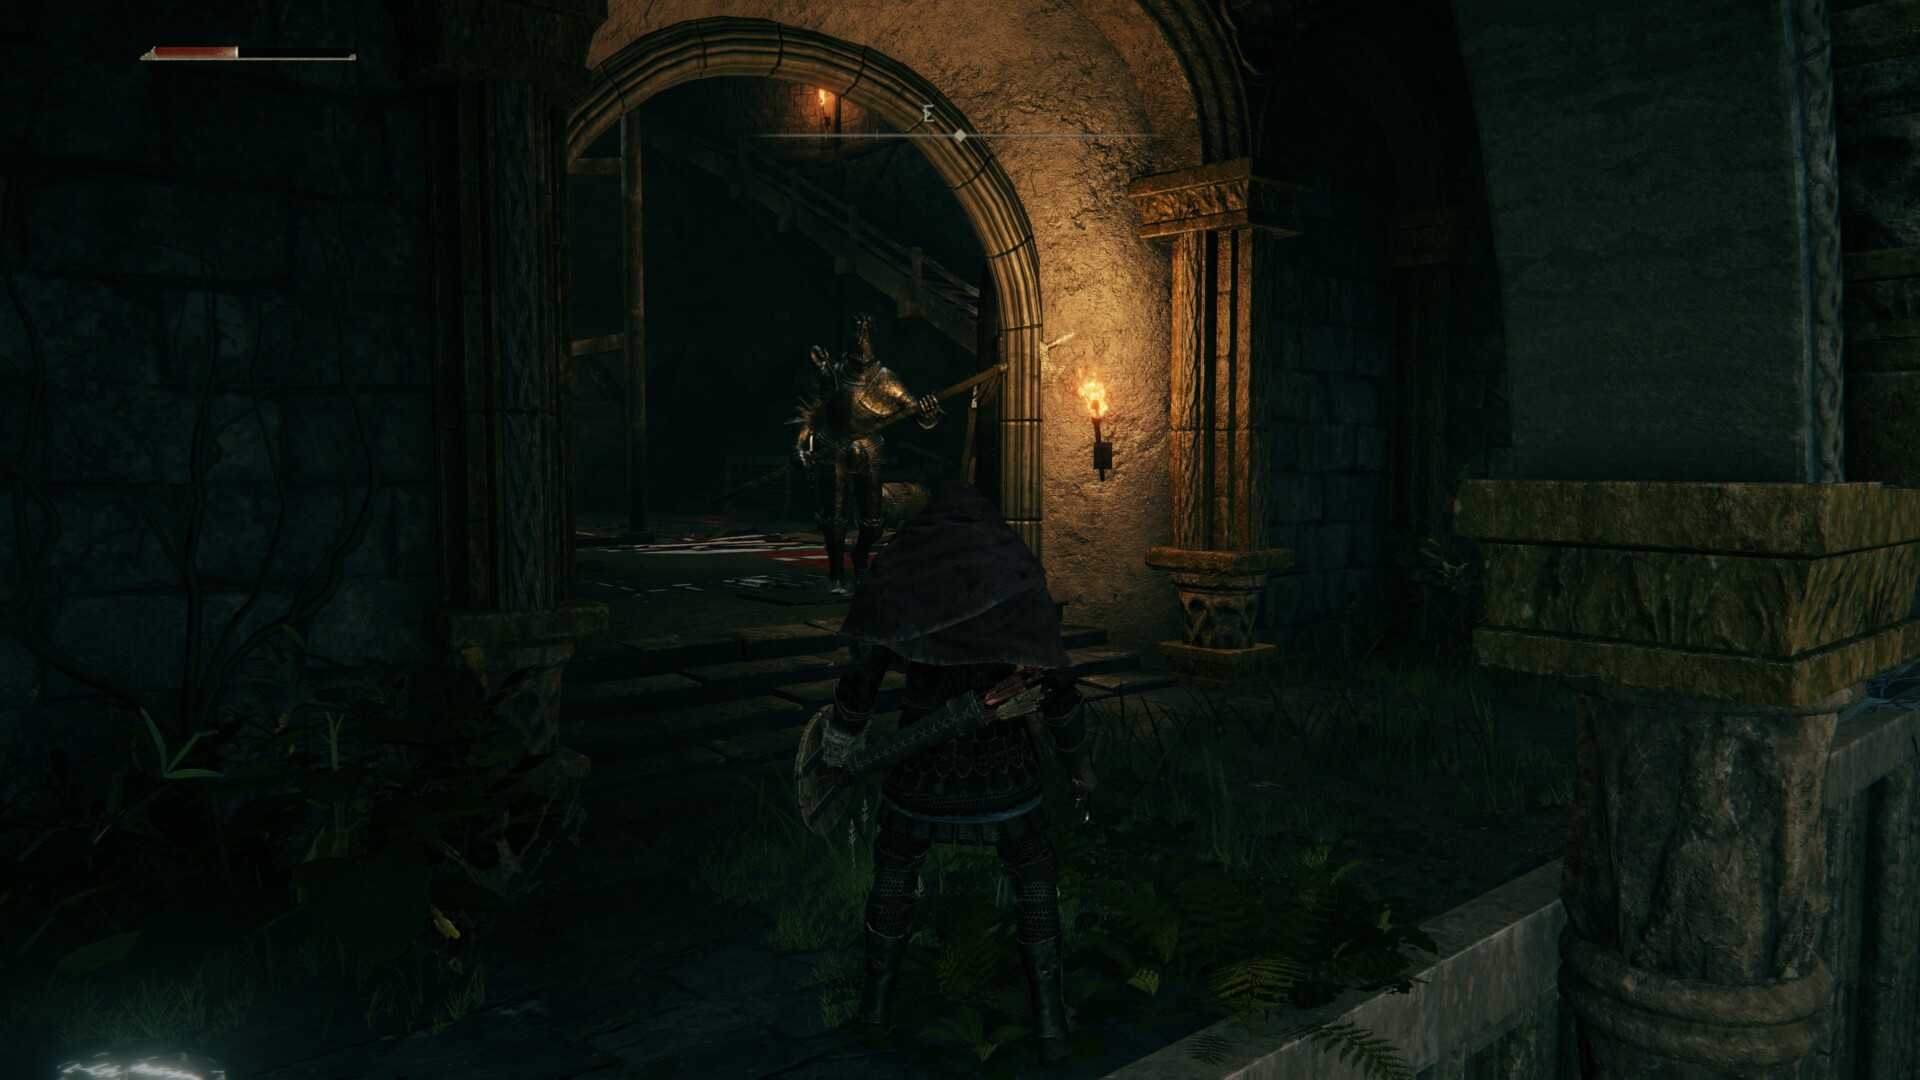
Now, go ahead and exit the chapel and look along the passageway to spot an Exile and a Banished Knight. If you want to fight them, you could go ahead. Alternatively, you can make a run for it, but they’re going to chase you down (and you might aggro a few mobs that’ll hound you as well).
Here are some other tidbits that you can find:
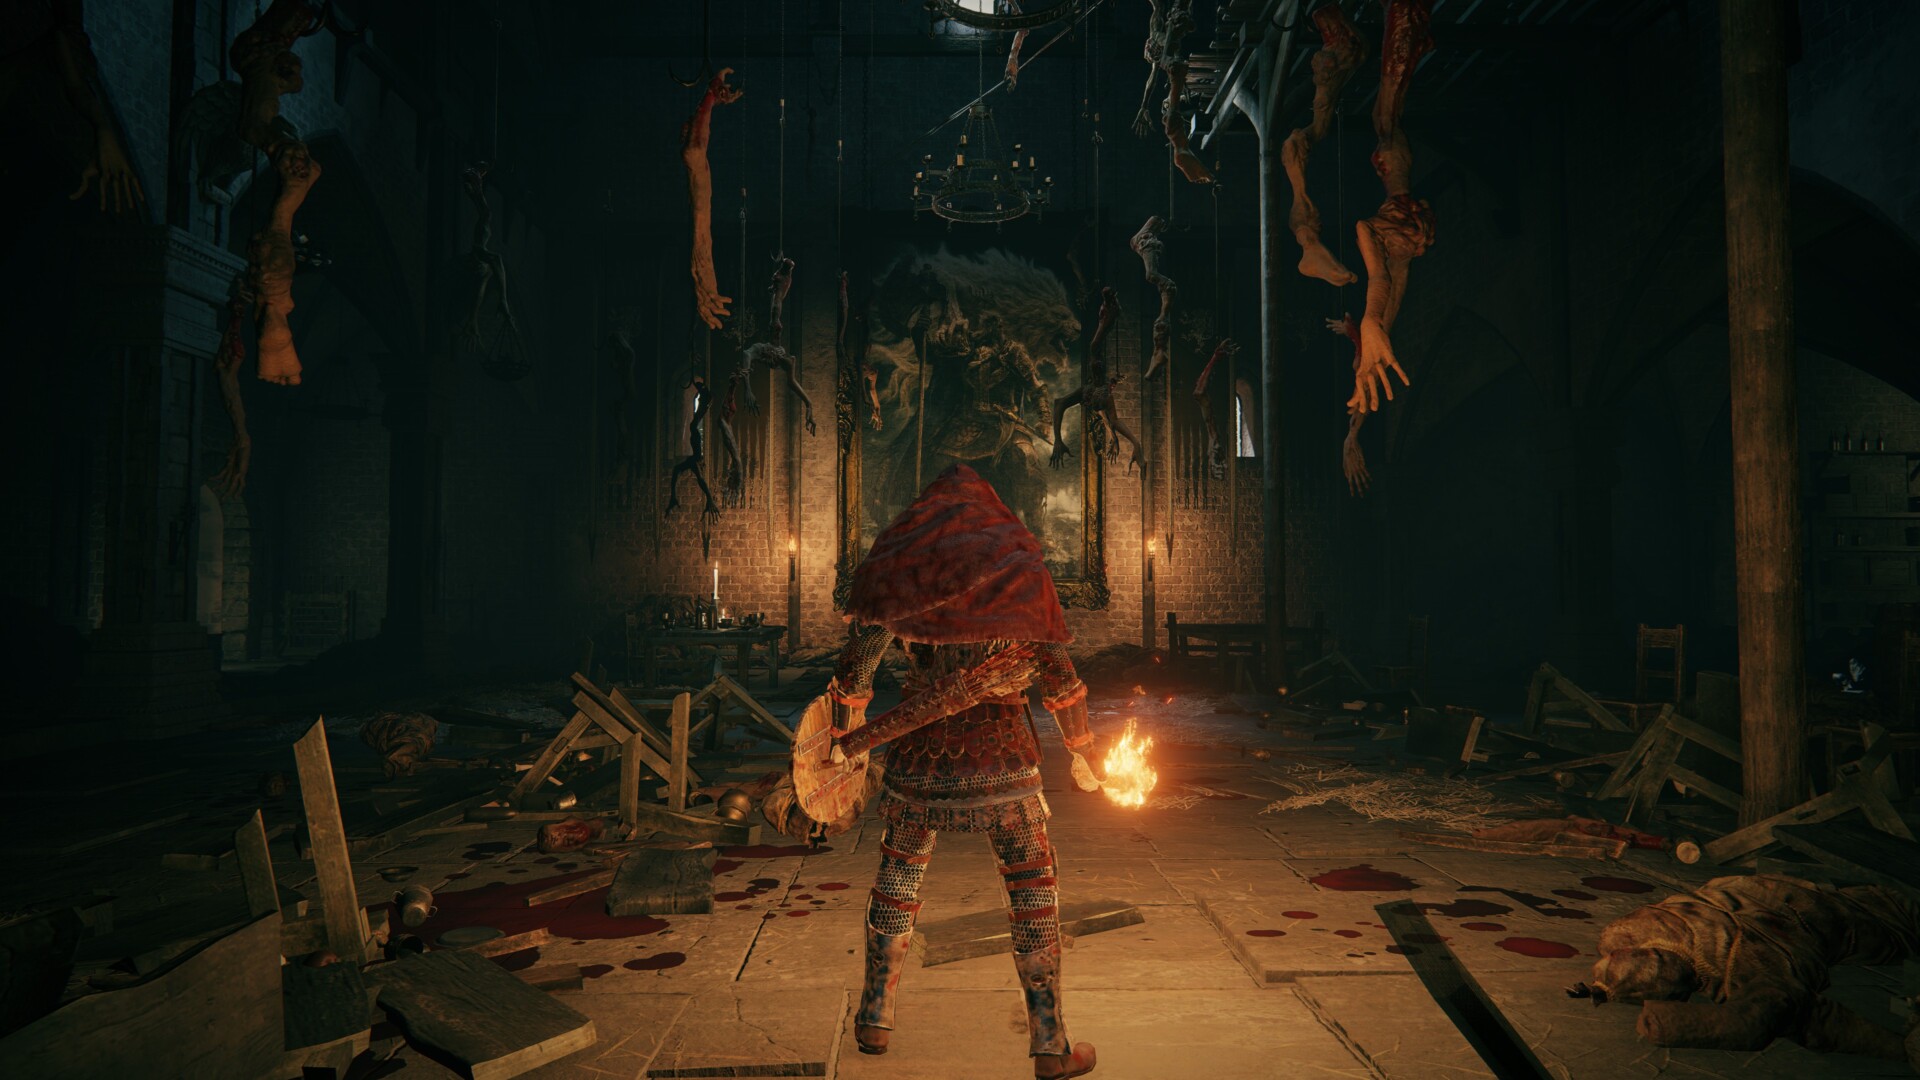
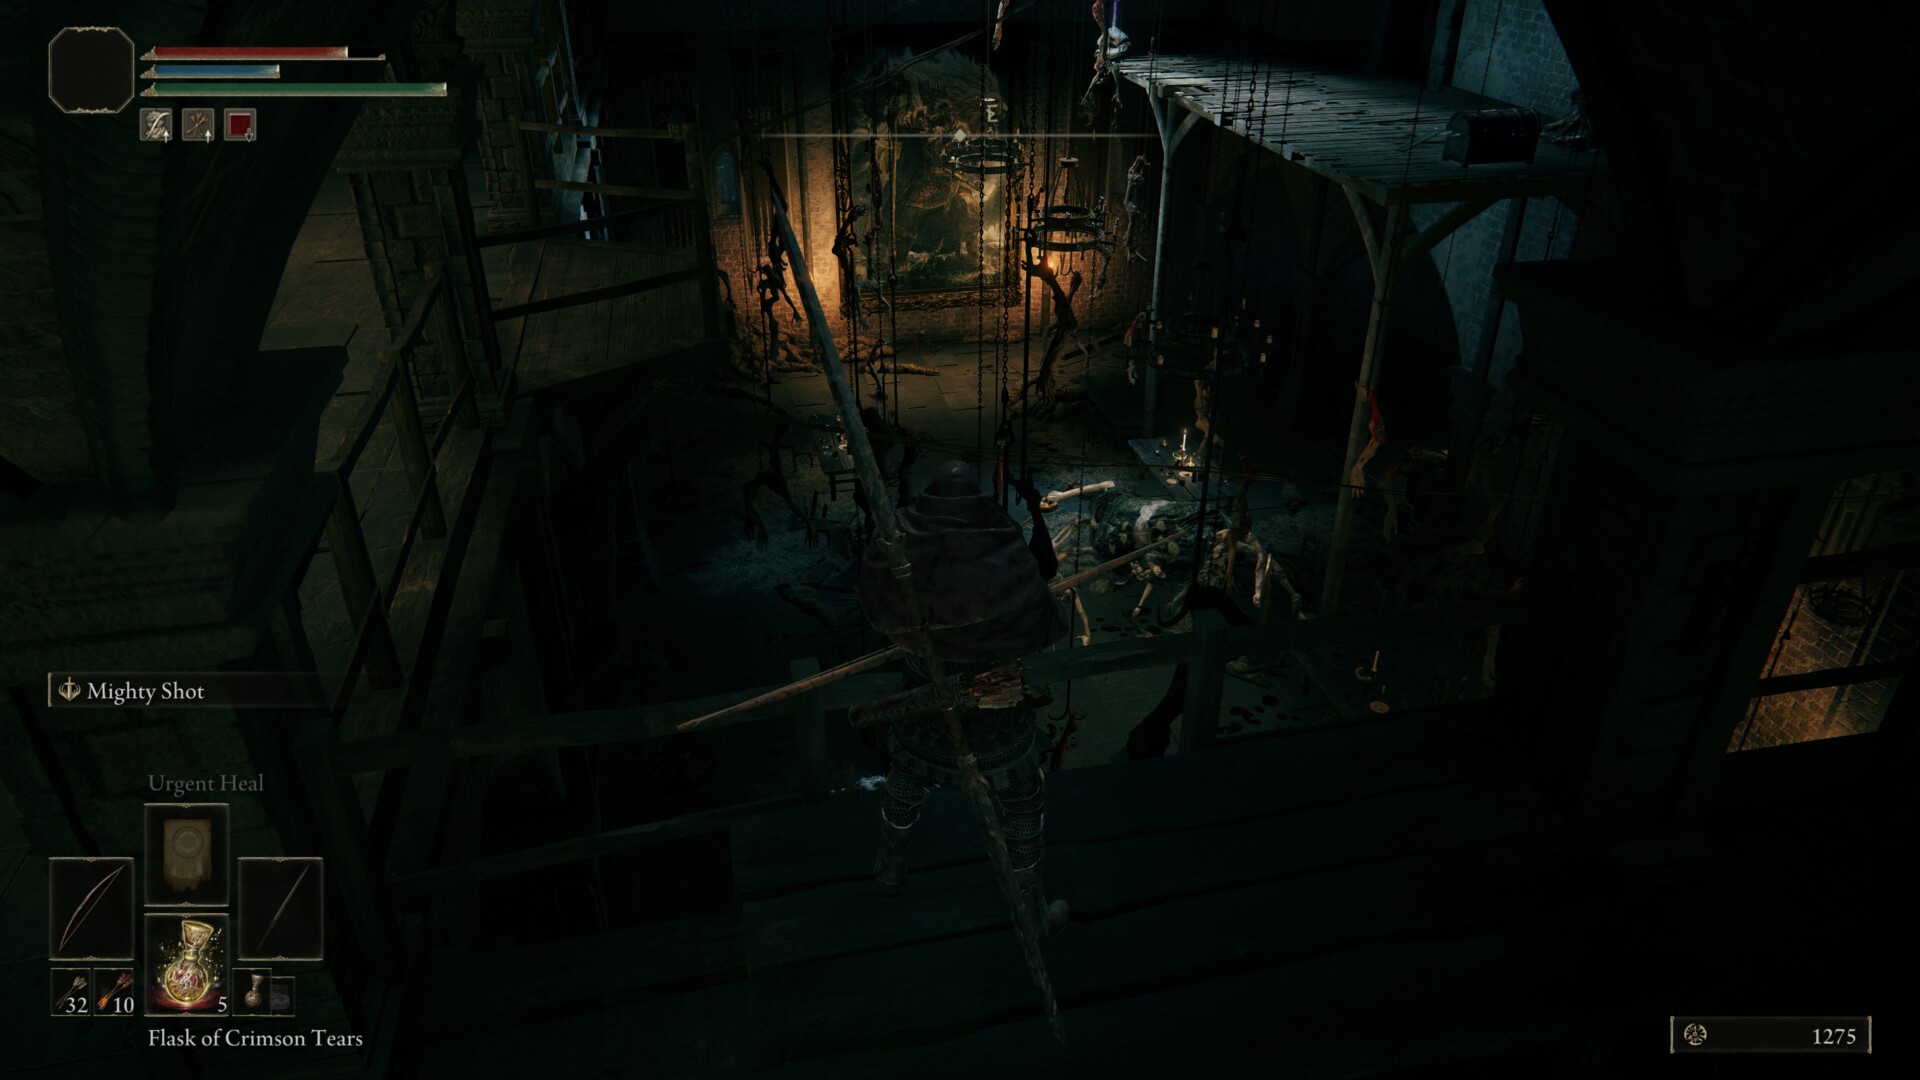
- Audience Hall – Past the Banished Knight/Exile duo, there’s a Scion enemy. This many-limbed creature is tough, but you can snipe it from up top with a bow/crossbow. But, if you’re still being chased by other foes, then you won’t have time to do this.
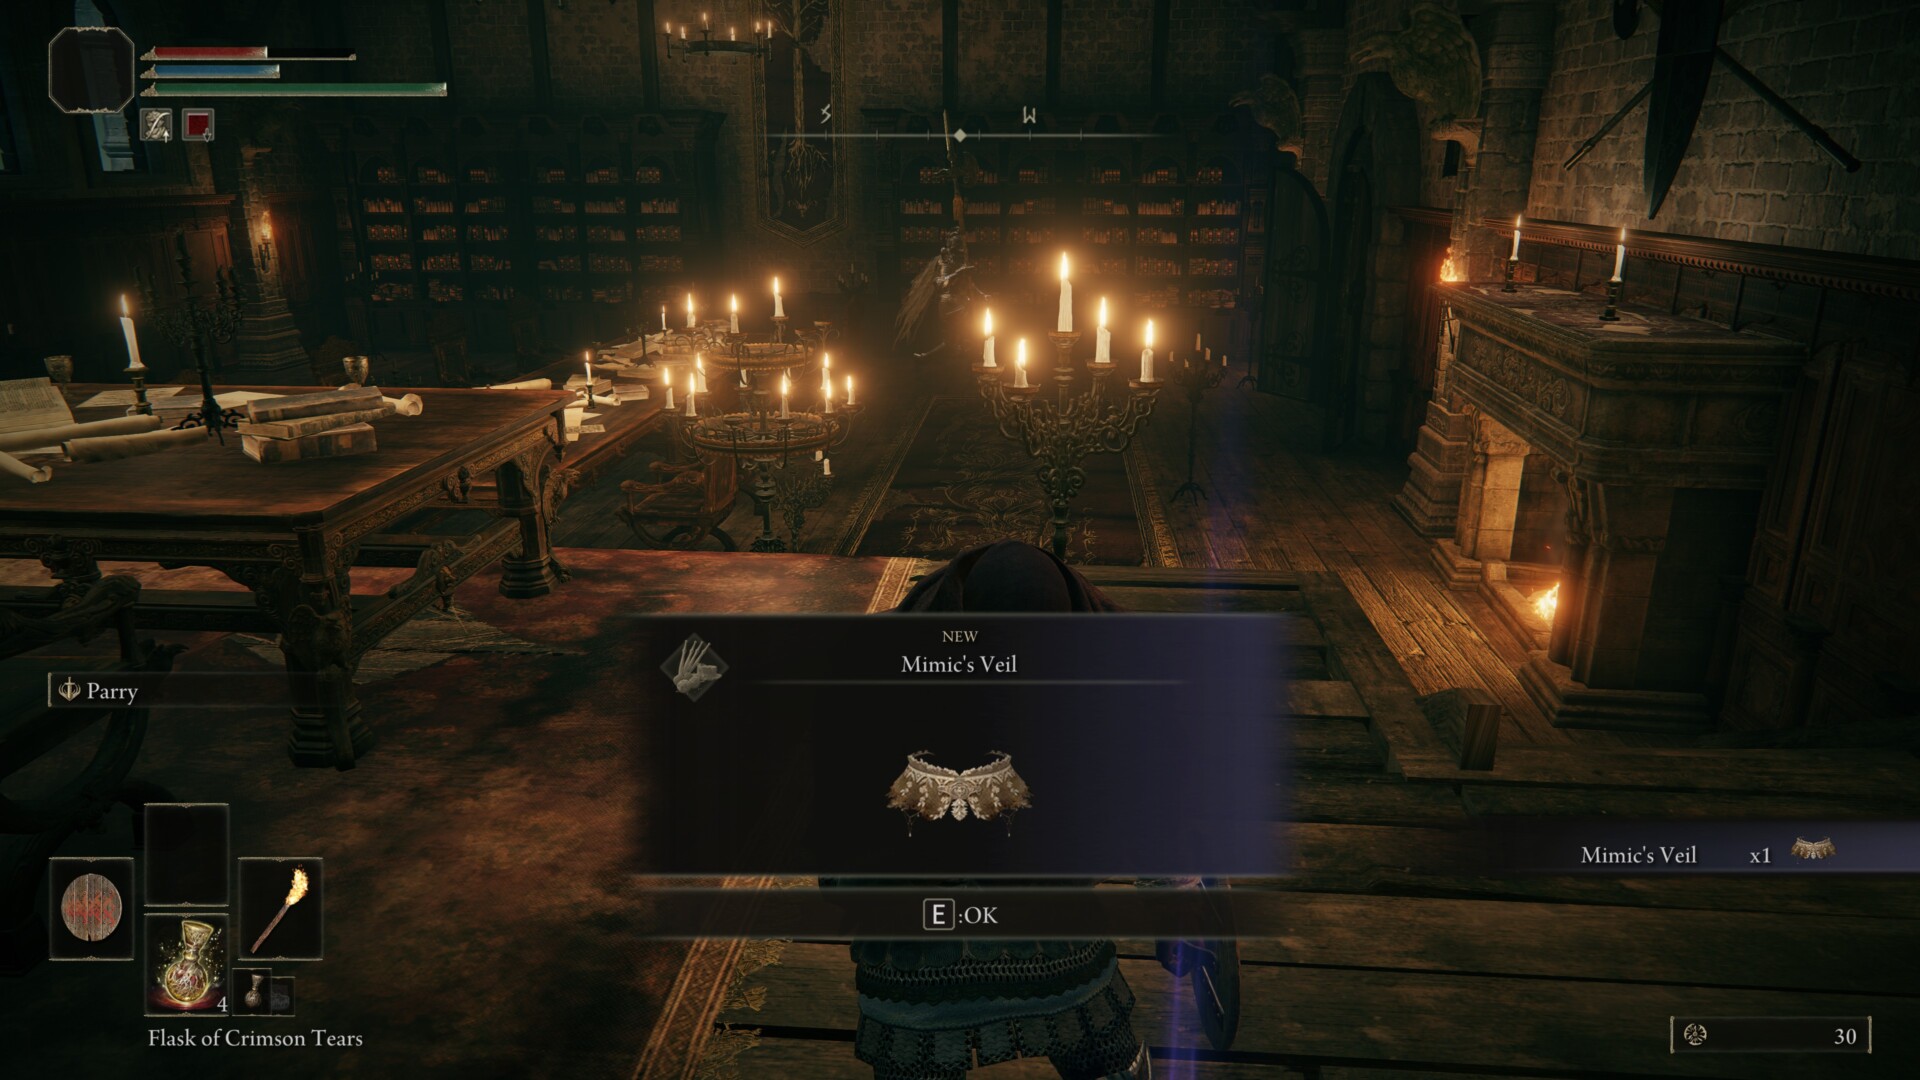
- Library – In the small library with the Banished Knight, you’ll find a Mimic’s Veil. This item lets you spend FP to turn into a random object nearby, such as a box.
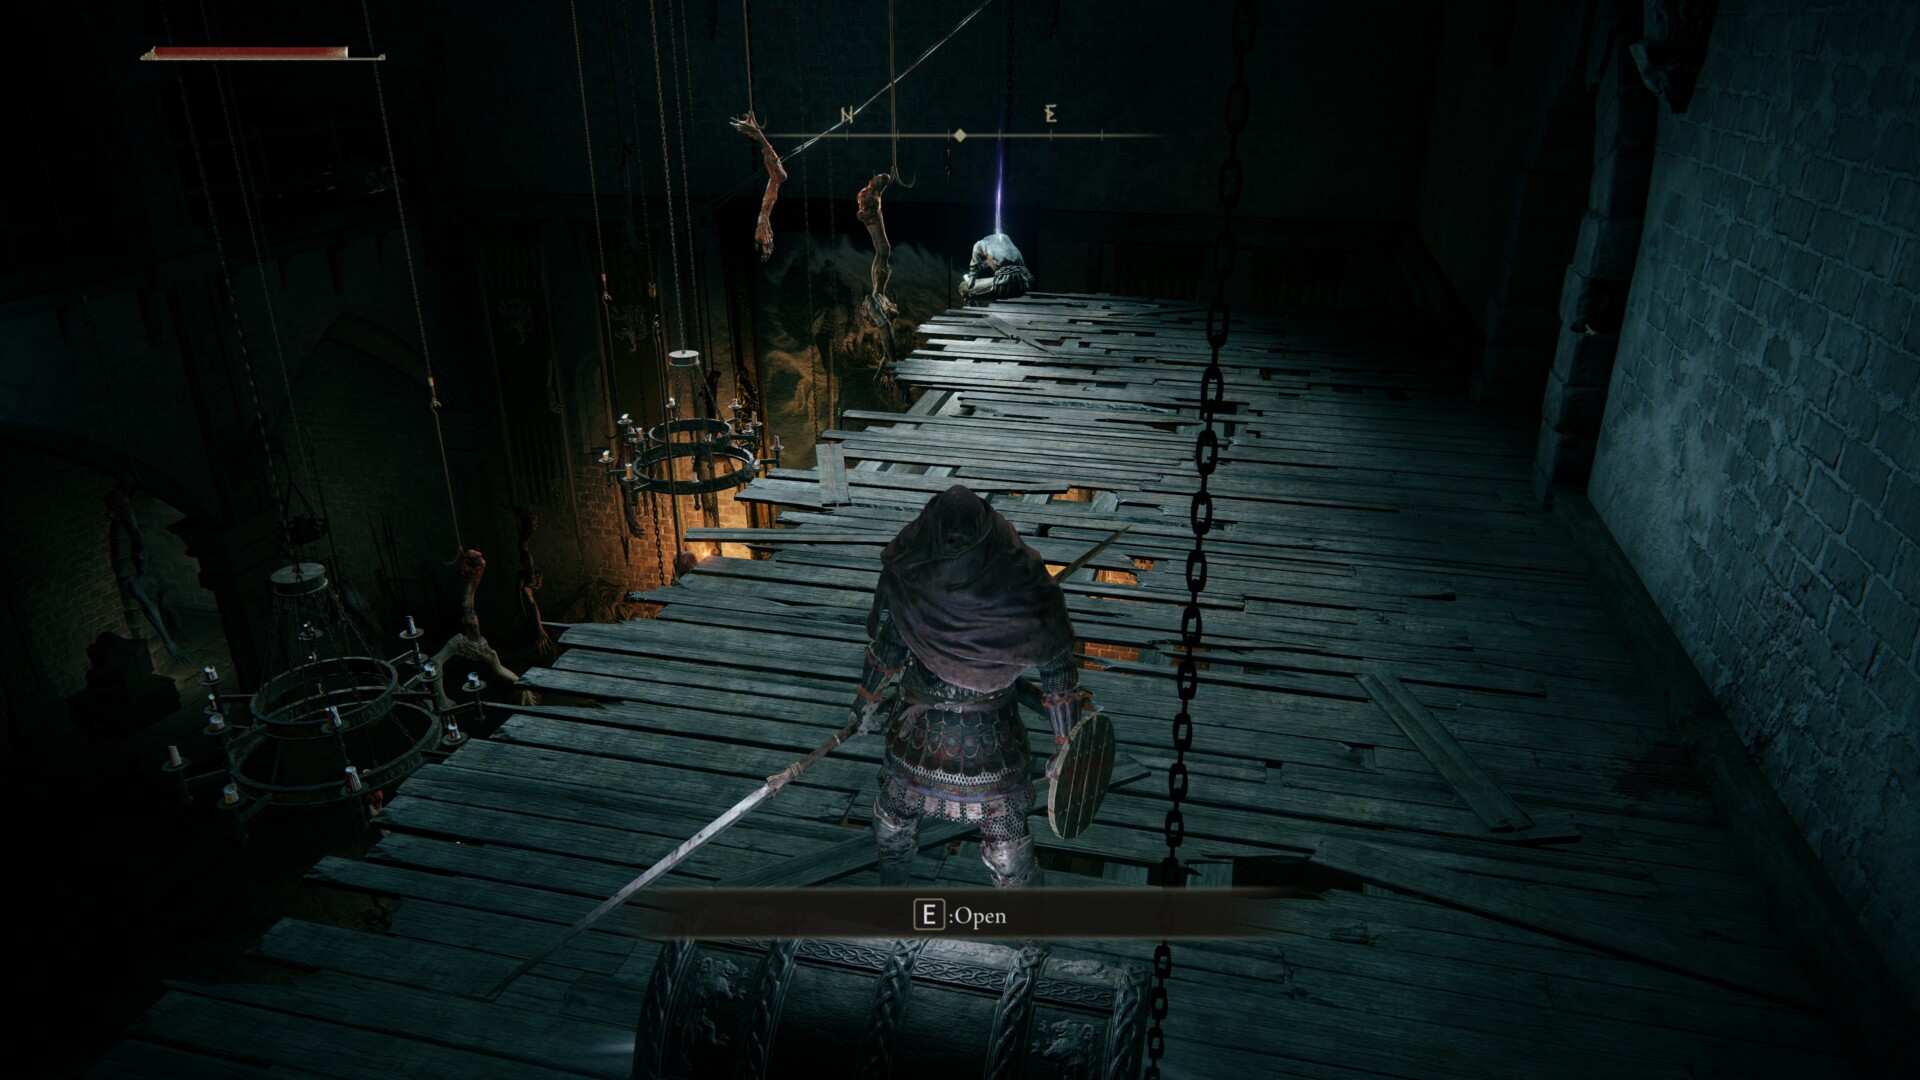
- Audience Hall Ledge – If you go outside the Library window, you’ll see a walkway and ladder. This takes you to the ledge on the opposite side of the Audience Hall. You can grab a Stonesword Key here.
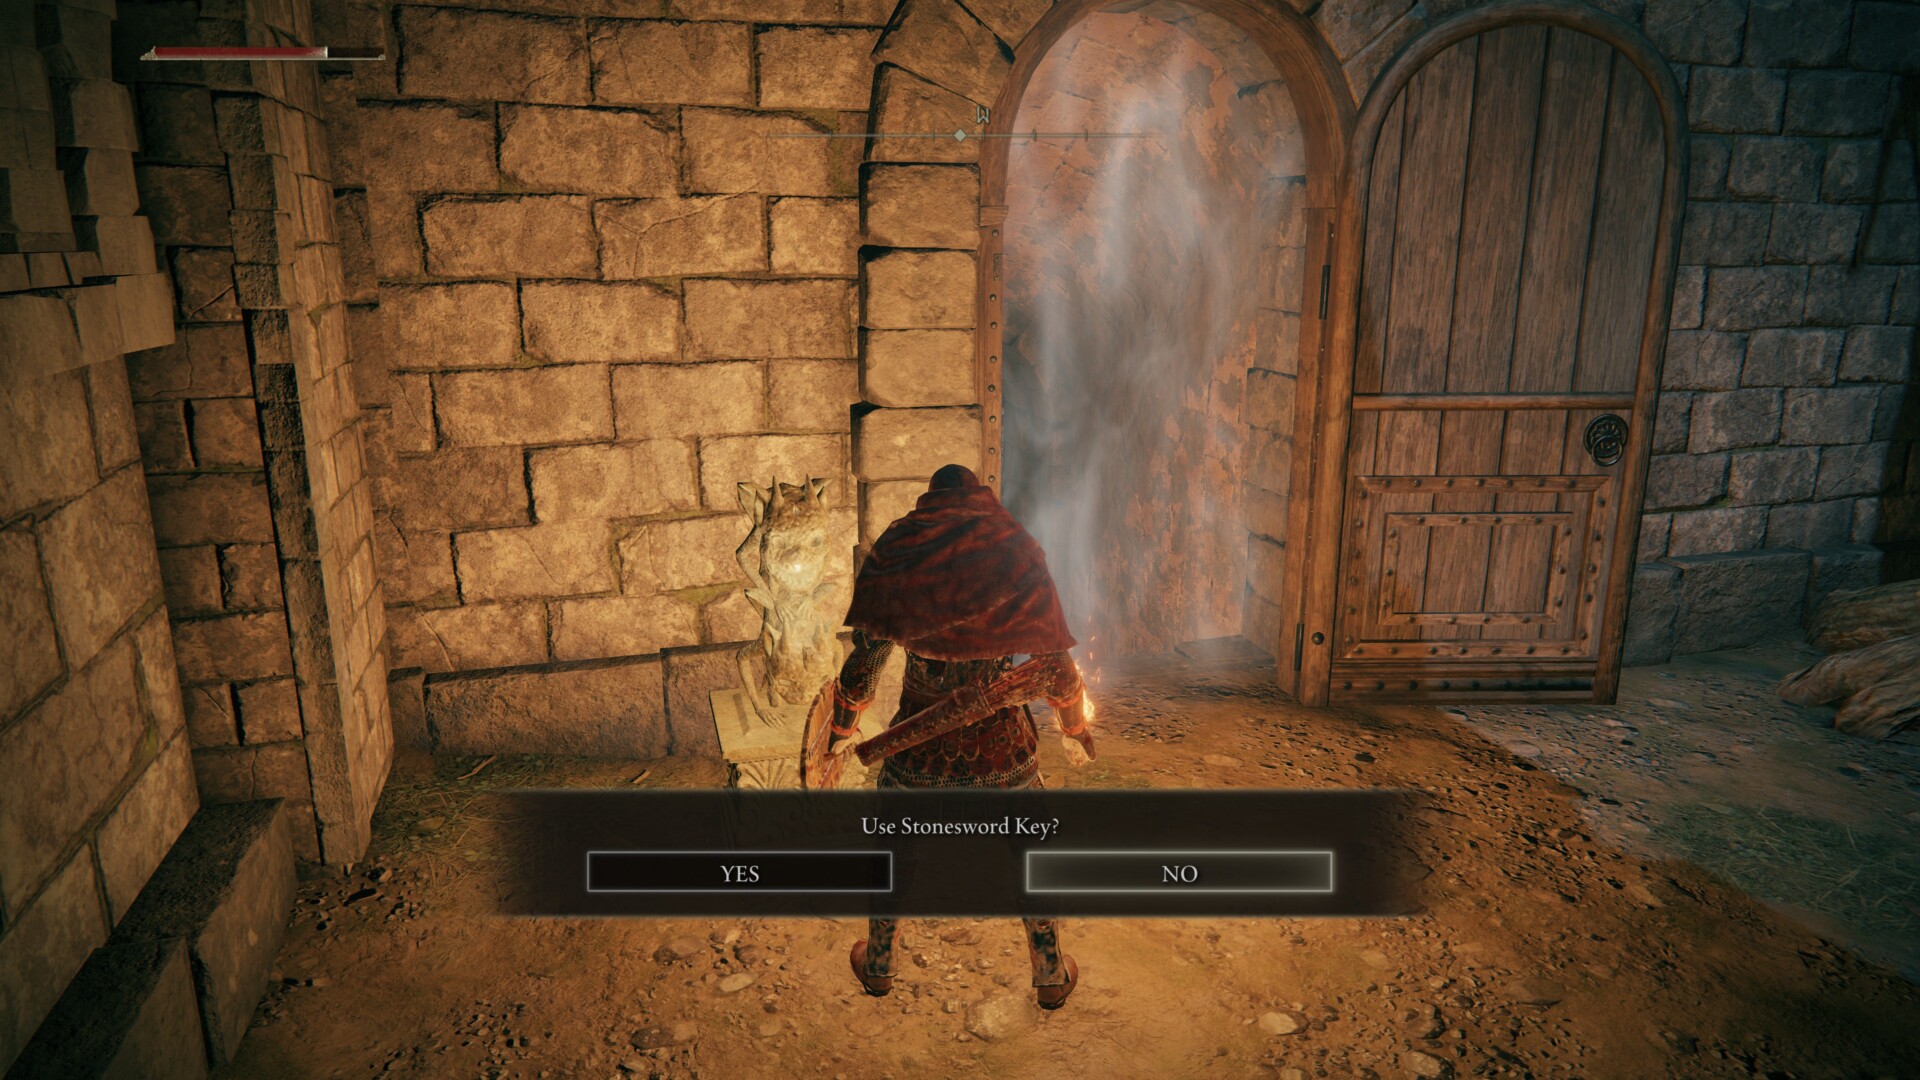
- Imp Dungeons – Speaking of Stonesword Keys, you can use these to unlock a couple of Imp Dungeons (i.e., mist-covered dungeons with an imp statue at the entrance). The first Imp Dungeon is on a ledge below the Banished Knight/Exile duo, reachable using the walkway outside the Library. The other is through a doorway to the left of the Audience Hall. It’s got several rats, and one might drop a Rune Arc if you need to use a Great Rune’s buffs.
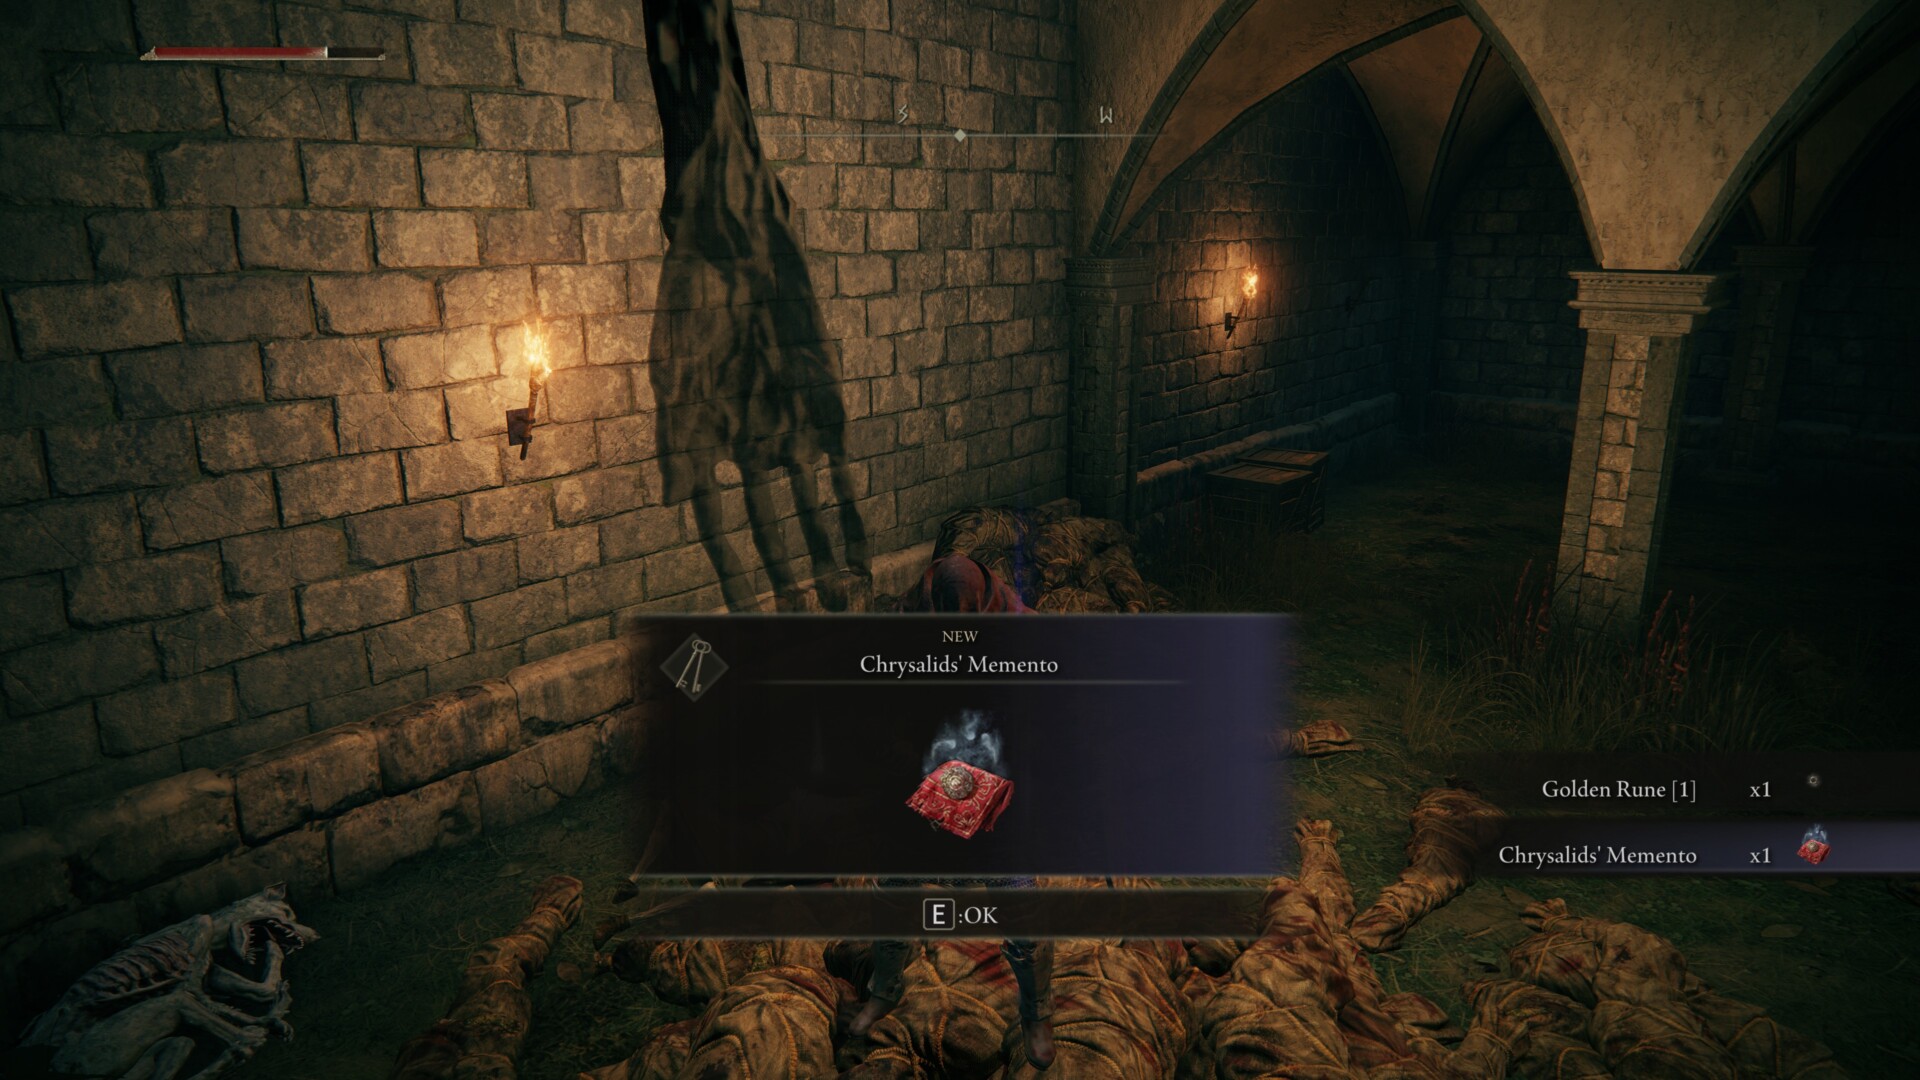
- Dumping Grounds – If you loop around the walkway, you should find a dumping area filled with corpses, as well as some Stray Dogs. You can grab the Chrysalids’ Memento here, an important item that can be given to Roderika. She’s the NPC from Stormhill Shack and she will, eventually, let you upgrade your Spirit Ash Summons.
-

- Audience Hall (the Scion is dead)
-
- Audience Hall walkway (sniping the Scion)
-

- Audience Hall (opposite ledge)
-

- Library (Mimic’s Veil)
-

- Dumping Grounds (Chrysalids’ Memento)
-

- Imp Dungeon #1
-
- Imp Dungeon #2

Liftside Chamber
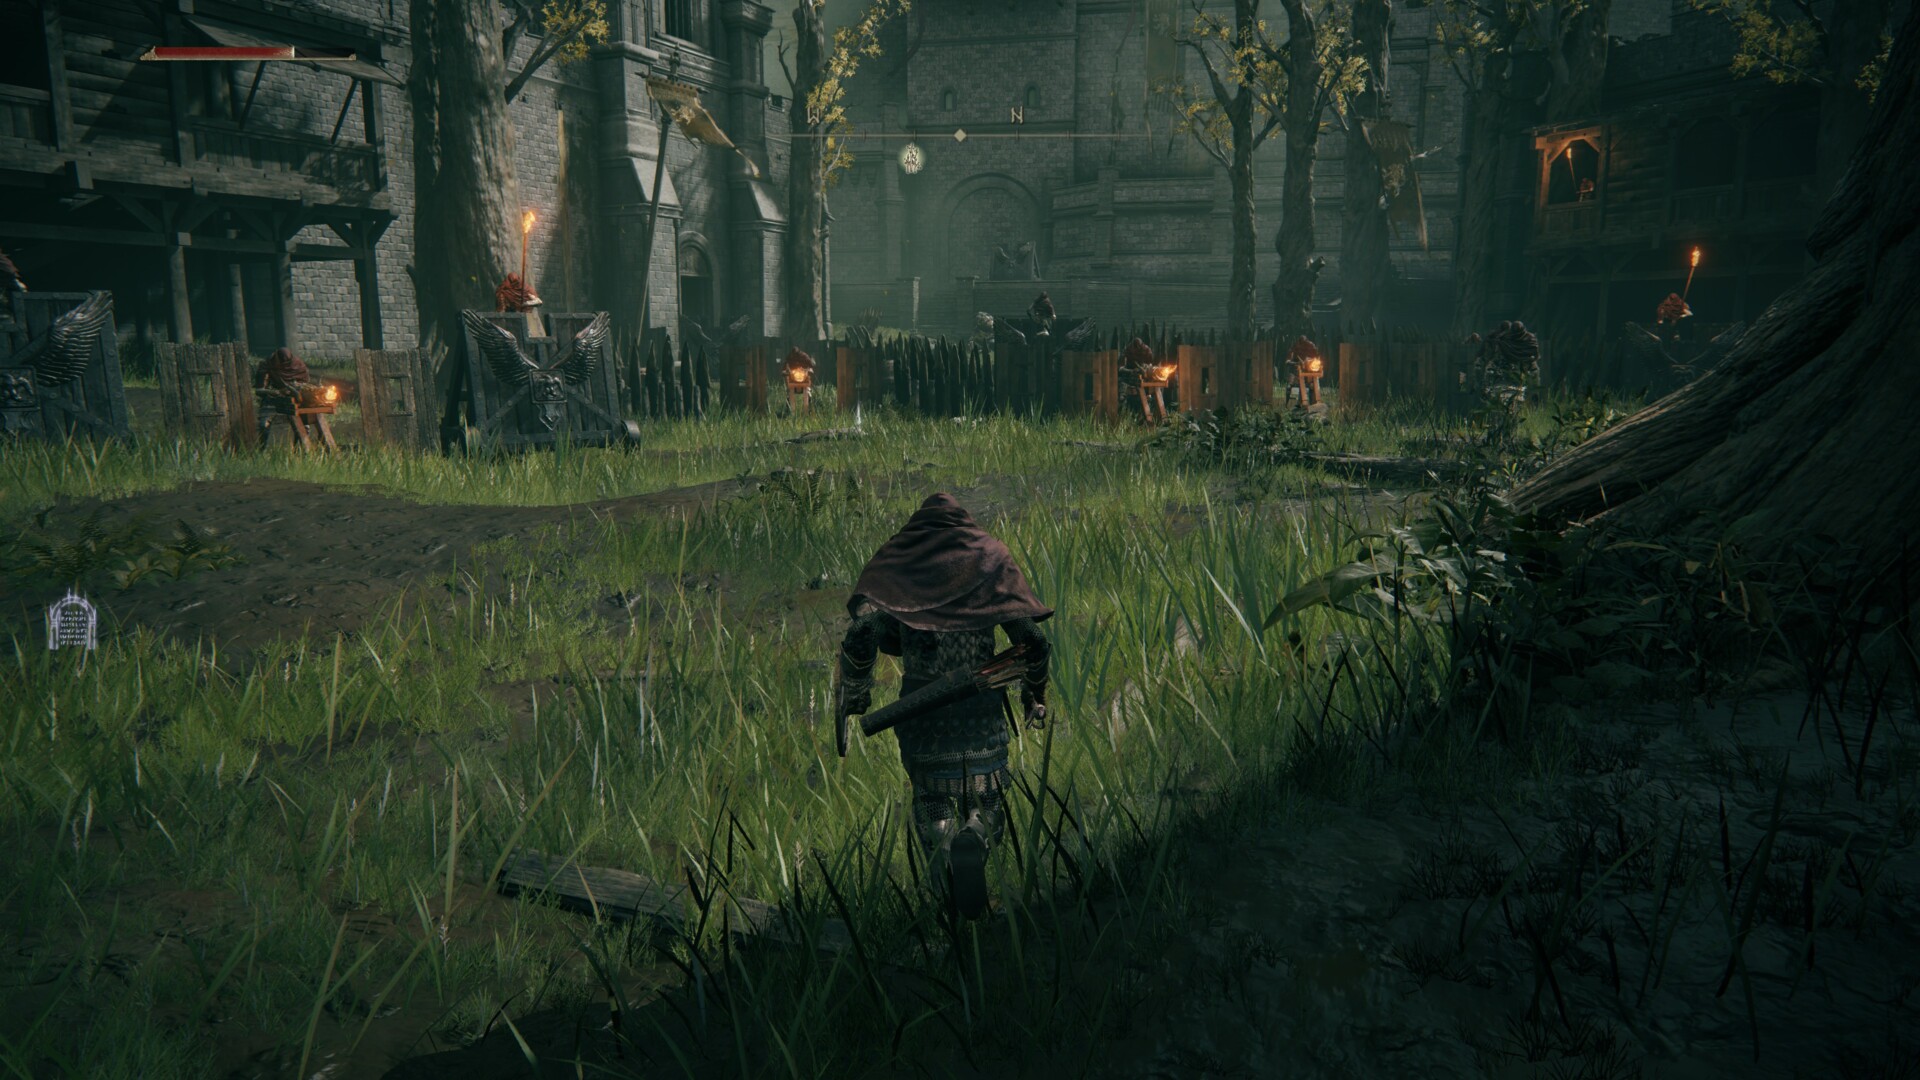
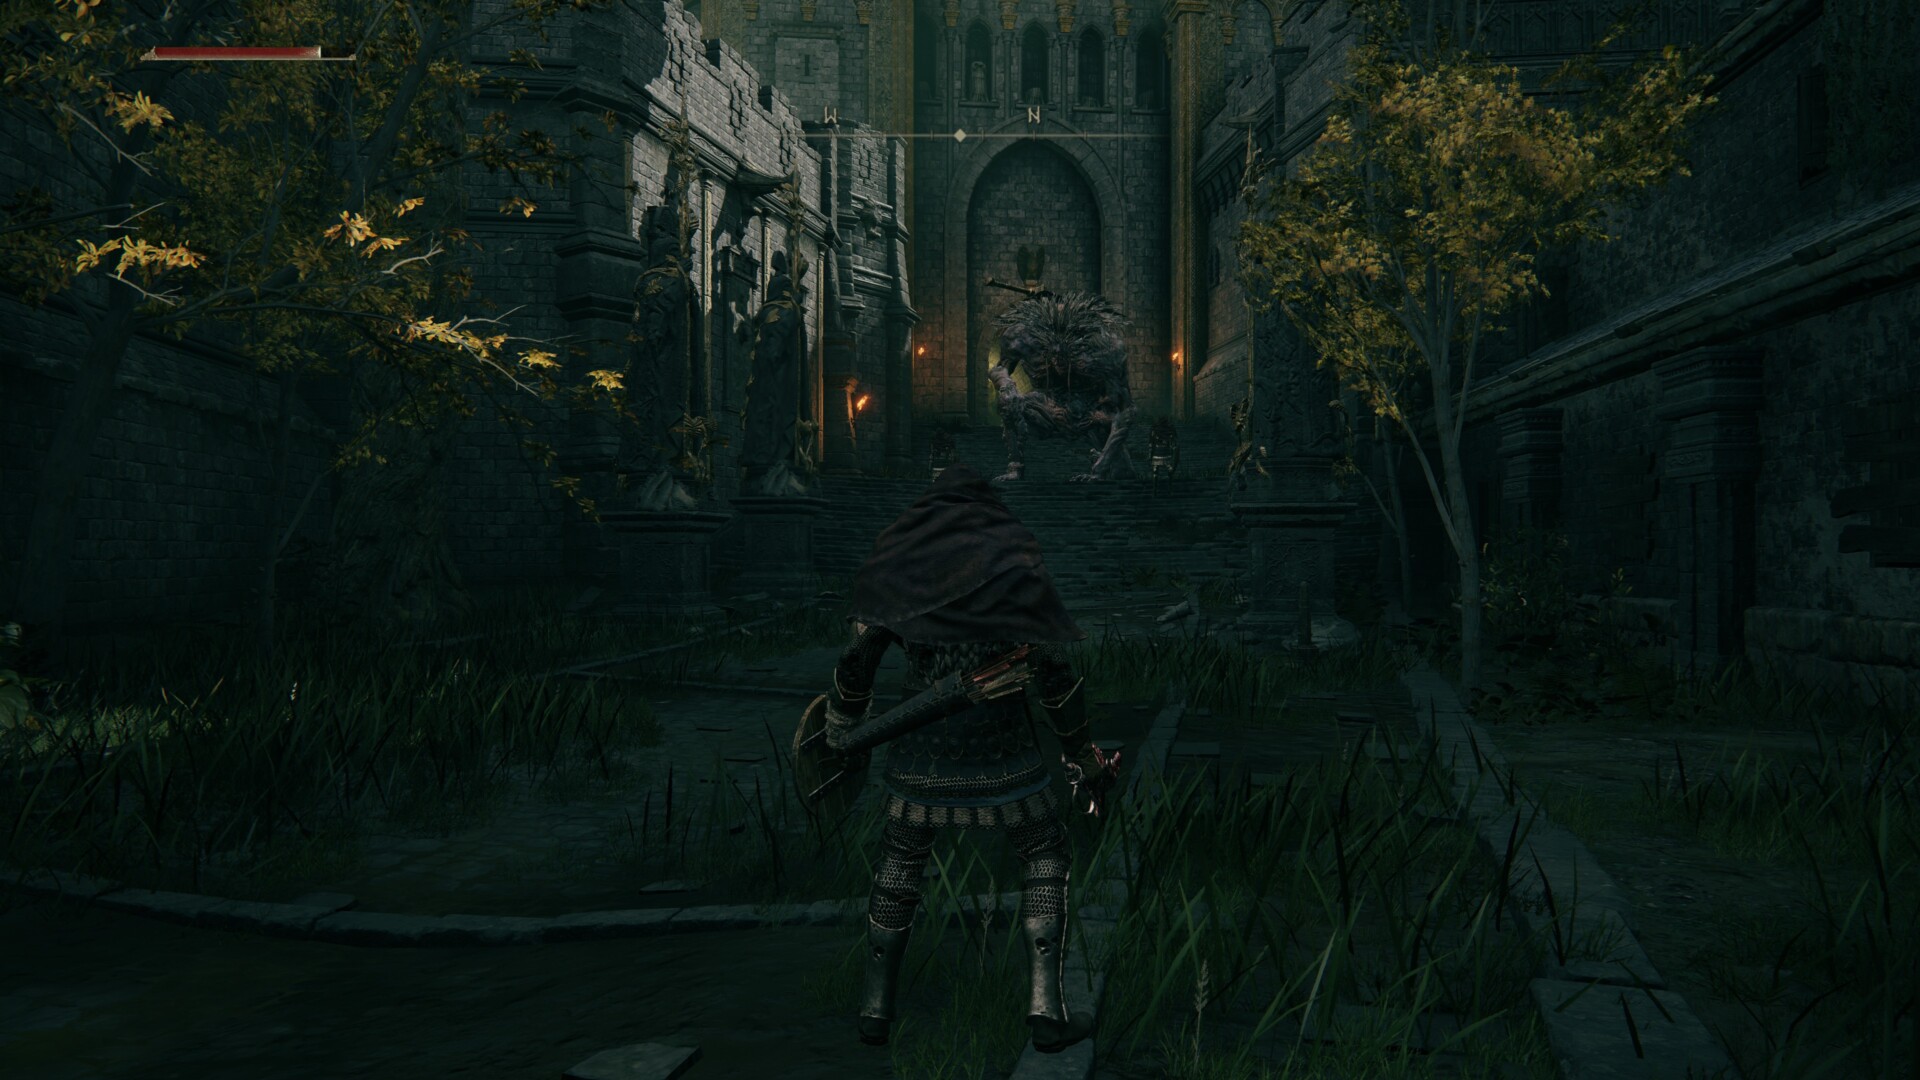
Eventually, you’ll make your way outside. In front of you is an entire battalion of Exile mobs. Run and dodge-roll your way past them. There’s also an Omen enemy here, a tubby monster who hits hard. Thankfully, you should see the Liftside Chamber Site of Grace in the room behind that creature.
Note 1: The door behind the Liftside Chamber is locked. However, we can unlock it by going through a secret path. This is discussed in a separate guide because it’s going to be confusing if I mention it here.
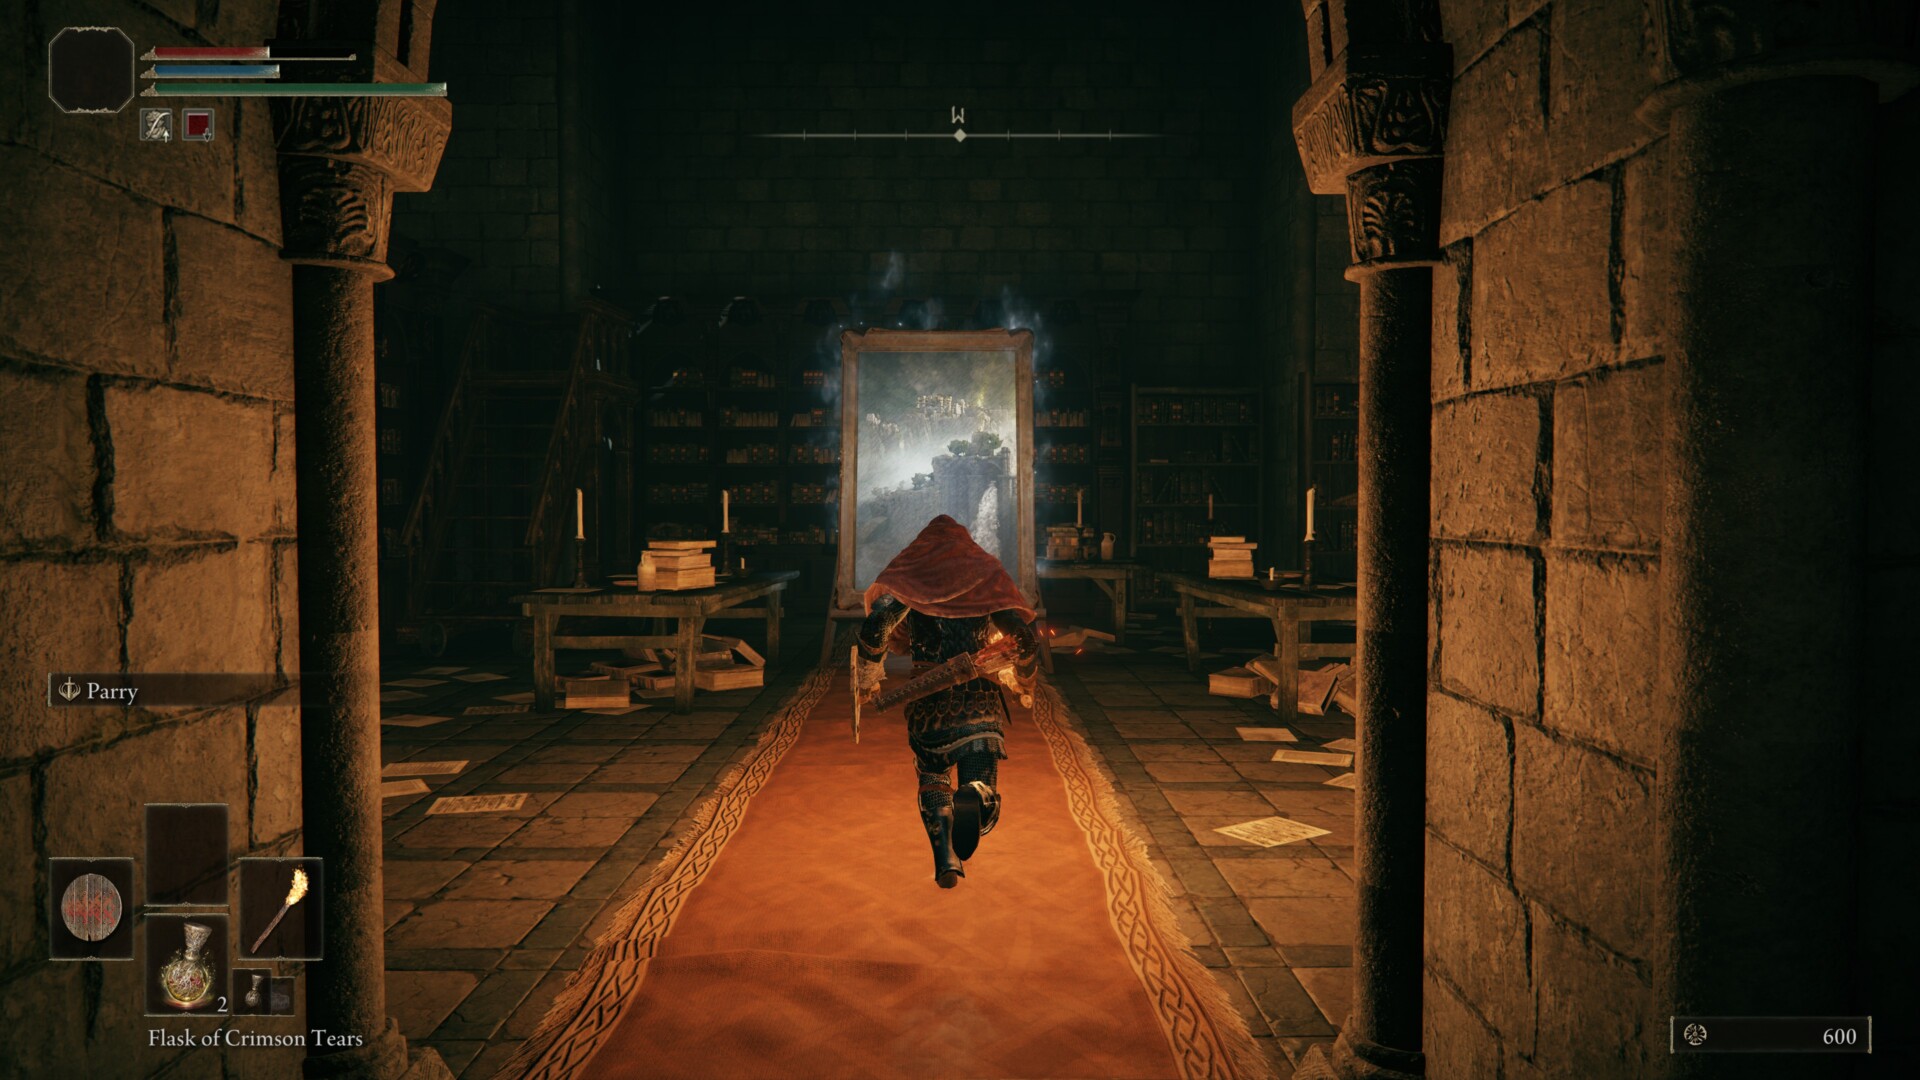
Note 2: There’s a small room between the Exile bunch and the Omen. You can obtain the “Prophecy” painting here.
-

- The Yard
-
- Prophecy painting
-

- Liftside Chamber bonfire (with the Omen running behind my character)
Nepheli Loux
Take a quick breather and make your way back outside again. This time, follow the steps off to the side. Watch out for the Warhawk (which breathes fire). Then, go inside the small building with a storage room. Here, you can talk to Nepheli Loux, a friendly NPC who wants to put an end to the lord of Stormveil Castle in Elden Ring.
Outside the yard, you can pick up a Golden Seed. This item is used to increase the charges of your HP/MP flasks.

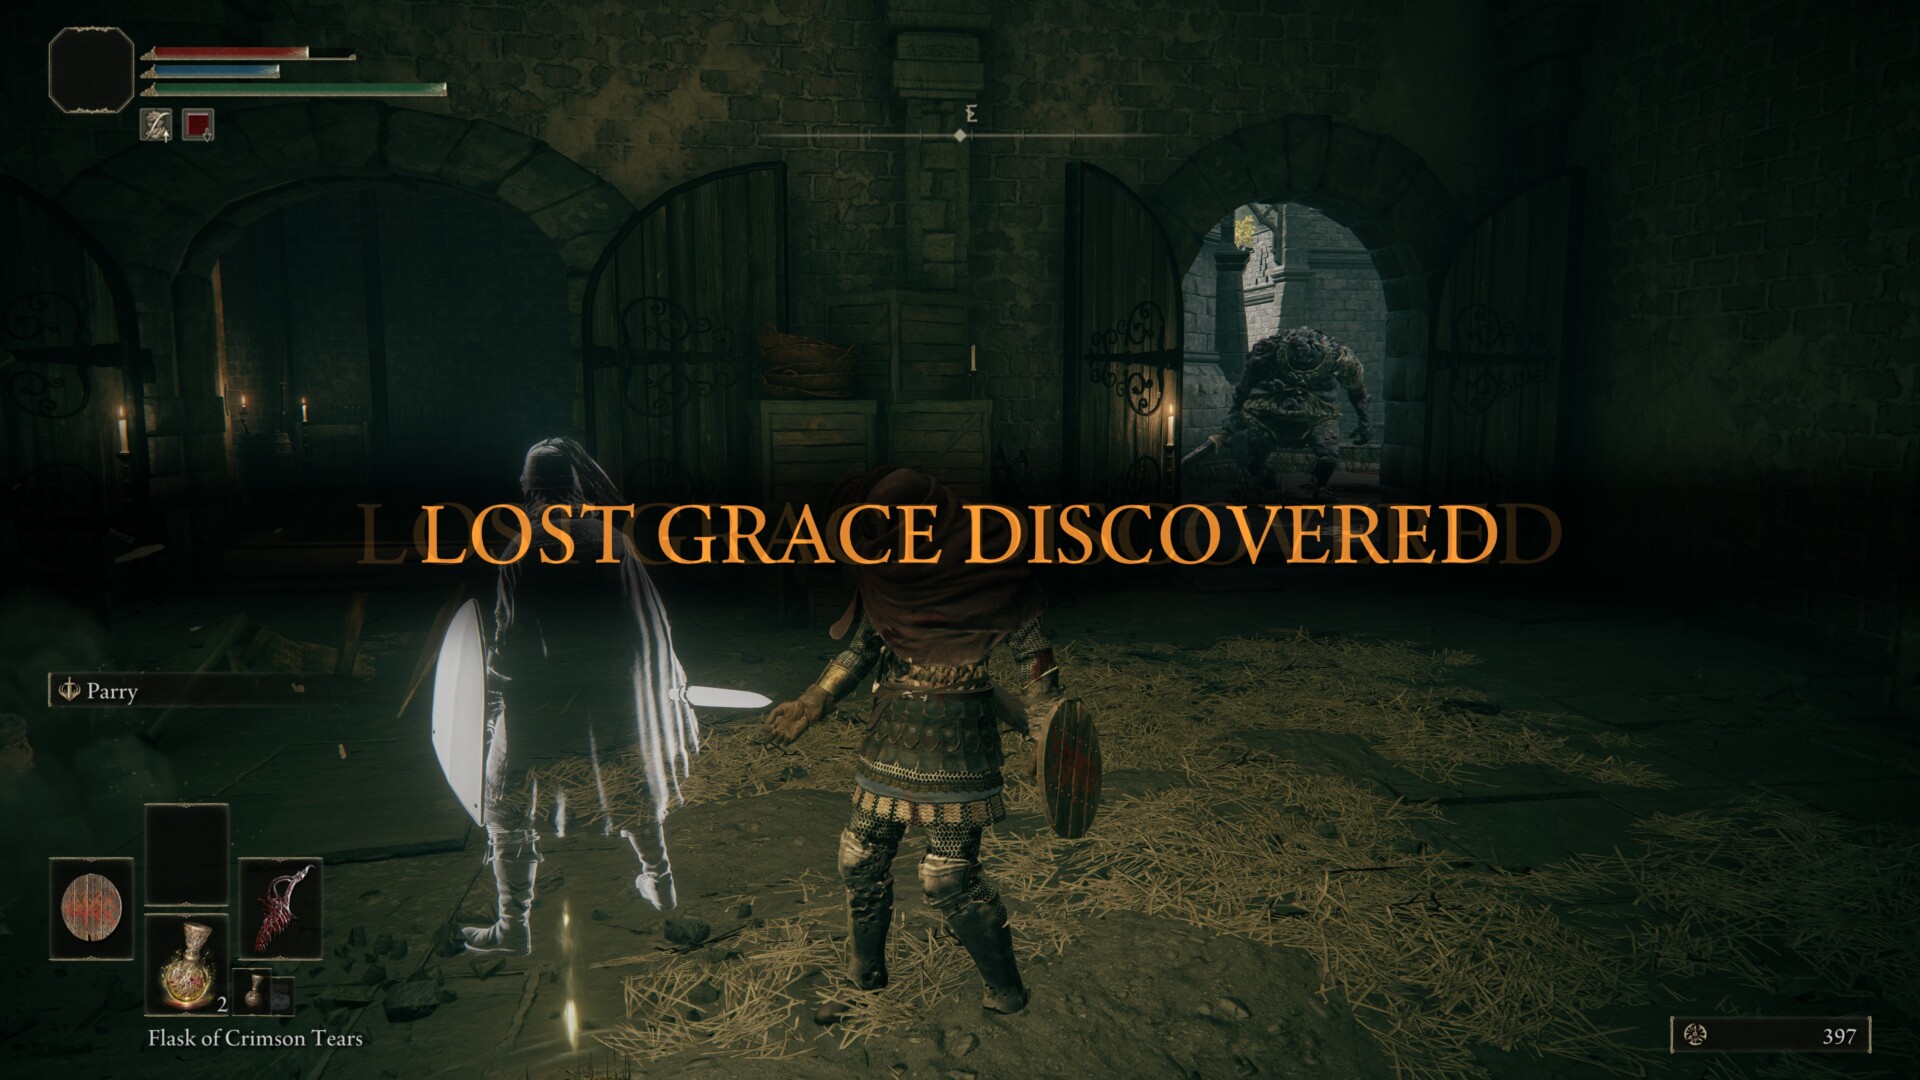
Secluded Cell and the Kool-Aid Men
Next up, you’ll notice that the steps leading to the boss arena is guarded by a Troll and two Exiles. You can rush past them and go inside the room to your right. The Secluded Cell Site of Grace can be found therein.
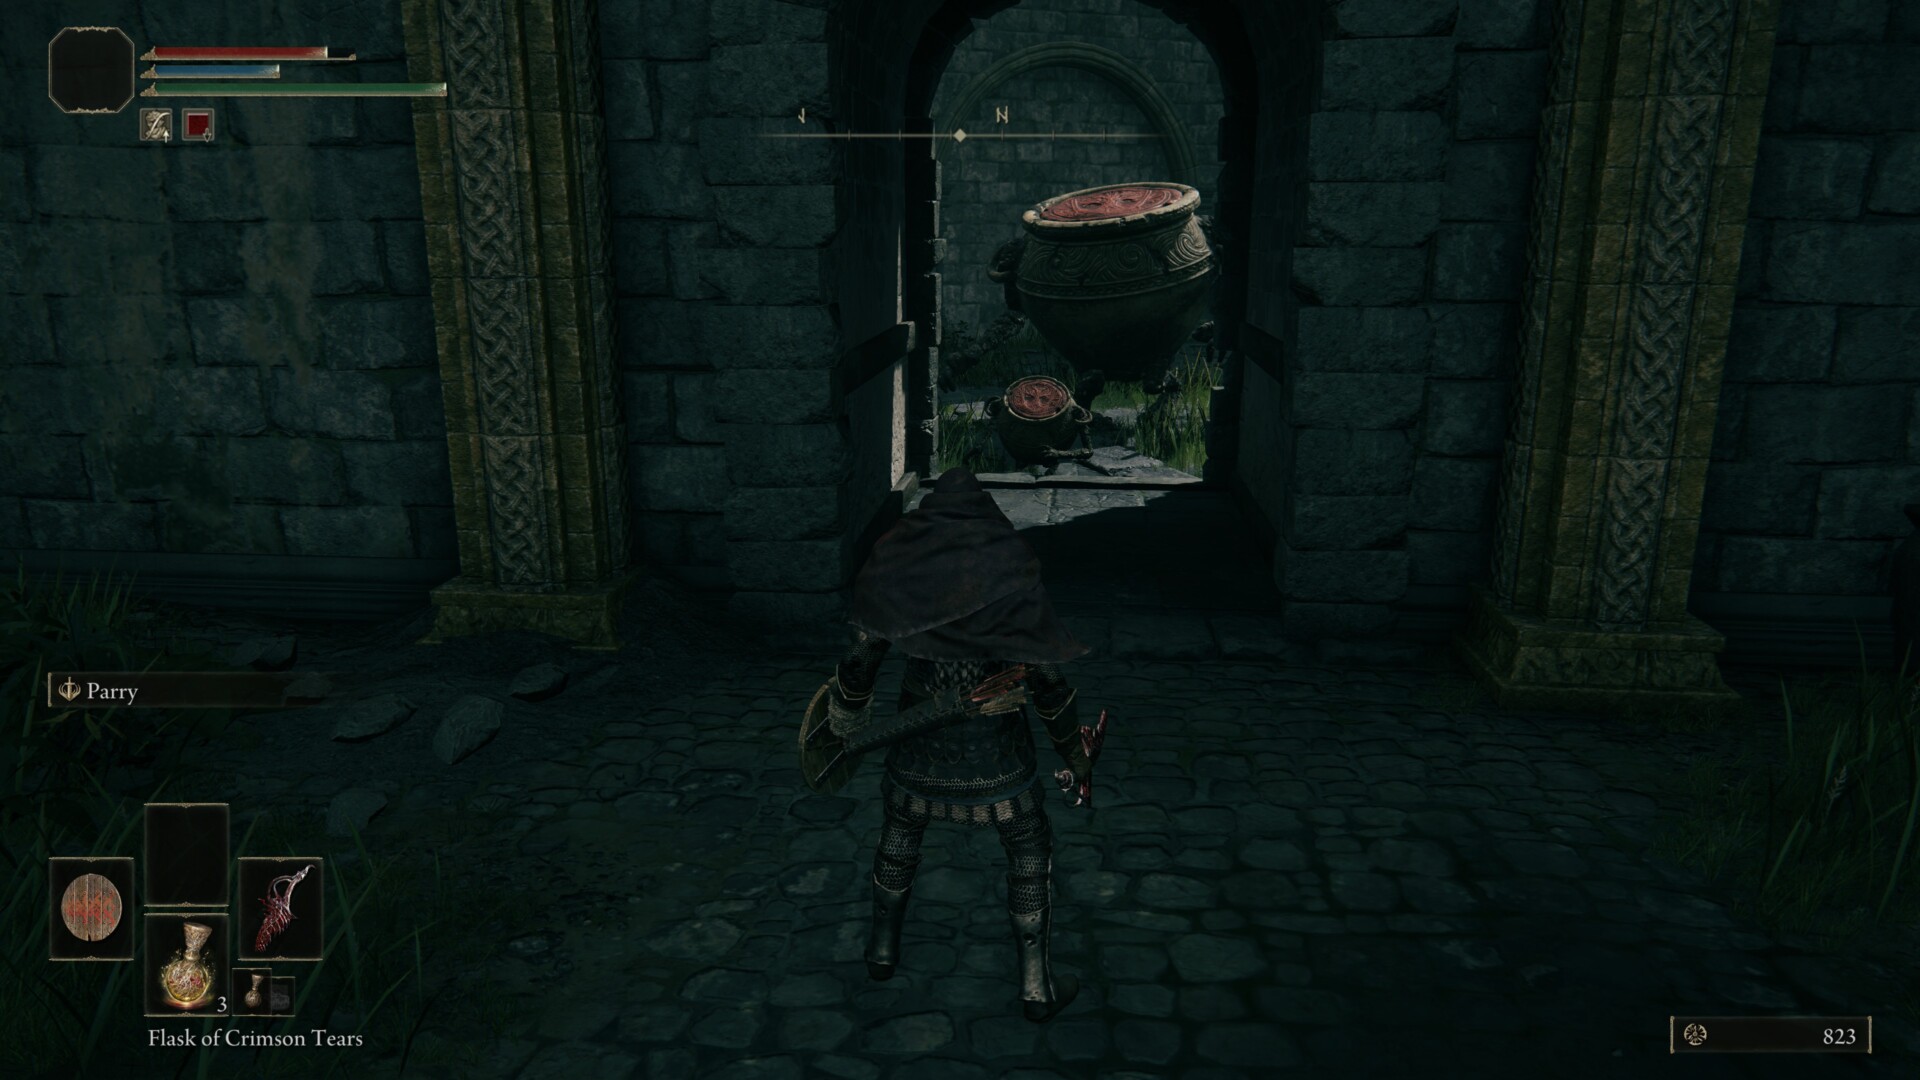
The path to the left, meanwhile, has a bunch of Living Jars and Mini Jars (or Kool-Aid Men). Feel free to take them out if you want. The other passage here actually leads to the elevator that takes you back to the Liftside Chamber bonfire.
Also, the important thing here is the White Scarab Beetle. Kill it quickly to get the Ash of War: Stormcaller.
It looks like you’re done with almost everything in the Stormveil Castle area in Elden Ring. You could try and open the Liftside Chamber Door, as well as do battle with Godrick the Grafted, the game’s second major boss.
-

- Living Jars
-
- Ash of War: Stormcaller

Elden Ring is available via Steam. For more information, check out our guides and features hub.


Published: Feb 24, 2022 11:45 am