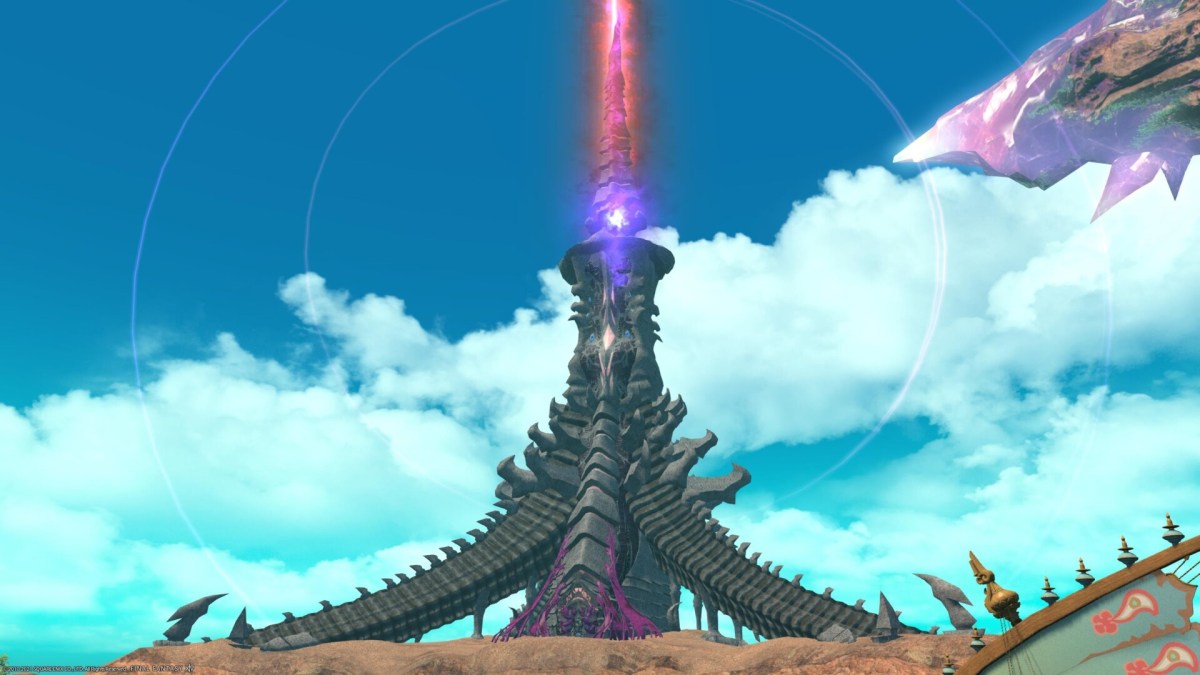
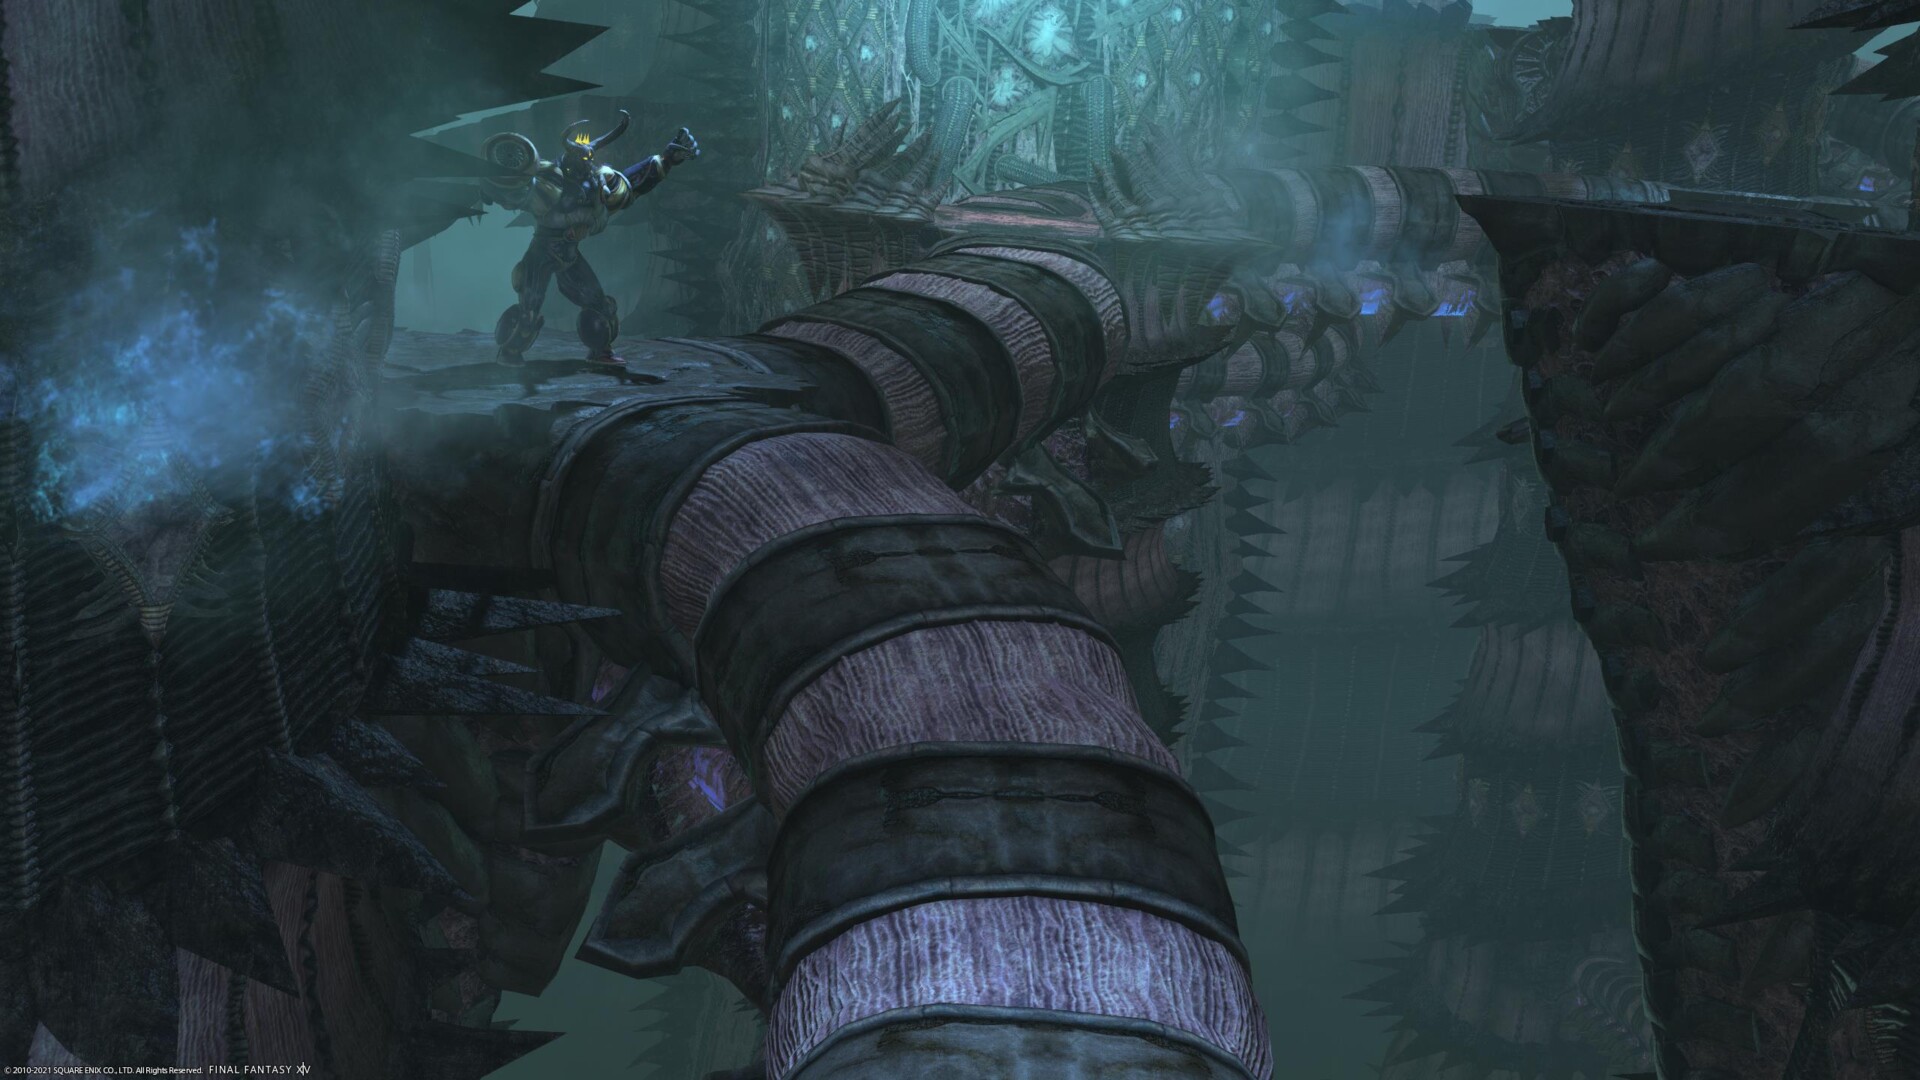
Our Tower of Zot guide is here to help out those of you who pre-ordered Final Fantasy XIV: Endwalker and are currently playing through early access. And, judging by the queues and the occasional server blips, that’s most of you. So! With Endwalker, we’ve got a whole load of new dungeons and trials, but this level 81 love letter to Final Fantasy IV is the first one you’ll battle through… after battling through a few hours of cutscenes and conversations.
I’m going to try to keep these guides relatively spoiler-free as we go on, but obviously that’s not the easiest thing to do. In this guide at least, you’ll read about the dungeon name, the boss names (and their attacks), and see a bunch of screenshots. Nothing more, nothing less.
And that’s probably for the best, because there’s quite a lot else to talk about. While the Tower of Zot is the first dungeon and it seems to have been tuned down a bit since the press event, it’s still a vicious introduction to Endwalker. Expect a death or two if you’re going in for the first time with other newcomers to the Tower, and don’t discount the possibility of a wipe. At least you’ve got “Golbez, Clad In Dark” playing while you proceed, eh?
Endwalker — Tower of Zot guide
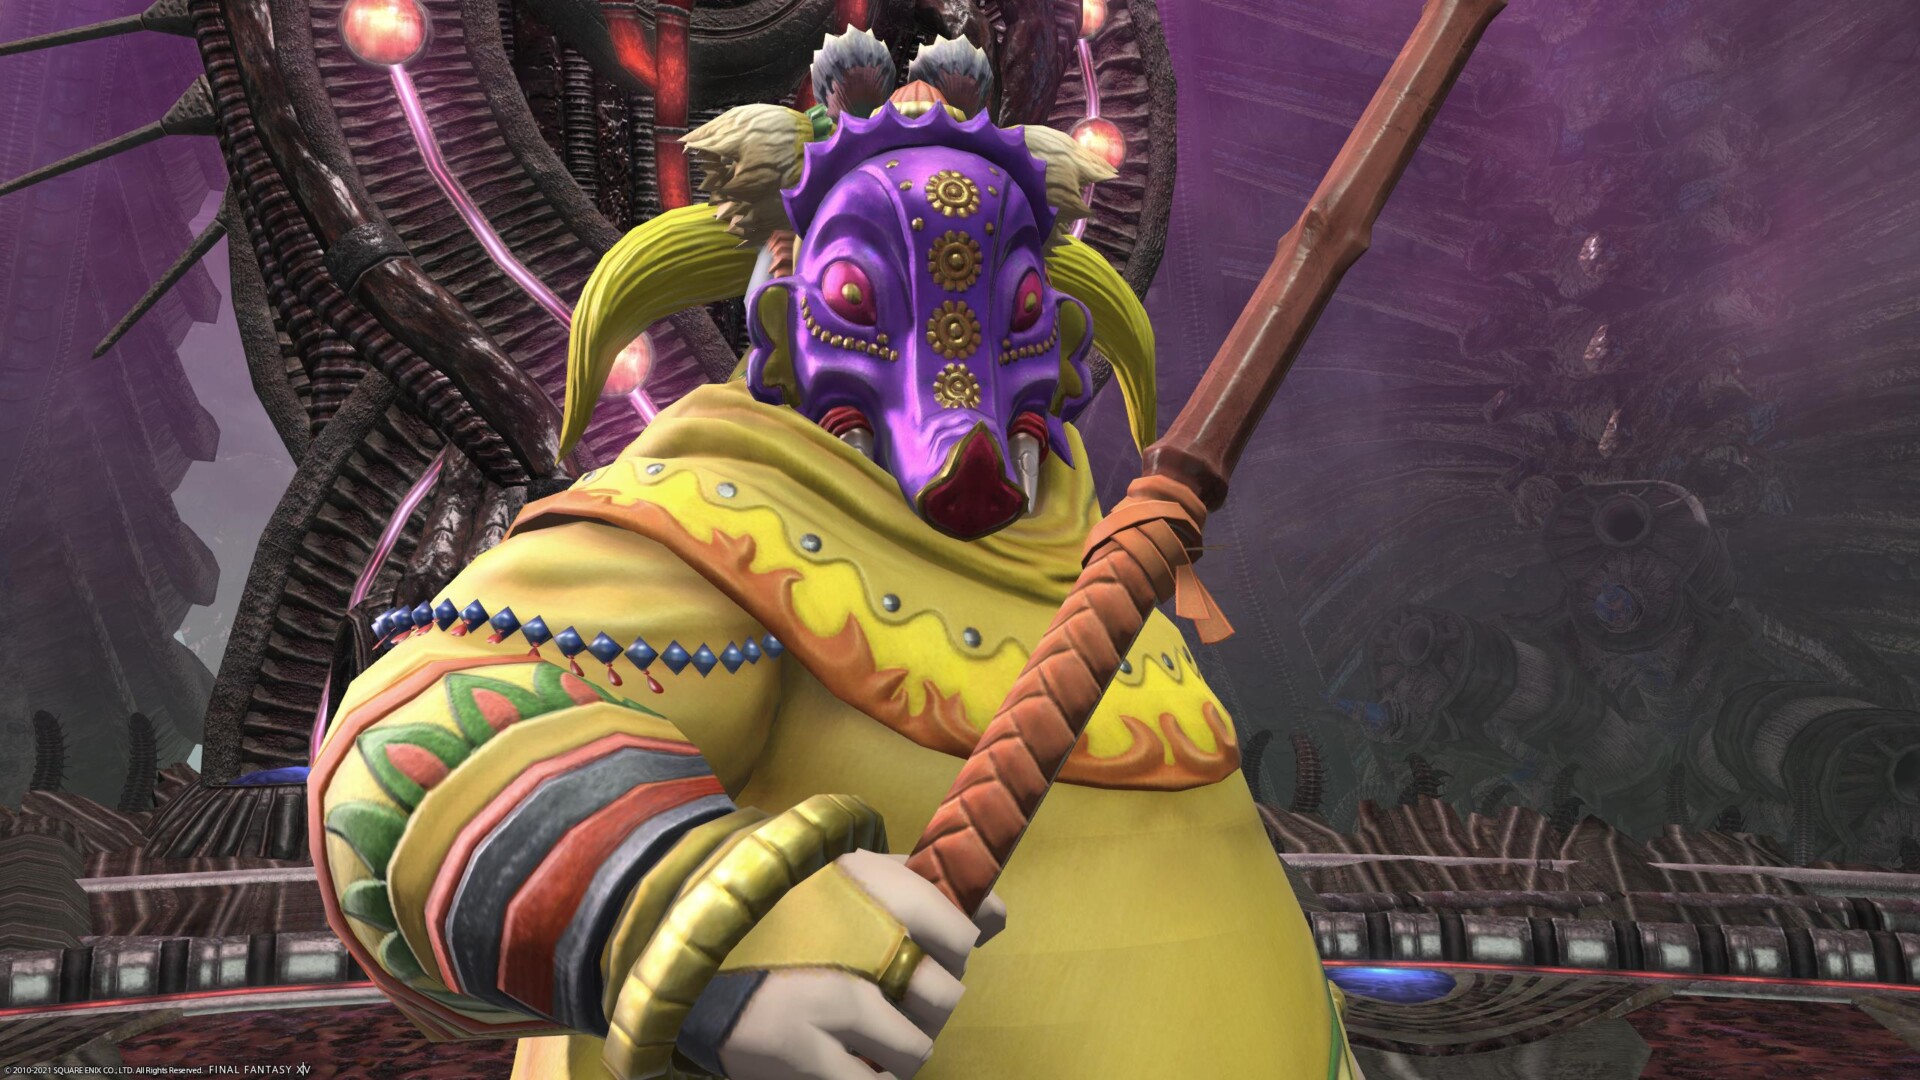
Minduruva
Attacks:
Manusya Bio — Tankbuster which inflicts poison. Mitigate as needed and Esuna off the poison.
Manusya Blizzard III — Conal AoE which radiates from Minduruva.
Manusya Fire III — Donut-shaped AoE that hits the entire arena except for melee range of Minduruva. Stand close to her to avoid.
Manusya Thunder III — Multiple AoEs that go off in cardinal directions from Minduruva. Stand at a diagonal to avoid, or just run out of one and then back in when it passes.
Manusya Bio III — AoE that hits the entire arena to one side of Minduruva.
Transmute — This can be any of her level III spells. Regardless of which it is: Minduruva will create an orb that will slowly travel to a marker. Once it reaches that marker, the mentioned spell will go off. Remember which one she cast and how to avoid it. As an example, if she casts Transmute Manusya Fire III, be prepared to stand inside the marker. If you need a reminder then her buffs will show which orbs are which spell, and how long until they activate.
Manusya Fire — Single-target attack that will hit a random party member. Probably random, anyway. It usually seems to be the healer.
Dhrupad — Minduruva hits everyone but the tank, one by one (with Blizzard, Fire, and Thunder), and inflicts a damage-over-time debuff which cannot be dispelled. Basically, a party-wide regen effect or shield is expected.
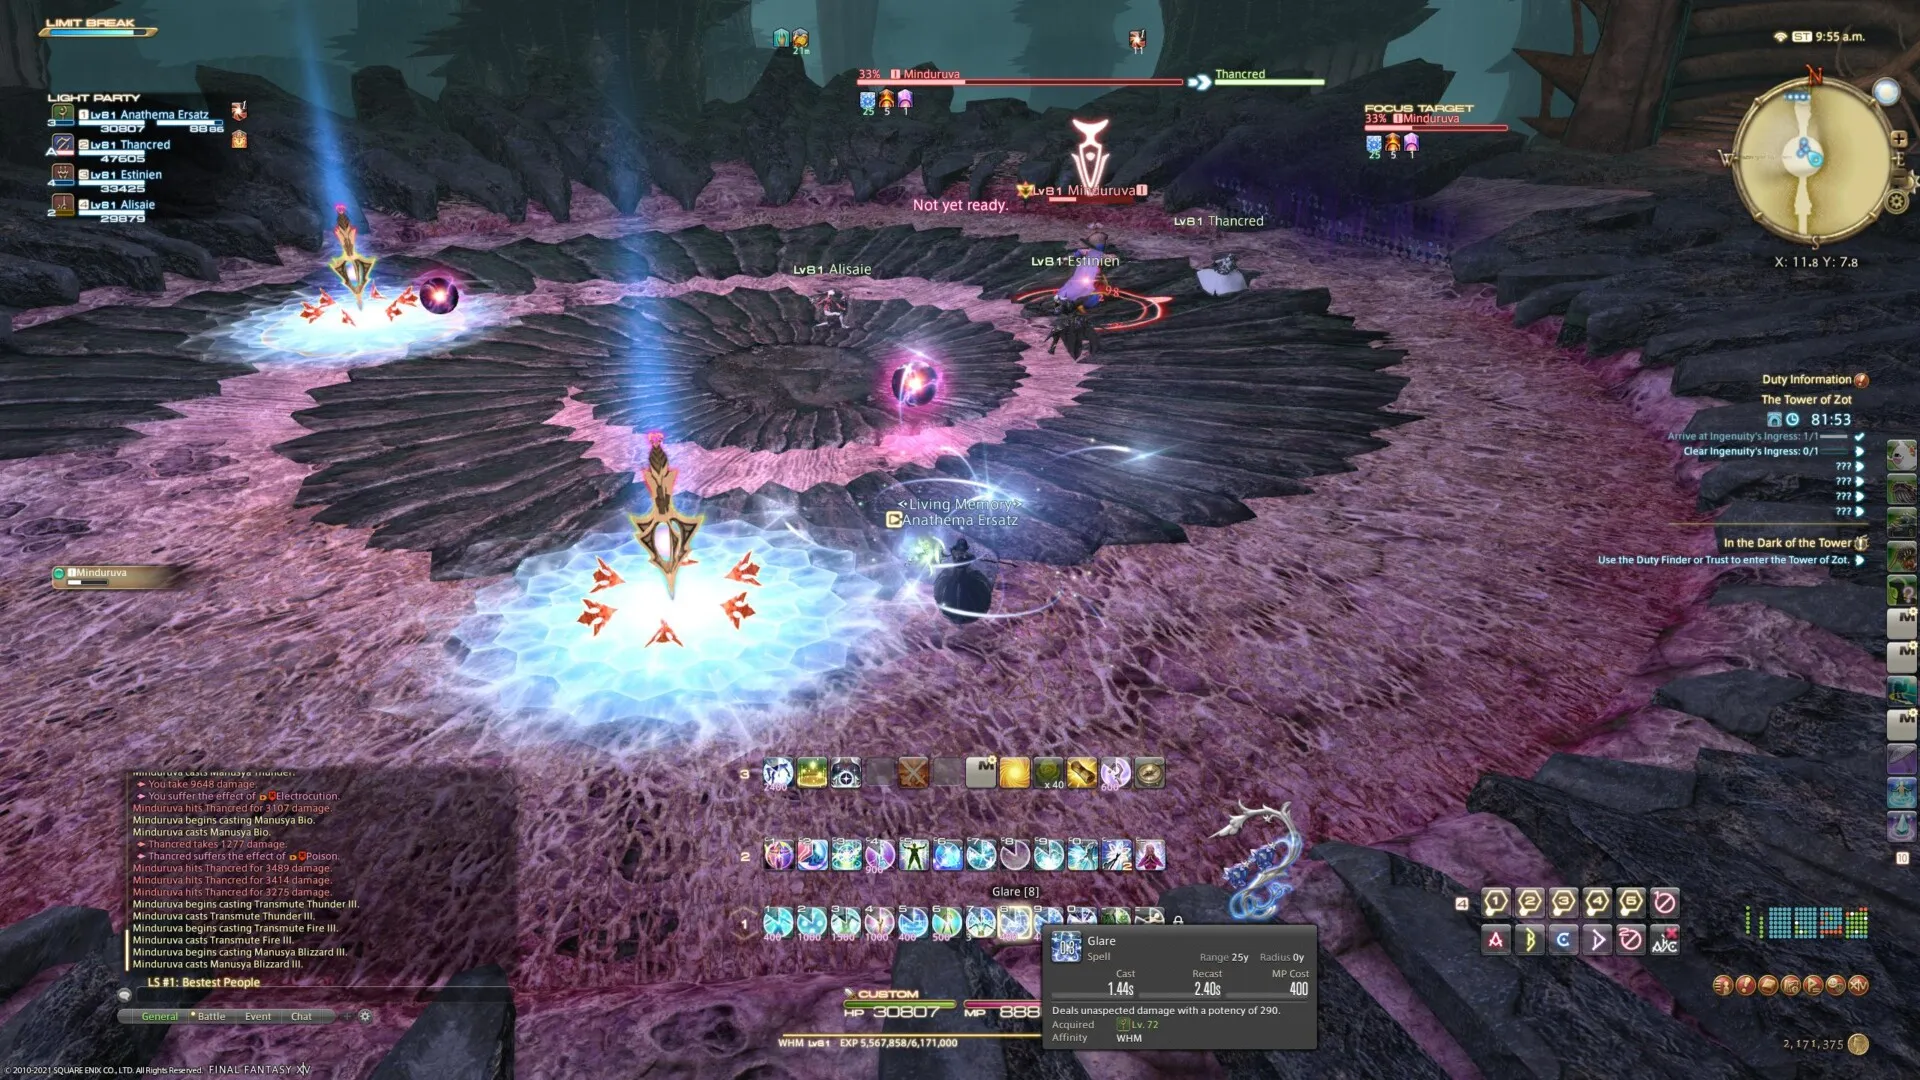
The buffs indicate that the orb going off in one second is Thunder, while the one going off in five seconds is Fire. Which is why I’m standing where I am.
Strategy:
If you played Final Fantasy IV (and paid any attention to the Endwalker cutscenes up to this point) then you knew the bosses here were going to be the Magus Sisters. And, like in every other series appearance, they’re no slouches — even one at a time.
Minduruva is a rough first boss, requiring the entire party to pay attention to what she’s casting and when. Healers need to be on their toes to keep everyone alive when Dhrupad comes out, at least if people are messing up and walking into the AoEs. And they will if this is a blind attempt.
Looking at the attacks, Mindy might not seem that bad. The problem is that after a brief grace period to let you see the attacks, she’ll start chaining them together in threes: two Transmutes as well one that she casts herself. This means you’ll have to dodge three massive AoEs, with very little visual telegraphing.
The easiest trick? Pay attention to Fire III and Bio III casts and prepare for those. Her Thunder III and Blizzard III spells are both relatively easy to avoid: Thunder is multiple AoEs in a row so as long as you’re not standing on her (or the marker) when it goes off, you’re fine. Likewise, you’re pretty save from Blizzard, especially at a middling distance. But for Fire and Bio, you want to try to stay as close as possible to where they’re going to go off so that you have enough time to either move into the donut or move to whichever side Bio isn’t hitting.
And do remember that you can check her buffs to see the Transmute orbs that are currently flying out. It’s a handy little trick in case you’ve forgotten which one she sent out when, as there don’t appear to be any visual cues on the orbs themselves.
Sanduruva
Attacks:
Isitva Siddhi — Tankbuster. Mitigate as needed.
Prapti Siddhi — Sanduruva targets a line AoE at each party member, one by one. Move out of the way.
Manusya Berserk — Sanduruva summons five orbs which will explode into huge AoEs. Move onto the side which does not have an orb and get right against the wall. Being hit with these will force players into melee attacking Sanduruva, which is bad, because…
Prakamya Siddhi — Sandy’s next attack after Berserk is a point-blank AoE. Move out of the way to avoid, assuming you’re not Berserk.
Manusya Stop — All players will be frozen in place and unable to act at different times. Those times coincide with Sandy aiming a Prapti Siddhi at them, so pretty much just heal through it and don’t stand in the AoEs if they’re not aimed at you.
Manusya Confuse — Sanduruva will create Berserk orbs around the room that look like her. The “real” Sandy is the one that’s not emoting at you. If you have any damage-over-time effects on her, the real one is also the one being hit by them. As with Manusya Berserk, find the real Sandy and then stand against the wall nearest her. She’s also the one who’ll start casting Explosive Force, but once she starts doing that you don’t really have time to get to her.
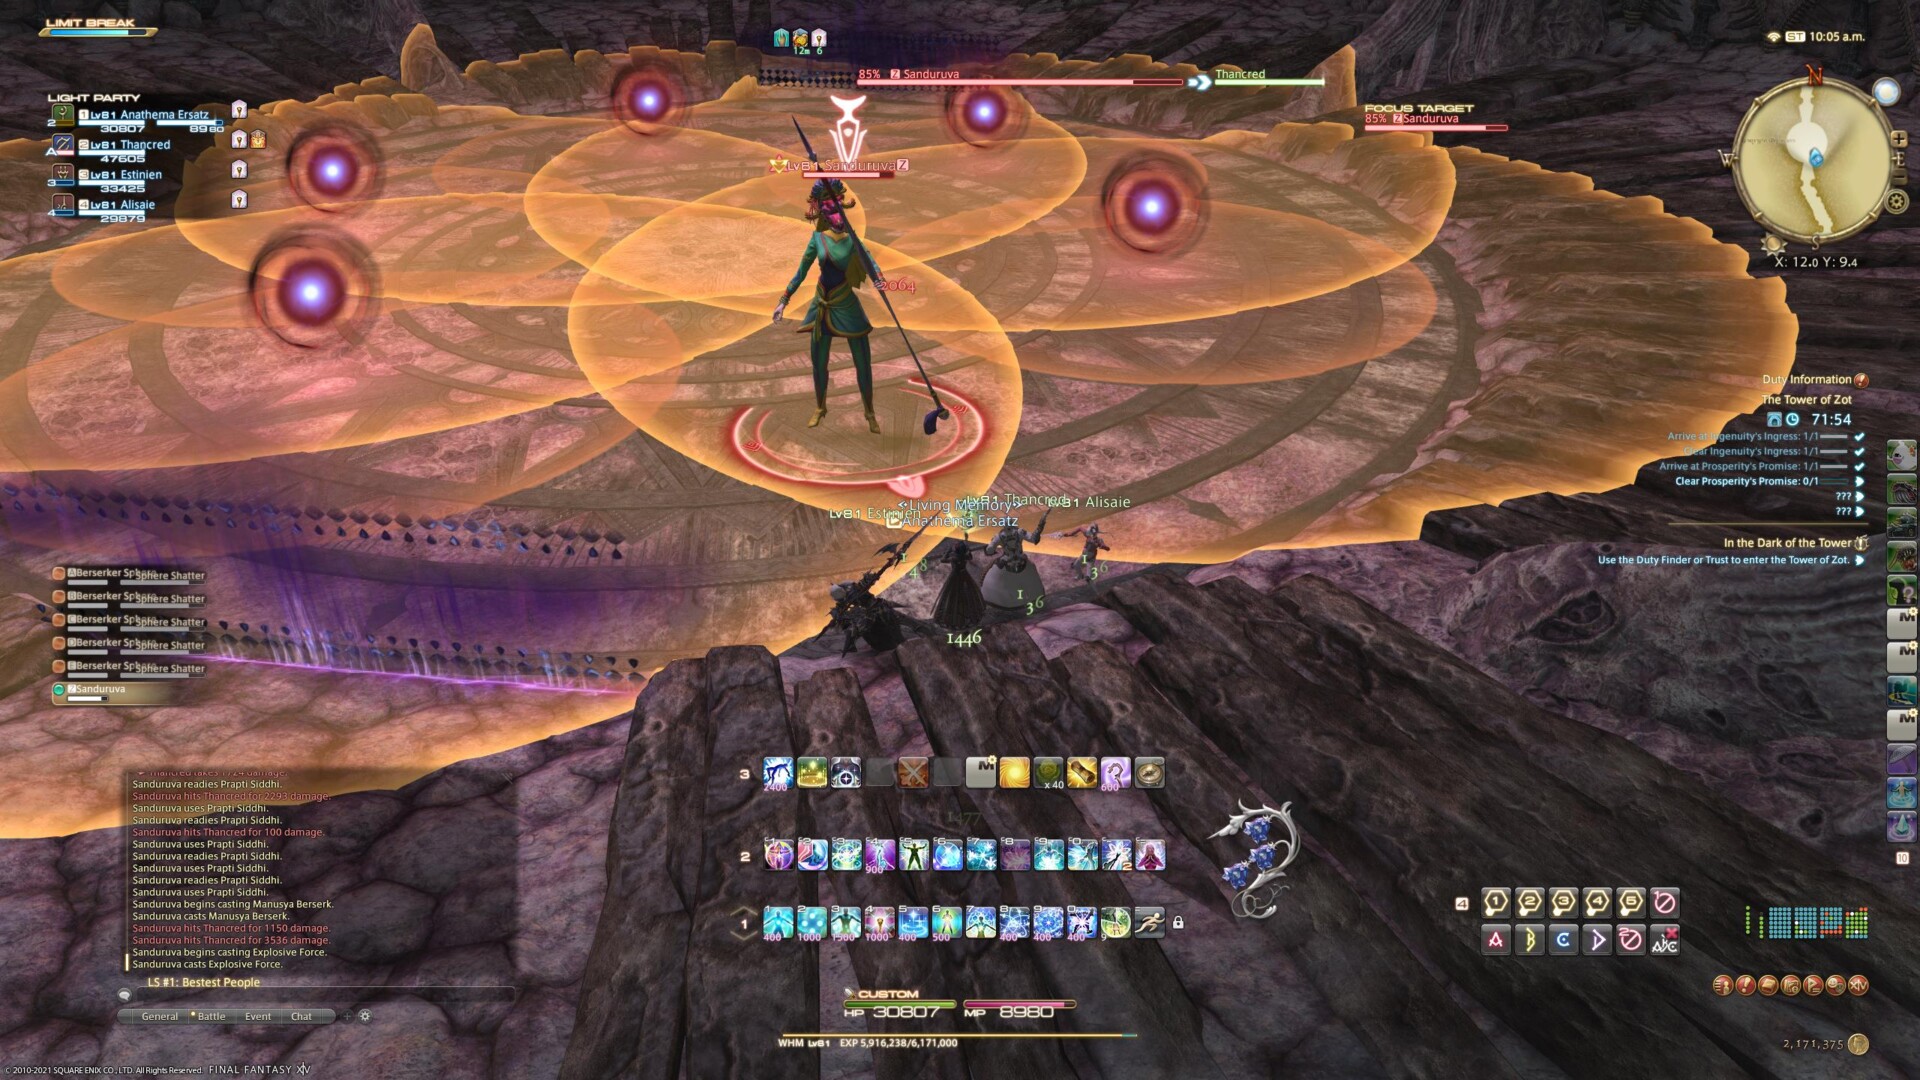
There’s very, very little space to avoid the AoEs from the orbs.
Strategy:
After Minduruva, Sanduruva is honestly a breeze and a nice break in Endwalker‘s Tower of Zot dungeon. She focuses heavily on trickery, and once you know how those tricks work you’re not really in any danger.
The only two attacks likely to catch you out are Berserk and Confuse. The Berserk AoE orbs are massive, so be sure you’re right up against the wall that’s farthest from them. The same goes for Confuse, but in that instance you have to figure out the correct Sandy… but that’s honestly quite obvious. Look for the one that’s standing still instead of dancing or waving at you.
That aside? Hit her in the face and heal through the unavoidable Stop attacks, and she’ll go down.
The Magus Sisters
Attacks:
Samsara — Unavoidable AoE.
Summon the other two — Doesn’t have a name, but after a quick Samsara, Cindy will summon the other two to fight alongside her.
Manusya Reflect/Manusya Faith/Delta Attack — About a billion AoEs going off everywhere. Circles, lines, donuts, targeted: the works. Let’s quickly try to go over them…
Insatiable Flame — When the Magus Sisters yell “Insatiable flame, consume our foe,” this is the attack they’re using. It opens with a donut AoE in the center of the arena, and then huge line AoEs criss-crossing the arena after that. After a few of those, there’ll be another donut AoE (which is usually centered on Mindy), and everyone will be targeted with an AoE. For that last bit, get into the donut and then split apart as soon as it goes off so you don’t hurt each other.
Glacial Ice — “Glacial ice, entomb our foe,” for this one. A distance damage AoE (one of the ones that does less damage the further you are from it) starts this off, along with each of the Sisters flinging out conal ice AoEs, like with Blizzard III in the Mandy fight. Just before the first meteor hits, there’ll also be thin line AoEs tracking across the arena. Then it repeats, but this time you need to run to the other end of the arena while dodging the conal strikes and the line AoEs.
Thunderous Tempest — “Thunderous tempest, smite our foe,” for the final type. For this one you’ve got thick line AoEs going off, plus bigger versions of the Manusya Thunder III effeect: large circle AoEs, and then smaller circle AoEs split off of them in cardinal directions. The problem being that there will be a lot of these happening at once. This finishes with a stack AoE on a random party member, so try to stick somewhat close together.
Most of what they did before — Yes, really. Although generally in lesser amounts, until you’ve killed Cindy. While all three are alive you mostly only have to worry about Mindy’s Dhrupad, Sandy’s Prapti Siddhi, and her tankbusting Istiva Siddhi.
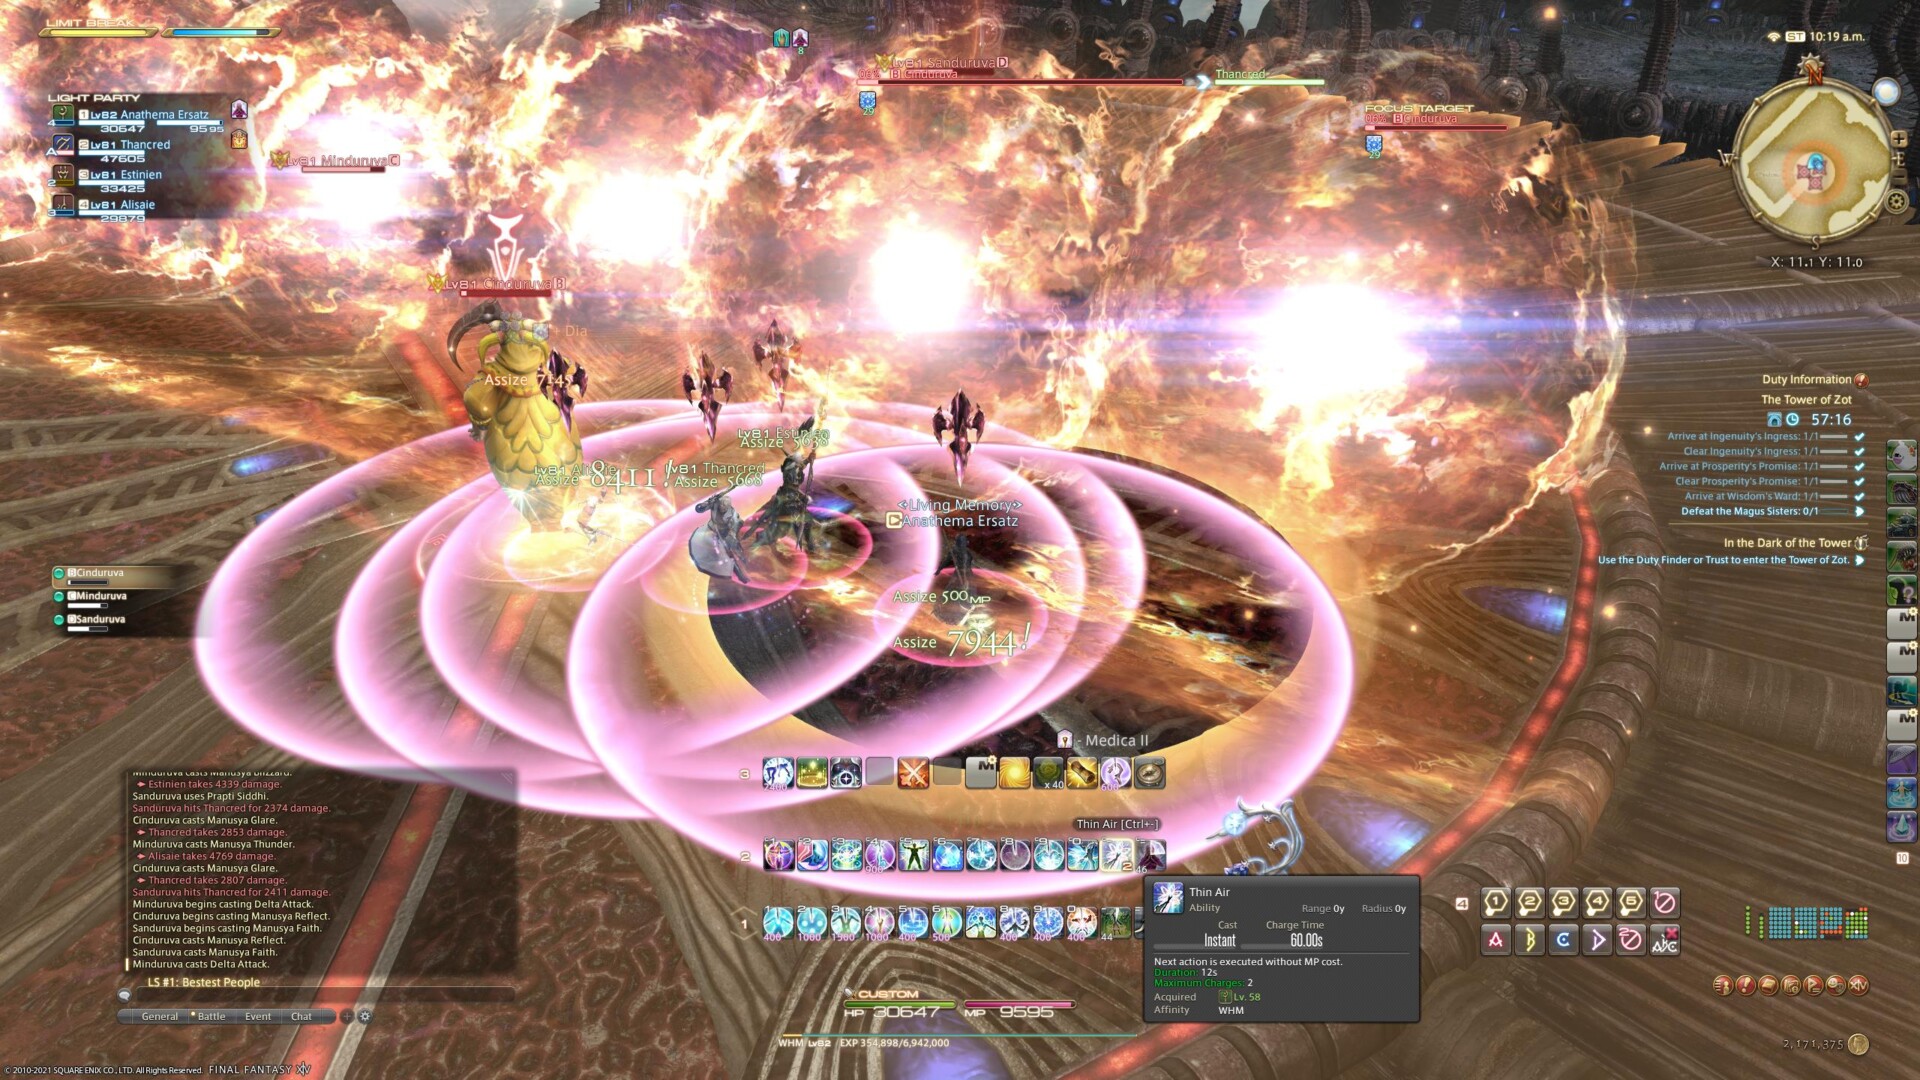
I was not exaggerating about the AoEs.
Strategy:
Step one is “scream.” Step two is “kill Cinduruva first.” While it might be tempting to get rid of Minduruva first to stop Dhrupad and all of those annoyances, Cindy is the healer of the three and will resurrect any of her fallen sisters. So, again: kill Cinduruva first. After that, you can go for whoever; Mindy is a good second choice, as all Sandy really does is throw out tankbusters and the odd Berserk. It doesn’t matter, though. If you can take out Cindy and you’re all still alive, the fight is basically won as the others don’t honestly have much health and you’ve removed the horrors of Delta Attack.
That aside, the only real strategy is “dodge the AoEs,” and that’s really not much of a strategy at all. Alas, it’s both the most difficult part of the fight and the key to surviving it. Healers in particular need to get good about this, and should generally prioritize their own safety if they have to. While other players dying isn’t essential, you can generally raise a tank and keep most people alive while that’s going on, assuming you’re not in the middle of AoE hell. I’ll quickly note that in Trusts the Delta Attacks seem to go in Flame/Ice/Thunder order, but it varies when you’re with players.
And with that, the battle against the Magus Sister comes to a close, as does our Tower of Zot guide, but stay tuned — we’ll have more Endwalker guides for you before long.


Published: Dec 4, 2021 11:14 am