While you’re exploring Tsurumi Island in Genshin Impact, you’ll likely stumble upon many secrets and oddities. These include finding gemstones and searching for elusive critters. Here’s our guide to help you with all Star-Shaped Gem and Electro Seelie locations in Genshin Impact.
Note: For more information about the game, check out our Genshin Impact guides and features hub. Likewise, you can complete other secret puzzles in the area such as the Stone Slates and Pyro Torches.
Genshin Impact Star-Shaped Gem and Electro Seelie locations guide
The chests with the Star-Shaped Gems
The Star-Shaped Gem and Electro Seelie puzzle in Genshin Impact starts in Shirikoro Peak. You’ve probably visited this location already while doing Day 1 of the Through the Mists world quest. Unfortunately, you can’t progress further until you finish the tasks and wait for a daily reset. On Day 2, you’ll get the next part of the quest that nets you the Peculiar Pinion gadget. This is very important as it lets you interact with Thunderbird Statues and Thunderbird Murals to reveal their secrets.
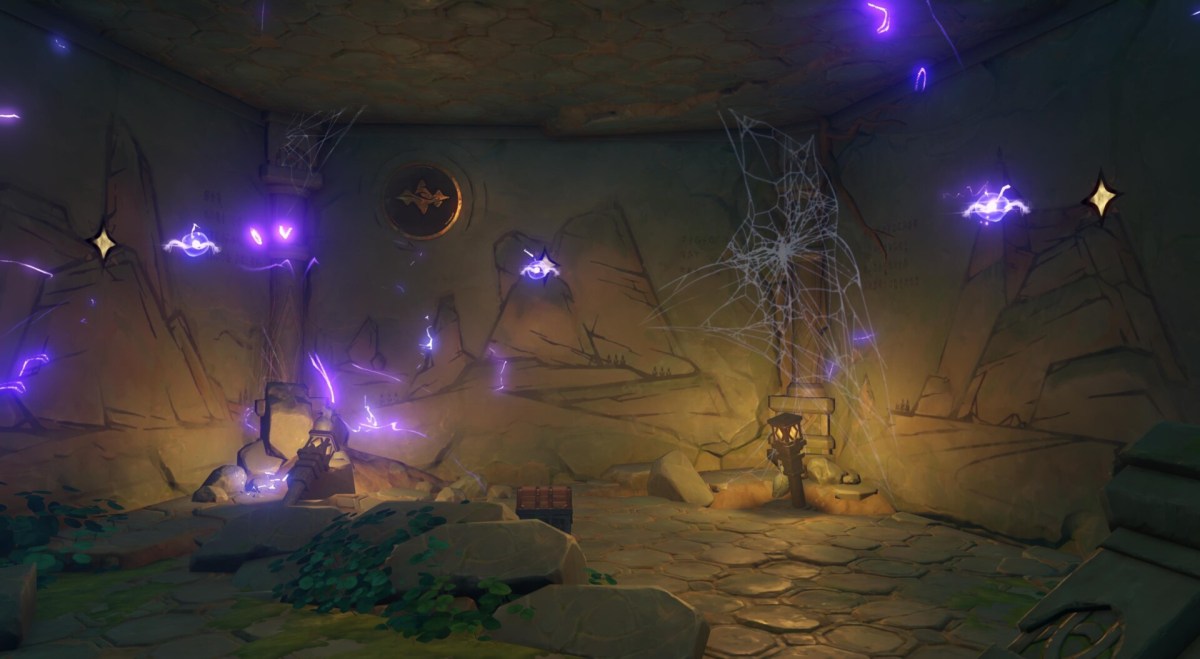
If you already have the Peculiar Pinion, then head to the underground area of Shirikoro Peak (the part where you initially solved a Relay Stone puzzle). Here, you’ll see three Thunderbird Murals. Two are in the main area, and the third one is off to the side next to a pool of water.
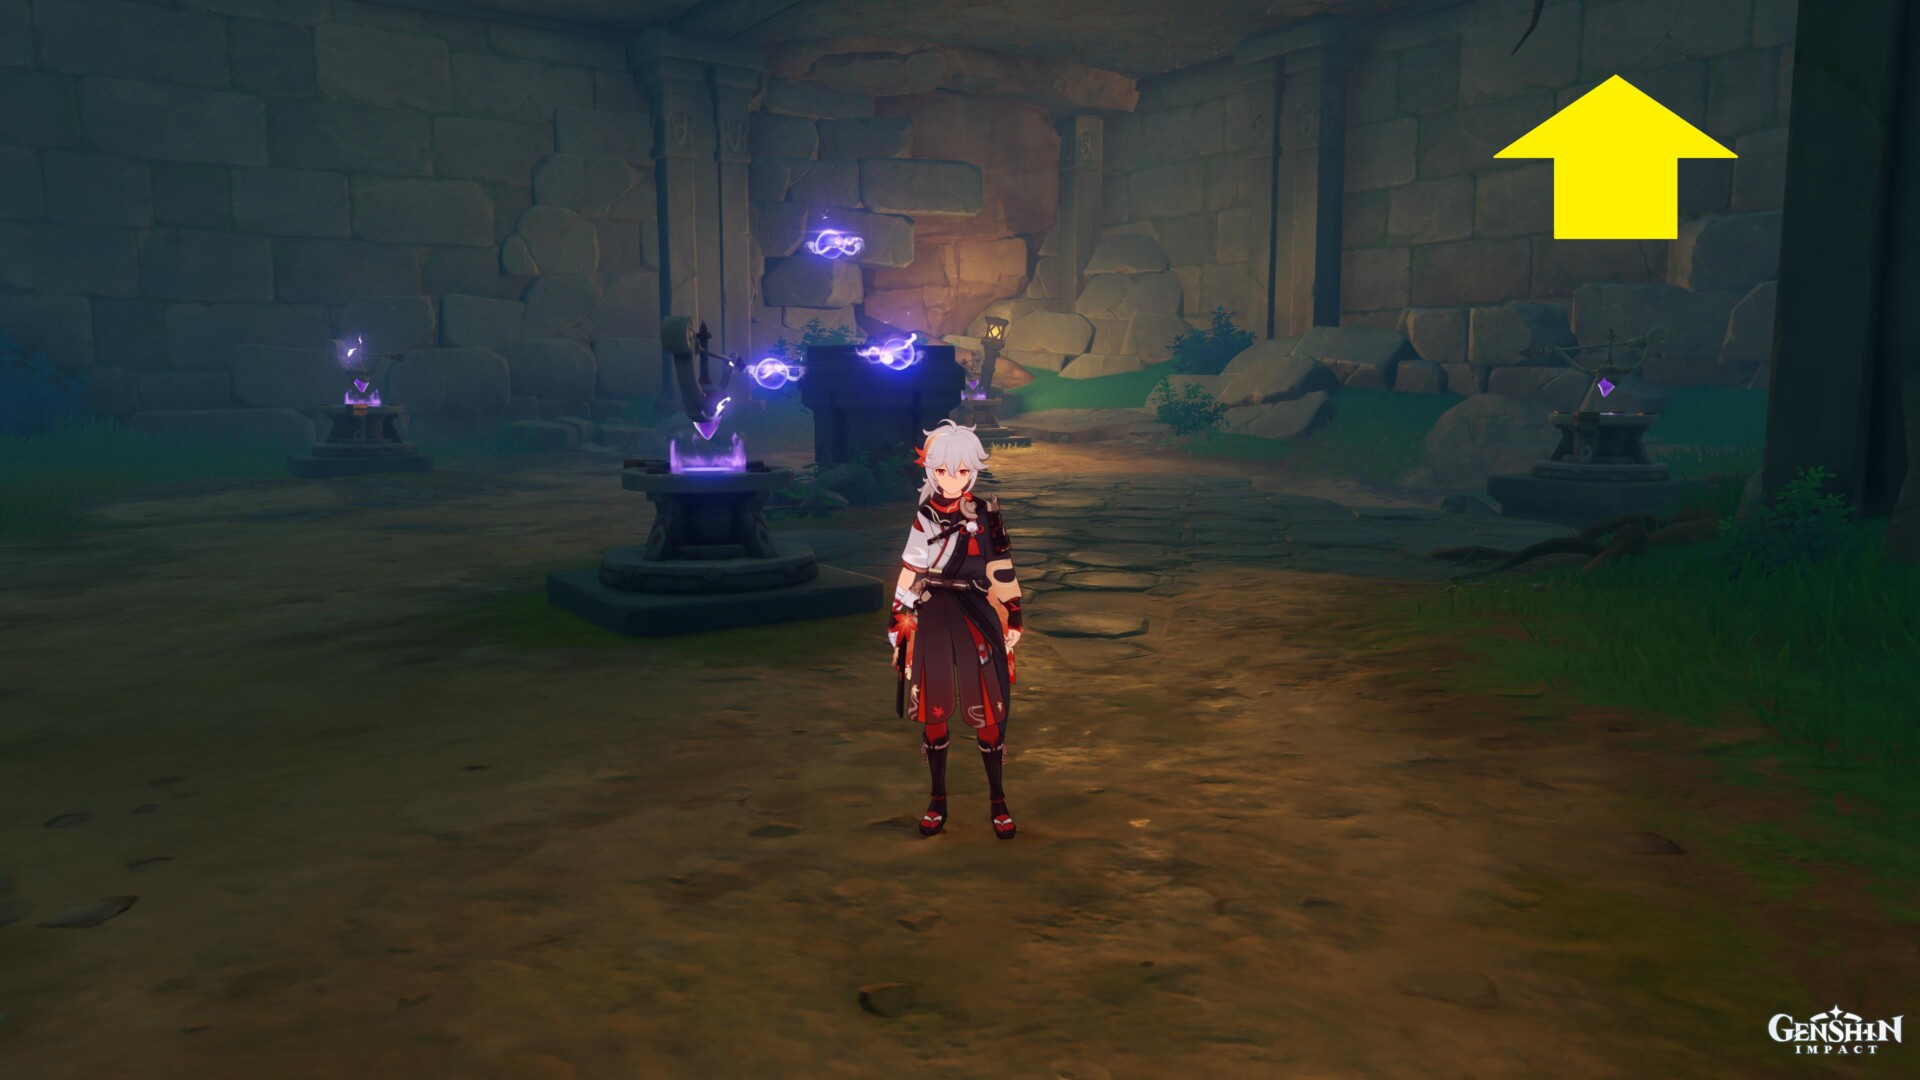
Use the Peculiar Pinion and the wall will vanish. The two rooms in the main area have chests that are easily seen. The third one, meanwhile, has a chest in a nook above the Relay Stone puzzle. This is also one of the spots with a Shirikoro Peak Pyro Torch puzzle. Open those chests to obtain the Star-Shaped Gem items in Genshin Impact.
The mural and the Electro Seelie
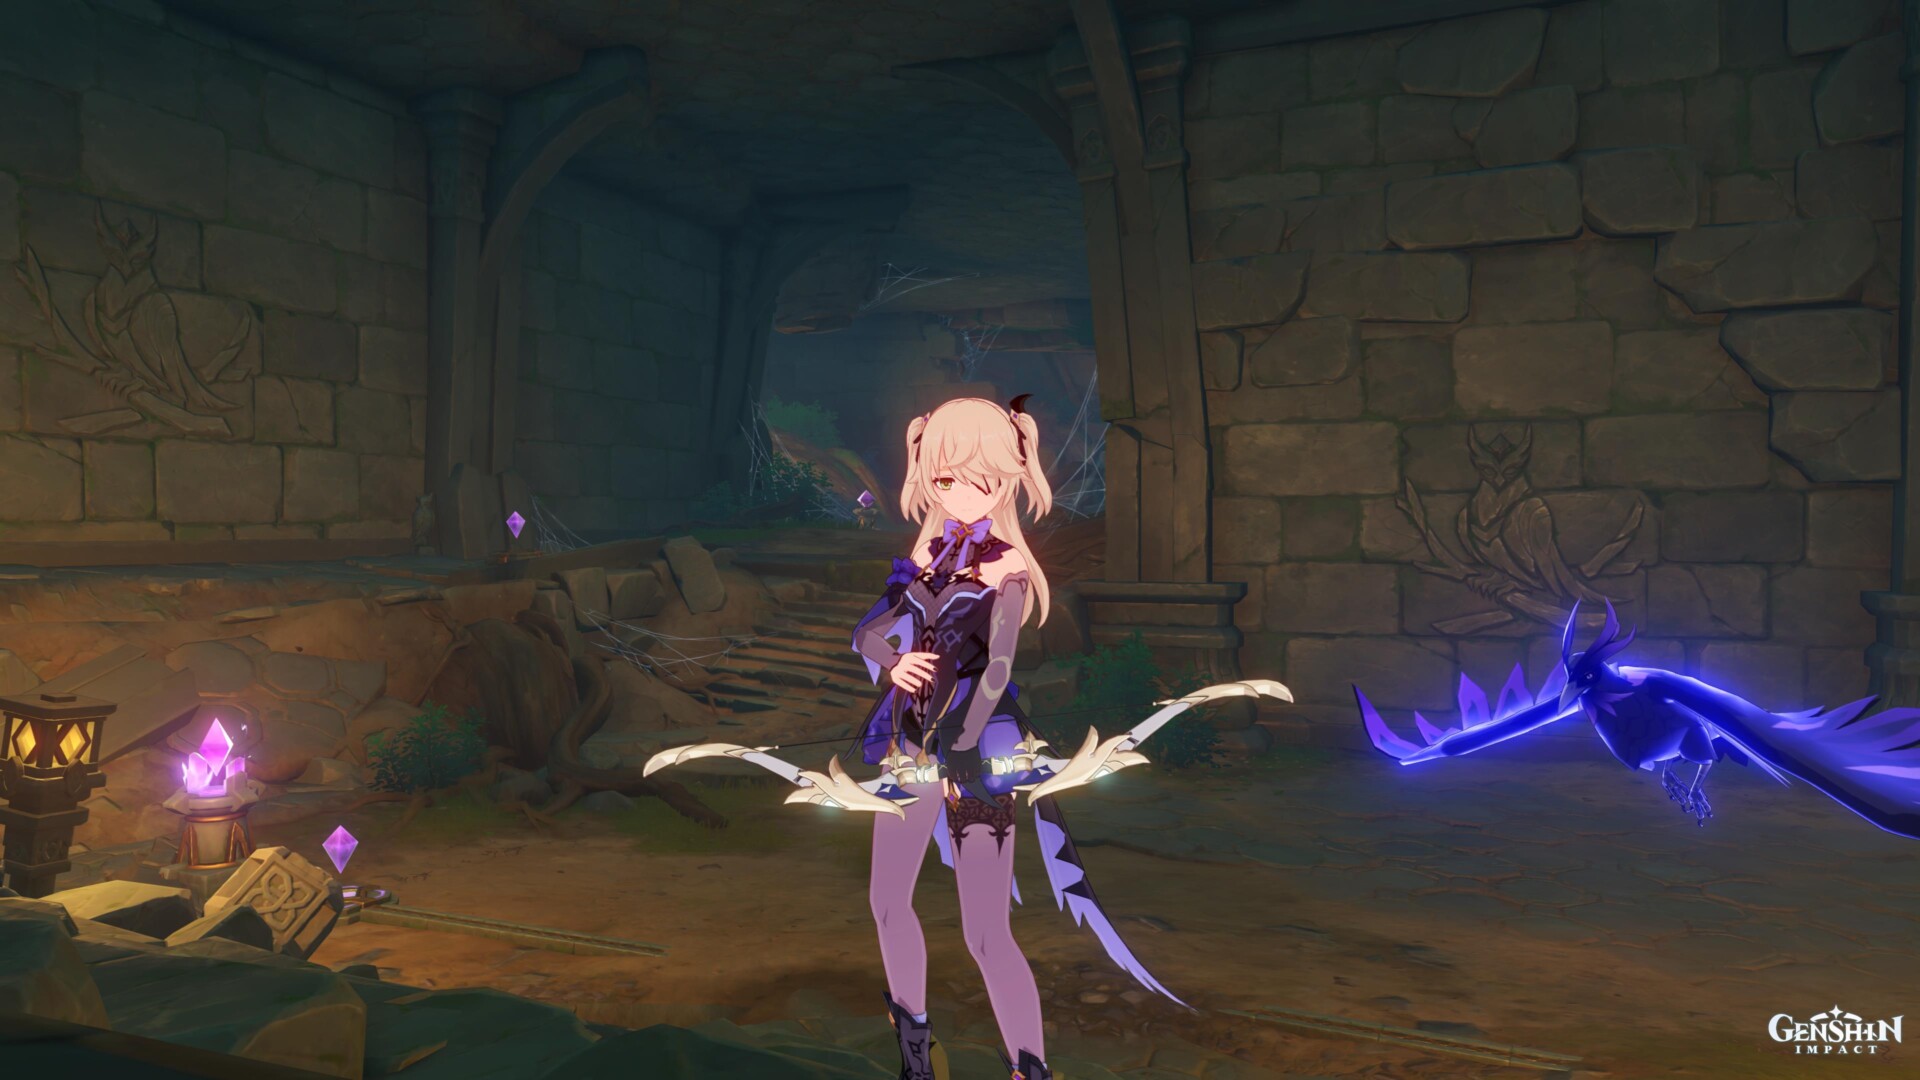
Next, make your way to the large chamber with the domed building. Go to the right to find a mural of three mountains. Activate all three walls with the Star-Shaped Gems and a cutscene will play.
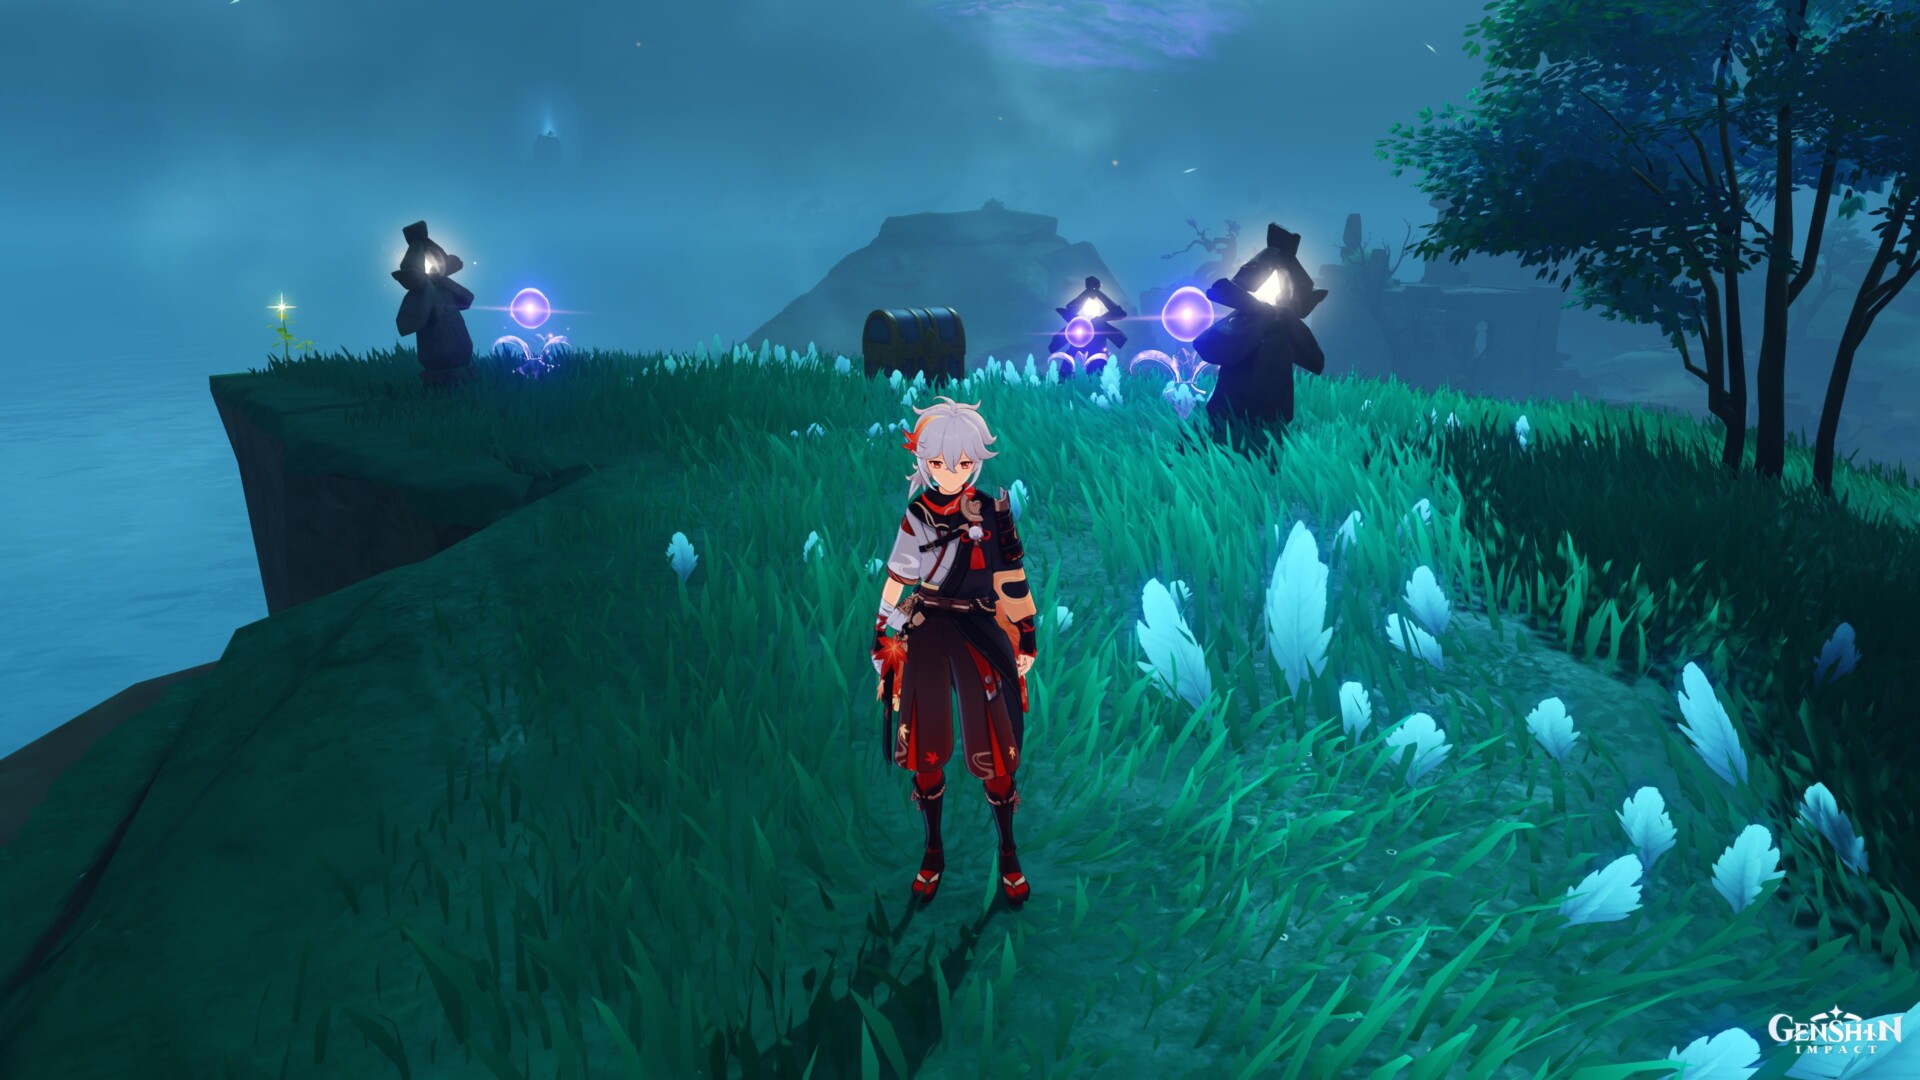
Three Electro Seelie will suddenly fly away. Paimon tells you that you might find treasure if you search for them.

We’re going to talk about the Electro Seelie locations in Genshin Impact in a while. However, I really can’t stress this enough: do not lose track of the Electro Seelie. Compared to others, they will zip and cross great distances, and they might be harder to see.
Assuming you’re able to follow all three of them, they’ll arrive at the same spot. A Luxurious Chest spawns as your reward.
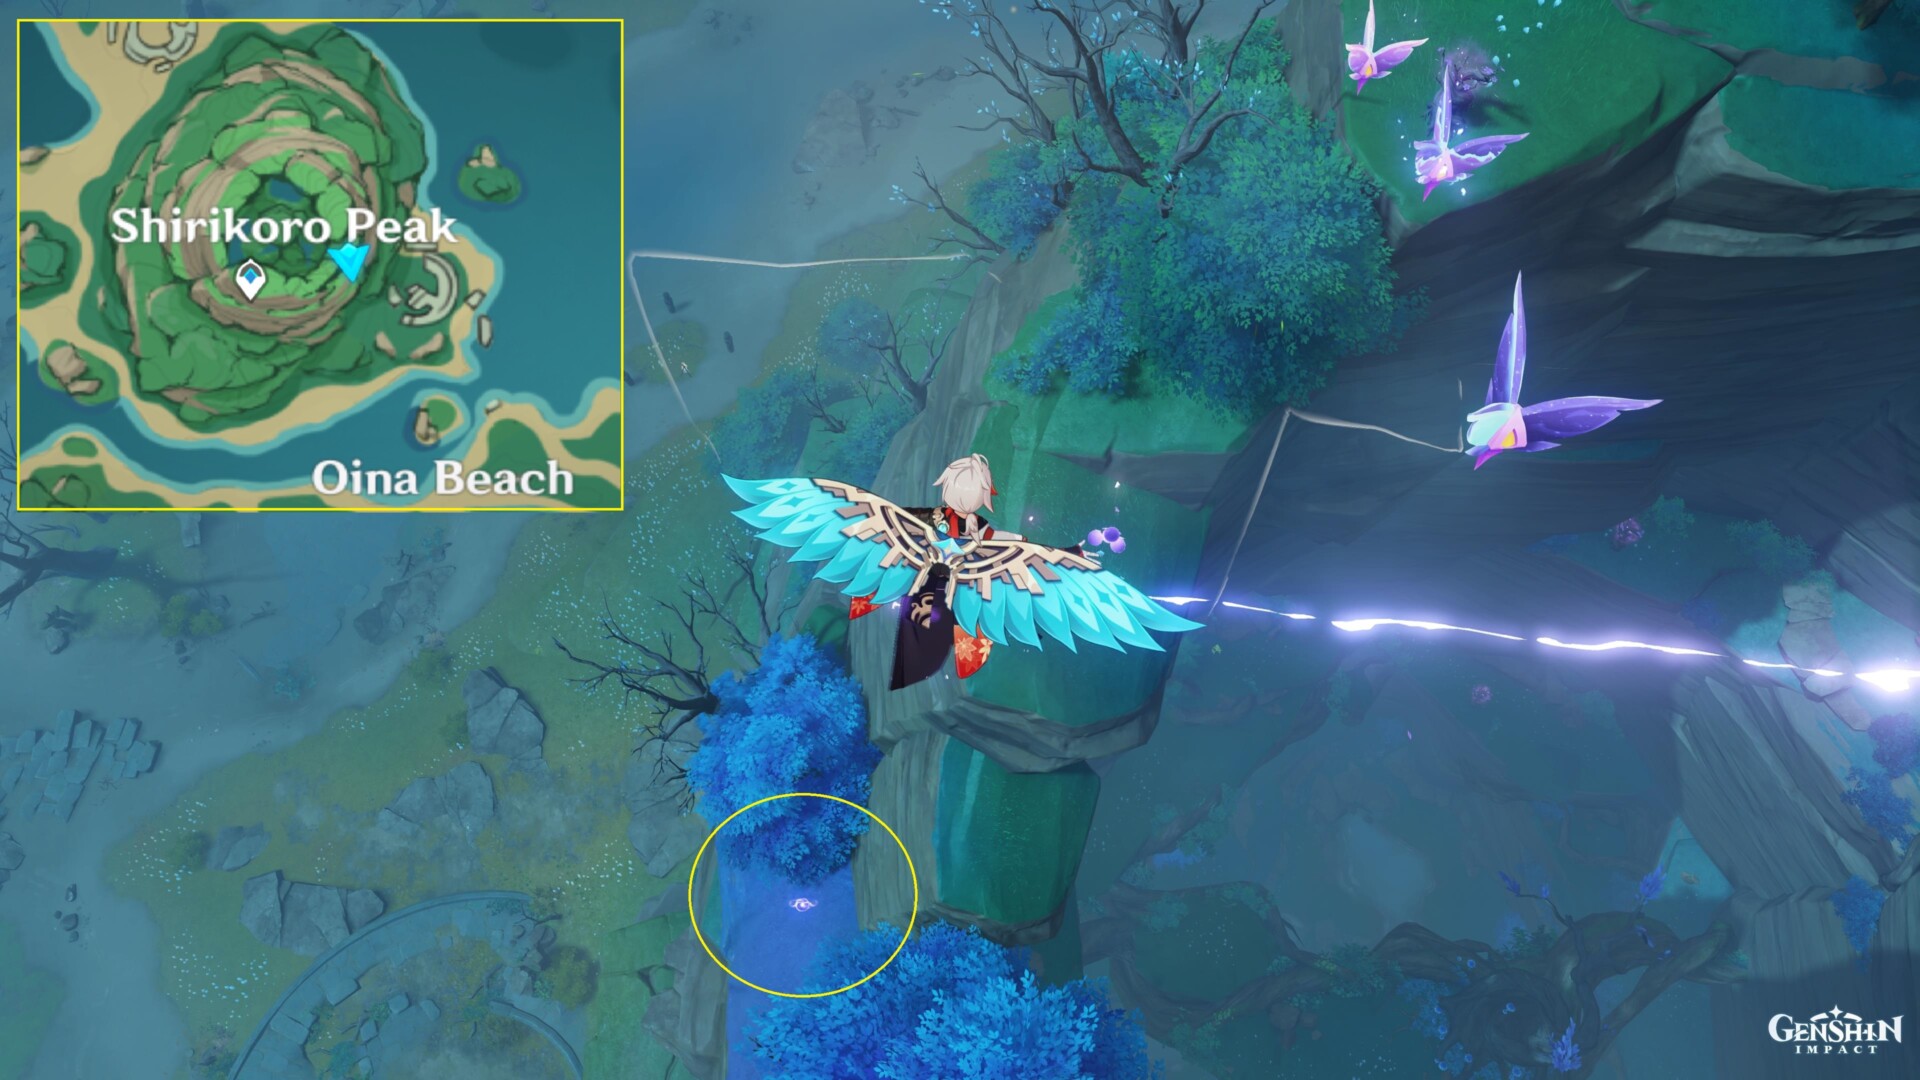
Electro Seelie #1: Shirikoro Peak
From the fast travel point, turn left and jump off the cliff where the Thunder Bough is. You’ll see the Electro Seelie on a ledge down below.
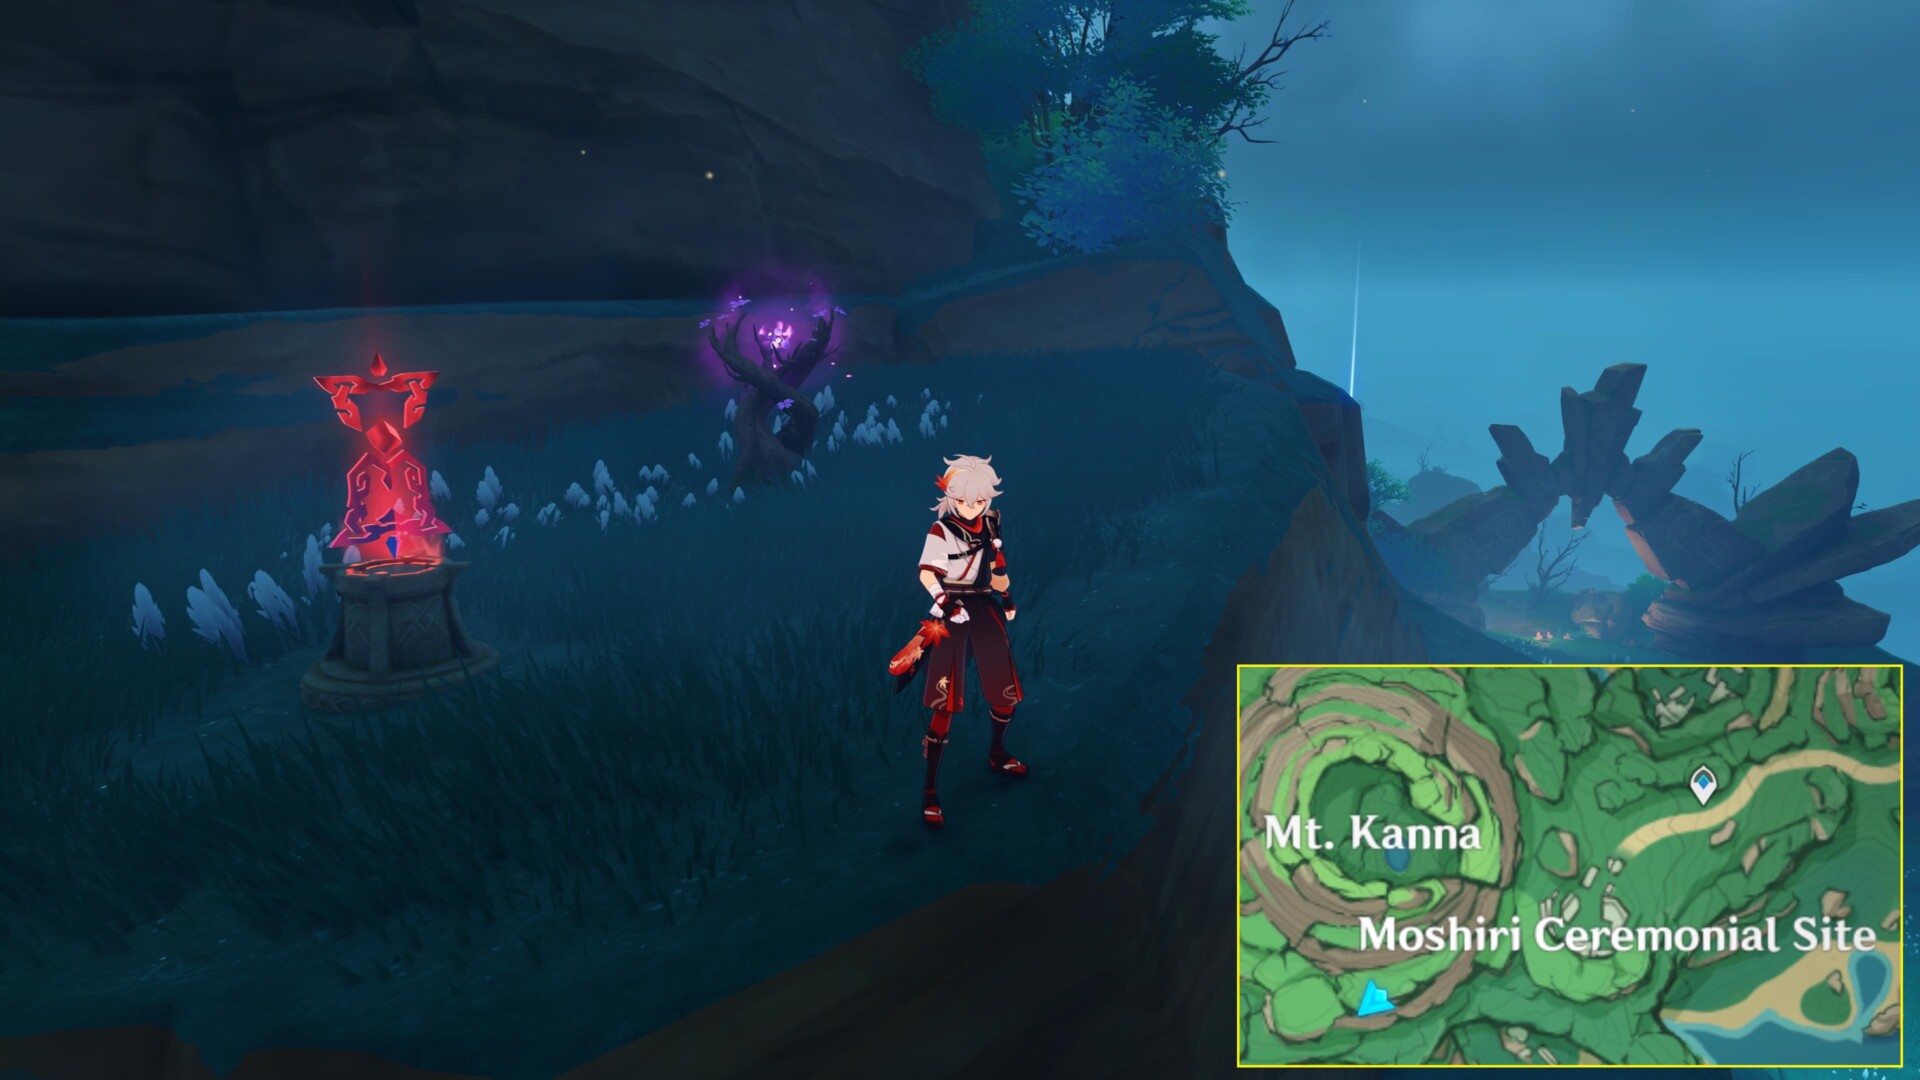
Electro Seelie #2: Mount Kanna
First, you’ll want to head to the southern base of the mountain. You should see a Thunder Bough here near a challenge marker (if you haven’t completed that challenge yet, that is). Use the Electrograna buff to grapple your way to the top.
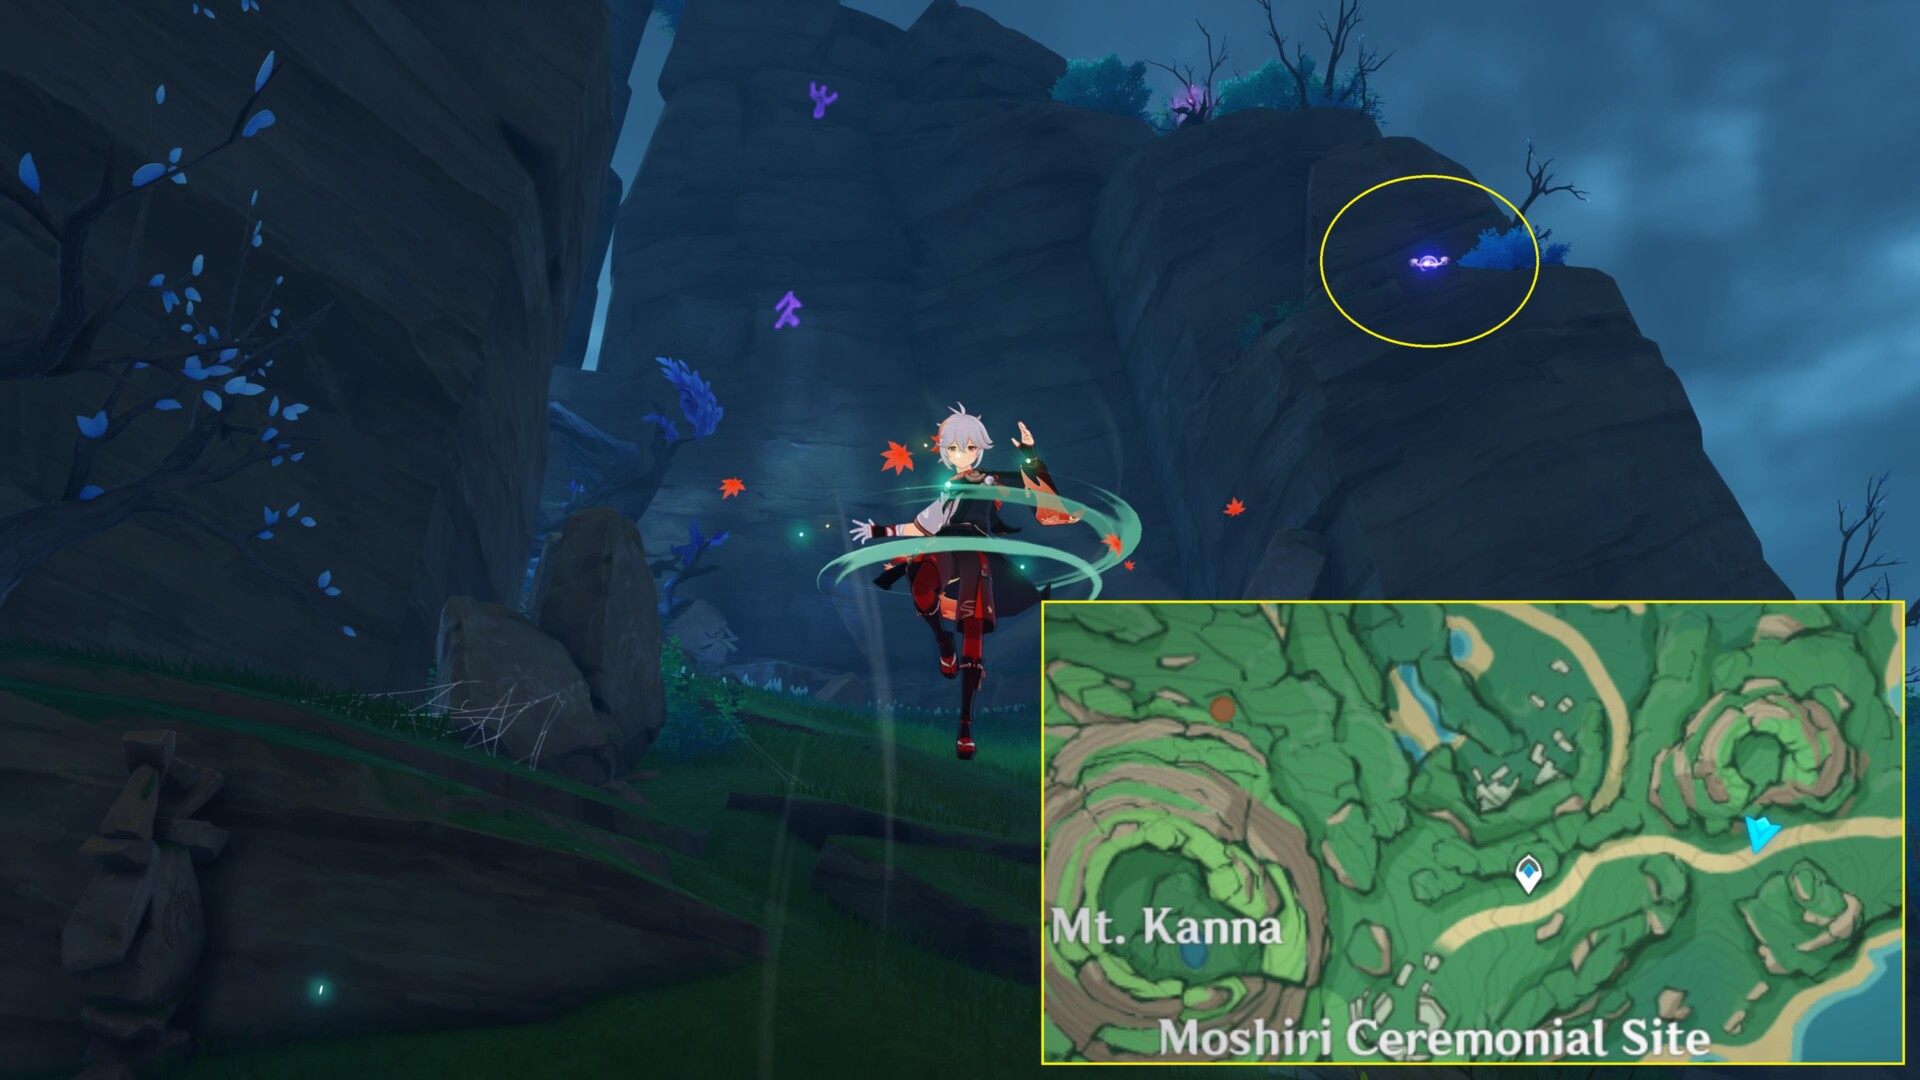
Eventually, you’ll reach the northern section of the mountain. There’s another Thunder Bough here.
But, instead of crossing the gap to the opposite side, just climb the rockface to find the Electro Seelie.

Electro Seelie #3: First Perch Hill
Okay, I just made up the name. This is basically the first Thunderbird perch that you encountered while doing Tsurumi Island’s world quest. The Electro Seelie is on a rock formation.
Note: Since they’re fairly close, don’t forget to complete other secret puzzles in the area such as the Stone Slates and Pyro Torches.
Genshin Impact is available via its official website. For more information, check out our guides and features hub.


Published: Oct 15, 2021 03:02 am