Dreadnaught is the first boss you need to defeat in Deep Rock Galactic: Survivor. You have to survive four levels to find the Dreadnaught on the fifth, but just getting there doesn’t guarantee you’ll defeat the Dreadnaught and escape. Here are my pro tips to defeat Dreadnaught in Deep Rock Galactic: Survivor.
Related: Is Deep Rock Galactic: Survivor multiplayer? Co-op, explained
How to destroy Cocoons in Deep Rock Galactic: Survivor
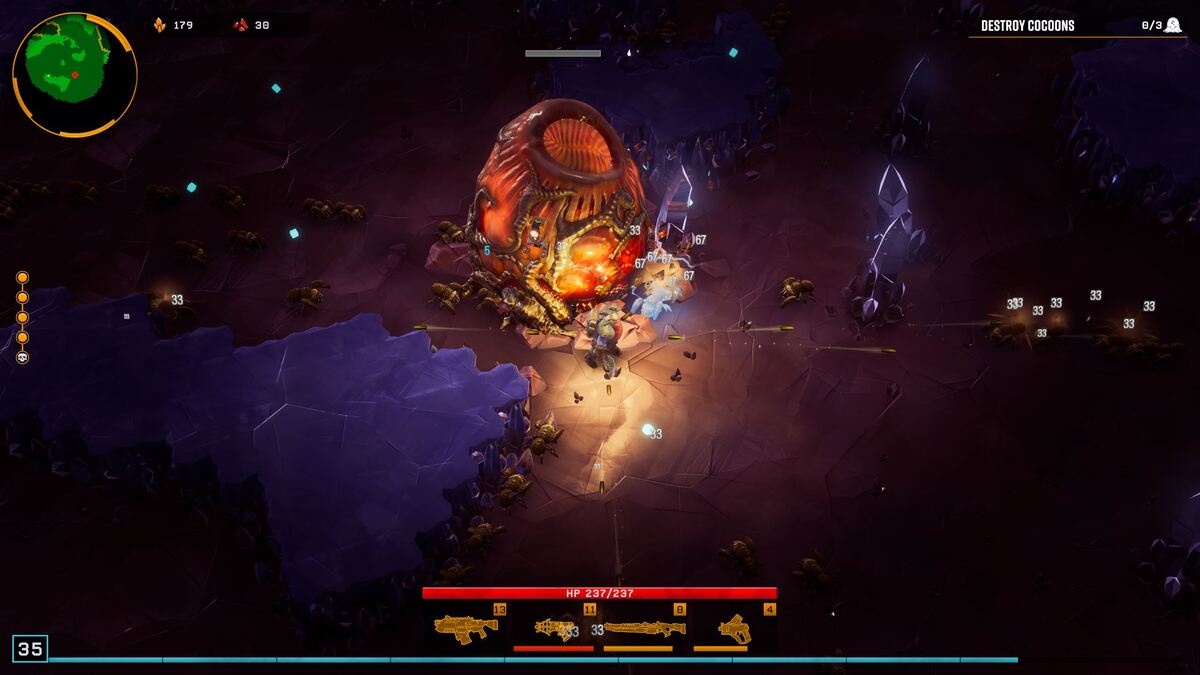
Before you defeat Dreadnaught, you need to destroy three Cocoons. Dreadnaught emerges from the big Cocoon in the center. It is invulnerable until after you defeat the three smaller Cocoons around it.
The three Cocoons are randomly placed around the map, so use your time in the beginning to find the Cocoons. Destroy them one by one, and I recommend defeating the elites that emerge even though it isn’t mandatory. If you leave the Elites to roam the map, they quickly become a threat when the Dreadnaught shows up, so it’s good practice to defeat them as soon as possible.
Right when the third Cocoon breaks, the Dreadnaught emerges and will hunt you down. If you’ve got decent weapons and can keep control of the smaller enemies, you’ll be fine.
Best tips and tricks to defeat Dreadnaught in Deep Rock Galactic: Survivor
First, defeat the elites so you aren’t too overwhelmed when it comes time to defeat the Dreadnaught. Second, know that you won’t defeat Dreadnaught your first time. It’ll take some permanent upgrades and more experience until you’ve mastered the Dreadnaught and can take it down.
When the Dreadnaught has arrived, you need to be on your A game. Avoid the little critters that still litter the battlefield and focus your fire on the Dreadnaught. It’s pretty fast, so I recommend avoiding mining altogether lest it catches up to you and eliminates you quickly since each attack deals upwards of 50 damage.
When the Dreadnaught isn’t charging right at you, it’ll pause and then do a jump lunge attack. If it lands on you, you’ll take a lot of damage. When Dreadnaught prepares to jump, you need to move perpendicular to it to avoid its lunge.
The good thing about the Dreadnaught lunge is that you can stay in a relatively tight circle and train Dreadnaught that way without having to run away constantly. The lunge will also clear rock, so you can aim it at rock if you want to clear another path forward.
Weapons to take on Dreadnaught
Overclocked weapons are a big deal in this fight. Ideally, you want two fully overclocked guns in your arsenal, as they significantly increase your damage. Remember, if you rank up a weapon to level 18, you’ll unlock its 3rd Overclock, boosting your damage even further.
I urge you to experiment with Overclocks, but the Cryo Grenades net me my first Dreadnaught kill. One of the Overclocks for the grenades makes them damage scenery, which should reduce your chances of getting boxed in.
With some patience and a little luck, you’ll defeat Dreadnaught. The trickiest part is getting back to the drop pod. At this point in the fight, the area will be littered with enemies. Try your hardest not to get hit and run right back to the drop pod. Create lines in rock to avoid enemies, and you’ll make it home safely.
If you’re unsure about Overclock weapons, check out our guide.