In The Legend of Zelda: Tears of the Kingdom, many of the shrines you can visit are in plain sight. You’ll easily come across them as you explore the land of Hyrule. Others require more experimentation. In those cases, the challenge lies in finding the shrine, rather than working your way through it. Here is our guide explaining how to find the Gerudo Desert ‘Chichim’ Shrine in The Legend of Zelda: Tears of the Kingdom.
Tears of the Kingdom – how to find Gerudo Desert ‘Chichim’ Shrine
Gerudo Desert has a lot of sand. Hot winds whip it about, obscuring your vision. Even if you have a proper map of the area, your ability to consult it vanishes once you enter the massive sandstorm.
To find the Gerudo Desert’s well-hidden Chichim Shrine, you must venture into the sandstorm and purposefully sink into a sand pit. After you do that, you must then navigate the Ancient Prison Ruins, which are essentially a dungeon.
Start your exploration from Kara Kara Bazaar, which is located near the Gerudo Desert’s northeastern side, near the Mayatat Shrine. From the bazaar, head east a short distance. While you are near the bazaar, you can still consult your map. You want to travel east until your position on the map is directly north of text referencing Palu Wasteland.
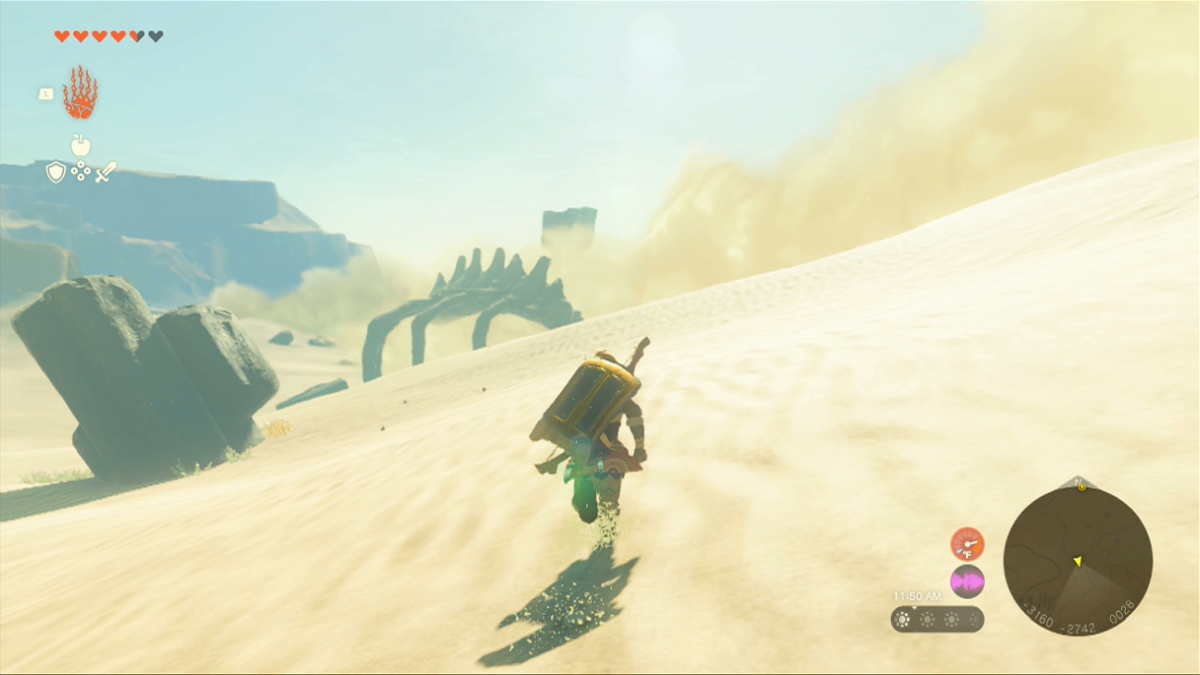
Once you are in position, journey almost directly south. Eventually, a cloud of sand makes the map go away. Try to continue advancing south in as straight a line as possible, until you see the enormous ribcage with enemies gathered around it. Mind those enemies as you approach, and keep just to the right of the bones. You should be able to continue in the general direction you were already headed.
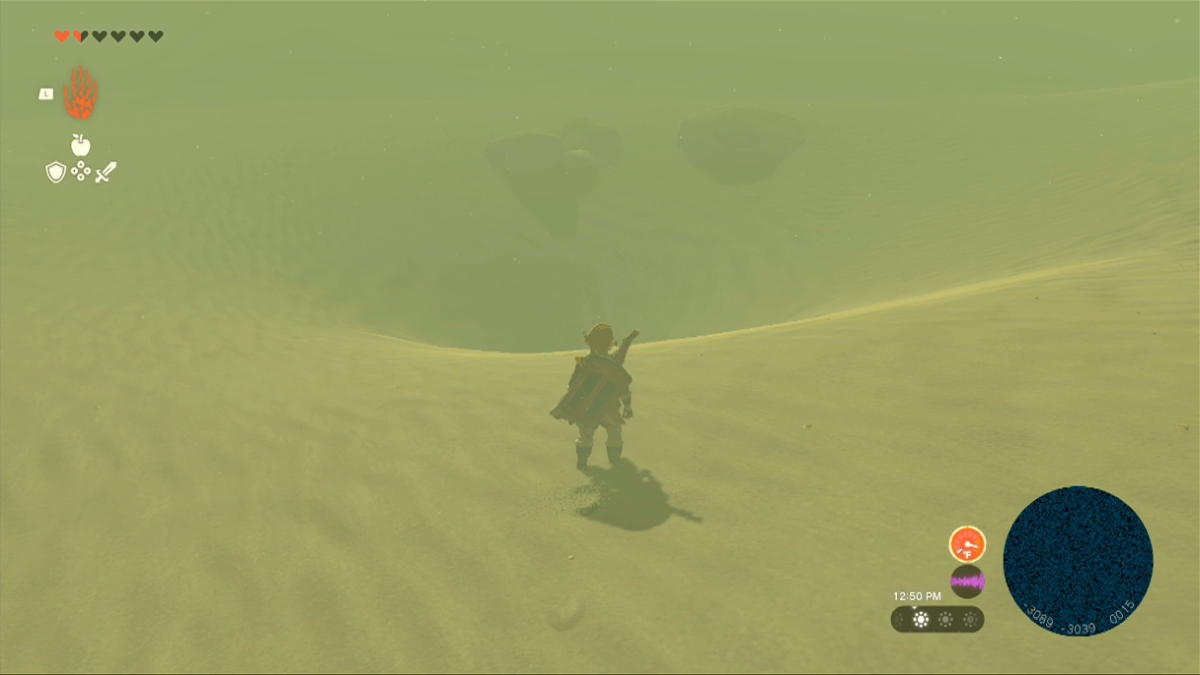
As you travel alongside the bones, you should come across a geyser of air, just past a flowering cactus. Hop over the air and pull out your paraglider so the wind carries you up to a high vantage point. Briefly, you should be able to see your map again. Then your elevation will drop. Soar toward the south to reach the edge of a giant pit of sand. Walk forward and toward its lowest point, where the sand will slowly suck you beneath the surface.
Searching for Chichim Shrine in the Ancient Prison Ruins
After sinking in the sand for a moment, you will materialize in an underground chamber. A notice appears on-screen to inform you that you have discovered the Ancient Prison Ruins. Now you need to navigate those ruins and the enemies and traps guarding them. Fortunately, it’s cooler underground and you no longer need to worry about the heat sapping your life if you didn’t have the right gear or items.
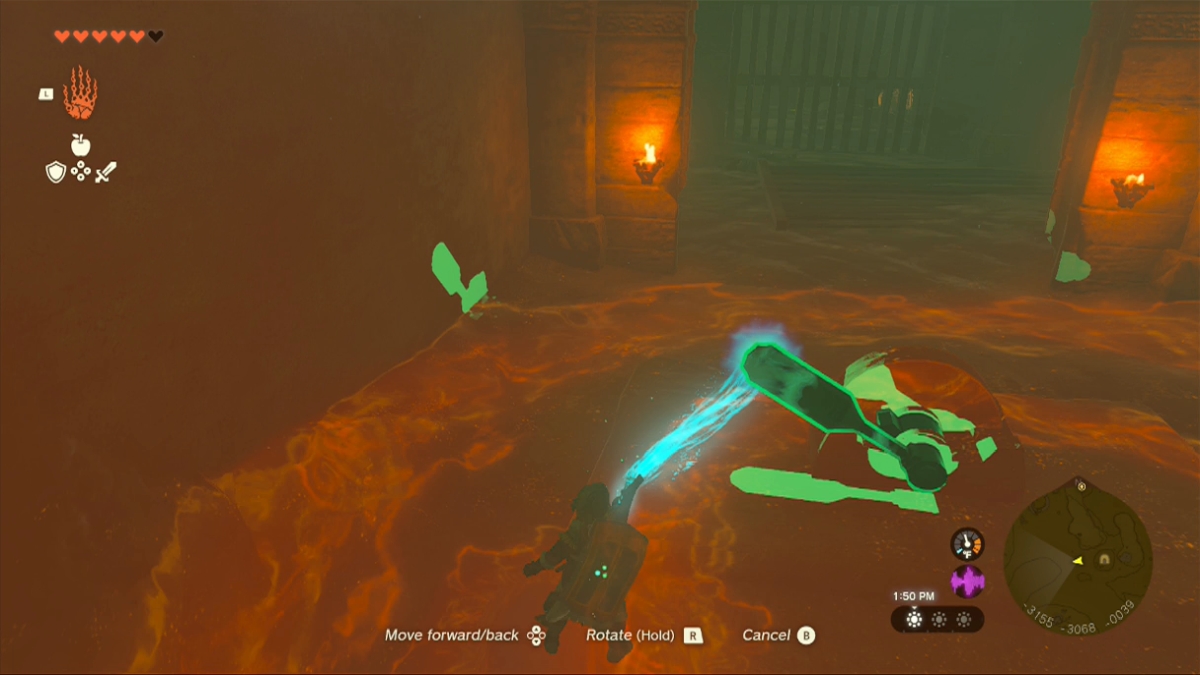
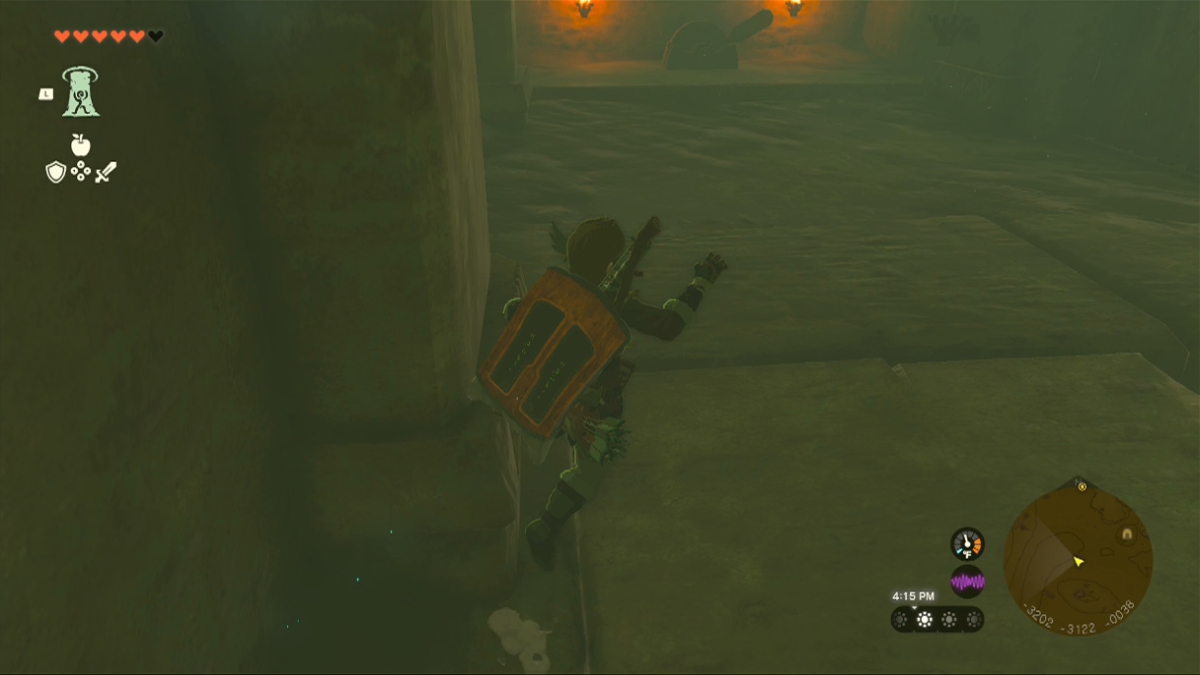
From where you first appear in the ruins, travel west along the corridor lined by mineral deposits. Ahead, you’ll see a closed gate with torches on either side. When you reach the gate, use your Ultrahand ability to pull the switch from left to right. Doing so raises the gate just beyond it. Pass through the opening and head right if you need to replenish your supply of arrows. There are some strewn about the floor. To the left, follow the corridor past some cells.
In this prison area, your enemies are the mummy-like Gibdos, which still creep me out because I remember them shrieking at me in The Legend of Zelda: Ocarina of Time. They are weak to elements such as fire, but mostly shrug off physical attacks. Fortunately, they move slowly enough that you should be able to run past them and stay out of their range. Just give them a wide berth and don’t stick around to let them mobilize.
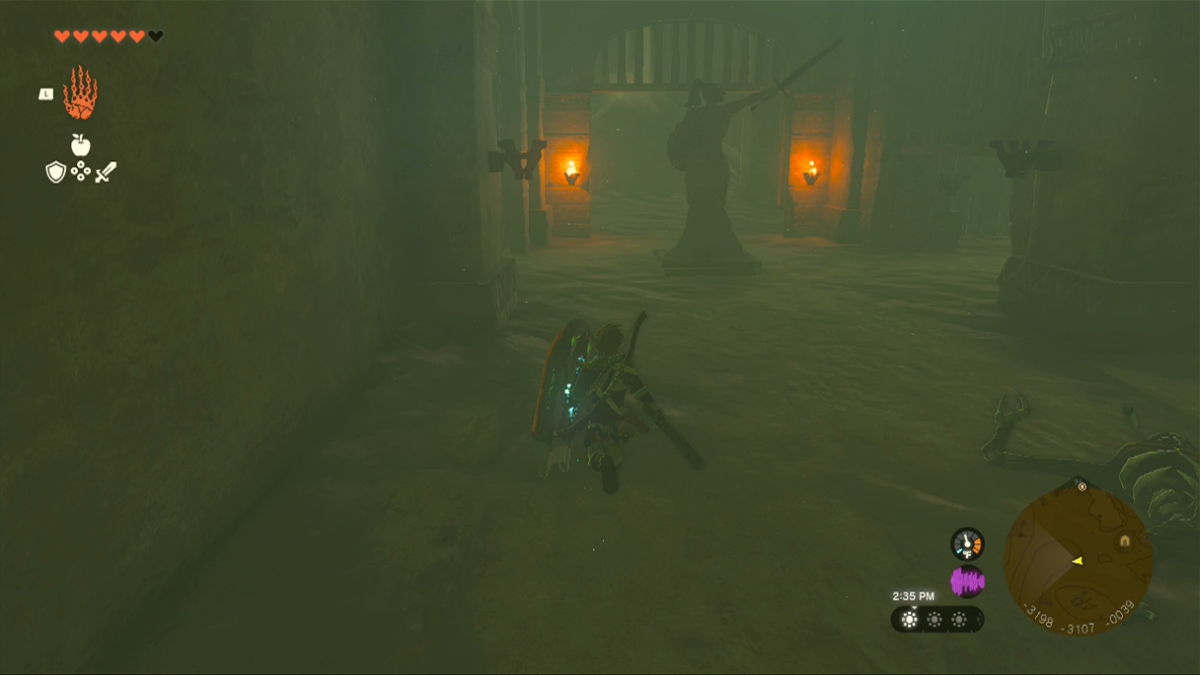
Near the end of the main corridor, you should encounter a statue with an upraised sword. The blade is pointing to the right, which is the direction you should travel next.
Follow that corridor to the next lever and pull it. Then look to the right, where a hole has now opened. Descend the slabs of stone to a lower chamber. At the bottom, crouch and pass under the low opening. From there, veer right. You’ll pass through a few enemies here, including a lightning-infused jelly, before reaching some more stone slabs you can climb to return to the upper level.
Now that you’re back on the main floor, start forward but pay attention to the floor. There are two large stone tiles ahead of a switch at the far end of the corridor. When you put weight on them, they sink. Stick mostly to the left and touch the weak parts of the floor only briefly on your way to the switch. Then pull it.
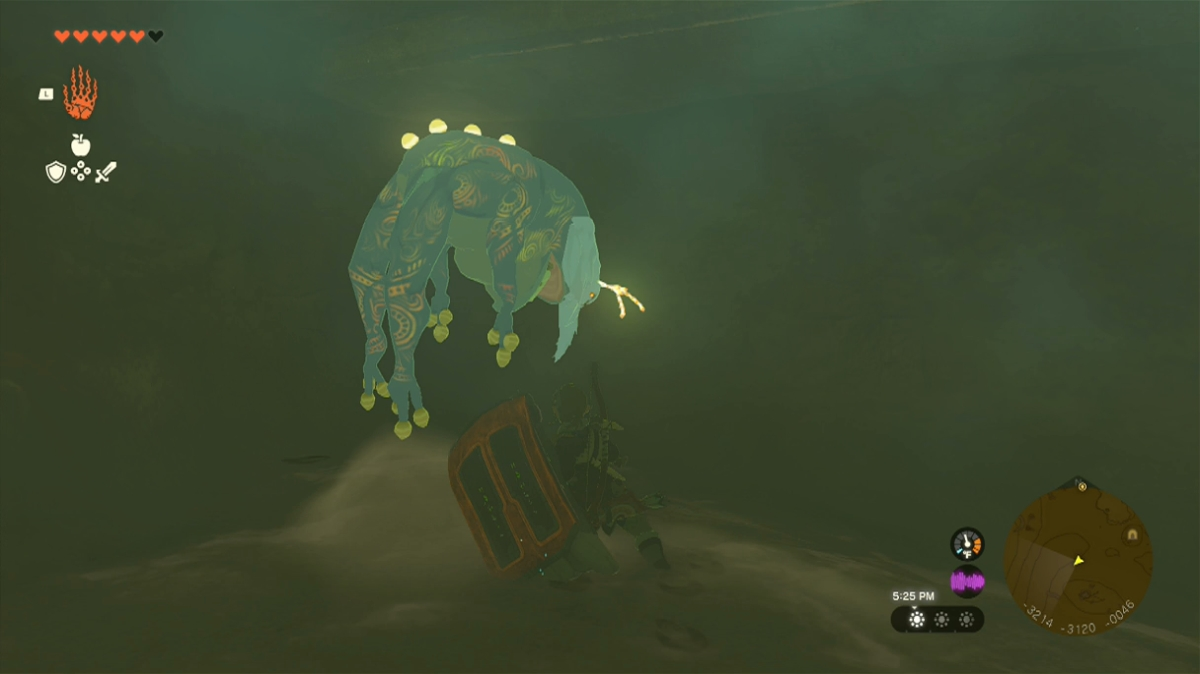
When you pull the switch, you can pass into the next corridor to find the statue of the warrior with the sword again. Cross that hallway and proceed to the switch again. Pull it, then veer to the right and drop back to the lower level. Proceed through that space to return to the room that had the week floor tiles. This time, ride them down to the lower level and defeat the glowing cave frog for a Bubbul Gem.
After defeating the frog, head along the underground corridor toward a gate near the end. Through it, you should see the shrine. There is also a gap in the stone slabs that comprise the ceiling. Rise through one of those slabs using the Arise ability. You will appear in a room with a treasure chest that contains the Gerudo Scimtar.
Take your treasure and look to the side. There are tiles along the floor, just behind the chest. Use the Ultrahand ability to lift them and reveal another switch. Put the Ultrahand ability to use again to pull the switch. This produces an opening you can pass through. Glide down to the lower area ahead of you to finally reach Chichim Shrine.
The good news: inside the shrine, you’ll receive your usual reward (along with a Mighty Zonaite Spear) almost instantly.
The Legend of Zelda: Tears of the Kingdom is now available for Nintendo Switch.


