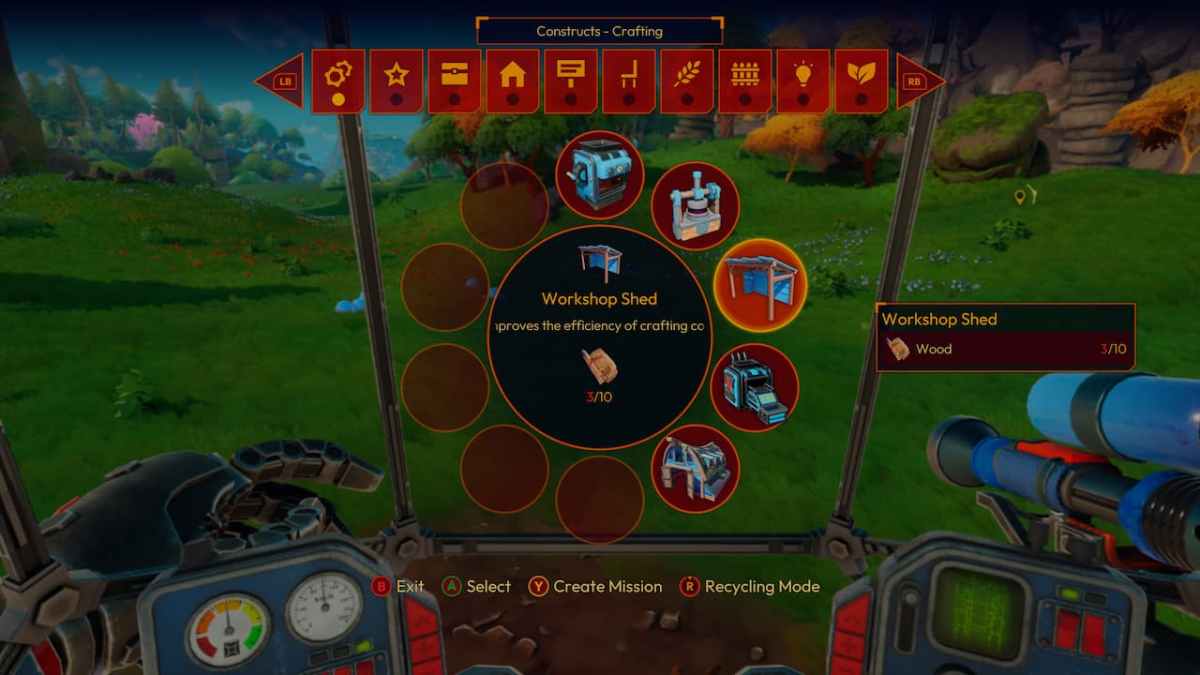
While you sport a giant Mech suit to get all of your exploring and crafting activities running, you will also rely on the power of automation thanks to your constructs. Well, why don’t we give them a little push, huh? Here is how to get Increased Efficiency in Lightyear Frontier.
Lightyear Frontier: What is Increased Efficiency?
Once you begin collecting resources to craft your constructs such as an Oil Presser, an Assembler, and even a Fodder Oven, you might notice that – depending on how much of a hoarder you are – your resources are getting completely eaten by the processing requirements of the constructs. Well, that is where Increased Efficiency enters the Lightyear Frontier equation. This is a status effect that will give your constructs a chance to double your yield. That means that, from time to time, you will receive two times the amount of processed resources.

Lightyear Frontier: How to get Increased Efficiency
So, how do you get double the resources? Well, all you need to do is to protect your constructs. They are extra sensitive to the sun and rain, so you need to protect them from the environment. To do this, you will simply have to build a Workshop Shed. This will require a total of 10 pieces of Wood, so use your Spike Saw to bring down those evil and not-at-all-innocent trees. Finally, once the Workshop Shed is ready, build your constructs below its ceiling and they will get Increased Efficiency.

But beware: once things get oversized and you need more processing power. When this happens, building Barns will be the way to go. They are huge and will house multiple constructs, providing the same Increased Efficiency effect. You will also need 10 pieces of Wood but an extra two Aluminum Rods, so make sure to find some Aluminum Deposits.


