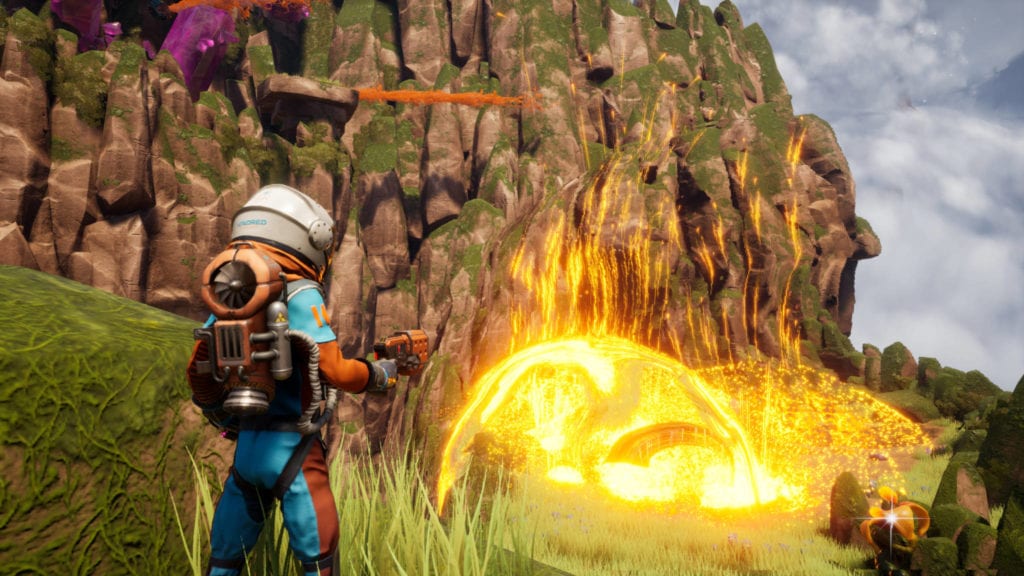
Journey to the Savage Planet from developer Typhoon Studios and publisher 505 Games releases today on the Epic Games Store. It also has a built-in Photo Mode which can seem odd. After all, one of the flaws in Epic Games’ launcher is the lack of a quick and easy means of taking screenshots. As such, you may have to look for various means to capture your experiences in Journey to the Savage Planet.
Journey to the Savage Planet – Photo Mode and screenshots
1. Photo Mode
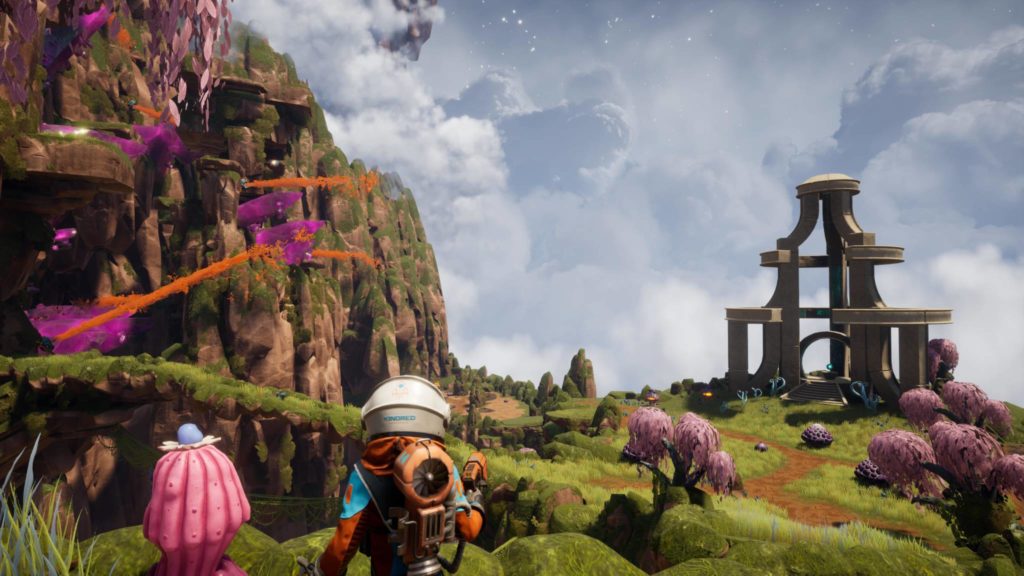
First, there’s the game’s built-in Photo Mode feature. Toggle it from the menu and your character will get locked in place, though other elements in the game world still move around. You can select from different filters such as “Noir” which makes the image black and white or “Illustrated” which has a heavy cel-shaded look. The “Default” filter more than suffices, however.
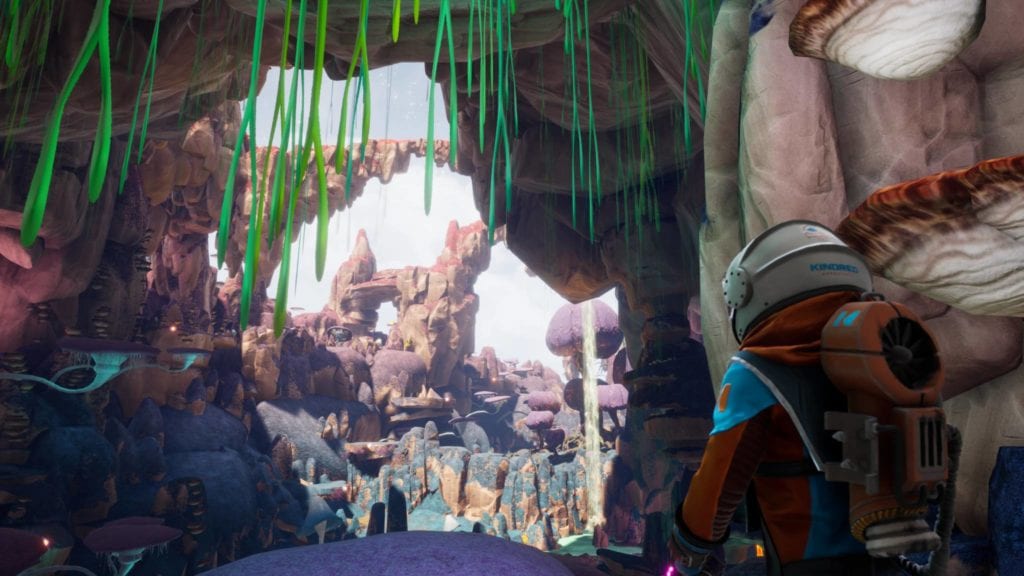
Default filter
Change your field-of-view and pan the camera around until you get a decent angle, and then press the corresponding button to take a Photo Mode screenshot. You’ll find your Journey to the Savage Planet Photo Mode image in: “<Drive>\Epic Games\JourneytotheSavagePlanet\Towers\Binaries\Win64\Screenshots”
Anyway, all of these images are hi-res PNG files and most will be around 20-35 MB in size.
Note: If you check out the Towers folder, you’ll even find some of the Kindred Aerospace and story videos. Try not to spoil yourself.
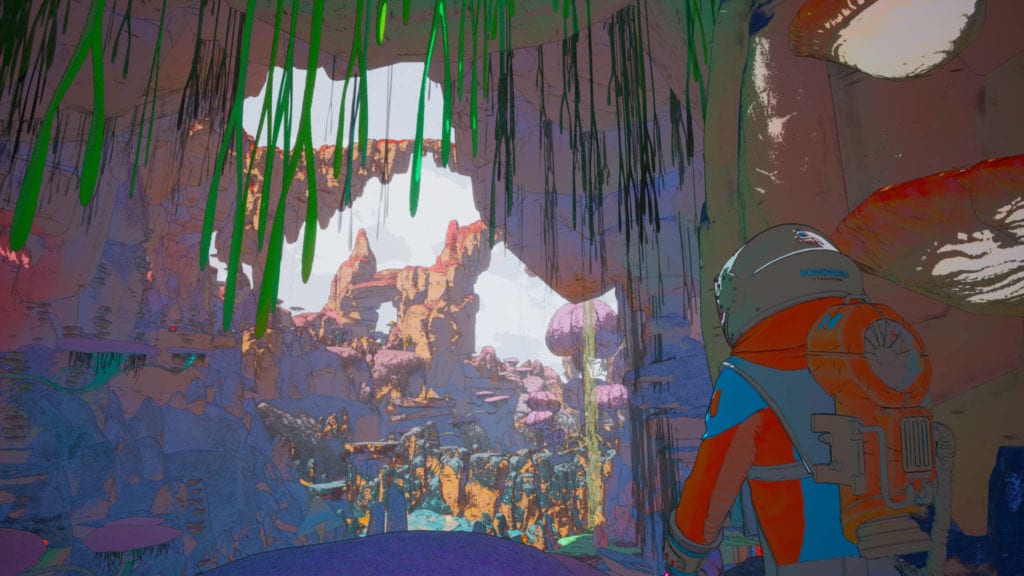
Illustrated filter
2. Overlay features
You could also opt to use an overlay feature such as Nvidia’s GeForce Experience. Open it in-game by hitting Alt+Z to change some options. You can also set a key to take screenshots instantly while playing Journey to the Savage Planet. You’ll find your screenshots in your default videos directory in the “JTTSP” folder. Like Photo Mode, the images are PNG files.
3. Steam
For those who play PC games on Steam and are used to having all these features in one launcher, you can do that for Journey to the Savage Planet as well:
- From the launcher, mouse over to “Games” and select “Add a Non-Steam Game to My Library.”
- Find your Journey to the Savage Planet install directory and select the “JTTSP.exe” file.
- You should be able to launch the game via Steam while using features (such as hitting F12 for compressed JPEG screenshots) without worries.
By default, you’ll find your screenshots in: “<Drive>\Program Files\Steam\userdata\<user id>\760\remote\<a very long string of numbers>”
For future reference, any non-Steam game you add will always have a lengthy number sequence as its ID. So you don’t get confused in case you have a lot of these. You can right-click on a non-Steam game in your library -> Manage -> Add a desktop shortcut. Check the desktop shortcut’s properties and you’ll find the ID for that non-Steam game.
Journey to the Savage Planet is available now via the Epic Games Store. You can head over to our guides and features hub for more info.