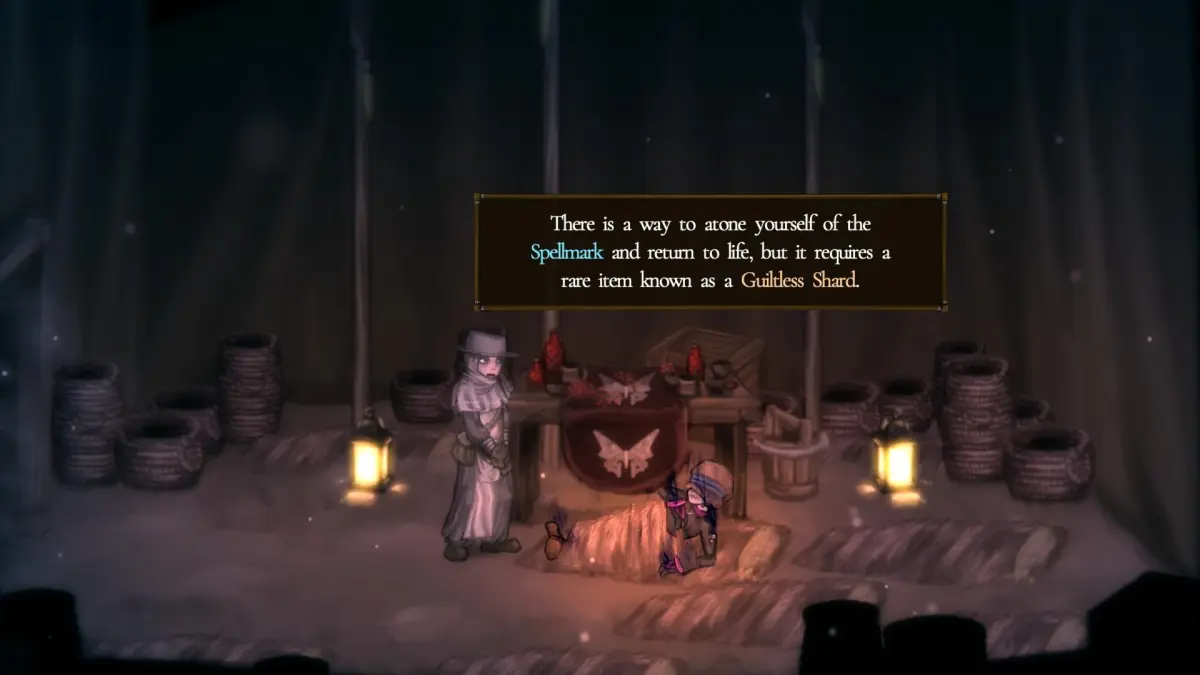
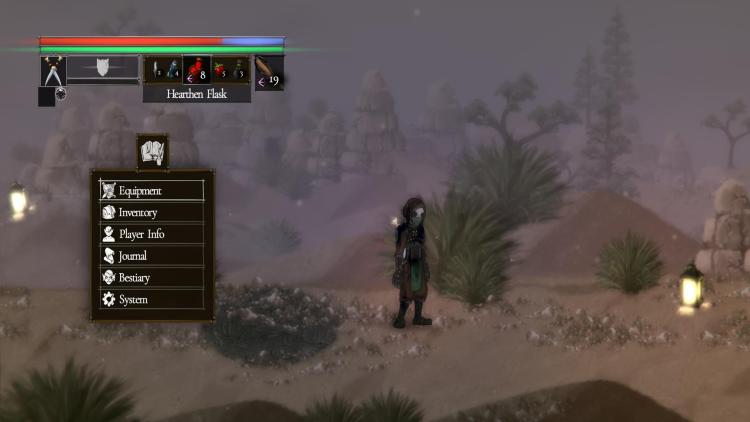
After your first death in Salt and Sacrifice, you’ll wake up in Pardoner’s Vale, the game’s central hub. Oddly enough, you’ll notice that a segment of your HP bar is blue. It seems that you’ve been afflicted with a debuff. Here’s our Salt and Sacrifice guide to help you remove the Spellmark curse status by using Guiltless Shards.
Note: For more information, check out our Salt and Sacrifice guides and features hub.
Salt and Sacrifice – How to remove the Spellmark curse status using Guiltless Shards
The Spellmark curse in Salt and Sacrifice is an HP debuff. Roughly a quarter of your maximum HP is afflicted with a curse, so you won’t always be able to heal to full. Think of it as though you just hugged via in Elden Ring.
Anyway, you can get rid of this by finding Guiltless Shards. Once you have one, open the consumables tab of your inventory and equip it. It’ll then appear in the item bar, and it can be used while selected.
Note: Although you’ll have a full HP bar upon usage, your character will still get Spellmarked again if you die. My advice is to only use the item if you’re well prepared for a boss fight, and not when you’re just doing jumping puzzles or when you’re exploring nooks and crannies.
You’ll be able to pick up your first two Guiltless Shards in Salt and Sacrifice by going all the way to the left of the Pardoner’s Vale area. There, you’ll see a chest behind the reindeer in the stables.
Another one can be yours by climbing the top of the wooden structure just to the left of the crafting station. You do need the Grappling Hook tool, which comes from Ashbourne Village.
While you might be able to find a few in some chests/pouches later on, the most common way of obtaining more Guiltess Shards in Salt and Sacrifice is by fighting mages:
- The Mage Hunts that you start will have you chase a target. That boss will spawn mobs that have a chance of dropping Guiltless Shards (they have a golden glow as you can see in the next image).
- Even if you don’t have an active Mage Hunt, the random bosses that you encounter in zones are still surrounded by their own mobs.
- It’s also possible to conduct Fated Hunts if you want to battle a specific foe, though it’s the regular enemies that may drop these.
Note 1: While this is solely based on my experience, I’ve noticed that spawned enemies in the first two zones drop Guiltless Shards more often than those in later zones.
Note 2: As of now, I’m not sure if your item find stat (i.e., luck) affects the drop rate.
Salt and Sacrifice is available via the Epic Games Store. For more information, check out our guides and features hub.


Published: May 11, 2022 06:05 pm