Case #9: Into The Depths
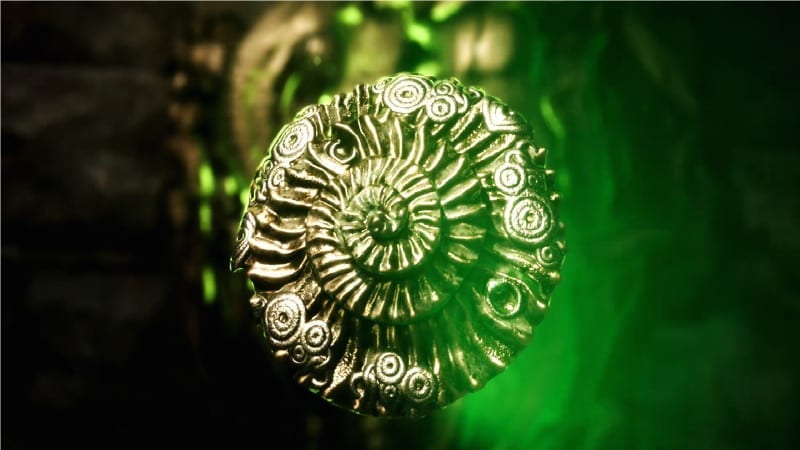
The final case in The Sinking City’s main story will have you finding the pieces of the Seal of Cthygonnaar, known as Kayfingers. You’ll obtain them from the monoliths around the city. In turn, you’ll gain access to the depths of Oakmont, deciding on what to do with this ungodly flood.
- Go back to the Devil’s Reef Hotel for a quick cutscene.
- Enter your room in the hotel for another surprise.
- Examine all the notes in your room. Anyway, it’s time to find the monoliths.
Monolith #1 / Central Monolith:
- Go to St. Michael’s Chapel in central Advent.
- Examine all the evidence and speak to the NPC on the second floor.
- Obtain the basement key from the pulpit and fight the monsters that spawn.
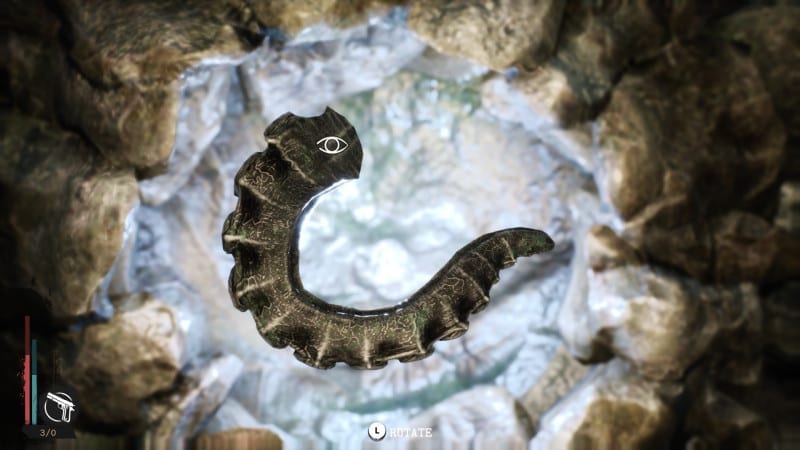
- Use the Mind’s Eye to investigate the monolith’s niche opening and obtain the first Kayfinger.
- Use the Mind’s Eye again to follow the silhouette of crows to find the next clue. You’re given a couple of riddles to solve, one for each remaining monolith.
Monolith #2 / Coastal Monolith:
This monolith’s clue talks about “transforming man from ordinary to renowned, drawing crowds, transcribing words and sharing his face on paper.” It’s talking about a celebrity who became famous when the supernatural floods happened.
- Archives: Head to Oakmont Chronicle and use these entries: “After the Flood/Celebrities/Articles & Interviews.” This will give you the clue for that monolith.
- Head to the celebrity’s address at the easternmost edge of Grimhaven Bay.
- Examine the coastal monolith.
- Go inside the house of the celebrity who’s apparently a local fisherman.
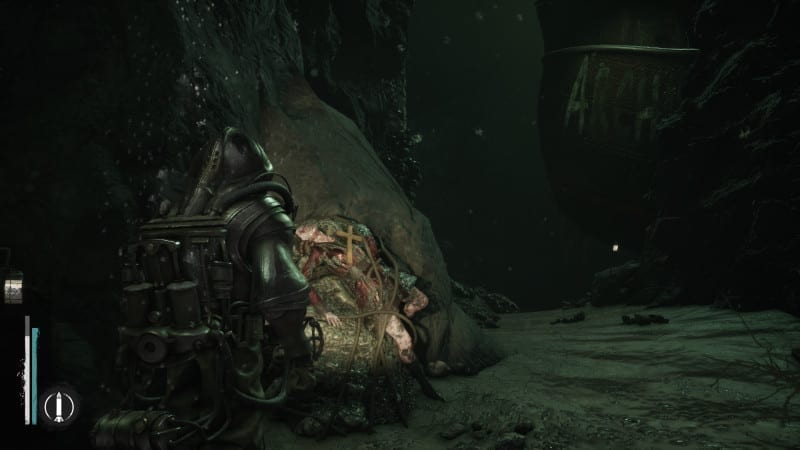
- You’ll be given some crosses to place on the drowned corpses of his relatives. You can use the key for the room with the diving suit.
- Swim down the depths and place those crosses. The drowned relatives are in the wide area past the sunken ship.
- Make your way to the green light and use your Mind’s Eye to access the monolith’s niche. Grab the second Kayfinger.
Monolith #3 / Railway Monolith
This monolith’s clue talks about “the youngest citizens of Oakmont after the waters rise, all looking the same as the other.” It speaks of triplets born on the day the floods began.
- Archives: Head to Oakmont City Hall, choose: “After the Flood/Citizens/Citizen Records.” You’ll find out that two children had died, but the last one’s records are still intact. The child was born in the railway station.
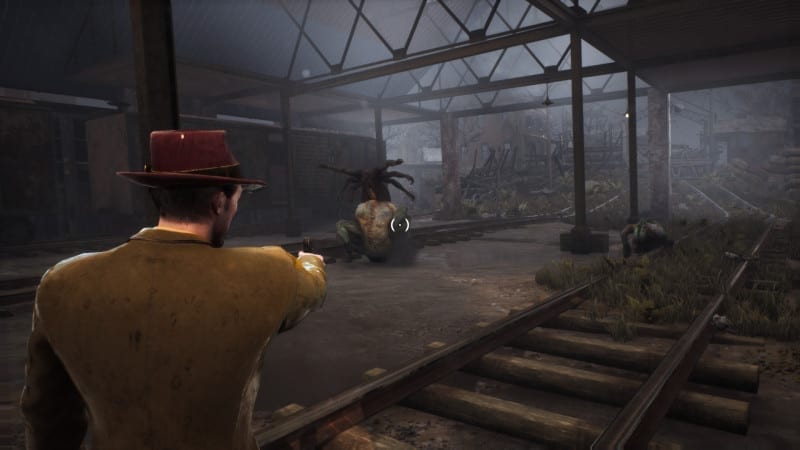
- At the abandoned railway station, kill the monsters and loot all the stuff you can find. You can save and reload if you need to stock up on items.
- The monolith is at the nearby yard. Examine the loose pieces of stone since they’re evidence.
- Retrocognition: (1) “We must have a piece of the stone.” (2) “Hurry!” (3) “The wylebeasts smell us!”
- You’ll find out that a piece of the monolith was placed on a wagon. The tracks lead back inside the railway station and you’ll see the broken wagon.
- Investigate the corpse and items surrounding the broken wagon. You’ll find a note with an address.
- The Stone Worshippers’ headquarters is close by so no worries. Make your way there and examine the crazy stuff going on.
- Retrocognition: (1) “Put it right there.” (2) “We’ll be the first to ascend.” (3) “I’ll lock you up.”
- Grab the key from one of the books on the shelf and check out the room on the second floor.
- Use your Mind’s Eye to open the niche of the monolith to pick up the final Kayfinger.
- Use your Mind’s Eye on the wall with blood spatters to reveal a hidden room.
- Go near the stairway and use your Mind’s Eye to see something creepy. You’ll have a surprise once you’re done. Watch out for your sanity.
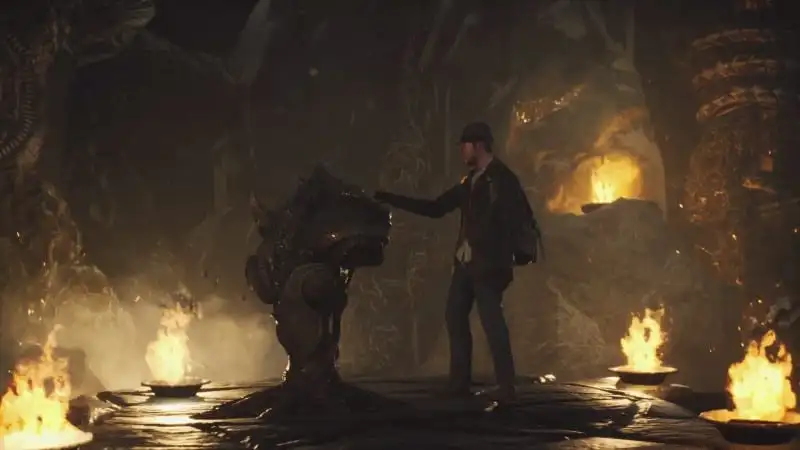
Cthygonnaar
Now that you have all three pieces of the Kayfinger plus the Seal of Cthygonnaar, it’s time to make your way into the depths of Oakmont. Make sure to have lots of antipsychotic drugs since you’re going to see some nasty things that will drain your sanity quickly.
- Go back to the monolith at central Advent, the one inside St. Michael’s Church.
- Kill the wylebeasts and place the Seal of Chtygonnaar on the altar. Use your Mind’s Eye to reveal what’s behind it.
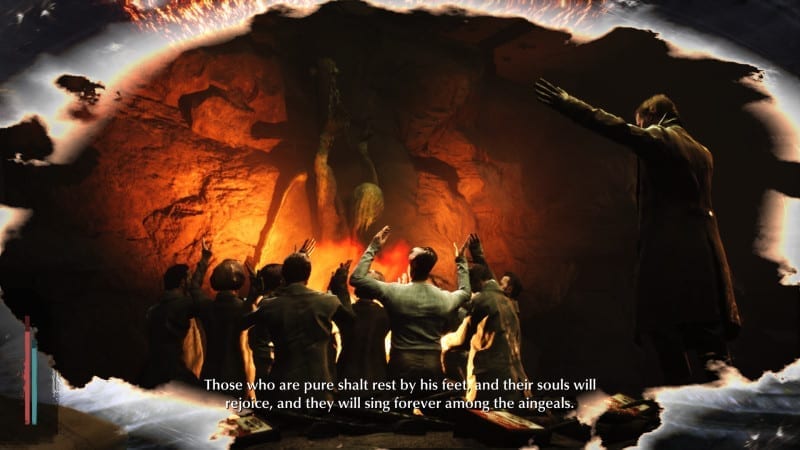
- Follow the pathway and watch the visions that unfold. Make sure to use antipsychotic drugs so you don’t lose your sanity.
- When you reach the chamber at the end, there’s one final decision to make. This vast chamber will give you the options on which ending you want to see. One ending is right in front of you if you enter the Retrocognition portal. The other two are to the left and right-hand side chambers.
- Retrocognition: Make your choice and you’ll see game’s ending cinematics.
There you have it. You’re all done with The Sinking City’s main quest and you’ve completed the story. There’s no New Game+ mode, but don’t worry. You can load your autosave from the final chamber to see the other endings. Likewise, if you have older manual saves from other chapters, you can pick a different path to see the short-term outcomes.
We hope this full game walkthrough has helped you out. For more features and guides about The Sinking City, feel free to visit our hub right over here.


Published: Jun 26, 2019 10:51 am