
Vampire Survivors: Apoplexy and Charm guide
Learn how to find the Apoplexy Relic and master the Charm stat in Vampire Survivors' latest update.
In addition to introducing the Bat Country challenge stage to the game, Vampire Survivors’ Patch 1.3.0 also added a brand-new stat: Charm. This stat can be unlocked via a Power-Up, which in turn is unlocked by finding the Apoplexy Relic in Bat Country.
This new stat has big implications for your future Vampire Survivors runs, making the following guide, which breaks down both the Apoplexy and the Charm stat, very valuable indeed. Read on to get all the info you’ll need on this major new mechanic.
How to find the Apoplexy and master the art of Charm location
Step 1: Head to Bat Country

The first thing you’ll need to do to get involved with this new stat is to head to the new Bat Country challenge stage. If you haven’t unlocked it yet, you can do so by reaching level 80 with any character in the Inverted Mode version of the Mad Forest.
While you do receive a -75% Growth penalty in this stage, the enemies are all fairly weak to compensate, largely being, you guessed it, bats. Since you’ll be dealing with a high volume of foes here, you’ll want to prioritize powerful AoE weapon combinations, like the Garlic and King Bible, to best deal with them.
Step 2: Survive until the nine-minute mark

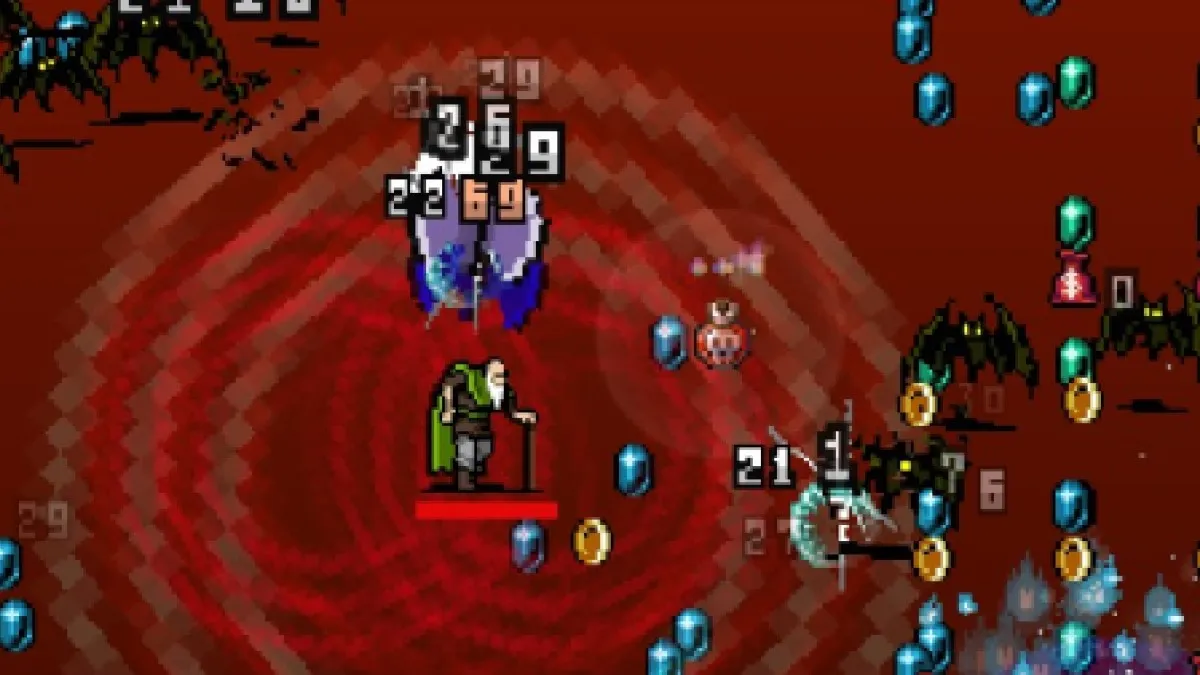
Once you’re in Bat Country, you’ll need to survive for nine minutes before the Apoplexy Relic will appear. As mentioned above, this shouldn’t be too difficult given the reasonable enemies in the stage but do watch out for the rogue blocks that bounce around in odd patterns and deal damage on contact.
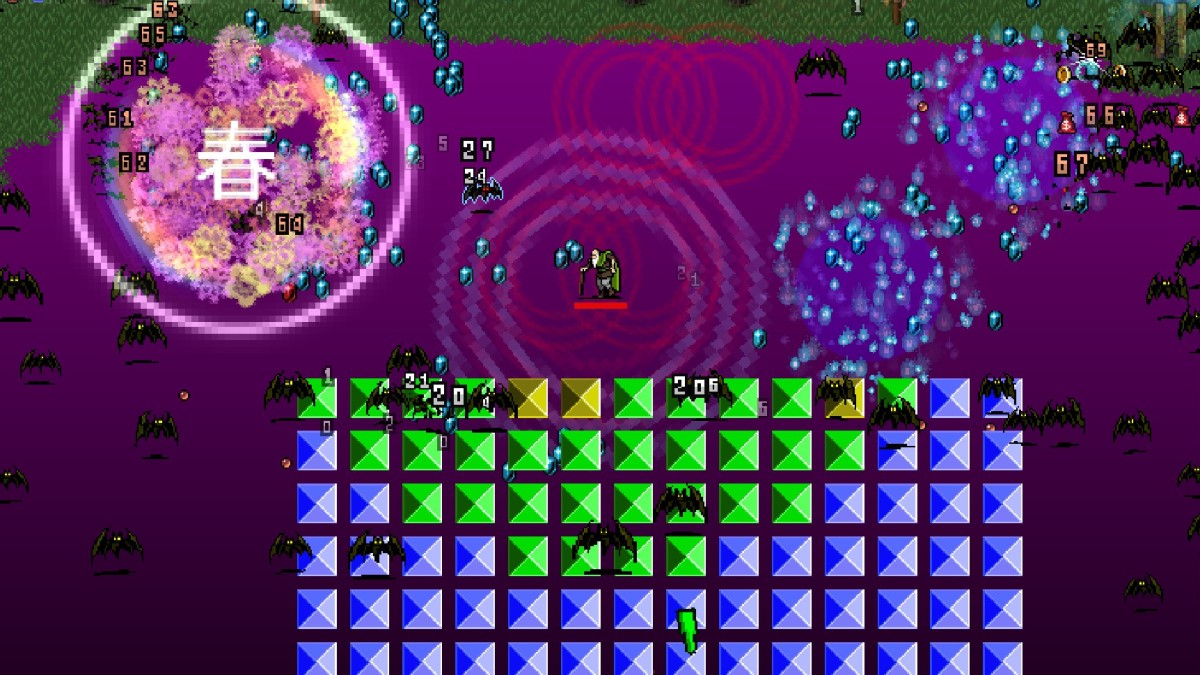
After nine minutes have passed, A cluster of blocks will appear near your character, at the heart of which is the Apoplexy Relic. As with most other Relics in the game, a green arrow will also appear, guiding you toward it. Break your way through the blocks, and you’ll find the Relic in the center, ready for you to claim.
Step 3: Unlock the Charm stat via the Power-Up screen
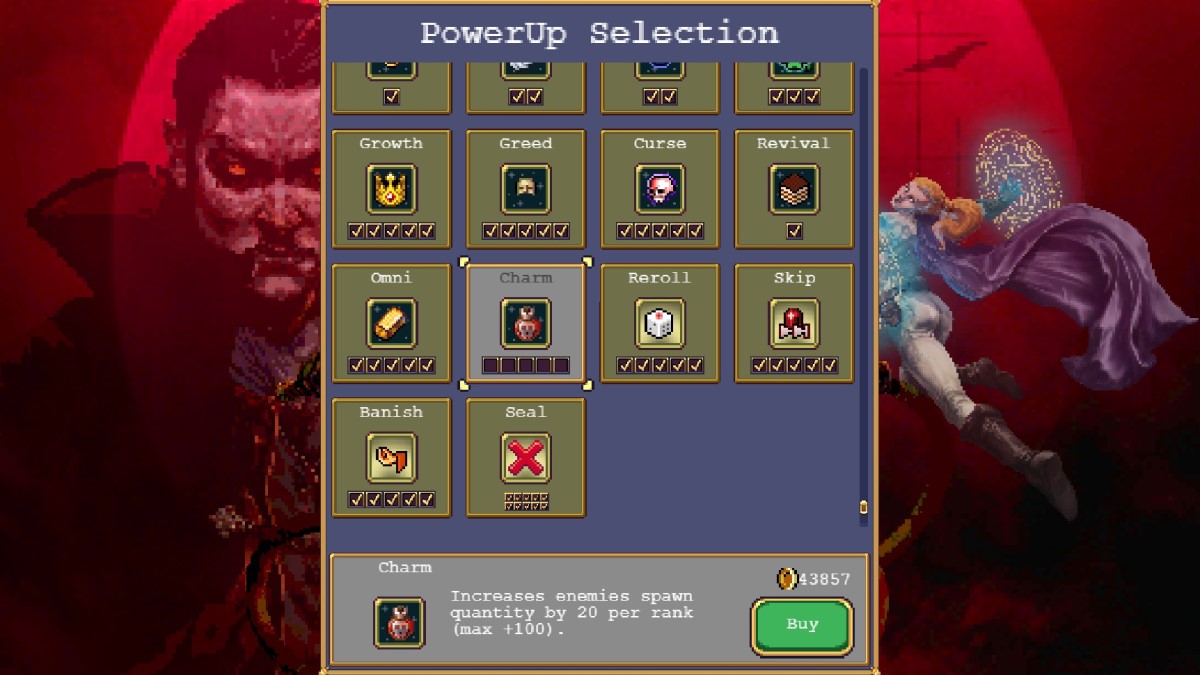
Next up in our Vampire Survivors: Apoplexy and Charm guide, we’ll cover the Charm Power-Up itself. Once you’ve collected the Apoplexy Relic, you can go on to finish the stage in any way you wish. After this, once you’re back on the main menu, head to the Power-Up screen, and you’ll see that a new option is available to buy: Charm.
The base cost of this new Power-Up will be 10,000 Gold, though, of course, this will be scaled up based on how many other Power-Ups you’ve purchased so far. As I’ll discuss in the next section, Charm is one of the best Power-Ups in the game regardless of your skill level, so I’d recommend maxing it out ASAP if you’re able to.
Step 4: Feel the effects of Charm in action
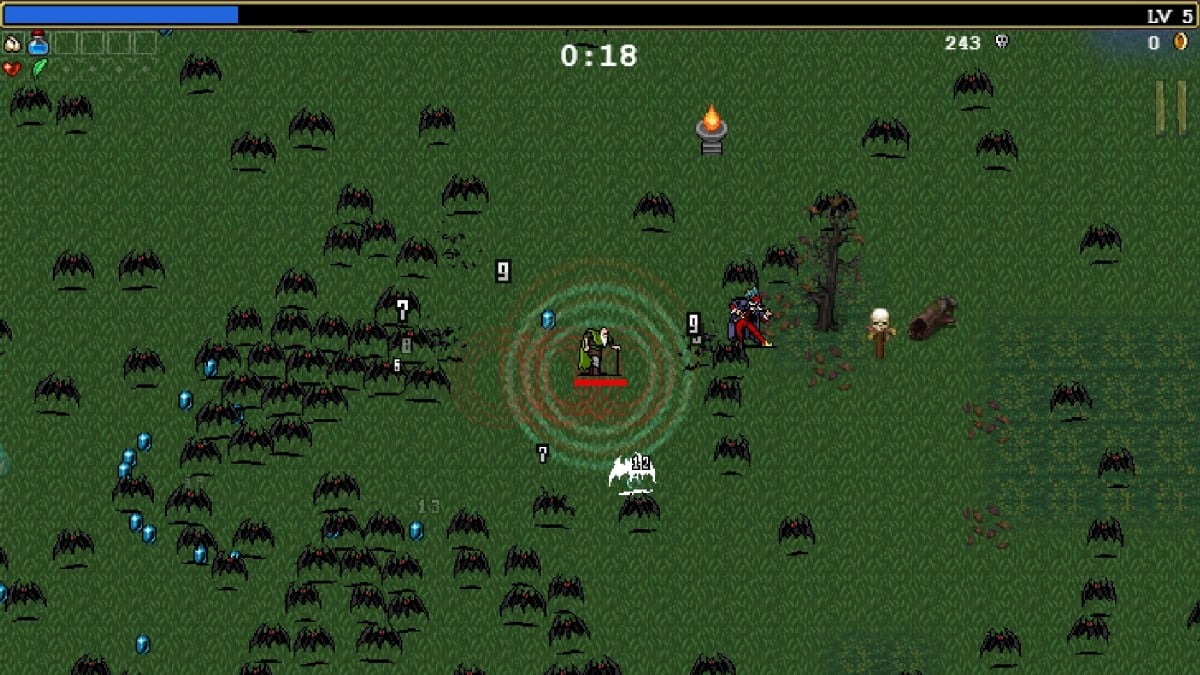
With Charm fully purchased, you can head into a stage and see what effect it has. For each point you put into Charm, the number of enemies in each wave is increased by a flat value of 20. This can combine with the percentage-based enemy number modification of the Curse stat, if you have that Power-Up, leading to huge numbers of enemies on screen at all times.
This may sound awful, but it’s actually a blessing in disguise. While Charm increases the volume of enemies spawned, unlike Curse it doesn’t increase their health, speed, or spawn frequency, meaning that if you can handle high volume, Charm effectively just serves as a massive experience boost for your character at all stages of a run.
This is a powerful boon both early game and late, and is particularly effective when you’re trying to farm Gold to buy Golden Eggs. Now that you know how Apoplexy and Charm work in Vampire Survivors, you’ll be able to take your runs to the next level.