One recurring event in Like a Dragon: Infinite Wealth finds you completing various photo assignments for big prizes you won’t want to miss. Here is our guide listing all Downtown/Chinatown/District Five Photo Rally locations in Like a Dragon: Infinite Wealth.
Like a Dragon: Infinite Wealth – All Downtown/Chinatown/District Five Photo Rally locations
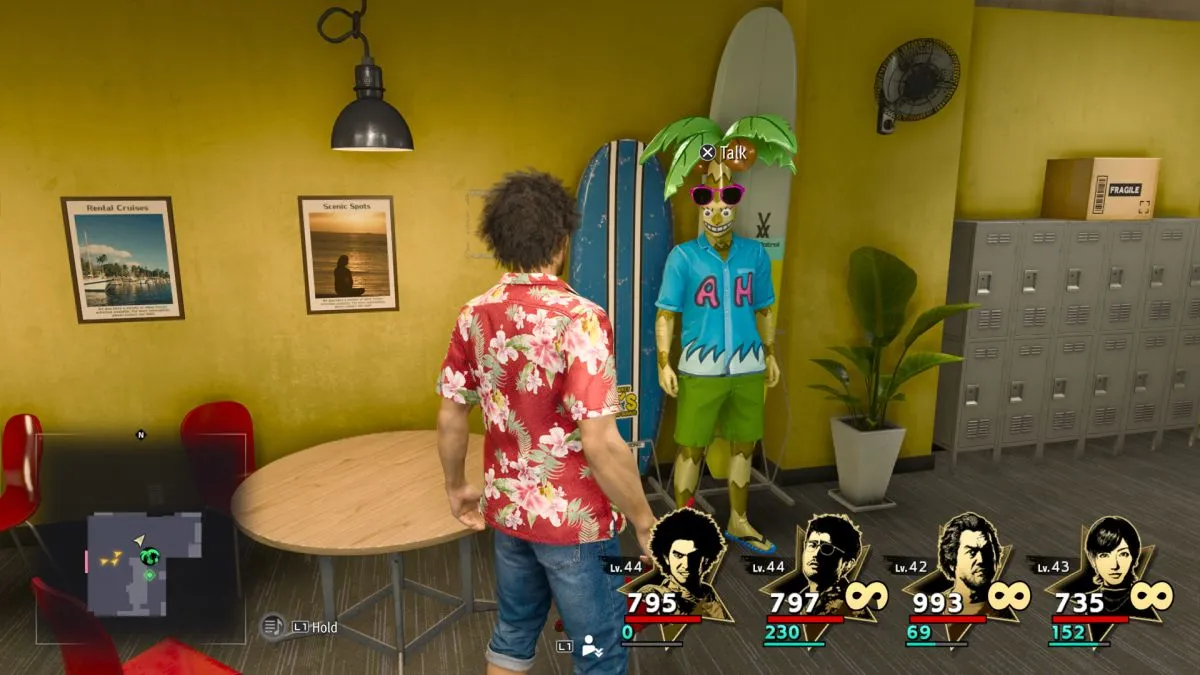
As is tradition for the Like a Dragon/Yakuza series, the latest entry is loaded with side questions and diversions. In Infinite Wealth, one such quest-giver is Alo-Happy Tours. You meet the proprietors of Alo-Happy Tours early in the campaign. The main branch, at the Waikiki location, is part of the Worldwide Market Village. You are promised rewards if you snap photos of memorable places within the various districts. There are 15 locations to document in the Downtown/Chinatown/District Five portions of the Hawaii map.
Below, we’re listing all 15 locations, which constitute a single tour. For each location, we’ll provide some brief written directions. We’re also including map screenshots, plus screenshots showing your characters standing near the target. Locations are listed in the order they are presented.
1. Wall Art: Octopus
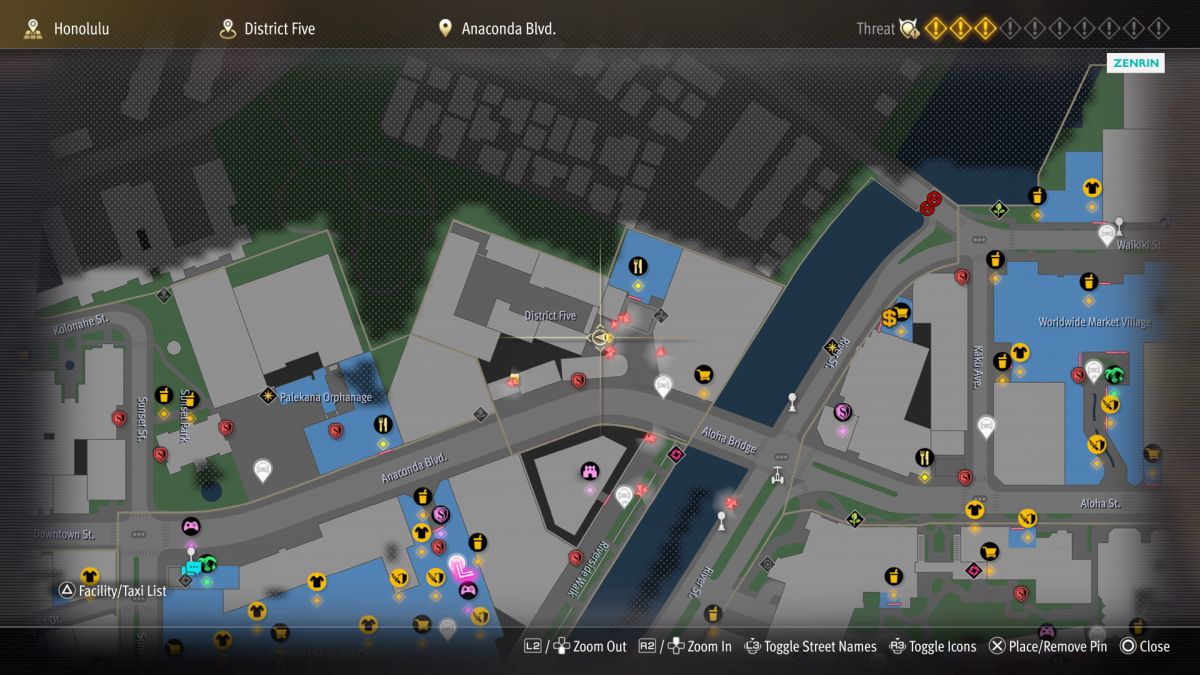
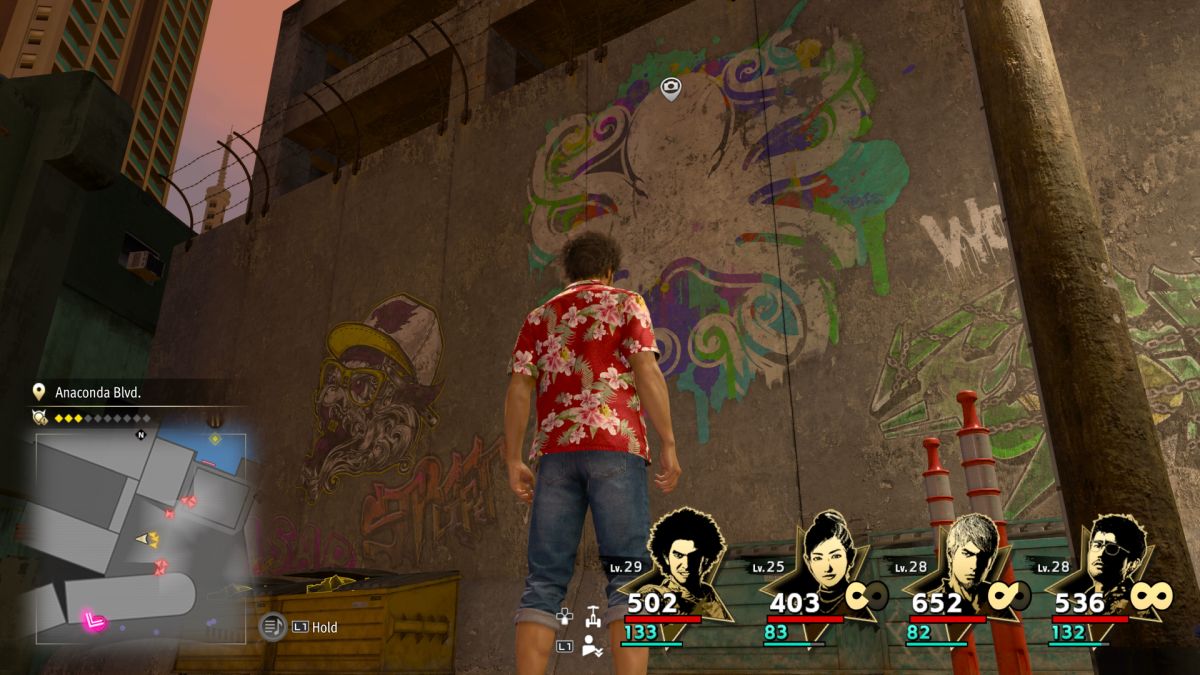
Make your way to the edge of District Five. It’s located just northwest from the western edge of Aloha Bridge. By now, you may have activated the Diamond Head fast travel beacon. It will take you to the desired area immediately. Head northwest into the district and keep to the south as you advance. There are some tougher foes here, so be ready to deal with them if necessary. Watch the high wall toward the left, near the huge gate. You should see the octopus wall art on that wall. Snap your photo once you get close enough.
2. Buster’s Pizza
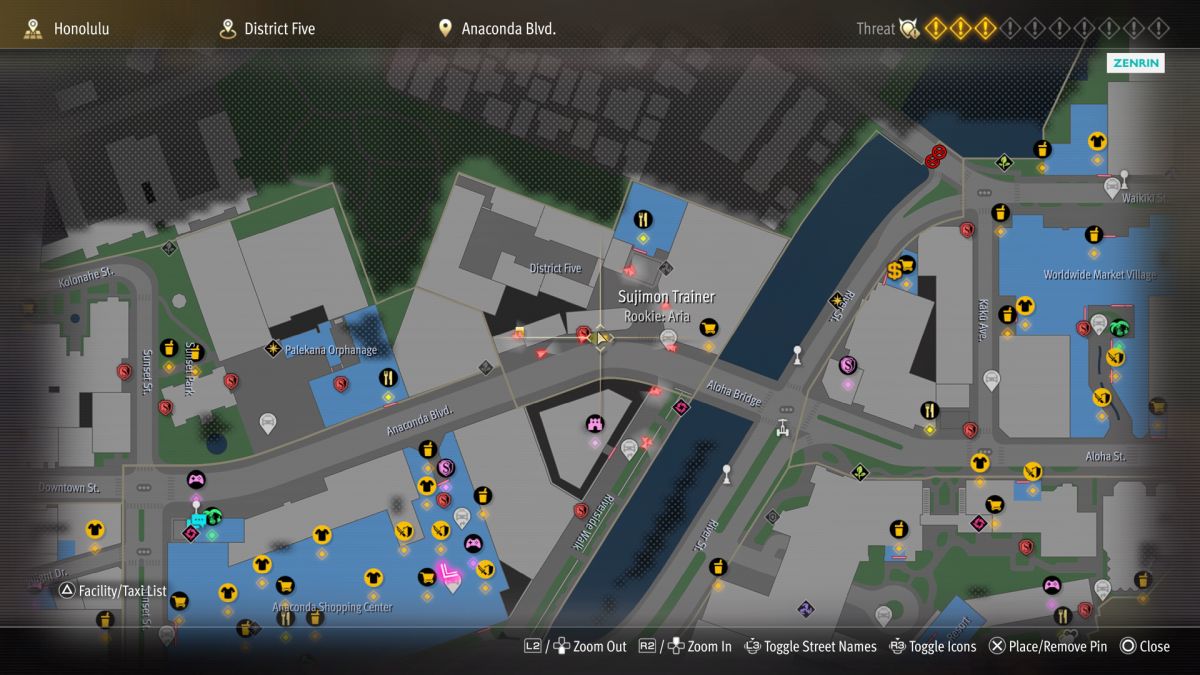
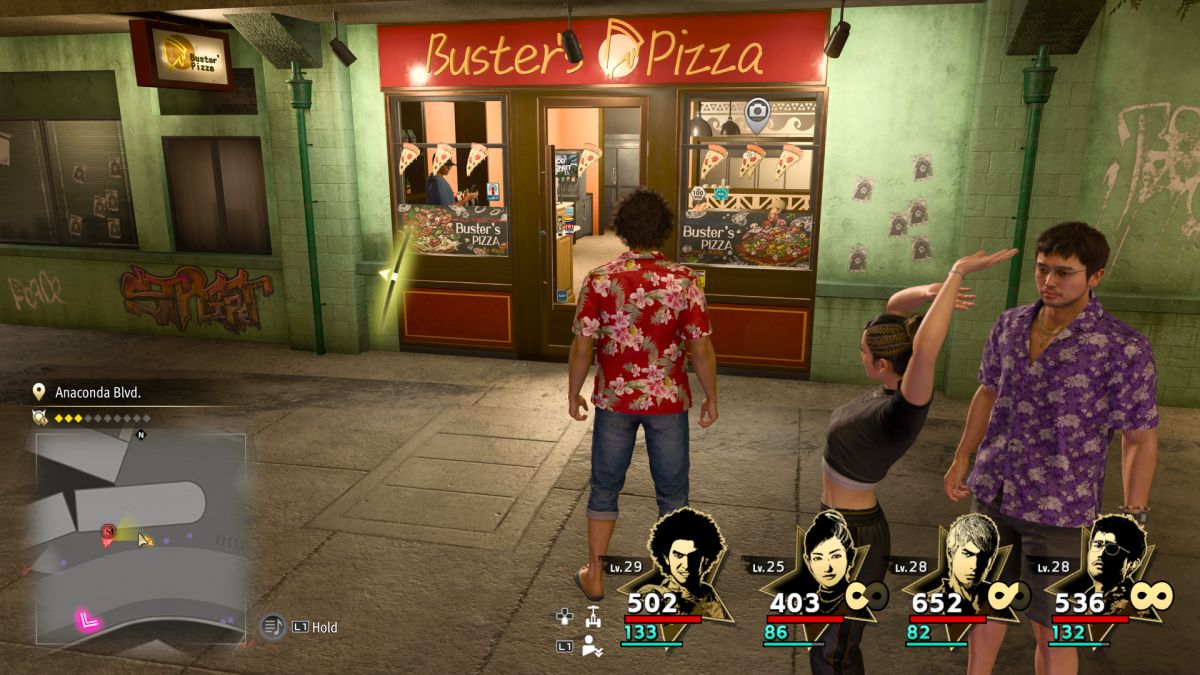
Head west from the west edge of Aloha Bridge, past the Diamond Head fast travel beacon. Continue along the sidewalk as it follows Anaconda Blvd. and watch the wall to your right. Buster’s Pizza is open for business. It’s no big deal to snap a picture of its windows and entry.
3. Club Guilty
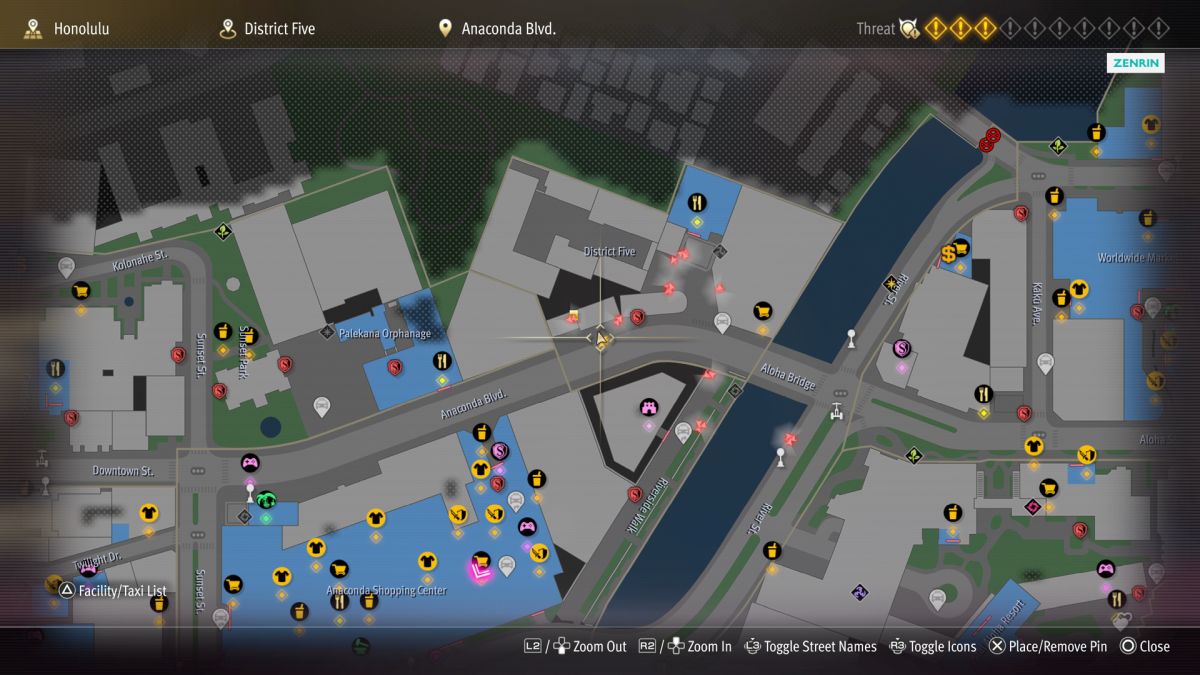
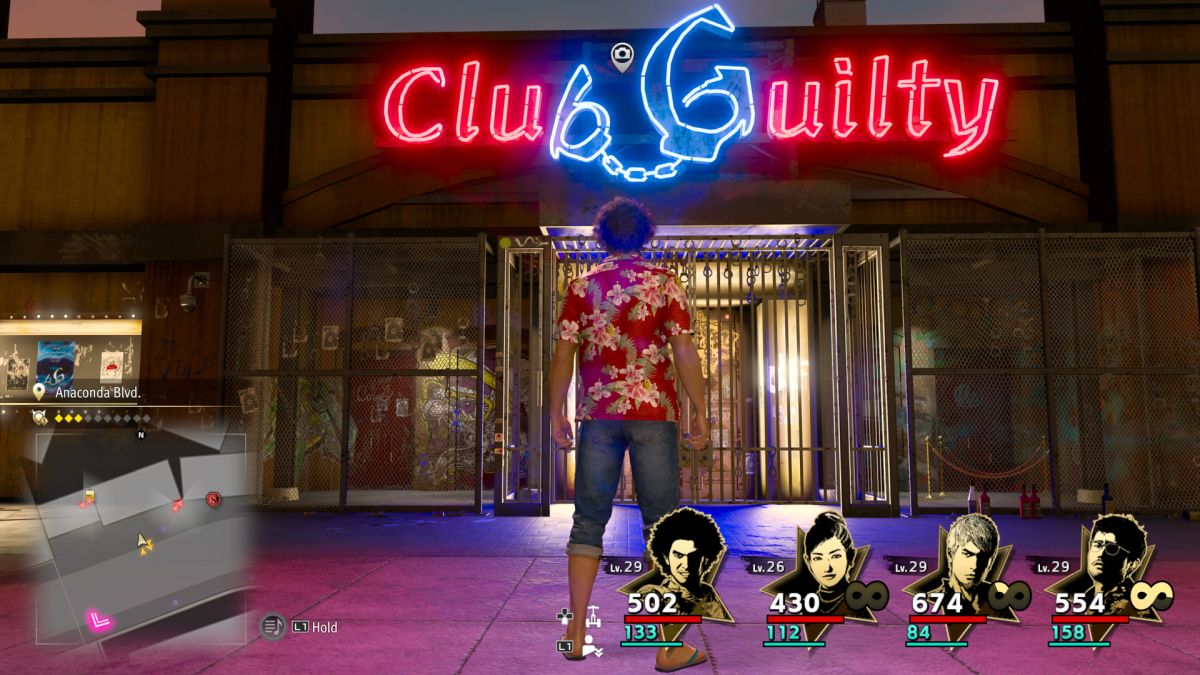
Follow the directions to Buster’s Pizza above. Then keep going along the same sidewalk as it continues to follow Anaconda Blvd. toward the southwest. Club Guilty is also located along that road. You can snap a photo of its logo if you are near enough.
4. Handcuffs & Gloves
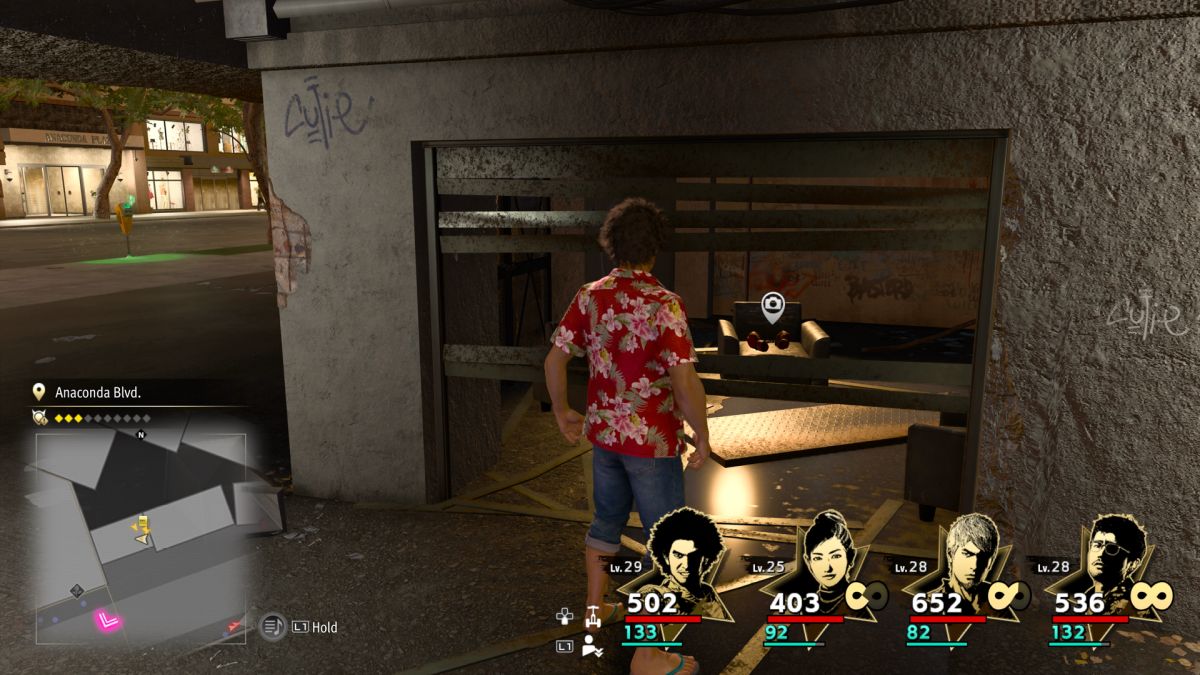
A short distance along the sidewalk southwest from the Club Guilty entrance, you reach the edge of that building’s facade. Head into a small recess, filled with boards, trash, and enemies. Clear the way, and look left through an opening between boards. You’ll see a couple of armchairs. If you’re near enough, you can snap a photo of them.
5. Soramame’s Beans
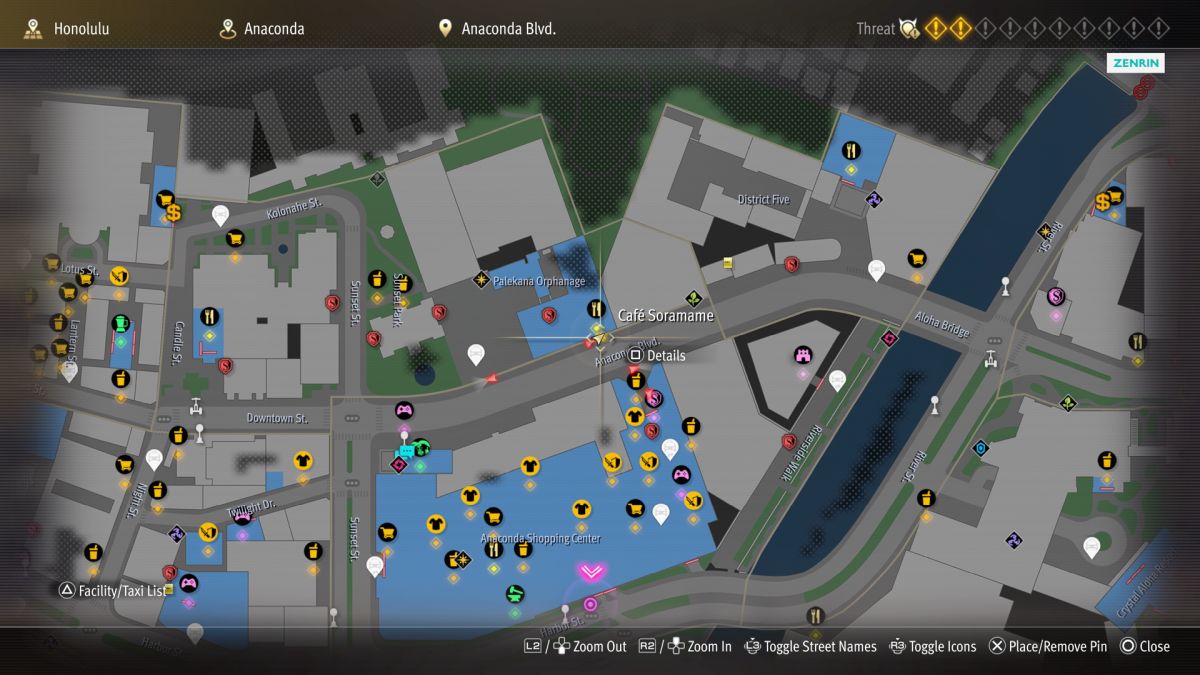
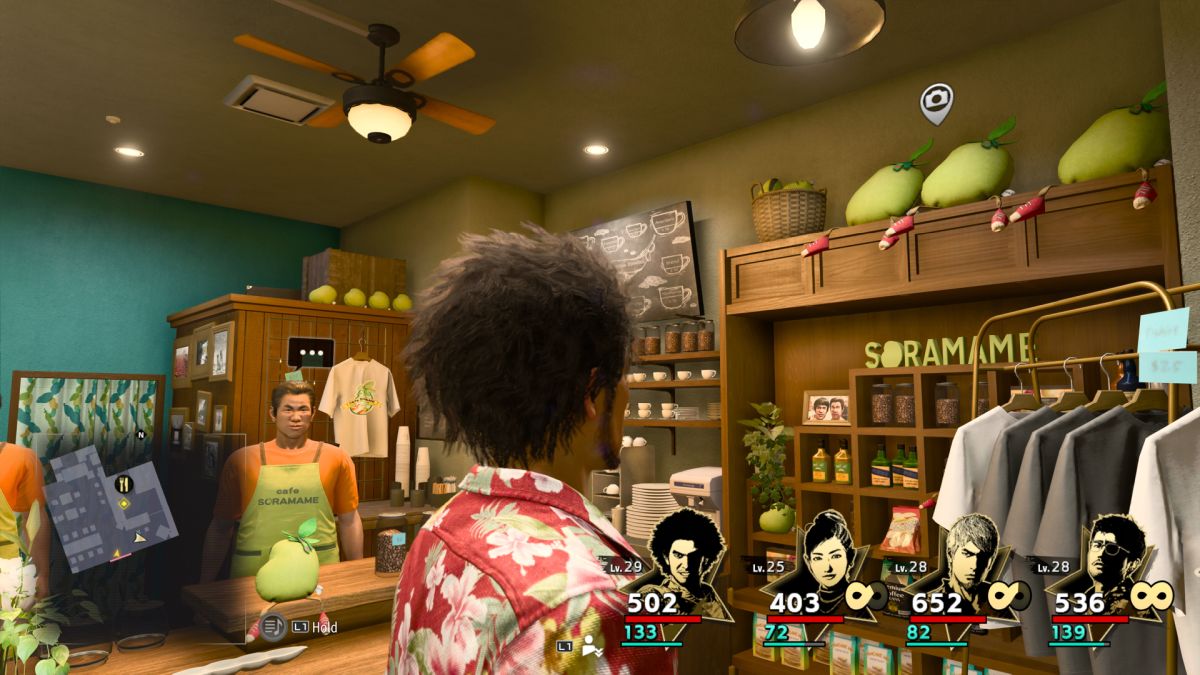
Cafe Soramame is located along Anaconda Blvd., not far from Palekana Orphanage and across the road from Cafe Trip. Enter the business and look to the right, where you can photograph a high shelf and wall.
6. Downtown Fountain Square
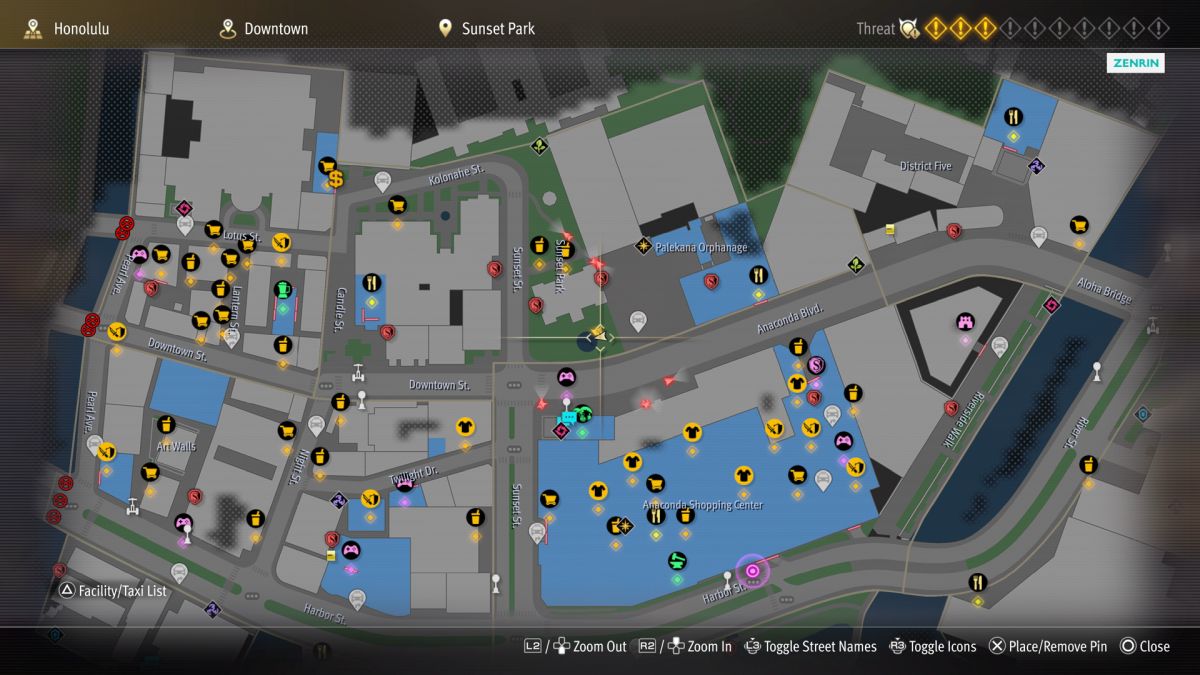
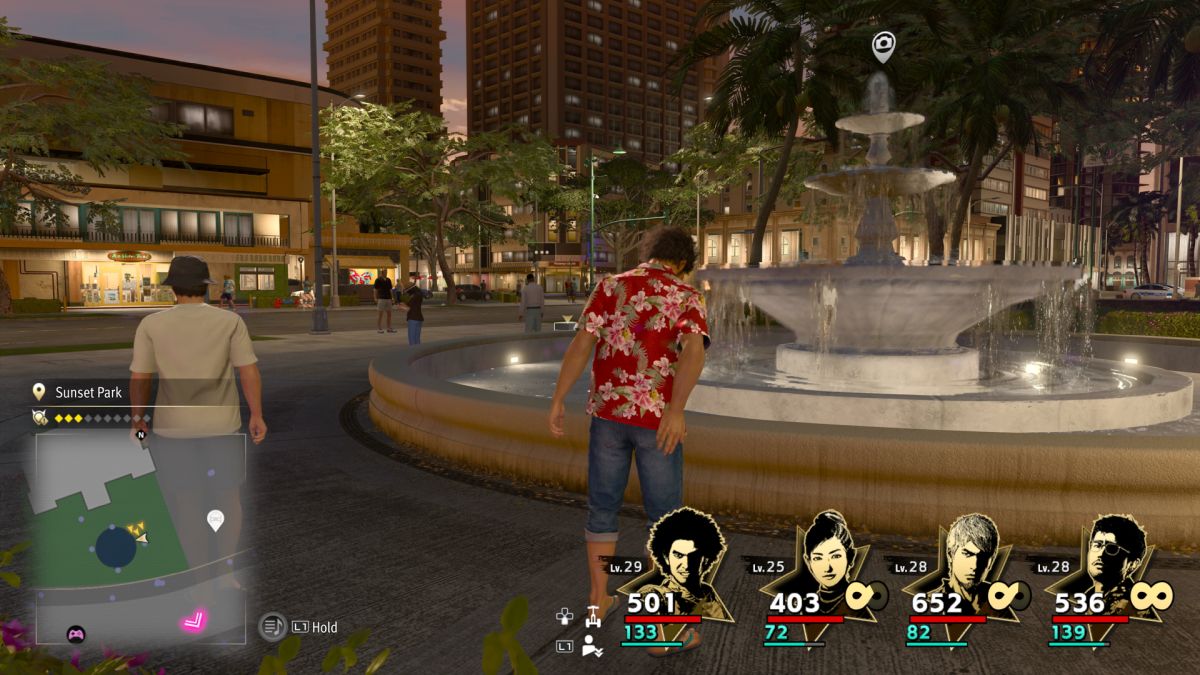
There is a large fountain you can photograph, near the Palekana Orphanage. If you have activated it, you can use the Orphanage fast travel beacon to get there. Otherwise, check along Anaconda Blvd. to the north of the Anaconda Shopping Center. Cross the grassy area to approach the fountain, and take a picture of the water geyser when you get near enough.
7. Spa Fountain Square
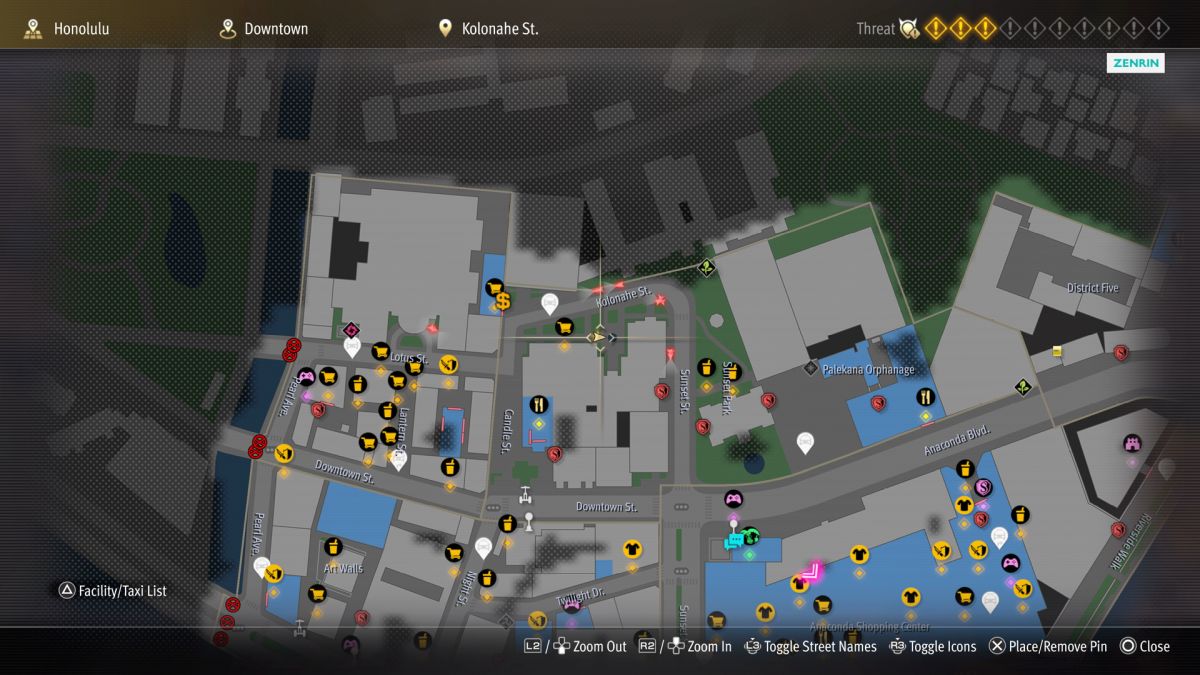
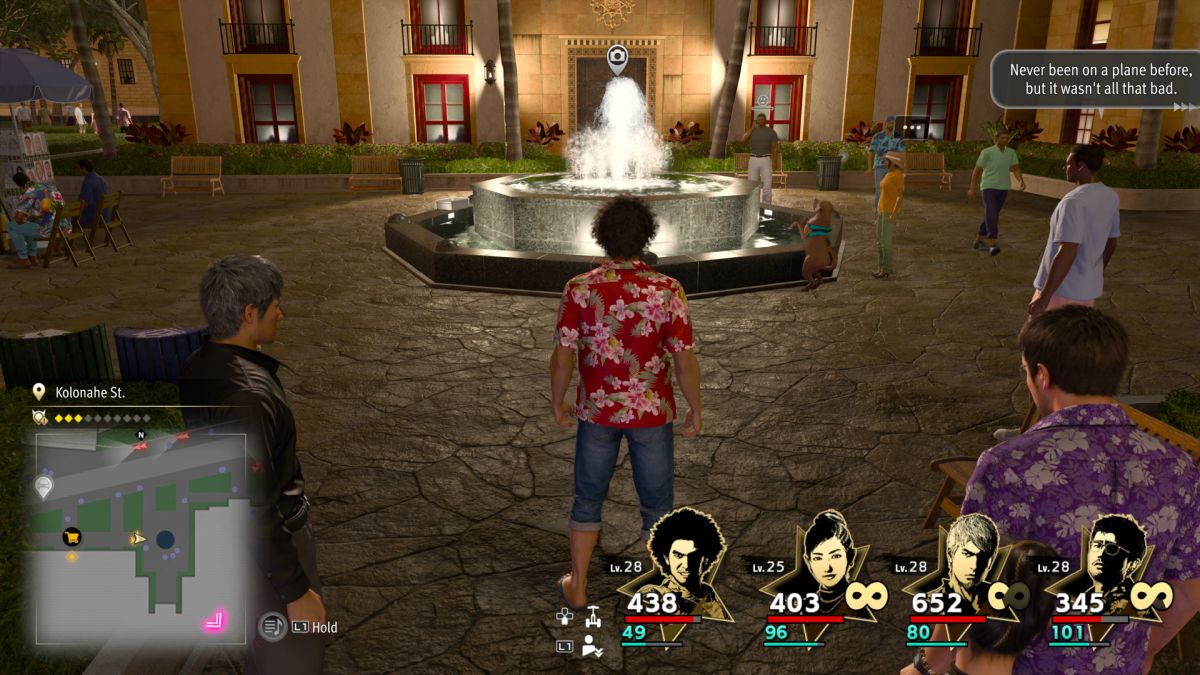
Kolanahe St. runs northeast from the Treasure Select Pawn (Chinatown) building. If you have activated it, you can fast travel to the beacon of the same name. Then travel east and watch the building and its plaza to your south. There is another fountain here, which you can also photograph. It is due east from Shark Teeth Souvenirs.
8. Shark Teeth Souvenirs
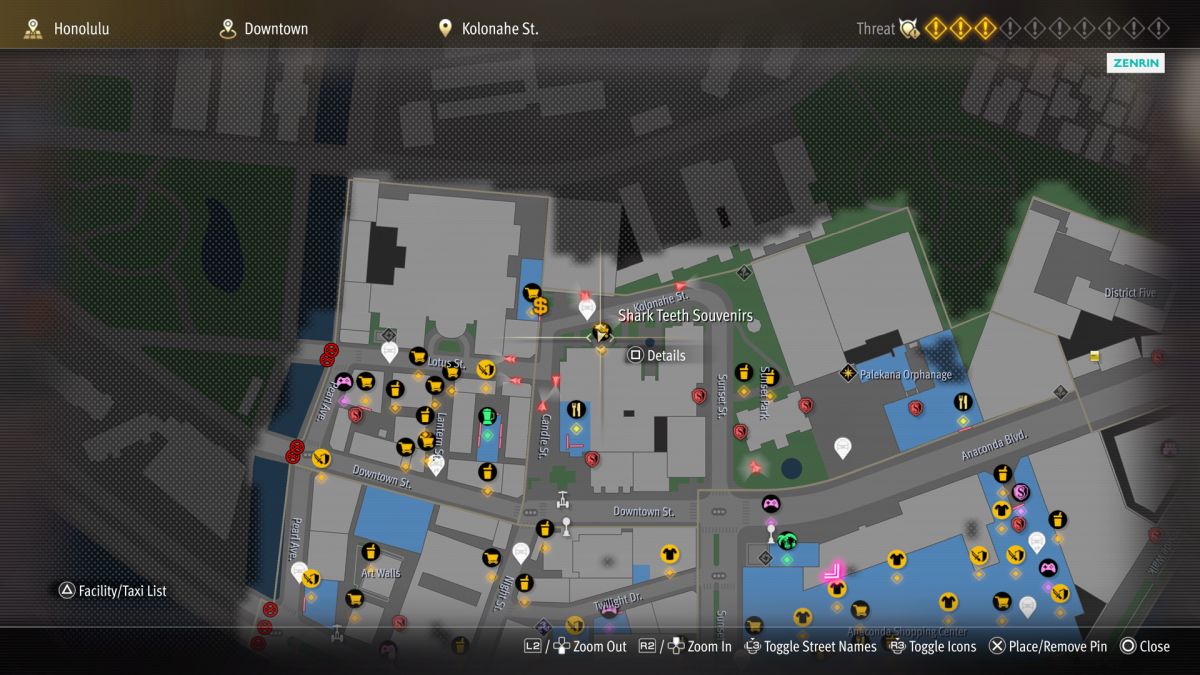
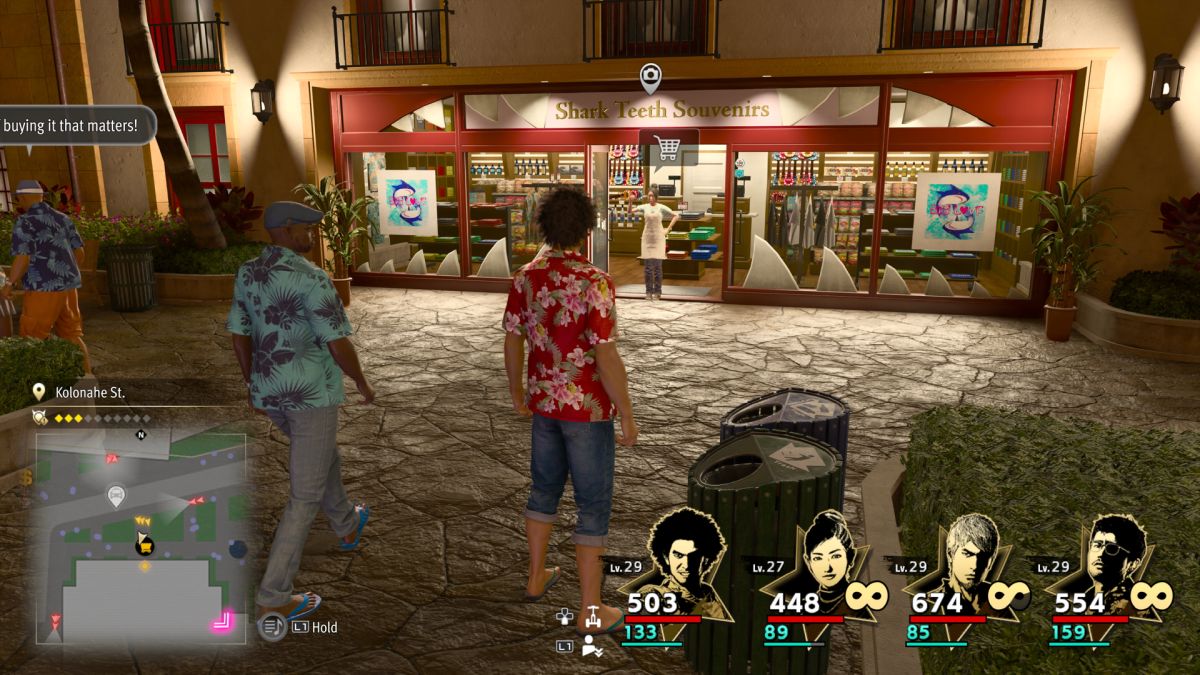
Fast travel to the Kolanahe St. beacon and then travel a short distance southeast to arrive at the store. You can take a picture of its exterior. The building is east and slightly south of Treasure Select Pawn (Chinatown).
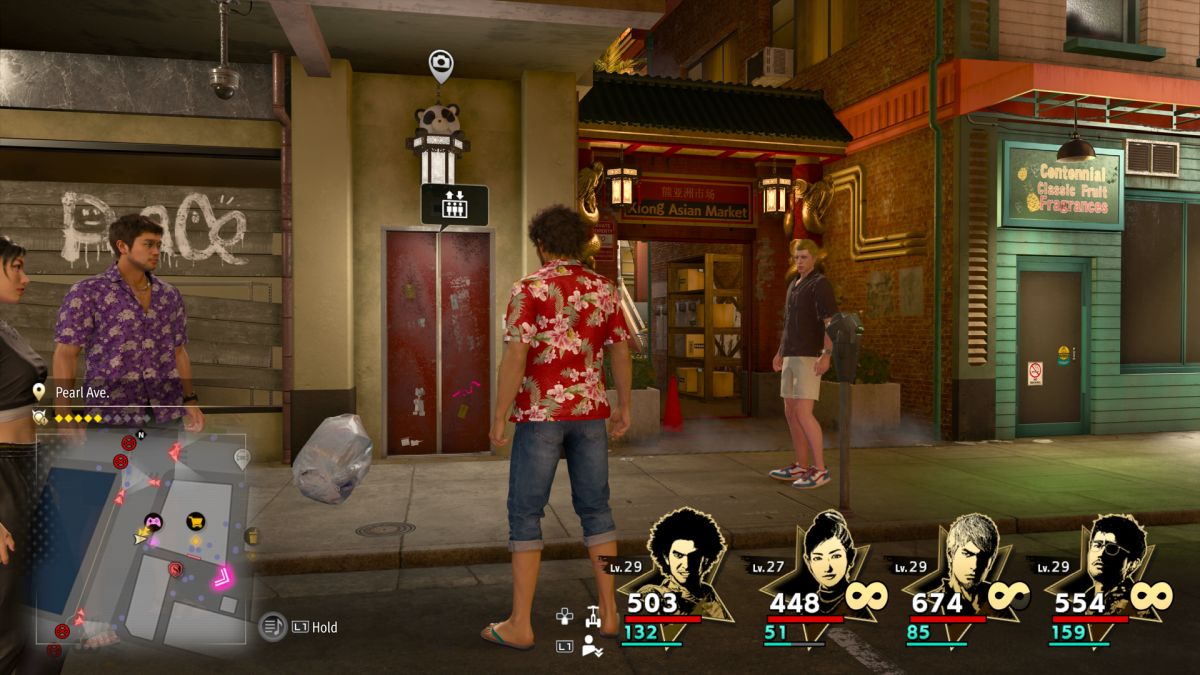
9. Panda Pads
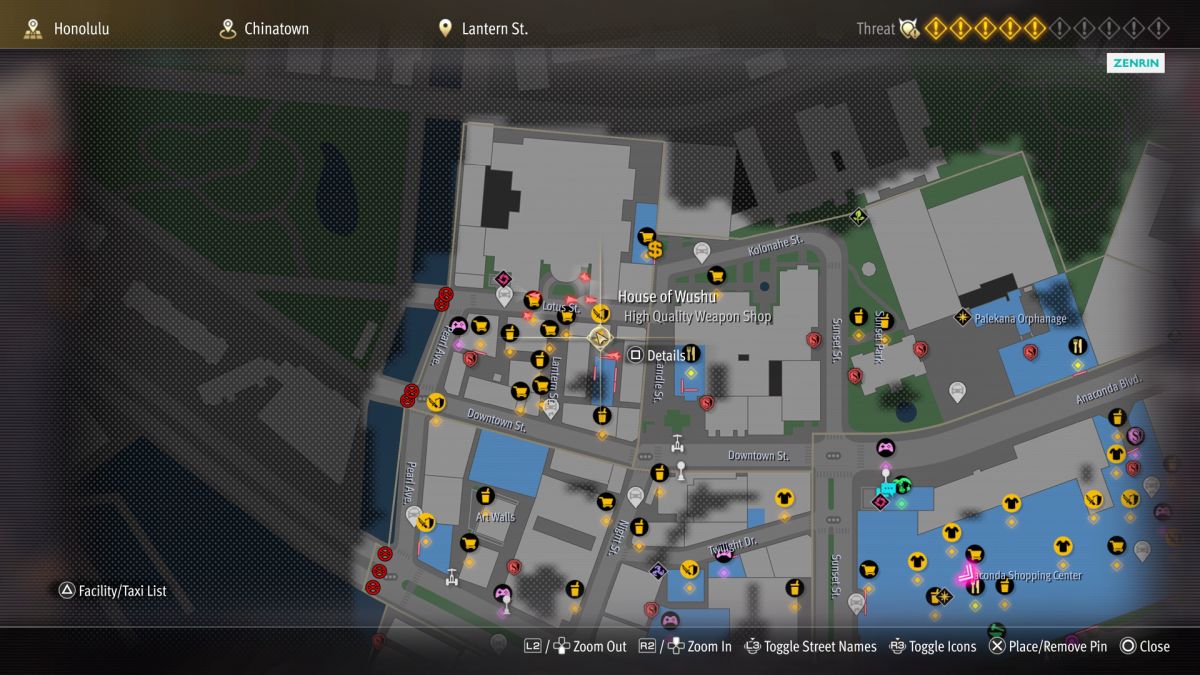
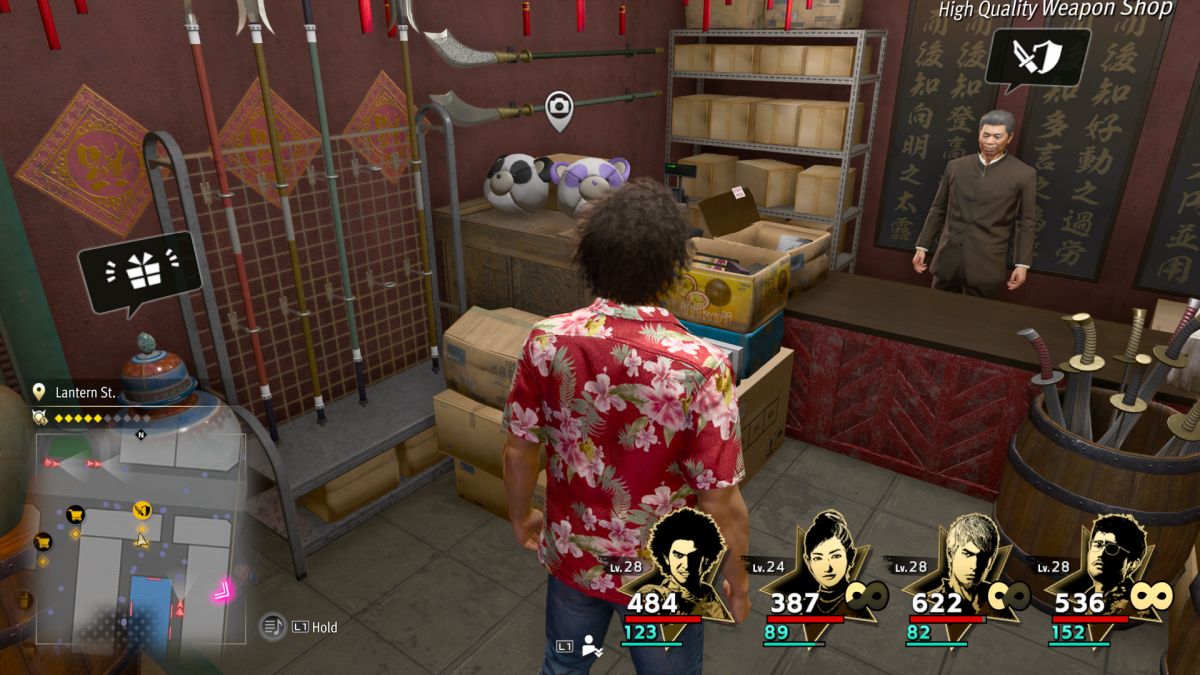
Your goal here is to reach the House of Wushu shop, which sells high-quality weapons. When you do arrive, some panda-shaped pillows are resting on a crate to the left of the store’s counter. You can photograph them. The easiest way to reach the shop is to fast travel to the Lantern St. Entrance beacon, and then head east and north through the alley. The enemies in the area can be fairly tough, depending on what point you’ve reached in the game, so be mindful of that threat.
10. Nirvana Hotel
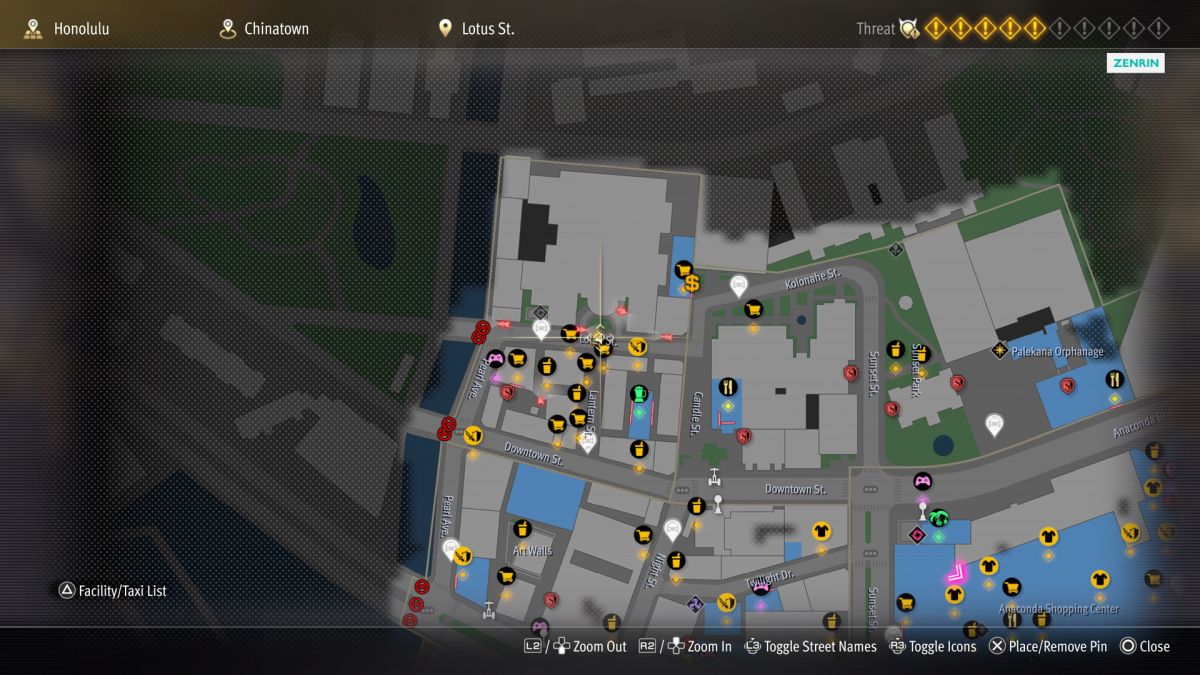

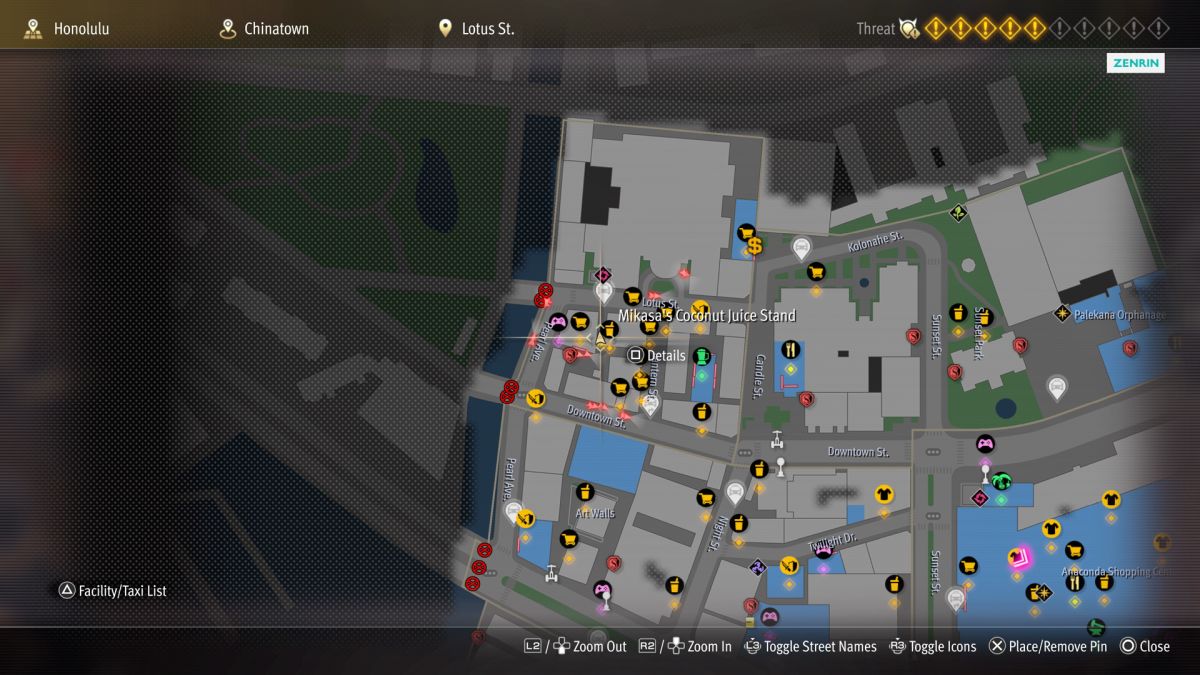
Nirvana Hotel is built along the north side of Lotus St., itself located north of Chinatown. The hotel is the large building in the map’s far northwest corner. You can fast travel to the Lotus St. beacon if you have activated it. Then just travel east from there to find the entryway with a huge chandelier. Snap a photo of the chandelier.
11. Miss Ginseng
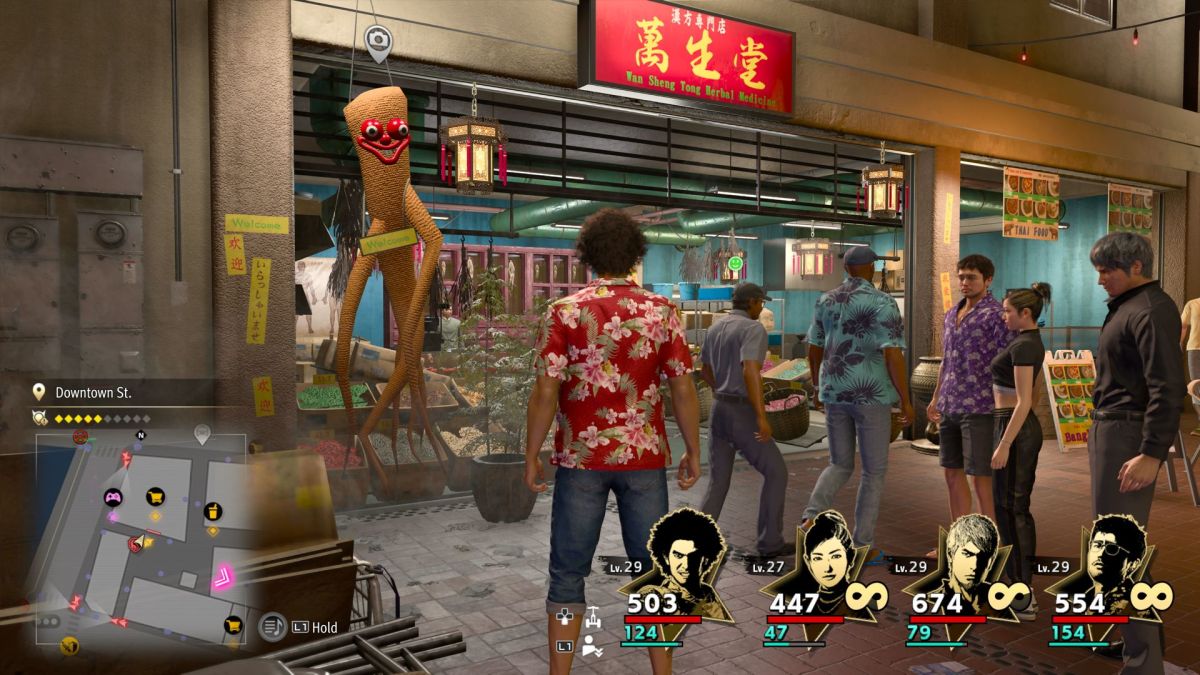
From Lotus St., head south into the Chinatown area. Or, if you prefer, head north into the district through the alley near the western end of Downtown St. Either way, your destination is the western wall, just south of the alley leading west to meet Pearl Ave. Standing along that wall, look north to easily spot Miss Genseng on the wall of the Wan Shang Tong Herbal Medicine store.
12. Mahjong Parlor Entrance
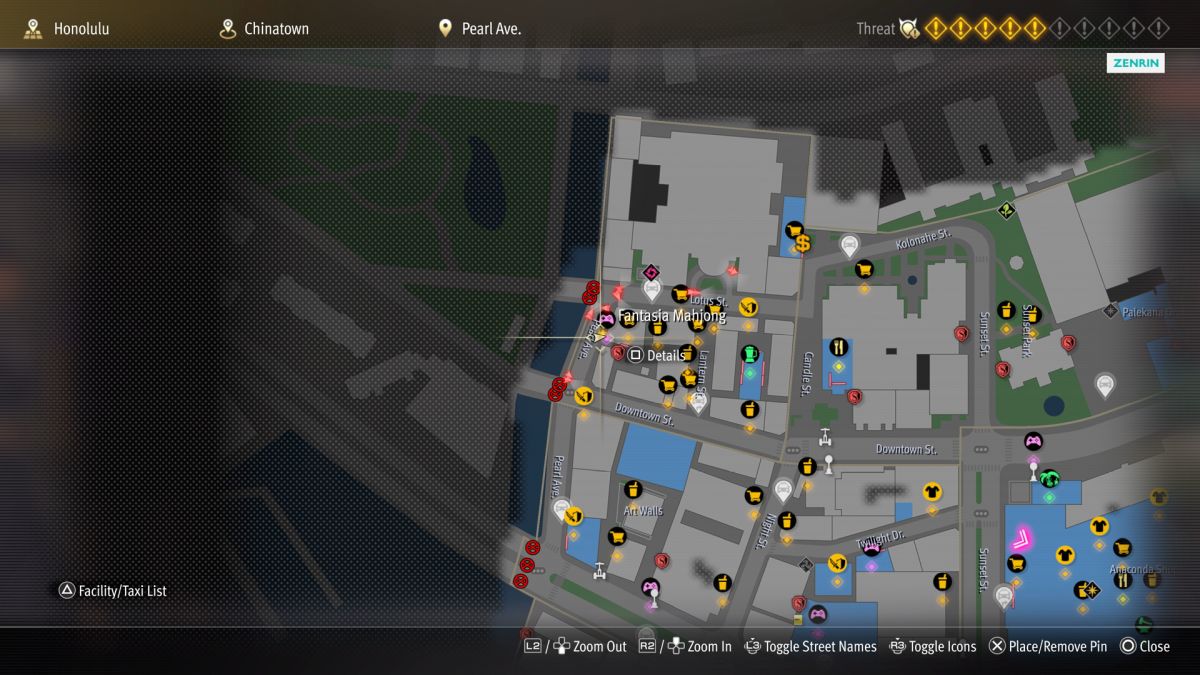
The Mahjong Parlor is accessible from Pearl Ave. as you face east, toward Chinatown‘s western edge. It’s not quite due north from Clean-Clean Household Supplies. Very late in the campaign, Chinatown can be a dangerous area, so you may wish to approach from Lotus St. and then head south along the road. While coming from that direction, watch the wall to your left and you should see the elevator leading to the parlor. Rather than entering the elevator, snap a photo of it.
13. Another Bottle
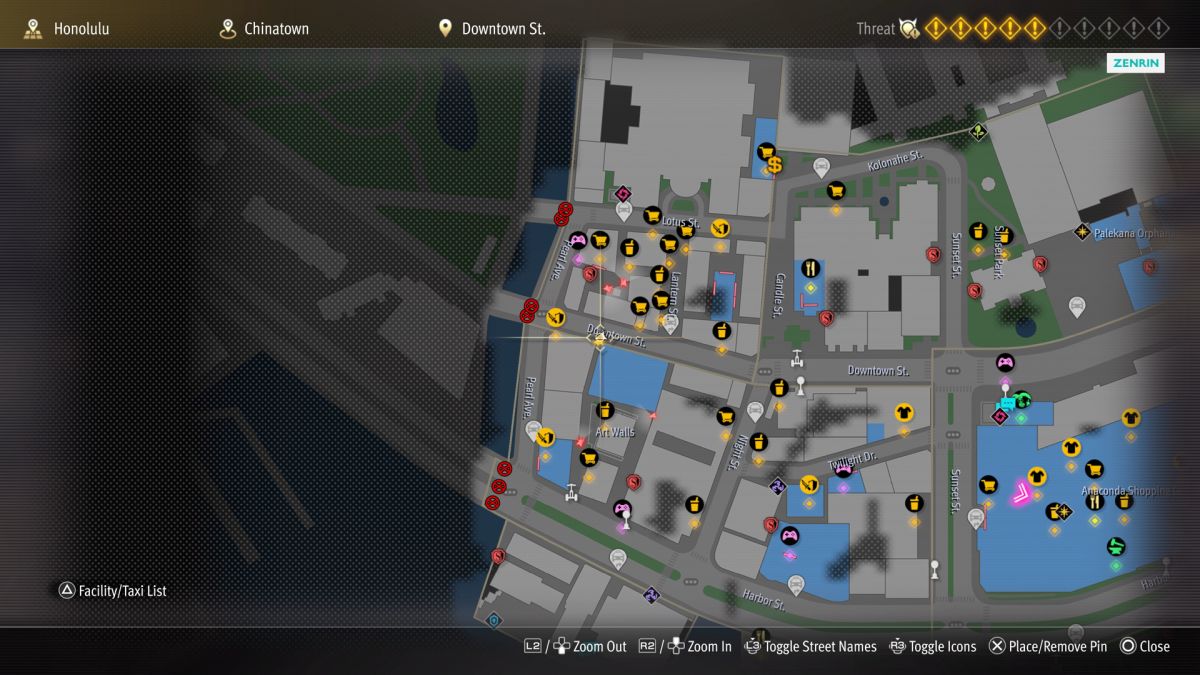

Along the south side of Downtown St., at its western end, you’ll find Clean-Clean Household Supplies. From there, you can travel east along the sidewalk. Watch for an alleyway as you progress in that direction. Just ahead of the alley, you’ll find the store you seek. Take a picture of the sign over its entry door.
14. Fantasy Smoothies
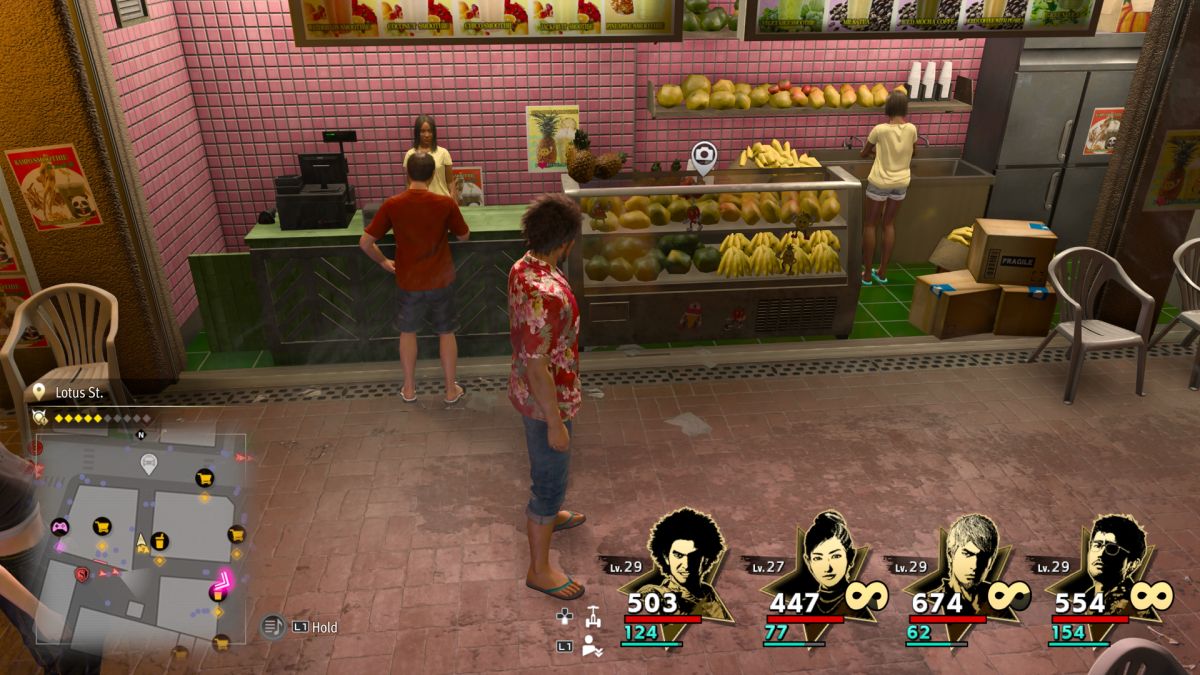
An alley leads south into Chinatown from Lotus St., due south of the fast travel beacon. If you start south through that alley, you will find Fantasy Smoothies to your right almost immediately. Take a picture of the bananas in the store’s display case.
15. Clean-Clean Household Supplies
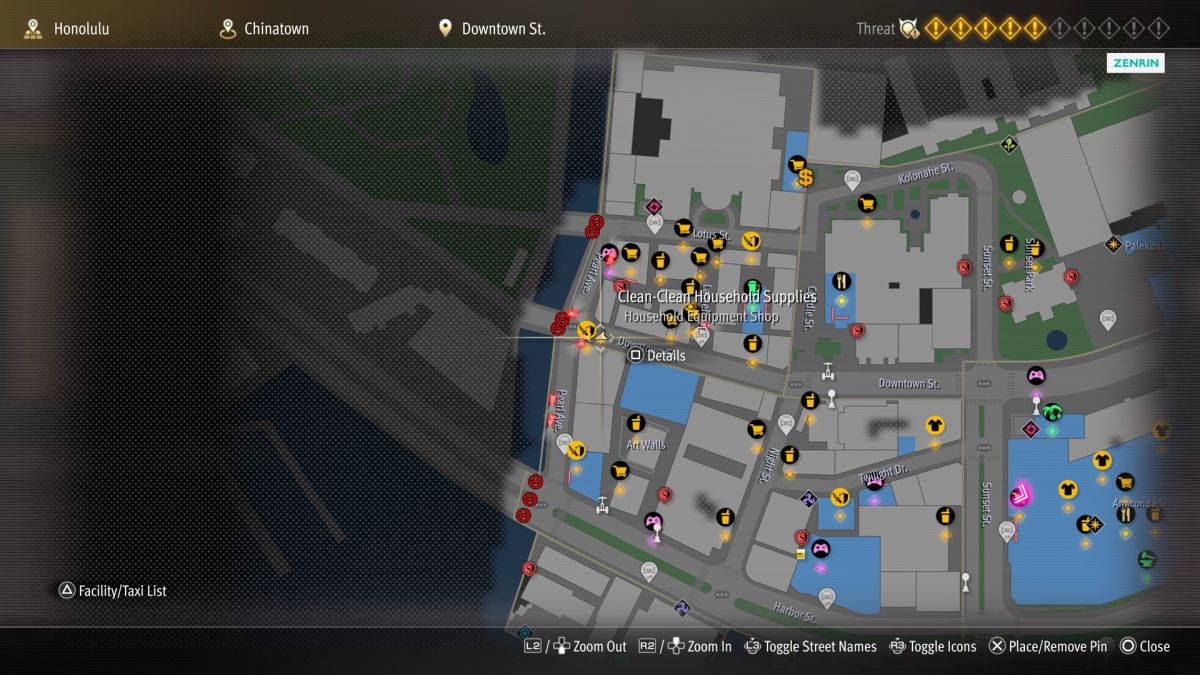
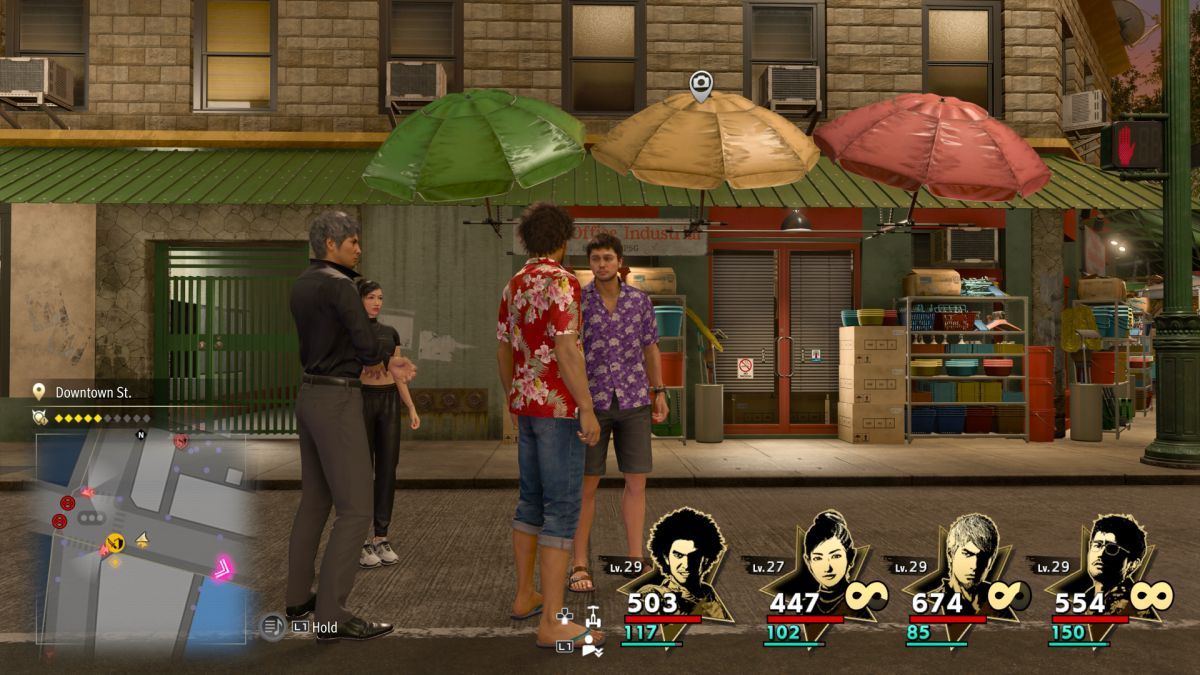
Clean-Clean Household Supplies is a shop on the west end of Downtown St., along the map’s far left side where it meets with Pearl Ave. You can approach along that street from either the north or the south. The S Pearl Ave. fast travel beacon can be handy, so I recommend using that if you have it activated. Once you reach the store, take a photo of the large umbrellas along the slanted awning on the store’s north side.
Once you snap all of the required photos and show off your results at the main branch of Alo-Happy Tours, you receive the Fluffy Maracas as a reward. They’re a decent weapon in the early going, especially when upgraded. Since you’re deep in the side quest hunt, learn all about the Japan Photo Rally location in Like a Dragon: Infinite Wealth.