Winter Survival is already gritty and challenging as it is, which is only made much worse by the ticking time bomb that is the respiratory infection that you’re dealing with.
If you simply can’t find one of the syrups (that’s right — plural for those who weren’t aware), then I’ve got your back. I’ll also be following this quest line to its completion, I just couldn’t leave you hanging like that.
First Winter Survival Syrup location – treasure map
Upon starting the game with the Sickness Scenario, you’ll already be on tenterhooks to find the next dosage of Syrup. You already have a drawn map in your possession. Upon looking at it, you’ll see a rather vague and confusing depiction.
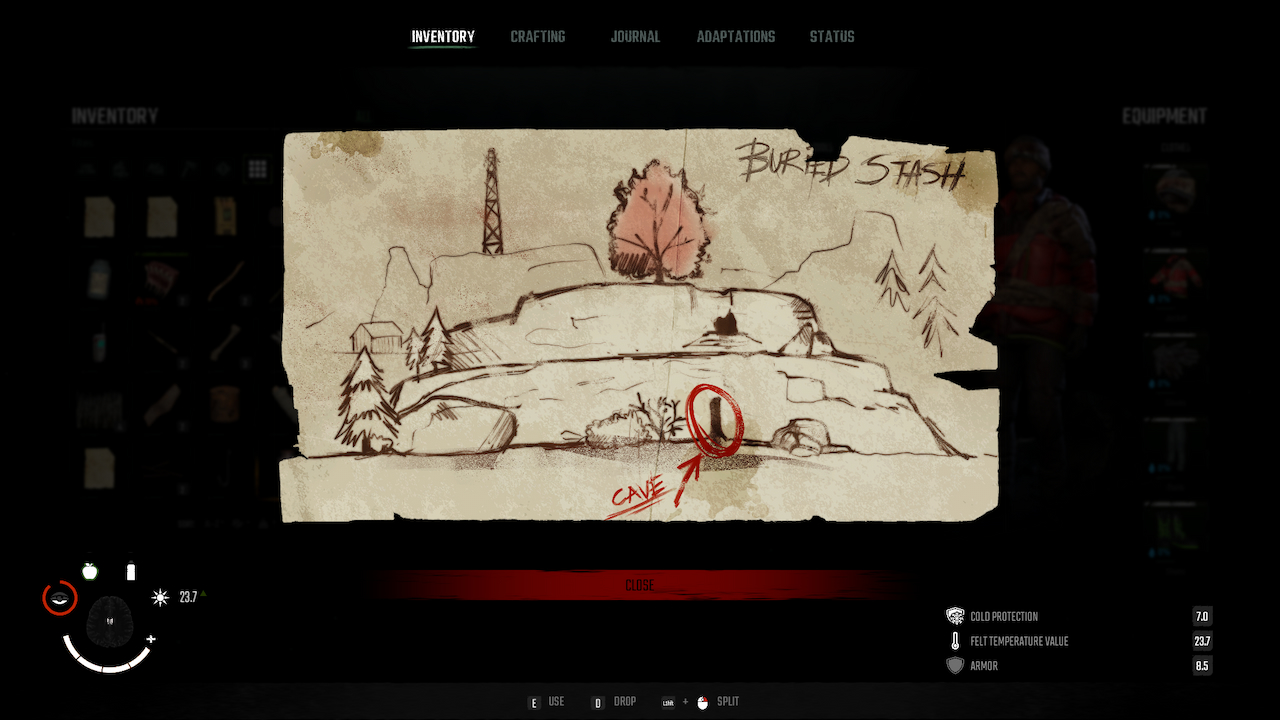
The key landmarks here are the pink tree, the radio tower, and the distant shed. You can spot the radio tower and the pink tree from your starting cabin. Head outside: to the right will the radio tower and almost straight ahead will be the pink tree in the distance. Be very careful of wolves on this route.
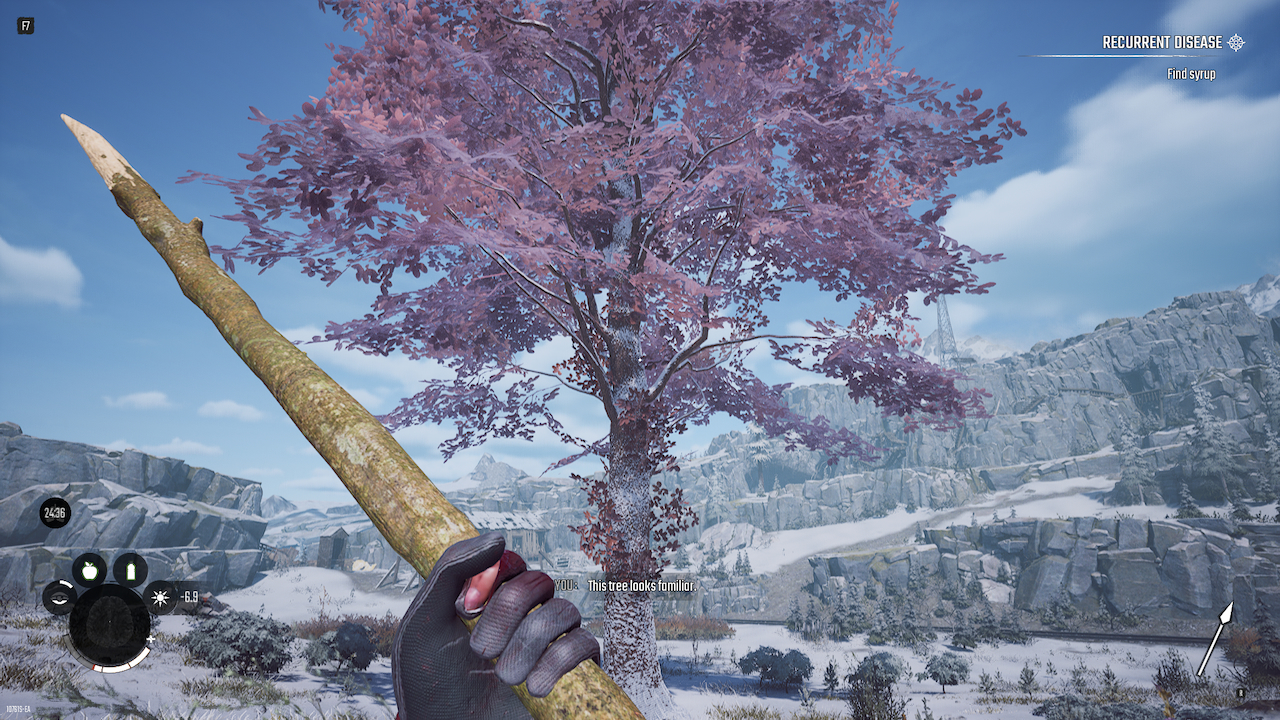
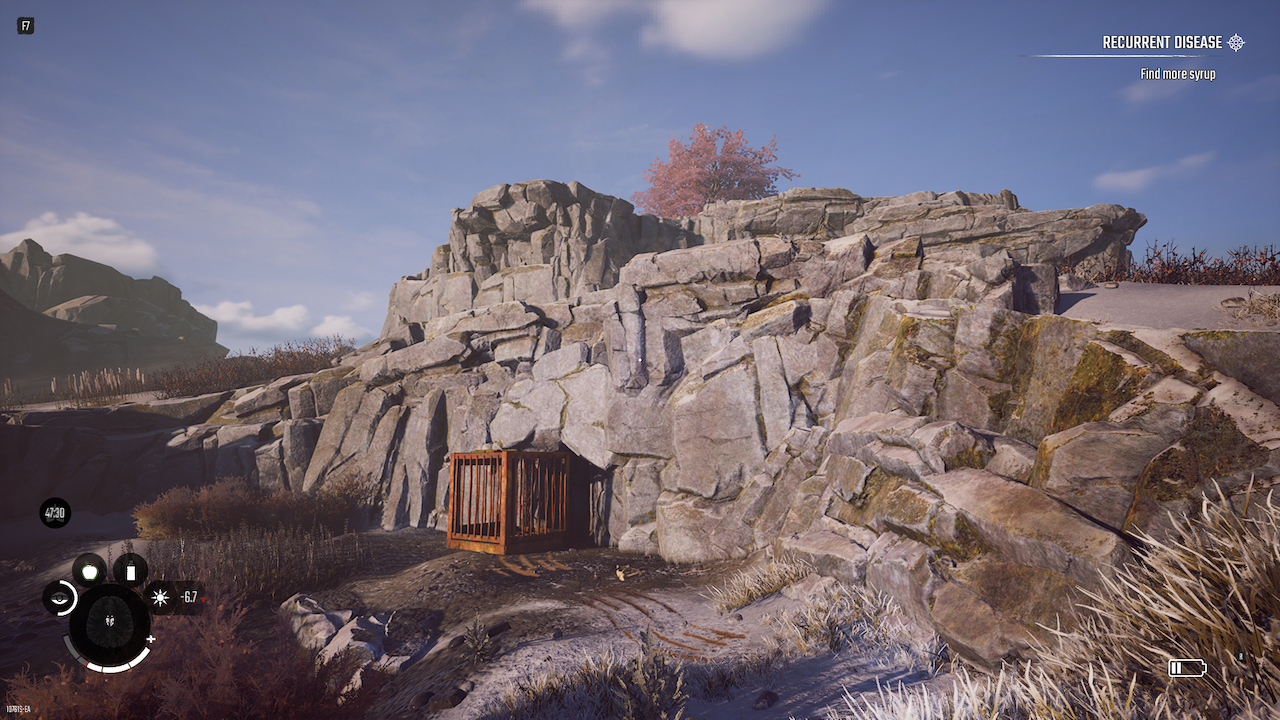
Walk over to the pink tree. The map shows that the stash is inside a cave on the lowest ridge that supports the tree. Slowly, descend the side of the rocky walls. At the bottom will be a cave blocked by a cage and guarded by a wolf. You’ll have to take the wolf out and drag the cage aside.
Inside you’ll find a very small cave system, and when climbing up a small ridge, you’ll see some barrels, a shovel, and a painted eye on the wall.
Grab the shovel and start digging. You will unearth a crate, with a Syrup inside. You can consume it now – the effects stack. Take all items and notes. One of the notes will be a fragment for a Makeshift Syrup recipe, and another will be a clue to the next Syrup.
Second Winter Survival Syrup location – directions
Instead of a drawn map, you received a note, detailing the location of the next Syrup that you need to hurry up and find. Only the first paragraph is needed.

Your next location is “the storage houses near the tunnel to the trolley maintenance station.” To find the storage houses, we should start looking for the trolley maintenance station. The trolley Martin is referring to requires rails to move around, so if we follow one it should take you right to the Syrup.
Go back to the pink tree. You’ll notice that from your angle, just ahead, is a railway track. The left path is blocked, so follow it to the right. Keep following in that direction even when it merges with another track.
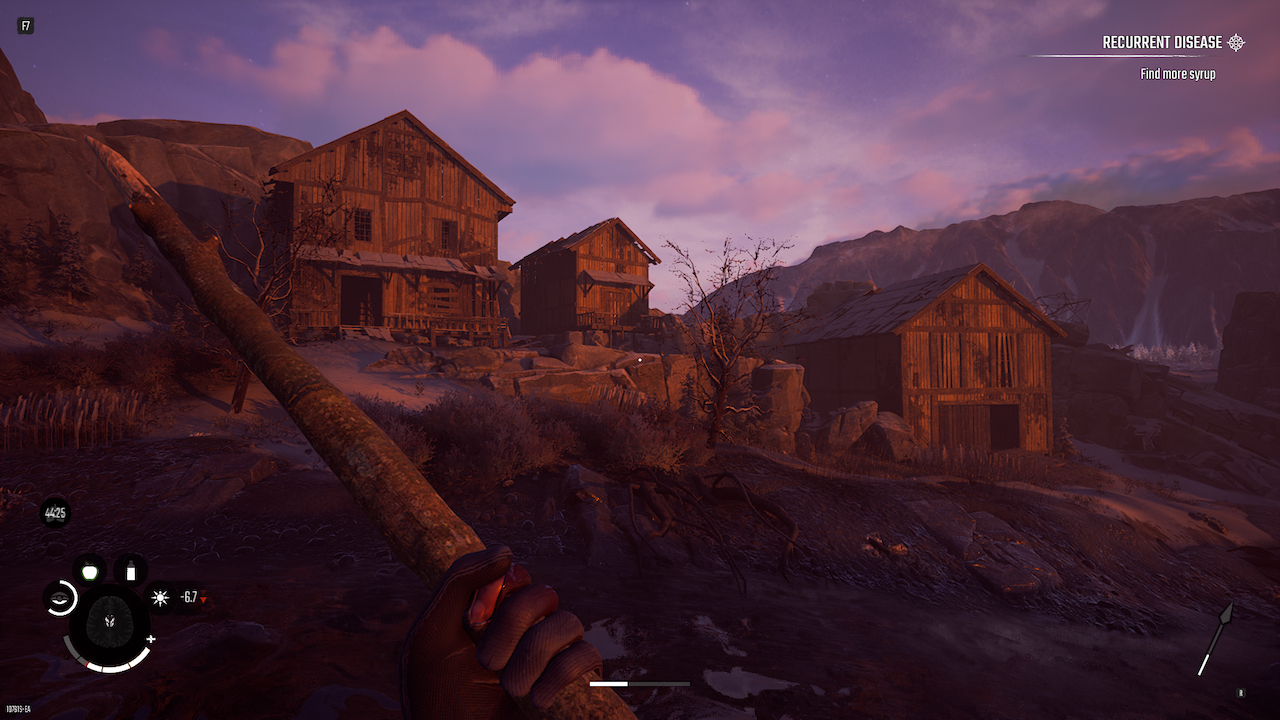
You’ll very soon come across these houses – the storage houses. There is plenty to loot here, so explore thoroughly after you’ve grabbed the medicine.
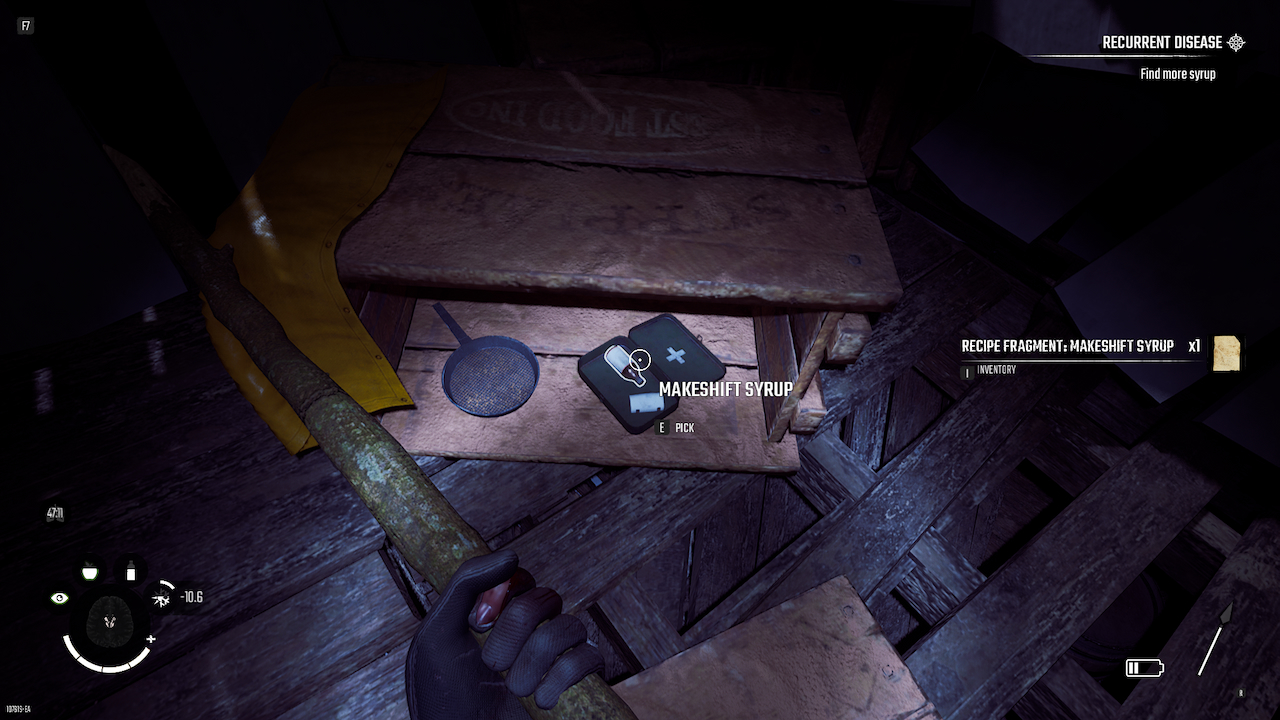
Enter the house on the left and go upstairs. There will be a cage blocking a tear in the wall. From there, you can sprint and leap into the next house over. Grab the Syrup and the recipe fragment.
Here, you’ll notice strange numbers painted on the collapsed roof slats. Your radio will then come to life, with a mysterious voice saying, “021370.” This code will be the key to the next part of your journey.
Final Winter Survival Syrup location – codes
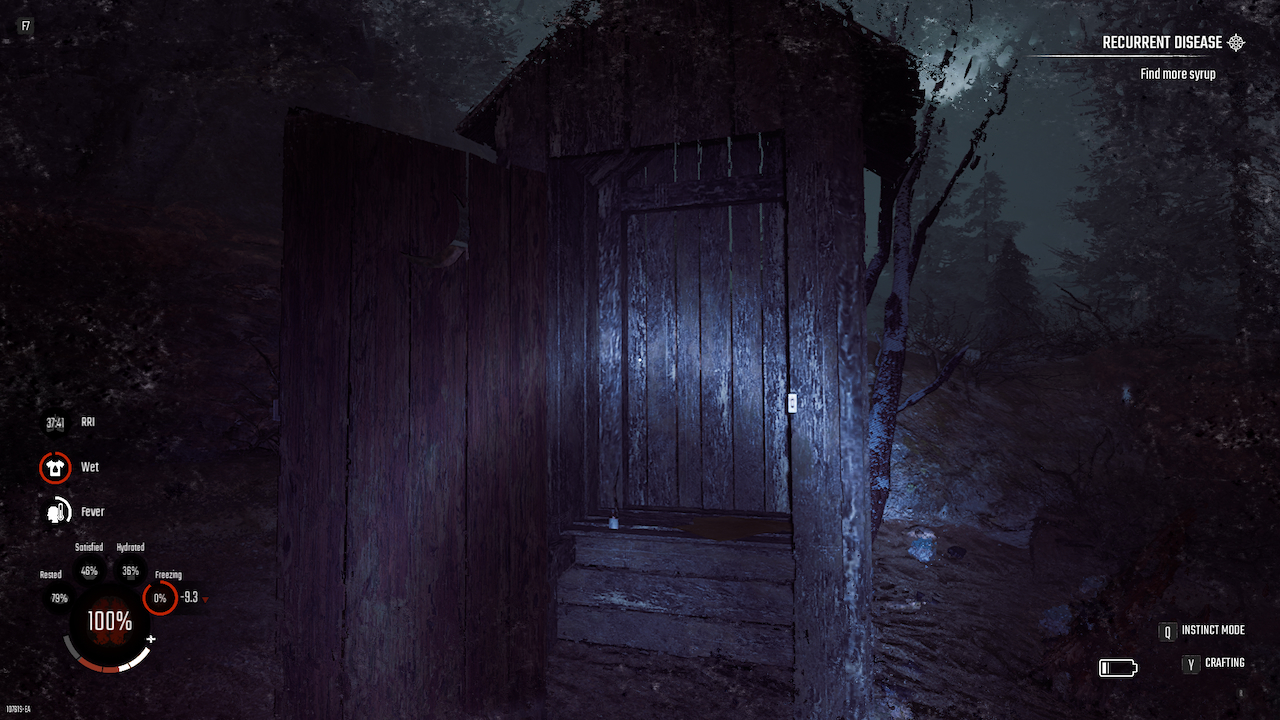
If you noticed the locked outhouse next to your house, then you probably connected the dots already. Return to your dwelling and input the code 021370 into the combination lock. It will unlock, revealing a Syrup and another recipe fragment.
Upon picking them both up, the quest will be complete, and you will start another quest looking for a permanent cure. Although you can’t access it, allegedly the completed note with all the fragments details where the recipe for a permanent cure for the infection is, and it will be displayed on your screen as a marker for you to follow – finally, no more riddles or maps.
You can now also make some more Makeshift Syrup, although it’s very expensive. By the time it’s gathered and made, you’ll likely need another serving. It requires:
- 10 Fresh Water
- 2 Cave Moss
- 2 Snow Mountain Garlic
- 2 Chaga Mushrooms
- 1 Cooking Pot
It is not a good idea to make or consume any now – head straight for the cure recipe. However not before saving your game.
How to find the permanent cure recipe in Winter Survival
Finding the permanent cure in Winter Survival is the easiest part of your journey. Before you head out, make sure to craft an axe. Head in the direction of the marker. You will approach a large mound of rock. The cure is at the top, but to get there, you need to go inside.
As you approach the large mound, start walking alongside it to the right. You will approach an entrance.
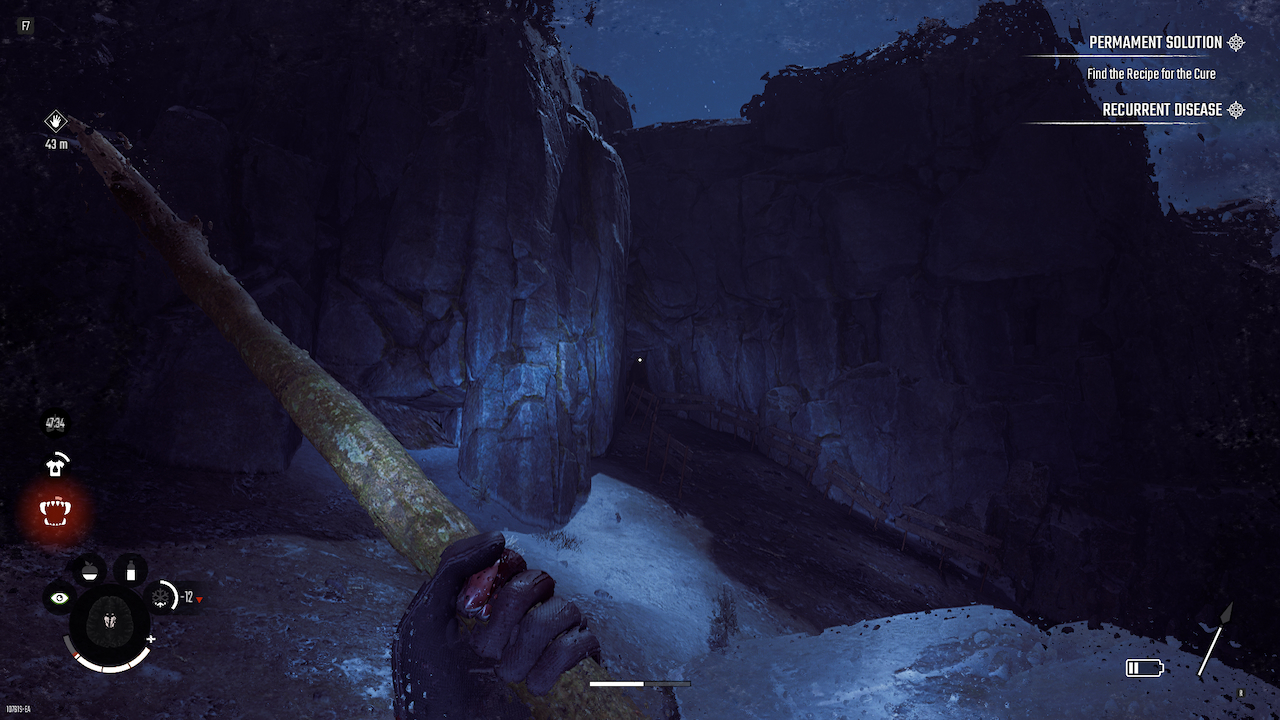
Walk through the narrow tunnel until you reach a split in the road. Head down the stairs. A bridge is being held up by some rope; use your axe to cut it down and cross the bridge. To the right, you’ll see a gap that you’ll have to jump. Keep spamming the jump button to latch on the ridge and climb up.
Keep walking along and make the next jump. You’ll continue through to an opening.
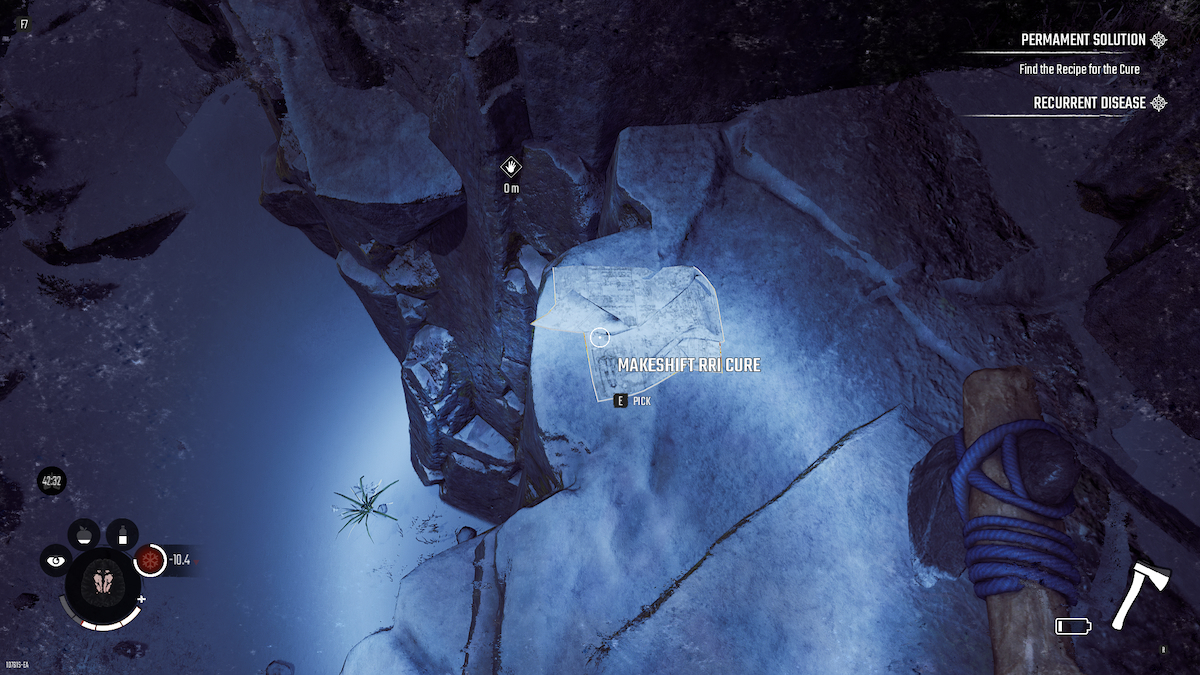
Exit the cave. The path to the top of the rock mound is very apparent and linear from this point. Upon reaching the top, you can climb up to the marker, where a recipe for the RRI cure will be lying on the floor.
Finally, you’ve got the recipe in your hands. But now comes the daunting challenge of making it.
How to make the RRI Cure in Winter Survival
In Winter Survival, the RRI Cure requires:
- 5 Makeshift Syrups
- 20 Medicinal Herbs
- 8 Charcoal
- 8 Crushed Salt
- 1 Cooking Pot
A pretty demanding list. Here is how to get every ingredient you need. Once you have them all, simply concoct the medicine, and drink it.
It may be wise to start the scenario over again. Now that you know where the Syrups are, you can easily speedrun the task, only having consumed the first Syrup at the beginning of the game. This will shorten your gathering time considerably, as you’ll have to make fewer Syrups.
How to get Fresh Water
As long as you have a full Canteen of water, it will count toward the cooking progress. So fill your Canteen with water from the stream just outside your lodging.
How to get a Cooking Pot
There is a Cooking Pot on a shelf in your shack, so simply have it present in your inventory when you are going to cook something that needs it.
How to get Cave Moss
Cave Moss is a green substance that grows inside caves. There is plenty of it around in the cave system that you had to walk through to get the cure and in all other cave systems on the map.
How to get Snow Mountain Garlic
Unfortunately, reader, I have been all over the map and have failed to find them. If I happen into them, I’ll update this passage, but for now, I wish you better than I had.
How to get Chaga Mushrooms
Chaga Mushrooms grow right outside your shack, so simply go outside and pick some. Use Instinct Mode to identify them if you’re having trouble.
How to get Medicinal Herbs
Medicinal Herbs can be found in the same way as Winter Wheat and Tall Grass, although they’re a tad rarer.
How to get Charcoal
Charcoal is progressively made as you brun any sort of wood in your Campfire. To collect the Charcoal, go into your Campfire and look at the bottom of its menu. Some will be waiting for you. Burn more wood to get more if you need it.
How to get Crushed Salt
To make Crushed Salt, you need to find some Salt Crystals. Thankfully, you’ll find some littered around the hot springs right outside your base. Grab some, and return to the Mortal and Pestle sitting on a shelf. You’ll be able to make some there.