The combat in Dragon Ball Z: Kakarot is far from complicated. Most fights will play out similarly, and the same tactics will work for the entire game. That said, though, there are some little things you’ll pick up on. So, let’s take a few episodes to power up while staring each other down. That should give you plenty of time to get up to speed on the nuances of the game’s combat.
Get a leg up on the… pile
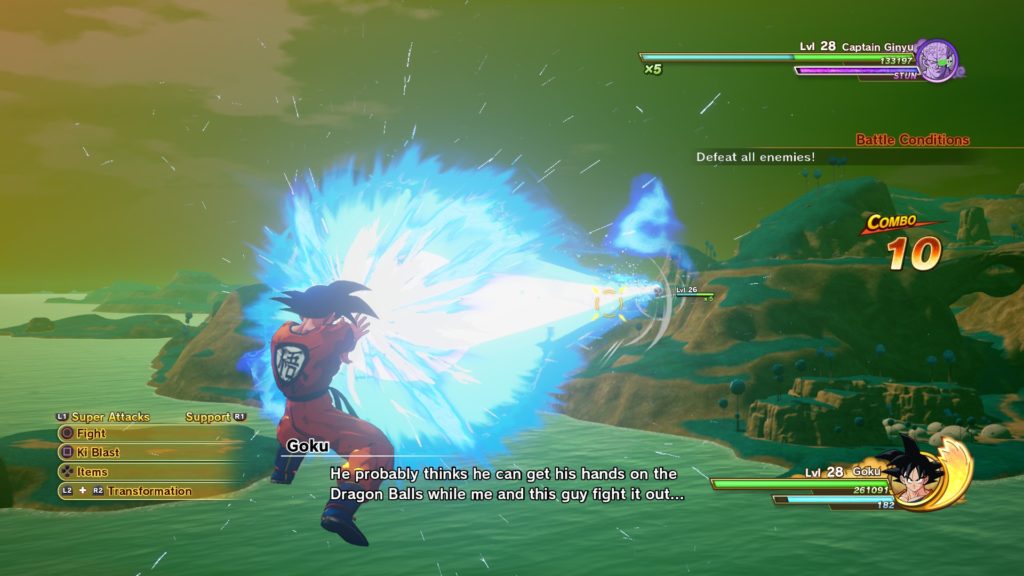
Whenever a fight begins, your enemies will be vulnerable. You can use this to get a cheap shot in every time, which will help the battle go at least a little faster. I find that the best way to do this is to start tapping the inputs to let loose a ranged attack of your choice as soon as the starting text appears. Just keep hitting those buttons and your character will fire off a blast right as the battle begins. Your enemy will have no choice but to eat it head-on.
You’ll often be fighting multiple enemies, so an aimed multi-shot blast attack can damage all of them at once. That won’t necessarily make fighting multiple foes on your own less annoying, however. During these fights, you can expect your enemies to shoot you in the back and knock you around while you’re trying to focus on their comrade. But there are markers around your character that will flash red when they’re about to attack, which will leave you time to guard, or at least move around some.
Hyper armor
One of the main features of fights in Dragon Ball Z: Kakarot is that enemies will very frequently make use of hyper armor. If you’re not familiar with that term, it means that while you can hit and damage them, you can’t flinch or stagger them at all. This can get a bit awkward – they can use this whenever they charge their ki or right before using a super move, but you do not have the same luxury.
For instance, if you’re firing off a standard ranged super attack, if an enemy hits you, your attack gets stopped dead in its tracks. But if you hit an enemy while they’re doing the same, nothing can stop them. This becomes especially aggravating when enemies are constantly using supers or constantly charging energy. You’ll end up not being able to stagger them at all, which means you’ll just have to keep hitting them when you see them turn red and then get out of the way or block before they unleash it.
Now block, block, block
Blocking is often your best defensive option, by the way. You can pretty much block no matter what, even if you’ve already been hit. If an enemy lands a special ranged blast on you, blocking after it connects will allow you to reduce the rest of the damage. This is one of the few advantages you have over the AI. When you hit them with a super or a combo, they have no choice but to just take whatever punishment you dish out until it’s over.

But if you hit an enemy while they’re blocking, they’re not going to stop while you’re hitting them. This is why you’ll want to always have characters equipped with a multi-hit special that does guard break damage. Using this will frequently break their guard and earn you a few more hits after you send them flying. A lot of the time, though, they can take a lot of guard damage, so they might not break until the last hit – if they break at all. Oftentimes, it’s better to disengage and wait to counterattack.
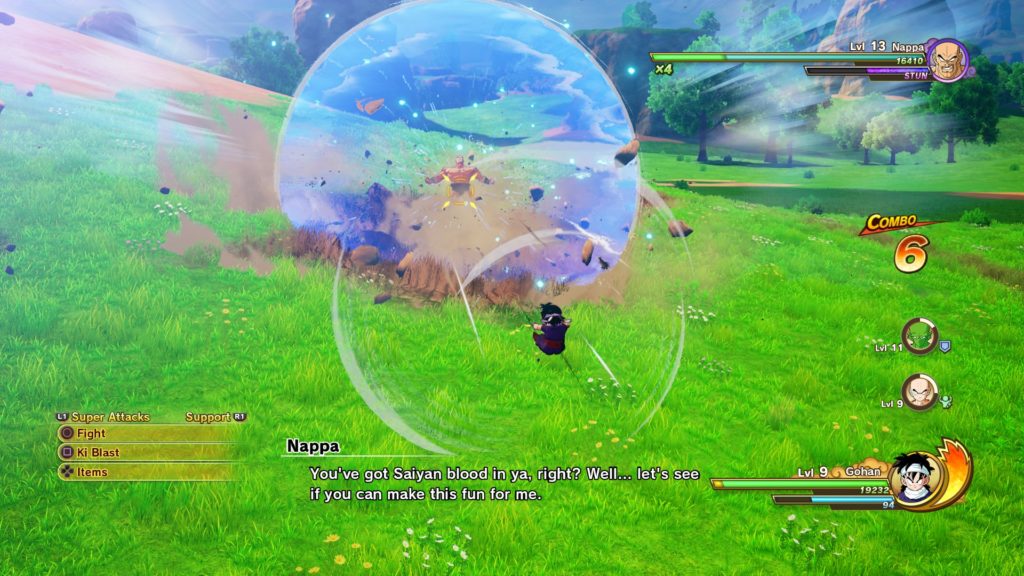
Your guard, however, will usually break in a single hit. If an enemy hits you with a high guard damage move, your guard will typically break immediately, leaving you dazed while the enemy proceeds to tear you a new one. Enemies also have a stun gauge. If you do enough stun damage, they’ll enter a stunned state. But you’ll need to keep attacking for a while to do this, as relenting will see their gauge completely heal itself after a time.
First things first, it’s your day to burst
Bursting is activated by hitting the key shot button while guarding, and it will send nearby enemies flying. This is most useful when multiple foes are in your personal space, but it’s also handy for when you’re blocking and the enemy won’t stop hitting you. Sometimes, if you start blocking a standard combo, the enemy won’t quit until your guard is broken. When they do that, your best bet is to use a burst. Then the problem will vanish until next time.
Then there’s the vanishing counterattack, which is activated with the dodge/boost button while guarding. When used before an enemy attack connects, this will teleport you directly behind your enemy. It’s very useful, but it also uses up half of your ki, so you’ll have to stop and charge every time if you want to make regular use of it.
Breaking the tension
One of the Dragon Ball Z: Kakarot‘s best weapons is the tension gauge. I don’t recall it being explained during gameplay, but I might not have been paying attention. To the right of your health bar, you’ll notice an energy blast-looking meter. When it’s full, you’ll have the ability to make yourself stronger and tougher for a bit, which can turn the tide of a fight.
When the gauge is full, you’ll need to fill your ki meter all the way. Once it’s full, keep charging for a couple of seconds and you’ll enter tension mode. Not only will this make you more of a threat, but it’ll also change animations and angles for certain strikes and supers, which can bring some more visual flair to the proceedings. It runs out fairly quickly, however, so it’s best to hold onto it until you’re able to do some uninterrupted damage.
Boss specials
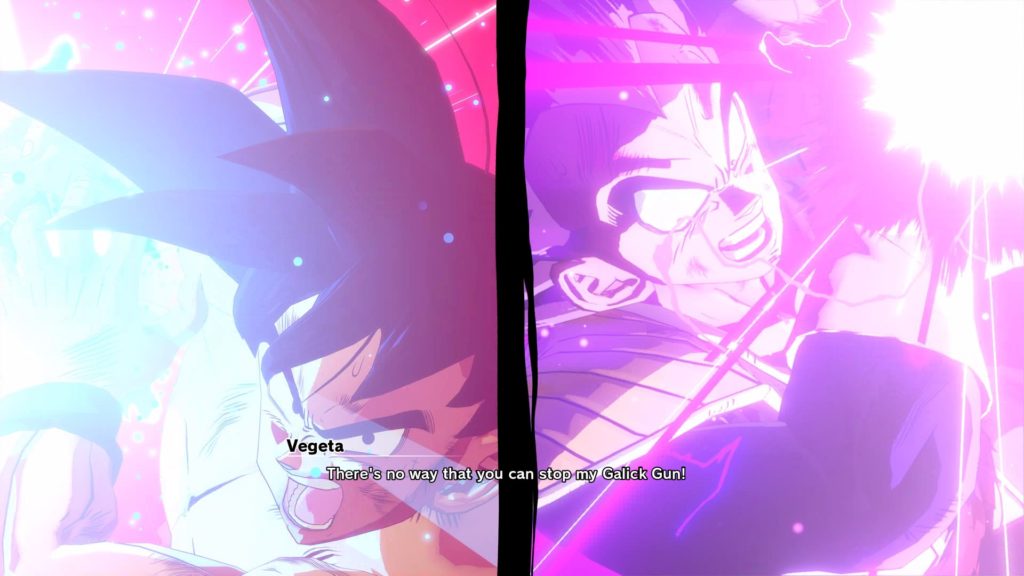
Some of the more important enemies you’ll fight in the game will have special moves that are totally unlike anything you can do. The camera will zoom in on them, and they’ll perform a lengthy series of energy blasts that you’ll need to dodge. The game changes these up in some surprising ways, such as forcing you to raise or lower your position to dodge below or under them – or, more commonly, showing you from a top-down perspective that you can use to avoid the attacks.
It’s worth mentioning that an enemy doing one of these will completely cancel whatever animation you’re in. If you’re in the middle of letting off a super attack, it’ll be over by the time you gain control again. This can be a bit awkward, but just stay on the move once it begins and then press on the attack as soon as things go back to normal.
Launch and blast
Another useful trick to keep in mind is that you’ll almost always have time to hit an enemy with a super blast as you’re knocking them away. Enemies will automatically get sent flying if you hit them with a successful combo. After the last hit, simply queue up a blast. You’ll hit them with it before they have the chance to recover.

You can also do this after bursting an enemy, although I’m pretty sure the timeframe for you to do so is shorter than after the last hit of a combo. You can also use regular ki shots if you want to keep things shorter, but your damage output will be lower. These are typically only good for when you want to do some quick damage to a mobile enemy or if an enemy is sending smaller ki shots of their own.
If that enemy does start sending their own smaller shots, attacking with your own will often destroy some of theirs. This is usually a solid choice, since enemy shots are often fast and plentiful enough that you won’t be able to successfully dodge them, which will then stunlock you. You can, of course, block during this stunlock or even try to block at the beginning. But this will likely lead to your guard getting broken and you taking the rest of the shots to the face.
Drink up
Most fights will be unlikely to give you much trouble. However, there will occasionally be a tough one. Even then, there’s no reason to worry. Just set up some health drinks on your item bar and chug them whenever necessary. Regardless of how difficult the enemy is, there’s nothing to stop you from spamming heals. And it’s very easy to stock up on heals as it is. You’ll likely have plenty just from going to have regular talks with Master Roshi.
That’s about all we have to say about the combat mechanics in Dragon Ball Z: Kakarot. It probably won’t give you much trouble, but it’s generally more enjoyable to play a game when you know what your options are, so I hope this helped some. If we missed anything, make sure to let everybody else know in the comments. Now get out there! You’ve got an Earth to save and Kamehamehas to fire.
Dragon Ball Z: Kakarot is available now over on Steam.