
Limgrave is the starting region in Elden Ring. With its lush forests and verdant fields, you might think that it’s an idyllic countryside. However, many dangers await you on your travels. Here’s our Elden Ring Limgrave walkthrough guide to help you with the initial portion of the campaign.
Note: For more information, check out our Elden Ring guides and features hub. Likewise, since you’re just starting out, you can take a look at our beginner’s guide.
Elden Ring Limgrave walkthrough guide
Since this is the Elden Ring Limgrave walkthrough guide, we’ll focus primarily on the objectives that you need to do to get to the next boss and progress the campaign. Still, I might talk about or link some optional stuff on the side. You may also read our dungeon and secrets guide for this region to see other points of interest. In any case, here’s the map with the landmarks that we’ll visit:
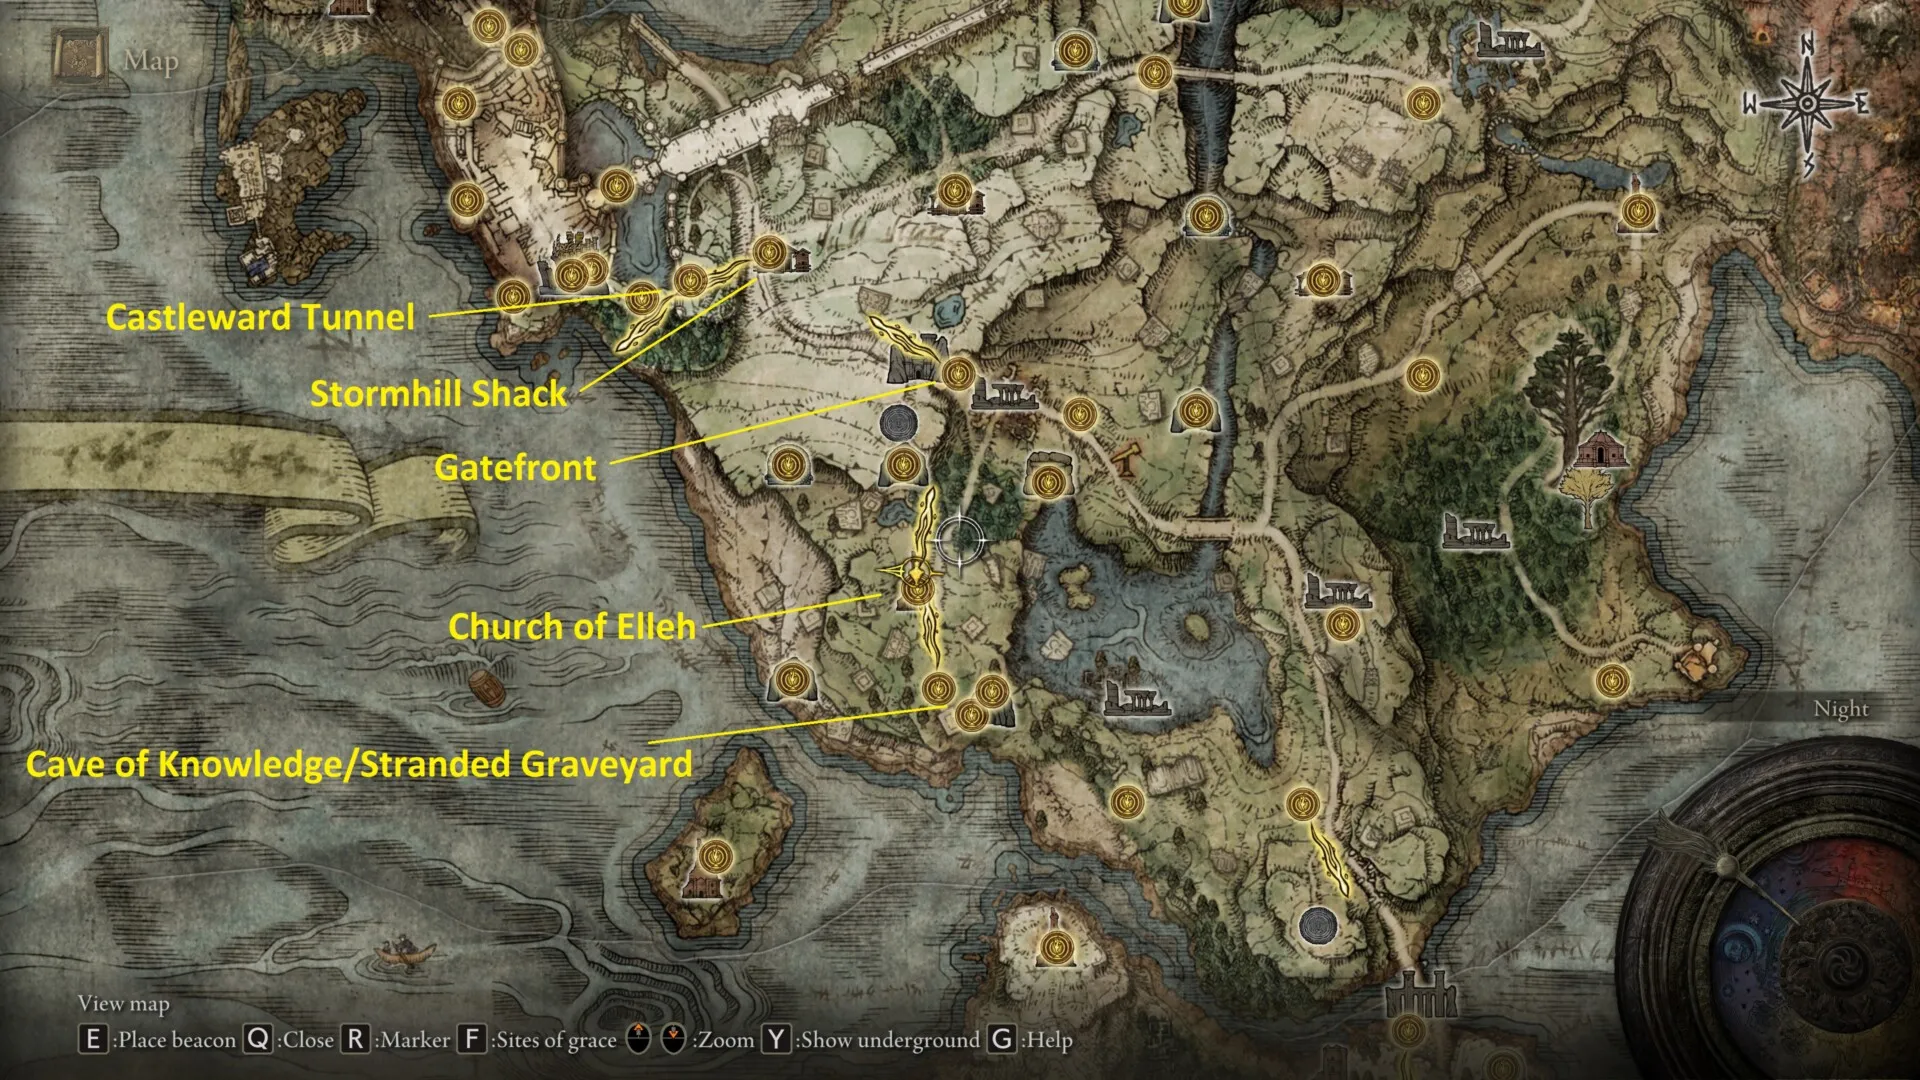
Church of Elleh
You’ll want to go through the Cave of Knowledge, which serves as the game’s tutorial area. From there, exit the Stranded Graveyard to see the wide landscape before you. The Tree Sentinel (which you can see in the featured image) is patrolling the road. Avoid it and go to the Church of Elleh. You’ll meet Merchant Kale who sells some weapons, ammo, and crafting recipes.

Gatefront
Continue along the road until you reach the Gatefront Site of Grace. Here, an important character, Melina, will talk to you. She’ll teach you a means of leveling up, as well as your horse mount named Torrent.
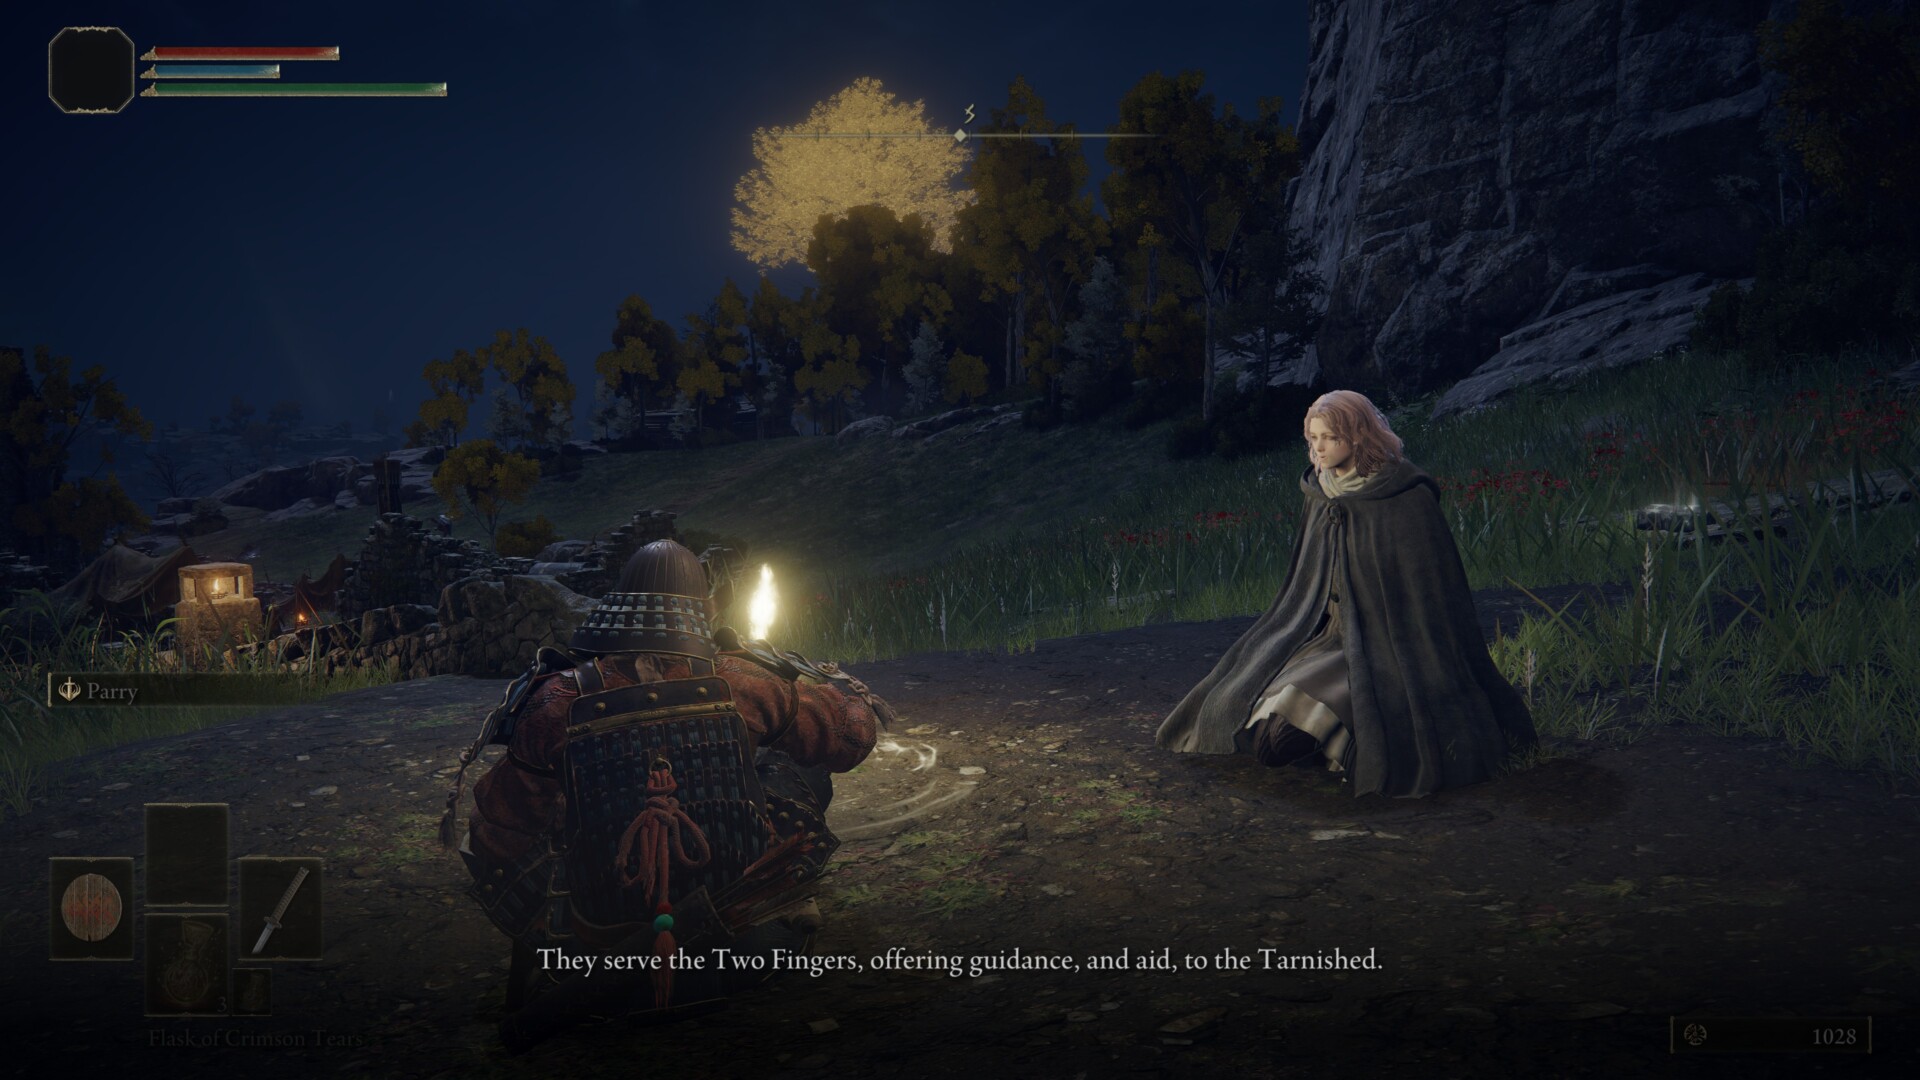
Note: Now that you’ve acquired an item to summon Torrent, you should fast travel back to the Church of Elleh at night. A witch named Renna will give you the Spirit Calling Bell. This will let you summon specters of beasts to aid you in battles.
You can level up a bit by beating down the soldiers near Gatefront. But, to progress further, you need to head through the sloping path past the gate. That’s when a Troll spawns.
You can fight it or use Torrent to gallop away. In the next section, a bannerman soldier will call for reinforcements, too.

Stormhill Shack
Continue uphill until you see a small tree with a golden glow. These kinds of trees have a Golden Seed, an item that’s used to increase the charges of your HP/MP flasks.
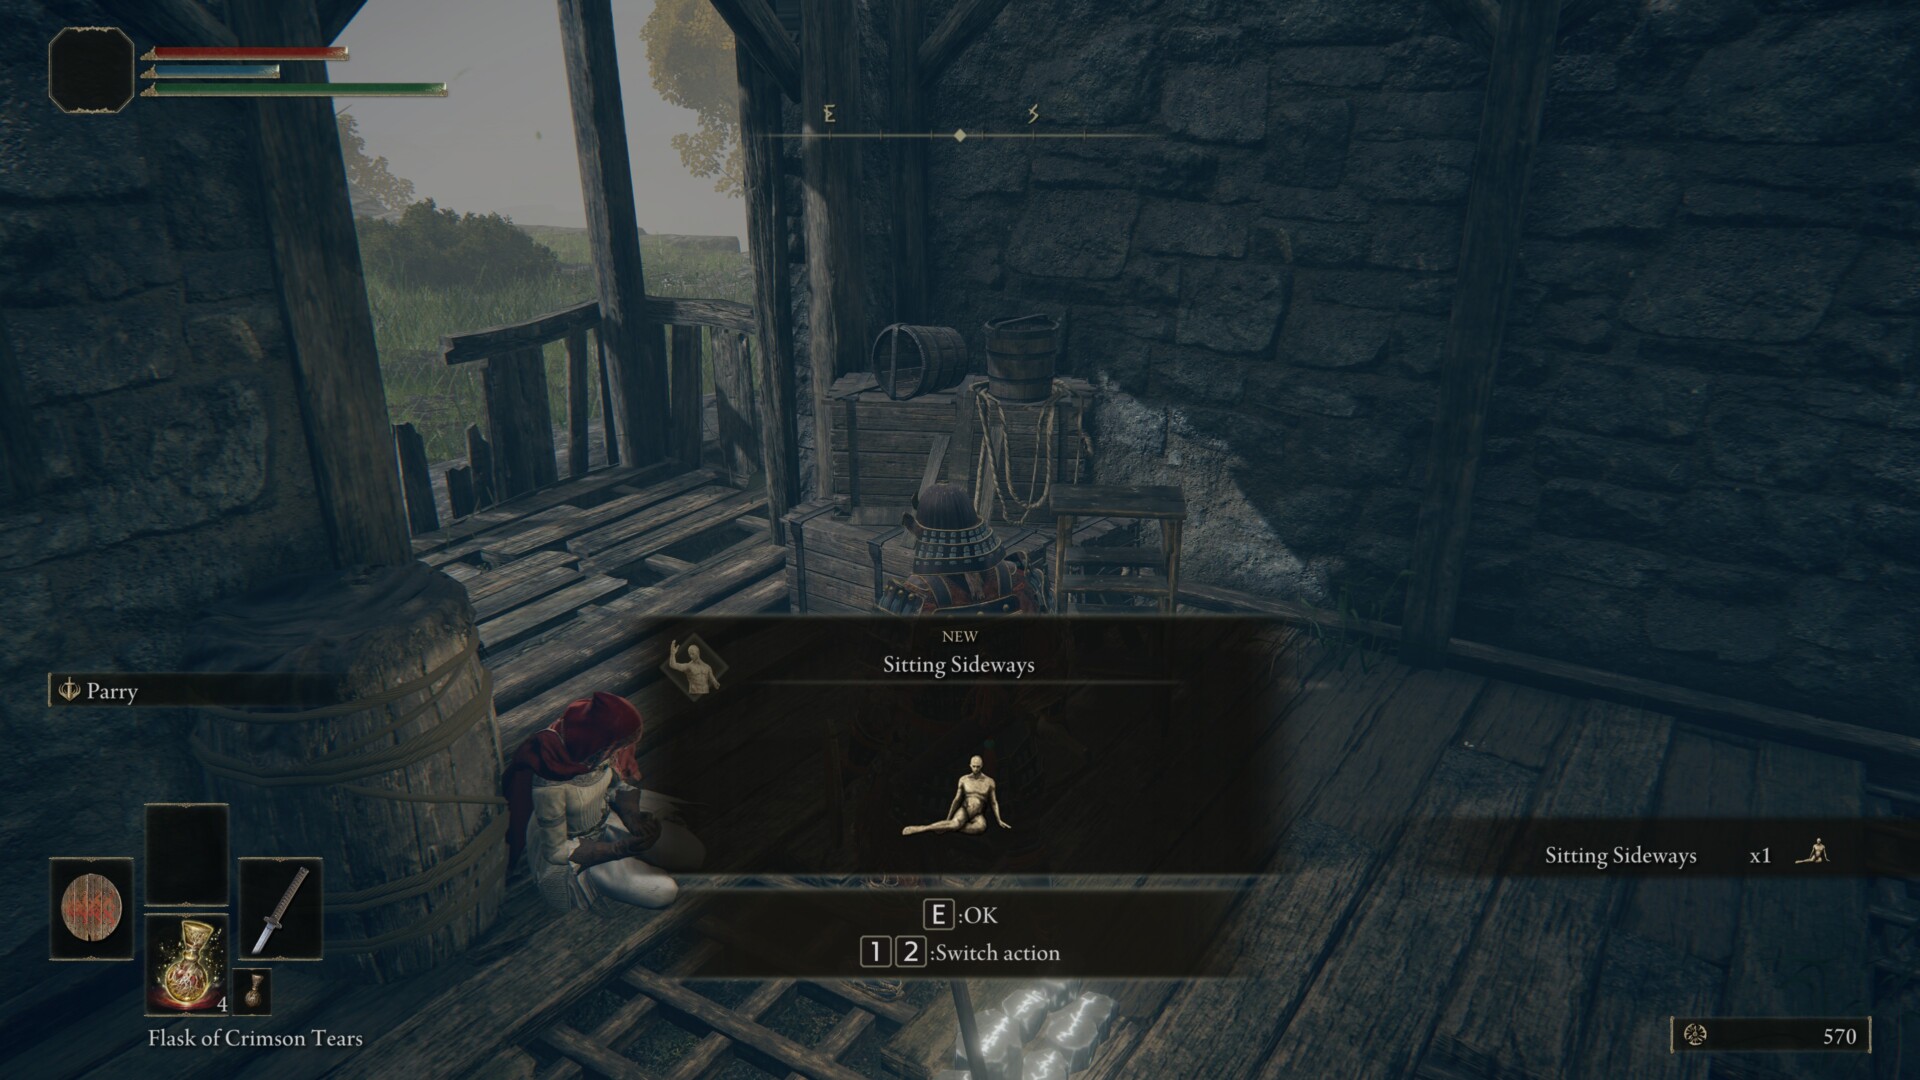
Then, just east of that location, you’ll see the Stormhill Shack Site of Grace. Inside, a woman in a red cloak, Roderika, seems to be down on her luck. You’ll receive the Sitting Sideways emote, as well as the Spirit Jellyfish Ashes. If you don’t get it this early, she’ll hand it to you much later.
Note 1: Roderika becomes an integral NPC, as she’ll eventually let you upgrade your Spirit Ash summons.
Note 2: If you look behind you to the east, you’ll see that the sloping path curves back to the Gatefront ramparts. There, you can defeat some mobs to get a ranged weapon, as well as the Arrow’s Reach Talisman.
Castleward Tunnel
Next up, there’s a winding path that’s full of soldiers. You can hide and stealthily make your way through the bushes, which is a good idea. Trying to take them head-on wouldn’t be smart, since a couple of them are using ballistae.
Once you get past them, you’ll see the Castleward Tunnel bonfire, as well as a doorway with yellow energy. This is a boss arena where you’ll fight Margit the Fell Omen.

Elden Ring is available via Steam. For more information, check out our guides and features hub.


Published: Feb 24, 2022 10:30 am