Considering we’re talking about Final Fantasy XIV: Endwalker’s level 89 trial, I don’t think I need to give this warning. But nonetheless: spoilers ahead in this Mothercrystal guide.
No, really. The title itself is potentially a bit spoiler-y, but not as spoiler-heavy as a full description of what you’re fighting and how the fight works.
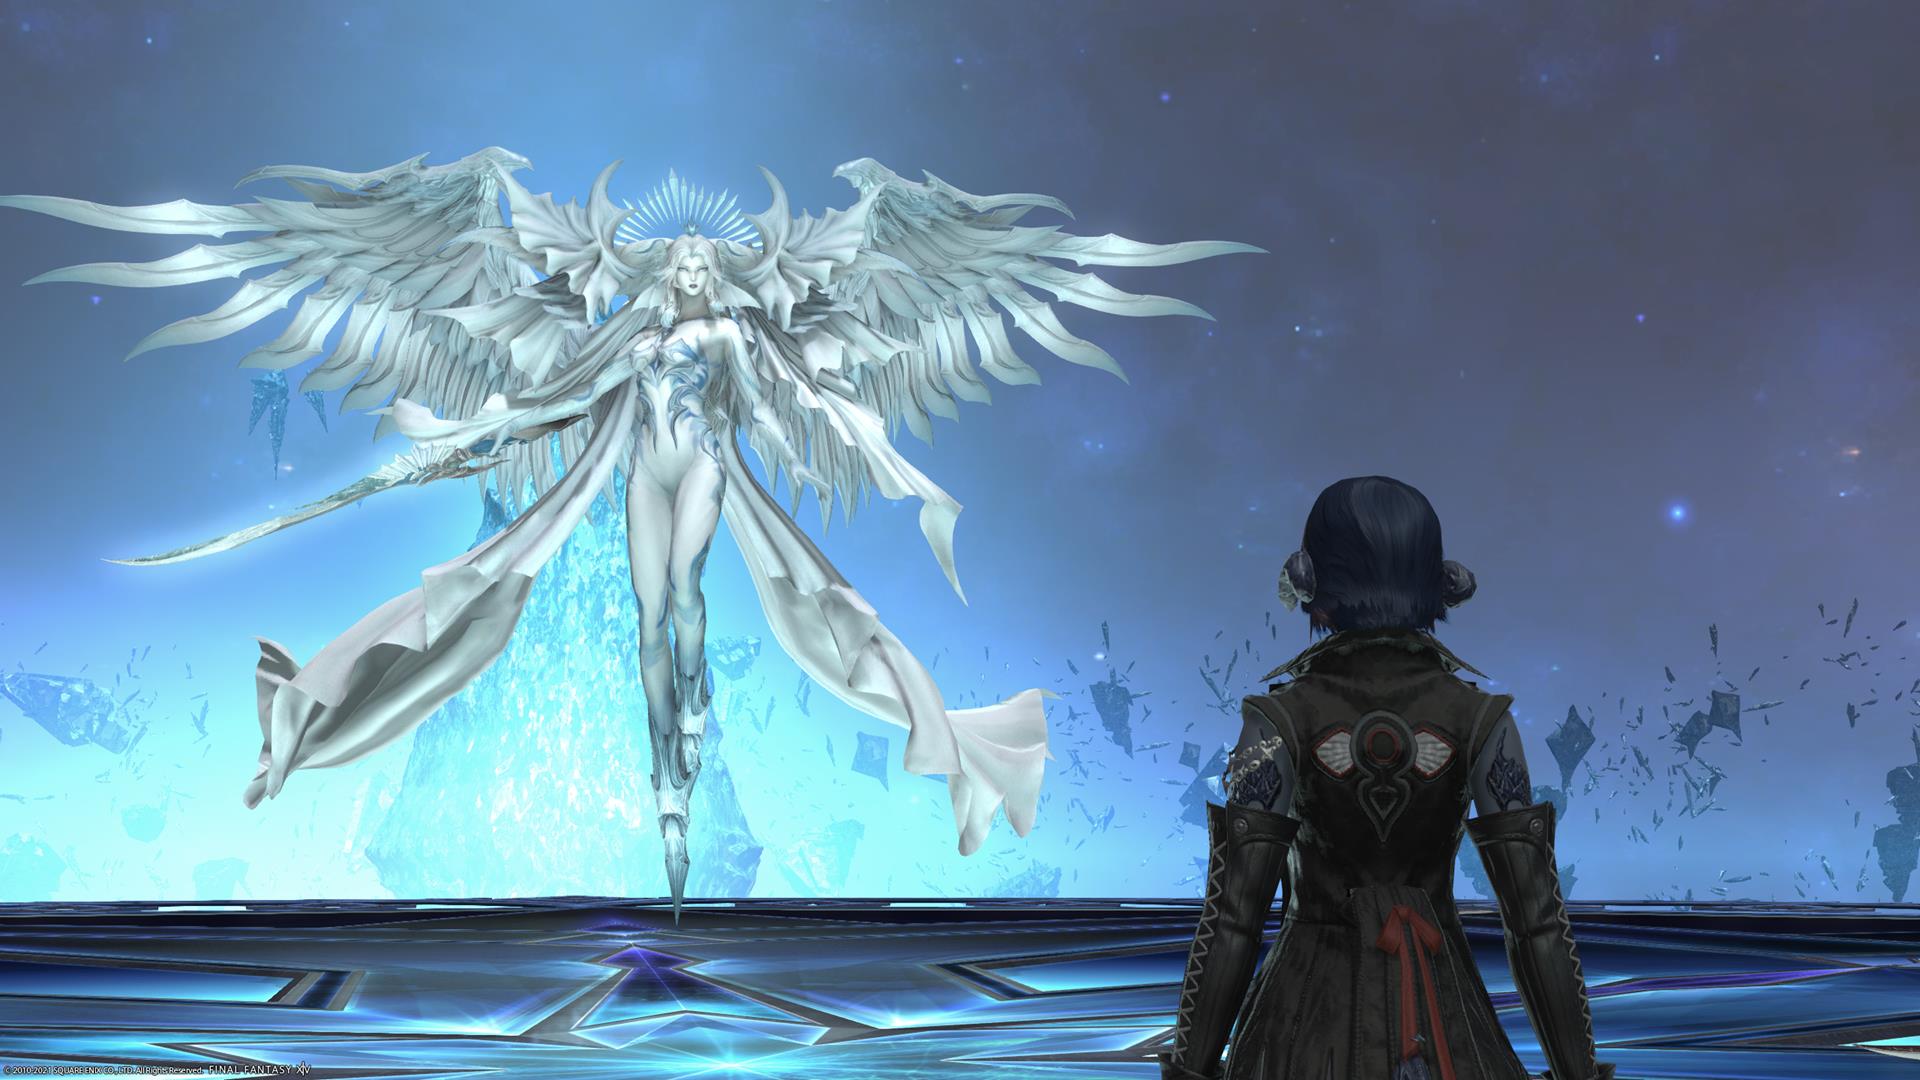
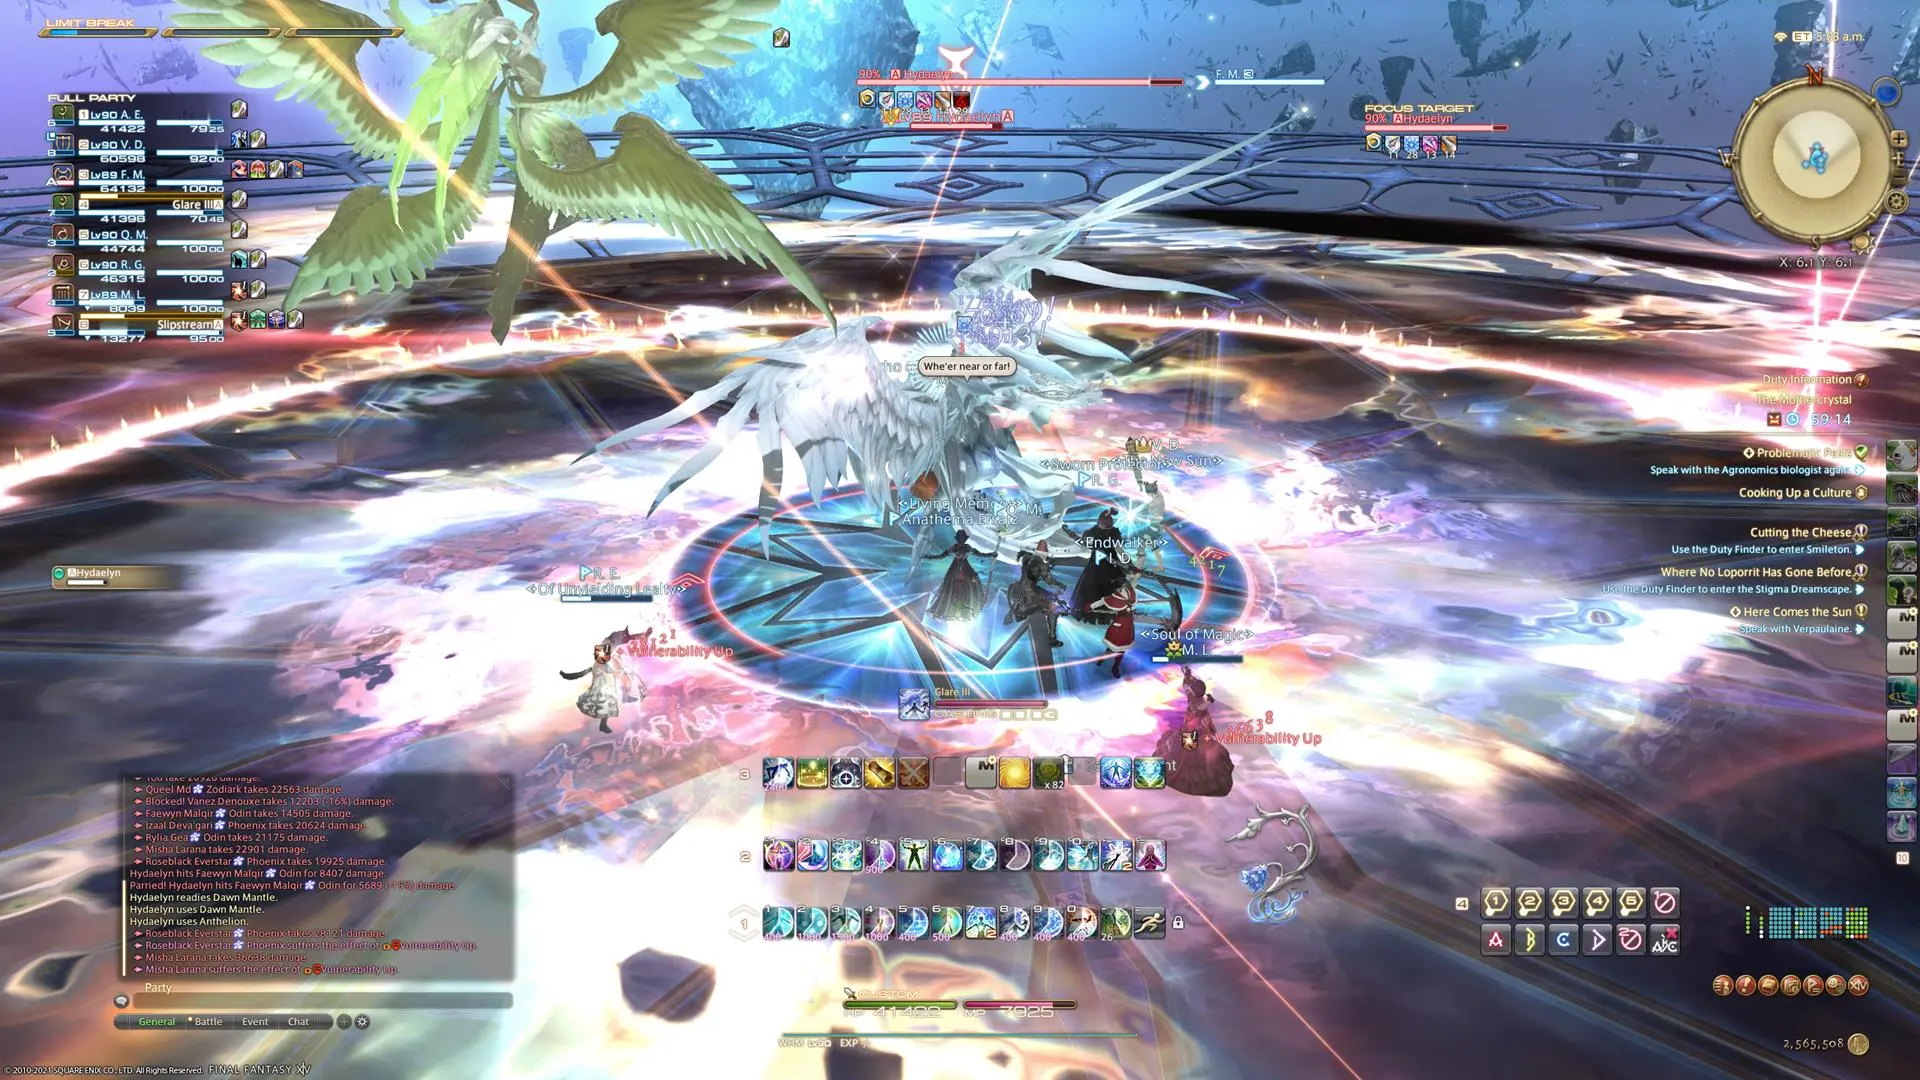
Have they gone? Right. It’s time to take the fight to Hydaelyn Herself in this Trial and get some “Answers.”
Endwalker — The Mothercrystal guide: the short version
As you’d expect from the game’s 89 trial — especially since it’s against Hydaelyn herself — there’s quite a lot going on here. It’s technically a four-phase fight, although that’s not as bad as it sounds. Phase one is “here’s your chance to learn the attacks.” Phase two is pretty much your standard add phase and is kind of a breather, while phases three and four add extra attacks and mechanics to the ones that exist. Phase three, really, is where the “real” fight begins.
Hydaelyn loves attacks that don’t have much in the way of much in the way of visual telegraphs, so use the first phase to figure out what Her stuff does. She hits hard, so vulnerability stacks are a very, very bad thing. With Her high damage, they can quickly cascade into players getting one-shotted.
It’s crucial to understand how Dawn Mantle works. None of the AoEs from this are telegraphed except for the color after She casts, and… well, just see above about Her damage and vulnerability stacks. The shorthand is: red is in, green is out, blue is a cross.
Subparhelion looks dangerous, but that’s mostly just remembering which the first AoE to go off is and moving into that safe spot as soon as you can. Echoes is an Akh Morn-alike, so stay with the group while that goes off. And finally, Lightwave’s… light waves… might initially look like they’re washing towards the center, but a few of them will be offset. They do rapid repeat damage, but they’re not too tough to avoid because of how slowly they move. Duck into an area none of them are immediately going into, and then move from there if you need to.
When Hydaelyn switches to Mousa’s Mantle (the red icons), get into her hitbox. The safe zone is the exact size of her targeting circle.
Attacks
Phase One
Dawn Mantle — Changes to another form, indicated by the color and weapon whirling around Her when She finishes casting. Red chakrams around Her indicate She’s switching to Her ranged chakrams form, Mousa’s Mantle. This will perform an donut AoE attack (Anthelion) that hits everyone outside of Her targeting circle. Green staves indicate She’s switching to magical staff form, Magos’s Mantle. This will perform a point-blank AoE attack (Highest Holy) that hits everyone around Her. Blue swords indicate She’s switching to Heros’s Mantle, which does a cross-shaped AoE (Equinox) focused on Her: move to a “corner” away from the cardinal directions to avoid.
Heros’s Radiance — Sizeable unavoidable raid-wide damage.
Mousa’s Scorn — Stacking tankbuster. Both tanks should stack for this and everyone else should stay away. Mitigate and heal as normal.
Magos’s Radiance — Unavoidable raid-wide damage.
Heros’s Sundering — Conal AoE tankbuster. One tank should eat this, and everyone else should be out of the cone.
Phase Two
Equinox — Phase two begins. Six Crystals of Light appear around the arena as Hydaelyn charges up Conviction. As usual for add phases, destroy them before Her Conviction meter reaches maximum.
Hydaelyn’s Ray — Distance AoE focused on the center of the arena: move to one of the sides to take less damage.
Crystalline Stone III — Stack AoE on one party member. Group up to split the damage.
Crystalline Blizzard III — Targeted AoEs on everyone. Split up to avoid damaging each other.
Exodus — Hydaelyn uses this when all crystals are destroyed; it does damage based on the Conviction meter. Presumably, She’ll also use it if the Conviction meter maxes out, and that will result in a wipe. This ends phase two and moves into phase three.

Perihelion and Subperihelion are, combined, probably Her nastiest attacks to avoid. With Subperihelion, just remember which ones are going off first and get ready to move into that safe space as fast as you can.
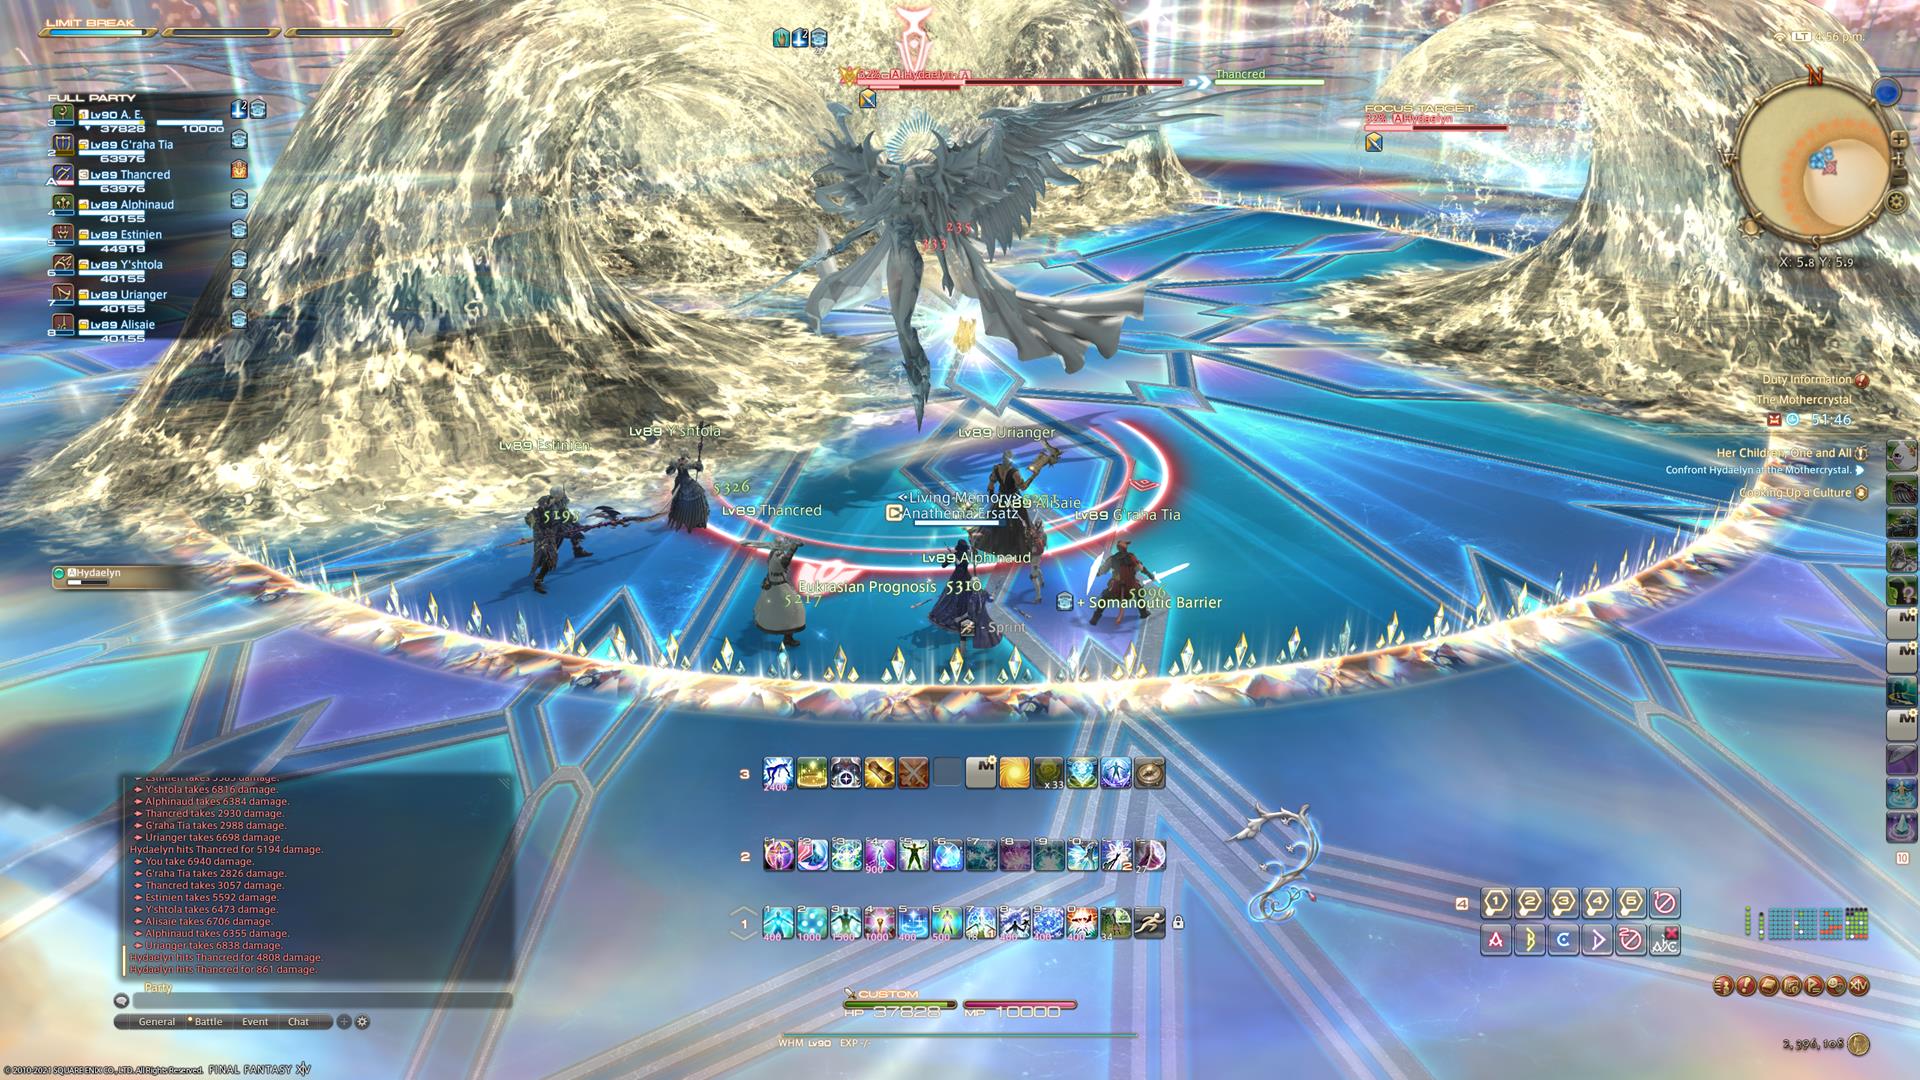
Phase Three
Crystallize — Starts phase three, and is also used just before each Dawn Mantle to indicate that it’ll have some extra mechanics.
Dawn Mantle — Same as above, but with additional mechanics. She’ll also either cast Crystalline Stone III (stack up) or Crystalline Blizzard III (spread out), so bear that in mind when also avoiding Her Mantle transition attack.
Parhelic Circle — An orb appears in the center of the arena, with short and long lines coming out of it. It’ll split into more orbs along those lines, doing a circle AoE around each. Basically: stay away from the lines.
Parhelion — Multiple line AoEs targeted in one direction, then another direction, then a third direction. Stand in the gaps in between to avoid. This will leave behind crystal chakrams at the edges of the arena.
Subparhelion — The chakrams will fly straight across the arena, basically covering the entire arena in AoEs. Pay attention to which ones are going to trigger first, avoid those, and then move into the path they took to avoid the rest.
Radiant Halo — Sizeable unavoidable raid-wide damage. Triggers the start of phase four.
Phase Four
Lightwave — Literal waves of light will spawn at the sides of the arena and will travel in the direction they’re facing. Do not stand in their path. Note that they won’t all travel through the center of the arena: some will be turned slightly to go through different parts of the arena.
Echoes — One player is targeted with a stack marker. Echoes is much like Akh Morn in that it’s repeated strikes against that player (five, I believe) so stay stacked up even after the first hit.
The Lightwaves move in the direction the wave seems to be breaking. They’re slow, but contact results in constant damage.
Things to remember
If there’s only one thing you remember, it should be the Dawn Mantle AoEs. These are only indicated by the colors of the indicator after the cast, and if you’re not in the right position you’re eating some serious damage and getting a vulnerability stack. Remember: if it’s red, run in; green, run out. And if it’s blue, it’s a big cross.
Honestly, if that’s the only thing you remember about this fight, I suspect you can stumble through the rest of it. You can take the odd hit from other bits and pieces. Just pop up whatever mitigation you can when Exodus happens; tanks need to keep an eye out for Mousa’s Scorn; and healers… well, healers need to heal. A lot. There’s a ton of incoming damage in this fight, especially if newcomers slip up to the mechanics. Again: it’s very, very easy for this fight to spiral out of control a bit once people start getting vulnerability stacks, so try to keep on top of everything and avoid as much as you can.
With that, you’ve taken down Hydaelyn. Our Mothercrystal guide ends, and you’re ready to move onto the endgame of Endwalker. Check back with our guide hub to see how to handle the remaining dungeons and trials, and see the Final Fantasy XIV story through to its conclusion.