Final Fantasy XIV patch 5.3 brings with it a new dungeon, a new Trial, and a new Alliance Raid to cap off the Shadowbringers storyline. In this guide, I’ll be walking you through the dungeon: the aptly named The Heroes’ Gauntlet.
The Heroes’ Gauntlet is more of a (very cool) victory lap through Norvrandt, but there are a few mechanics to be aware of when fighting your way through it. So, as usual, we’ll be going through the three bosses, discussing every one of their attacks, and giving some advice on how to deal with the biggest problems they can cause.
Also as usual, you don’t need to worry much about the trash mobs. A couple can be a little nasty with overlapping AoEs in narrow corridors, but for the most part you can sit back and enjoy the surprisingly cinematic feel of this dungeon.
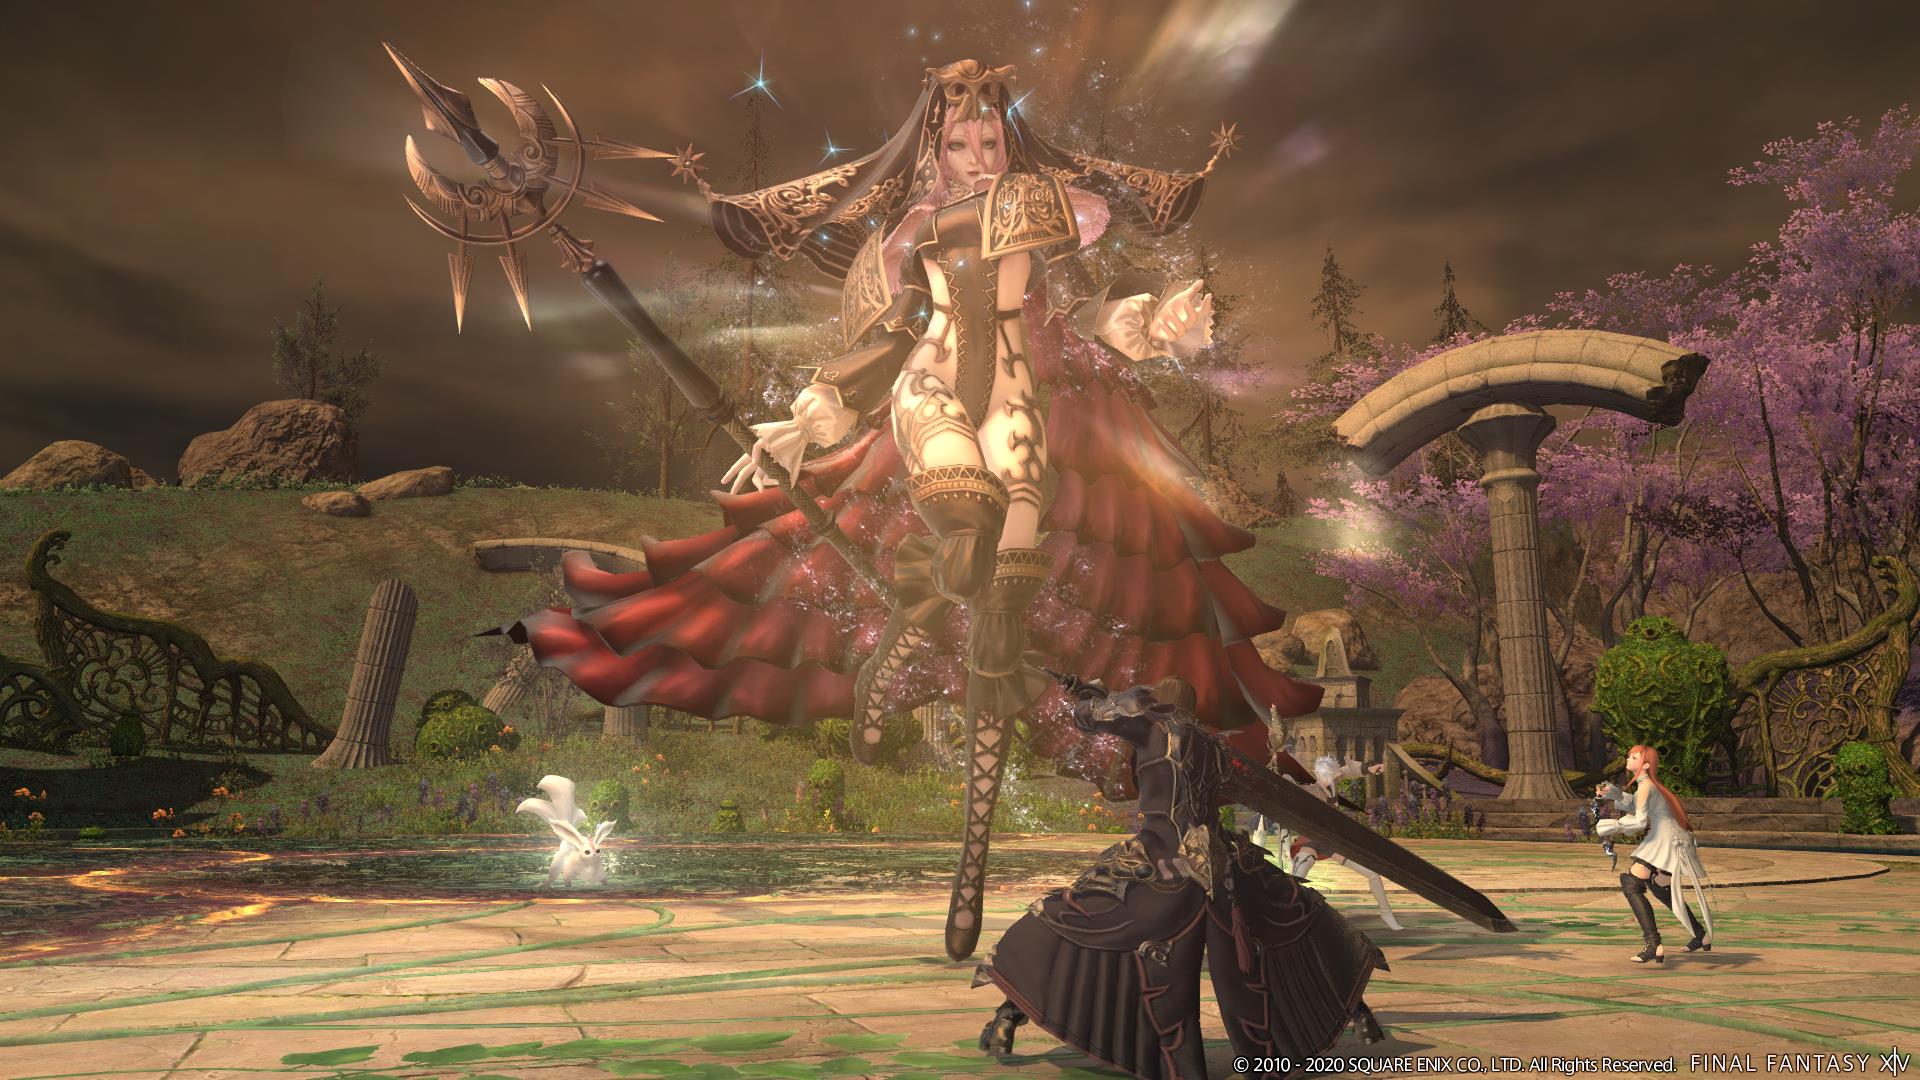
Spectral Thief
Attacks:
Spectral Dream – Multi-hit tankbuster.
Spectral Whirlwind – Unavoidable room-wide AoE.
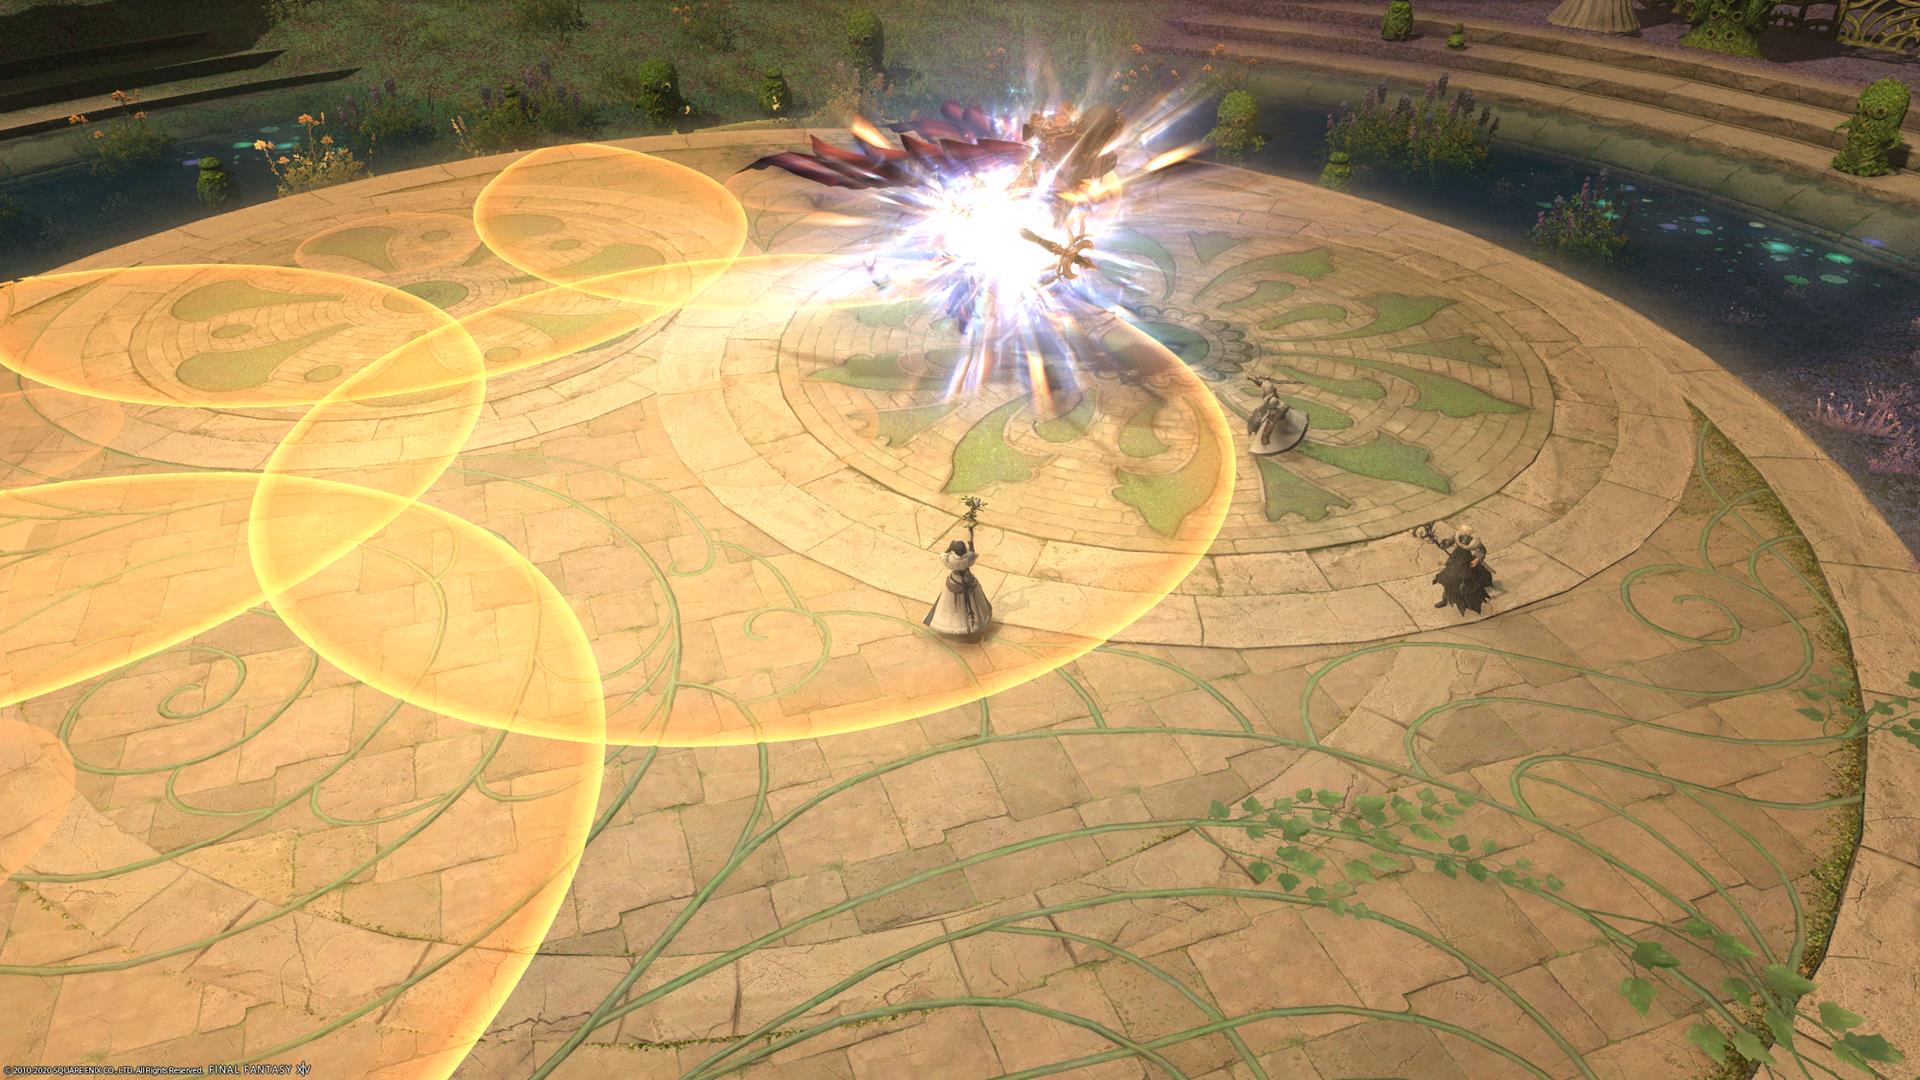
Dash – Spectral Thief charges up a wide circle AoE, and tethers to a marker on the ground. When time (indicated by the green orbs around him) expires, he’ll dash to that point and the AoE will go off. Move away from the marker to avoid.
Unnamed target attack – Everyone is marked with a targeted AoE. Spread out so you don’t overlap damage.
Chicken Knife – Summons four knives. Shortly thereafter, everyone is targeted with a line AoE (Coward’s Cunning). Stick together until the target lines appear, then split up to avoid.
Shadowdash – Used in conjunction with Chicken Knife. Similar to Dash, but with two target markers instead, and may be a line AoE instead of a circle. This AoE will go off both at both target markers.
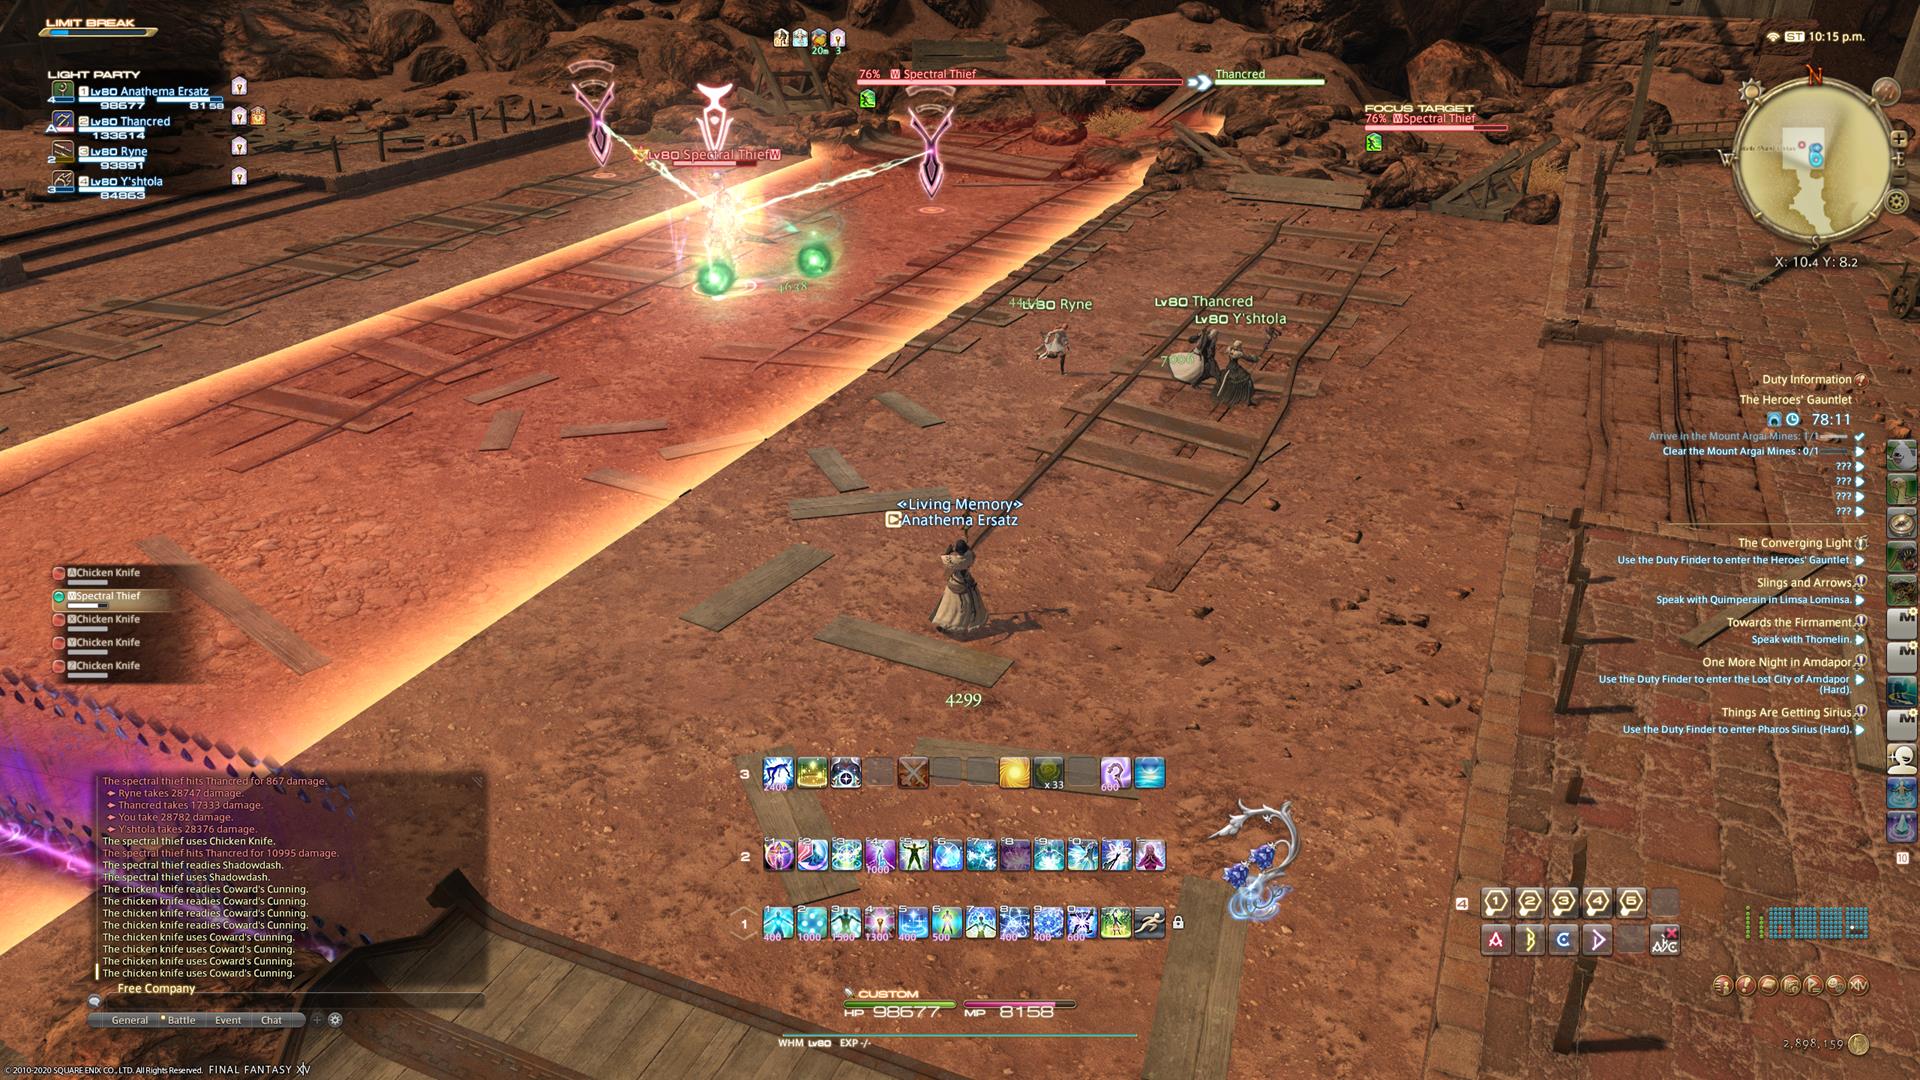
Those two markers indicate that the line AoE will go off at both points.
Strategy:
Not that difficult, but Spectral Thief is probably the boss I had the most trouble with in The Heroes’ Gauntlet. There are just a few bits that you might need to see once before you understand them.
Dash might catch you out the first time if you don’t know it’ll actually go off at the target marker and not at his position. Chicken Knife/Shadowdash is arguably his most troublesome combination, though, especially if he also combines this with his targeted AoE attack. It’s very helpful to stack up when Chicken Knife is cast just to maximize the amount of safe space you have from those attacks, because Shadowdash will likely take up 70% of the arena by itself. If that unnamed target AoE is dropped on everyone at the same time, then you really need to use that space to ensure nobody gets hit with anything.
Nobody can afford to get hit by too many of his avoidable attacks: the vulnerability stacks will build up quickly. Other than that, just mitigate damage as best you can, and be ready to heal. Fairly standard Final Fantasy XIV fare.
Spectral Necromancer
Attacks:
Absolute Dark II – A massive conal AoE that’ll target about a third of the arena.
Twisted Touch – Tankbuster.
Chaos Storm – Unavoidable room-wide AoE.
Necromancy – Summons four untargetable Necrobomb adds. Each will tether to and attack one player. After a short time they’ll die, but make sure you stack them close to the boss, because…
Necroburst – When the Spectral Necromancer finishes casting this, the corpses explode. Back away from them to avoid the sizeable (unmarked) AoEs from these. If the corpses are stacked up together you’ll have plenty of room.
Pain Mire – About two thirds of the arena will be marked with AoEs. When these go off, they’l leave behind a damaging pool. Stay out of it.
Necromancy (again) – This variant of Necromancy puts actual target markers over the player heads. The necrobombs this time are crawling and will use Death Throes to root each player in place until Necroburst goes off. As far as I can tell, this can’t be avoided: spread out so the Necroburst does not overlap, or you’ll take huge amounts of damage and your healer will become a very active salt mine.
Dark Deluge – Circle AoEs are placed under two players. Avoid.
Pain Mire covers the vast majority of the arena. Do not stand in these or the damage pools left behind.
Strategy:
A bit messy and you’re going to take damage, but not too difficult a Final Fantasy XIV boss. The big one here is Necromancy/Necroburst. With the shambling adds, just pull them all to the center of the arena and then run away when Necroburst is cast. With the crawling adds, split up as much as you can before they root you.
The trickiest part comes later in the fight when both are used in succession. Stack up the shambling adds in the middle, then run out and split up when the crawlers appear. You’ll be rooted in place and will always take one Necroburst explosion from the zombie that roots you. You don’t want to take more: two will drop any squishy class to critical health, and three will outright kill you. As such, stay the hell away from the stacked up corpses, and spread out from your party members to avoid their guaranteed blasts.
That aside, Spectral Necromancer is pretty painless. The difficulty comes in that it’s one of those fights where a single person not knowing the mechanics can wind up getting a bunch of people killed by dragging explosions near to them. As such, you might die once, but most players should get the hang of it pretty quickly.
Spectral Berserker

Attacks:
Beastly Fury – Unavoidable room-wide AoE.
Wild Anguish – Stack marker AoE. Stack up to share the damage, though this will inflict a Magic Vulnerability debuff for a few seconds.
Raging Slice – Unmarked line AoE. This will be cast multiple times in succession, in whatever direction the Spectral Berserker is facing. He’ll turn after each cast before starting the next.
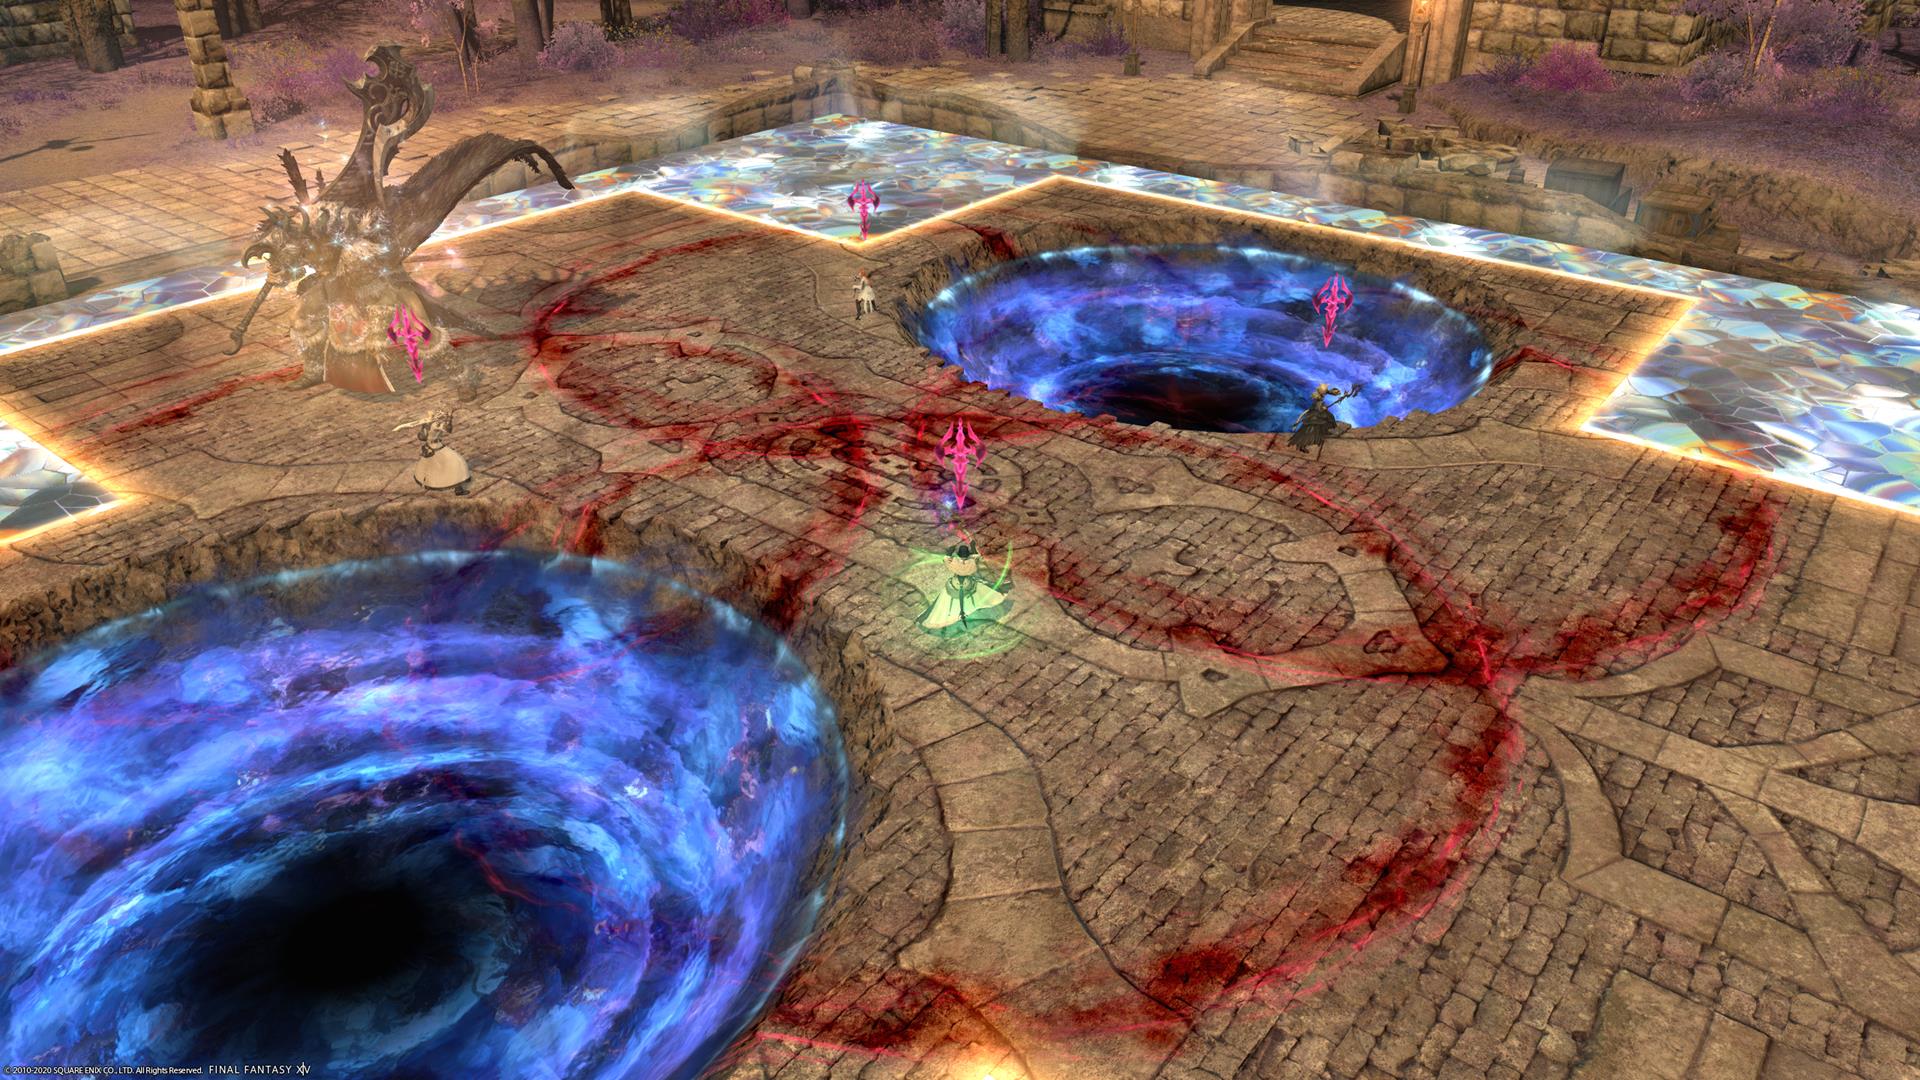
Wild Rage – A blue AoE marker will target one of the edges of the cross-shaped arena. This will knockback when it goes off: stand close to it, and try to position yourself so you don’t get knocked out of the arena or you’ll also take Bleed damge. This leaves behind a pit, which will come into play soon.
Falling Rock – Everyone gets a wide target AoE around them. Split up. Rubble will land on your head.
Wild Anguish – Everyone gets a stack AoE marker. Do not actually stack: stay in the rubble left behind. This’ll soak most of the damage from the attack.
Wild Rampage – Room-wide AoE. Duck into the pit left by Wild Rage to avoid this.
Strategy:
Spread out for these rubble markers, and don’t march into those pits unless you need to avoid Wild Rampage.
If you read those attacks, then the final boss of The Heroes’ Gauntlet probably sounds more complicated than it is. No tankbusters, just a bunch of attacks similar to those you’ve already seen in Final Fantasy XIV.
Raging Slice turns to face a random party member. Just look for where he’s facing. The attack spans the width of his target circle, so make sure you’re off to one side of that. He’ll repeat it three times in a row, changing his direction every time, so get moving.
Falling Rock/Wild Anguish can confuse people because of the stack marker. Just split up and then stay in your safe little pile of rubble to avoid damage.
Wild Rage and Wild Rampage is the other important combination. Wild Rage hits at the sides of the cross-shaped arena. Always stand next to the target marker and position yourself so the knockback won’t send you off the edge of the arena or your healer will hate you. Wild Rampage will hit the entire arena: to avoid this just duck into one of the holes left by Wild Rage towards the end of the cast and then pop out again before you gain too many stacks.
The biggest one to remember, oddly, is Raging Slice. Most of the others are pretty well-telegraphed. Knock the Spectral Berserker down a peg and you’re done with The Heroes’ Gauntlet, and can move on in the Final Fantasy XIV MSQ.
Click on through for more Shadowbringers guides.