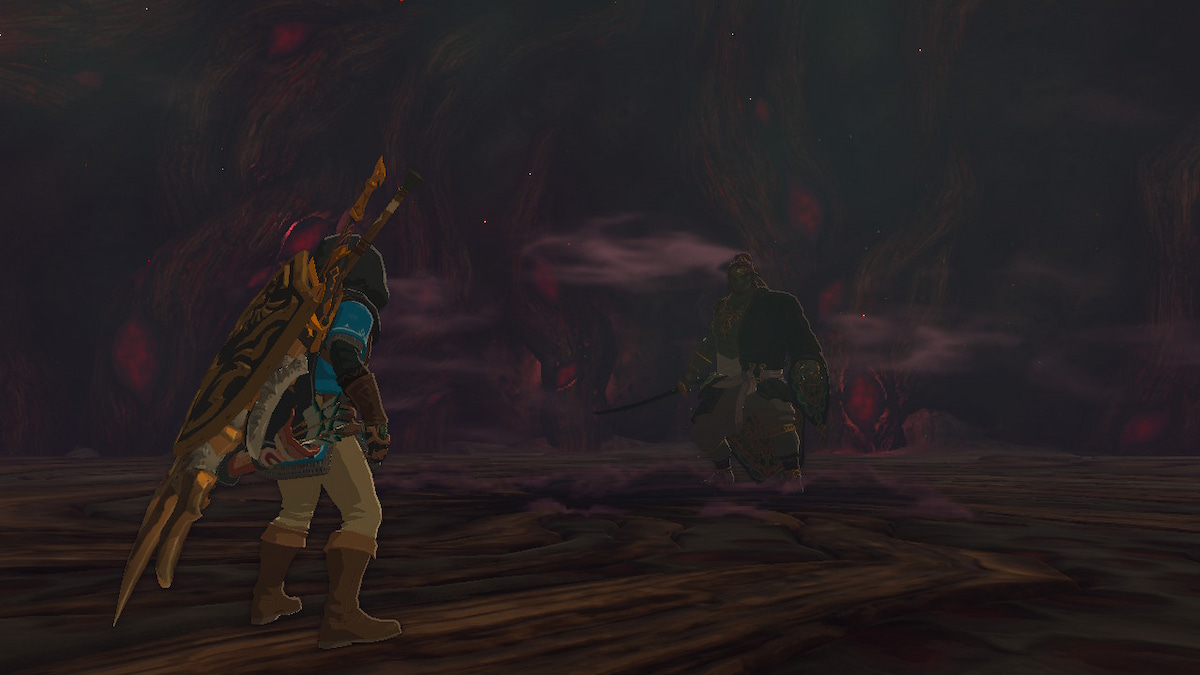
Even if you finish every main quest in The Legend of Zelda: Tears of the Kingdom before heading to the finale, Ganondorf is no pushover. He easily lives up to his title as the Demon King, as his fight stands out as one of the most challenging and technical in the whole game. But while the fight balances itself around you having both the Master Sword and all five sages at your disposal, Tears of the Kingdom does not stop you from taking on Ganondorf without any of those tools to help you. It may sound like a daunting challenge, but this guide will explain how to tilt the fight’s stacked odds in your favor.
Fighting Ganondorf
Since Tears of the Kingdom makes players fight Phantom Ganon before Ganondorf no matter what, you will likely already have some idea of how to deal with the latter considering both bosses share many of the same moves. However, the Ganondorf fight adds many new elements that make it a much more demanding test of the player’s combat skill. Like with Phantom Ganon, Ganondorf splits most of his moveset across three different weapon types that he can switch between at will. With a couple of exceptions, all of Ganondorf’s attacks deal gloom-based damage, so it pays to bring plenty of meals that can cure it.
Screenshot by PC Invasion
Sword Attacks
- Basic Swing – Ganondorf lifts his sword to the side and performs a straightforward, easy-to-counter slash. Unlike Phantom Ganon’s variation of this attack, if you block it or remain close to Ganondorf after he swings, he will sometimes follow up with two more slashes. He will always pause for a moment before executing these next two slashes, but as long as you parry the first slash or backflip away from it for a flurry rush, you won’t have to deal with the follow-ups.
- Spin Attack – Ganondorf charges up for about a second before performing a spinning slash. Whereas Phantom Ganon had a small visual cue for when he transitioned from his charging stance to the actual swing, Ganondorf lacks this visual cue. All you can really do is either get a feel for the backflip and parry timing or just move away from it.
- Running Slash – When at a distance, Ganondorf will usually start running toward you and then perform either a vertical or horizontal slash when close. If he carries his sword sideways while running, he will slash horizontally, meaning you have to backflip to trigger the flurry rush. On the other hand, when Ganondorf holds the sword up high, that means he will slash vertically, requiring you to sidestep for the flurry rush. If you don’t want to worry about dodging in the correct direction, you can parry both slashes instead.
Spear Attacks
- Basic Stab – One of the more subtly telegraphed attacks in the fight, Ganondorf will poke at you with his spear after a short pause. Sidestepping or parrying right when you notice the pause will allow you to counter the attack. Note that Ganondorf’s version of the move does not come with an audio cue as it does with Phantom Ganon, so you’ll need to watch closely to anticipate the attack.
- Running Stab – Ganondorf runs at you from a distance before lunging his spear at you. A straightforward move that can be countered every time with a sidestep or a parry.
- Horizontal Swing – A move exclusive to Ganondorf, he will do this every so often if you either block or move to the side of his basic stab without countering it. In this scenario, immediately after the stab, he will hold his spear up for a brief moment before swinging it horizontally. As with all horizontal swings, a backflip or a parry will do the trick.
- Multi-Stab Attack – This is another follow-up option that Ganondorf can use under the same circumstances as the horizontal spear swing. For this move, Ganondorf will spin his spear, pause for a moment, and then stab at you multiple times in a manner similar to the charge attack that Link can perform with a spear weapon. The pause and the voice line that usually accompanies it serve as your cue to sidestep or parry the initial hit of the combo.
- Spear Charge – Another Ganondorf-exclusive move, he will stand at a distance and gather up gloom before darting straight across the room. Usually performed three times in succession during the first and second phases, this move can be parried or sidestepped for a flurry rush. However, the timing for both actions is quite tight, so you might want to simply run out of the way to stay on the safe side. Also, note that each charge Ganondorf performs will leave behind a thin streak of gloom on the ground, so stay clear of that while fighting him.
Club Attacks
- Basic Swing – Ganondorf will lift his club up and perform a simple horizontal swing. Note that he tends to not use this attack much, but once you identify it, counter with a backflip or a parry.
- Jumping Slam – By far his most commonly used move when wielding a club, Ganondorf will hold his weapon above him, jump toward you, and then slam the ground once he lands. Parrying or sidestepping when Ganondorf is close to landing will work pretty reliably, especially since the flurry rush timing is quite generous.
- Triple-Gloom Wave – Another move that only Ganondorf will use, usually from a distance. He will strike the ground with his club and create three gloom-based projectiles that travel along the ground. All of Ganondorf’s gloom projectiles are unique in that if you get hit by one of them, it will permanently remove one of your Heart Containers for the rest of the fight, with no way to heal it back. If you had the Master Sword, you could strike these projectiles to send them back at Ganondorf for some damage, but without it, you’ll have to avoid them the old-fashioned way. For the Triple-Gloom Wave, simply standing between the projectiles will allow you to avoid them, although you’ll need to watch out for the gloom trails they leave behind.
- Area-of-Effect Gloom Attack – This Ganondorf-exclusive attack sees him lifting up his club for a few seconds before slamming it down for a massive area-of-effect attack that leaves behind a large circular puddle of gloom. Conveniently, whenever Ganondorf charges up this attack, an area-wide updraft will appear, allowing you to paraglide your way up and safely avoid the attack. This will also let you land a bullet-timed headshot on Ganondorf that will interrupt the attack outright, meaning you don’t have to deal with the puddle of gloom that would normally linger afterward. From my experience, though, Ganondorf tended to skip this charge-up time and execute the attack straight away whenever I got close to him, so stay at a distance just to be safe.
Miscellaneous Attacks
- Perfect Dodge Counter – If you try and hit Ganondorf when he’s not performing or recovering from an attack, he will often dodge your attack and trigger the same slow-motion effect that occurs whenever you successfully activate a flurry rush. After the effect ends, he will move in and retaliate with a different counterattack depending on the weapon. All of these counterattacks can be parried, but if you prefer to trigger a flurry rush, then you’ll have to pay attention to the direction you dodge. If he is carrying a club, always backflip, and if he has a spear, always sidestep. If Ganondorf has his sword out, then he can perform either a vertical or horizontal strike in a similar manner to his running slash. If he positions his sword to the side, backflip. If he positions it up above him, sidestep.
- Demon King’s Bow – If you stand a far enough distance away from Ganondorf, he will often verbally taunt you before taking out his bow and firing three gloom-infused arrows your way. Just like with other gloom-based projectiles, these arrows can permanently shatter one of your hearts, and if you try and block them, your shield will break almost immediately. This attack may look scary, but moving to the side is all you need to do to dodge it.
Screenshot by PC Invasion
Second Phase
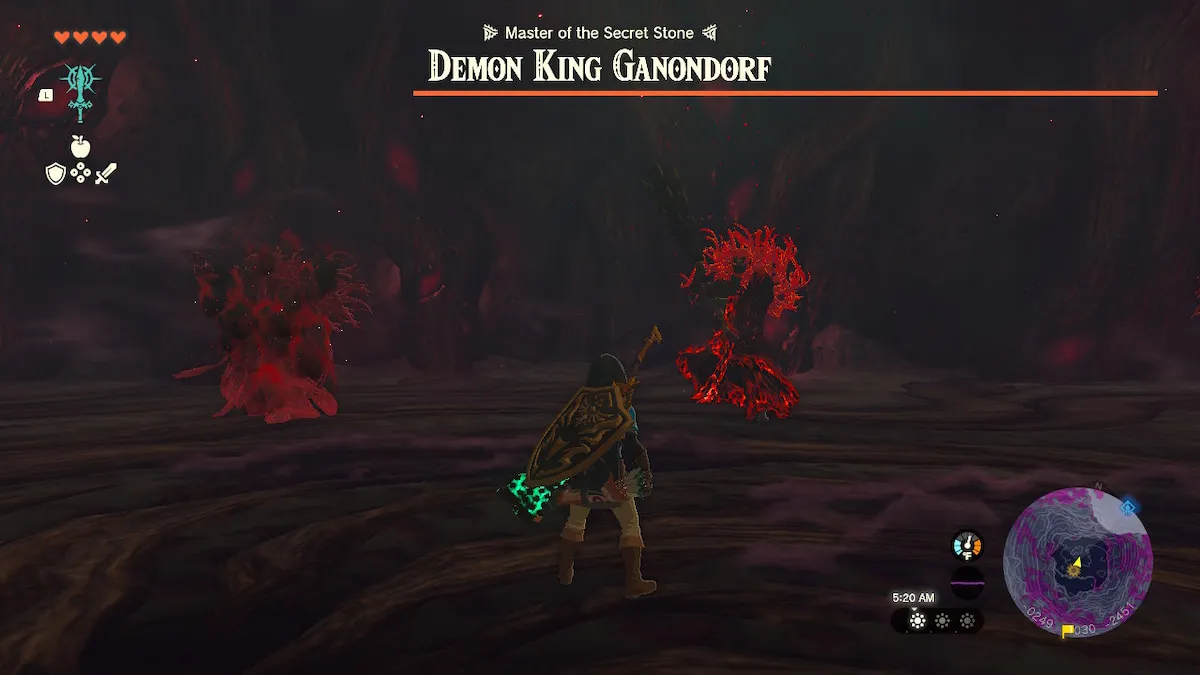
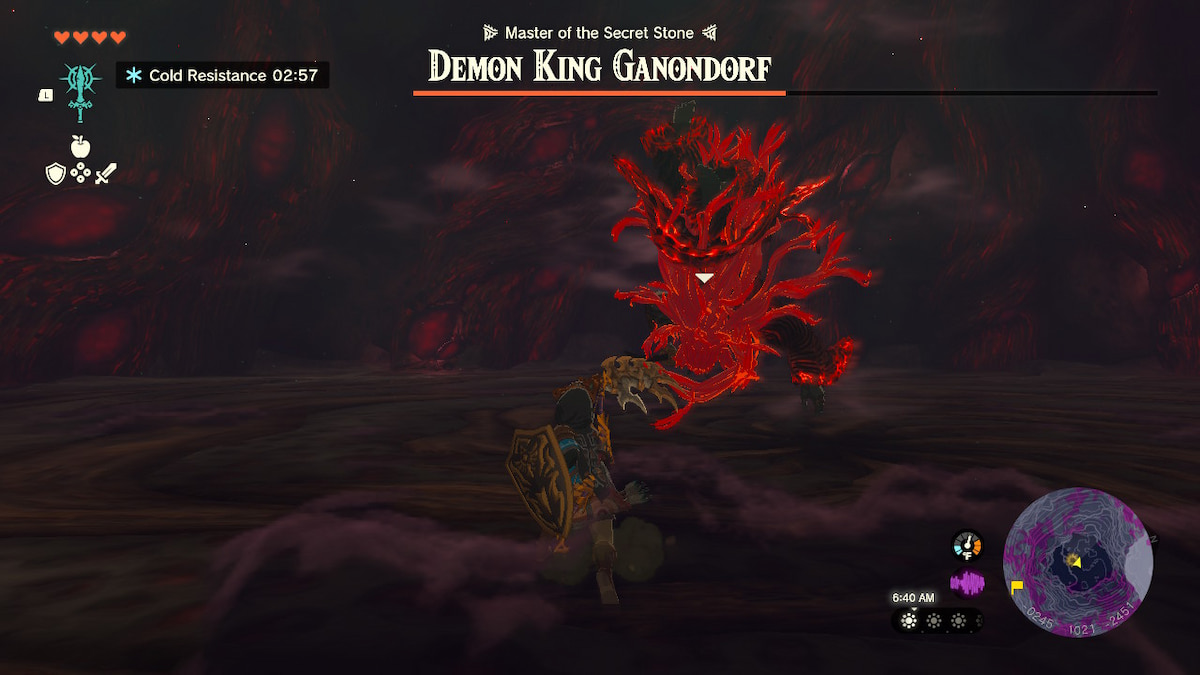
Once you completely deplete Ganondorf’s health bar, he will use his secret stone to turn into his powerful Demon King form, complete with a new health bar that stretches all the way to the right side of the screen. For this phase, he will summon four clones to accompany him during the fight in a manner similar to the Phantom Ganon encounter in Hyrule Castle.
Normally, if you finished all of the dungeons before this point, your sage companions would come in one after the other to distract the clones so you could focus on Ganondorf proper. But if you haven’t done this, you will have to deal with all of Ganondorf’s clones on your own. Fortunately, this isn’t as difficult as it sounds since the clones are noticeably less aggressive than Ganondorf is. And unlike the aforementioned Phantom Ganon fight, you don’t have to defeat any of the clones to progress.
This means that the strategy simply boils down to staying away from the group of clones and waiting for Ganondorf himself to come and attack you. Once he does, counter his attack with a parry or, ideally, a flurry rush, before staying back again and repeating the process. Don’t bother counterattacking the clones, as that will only waste valuable weapon durability. Ganondorf retains all of his attacks from the first phase, so all the usual strategies will remain equally as effective here.
Third Phase
Once you whittle down half of Ganondorf’s new life bar, he will remove his clones from the field and power himself up further, meaning we’re back to a one-on-one duel. At this point, Ganondorf gains a major new trick that might throw you off the first couple of times it happens. Now, whenever you perfectly dodge one of his attacks and go in for the flurry rush, Ganondorf will perform a perfect dodge of his own before coming in with the aforementioned counterattack. Only by perfectly dodging the counterattack will you be able to land a flurry rush on him.
Note that if you decide to parry Ganondorf’s strikes instead, you won’t have to deal with him perfectly dodging your counterattacks. This has the benefit of allowing you to attack Ganondorf more quickly, but you won’t be able to land as many hits on him as you do during a flurry rush.
After you strike Ganondorf a few times, he will usually leap back and perform one of three new gloom-based projectile attacks. Once again, without the Master Sword, you can’t do anything other than simply move away from the projectiles lest you get one of your hearts shattered.
Screenshot by PC Invasion
New Attacks
- Circular Gloom Projectiles -For this move, Ganondorf will bring out his bow and surround you with a ring of grounded gloom projectiles that will close in on you. He will immediately follow this up with three shots from his bow. Right after Ganondorf summons the ring of projectiles, look to the side and identify an opening between two of them so you can move out and escape before they close in. Make sure to keep moving to the side so you can avoid the following arrow shots, After he finishes firing at you, he will usually follow up with a running slash from his sword.
- Homing Gloom Projectiles – This attack sees Ganondorf taking out his spear before creating three gloom projectiles that home in on you. These are irritatingly effective at tracking you, so the key to avoiding this lies in the direction the projectiles initially travel in right when they spawn. If the projectiles spawn out to the left before homing in on you, move to the left to stay clear of their tracking. Likewise, if the projectiles go to the right before homing in, move over to the right. Ganondorf will always perform a single spear charge right after spawning these projectiles, so watch out for that.
- Gloom Wave Barrage – Ganondorf summons his club and lets loose multiple waves of grounded gloom projectiles that come toward your general direction one after another. The easiest of these new projectile attacks to deal with, simply moving in between the projectiles as they come at you is all that’s required to come out unscathed. Stay on your guard, though, as Ganondorf always does a jumping slam attack with his club right afterward.
Defeating Ganondorf
By learning Ganondorf’s attacks, countering at the right times, and keeping your lack of companions and the Master Sword in mind, you will eventually best the Demon King and come one step closer to finishing a minimal story run of Tears of the Kingdom. Fortunately, the Demon Dragon form that immediately follows this challenging battle is a pure spectacle encounter that you’re highly unlikely to lose to, so sit back and enjoy the victory lap.