Genshin Impact Starshadow Lamp and Asterism Shard star puzzle – Part 3
Let’s discuss the first part of the Starshadow Lamp and Asterism Shard star puzzles in Genshin Impact.
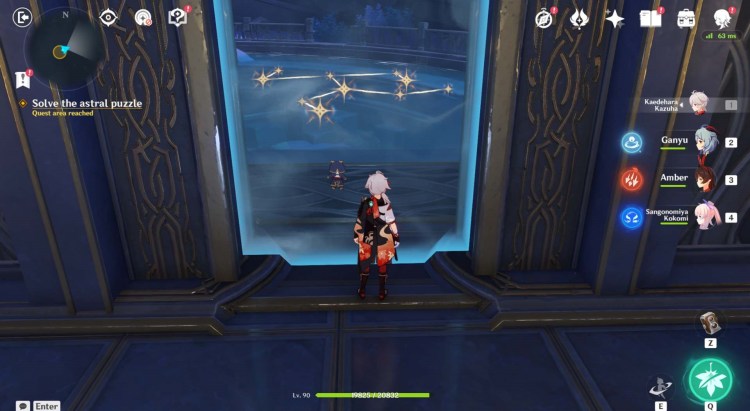
Central Chamber Puzzle #1
In the central chamber, use the necessary shards to remove this doorway’s barrier:

Room Puzzle #1
In this area, the diagram is in a separate room. After completing it, open the chest and follow the star. However, it won’t go inside the pool just yet.
-
- Constellation

-
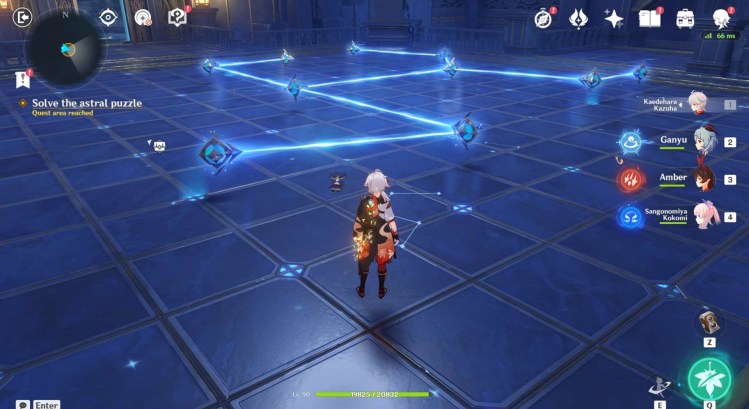
- Pedestal

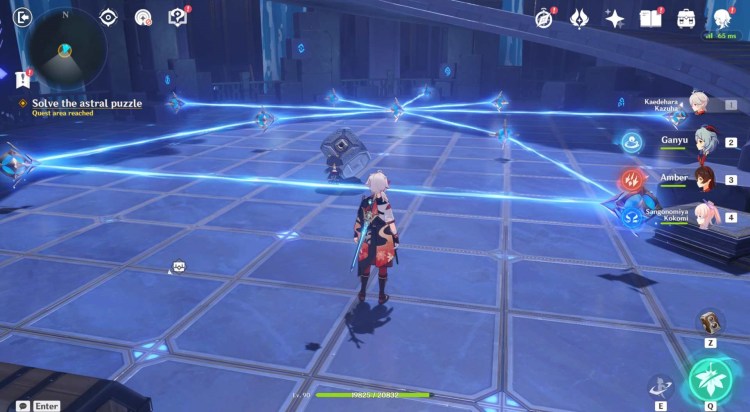
Central Chamber Puzzle #2
Instead, you’ll need to open a different doorway using your new shards:

Room Puzzle #2
The room here is a lot larger, featuring a switch in the center and a spiral staircase. Ignore the staircase for now. Instead, hit the switch so that the constellation resembles a “bell” of sorts.
Interact with the pedestals as necessary to match the pattern on the ceiling. Doing so will spawn the second star that you can follow back to the main area.
-
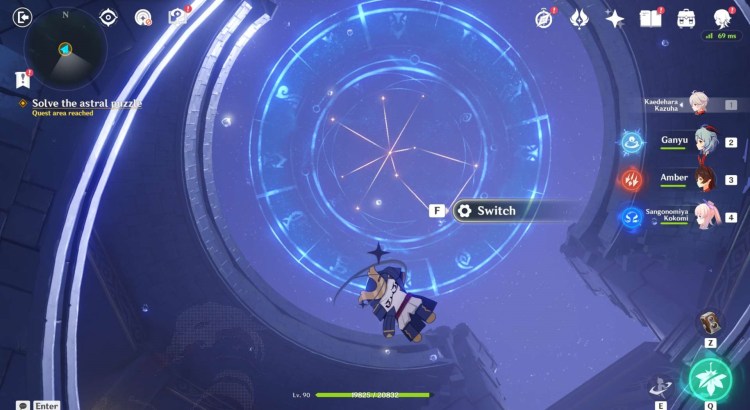
- Constelllation

-
- Pedestals

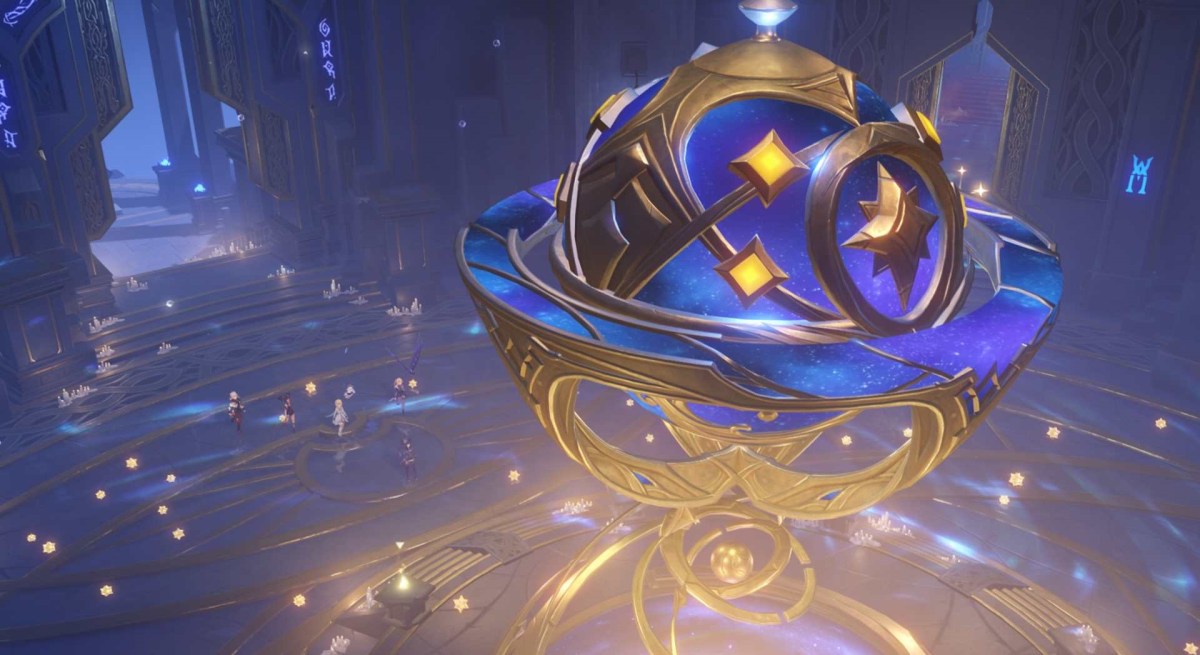
Mirage Maze
The mirage takes the group to Mona’s luxurious house. Interact with the strange device to get teleported back to the astral realm.

After a short conversation, Mona learns that she has to take control of her own destiny. Run around until you see a floating star (it has a glowing trail unlike the other objects here). Tag it to get ported back to the overworld.
This will conclude Mona’s astral realm quest in Genshin Impact, though you can still revisit the domain to solve the other puzzles or grab the 20th Phantasmal Conch. For now, though, you might want to continue onward to the northwestern island. The Fatui machine there can be repaired if you find the three Crystalline Cores.

Genshin Impact is available via its official website. For more information, check out our guides and features hub.