
Hidden Skulls have been a part of Halo since their introduction in Halo 2. These special collectibles are, well, hidden throughout the game’s campaign, and alter the game in a unique manner. There are 12 hidden Skulls in Halo Infinite, and we’re working on discovering their locations and cataloguing their effects.
The hidden Skulls can only be activated before loading up your game. If you have a save file already, head back to the menu and choose “Load Game.” There, you will see the option to use one of the skulls. Here’s our guide to show you how to find each one, and explain what they do.
Note: You can better locate Skulls using your scan. When you’re near one, there will be an audible cue. Some Skulls are available in missions that cannot be replayed until 343 Industries releases an update. Skulls also carry over between saves, do don’t worry about missing out on any if you’ve completed the game. Finally, you can activate more than one Skull at a time, making for some interesting synergy.
Halo Infinite hidden skulls — Locations and effects
Hidden Skull #1: Boom
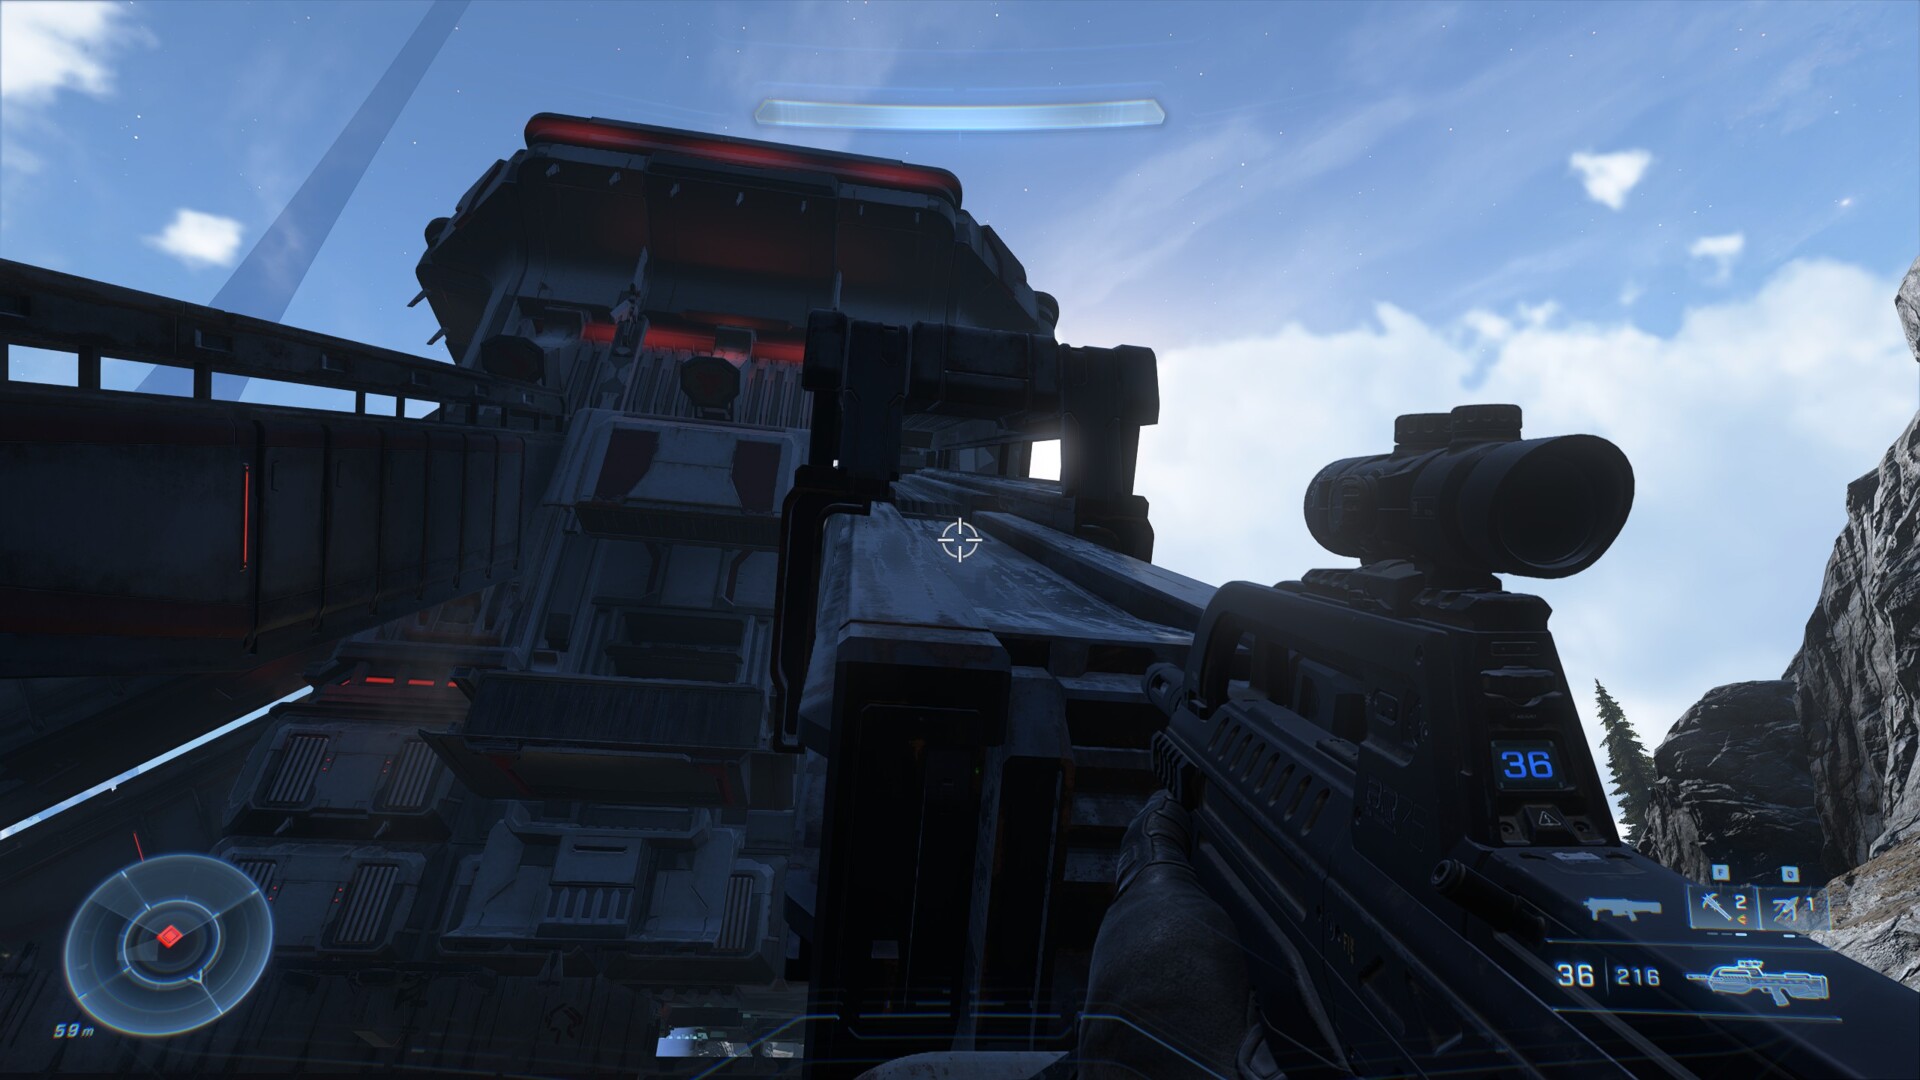
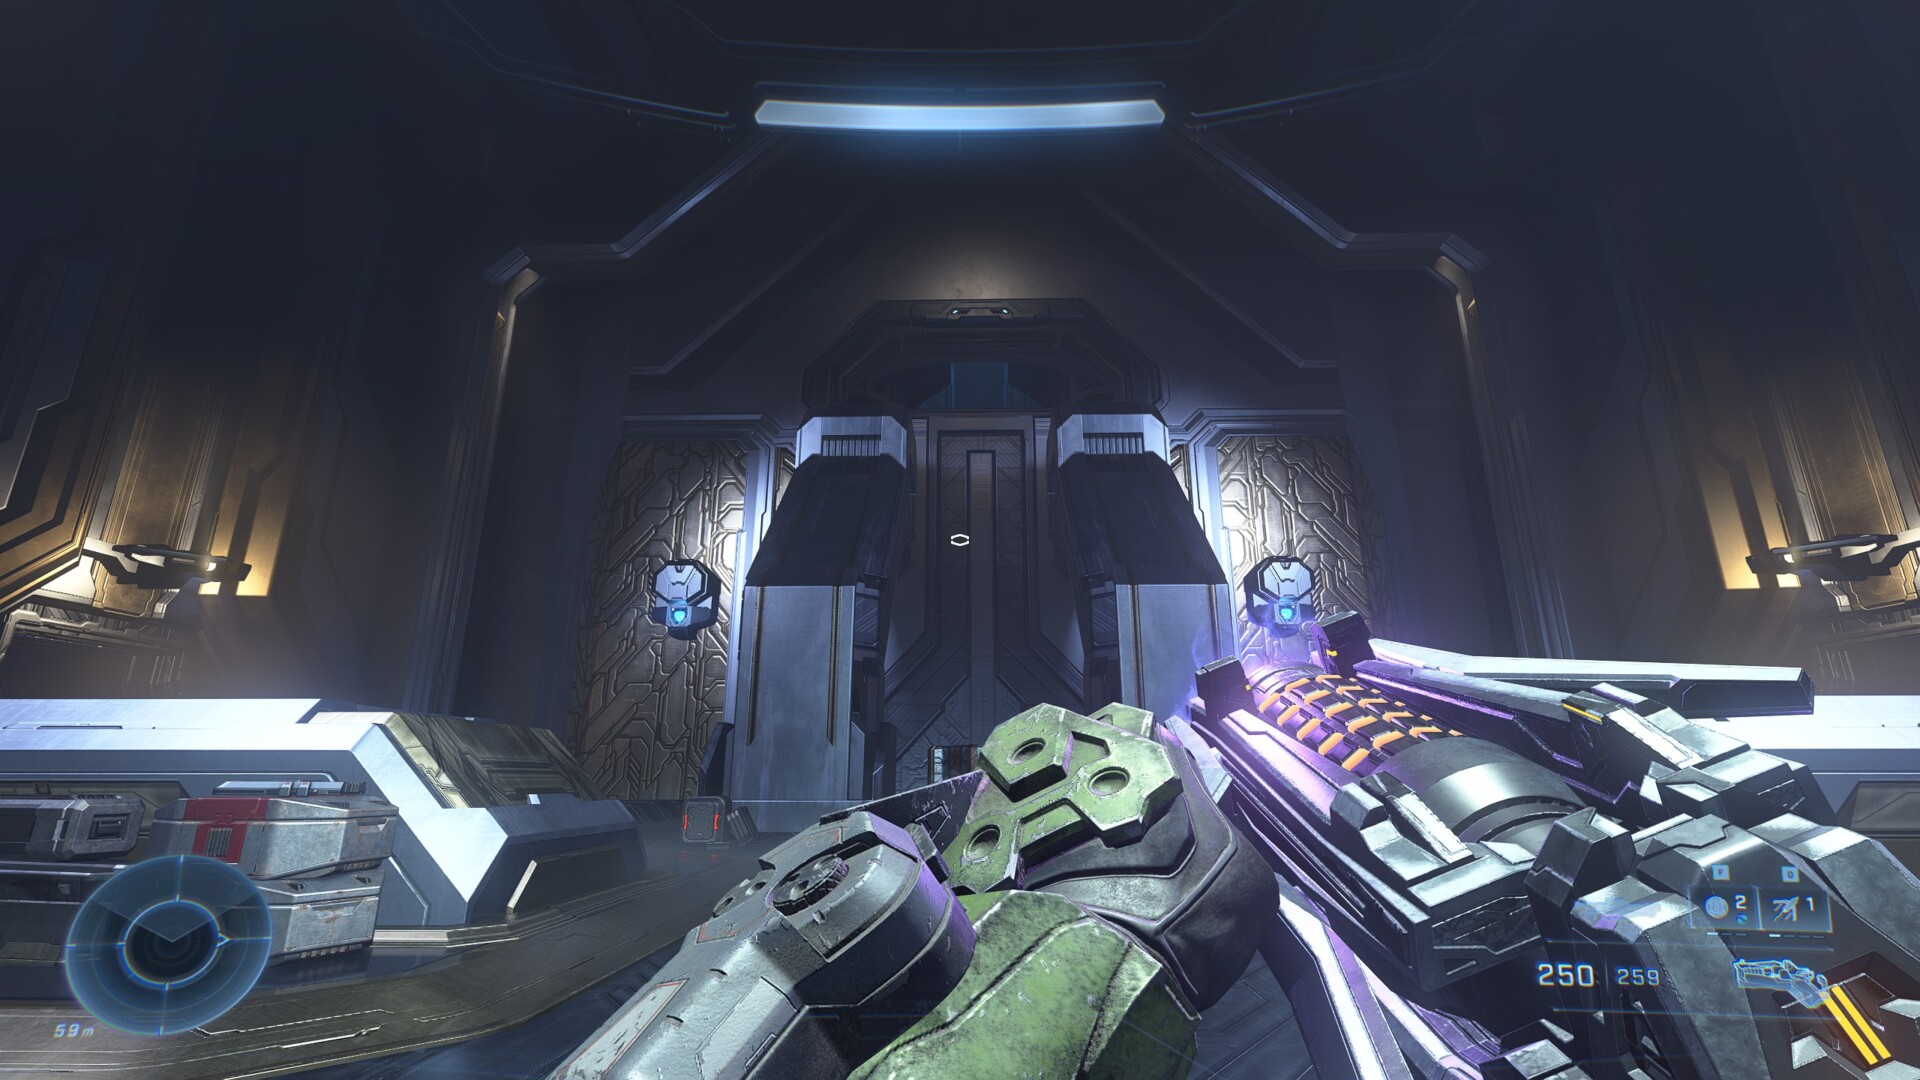
This first hidden Skull is located in the game’s starting mission, Banished Warship Gbraakon. For the Boom Skull, you need to find a certain room. You’ll run into it not long after the introduction area where you’re taught the various abilities you have. After moving down a few hallways and rooms, you’ll enter one with moving metal boxes on the right-hand side. It should be unmistakable, as there’s only one room with this feature. If you see a door with what appear to be holograms of Tremonius on either side, you’ve gone too far.
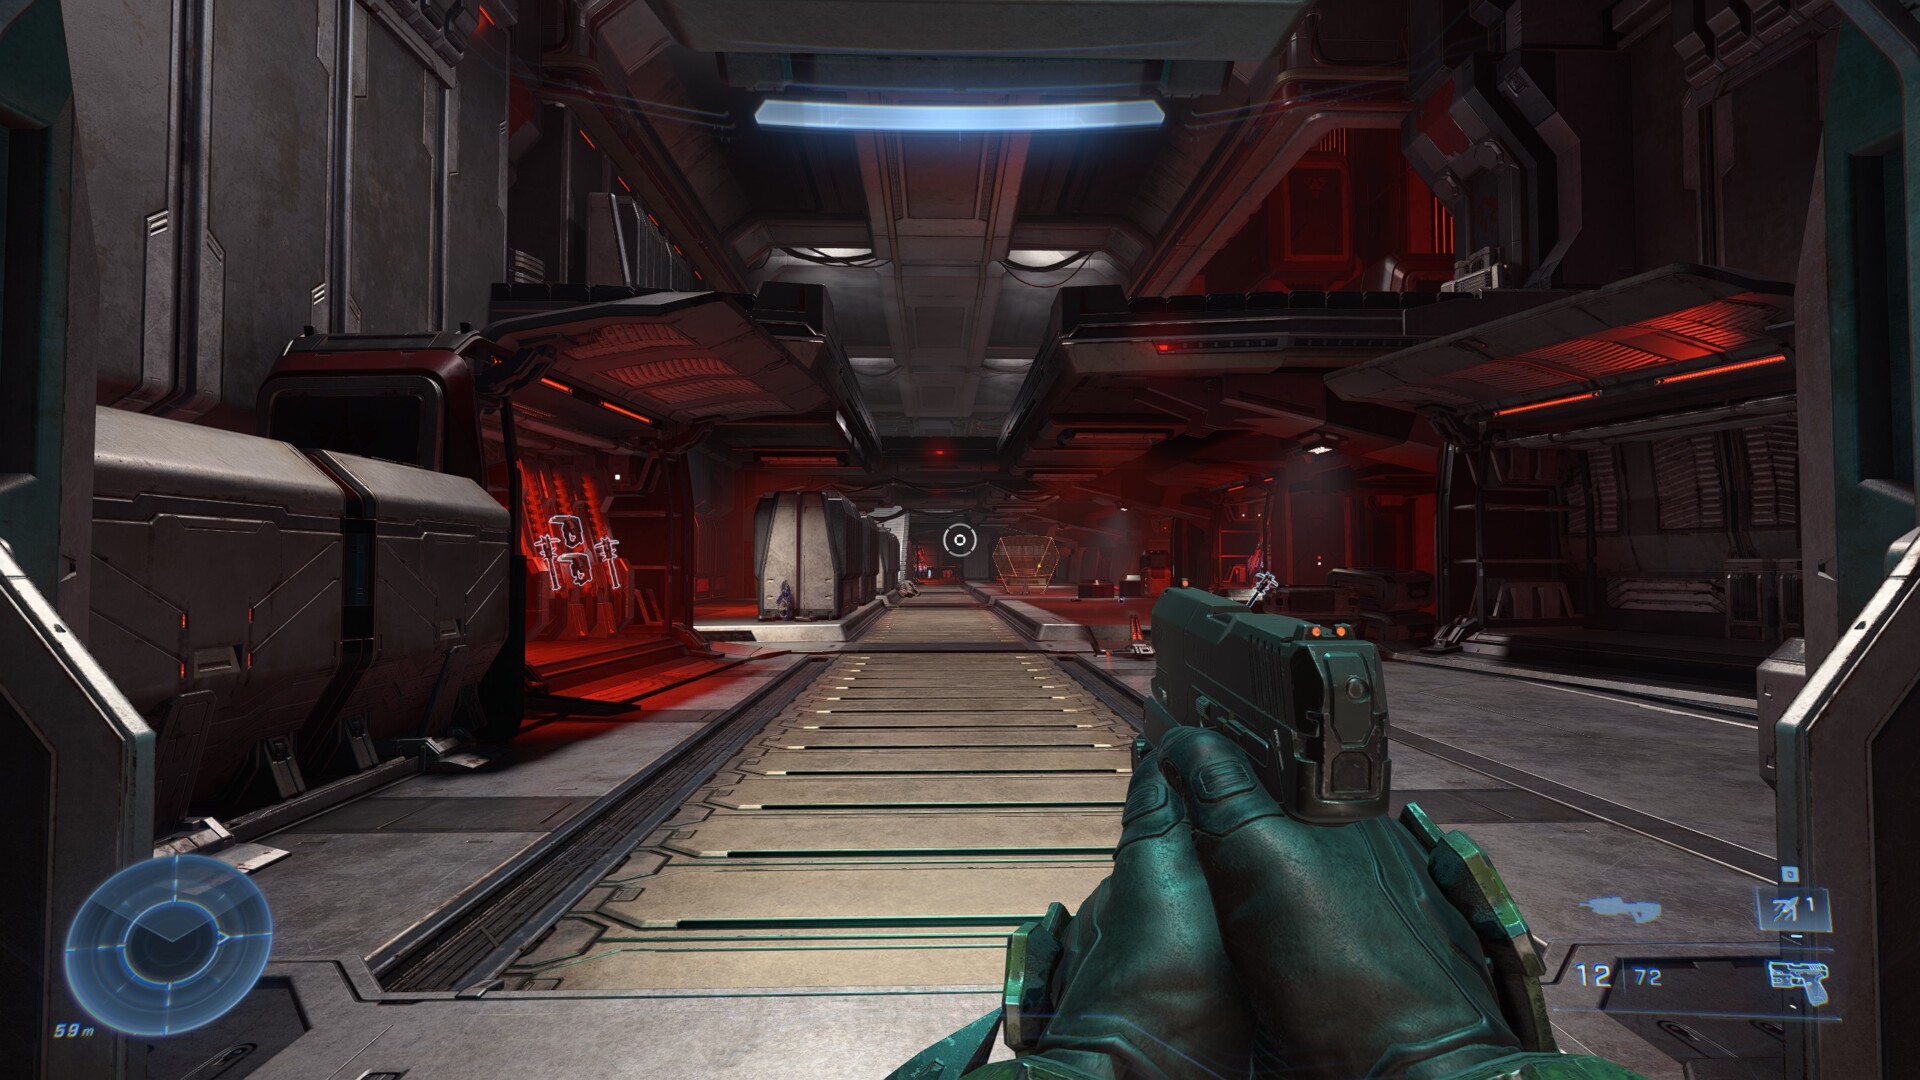
Once you spot this room, you know you’re in the right place.
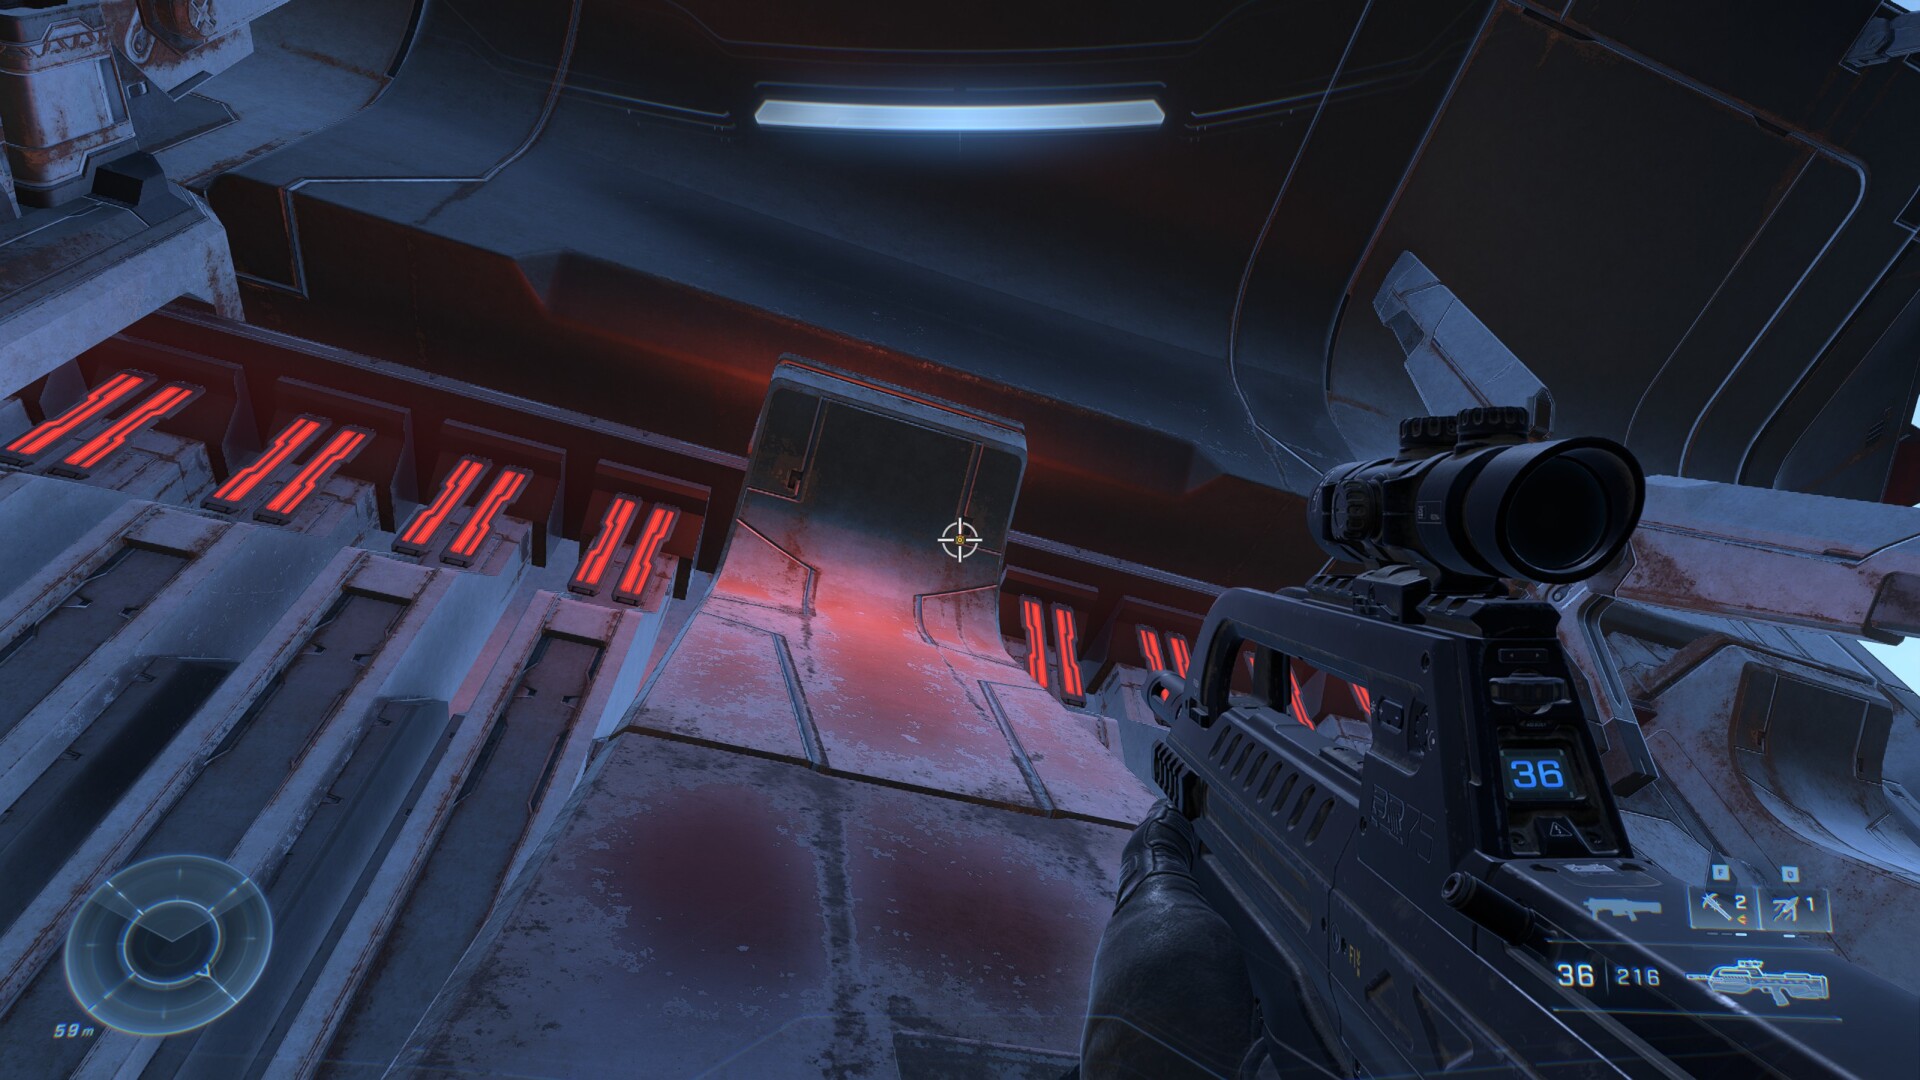
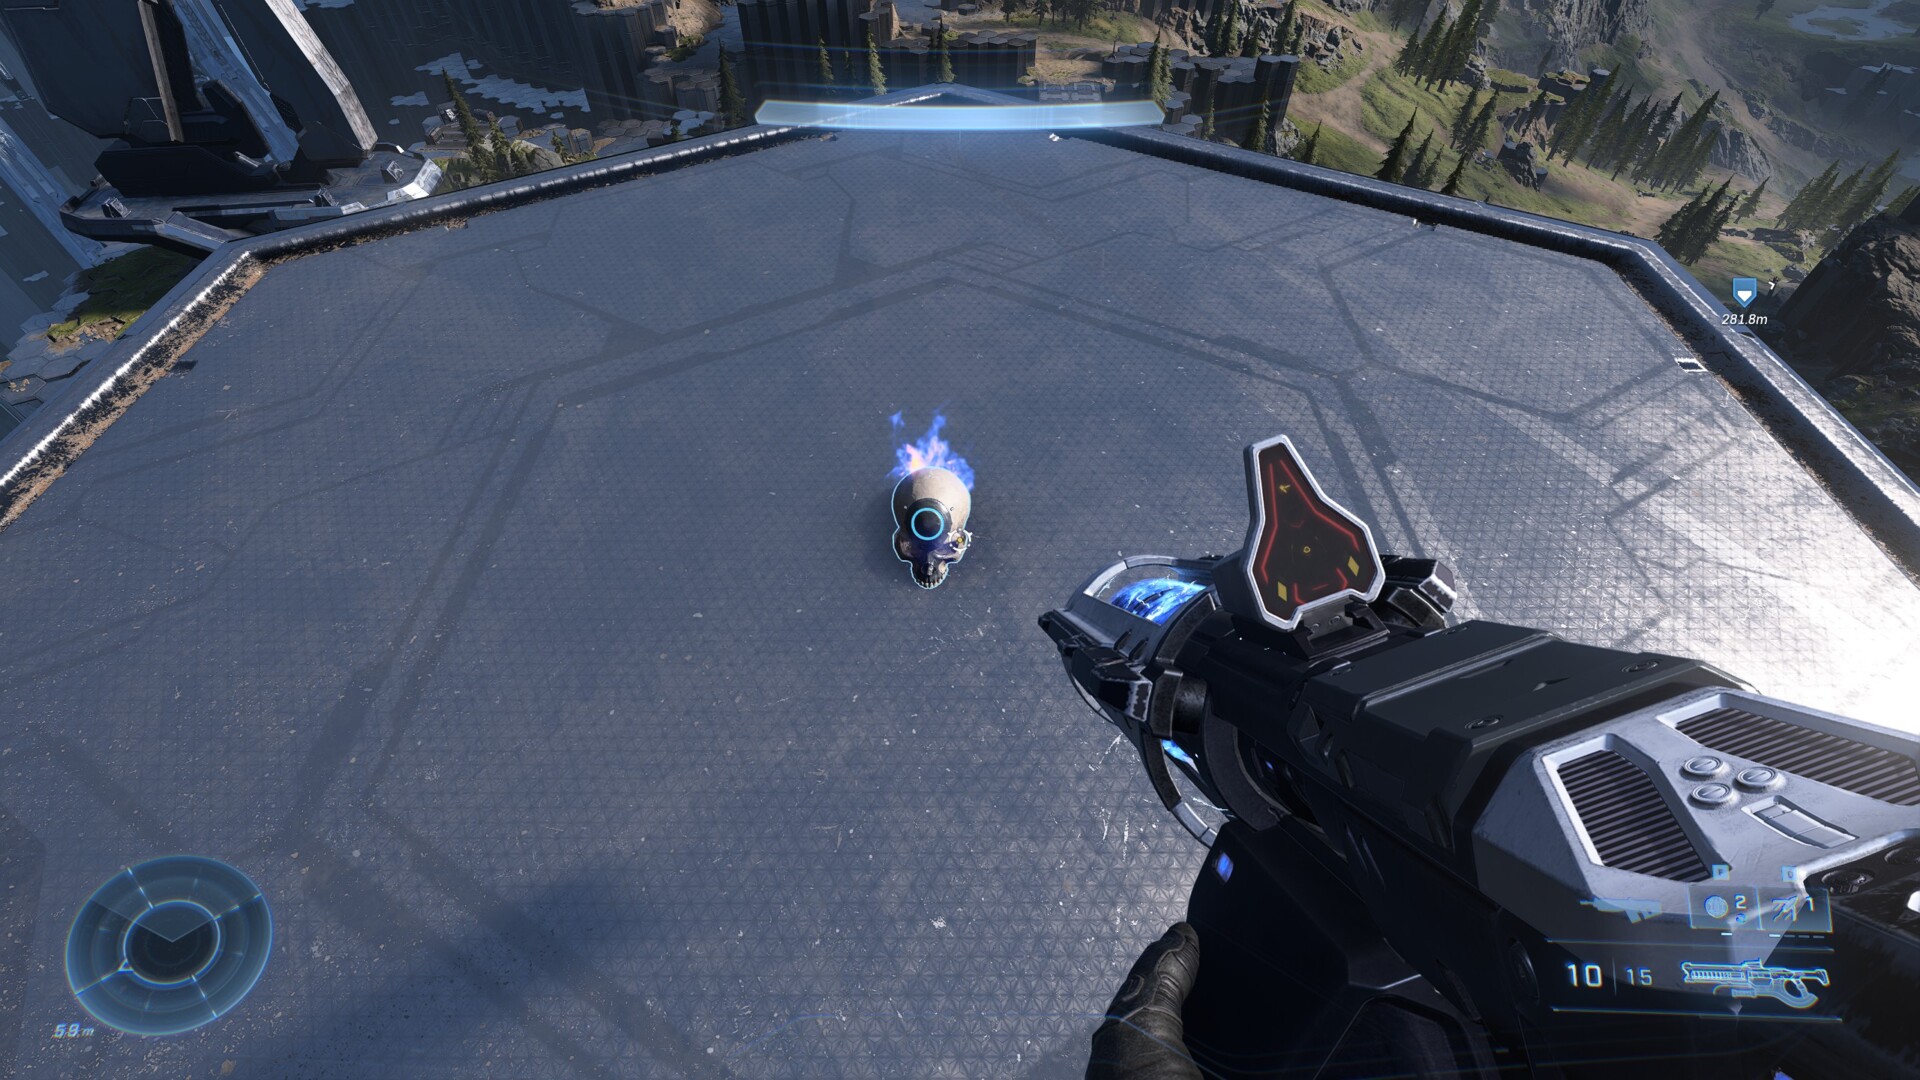
Now, to find the Boom Skull, you need to jump on the moving box in the center. Ride it to the top and look around. It’s sitting on the box next to you.

Halo, nice to meet you.
Effect: The Boom Skull, it rhymes with doom, and that’s what happens with explosions. All explosions in the game will have twice the radius, but the damage will not be increased.
Hidden Skull #2: Cowbell
The second skull you can find, Cowbell, is in the second mission: Foundation. If you’re wondering, this is where the Master Chief acquires the Weapon. This hidden Skull is one of the most trickiest locations of Halo Infinite, and will demand some skill with the Grappleshot. It’ll be tough, as you won’t have the second upgrade for it yet.
Following your second elevator ride, you’ll come across an open room with a narrow platform on the left side. Grunts and Jackals are waiting for you hear, so it’s best to take them out. Here’s what the area looks like, with a dead Grunt. Because I mean business.
Next comes the real icky part. If you look up, you should see a short, narrow platform way up just below the ceiling. That’s where you need to go. My suggestion: use the Grappleshot to zip up the first “buttress” against the left wall (when standing with your back against the entrance). There are two gaps. Get to the first one, and the jump backward and grapple up to the next. Now, sprint up the ascending part and jump, aiming your reticle to the platform that holds the skull. If you make it first try, congrats. I didn’t. If you fall, you die, so you may be at this a few times.

Once you make it to the platform, the skull is yours.
Effect: Cowbell will cause objects in an explosion to fly with increased velocity. It might be good for grenade jumps, but I’m not brave enough to try.
Hidden Skull #3: IWHBYD
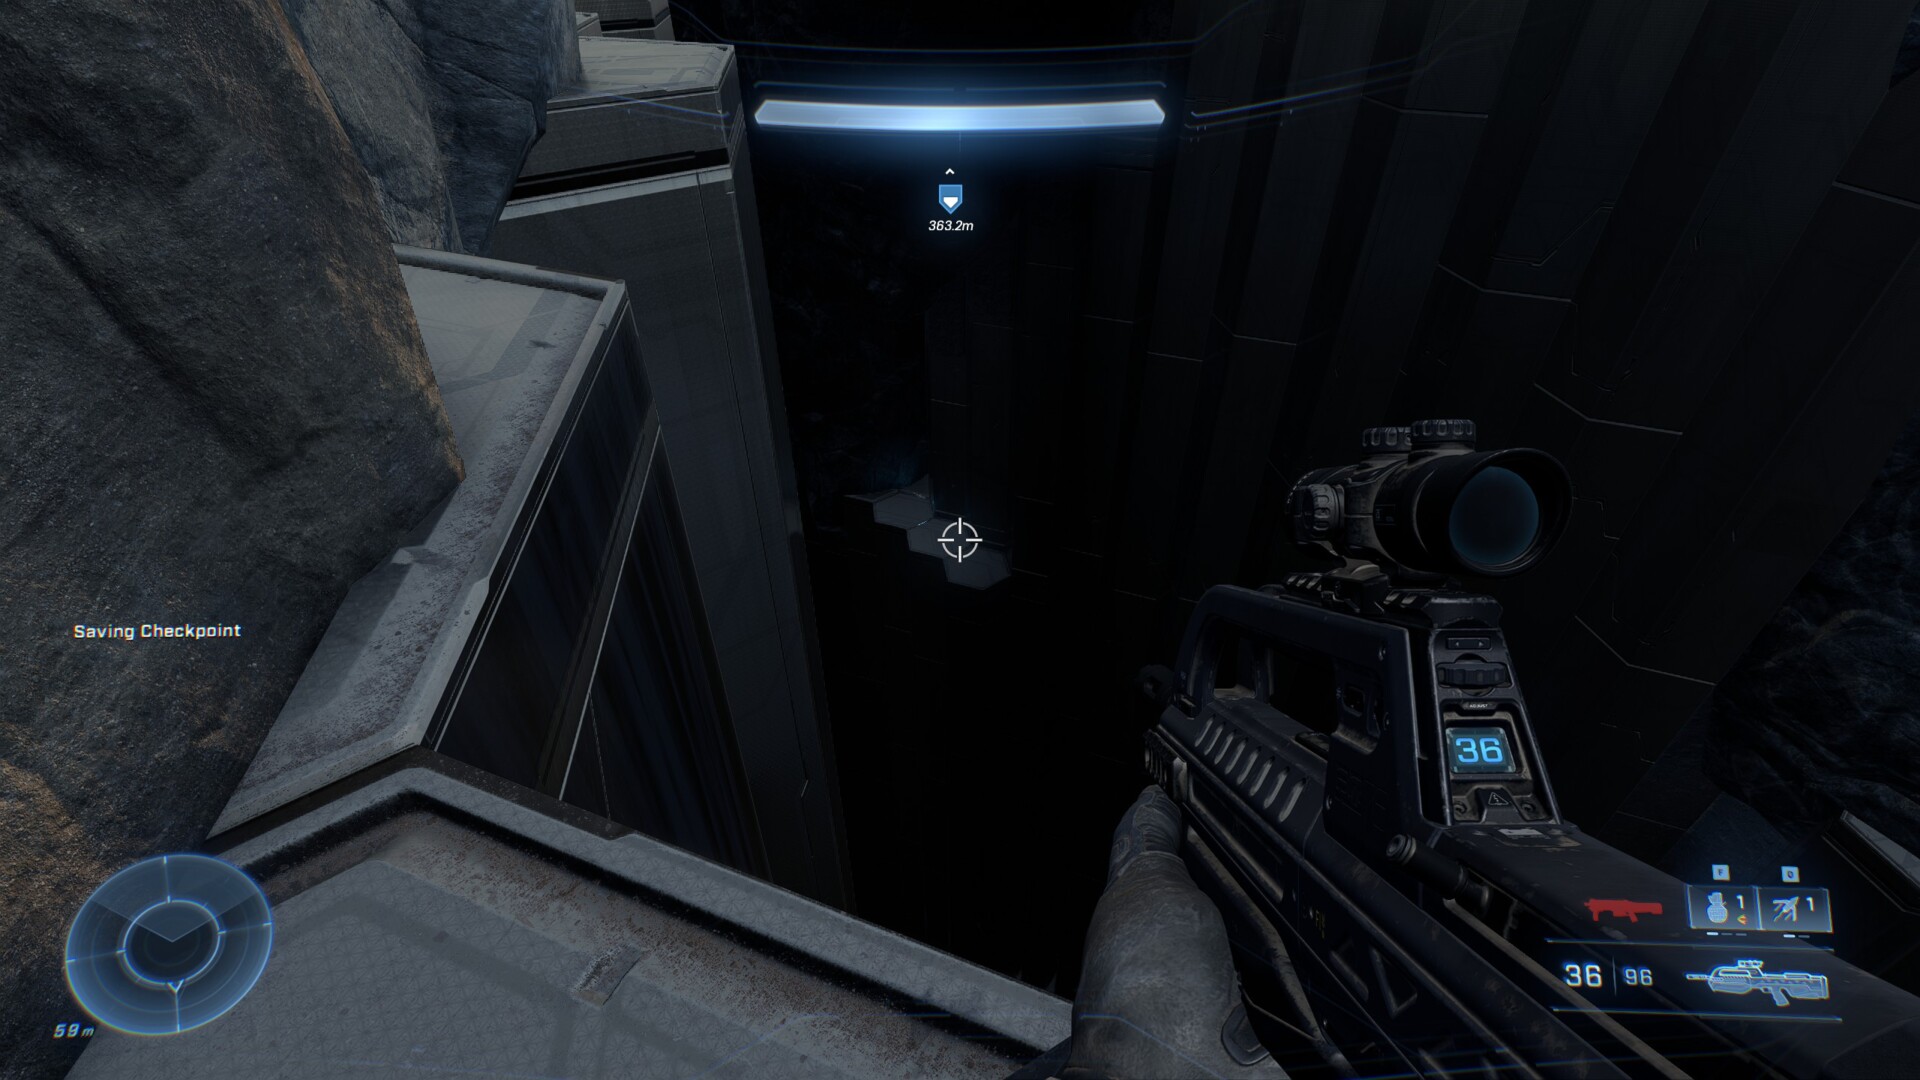
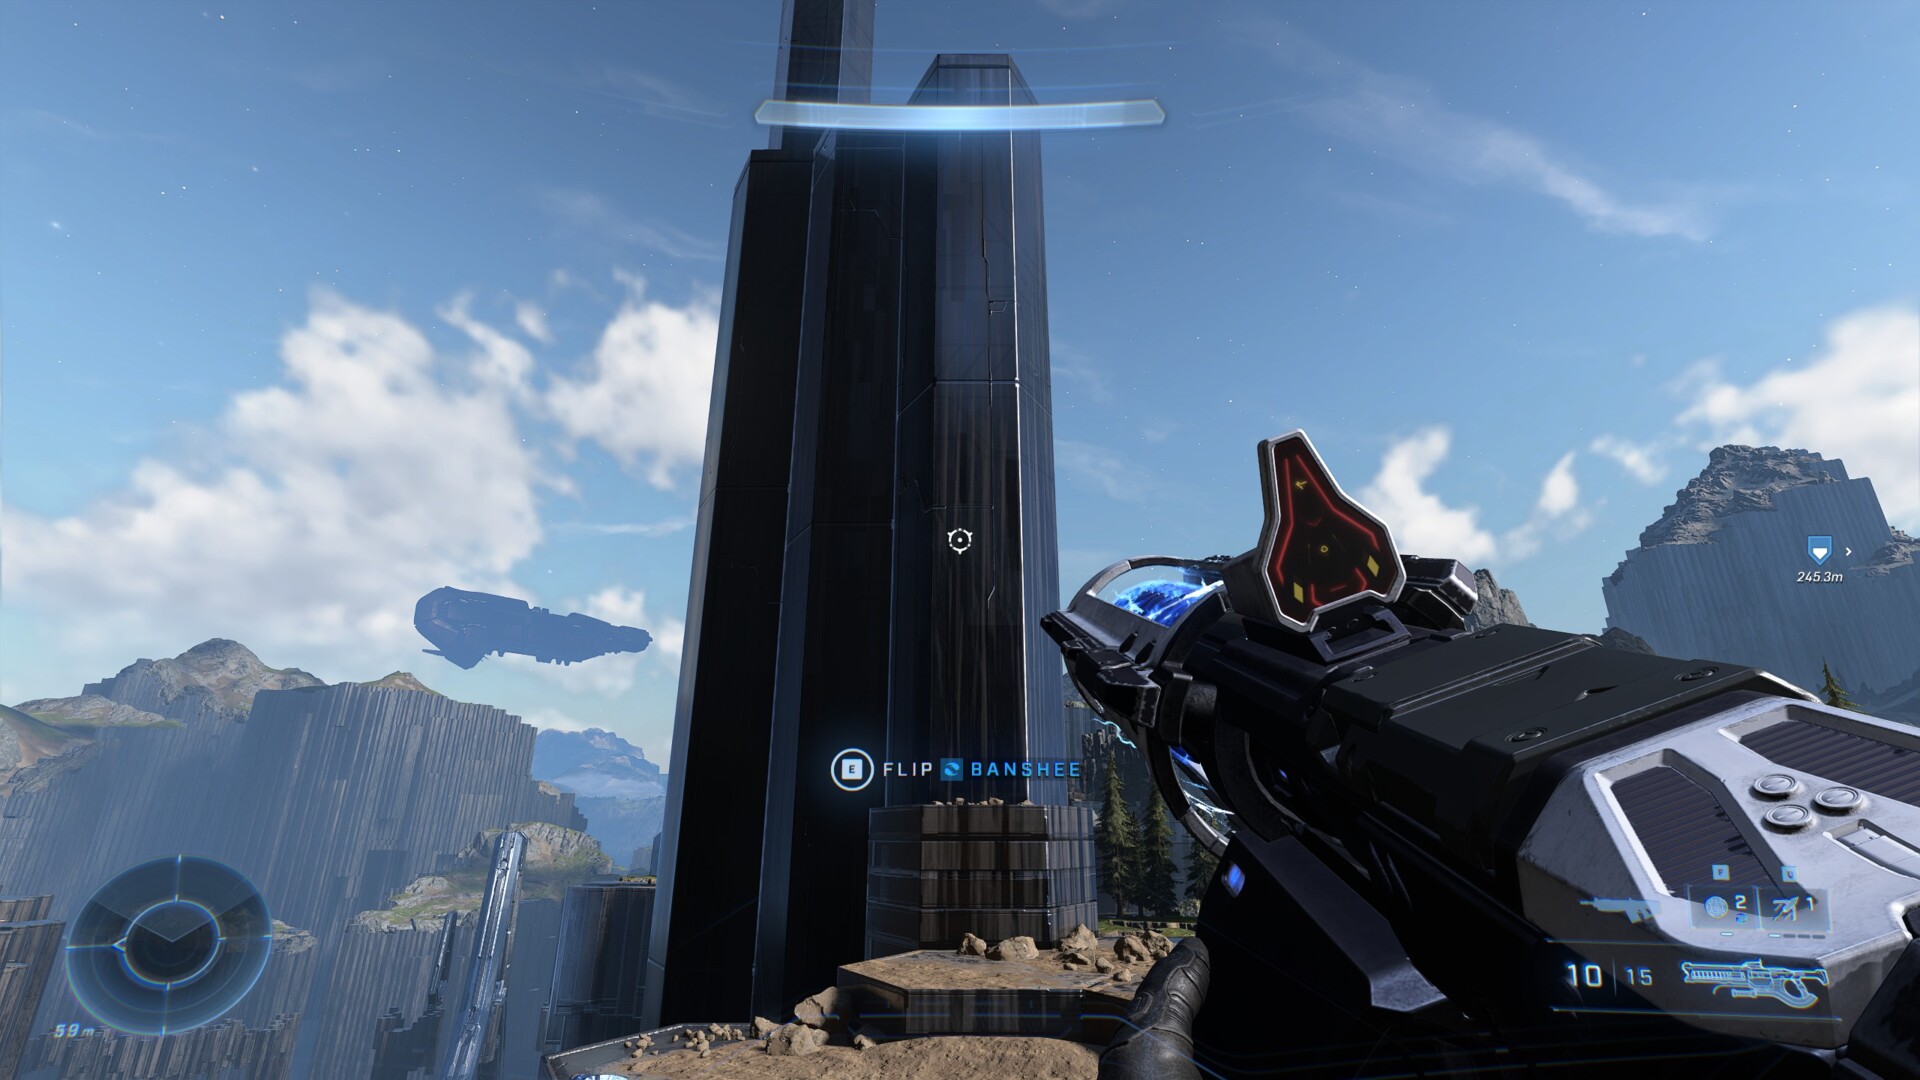
Despite being the third hidden Skull you can come across, IWHBYD (I Would Have Been Your Daddy), is set in one of the easiest-to-find locations in Halo Infinite. In fact, most players should find this one first. To get the skull, you need to make your way to the top of The Tower. This is the location of the third mission in the game, in which you need to face off against warden Chak’Lok.
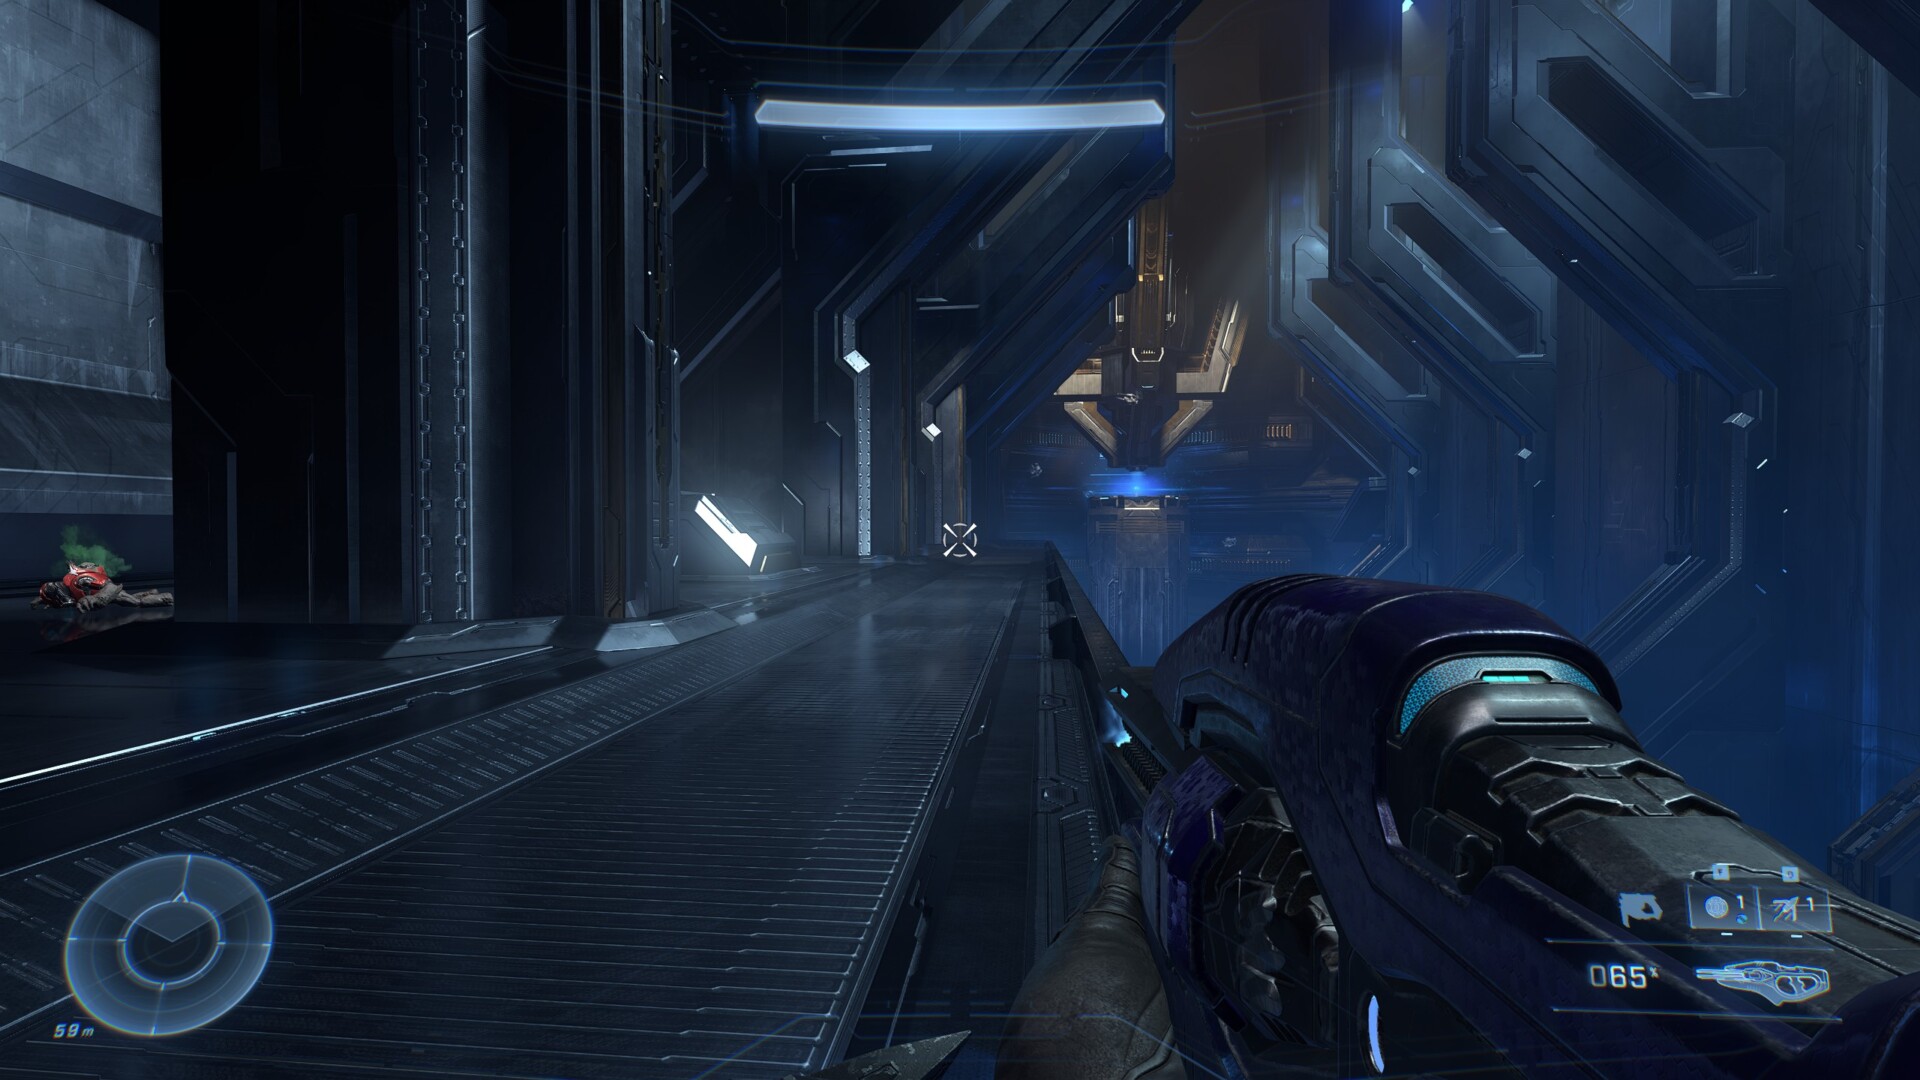
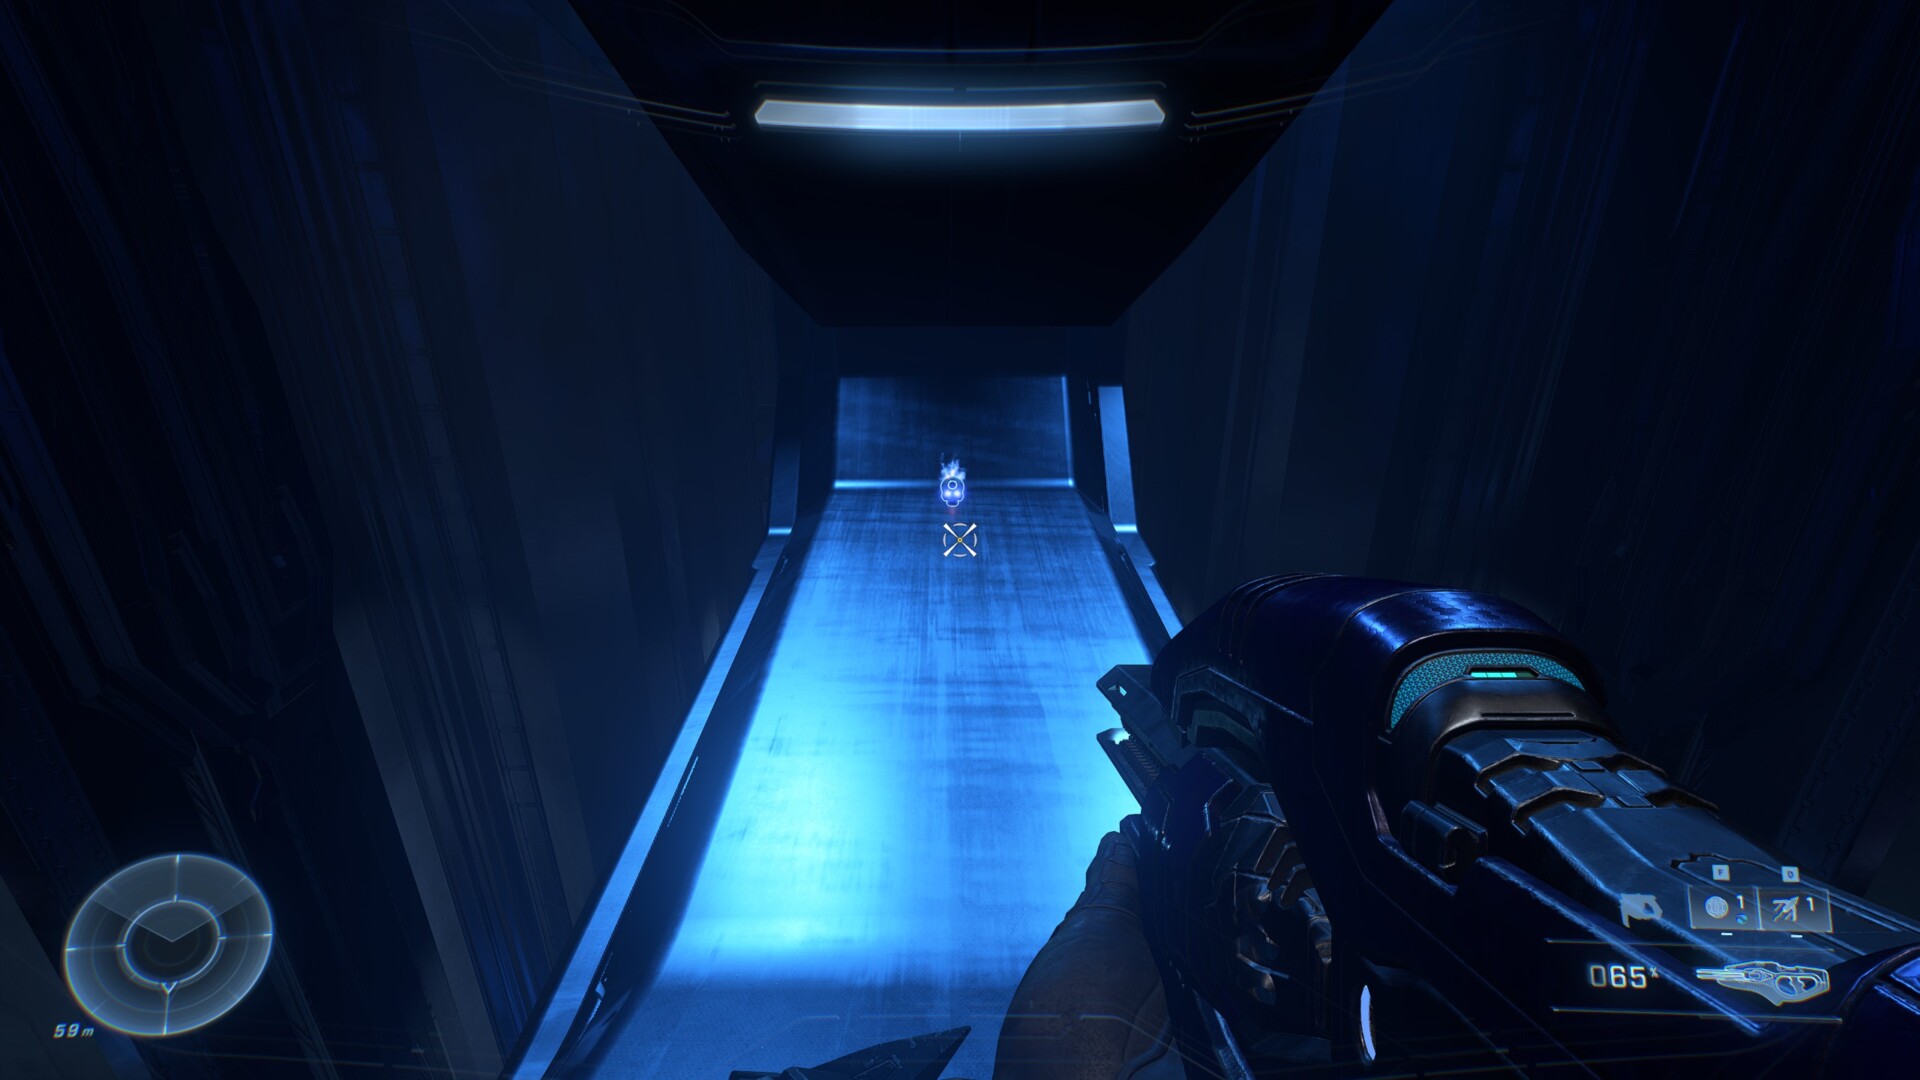
The skull is on the top of the tower, not within. So don’t worry about scouring every inch of the interior. There are two ways to the top of The Tower. The first is to upgrade your Grappleshot to level 2, which reduces its cooldown time. With a Grappleshot, the best way is to climb the slanted support structures to more than half way up the tower.
Latch onto a metal “lip” jutting out of the side (seen below). After that, grapple onto the metal overhang, turn quickly, and then use the Grappleshot to make your way to the top.
The second way is to get a Wasp or Banshee and fly to the top. It’s easier this way, but maybe not as fun. You can also stop to check out the Craig Easter egg while you’re at it.
Effect: The skull will alter enemy unit barks in often hilarious ways.
Hidden Skull #4: Blind
You’ll find the Blind Skull on the southwestern most part of the map, and south of The Tower. Zoom into the tacmap, and you’ll see two large mountains with a crevasse between. Just under a small bit of land between the two is your quarry.
The easy way is, of course, getting a Wasp or Banshee to get you under the land. However, you can definitely reach this one with an upgraded Grappleshot. Get on the northern most part of the mountain on the right side of the crevasse. Look around, and eventually you’ll come across this mossy, grassy part of the mountain.
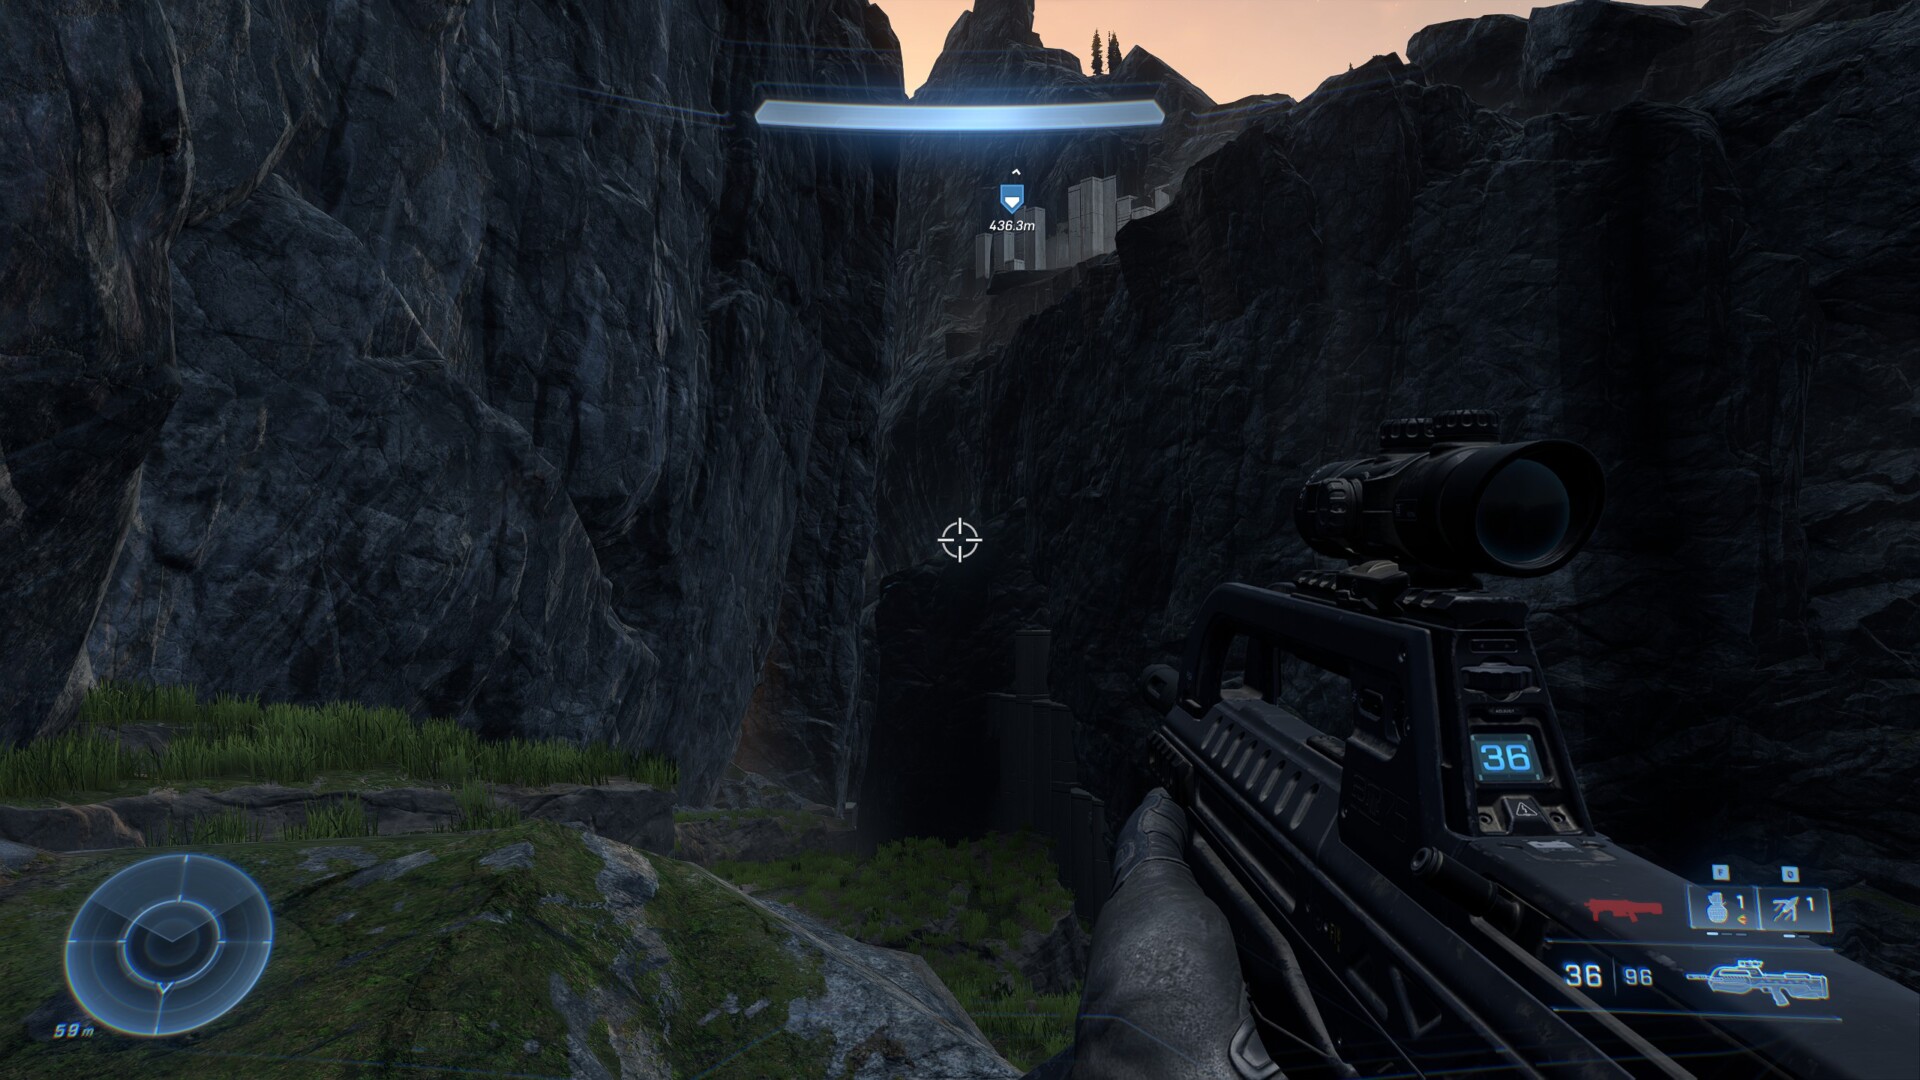
Get near the edge, and jump onto the nearest pentagonal platform. Look down, and just under the land bit above is a small platform you can swing down to.
The platform hides a rocket launcher, and the Blind Skull.
What it does: The effects of Blind hidden Skull removes both your HUD and your weapon from the screen during the Halo Infinite campaign. You’re basically a walking camera of death, with rather poor aim.
Hidden Skull #5: Thunderstorm
The Thunderstorm hidden Skull location is next to the small island that you end up on during the Halo Infinite campaign. You may remember this as when you first meet up against the Spartan Hunters. They weren’t tough. And neither is finding this Skull, so long as you have either a flying craft or upgraded Grappleshot. The Skull is on the southeastern part of the island on the outside. Don’t try searching for it from within the island. Approach from the south, heading north. The Skull is on top of a large pillar. I’ve circled it below:
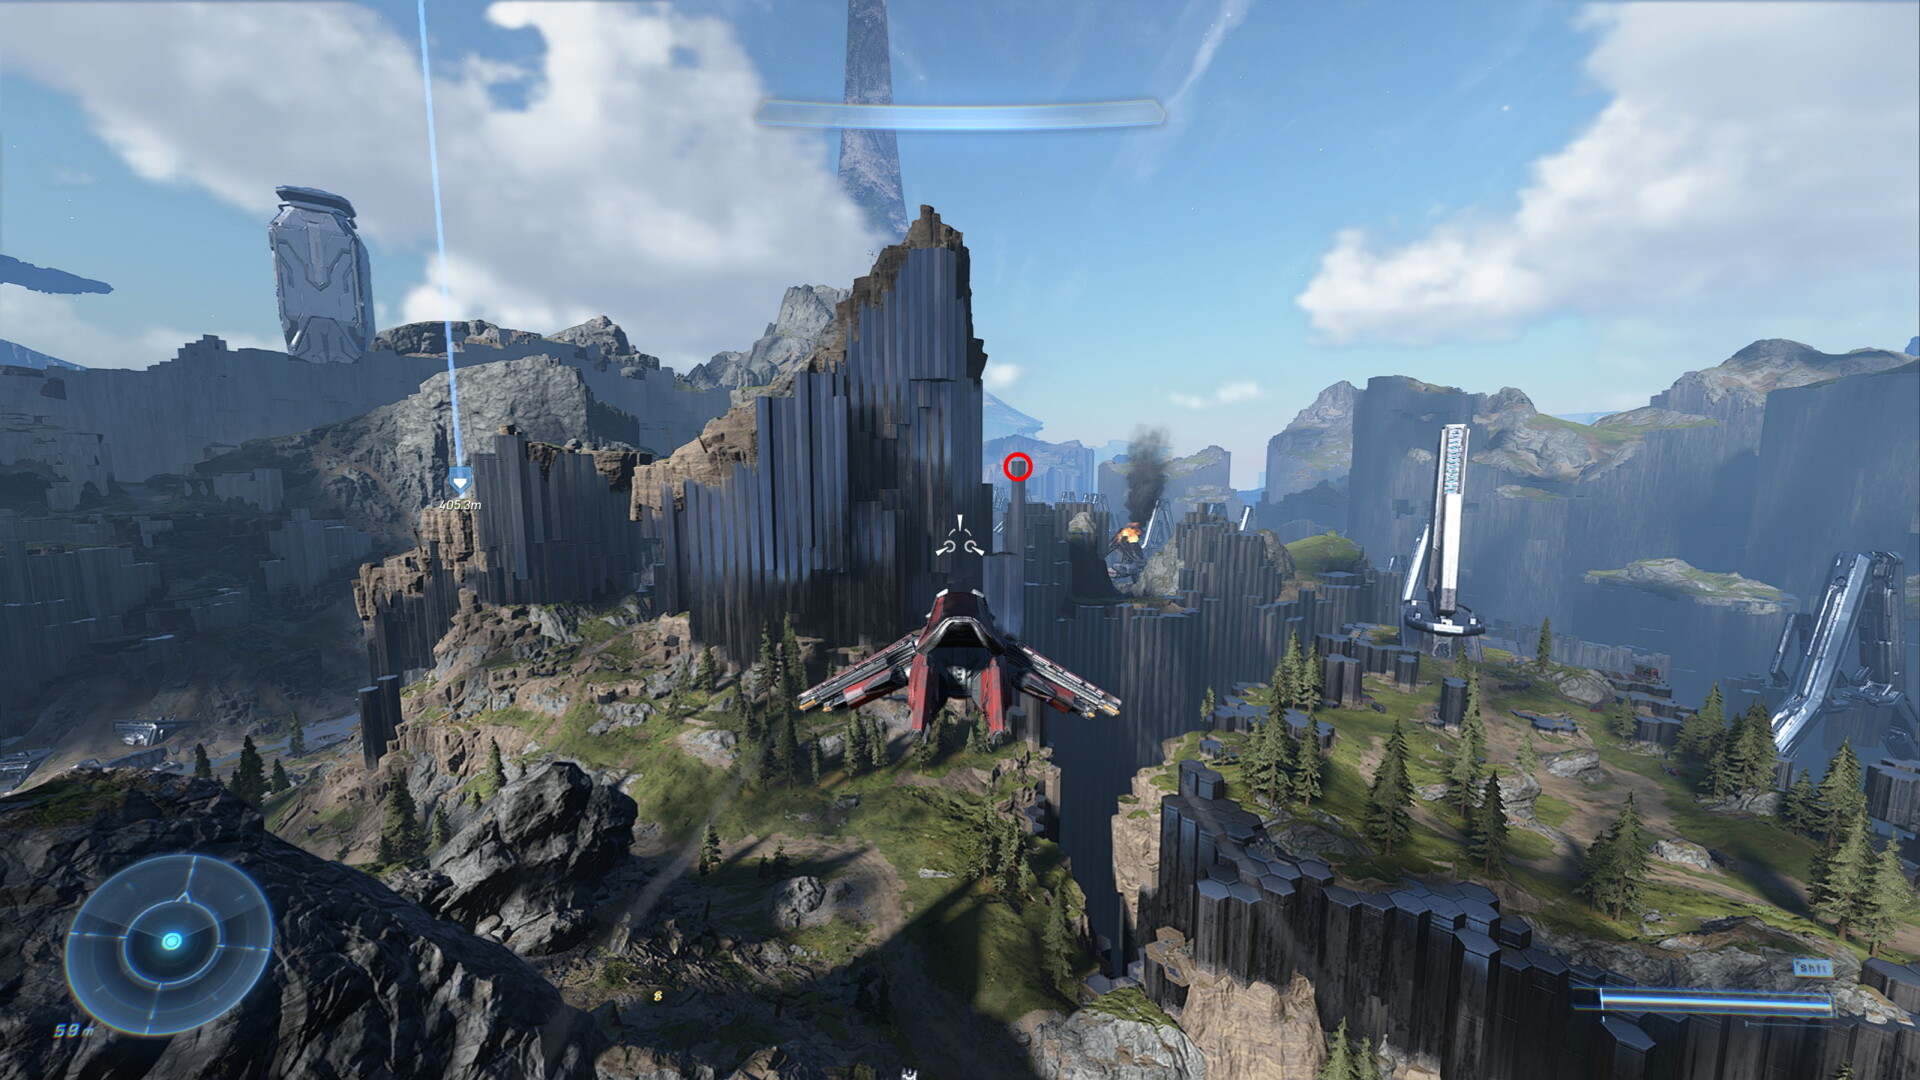
Now, either you can drop from you vehicle and pray you’ll land on the pillar, or you can use some tricks. Landing under the pillar, use the Grappleshot to climb the first smaller pillar next to the larger one. Keep tapping the grapple button or key to keep firing, pulling you upward. As a note, don’t press it after you’ve grappled on or it’ll cancel. Just tap until the grapple fires, rinse and repeat.
Next, do the same thing but on the taller pillar. At the top is the Skull.
What it does: The effects of the Thunderstorm hidden Skull moves every enemy in Halo Infinite up one rank. Blue Elites become red, etc. Use this if you need a tougher challenge.
Hidden Skull #6: Mythic
In the mission, The Command Spire, progress until you find yourself in a room with floating ‘columns’ moving through a wide all of sorts. Follow the marker on your HUD until the columns stop and turn to the right. There are some Banished forces in the room, so wipe them out before proceeding. Next, grapple onto a column and get on top. Look up and there will be a large hole in the ceiling.
Head on up and look for the Forerunner door. Go through it, and keep moving until you find the Mythic skull.

What it does: The Mythic hidden Skull effects basically makes enemies harder in Halo Infinite. Combine this with Thunderstorm if you’re a real masochist.
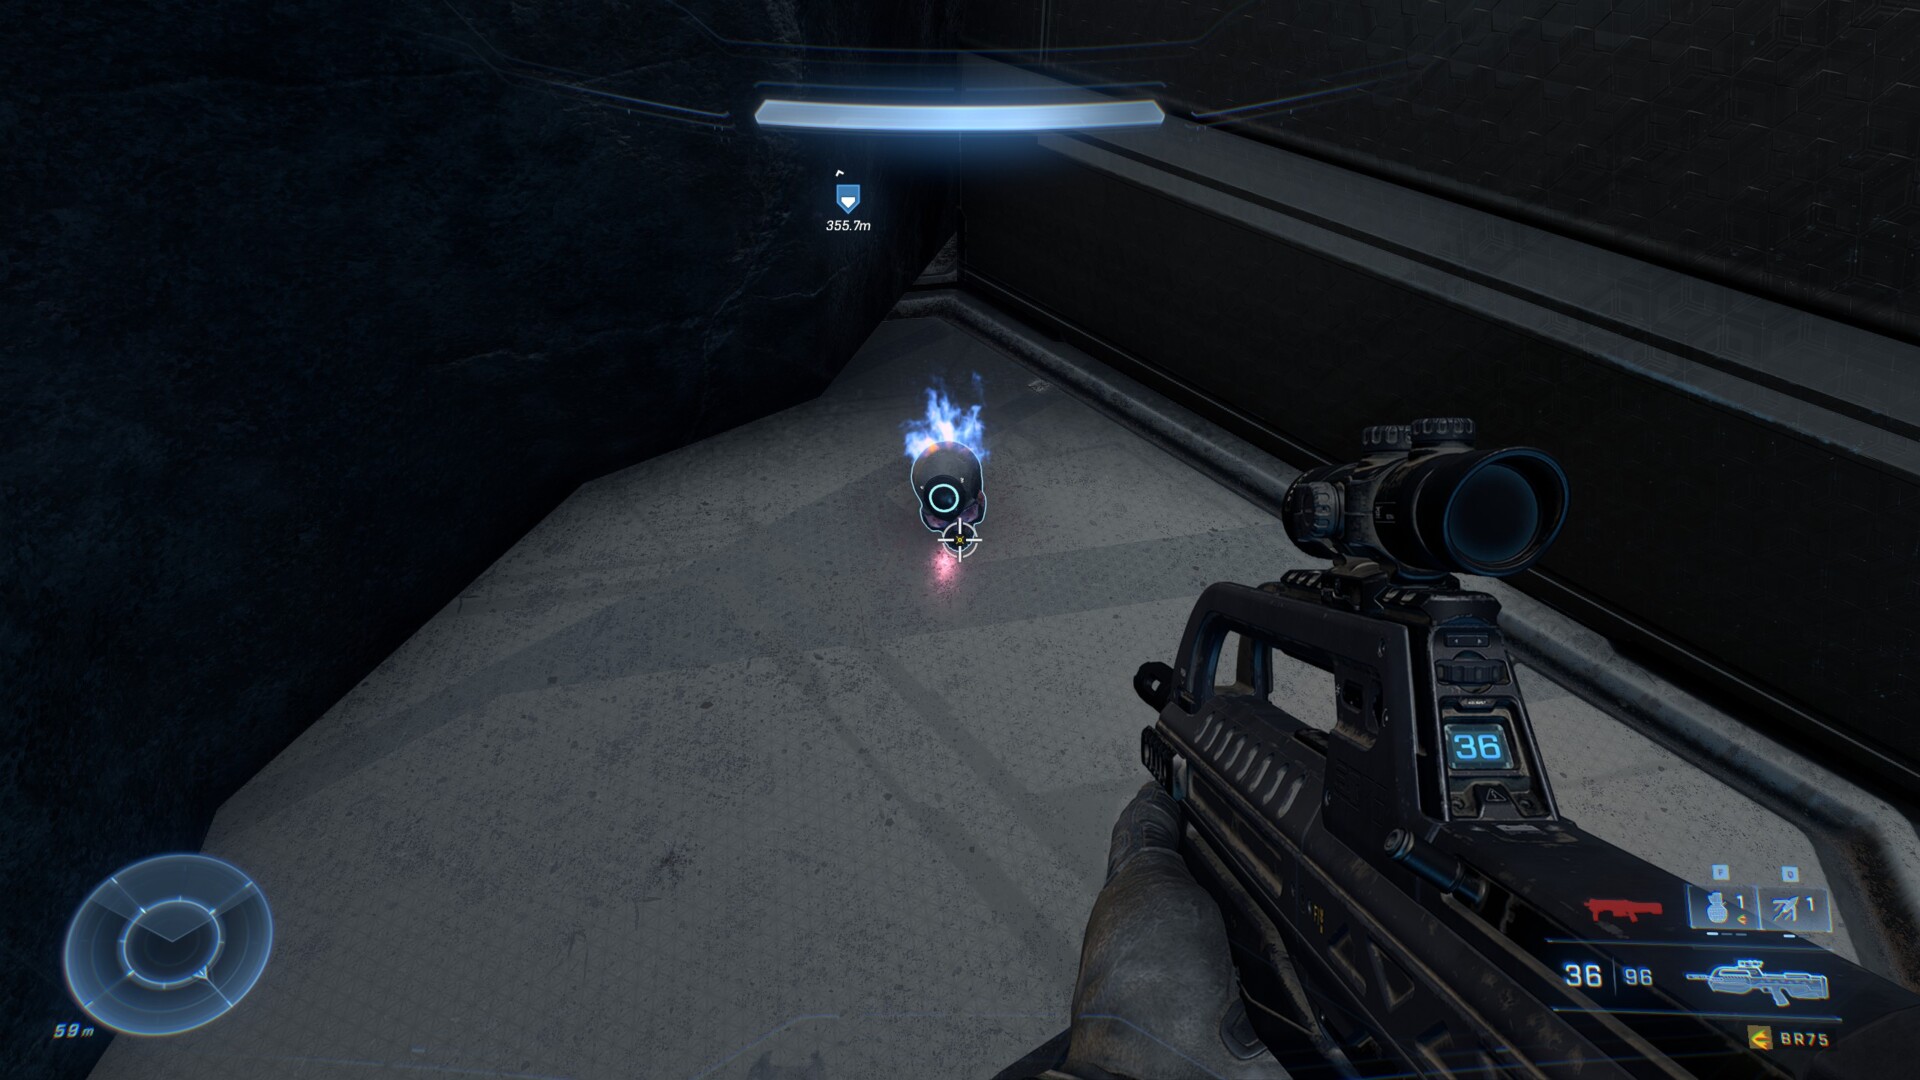
Hidden Skull #7: Grunt Birthday Party
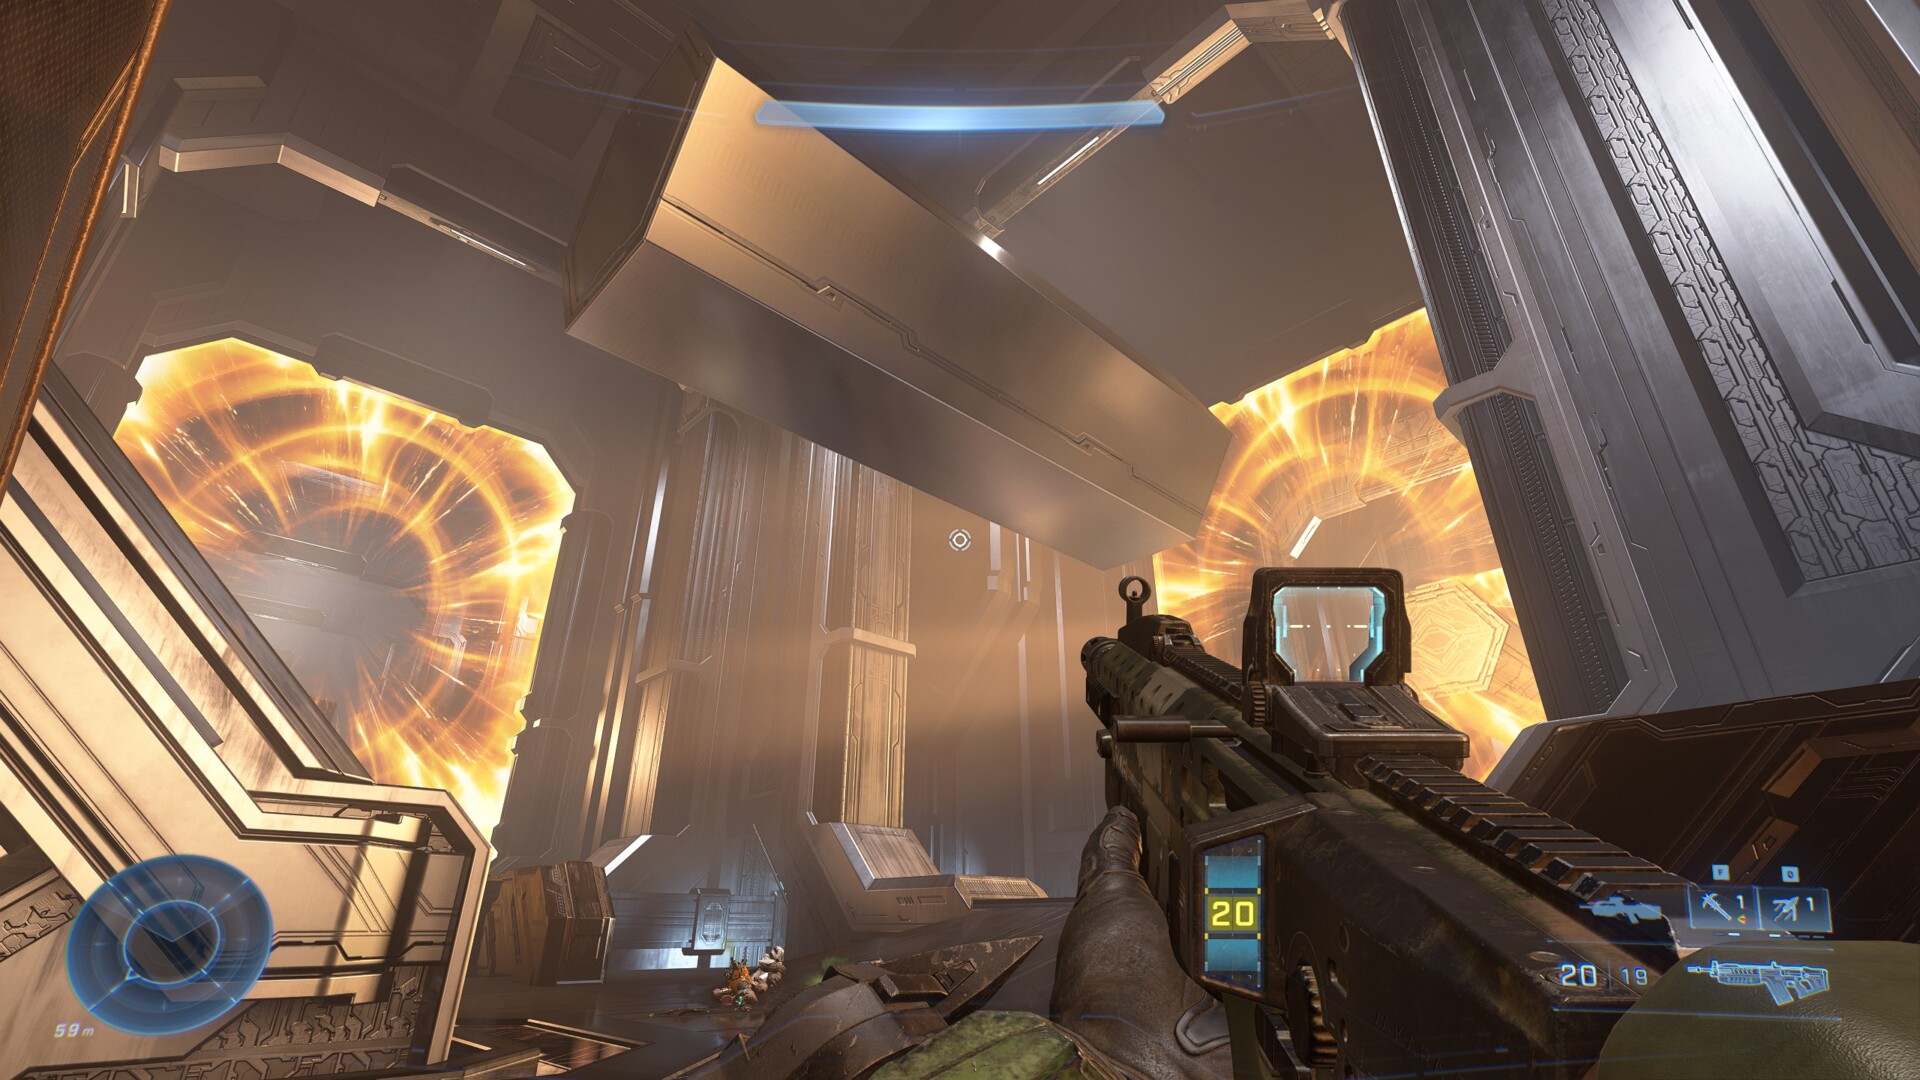
Yayy! This one is a bit more complicated that the previous Skulls. In the mission Repository, you’ll eventually come across a massive room with a terminal in the middle and three locked doors along the walls of the room. Wipe out the Sentinels and activate the terminal. After the cutscene, a bridge will appear, connecting to the door ahead of you. However, instead of heading forward, take out the new Banished forces before grappling your way to the door on the right.
At the end of this area is a Power Seed. Grab it and then go back. With the Seed in tow, grapple out to the door on the opposite side and work your way to a Power Seed receptacle. Put the Power Seed in it and continue on with the mission. After the Weapon asks you to check out a window, head on until you find this room. There’s a room similar to this one just before it, so don’t get confused. Grapple up and enter the open window near the top. Inside is a group of cloaked Elites guarding the skull. Kill them and it’s yours.
What it does: The Grunt Birthday Party Skull is arguably the most famous of all the Skulls, and for good reason. When activated, killing a Grunt with a headshot will cause them to erupt in confetti, while a crowd screams “Yayy!” It’s fun.
Hidden Skull #8: Bandana
The Bandana hidden Skull is likely the one most people will miss in Halo Infinite. It’s tough, because you have to complete a certain objective in order to claim it. You will find the Bandana skull in The Silent Auditorium. For this particular Skull, you need to progress through the level without killing a single Sentinel until it’s claimed. Thankfully, you can force your way past enemy troops until you get to this room:

If you did it right, the door on the wall opposite the entrance should be unlocked. Go through there and the Bandana Skull is yours.
What it does: The Bandana Skull grants unlimited ammunition, grenades, and removes equipment cooldown. This should make for some wacky times.
Now then, let’s clean up the rest of the Skulls! Luckily, these last four are easy. By this point, you should have completed the game. If you have taken out Banished outposts and saved enough marines, you should have access to the Wasp. If not, do that first. A couple of these final Skulls require you to get to them with a flying vehicle.
Hidden Skull #9: Catch
North of FOB Alpha and Outpost Tremonius is an mall island on the northwest part of the map. Fly over there in a Wasp or Banshee and head here on the island:
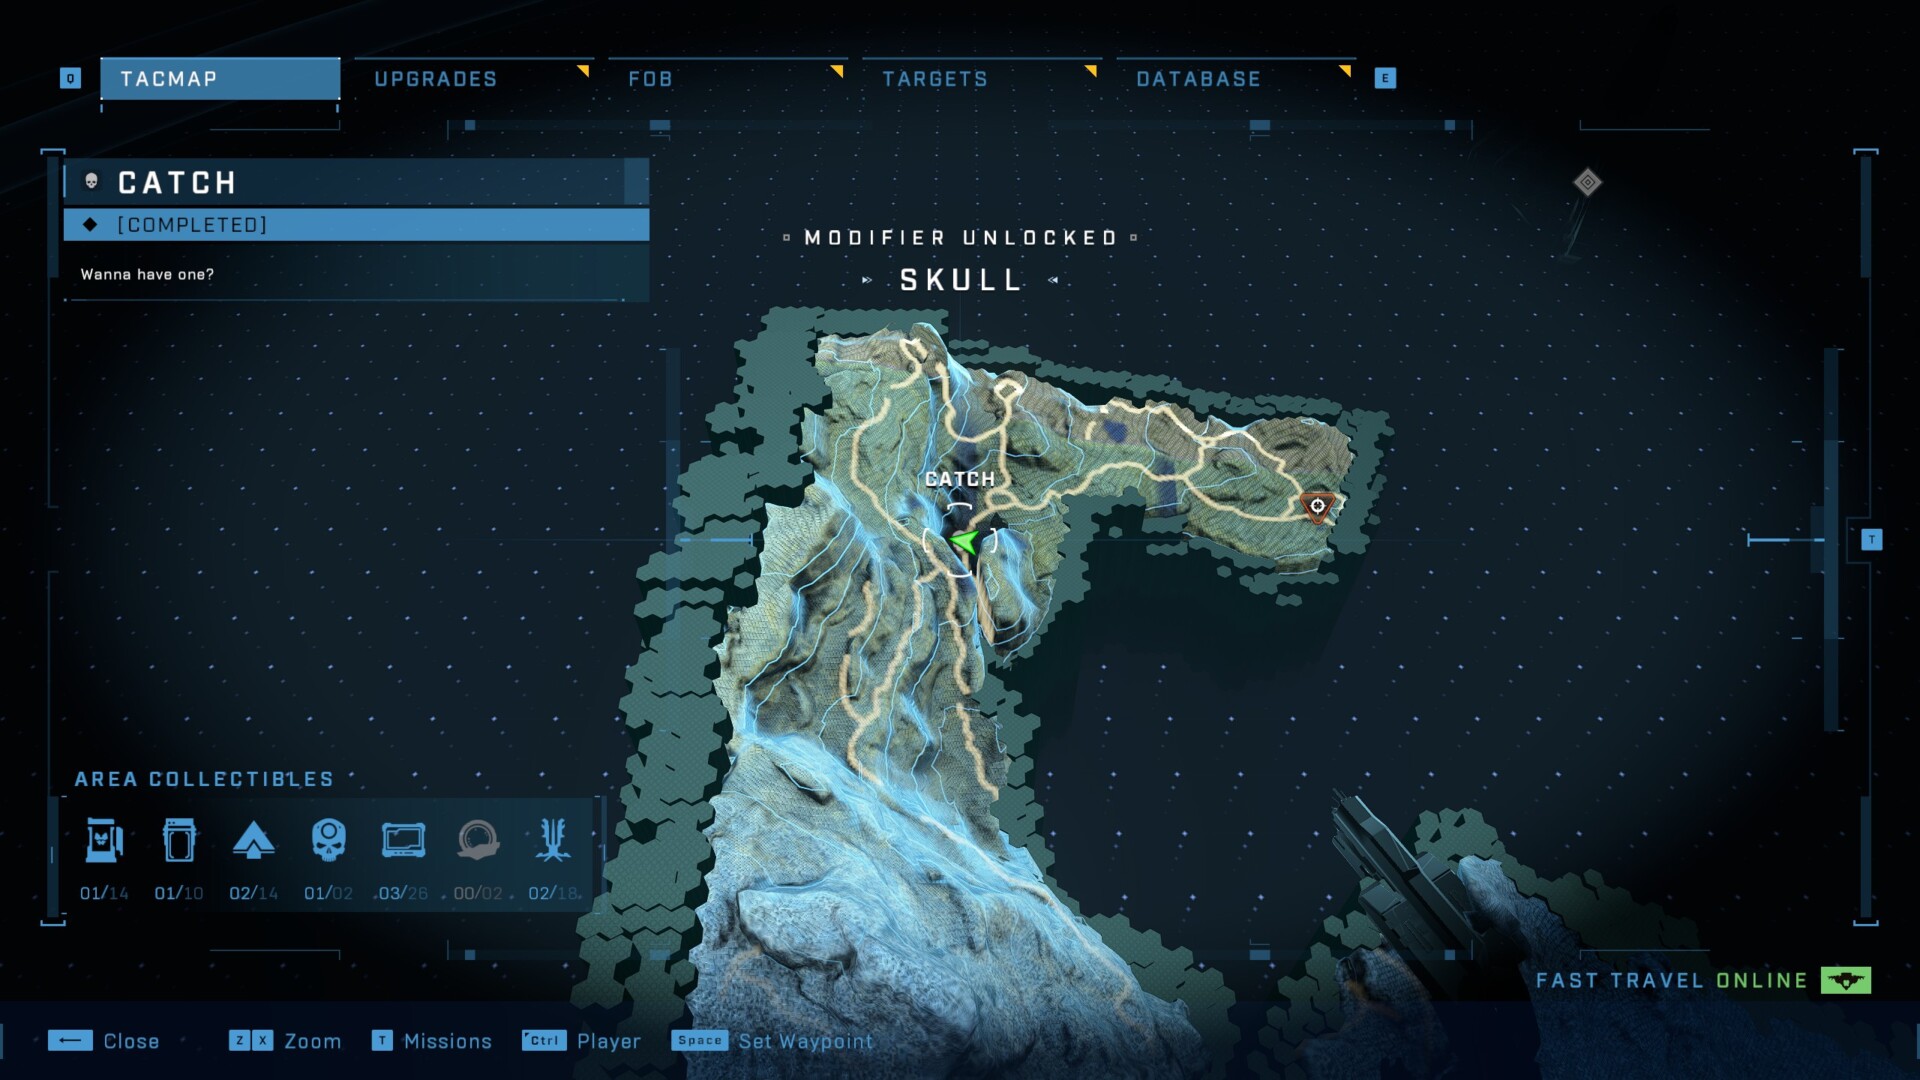
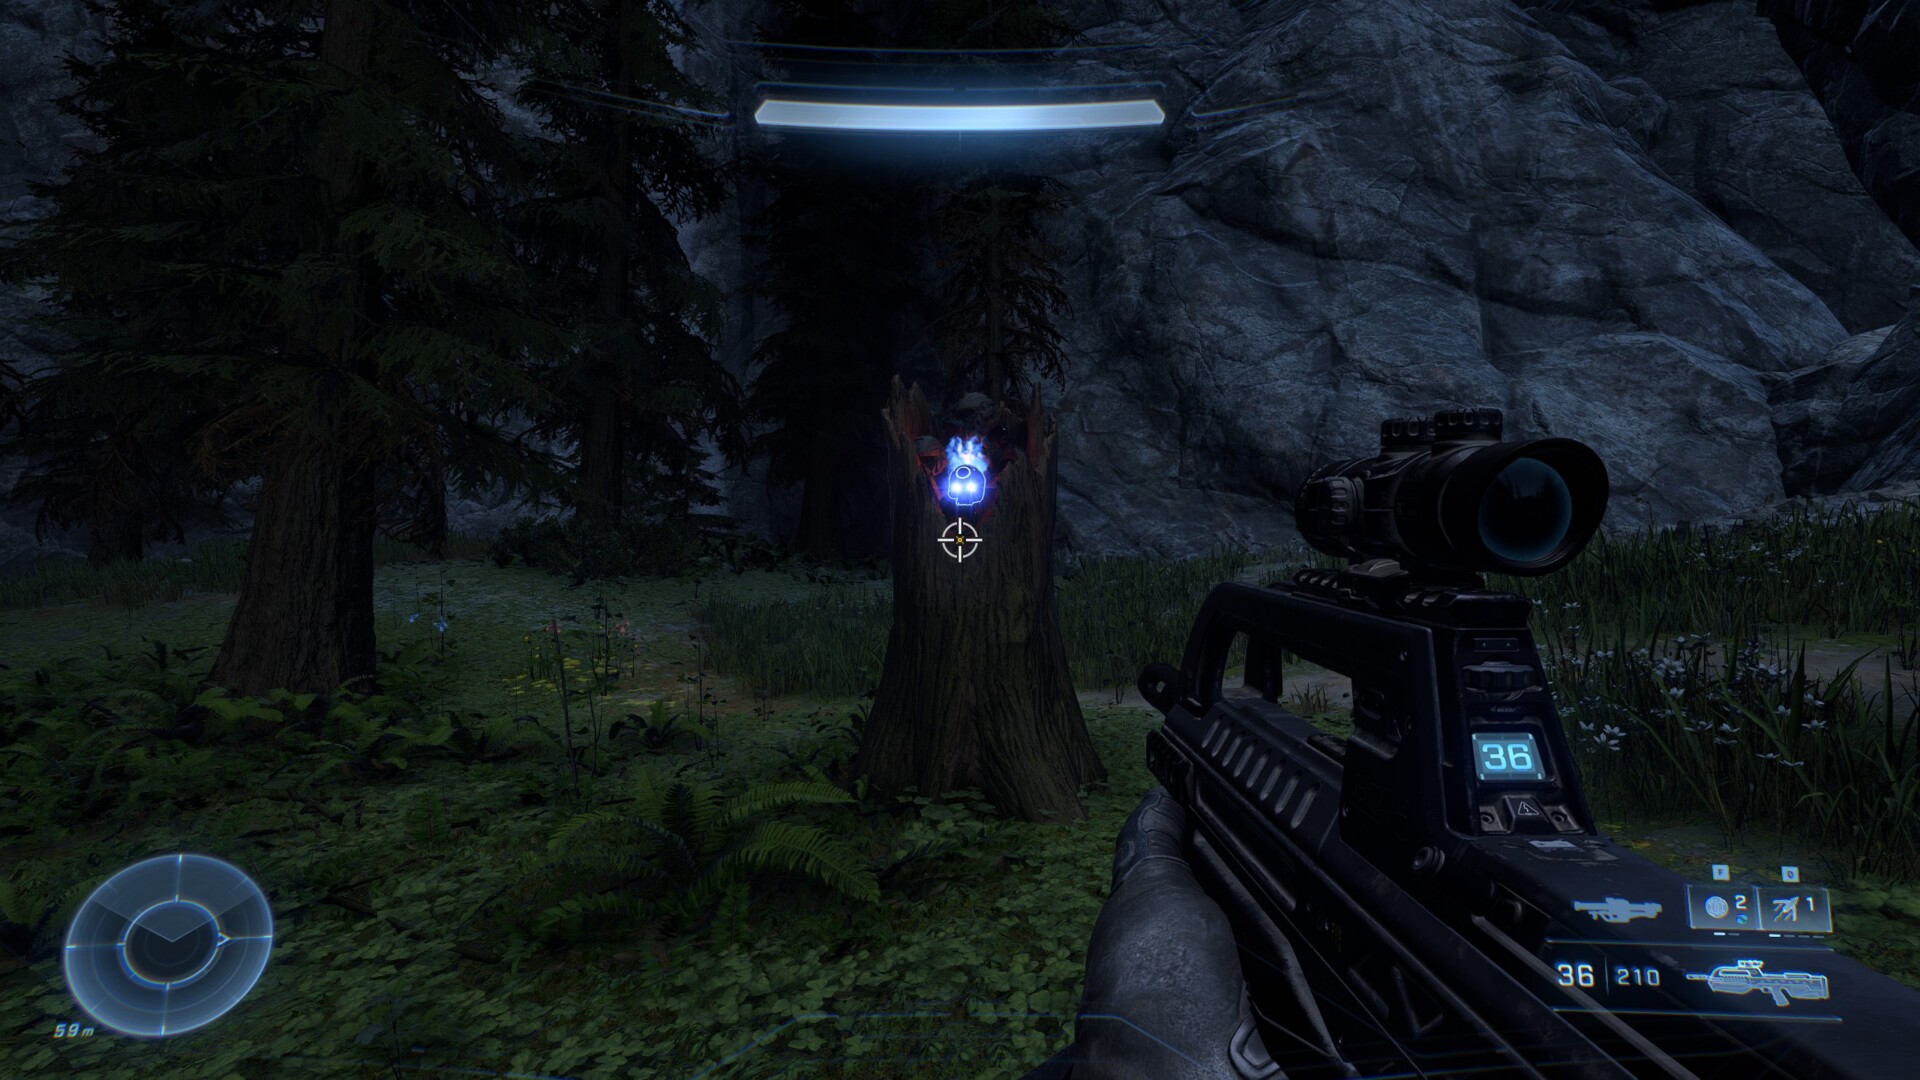
You’ll know you’re in the right spot, as the Catch Skull is being guarded by Banished forces — including two Hunters. Take them out from afar in your vehicle and land. You’ll see the glowing Skull sitting atop the remains of a tree.
What it does: Enemies become grenade-happy, and will throw and drop more grenades.
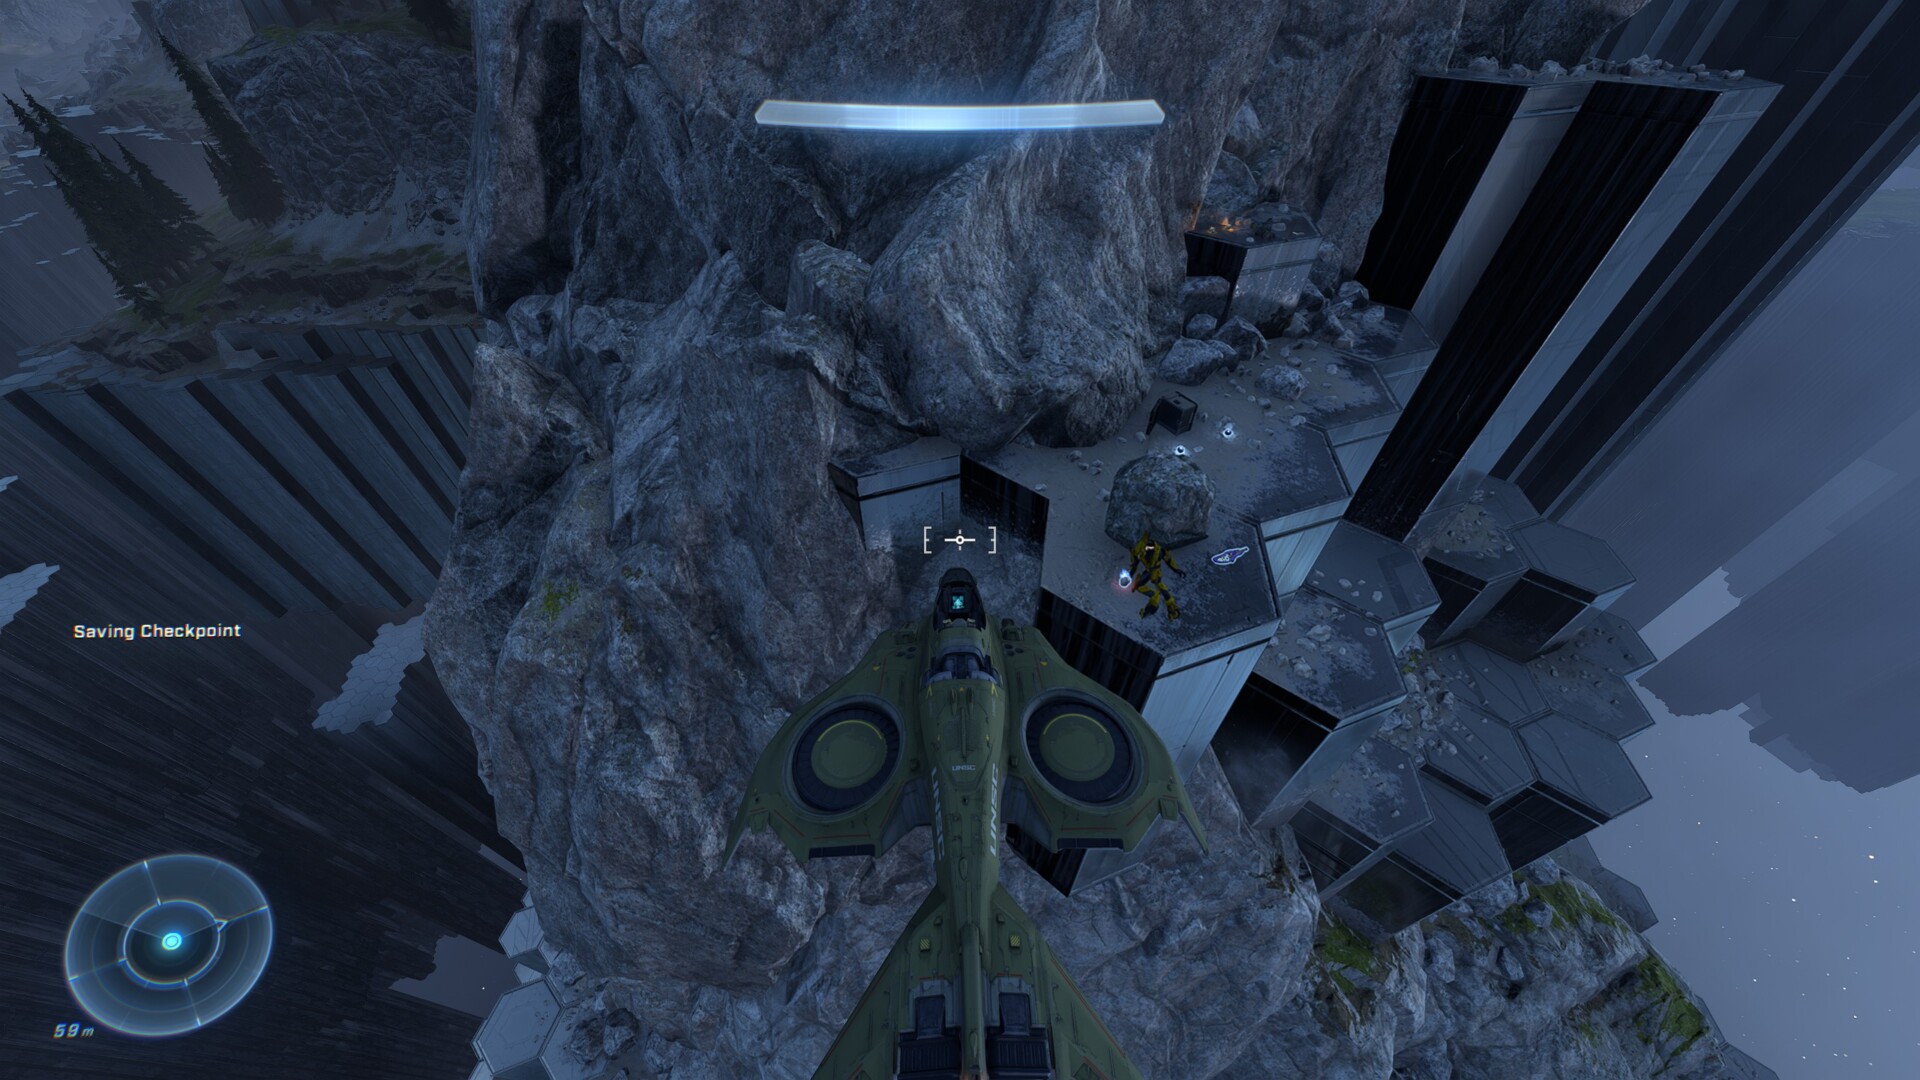
Hidden Skull #10: Fog
The Fog hidden Skull can be found just to the west of FOB Alpha.
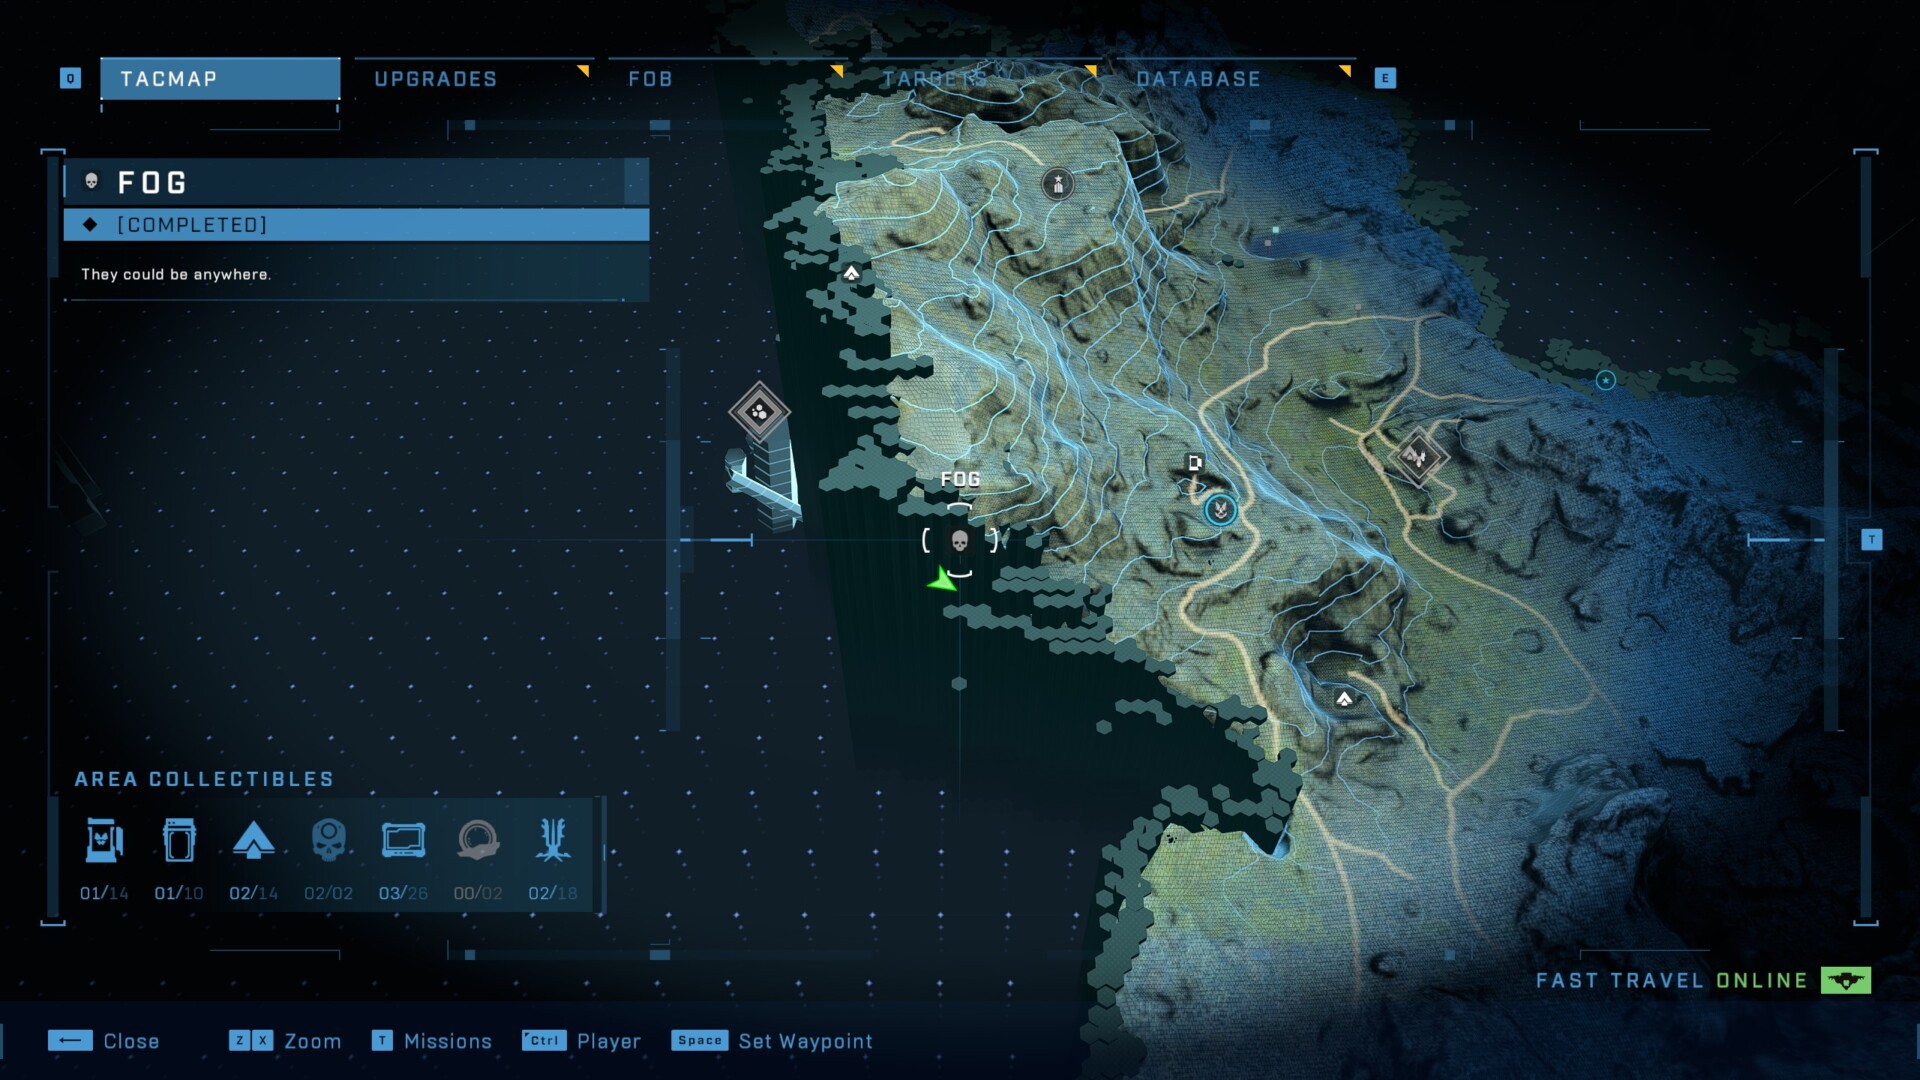
Take a Wasp and fly around the outside of the map until you spot a small cave. Slip inside, and you’ll find the Skull next to some weapons.
What it does: Simply enough, the Fog Skull turns off your motion tracker. Time to play PvE Hardcore mode.
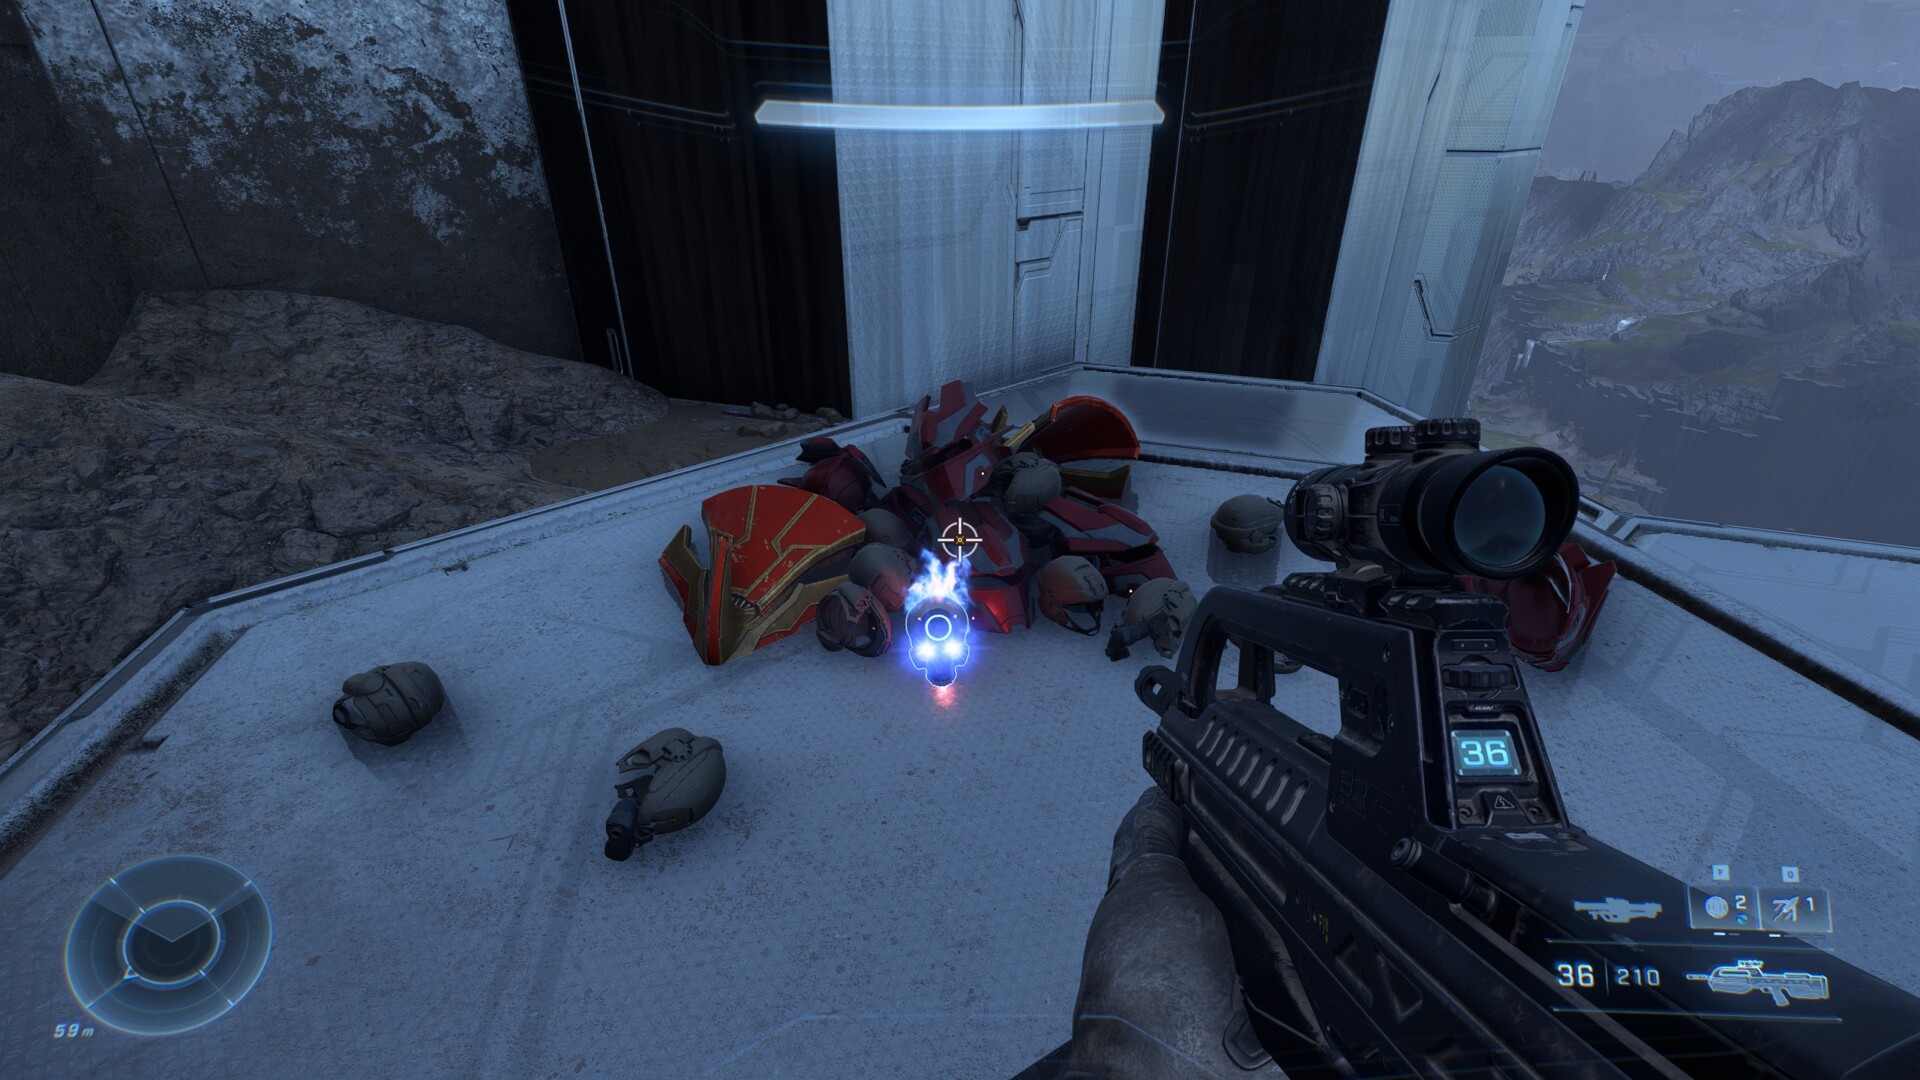
Hidden Skull #11: Famine
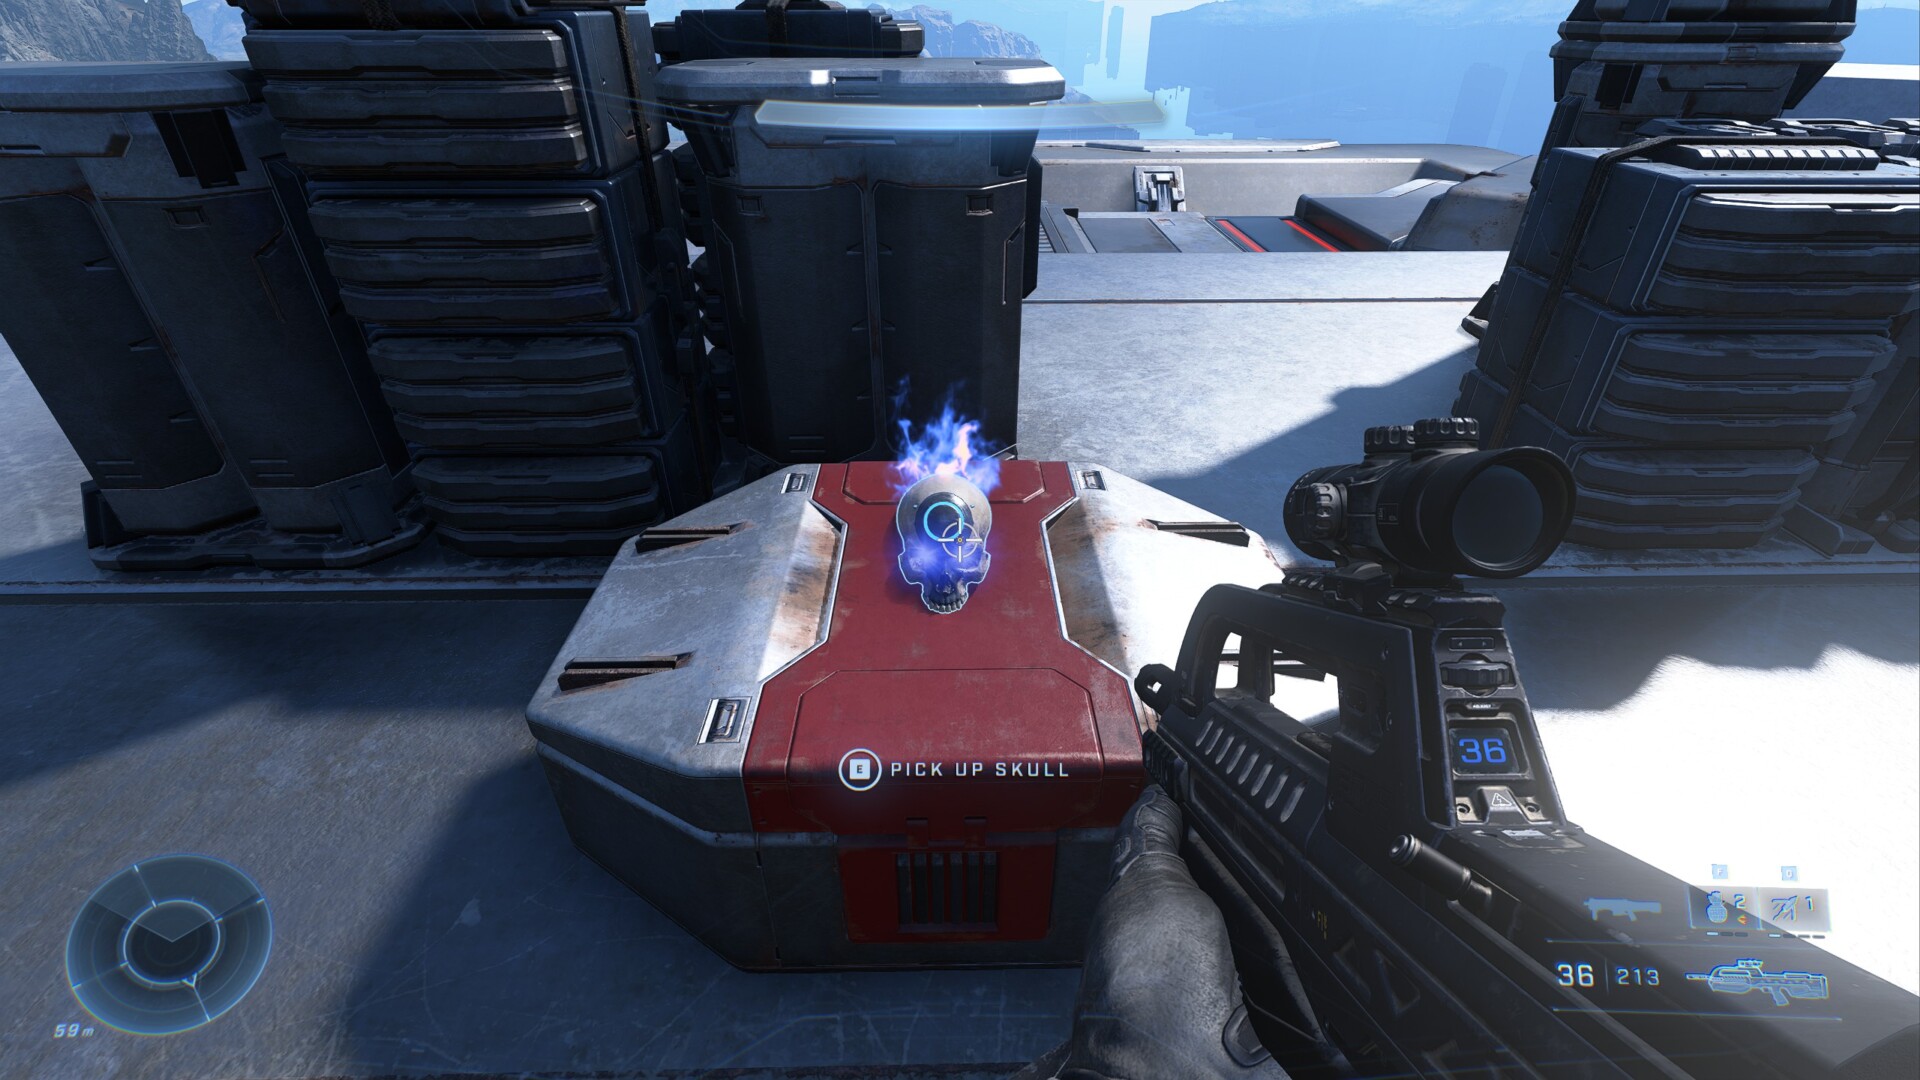
On the very southeast part of the map there is a small island minding its own damn business. However, this little guy hides a secret: the Famine Skull.
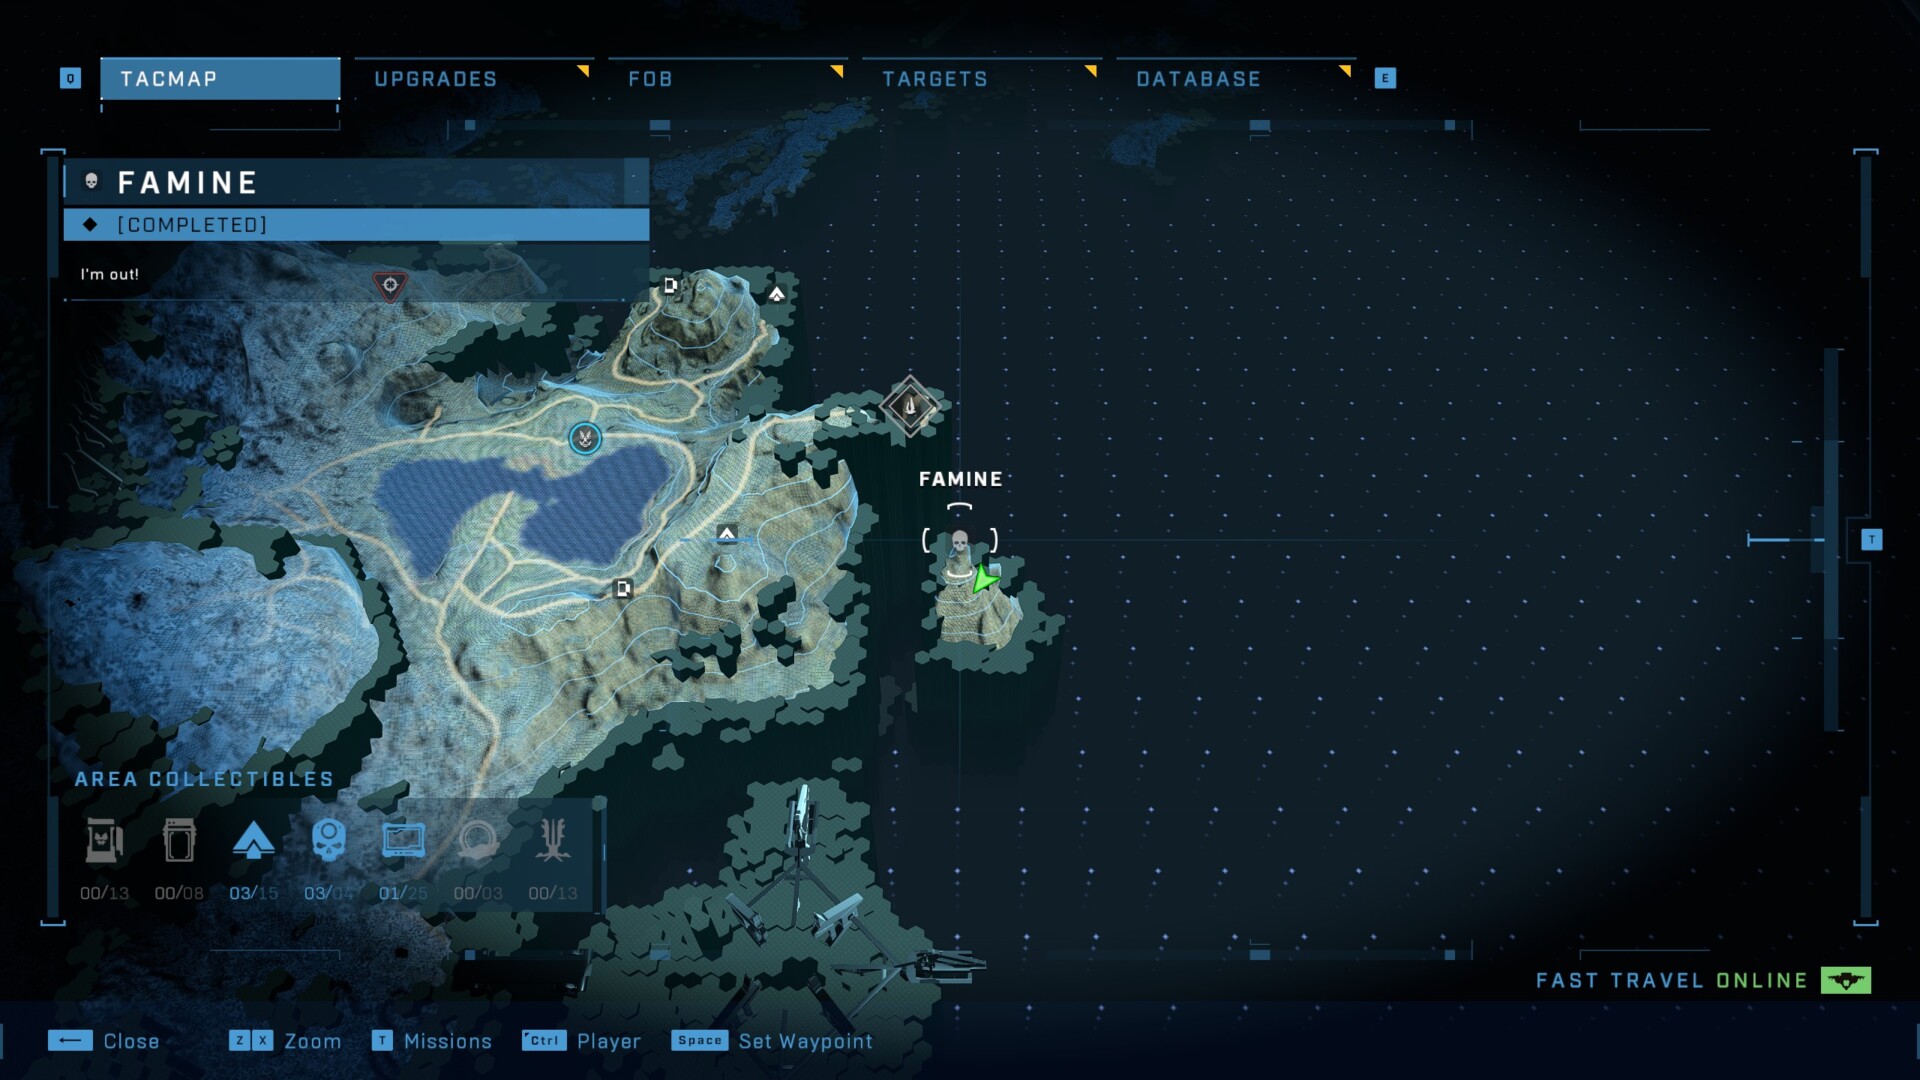
Head out there and skim the northern part of the island. On a platform, you’ll see a dead Elite holding the skull:
What it does: Enemy weapons that have been dropped will see their ammo cut by half.
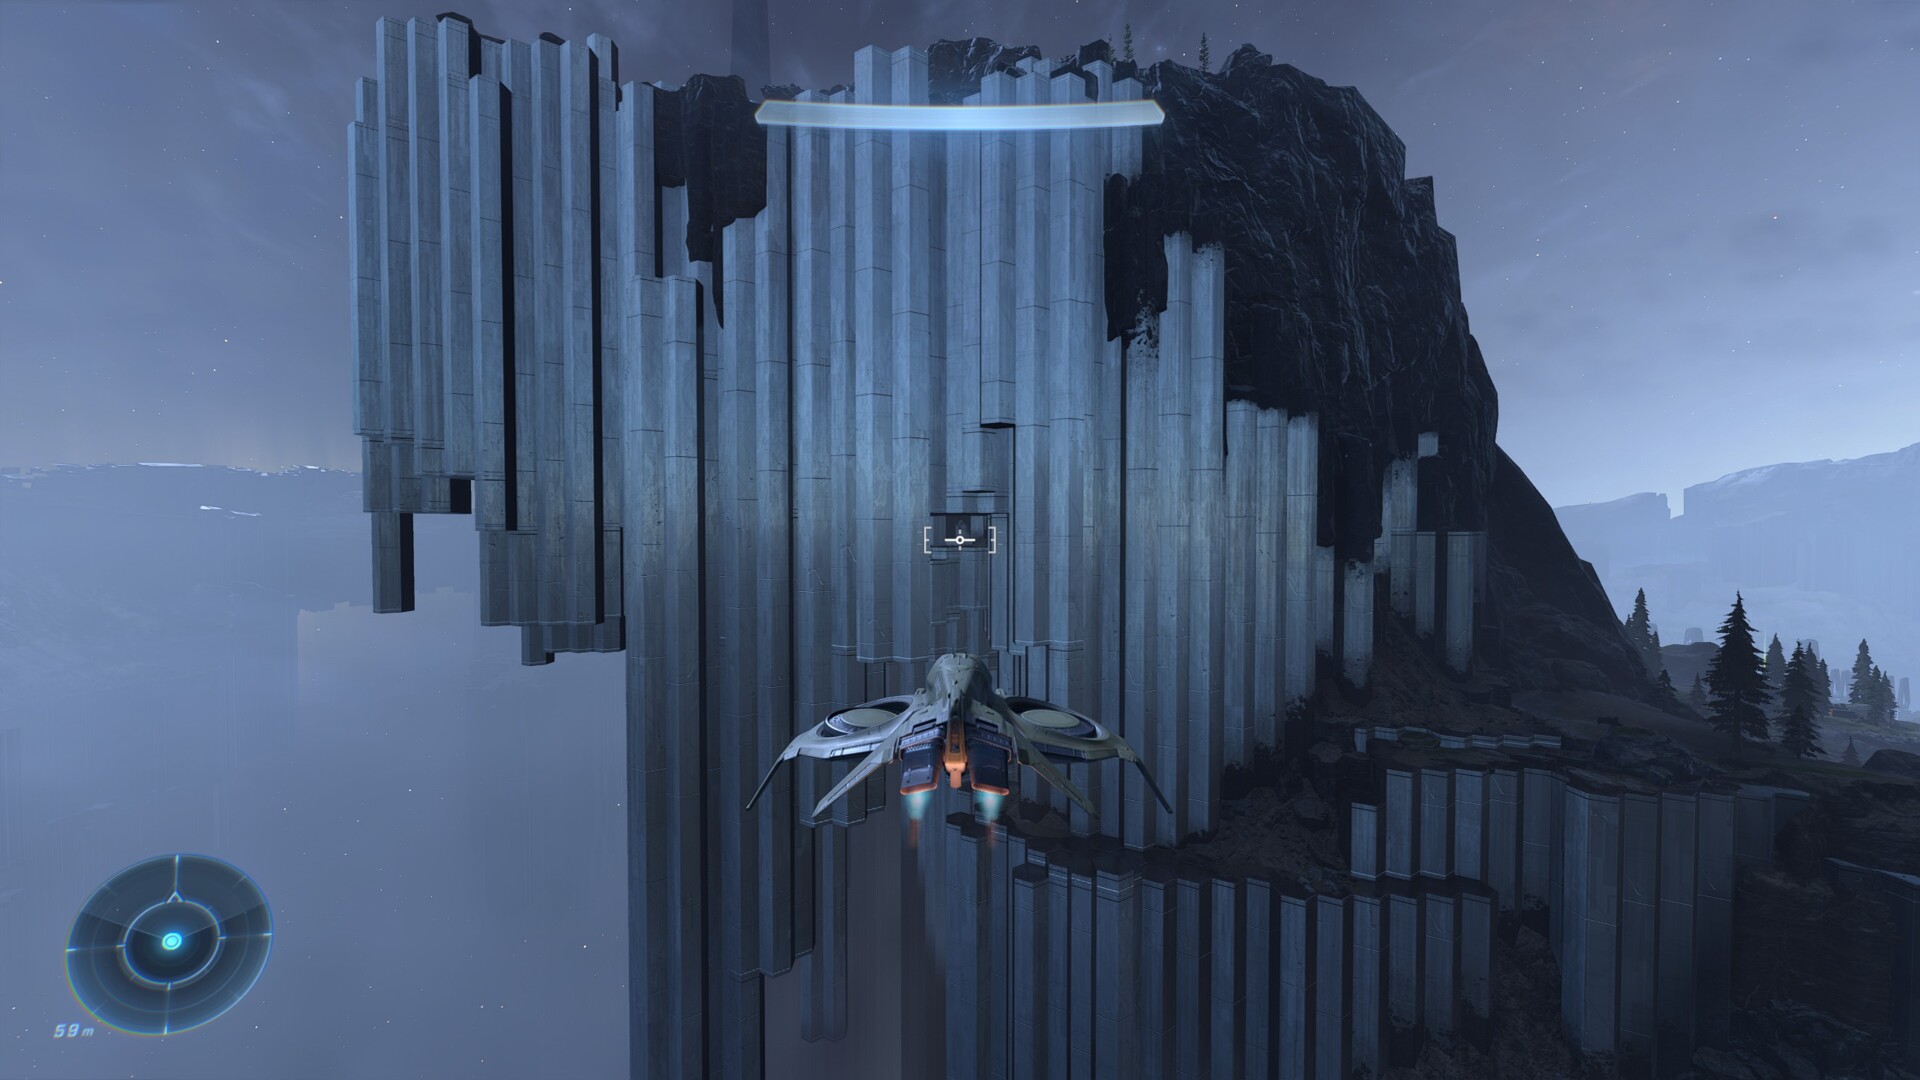
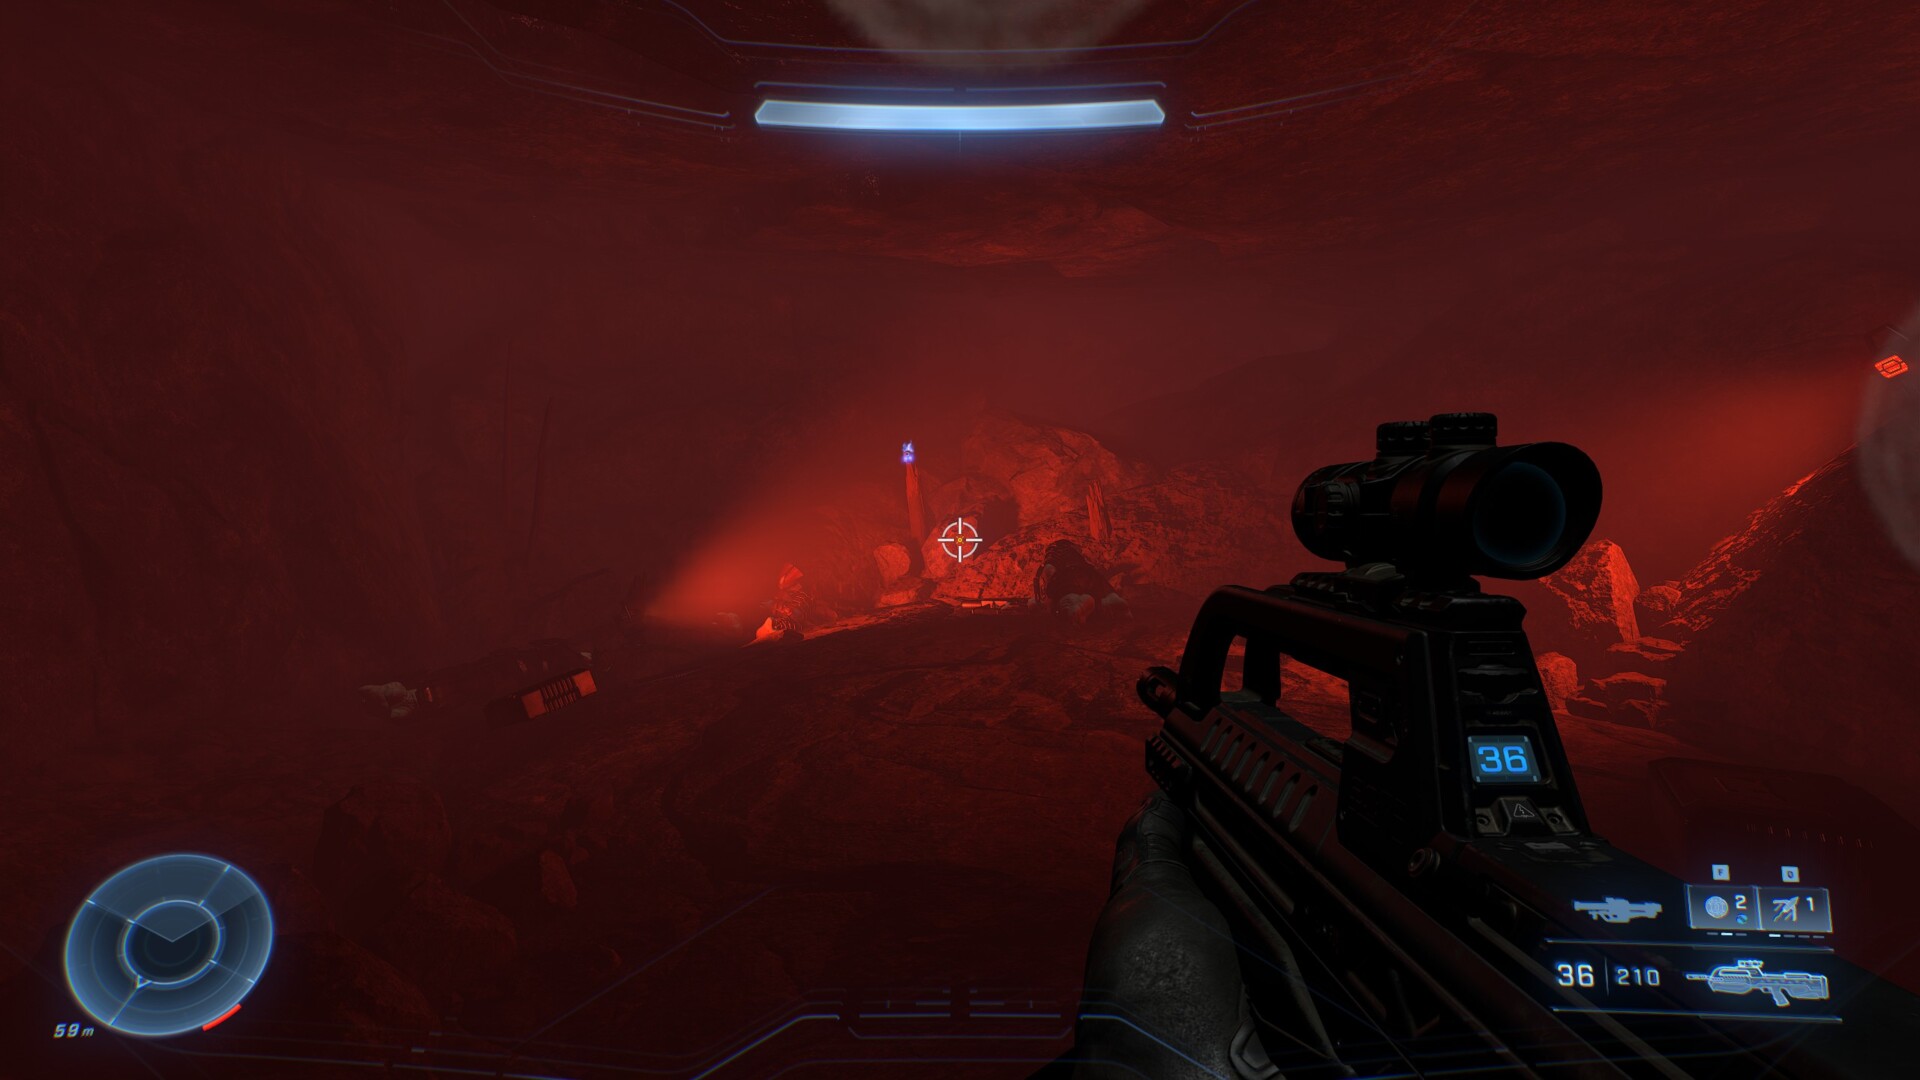
Hidden Skull #12: Black Eye
The twelfth and final Skull is northeast of FOB Kilo. Fast travel there and pick yourself up a Wasp. Now, head over and locate a wall facing to the north. Skim along the wall until you spot a waterfall.
Halfway down the waterfall is a hidden cave. Yes, Halo Infinite is a video game, so it makes perfect sense that it will hide a treasure like a hidden Skull behind one. The best way to get this, I found, is to jump down and press forward. You might want to grapple the wall to make sure you’re close enough. Once the Chief grabs the lip of the cave floor, he’ll lift himself in. Go inside and claim that final Skull, Spartan.

What it does: The Black Eye skull, once activated, makes it so you can only recharge your shields through melee attacks. You know what? I’m starting to think these Skulls just make everything harder.
And that’s it! You now have all the Skulls permanently unlocked. Have fun mixing and matching them to suit the kind of gameplay you enjoy.


Published: Dec 8, 2021 08:30 pm