Starcrossed is a Destiny 2 Exotic mission filled with hard-to-grasp mechanics, confusing passageways, and tough bosses. I’m here to help guide you through the entirety of Destiny 2 Starcrossed, so let’s get into it.
Complete Destiny 2 Starcrossed walkthrough and guide
I completed the Destiny 2 Starcrossed Exotic mission on my own, but I only recommend doing that if you have a really solid build, like the meta Solar Warlock build. This is a long mission that takes around 30 minutes to an hour to complete, so keep that in mind before starting.
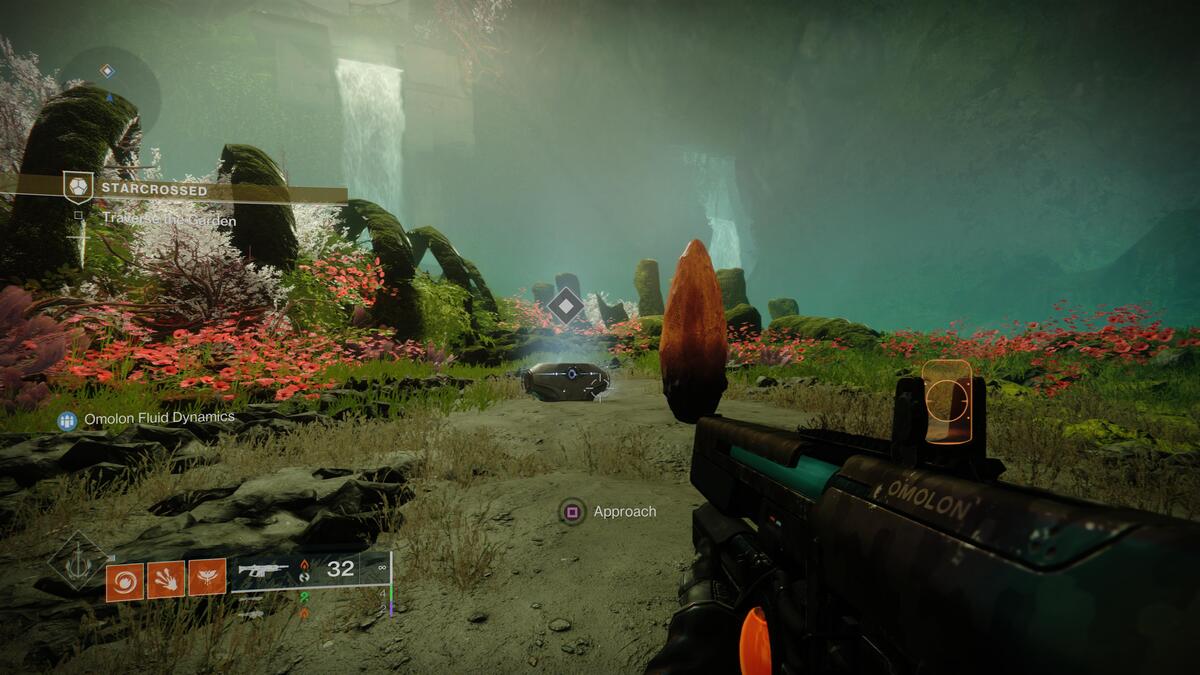
How to traverse the Black Garden section in Destiny 2 Starcrossed
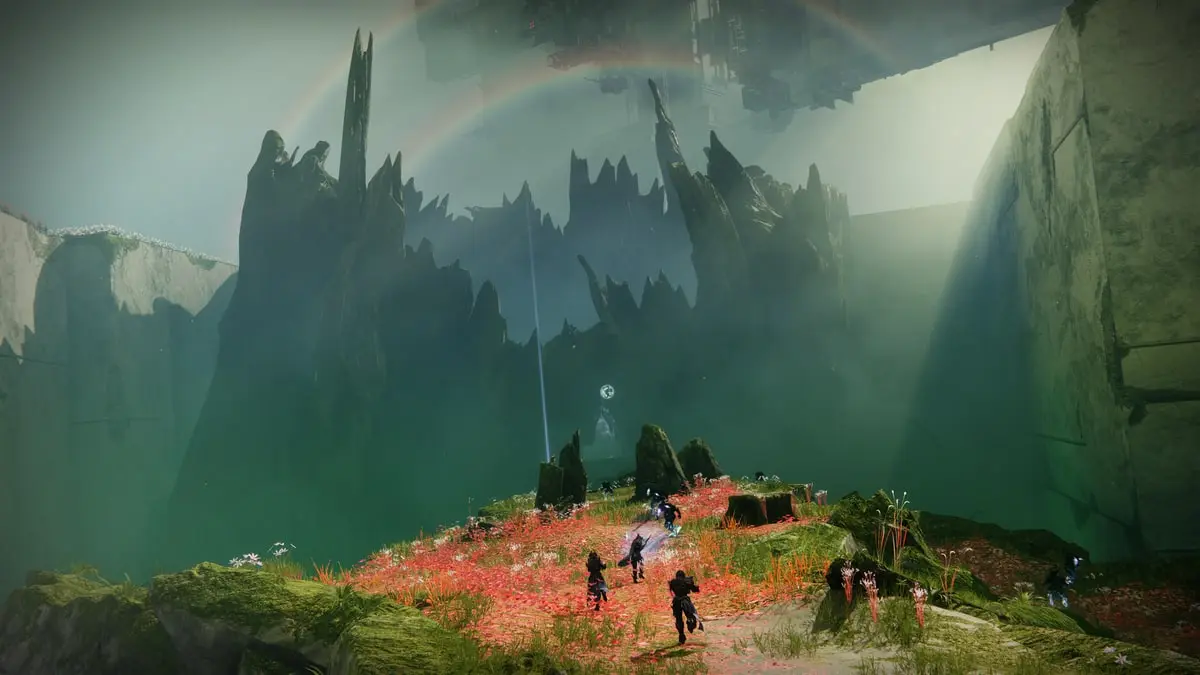
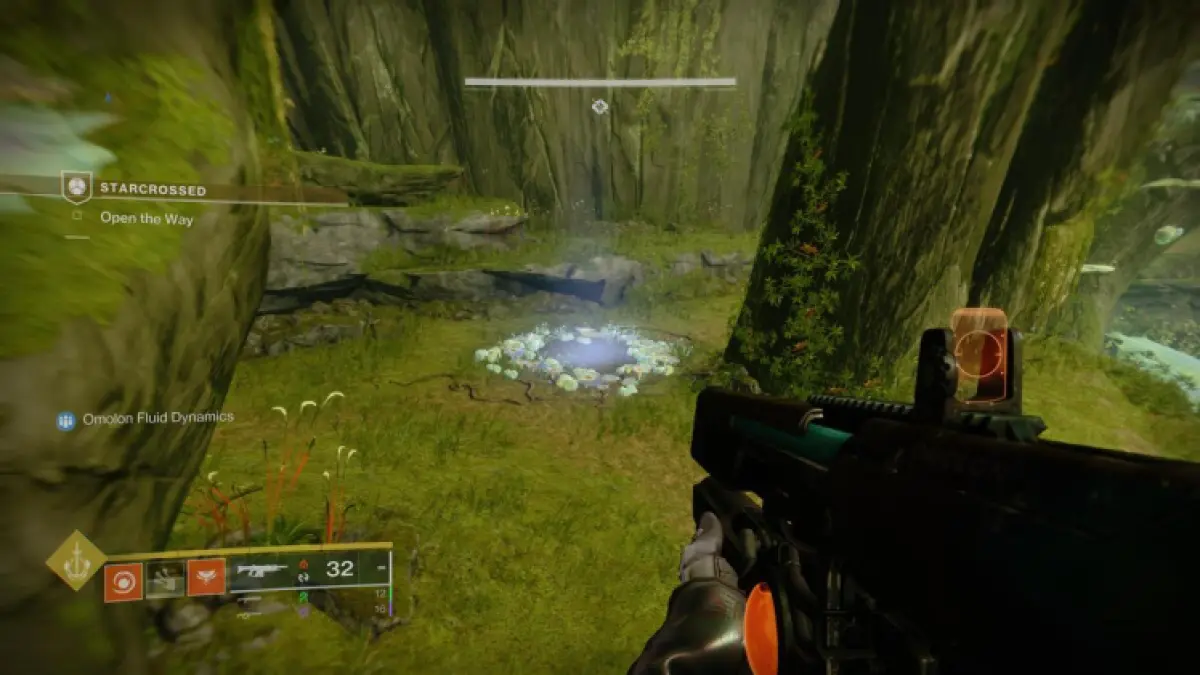
The Destiny 2 Starcrossed mission starts you off in a Pandora-esque area where you need to turn right and platform between large branches and rocks. Shoot the pods to create extra platforms and don’t miss the first secret chest. Defeat the Vex and continue out of the cave.
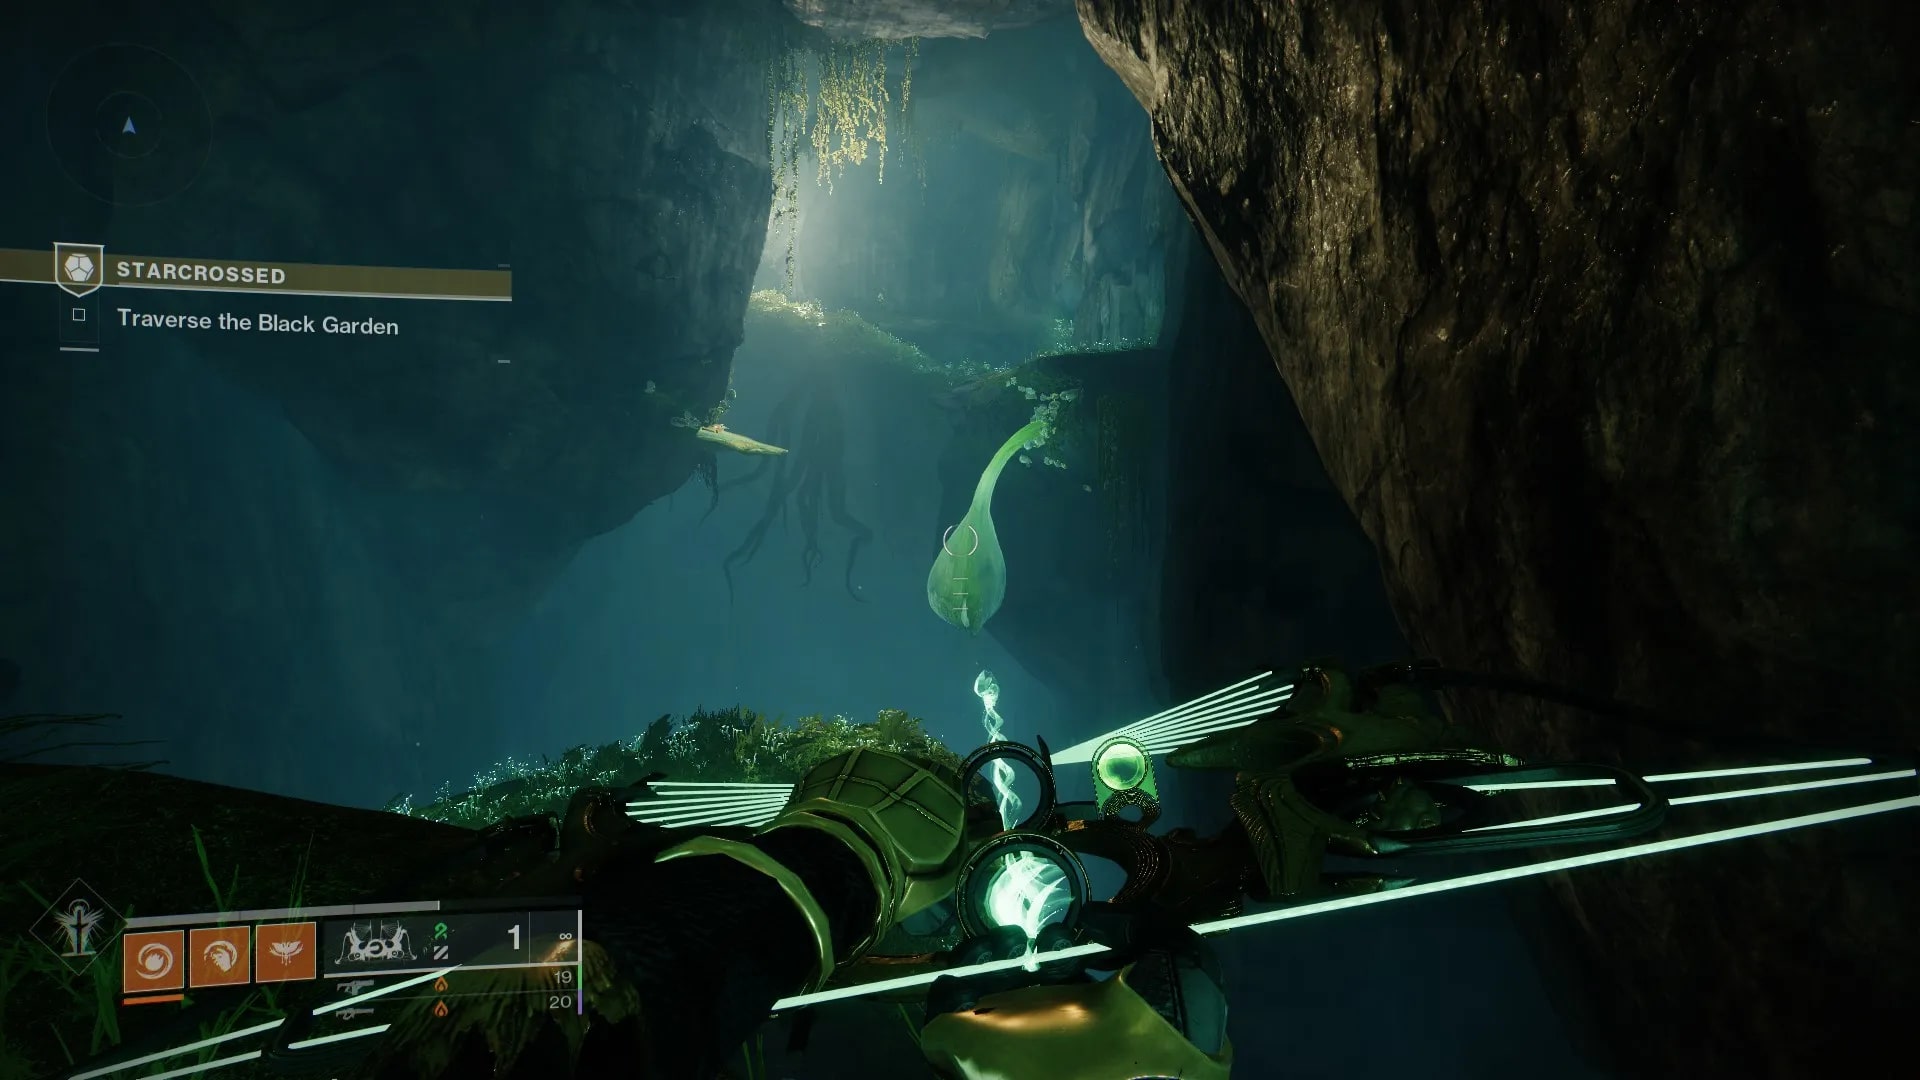
Continue forward, defeating Taken as you go. You’ll reach a circle of leaves surrounding a blue column of light. Upon entering this blue column of light, you’ll get the Sire’s Obligation buff which is one of the big mechanics in this mission. This buff allows you to damage the Obdurate Phalanx across the bridge.
How to open the way past the first gate in Destiny 2 Starcrossed
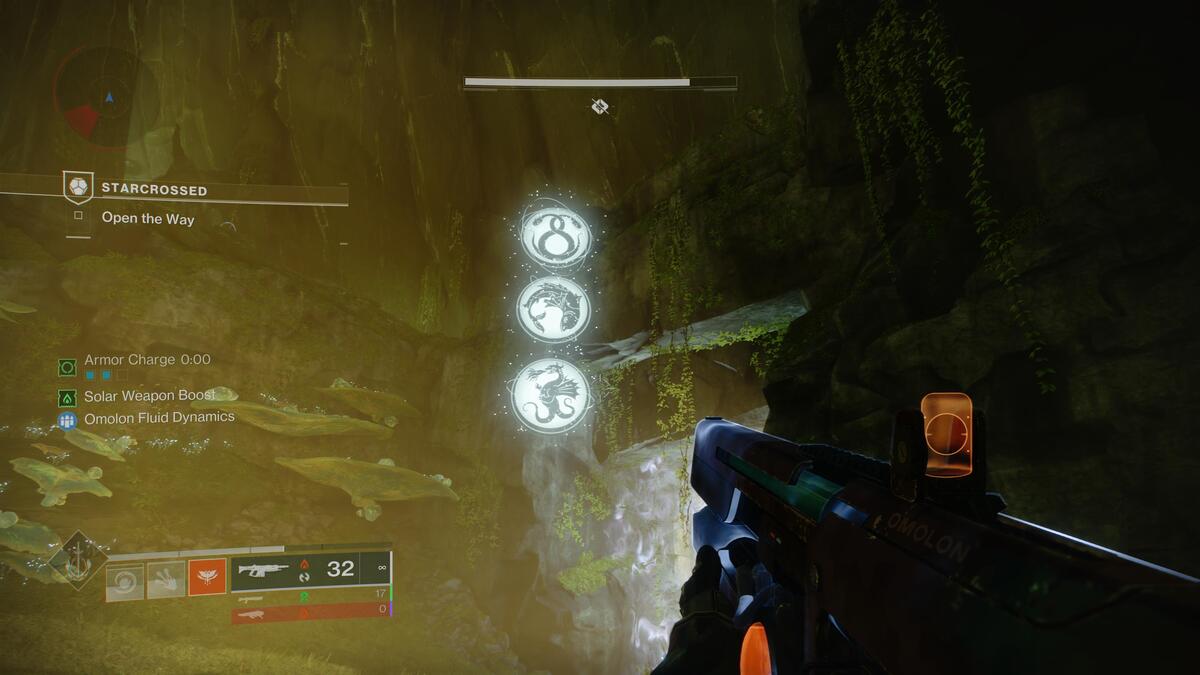
You have reached your first encounter. In short, you need to get the Sire’s Obligation buff from the blue column of light near the front of the stage and refresh it when necessary, go to the back of the stage and look at the always random order of the symbols that seal off the way ahead, and defeat the Obdurate Phalanx in that order.

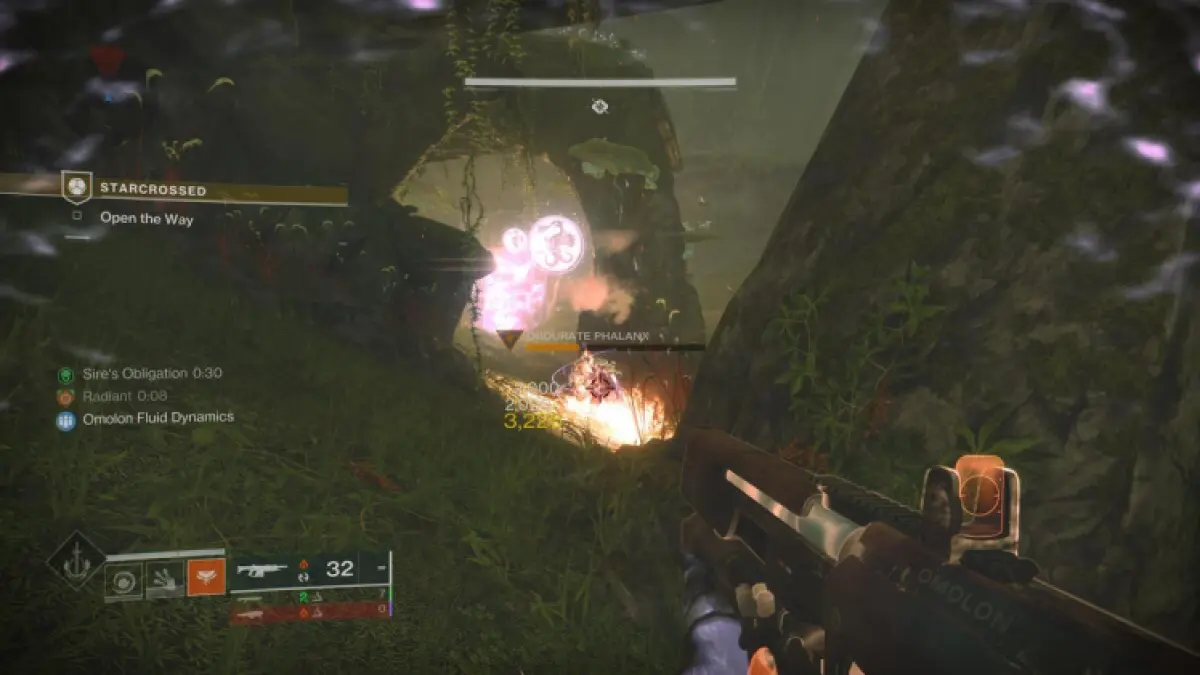
The order of the symbols is top first, middle second, and bottom third. With the Sire’s Obligation buff active, you’ll be able to damage and see a symbol above each Obdurate Phalanx’s head. Remember the order and defeat the Obdurate Phalanx in that order, refreshing the Sire’s Obligation buff when necessary because it will run out.
I died many times during this fight because of the sniper and turret Vex; my advice is to take your time and don’t be afraid to use your Heavy and Super to defeat the Obdurate Phalanx faster.
Related: How to get Wish-Keeper Catalyst in Destiny 2: All Refits, explained
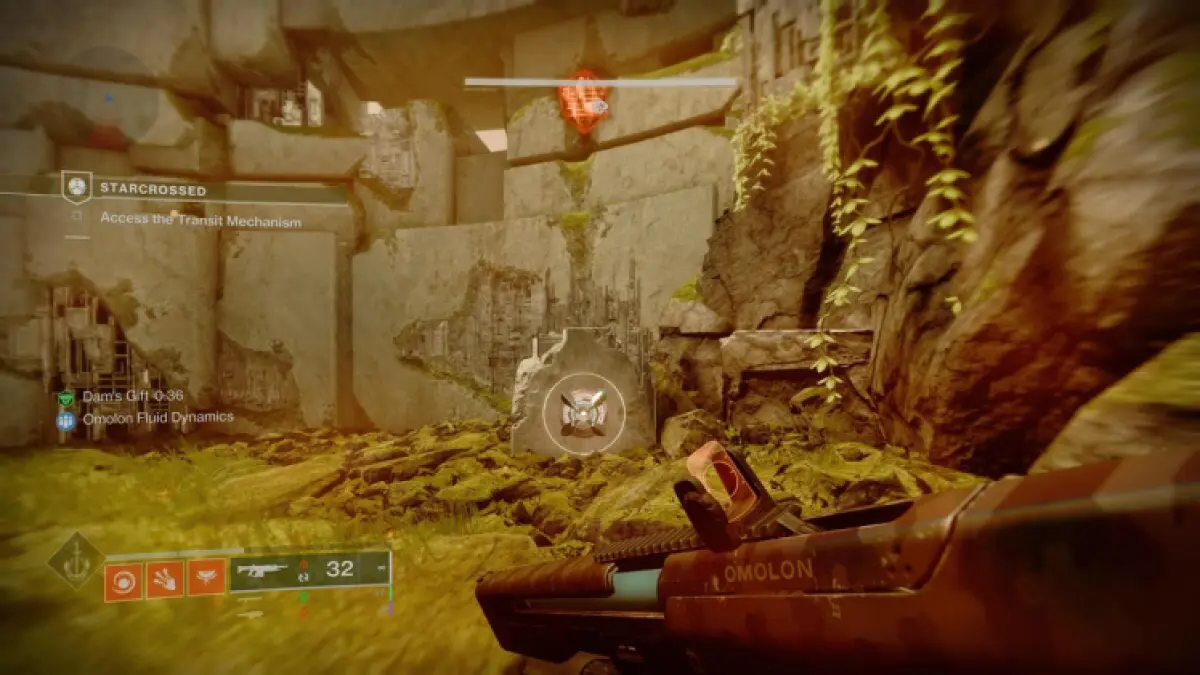
How to access the transit mechanisms in Destiny 2 Starcrossed
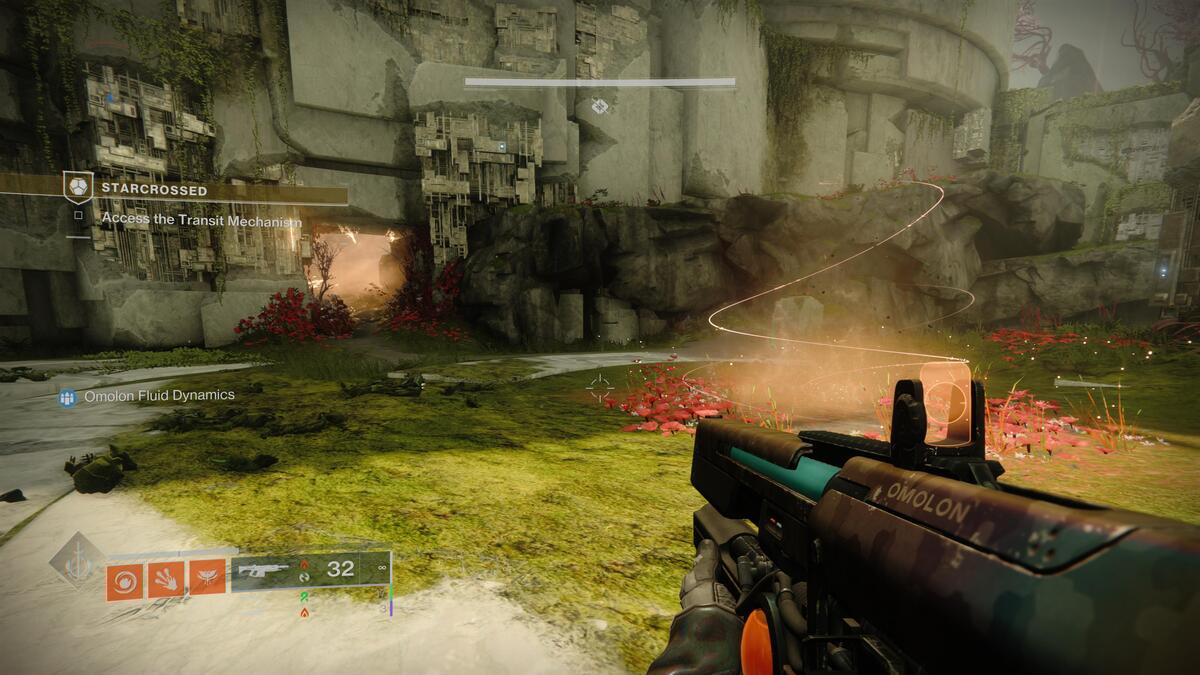
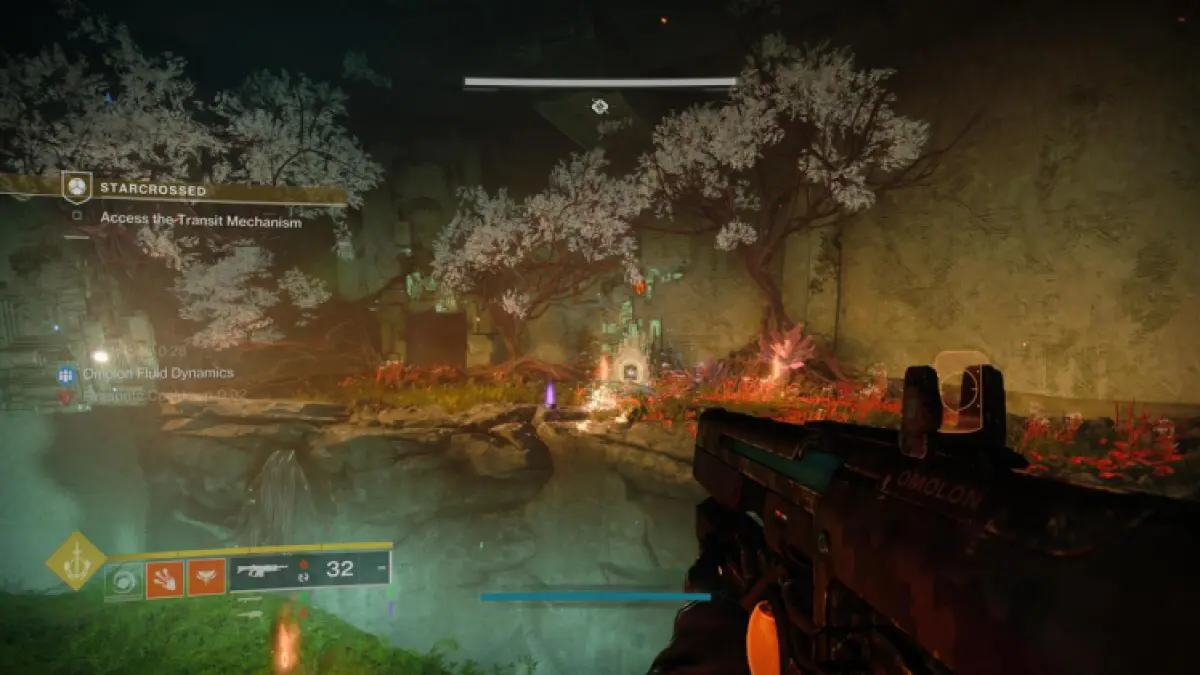
Once the gate is open, continue through. The next mechanic you’ll encounter is the Dam’s Gift buff. This is gained from red columns of light surrounded by red flowers. Having this buff active is the only way to get through orange areas without taking damage — if you don’t have the buff, you’ll take damage periodically thanks to an Unwelcomed debuff.
Once you’re past the first orange area, you’ll see a blocked Vex portal with three red diamonds to the left of it. What you need to do to unblock the Vex portal is find three stations in which you imbue with Paracausal Energy. I found this area to be confusingly maze-like, but just remember it’s all one big circle.
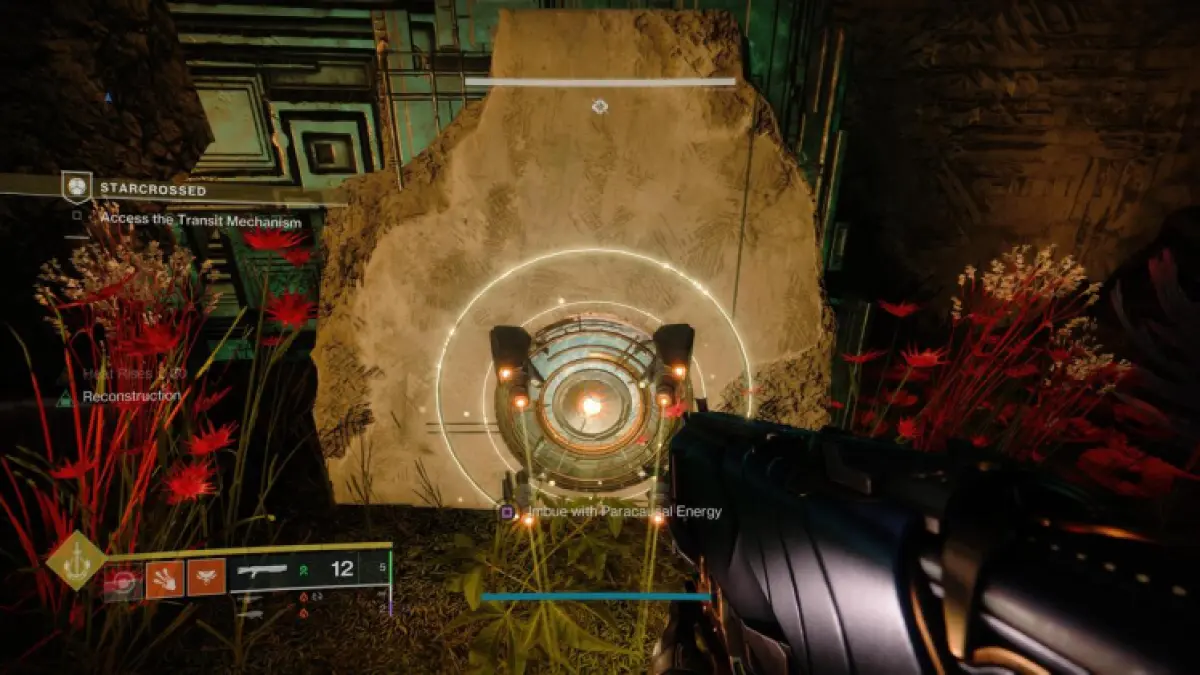

The Paracausal Energy stations are found within orange areas. This means you need the Dam’s Gift buff and, naturally, you only have a limited amount of time within an orange area to defeat Gatekeeper Wyverns to unlock the Paracausal Stations and imbue them. Don’t worry, the enemies don’t respawn or heal, so again, take your time. Also, dying here doesn’t trigger a restart, which is a nice change from the last encounter.
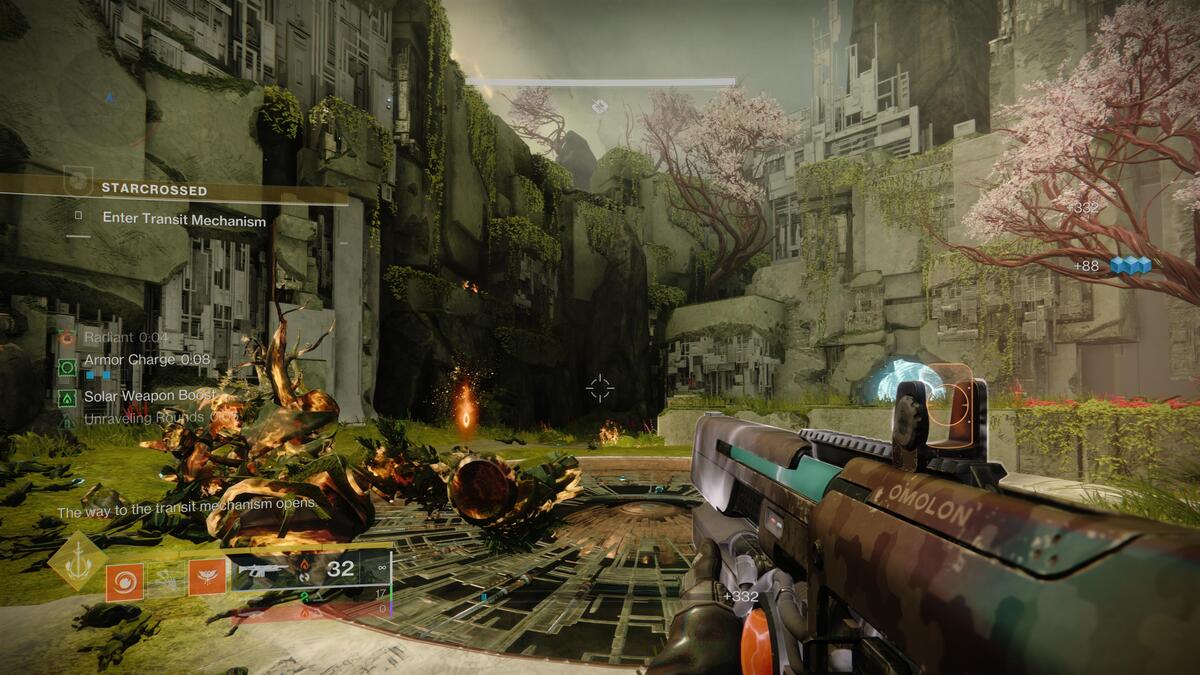
Once all three Paracausal Stations have been imbued, return to the Vex portal. Defeat Ixion, Covetous Mind, the Malignant Wyvern, and all the other adds. Once that is done, travel through the Vex portal. The next section requires some precise jumping.
Related: Best Destiny 2 Strand Titan build: PvP and PvE
How to deactivate the barrier in Destiny 2 Starcrossed
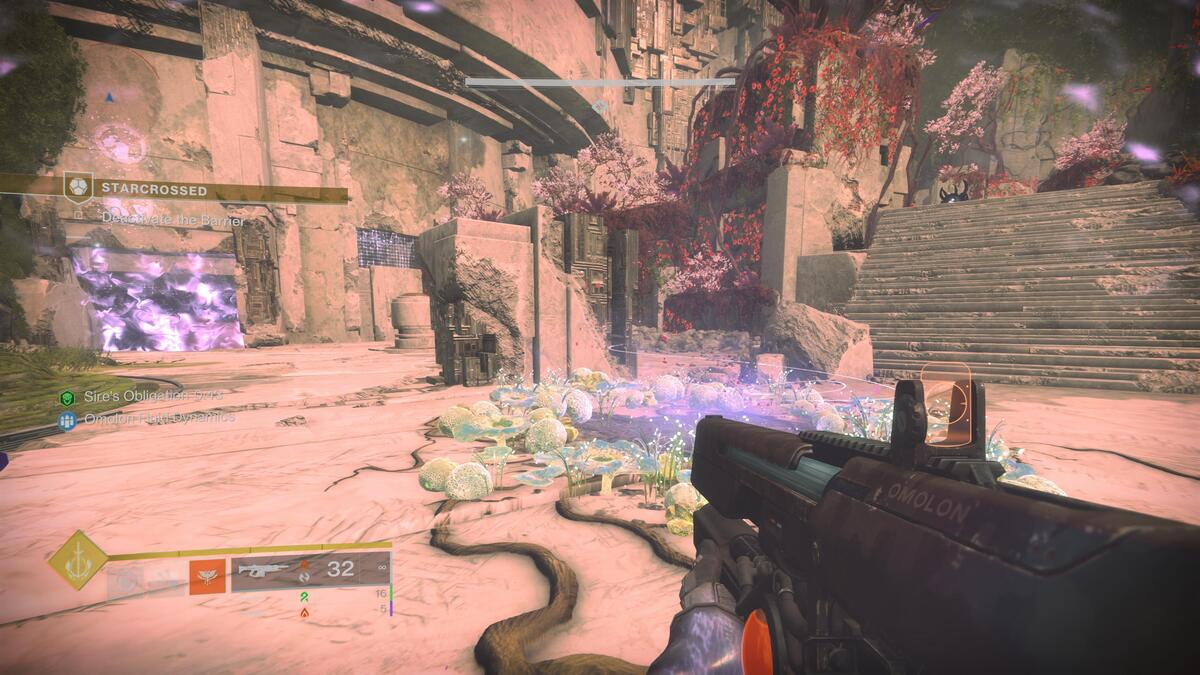
This next section is very similar to the open-the-gate encounter at the start of Starcrossed. Find the blue column of light to the front left of the stage, get the Sire’s Obligation buff, and memorize the symbol order displayed above the barrier.
The twist here is that two of the Obdurate Phalanx are within orange areas on the left and right of the stage. To get to them and read their symbols to know who to defeat first, you need to get both Sire’s Obligation and Dam’s Gift buffs at the same time, which are both at the front of the stage, and you’ll combine their powers in a new buff called Crowned by Dragons.
With Crowned by Dragons active, you can enter orange areas, read Obdurate Phalanx symbols, and defeat them. Watch the timer for the Crowned by Dragons buff so as to not die in the orange areas, defeat the Obdurate Phalanx in the right order, and you’ll deactivate the barrier and move on to the final boss.
How to defeat Akardon, Pitiless Mind in Destiny 2 Starcrossed
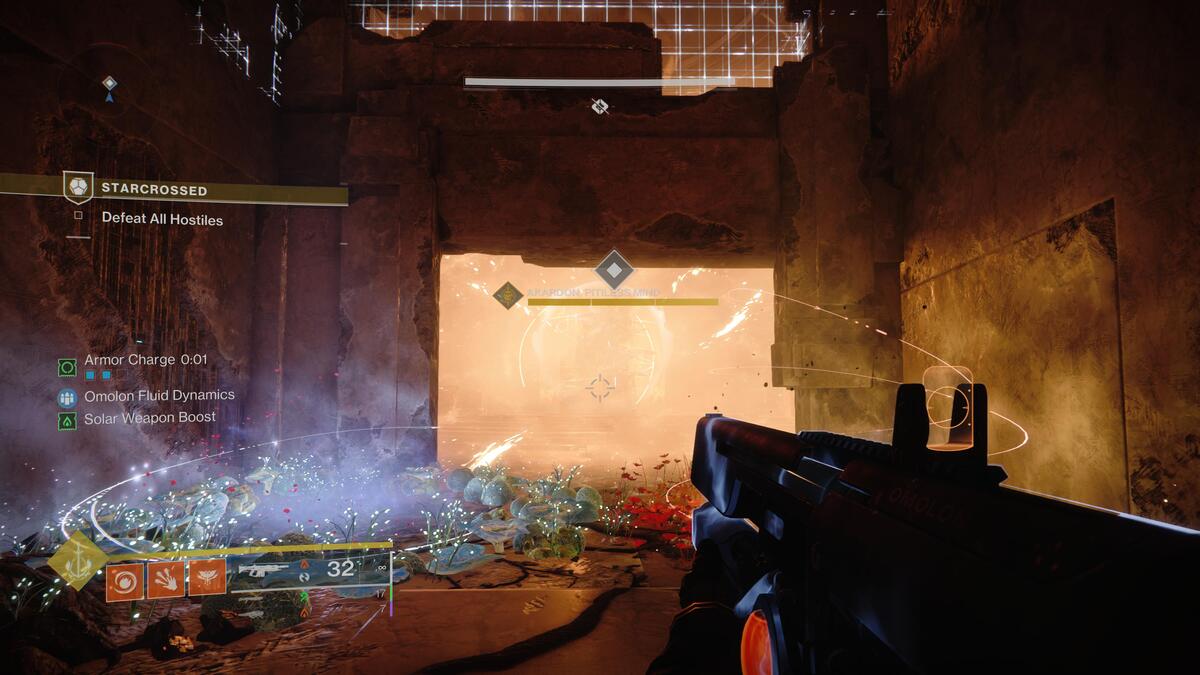
Walk forward and drop down to start the Destiny 2 Starcrossed final boss named Akardon, Pitiless Mind. The same mechanics exist here — get and keep the Crowned by Dragons buff for the entirety of the fight. This is easier than you think. All you need to do is camp out by one of the columns of light by the sides of the stage, which are also the safest places to be thanks to the wall.
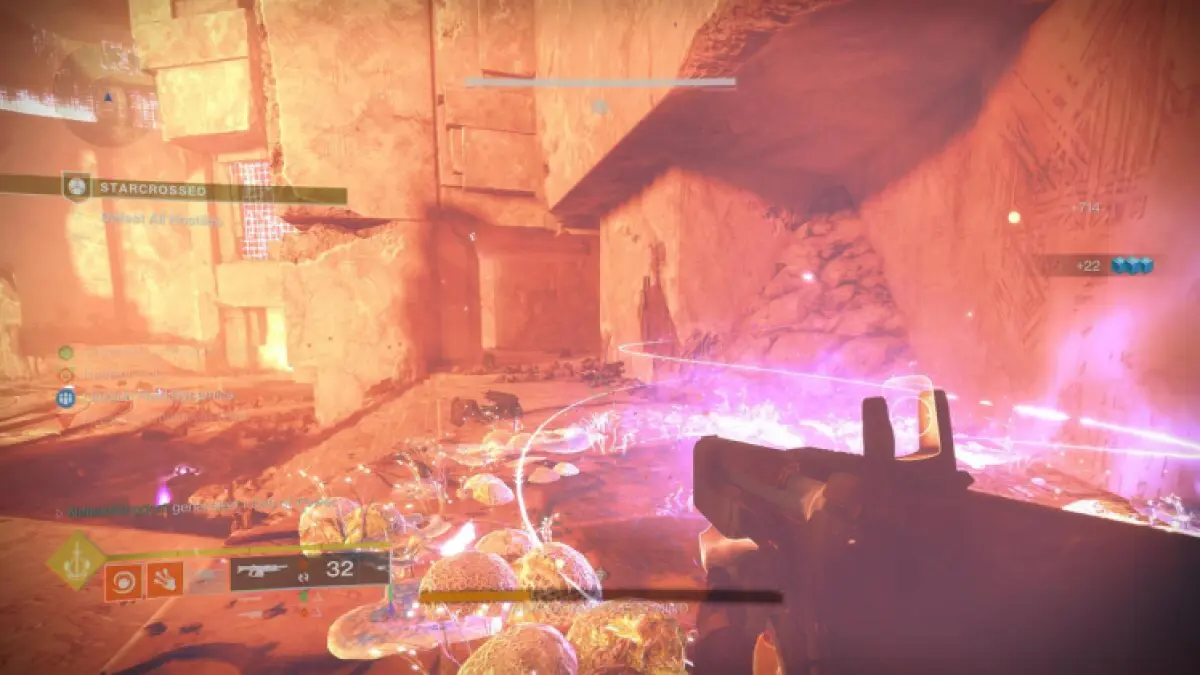
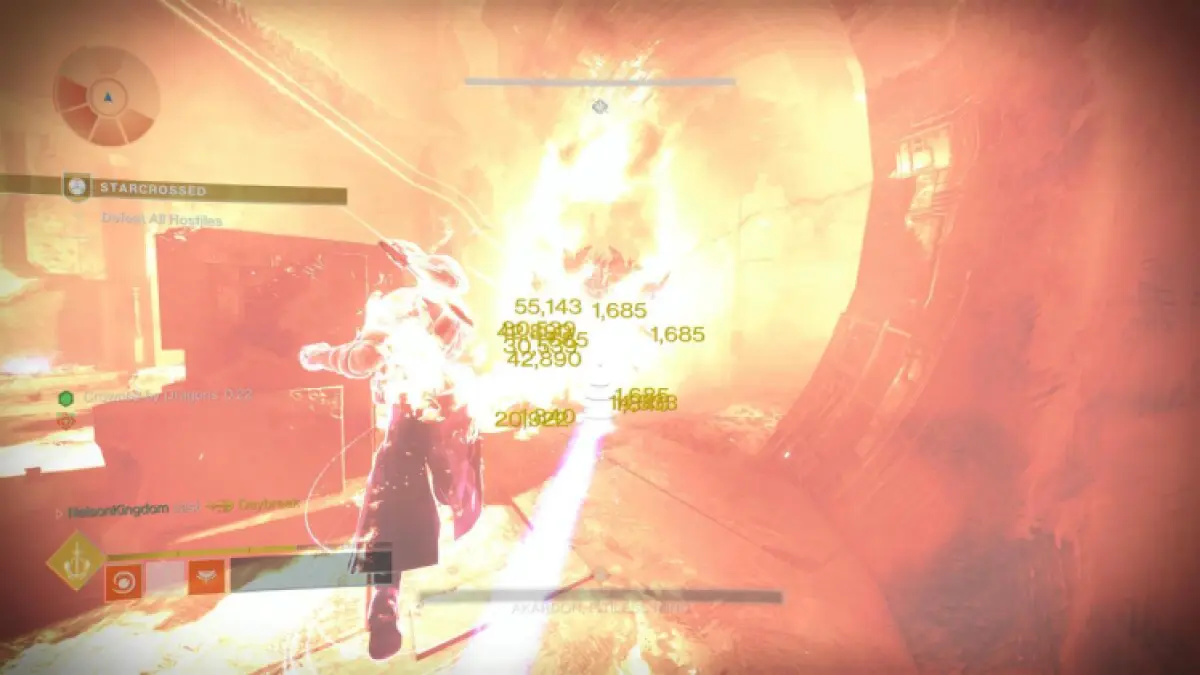
I was surprised with how easy Akardon, Pitiless Mind was to defeat. Unload your Heavy Ammo and use your Super and you’ll defeat Akardon, Pitiless Mind in no time. You’ll want to defeat the immune-giving Vex once they come out and getting rid of the Obdurate Phalanx is necessary so you don’t die. Keep the pressure on and you’ll win in no time.
How to get Wish-Keeper, the Exotic Strand Bow, in Destiny 2 Starcrossed
Walk through the crack in the wall at the back of the stage and open the chest to get Wish-Keeper, the Exotic Strand Bow. Nice work! You’ve completed the Destiny 2 Starcrossed Exotic mission. Hopefully, you had fun because I know I did. Now, if you’re looking for a real challenge, you can start chipping away at collecting all the Starcats to get the Familiar Felines Triumph.