In Starfield, there are many factions for you to help and join. If you’re currently progressing through the Crimson Fleet quest line, then you will come across the Eye of the Storm quest. If you’re having a little trouble during this space escapade, then look no further than this guide. I’ll be taking you through the quest one step at a time. Be warned, however, as this quest will cement your allegiance to either the Crimson Fleet or UC SysDef. Here’s how to complete Eye of the Storm in Starfield.
Eye of the Storm in Starfield
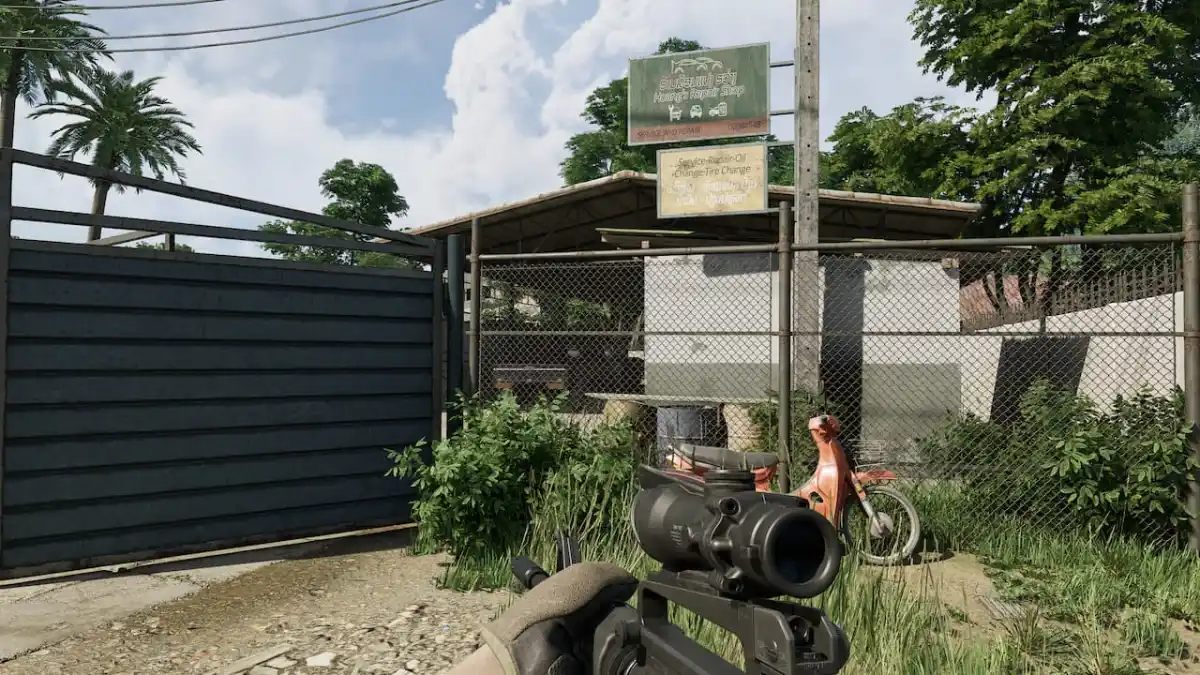
Prepare to go to Bannoc IV
Following off from the previous quest, you’ll have to talk to Delgado, who will be talking to Jazz. For the following conversation, all of the top dialogue options are safe, but you can make the conversation as straightforward or insufferable as you want. Get briefed on what you have to do by the pair of them, retrieving Kryx’s goods, then you can start taking action.

Image via YouTube/PowerPyx
During the conversation, Jazz will instruct you to install the Comspike Module and the Conduction Grid Module onto your ship. Speak with Jazz after and ask her to help you out with that, and she’ll gladly do so. Through her dialogue options, enter Ship Builder Mode. To add the modules, click ‘add’, go to the ‘equipment’ menu, and you’ll see both modules in your list. Both modules have an associated highlighted section on your ship. Drag and drop the Conduction Grid Module into the upper highlighted position (it should not be shining red) and place the Comspike Module into the other highlighted region. You can then exit the builder.
Related: Starfield: All Particle Beam weapons and where to find them
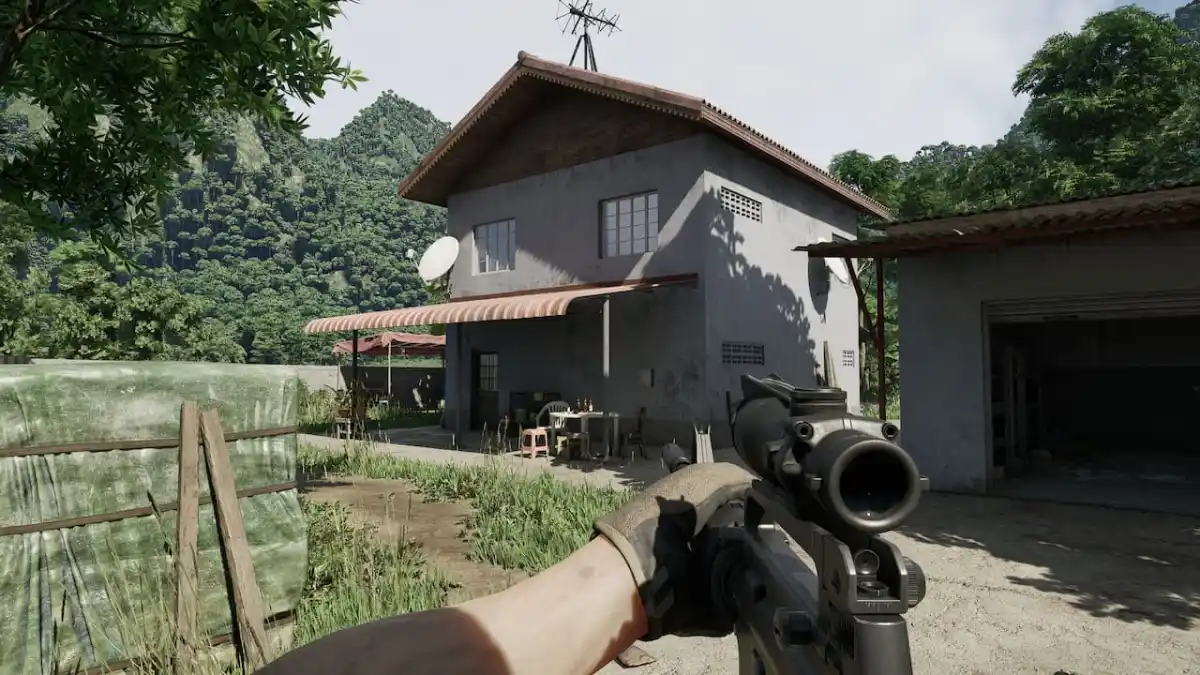
Proceed to the UC Vigilance
You can set course and jump to the Vigilance right from the objective in your missions menu. You would have done this like a hundred times by now.
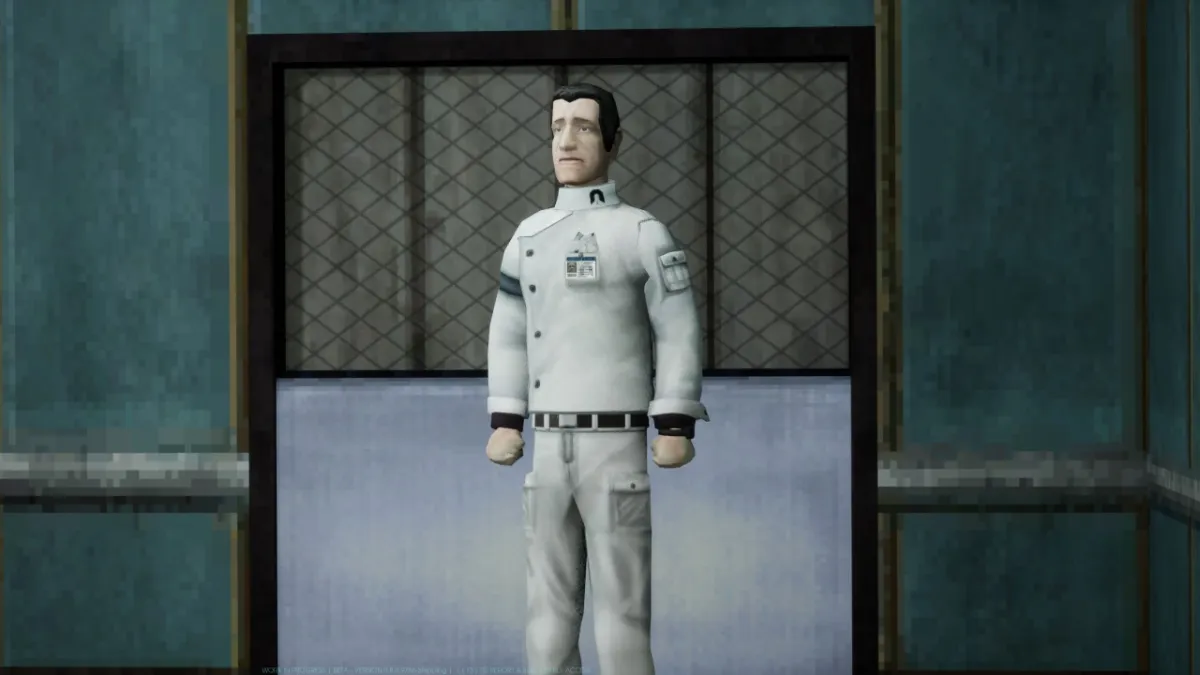
Dock to the UC Vigilance when prompted when you’re close enough. Once docked, you can board. Once in the ship, follow the marker all the way to Commander Ikande. He isn’t far, and for once the objective marker is accurate. Speak to him. He will urge you to bring the treasure back to them, not to the Crimson Fleet. You can say what you want here, as it won’t actually matter. It isn’t binding, and you can do what you want with the treasure once you’ve found it, no matter what you’ve said to whom. For added insult, if you are to betray the UC SysDef when the time comes, you can freely be insufferable.
Proceed to Bannoc IV and vault the Legacy
Once again, you can set course and jump from your missions menu.
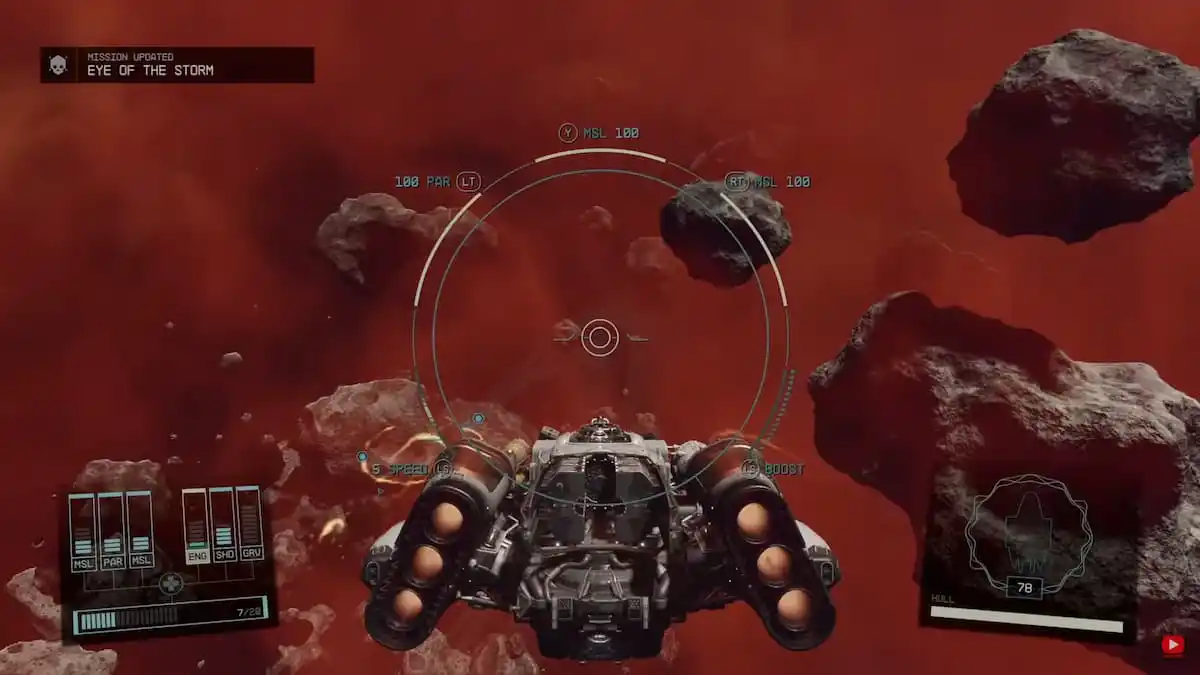
Image via YouTube/Mr.AfterGames
You must be careful inside this storm, as it will damage your ship. You should move as quick as you can and should not linger. Follow the marker to the ‘unknown signal’. Carefully make your way past the asteroids. When the Legacy looms into view dauntingly, simply lock on, dock, and board. Whilst you’re inside the Legacy, your ship will be fine from the storm.
Locate Vault Control Centre
Thankfully, you can follow the objective marker all the way to your destination. There will be no resistance or cameras for the first portion of your journey. Upon finding the control module, you’ll need the transfer module, which the objective marker will show you is on a nearby corpse. Grab it and open the door. Carry on following the objective marker.
When you come across an orange door, be careful! This is where the fun begins. There is a camera on the other side. From now on, you must be super careful of the cameras. Peek around every corner, and only move when they are looking away. If you do trigger a camera, considering they are pretty tricky to spot, the alarm will sound, and mechanized enemies will come after you.
Make sure you are equipped to deal with that threat. Take each enemy one at a time. Lean on all of your skills here, or, alternatively, simply charge right past all defense measures, only stopping to blast away a robot if it’s in your way. Sometimes, this is the easiest method.
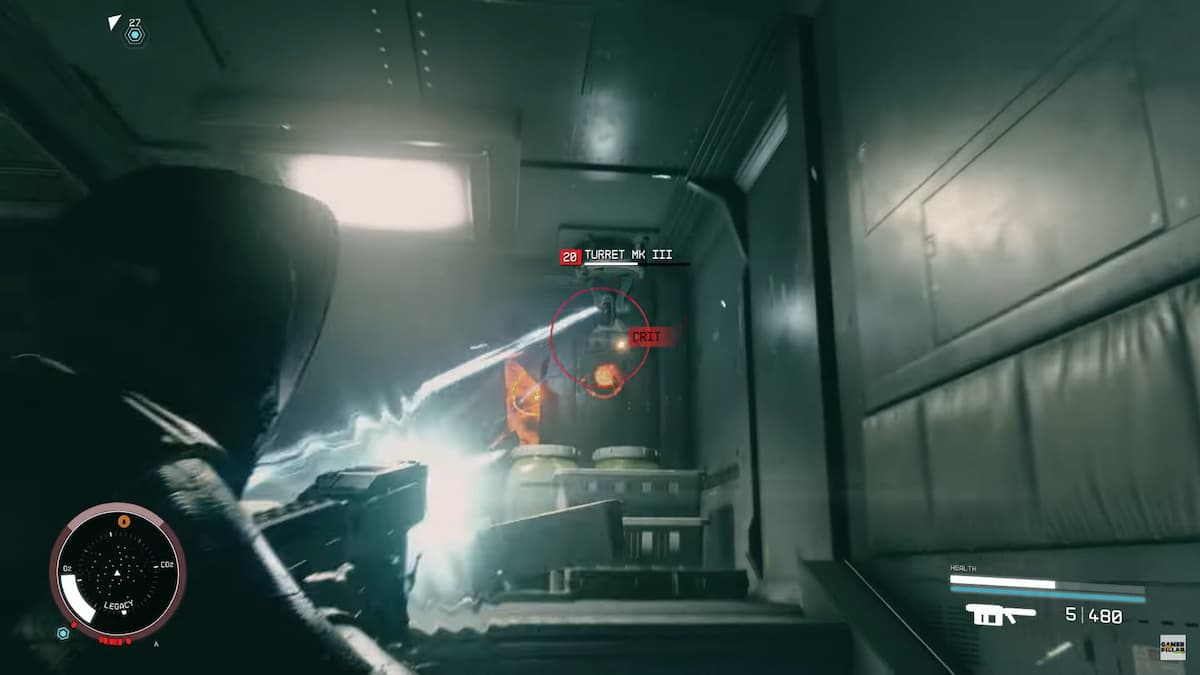
Image via YouTube/Gamerpillar
When you come across the vault door computer, simply use it to open the door. Keep walking toward your objective, it isn’t far now.
Finally, you’ll lay your eyes upon the goods you’ve come so far to grab. Take all of Kryx’s items and listen to the recording. Then, activate all of the devices that the game tells you to. Once the treasure is safely in your hands, the ship will suffer an electromagnetic surge, entering a state of emergency, and you’ll have to escape before it’s too late.
Related: Where to find the Valo System in Starfield
Escape the Legacy
There will be plenty of turrets and robots to hinder your escape as you follow the objective marker out of the Legacy. You will notice that there are two — just pick one of them to follow. The path is simple, although with the reduced visibility and constant gasses, it may seem convoluted. Just trust the objective markers and defeat any robots that block your path accordingly.
Following the marker will lead you to another computer. Use it to open the door and keep pushing onwards. You’ll be making your way through lots of environmental damage — so don’t run directly through them and you’ll be fine. If you are suffering, then lean on your healing items. You can always get more later. It’s a Bethesda game, after all. Don’t be precious with your consumables! Before long, you’ll be back at your ship.
Once sat in the pilot’s seat, you will now need to make a choice. Will you align yourself with the Crimson Fleet, or with UC SysDef? The choice is yours. Just be certain about it.
I hope you’ve enjoyed our guide for Eye of the Storm — and I hope you’re happy with your choices. If you want more things Starfield, then head on over to PC Invasion.