Journey to the Savage Planet is a first-person adventure game from Typhoon Studios. It boasts massive levels filled with platforming shenanigans and landscapes that are sure to dazzle you. This technical review takes a look at the various in-game options, graphics comparisons, performance, and the like.
Note: For more information, check out our official review of Journey to the Savage Planet.
Journey to the Savage Planet: System Requirements
Minimum
- OS: Win 7, 8, 10
- CPU: NVIDIA GeForce GTX 660 | AMD Radeon HD 7950
- RAM: 4 GB
- GPU: Intel Core i5-750, 2.67 GHz
- DirectX: DirectX11
- Storage: TBD
Author’s
- OS: Windows 10 (64-bit)
- CPU: Intel Core i7-7700 4.2 GHz
- RAM: 16GB RAM
- GPU: Nvidia GeForce GTX 1070 Ti (8 GB)
- DirectX: Version 12
- Storage: Samsung SSD 860 EVO 500 GB
The system requirements are from Journey to the Savage Planet‘s Epic Games store page. I’m well above the minimum requirements.
Graphics settings
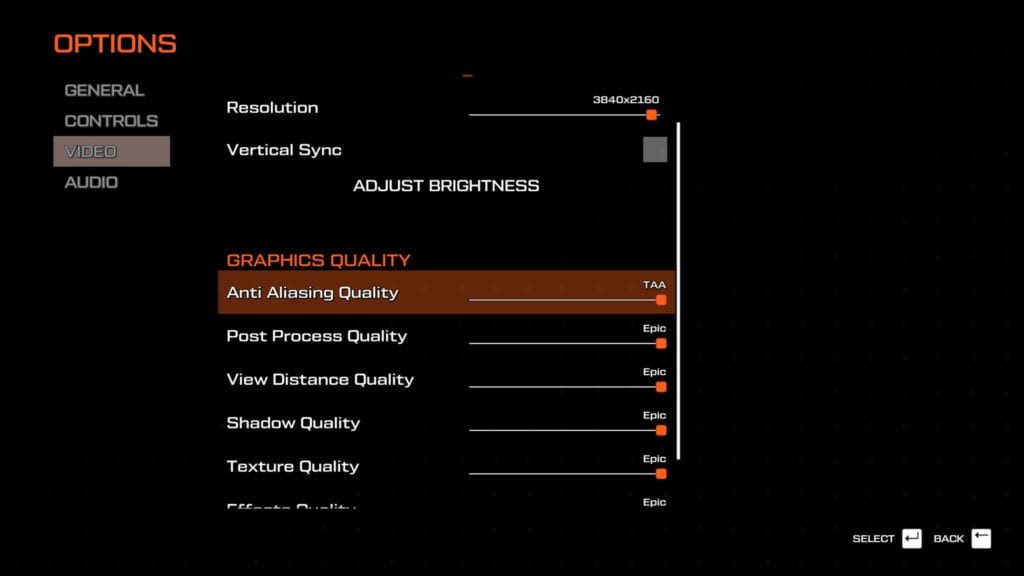
Journey to the Savage Planet only has a handful of graphics options for you to tweak. You’ve got your resolution setting, v-sync, and choice of anti-aliasing feature (disabled, FXAA, or TAA). You can also change the quality of the game’s shadows, textures, foliage, view distance, post-processing, and effects.
You’ll have to change or mix and match these various settings individually since there are no presets. The options are “Low,” “Medium,” “High,” and “Epic.”
Graphics comparisons
I chose three sets of screenshots for this section. The “Epic” and “High” settings are self-explanatory since all I did was switch to these options. For the “Low” settings, I did switch from TAA to FXAA. V-sync was disabled for all sets and I chose 3840×2160 4K UHD resolution all throughout. As usual, click on each image below for a larger view.
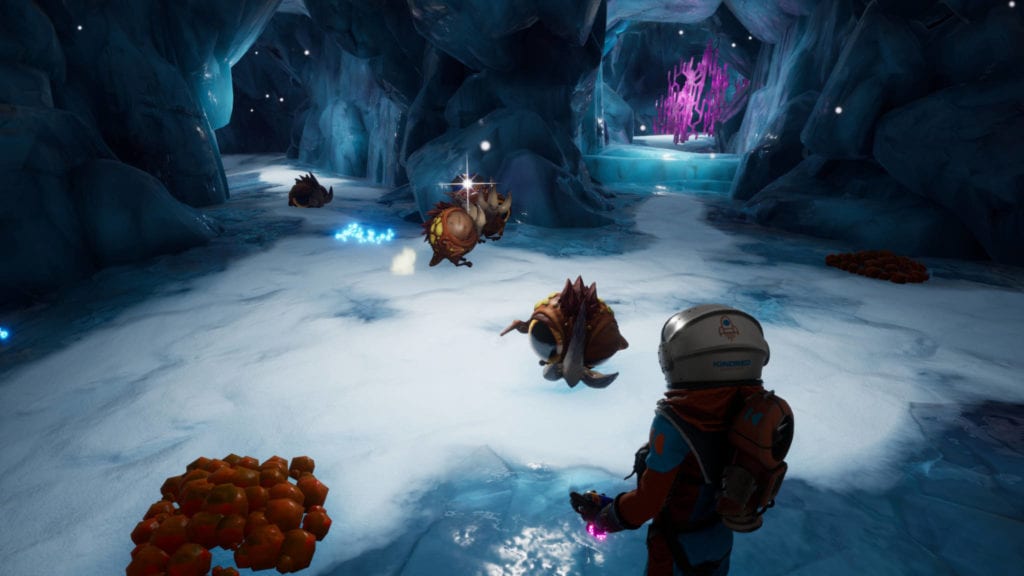
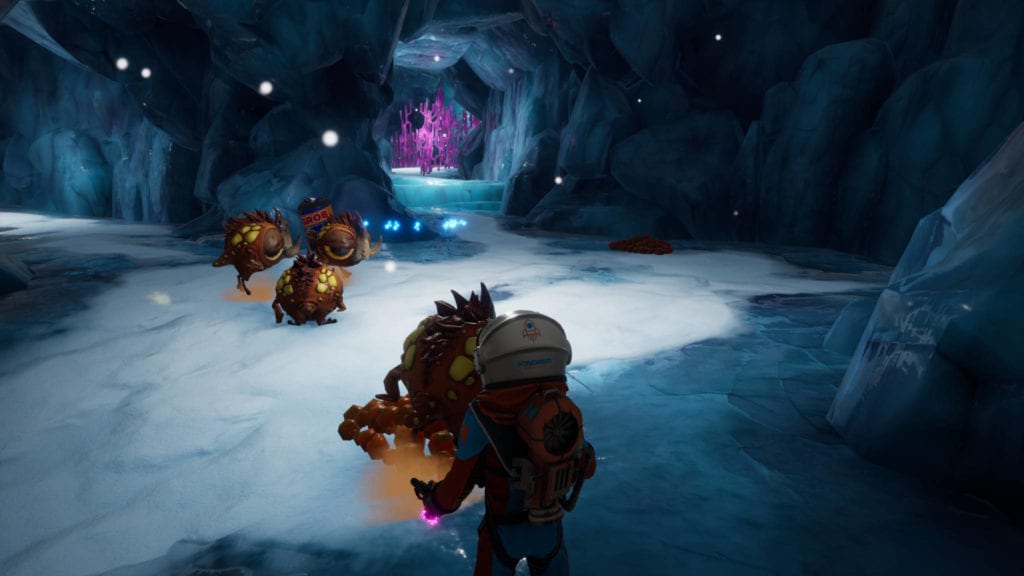
Interior
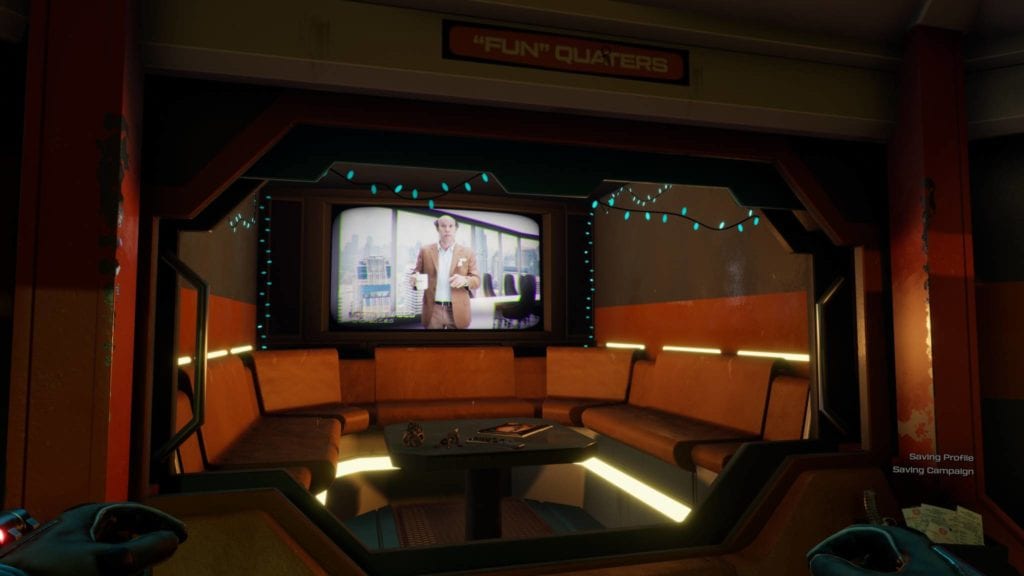
“Epic” settings
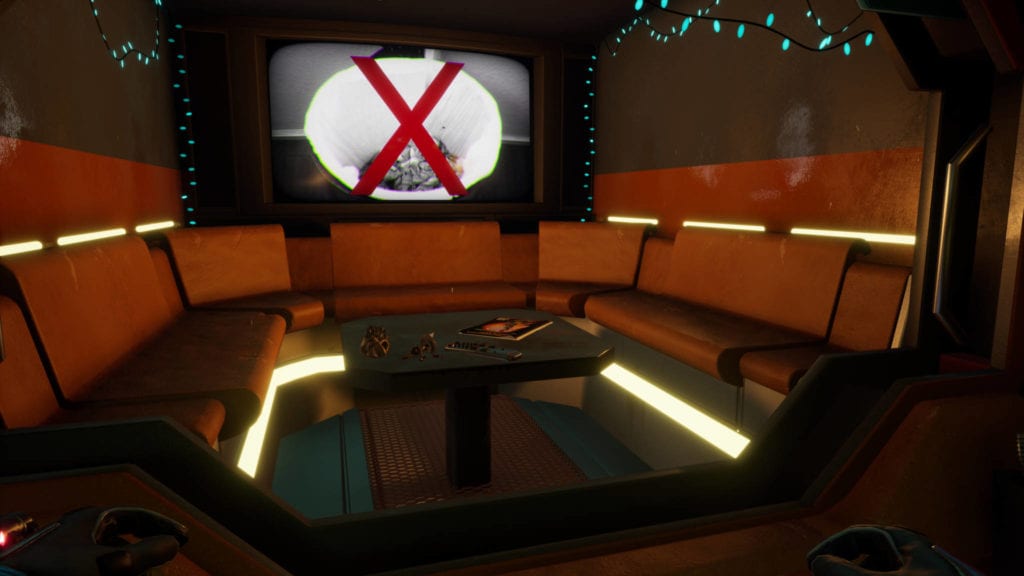
“High” settings
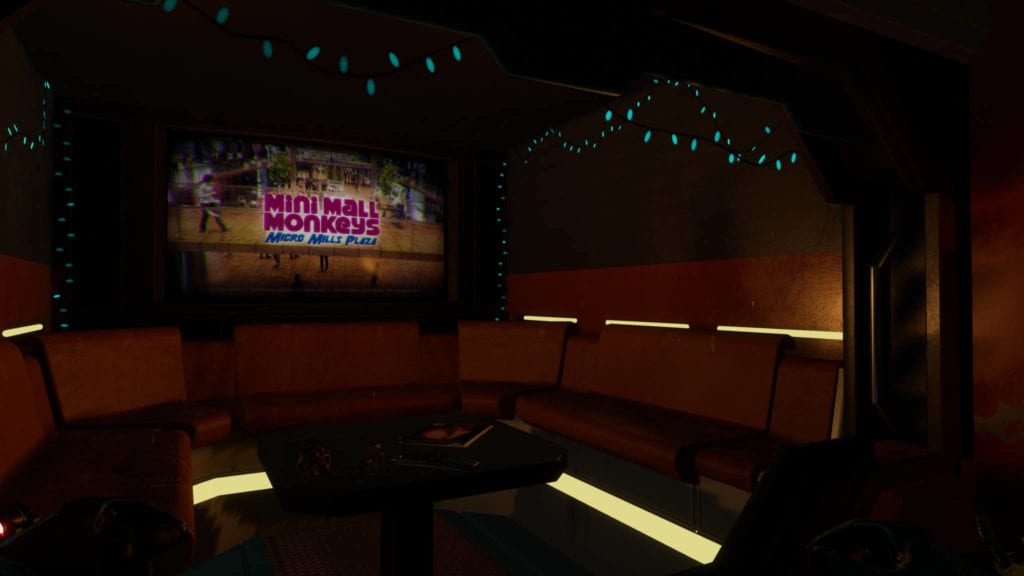
“Low” settings
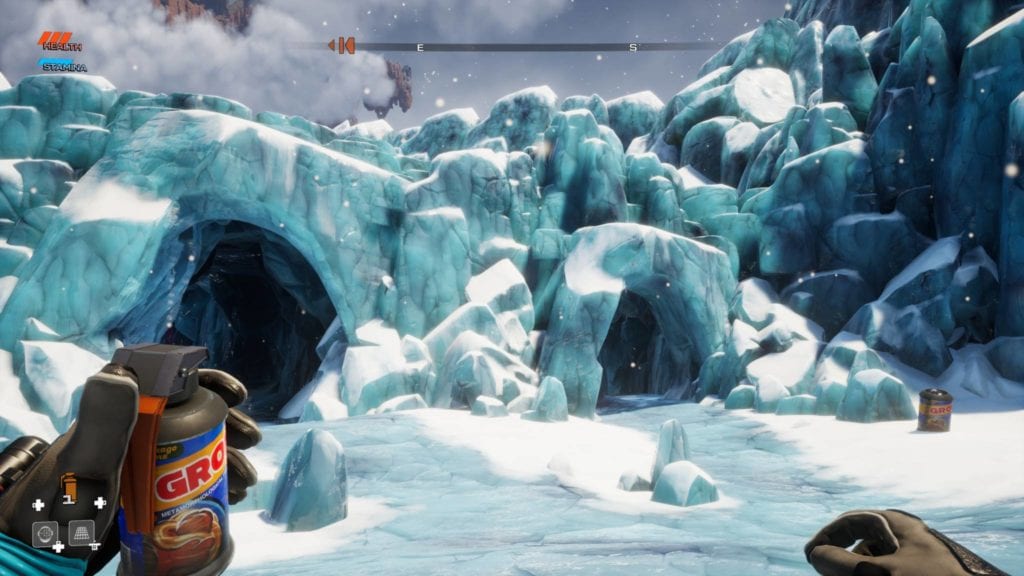
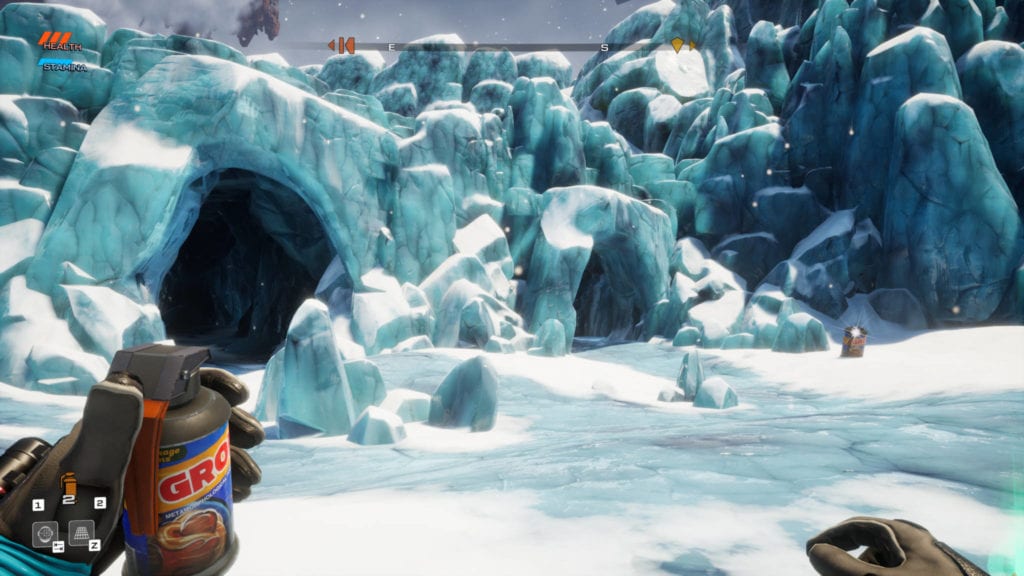
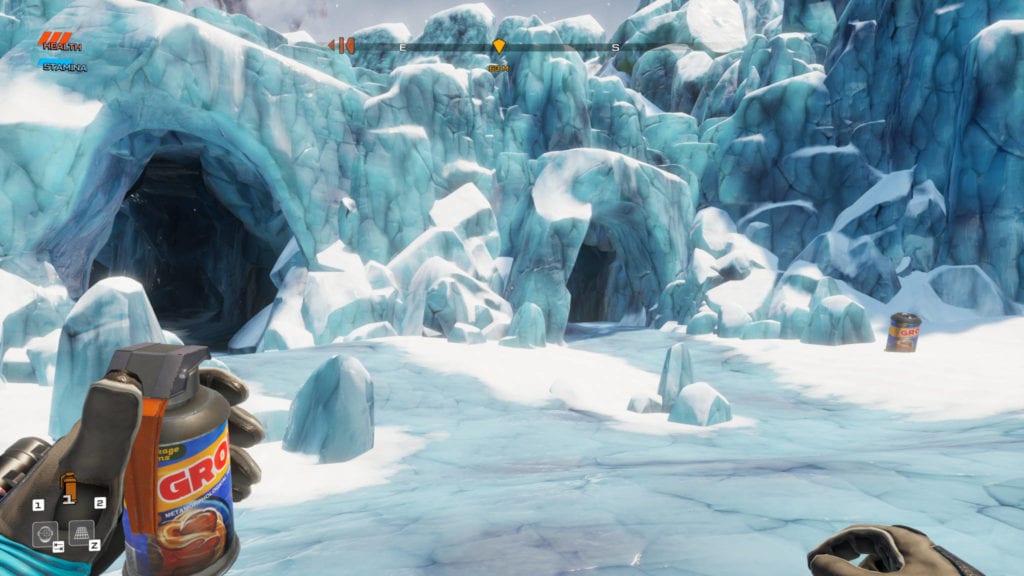
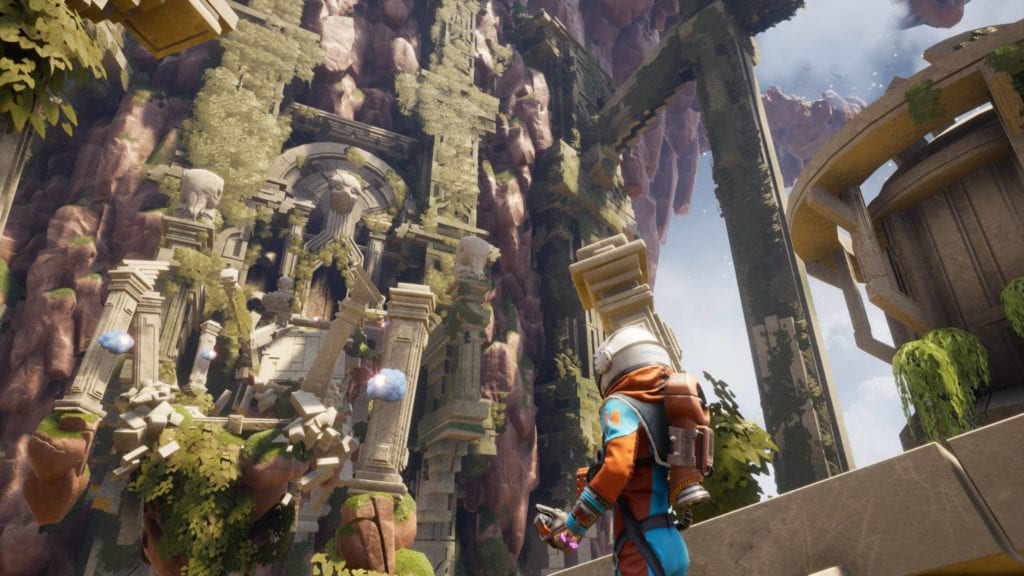
Exterior
“Epic” settings
“High” settings
“Low” settings
Photo Mode
“Epic” settings
“High” settings
“Low” settings
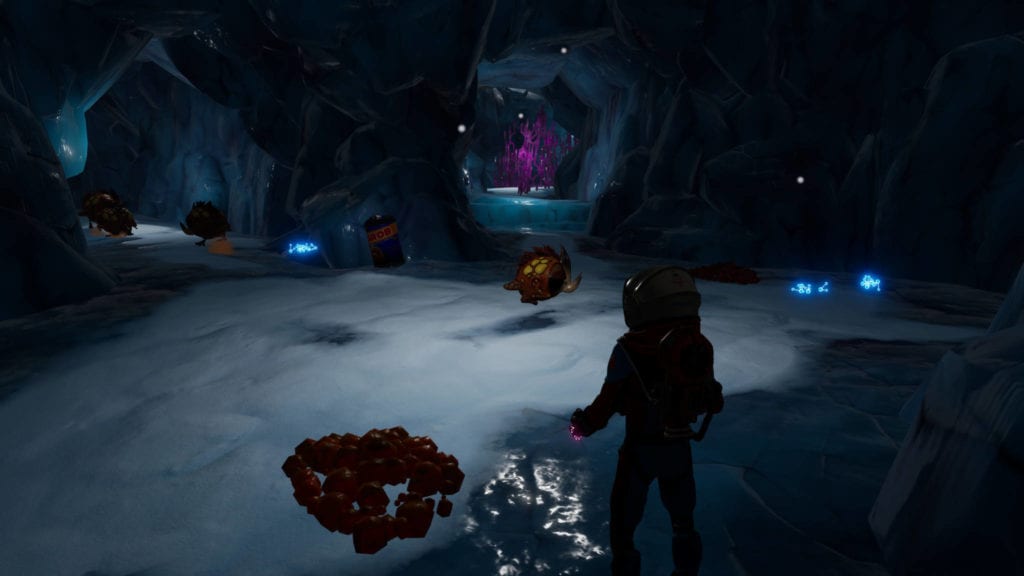
Shadows and lighting are the most affected when using “Low” settings in Journey to the Savage Planet. This isn’t too noticeable in exteriors, but interiors such as the Javelin ship or caverns won’t be too illuminated by various light sources. When using “High” or “Epic” settings, you’ll notice increased fidelity and more vibrant landscapes.
Performance-wise, here are some findings (again, based on 4K UHD resolution):
- “Epic” – 35-45 FPS
- “High” – 55-60 FPS
- “Low” – 85+ FPS
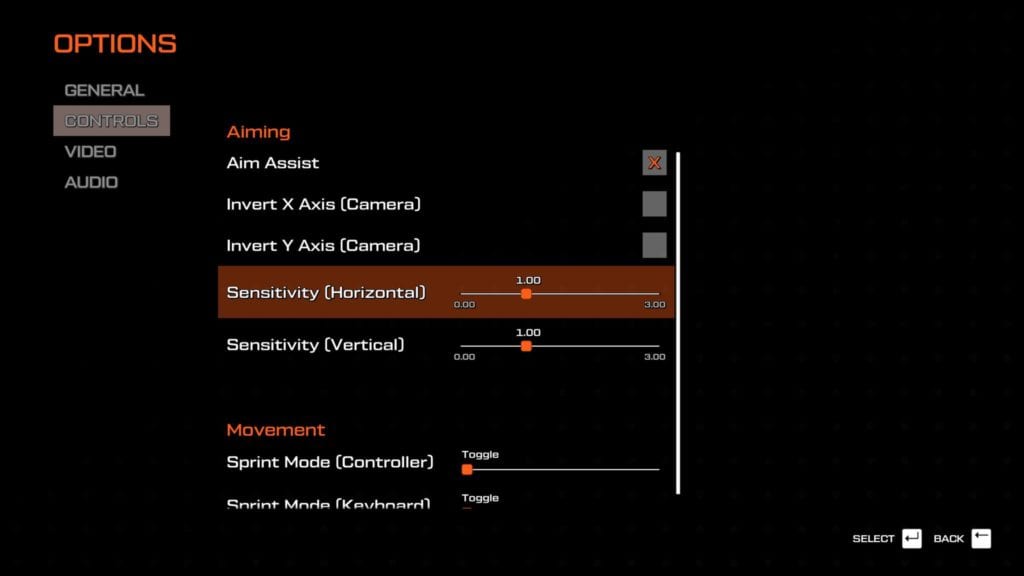
Control settings
Journey to the Savage Planet supports mouse & keyboard and gamepad setups. You can see the general control options above for aim sensitivity, aim assist, inverted aim, and sprint toggle.
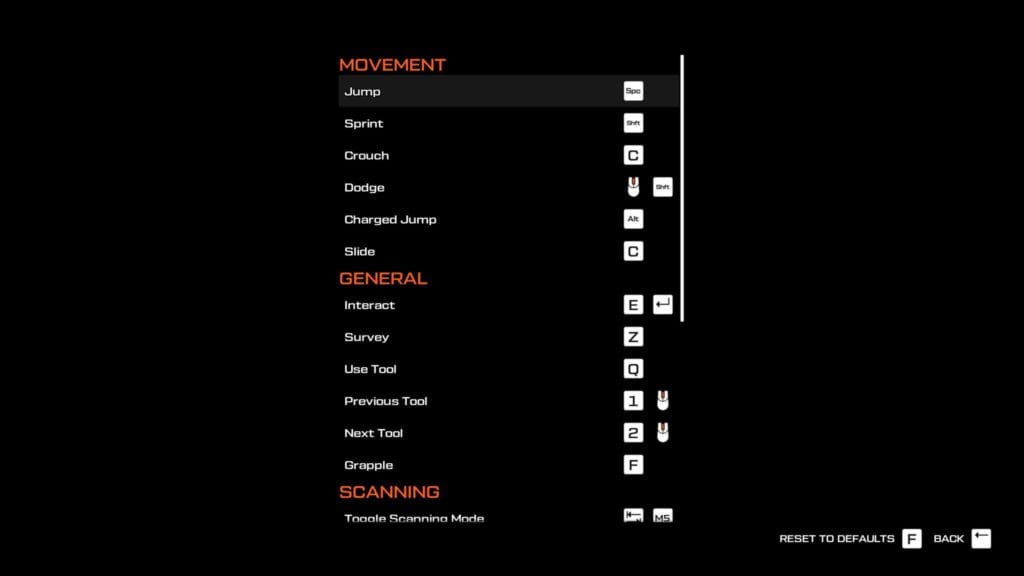
Below, you’ll see the keybindings which you’re free to change:
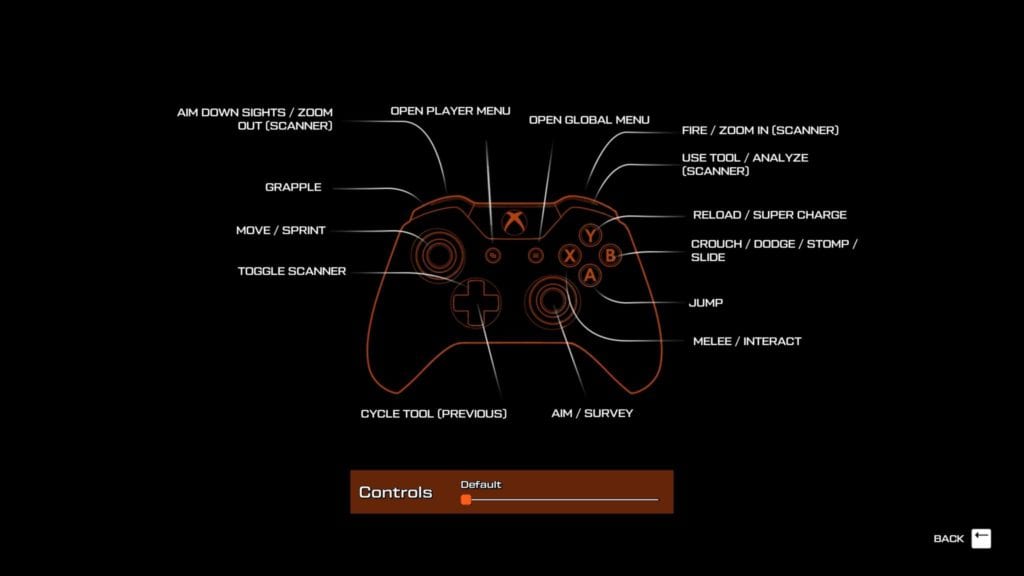
Also, you can see the default gamepad button layout below. The game only has one other alternate layout and it merely changes the buttons for your crouch, grapple, reload, and scanner actions:
Gameplay and audio settings
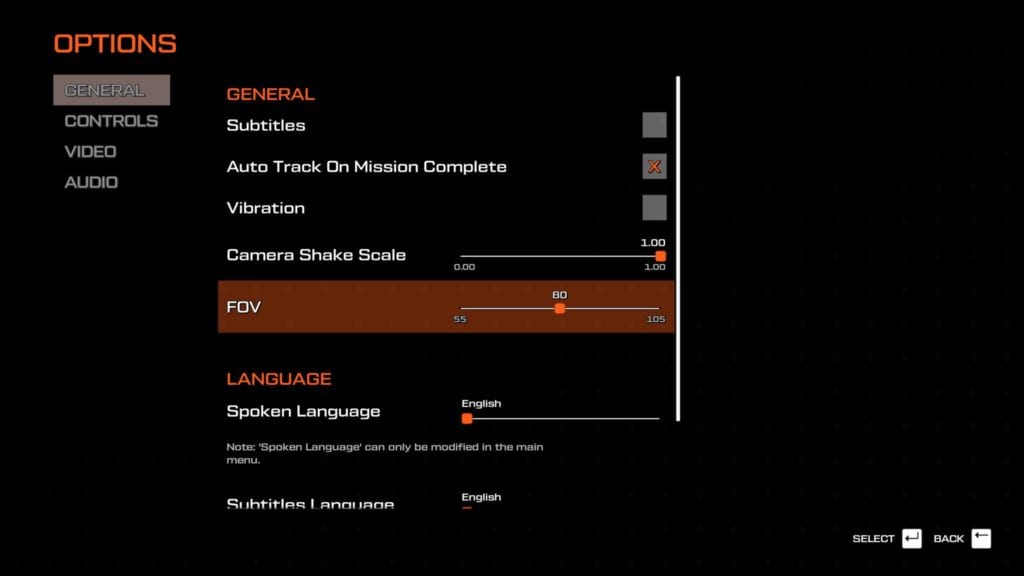
Journey to the Savage Planet‘s gameplay settings lets you change the spoken and subtitle language (or toggle off subtitles completely). You can also tweak the field-of-view (FOV) and the “shaky cam” which becomes a hindrance during some boss fights and platforming sequences. Although it’s not visible below, you can also change how often your AI companion EKO speaks during the campaign — whether she’s a “Chatterbox” or completely “Silent.”
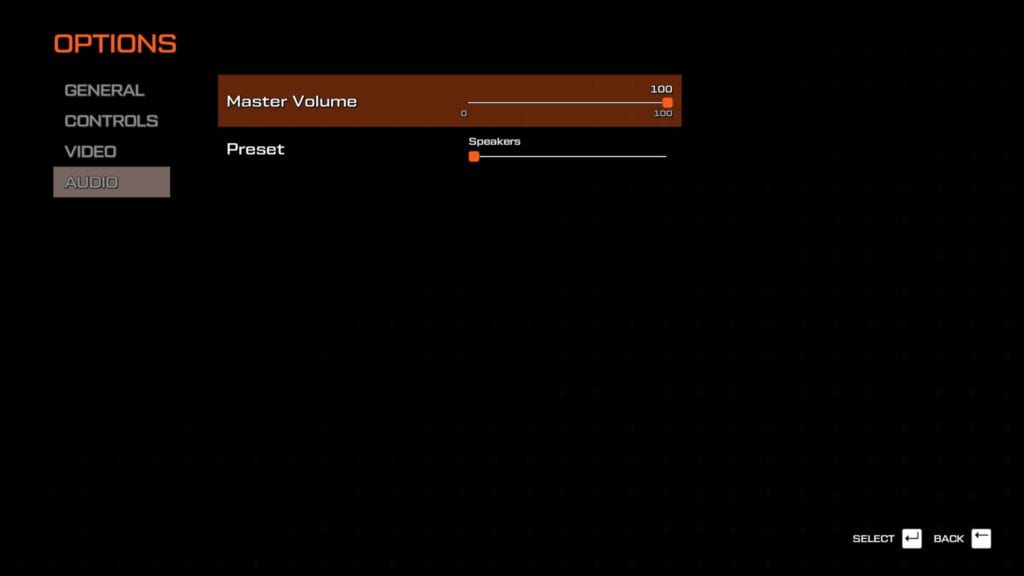
Finally, we’ve got the audio settings and these are basically the only features you can change:
Journey to the Savage Planet: Photo Mode and a technical glance
Although they’re not necessarily part of Journey to the Savage Planet‘s settings, I do believe Photo Mode and screenshots need to be partially addressed here. First, the game is an Epic exclusive and we all know how the launcher is clunky and devoid of a number of features. This also pertains to how it lacks a user-friendly way of taking screenshots. As such, you’ll probably need to (a) use an overlay such as Nvidia’s GeForce Experience, or (b) add the game via Steam.
If you do want to use its built-in Photo Mode feature, it can lead to some disappointments. It lacks several options to make it worthwhile and you’ll probably use it just to take wide shots of landscapes. Also, it creates larger PNG images instead of compressed JPEG versions. Be prepared to experience two-second delays each time you take a selfie. I’ve added a more detailed critique of the game’s Photo Mode in our official review as well.
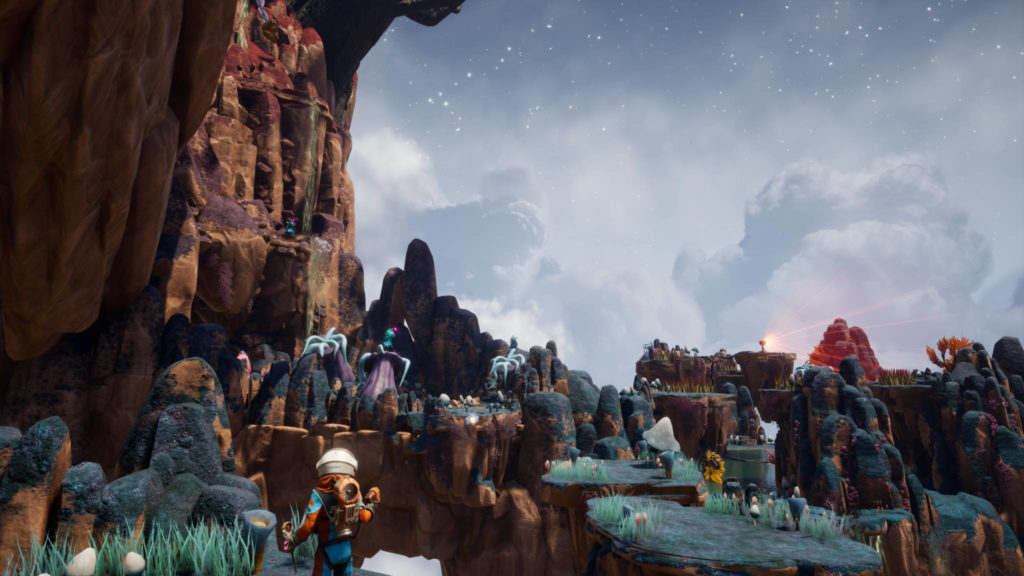
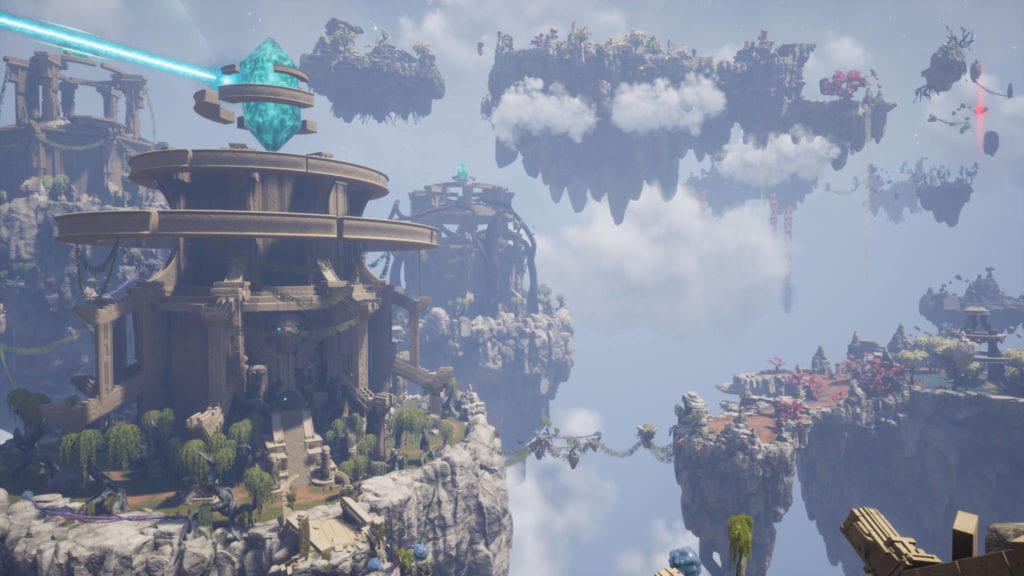
For the most part, however, Journey to the Savage Planet will have you looking at rich, vibrant, and colorful locales. Photo Mode, as clunky or lacking as it may seem, adds a much-needed means of capturing these details and moments. The game’s requirements aren’t too demanding, and I also didn’t experience any major performance issues.
Journey to the Savage Planet launches tomorrow, January 28, 2020, via the Epic Games Store. You can purchase the game for $29.99.