If you’re looking to get your hands on a lot of sweet loot, then Securement Silos are one of your best options. Hitting Securement Silo Alpha isn’t the easiest in Once Human, but it does result in much better loot than quite a few of the others, especially with this walkthrough.
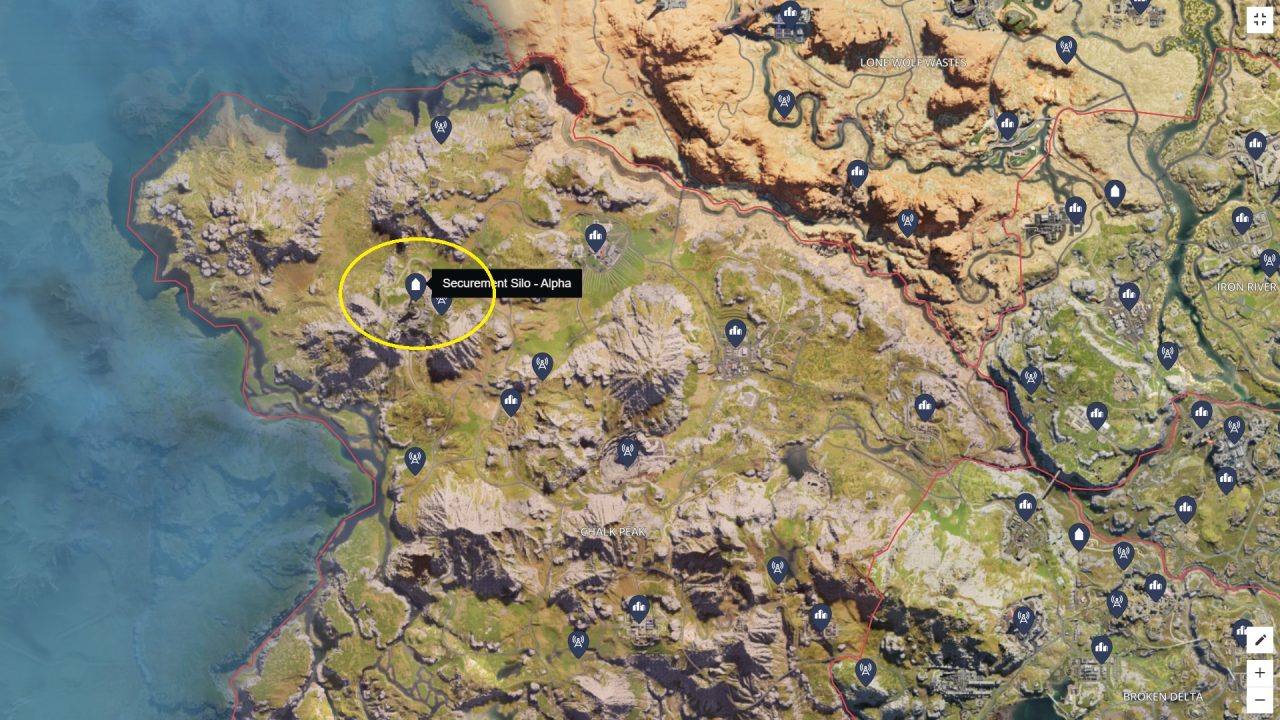
Where to find Securement Silo Alpha
Heading into the Northwest of the Chalk Peak region of Once Human will lead you to Securement Silo Alpha. It is located just to the Northwest of Greelake Hill, up the mountain. There is a handy teleportation tower situated right by it, so you won’t have to climb the mountain every time you want to run through it.
This is one of the harder Securement Silos in Once Human for now until they add more. It can be run solo if you’re feeling up to it, but I would suggest heading in with a few buddies. I would also say you should aim to be around level 35 before attempting this Securement Silo Alpha walkthrough. But who am I to tell you what to do? Go get ’em.
How to clear Securement Silo Alpha
Before heading into Securement Silo Alpha, make sure you have what you need. Of course, you will want to have some healing items, ammo, and at least level 4+ weapons. However, for this particular walkthrough, you will also need the Stun Batton, which can be picked up through the storyline in Holt Town. Alternatively, you can craft Vortex Grenades. These will both be needed for the secret boss in Securement Silo Alpha.
- Head into the silo and make your way down the first corridor until you come to a huge well with various platforms all the way down. If you have unlocked the Glider, you can jump down this pit, making sure to land on the lowest platform on the opposite side and not the bottom. This is where the exit is.
- If you don’t have the glider yet, jump from platform to platform to descend. Be aware there are claymores all the way down. I would pick my route and then clear the explosives before jumping. One foot wrong, and you’re dead.
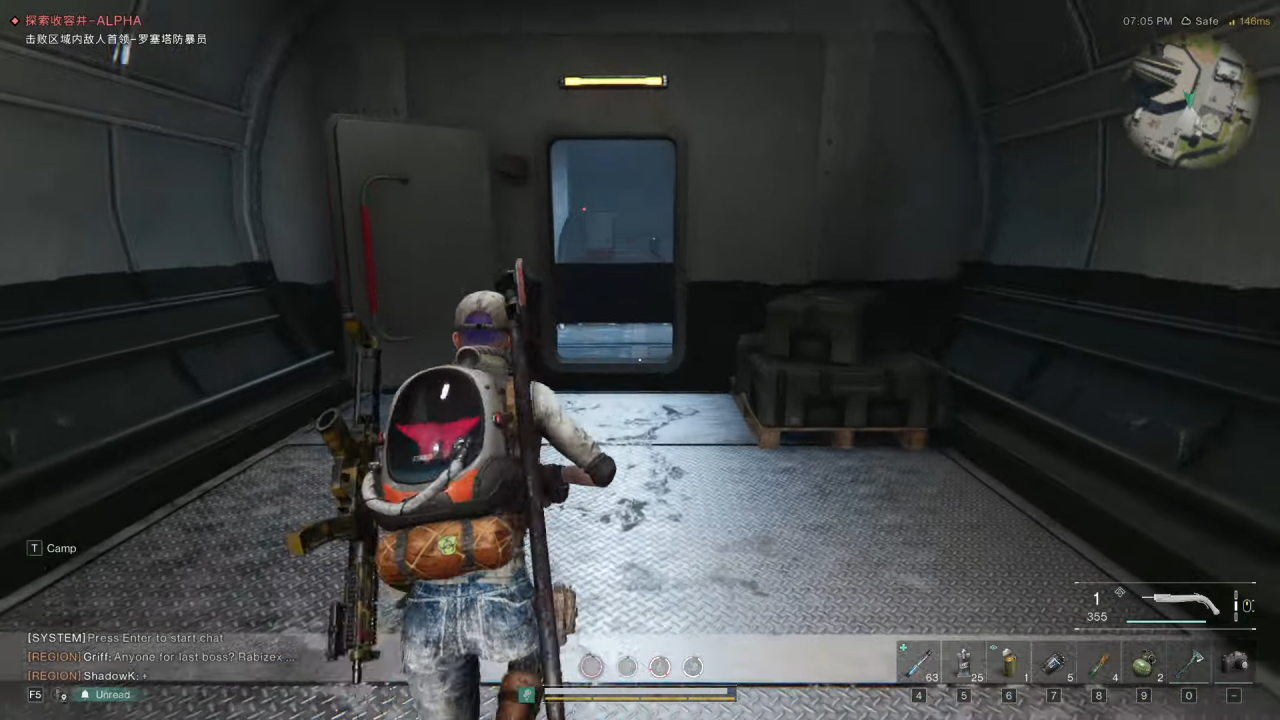
- Once you reach the door close to the bottom of the chasm, head through and up the stairs. You will have various rooms to clear of enemies and, of course, that sweet Once Human loot. Keep heading down the corridors until you come to a door with a yellow light above it.
- This room will contain some regular enemies and one heavy. Clear these out using the railings and servers as cover. The heavy Once Human enemy will drop a keycard you will need for two different secret rooms in this Securement Silo Alpha walkthrough.
- Pick up the keycard from the heavy and head down to the bottom floor of the room. The keycard will open a secret room just to the left of the consoles on the bottom floor. Here, you will find a weapons crate.
- Go back on yourself and through the tunnels until you come to a short corridor on your right with a grey door. Continue through here to enter another room full of enemies. Clear these out using the barrels and your weapons.
- To reach the other side of that room, you will need to climb the balconies running over the top of the room. You can access these via a ladder close to where you entered. Traverse the balconies until you can drop down on the other side of the room.
- Here you have the opportunity to face the secret optional boss in the Securement Silo Alpha level, provided you picked up the keycard earlier in the walkthrough. If you did, head to the right of the room, kill the guards, and use the keycard to open the gate.
Secret boss Securement Silo Alpha
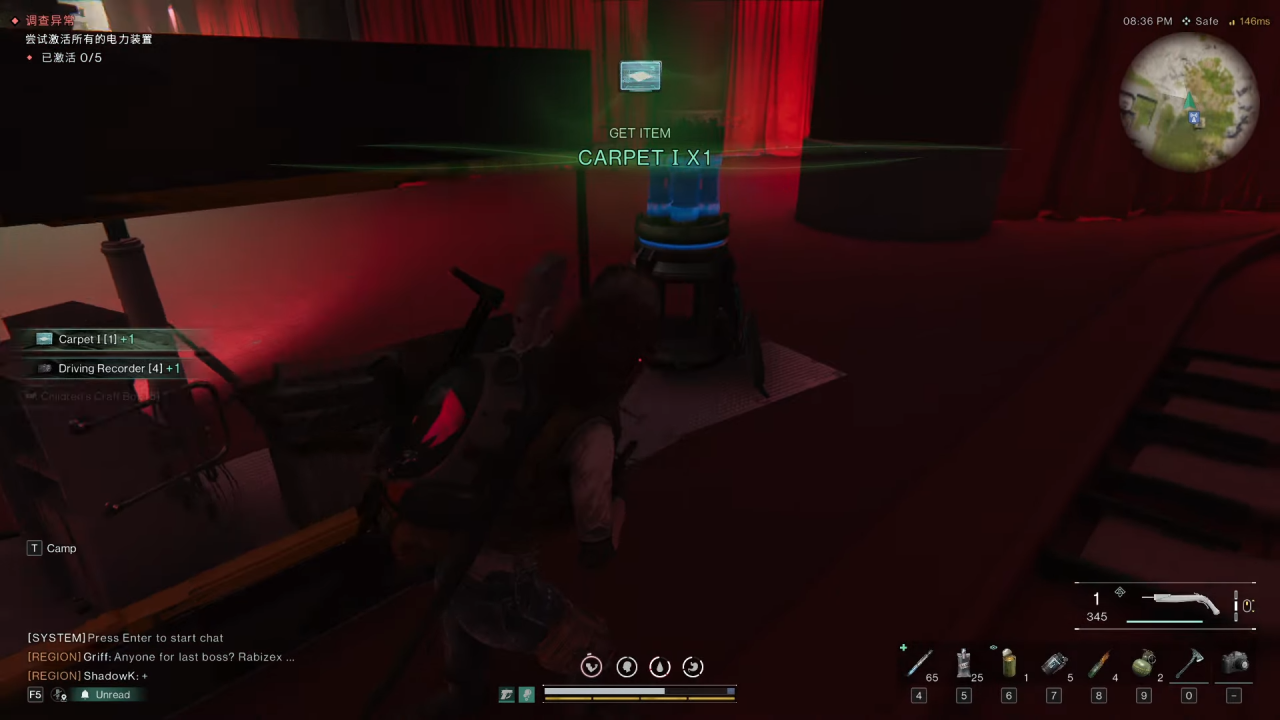
This secret boss will require you to first summon it using either Vortex Grenades or the Stun Batton. Simply locate the blue Energy Coils located around the room and hit them with your Stun Batton or Vortex grenades until they are depleted. Once you have found and activated all five of these, the enemy will appear.
This is a simple enemy, similar to the one in the Theta Securement Silo. Simply aim for the weak points on its legs until it is staggered. From the staggered position, it will reveal another weak point in its head for you to target. Avoid its shockwaves by rolling or jumping, and try not to become overwhelmed by the minions.
Once you have defeated the Securement Silo Alpha secret boss, get rid of the ADS and collect your rewards. You can expect a ton of Energy Link and Stardust to add to your growing collection.
How to beat the boss of Securement Silo Alpha
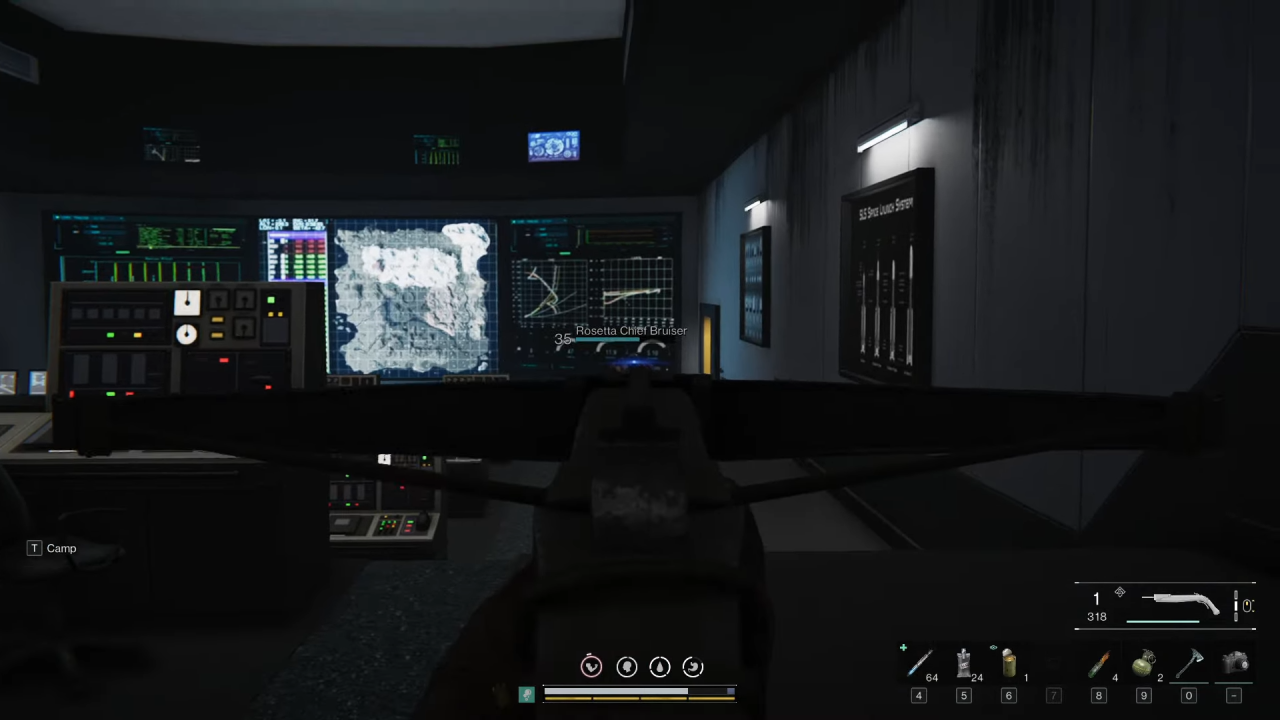
If you have just beaten the secret boss, head back to the room with the balconies. If not, then at the end of this room, head left up the stairs. You will enter a large war room full of computers and staggered levels. There will be some basic enemies, and at the bottom of the room, the final boss for the Silo.
This boss does not summon more ADS to fight with it, so I suggest getting rid of all the other enemies before focusing all your efforts on the Bruiser. It has a huge health bar and will relentlessly pursue you, but it is very slow. The method I used for this enemy is to kite it, retreat, and repeat. You should be able to back up a long way, all the way down the stairs you came from in this boss fight.
Due to the Bruiser’s large shield, you will need some accuracy to hit its head. I also found using Molotovs and other explosives with area damage to be very effective. These can be thrown just behind it or all over it in the case of the Molotov.
Once you have defeated the Once Human boss for Securement Silo Alpha, head back to the war room and through the door at the bottom right to collect your winnings. You can then head up the stairs in this room to exit the level.