The Lost Paradise Raid Dungeon is one of the new locations in Sword Art Online: Alicization Lycoris. Let’s talk about this map as well as the enemies and loot.
Note: For the other locations in-game, head back to our Raid Dungeons main page. As for the rest of the game’s content, check out our Sword Art Online: Alicization Lycoris guides and features hub.

Sword Art Online: Alicization Lycoris – The Lost Paradise Raid Dungeon
The goal in the Lost Paradise Raid Dungeon is very simple: activate two control panels to lower the water level in the area. That lets us progress to the boss’ location.
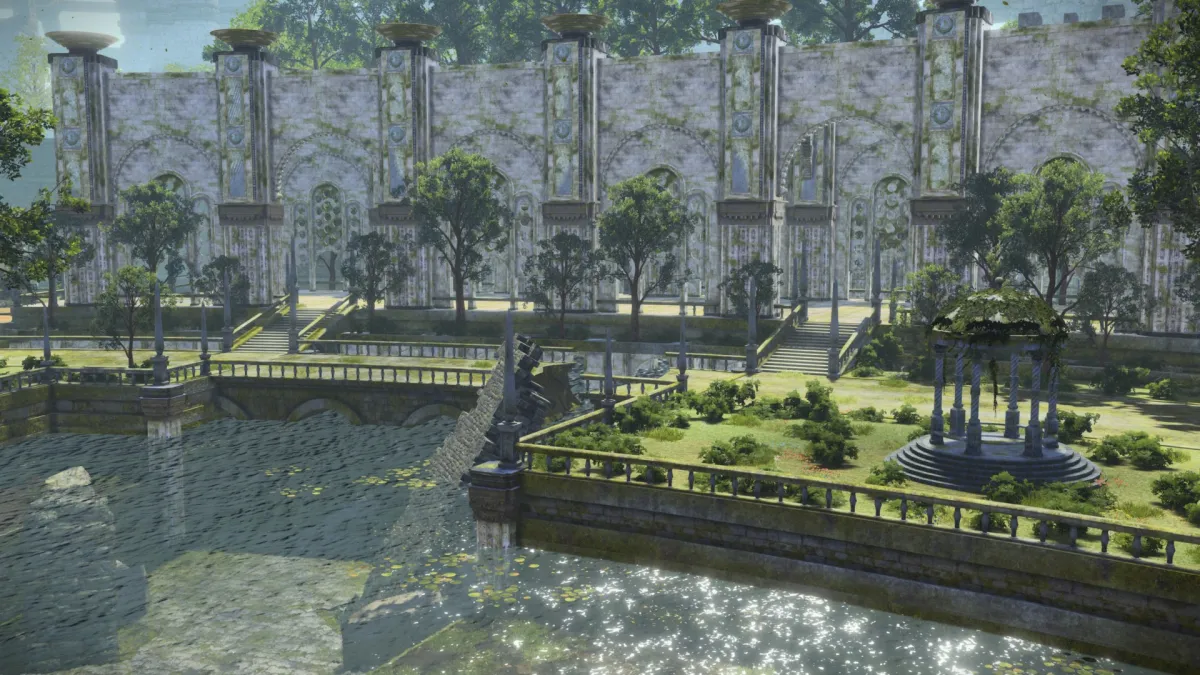
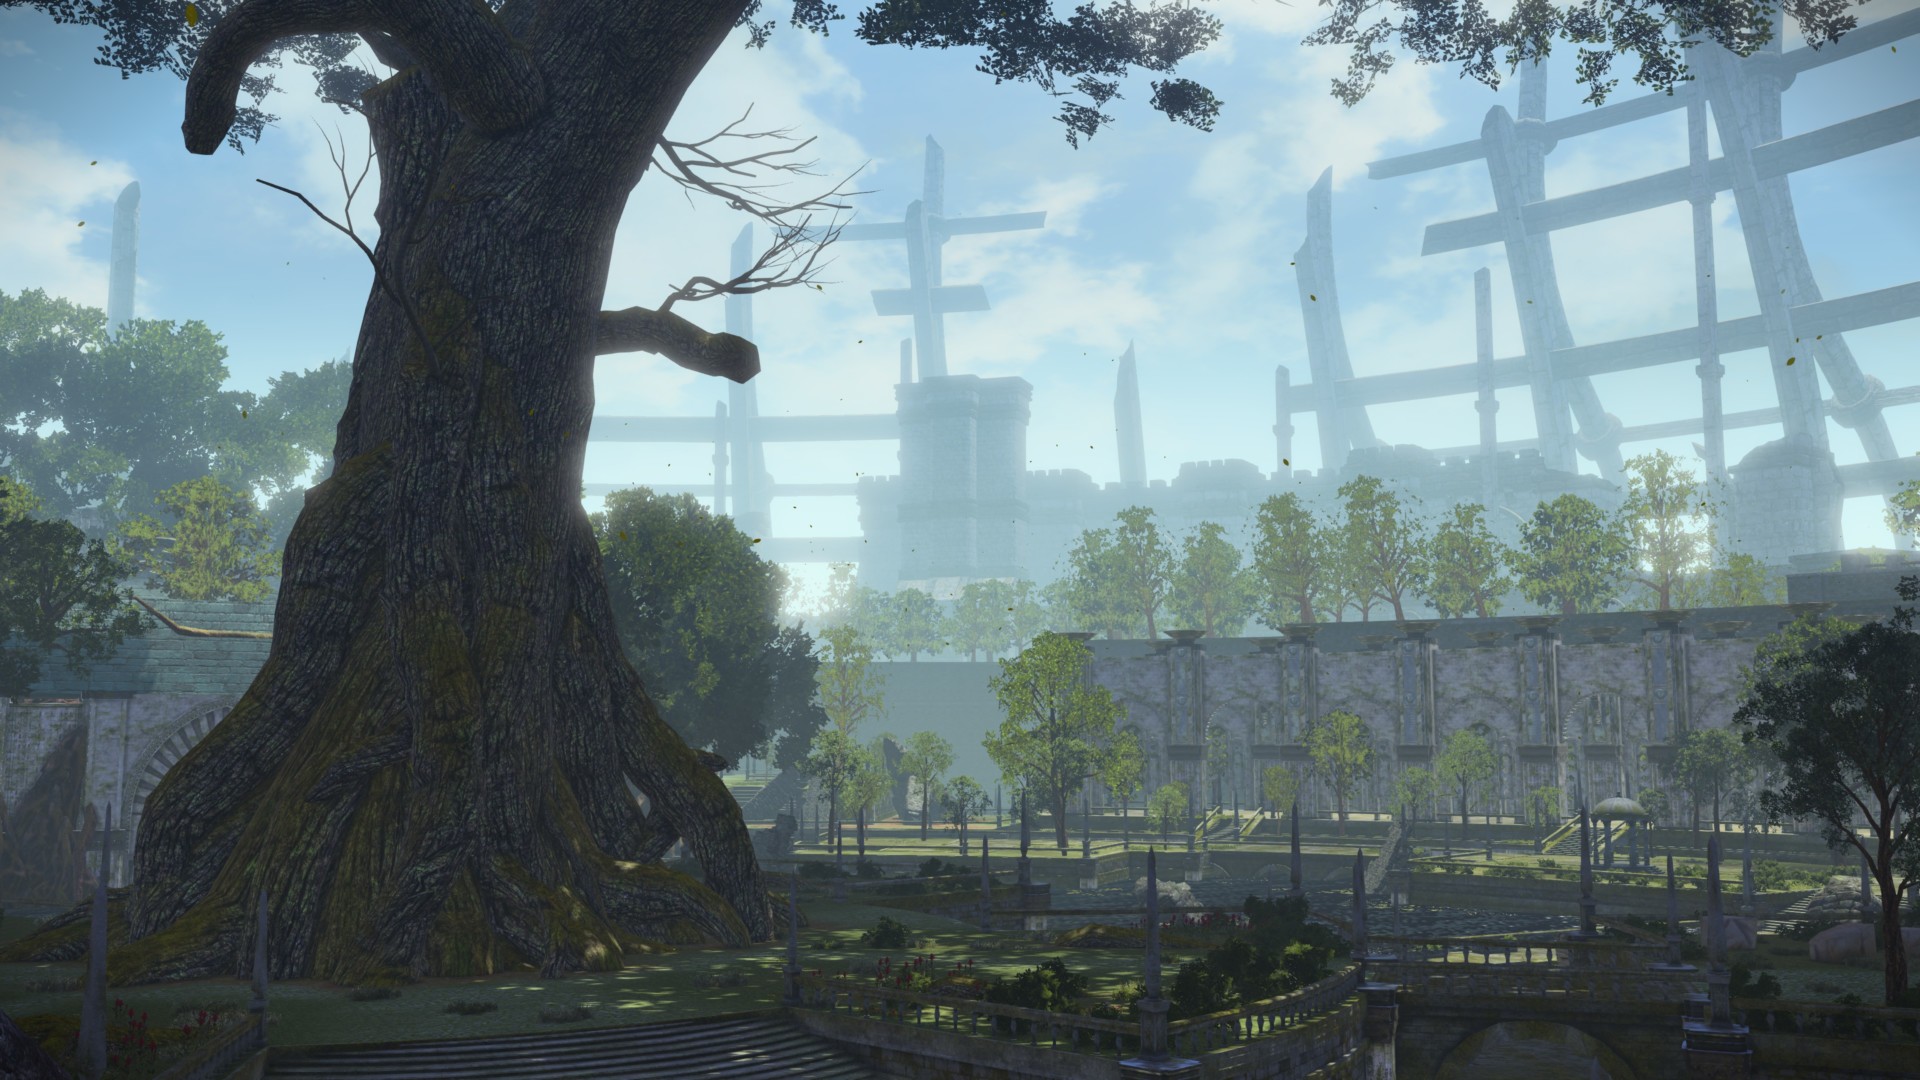
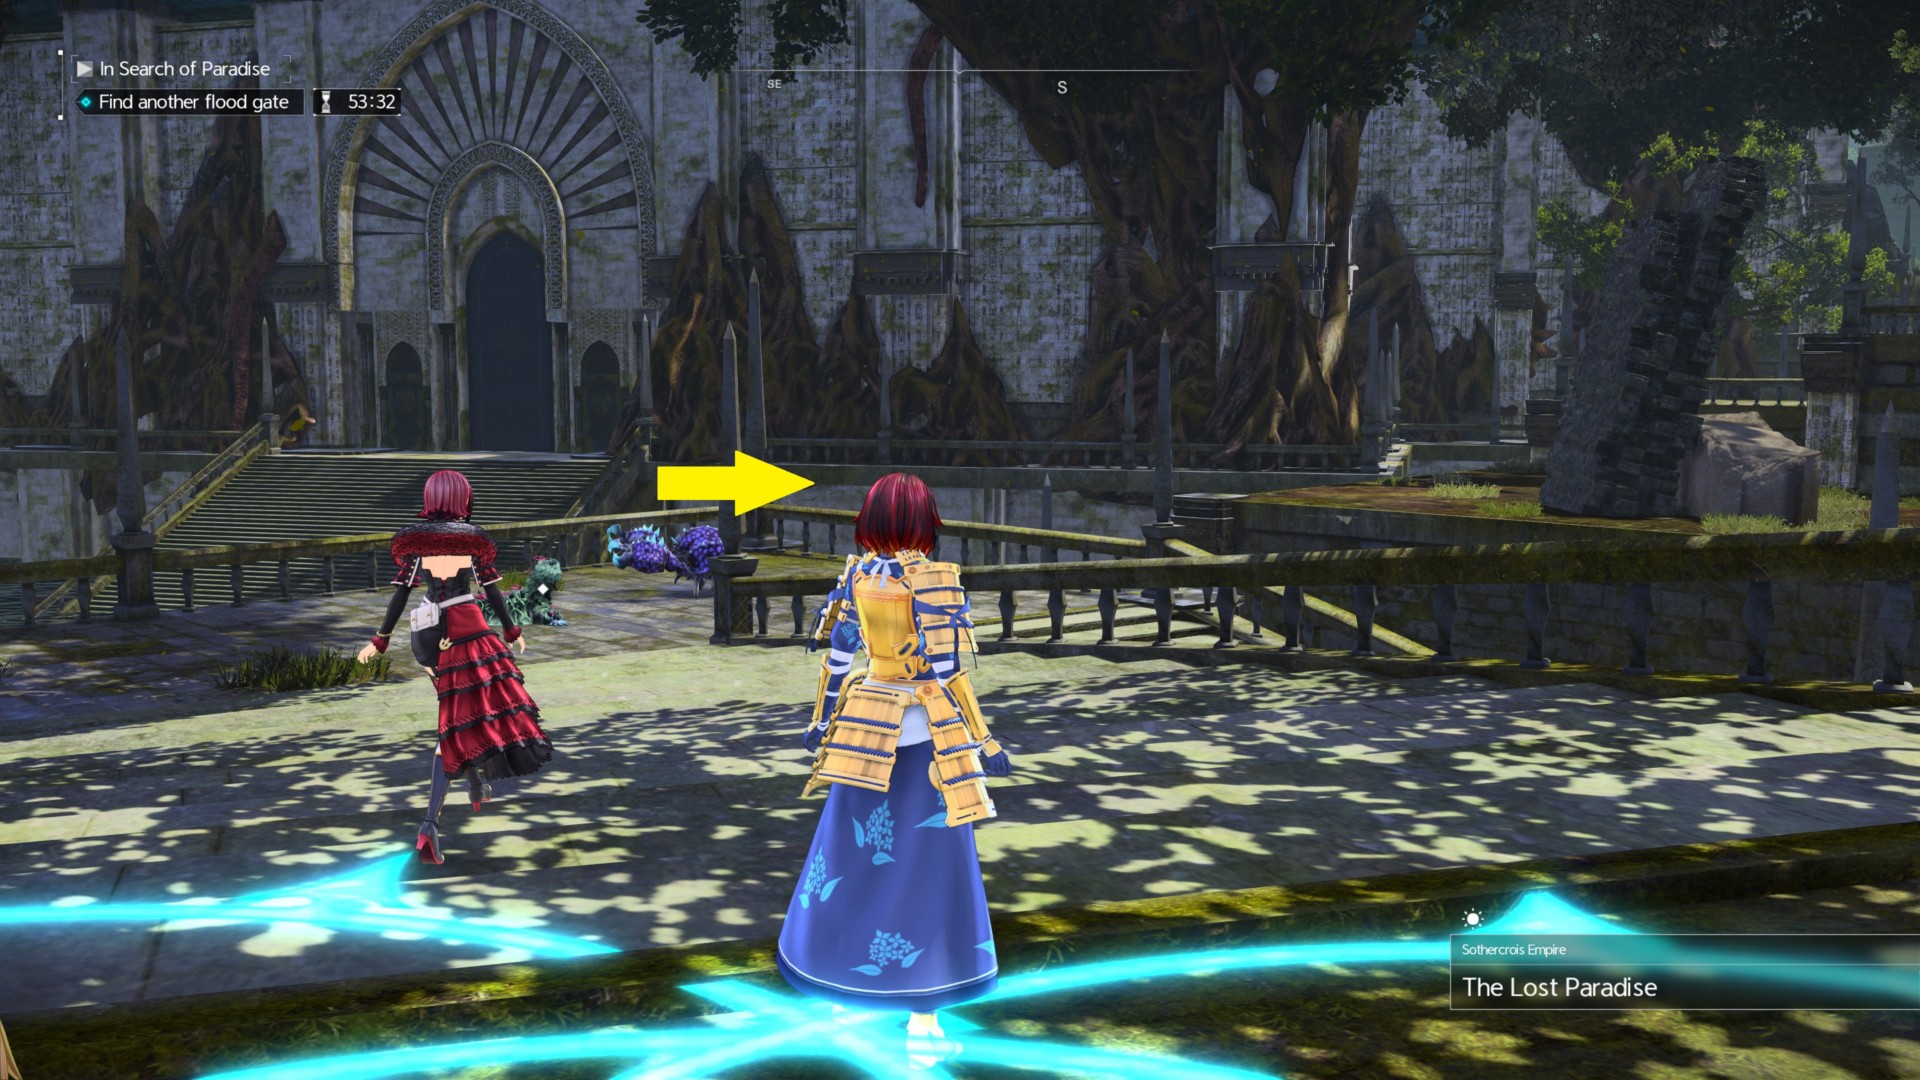
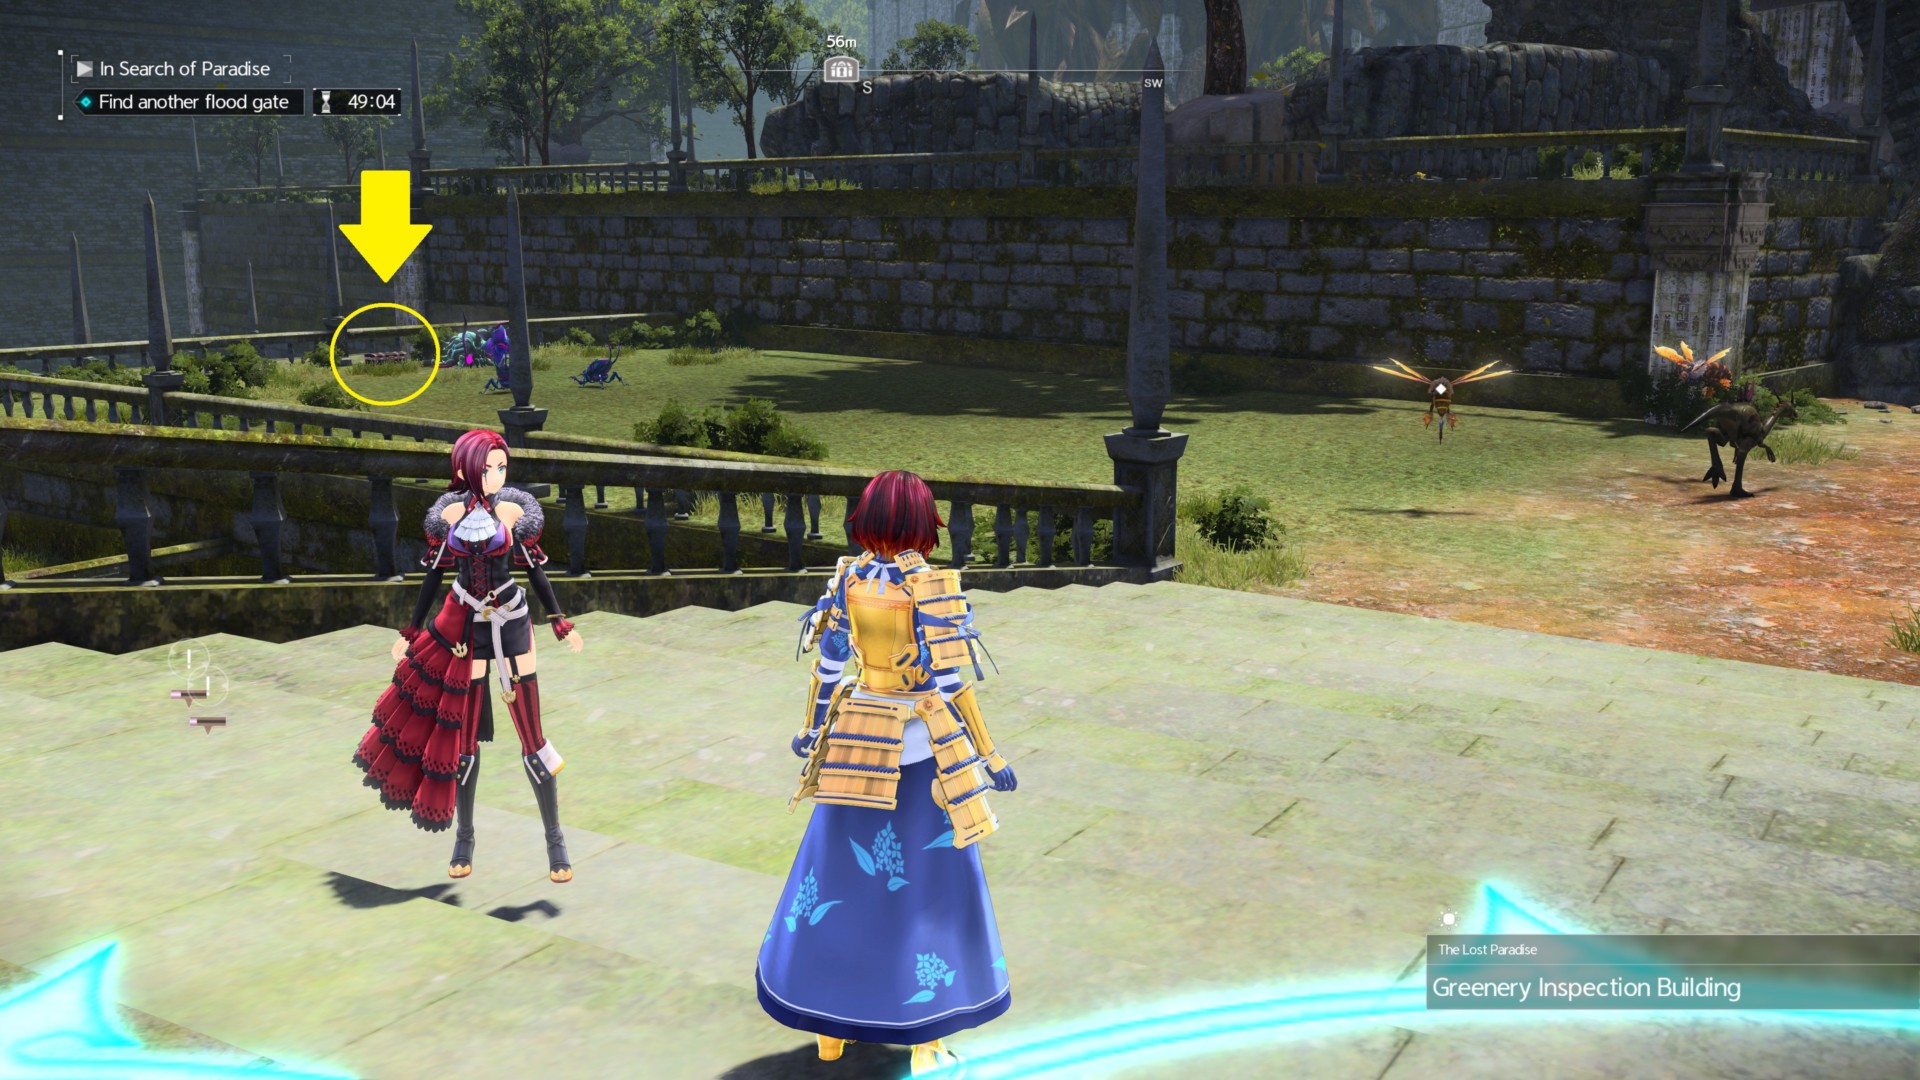
However, this dungeon map is probably the largest out of all the new ones in Sword Art Online: Alicization Lycoris. There’s a bit of backtracking and it’s easy to get lost due to markers and treasure chest icons. So, at best, you’ll want to use the giant tree as a point of reference at the beginning.
First, head to the right and go around the giant tree. You’ll spot this area which I’ll call the “statue bridge.”
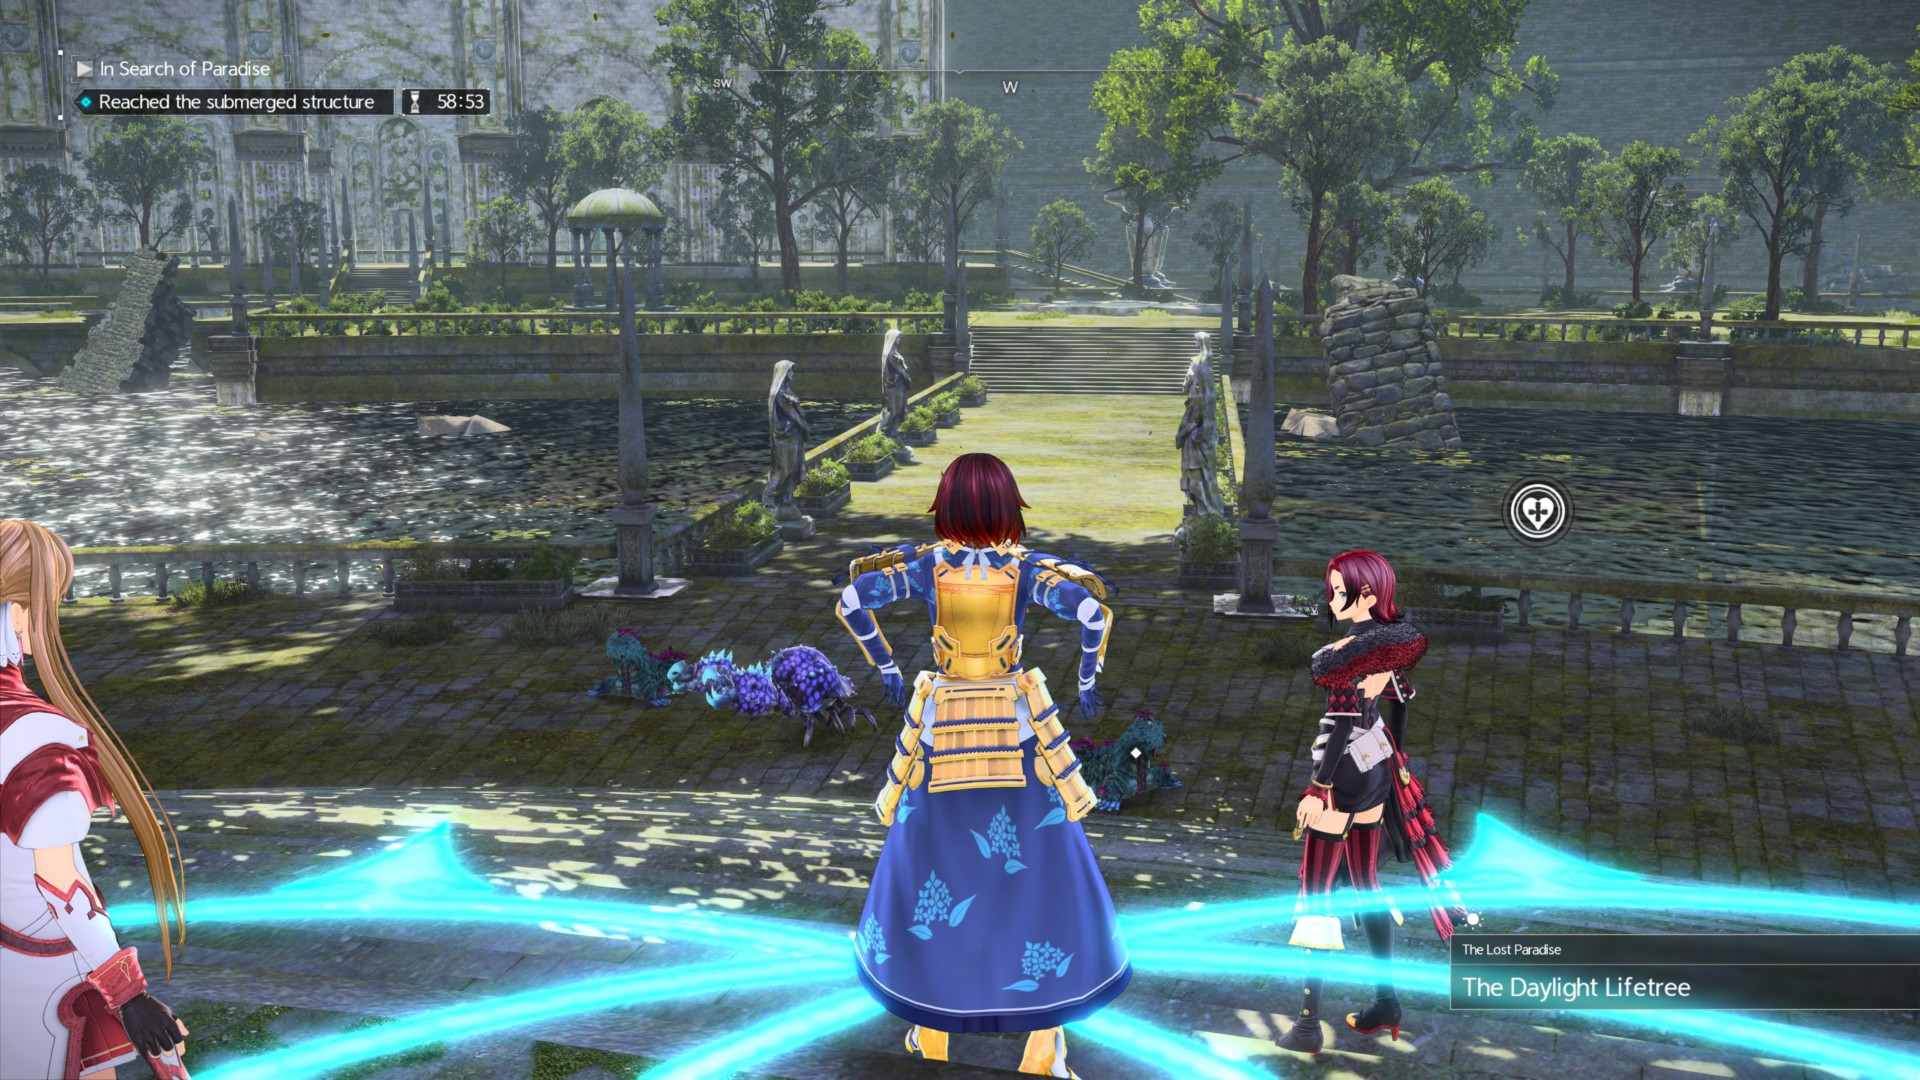
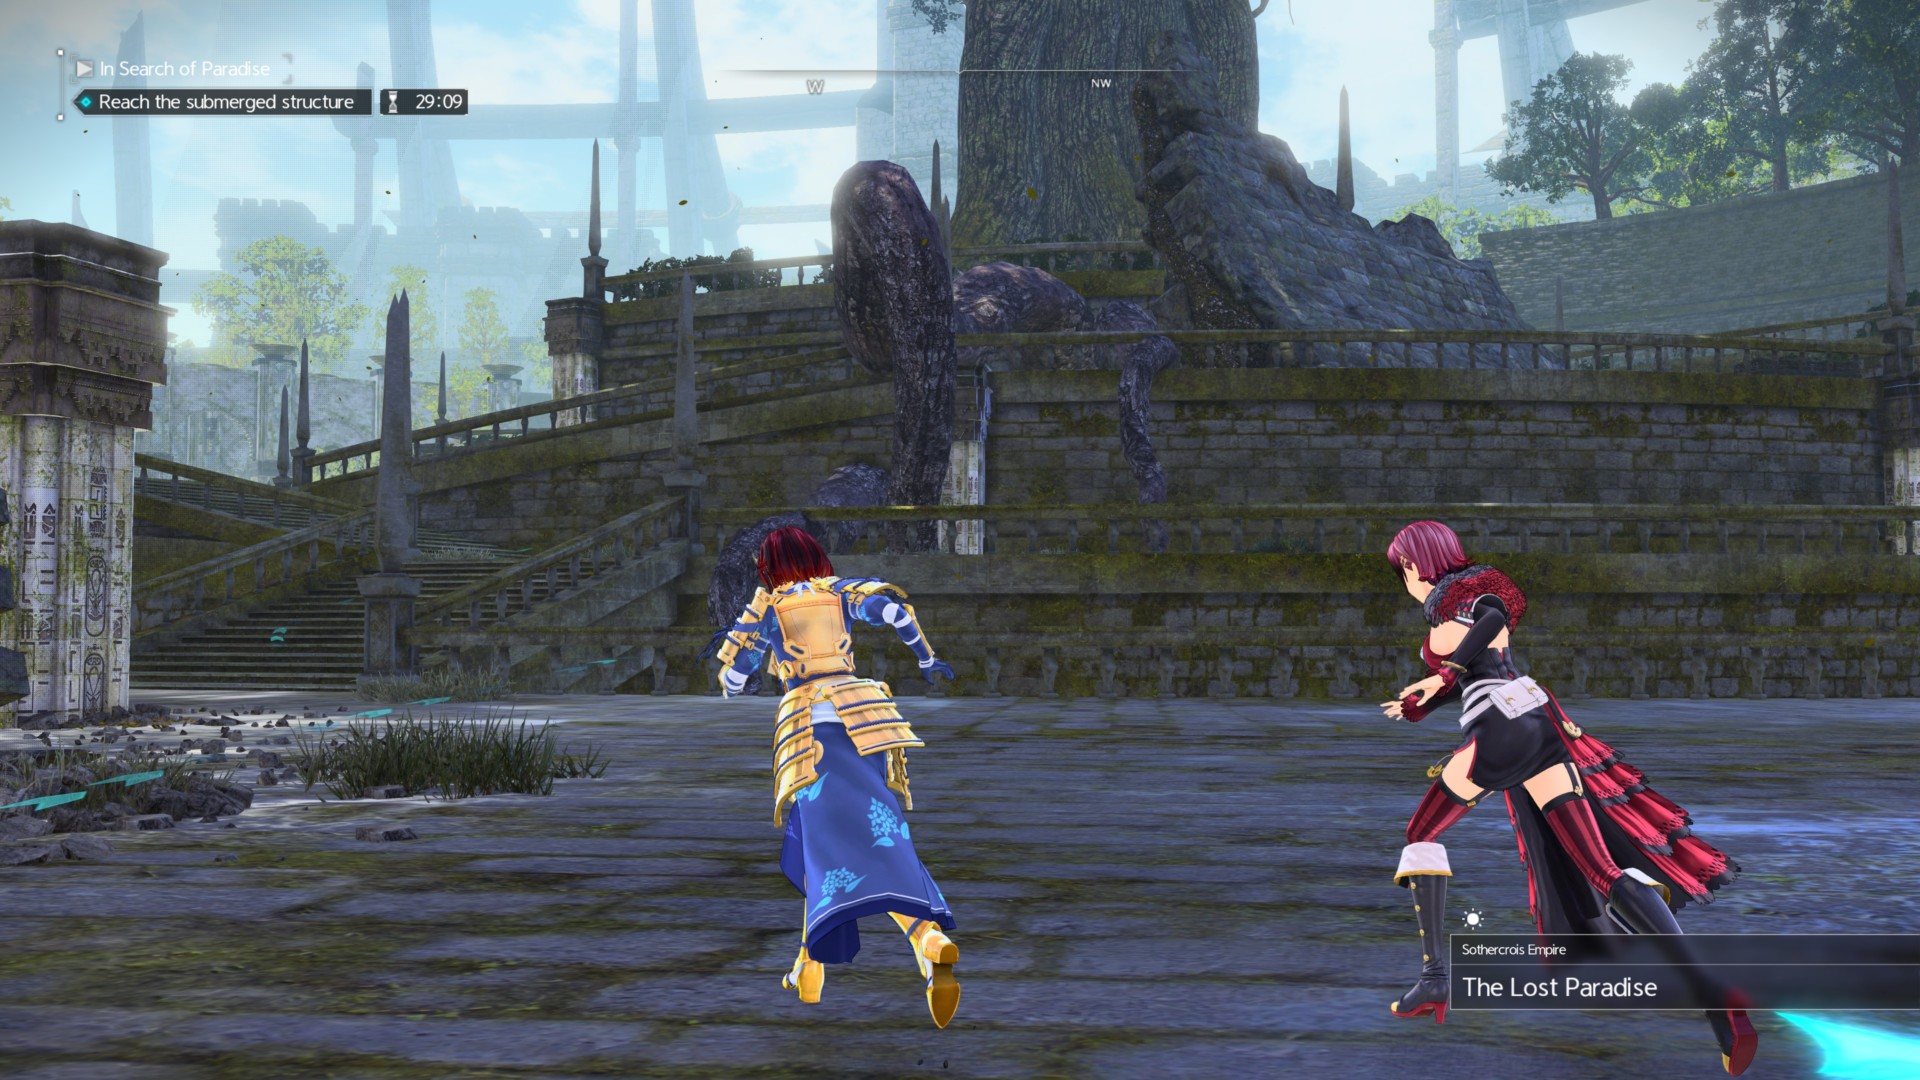
Go straight ahead to reach a grotto in front of the temple ruins.
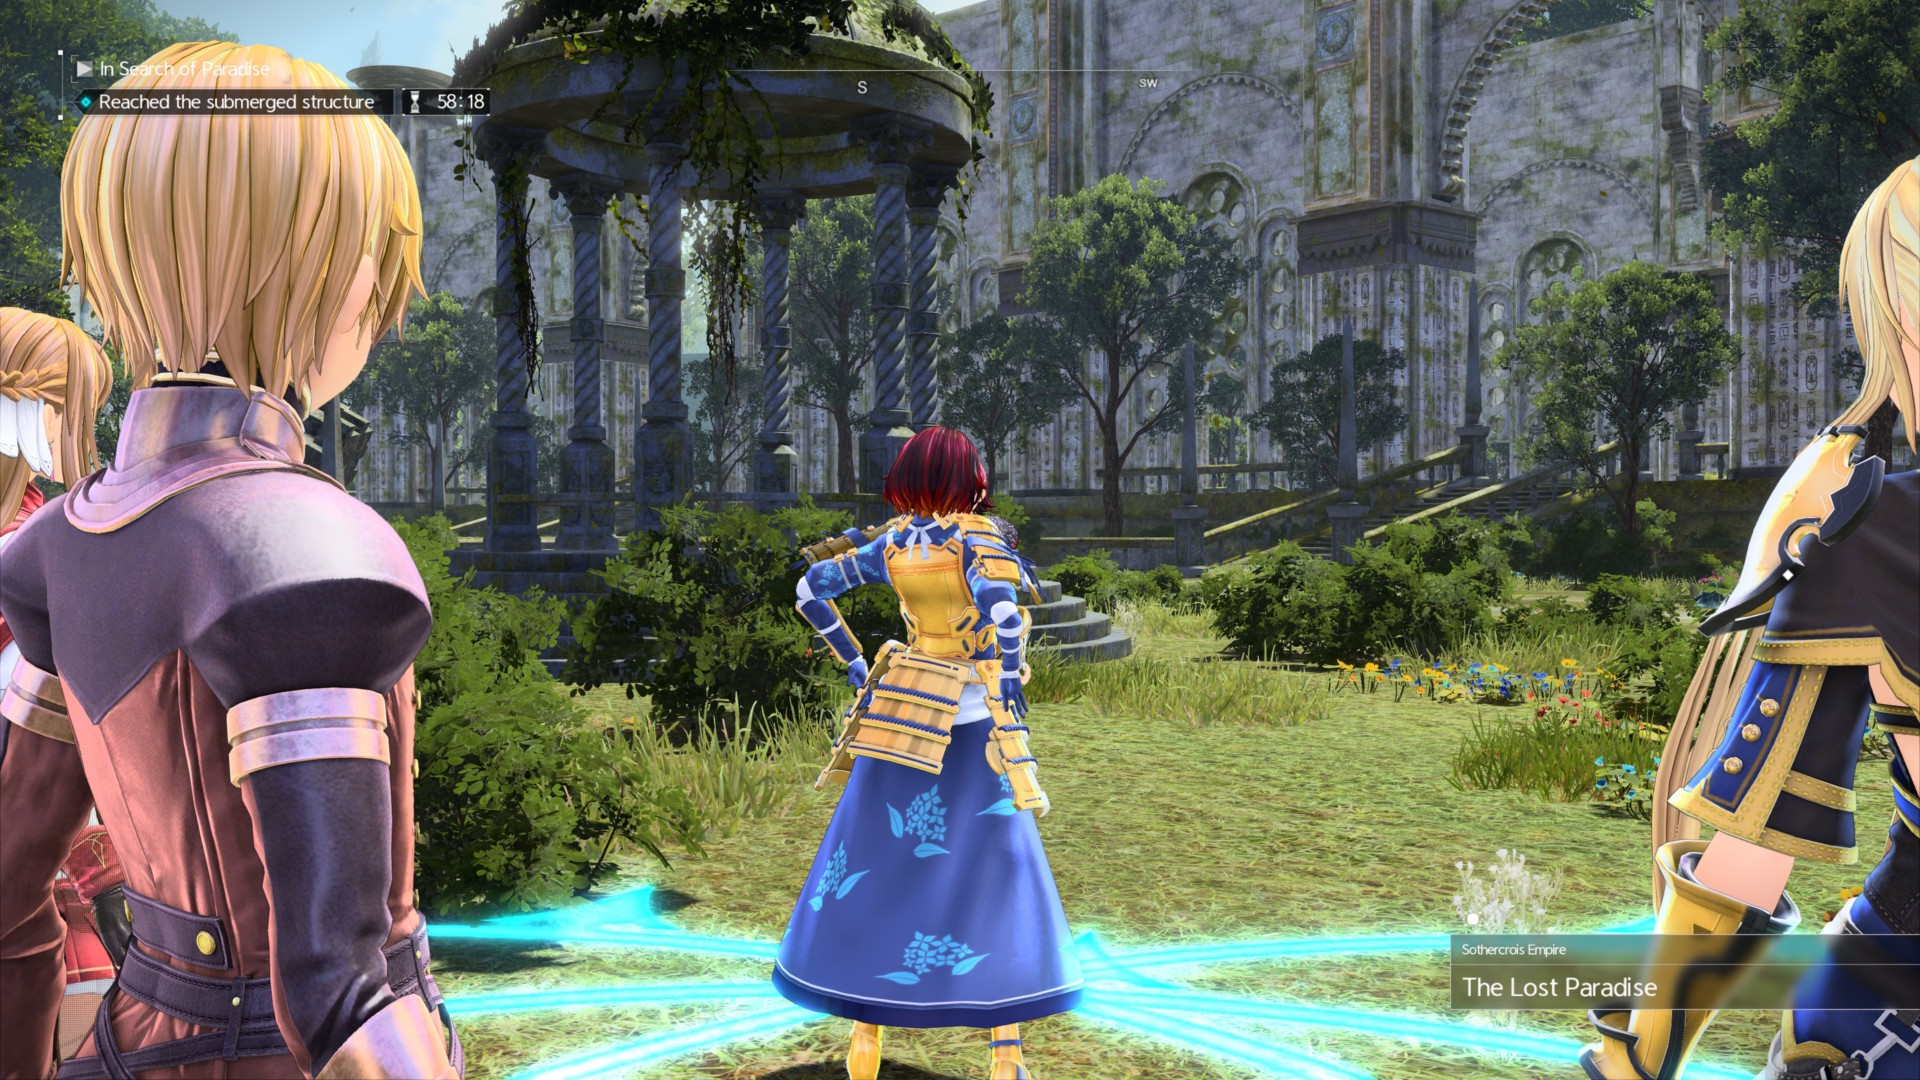
Enter the temple ruins and immediately turn right. There’s a treasure chest at the end of the canal.
Reward: Purplestone or Yellowstone

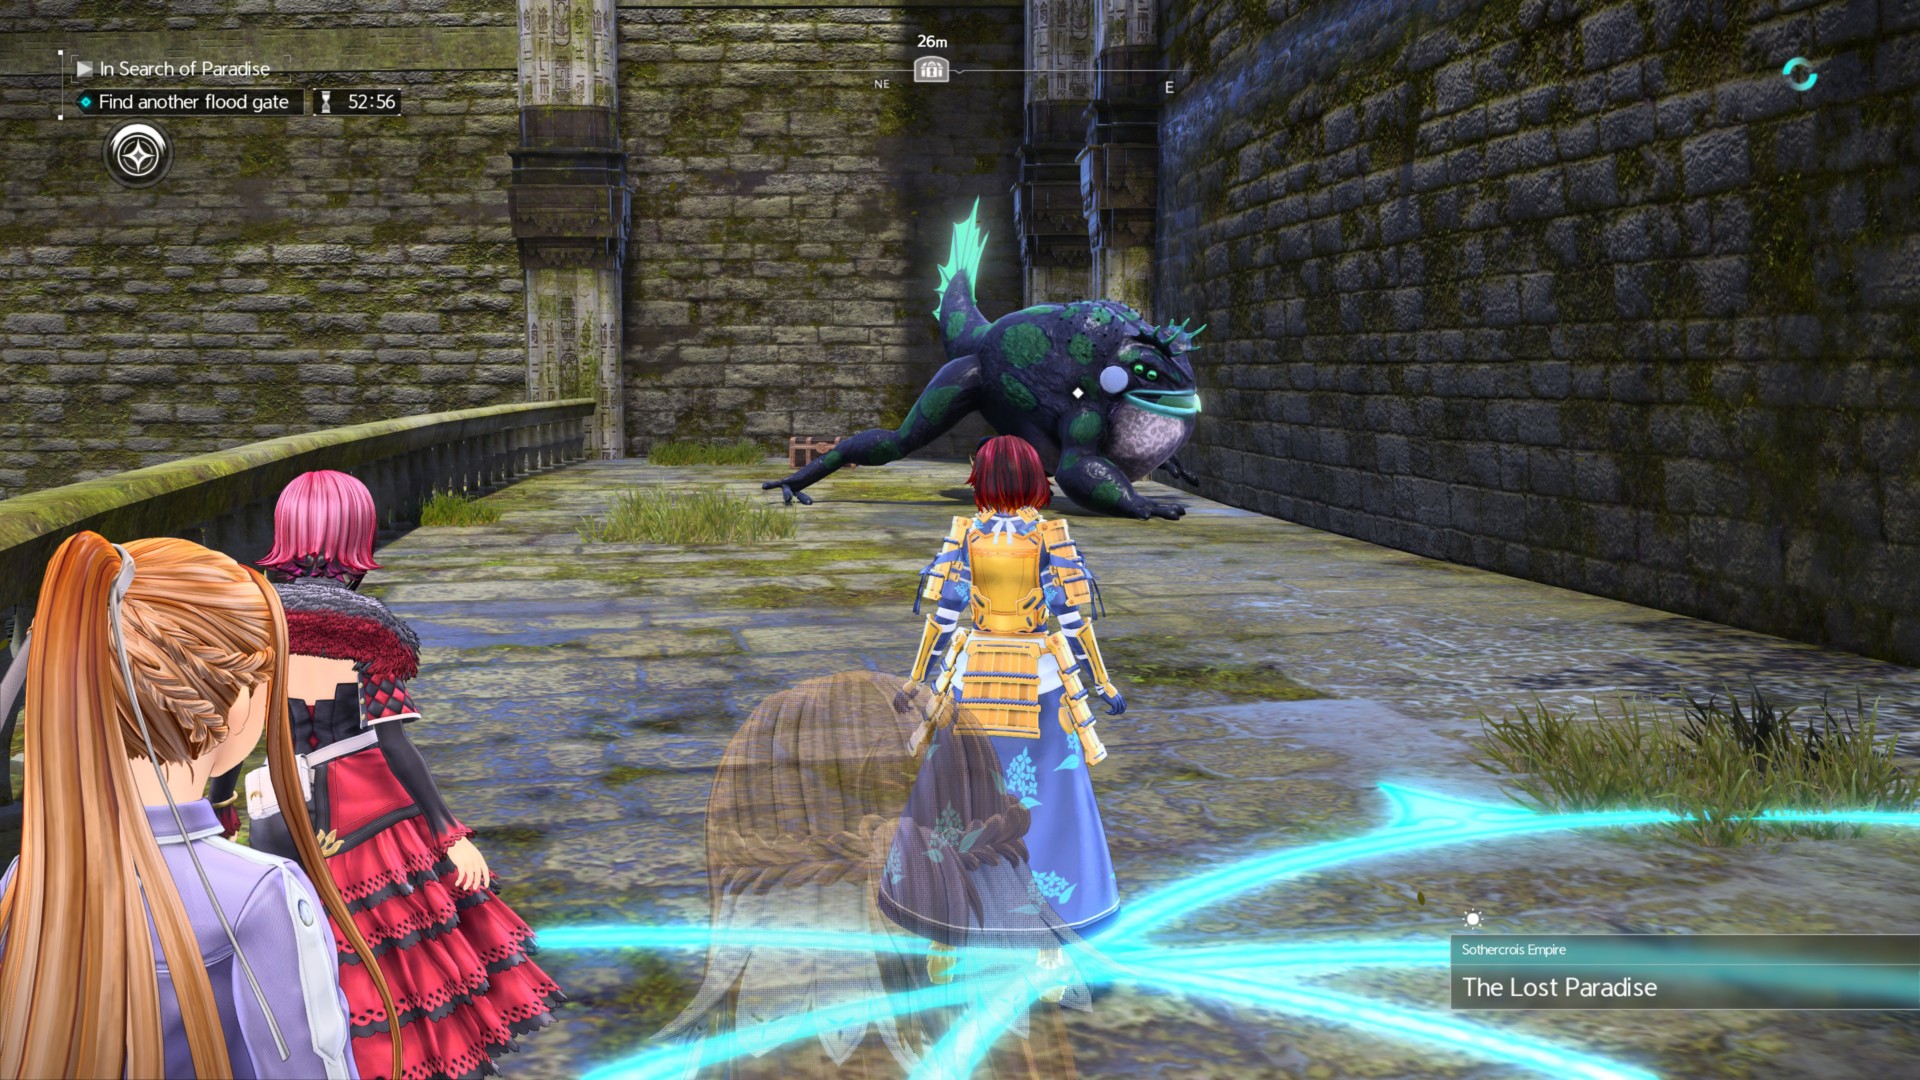
Go further inside the temple ruins and activate the first control panel. This will partially lower the water level.

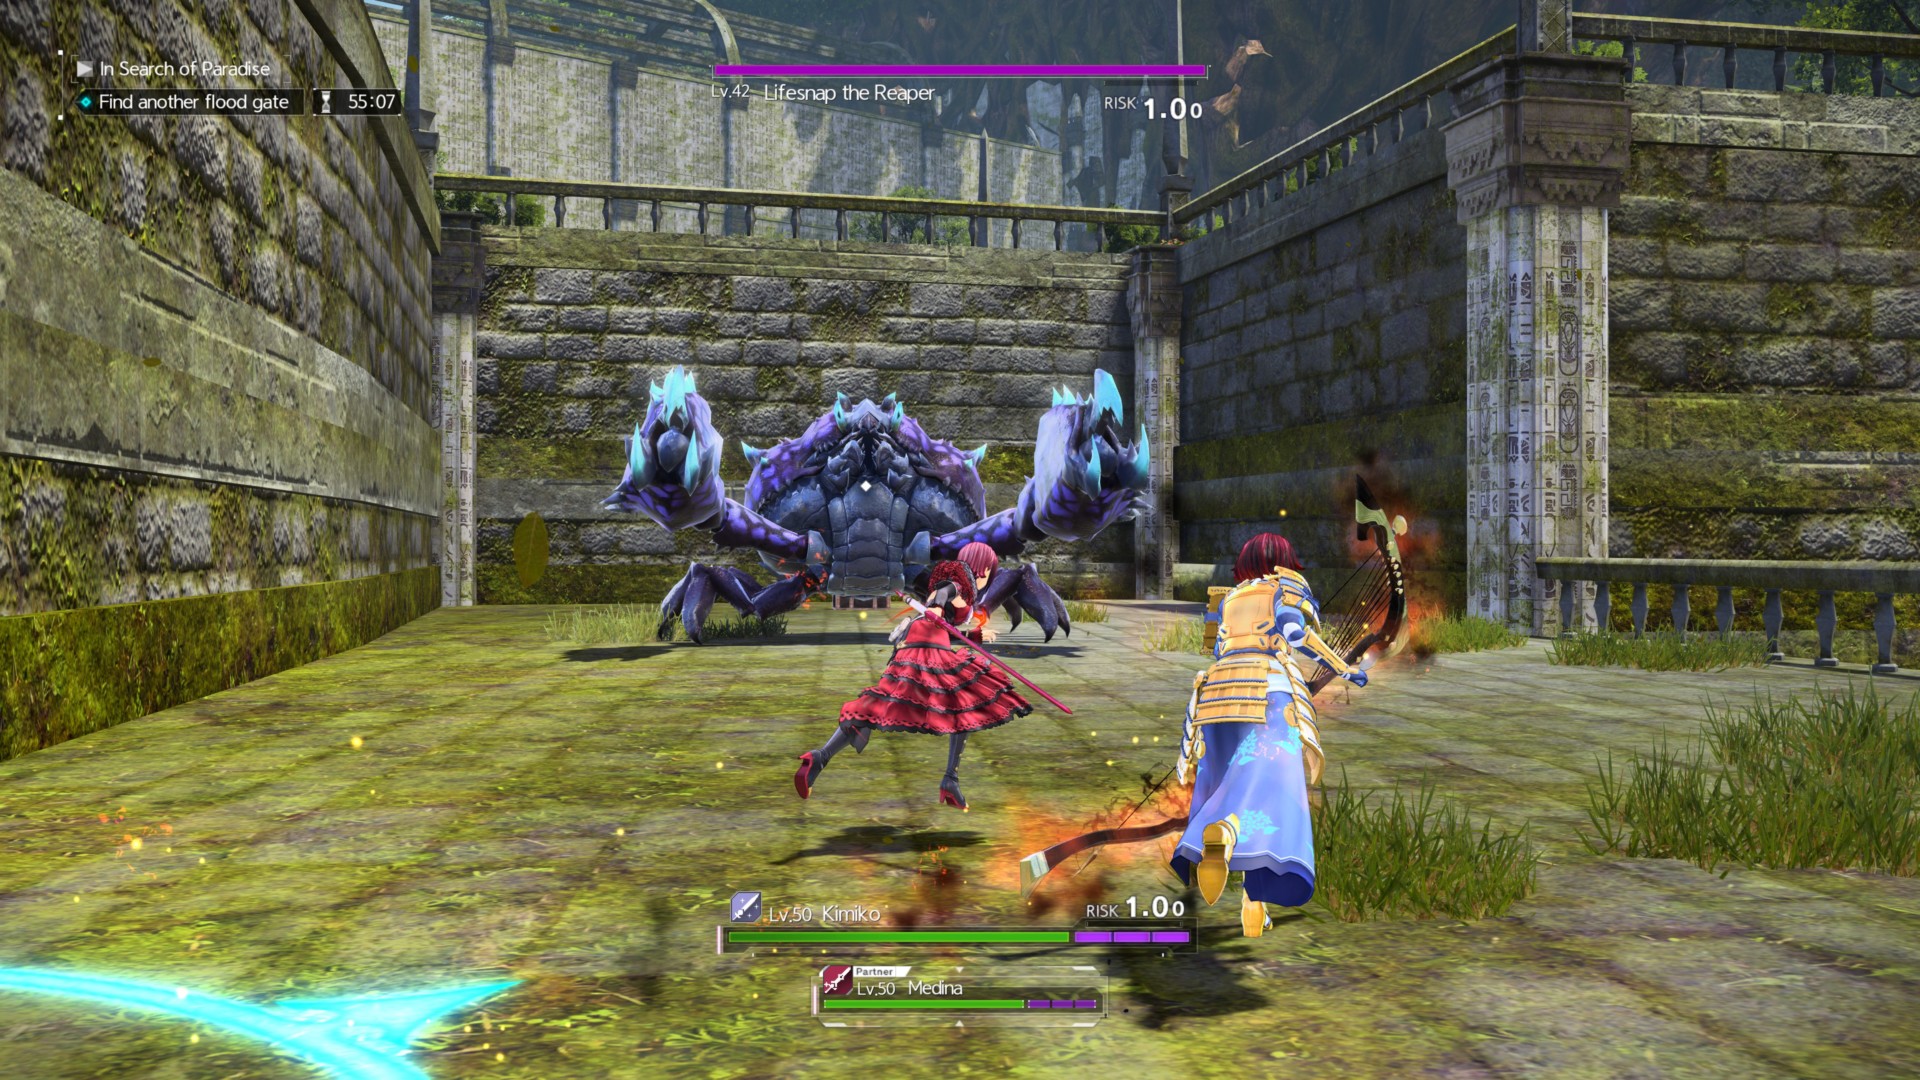
Head to the opposite side of that control panel next to the previously submerged area. There’s an elite called Lifesnap the Reaper (level 42) that’s guarding a chest.
Reward: Jade Boots
Run back to the statue bridge and you’ll notice that there’s a path below it.
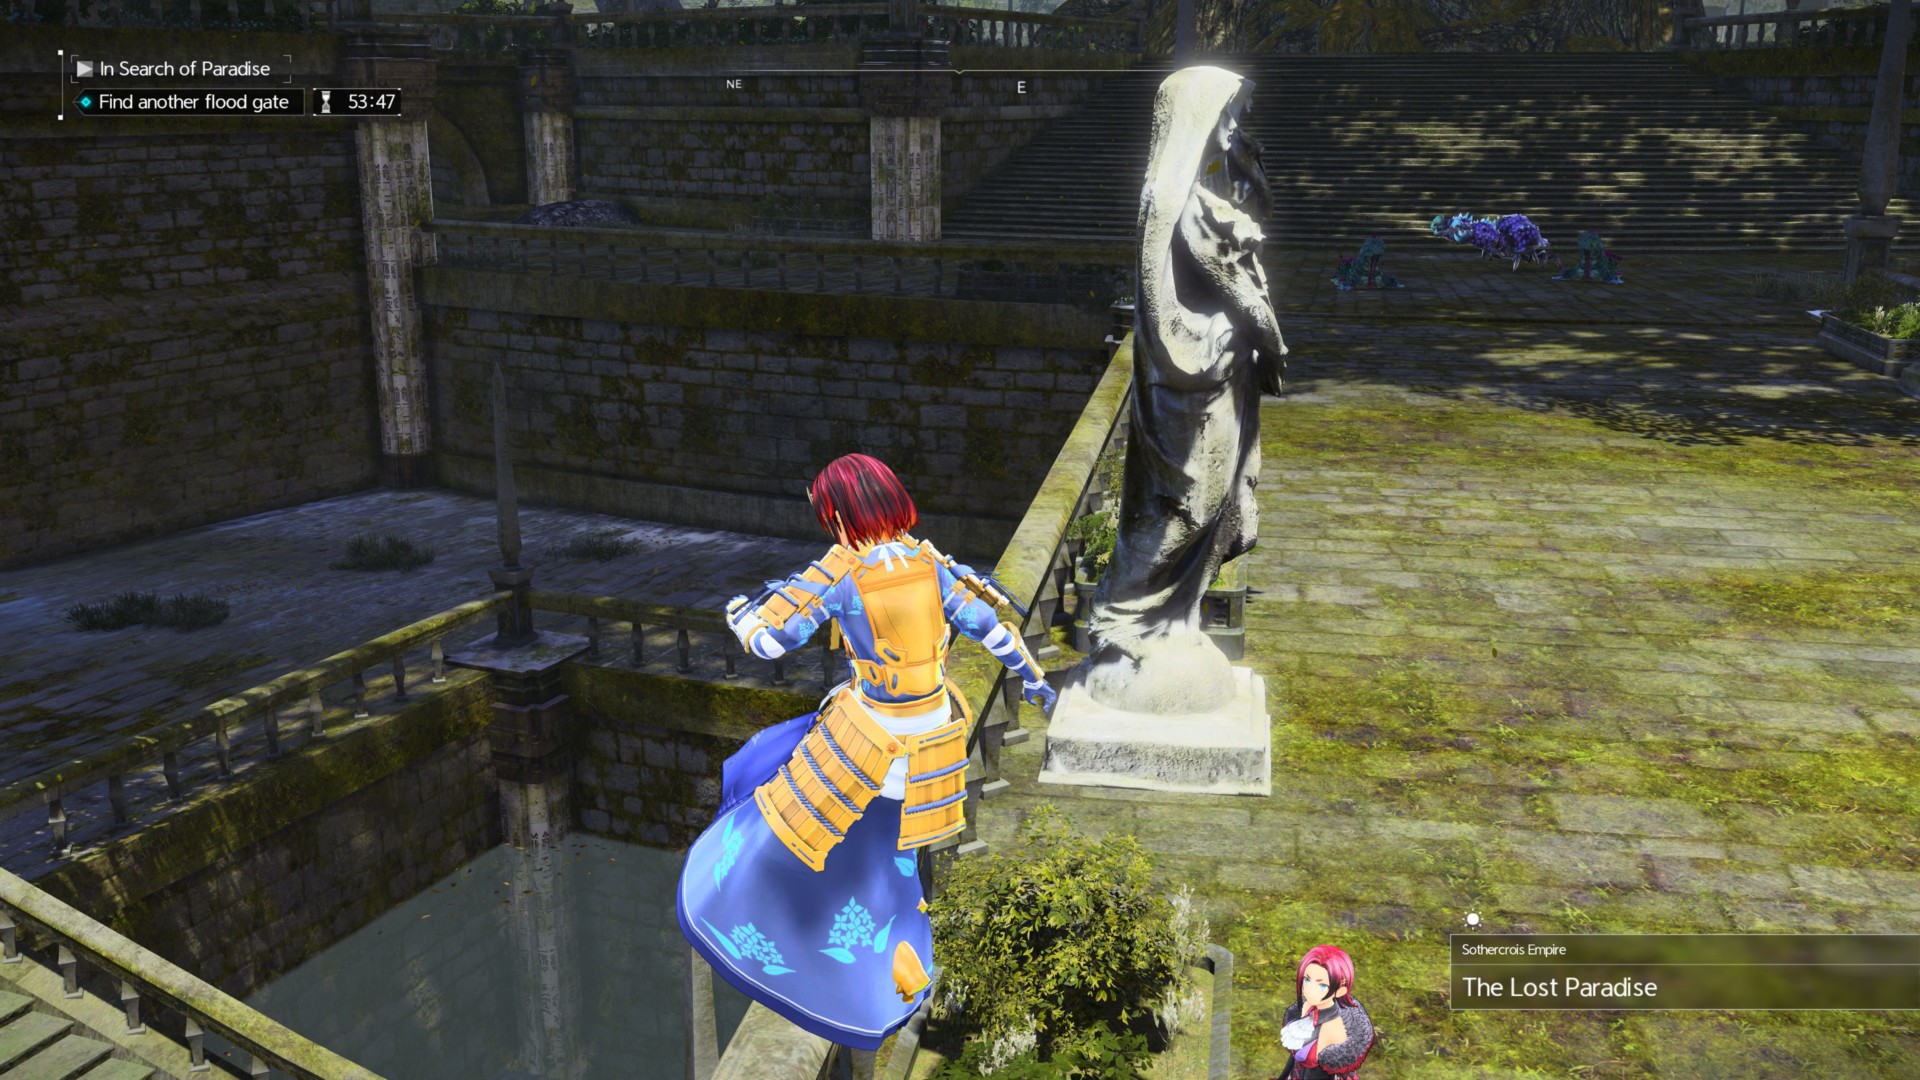
Circle around the side of the statue bridge/giant tree and follow the steps to the right.
The path will take you through a canal with an elite, Plaguetongue the Ulcerous (level 50), guarding yet another chest.
Reward: Jade-Adorned Belt
Go back to the side of the statue bridge/giant tree and make a left this time.
You’ll notice that the water isn’t fully drained yet since we still need to find the second control panel. Anyway, just keep following the winding path.
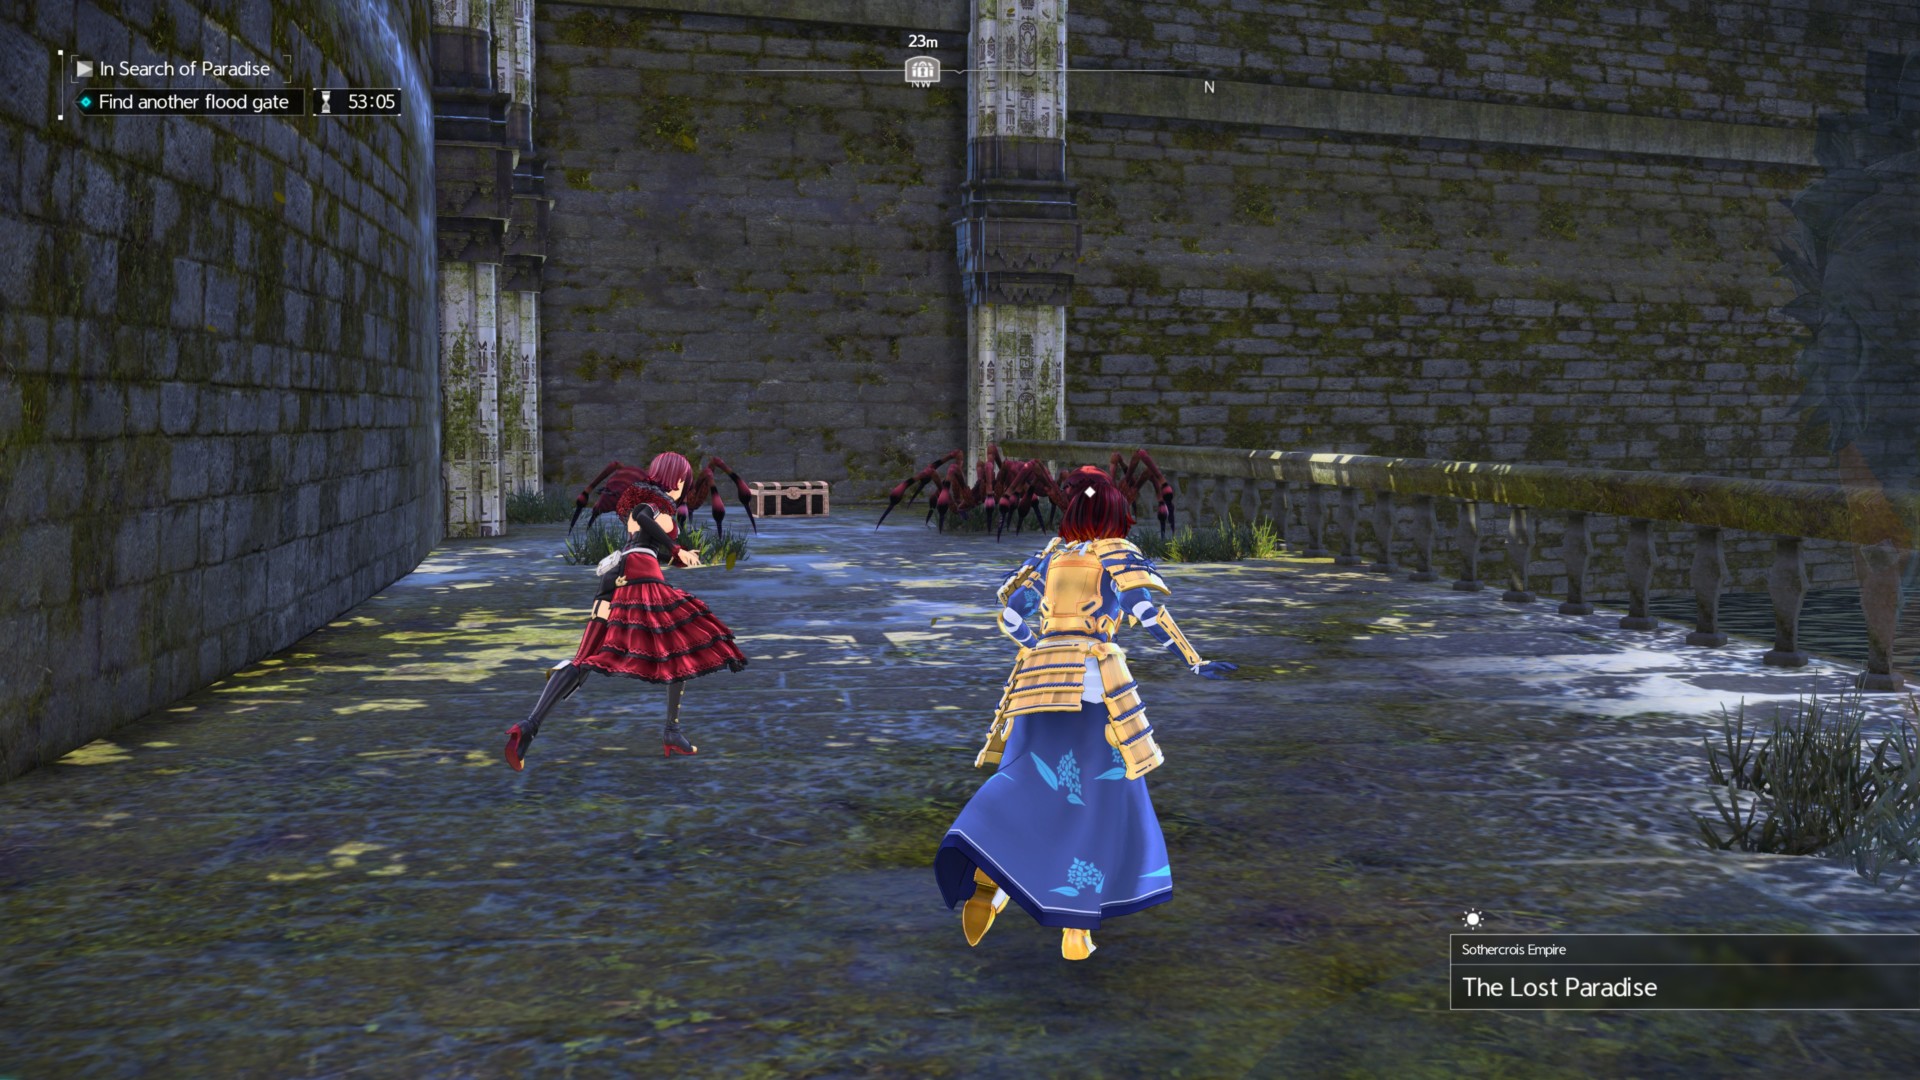
You’ll reach the bottom area where a couple of slug mobs are. Before forging ahead, turn left and follow the alley.

You’re going to see some odd pillars in the distance.

Those aren’t important. We’re just here for the chest guarded by some mobs.
Reward: Beast Claws (materials)
Go back to the area with the slug mobs and keep following the path. You should reach a different grotto and temple area.
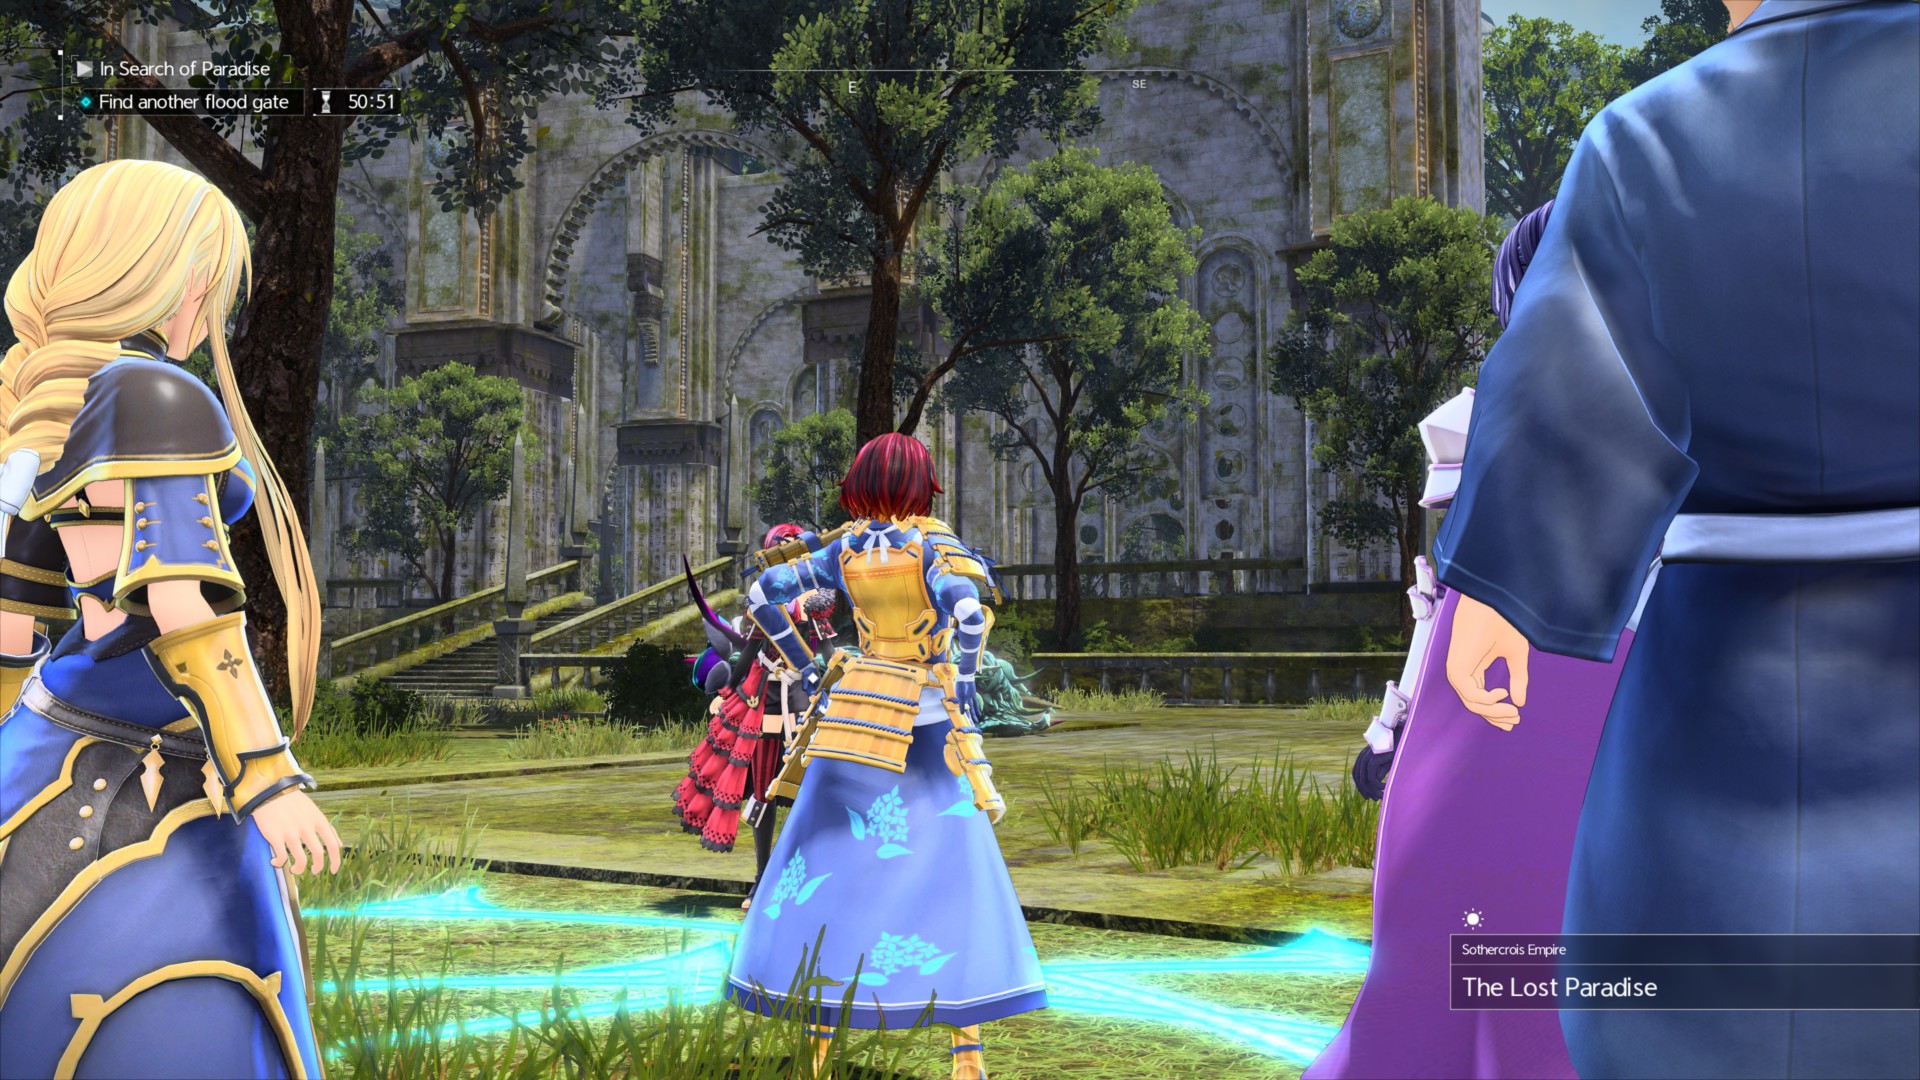
Before going inside the temple, cut through the grassy fields going to the left.
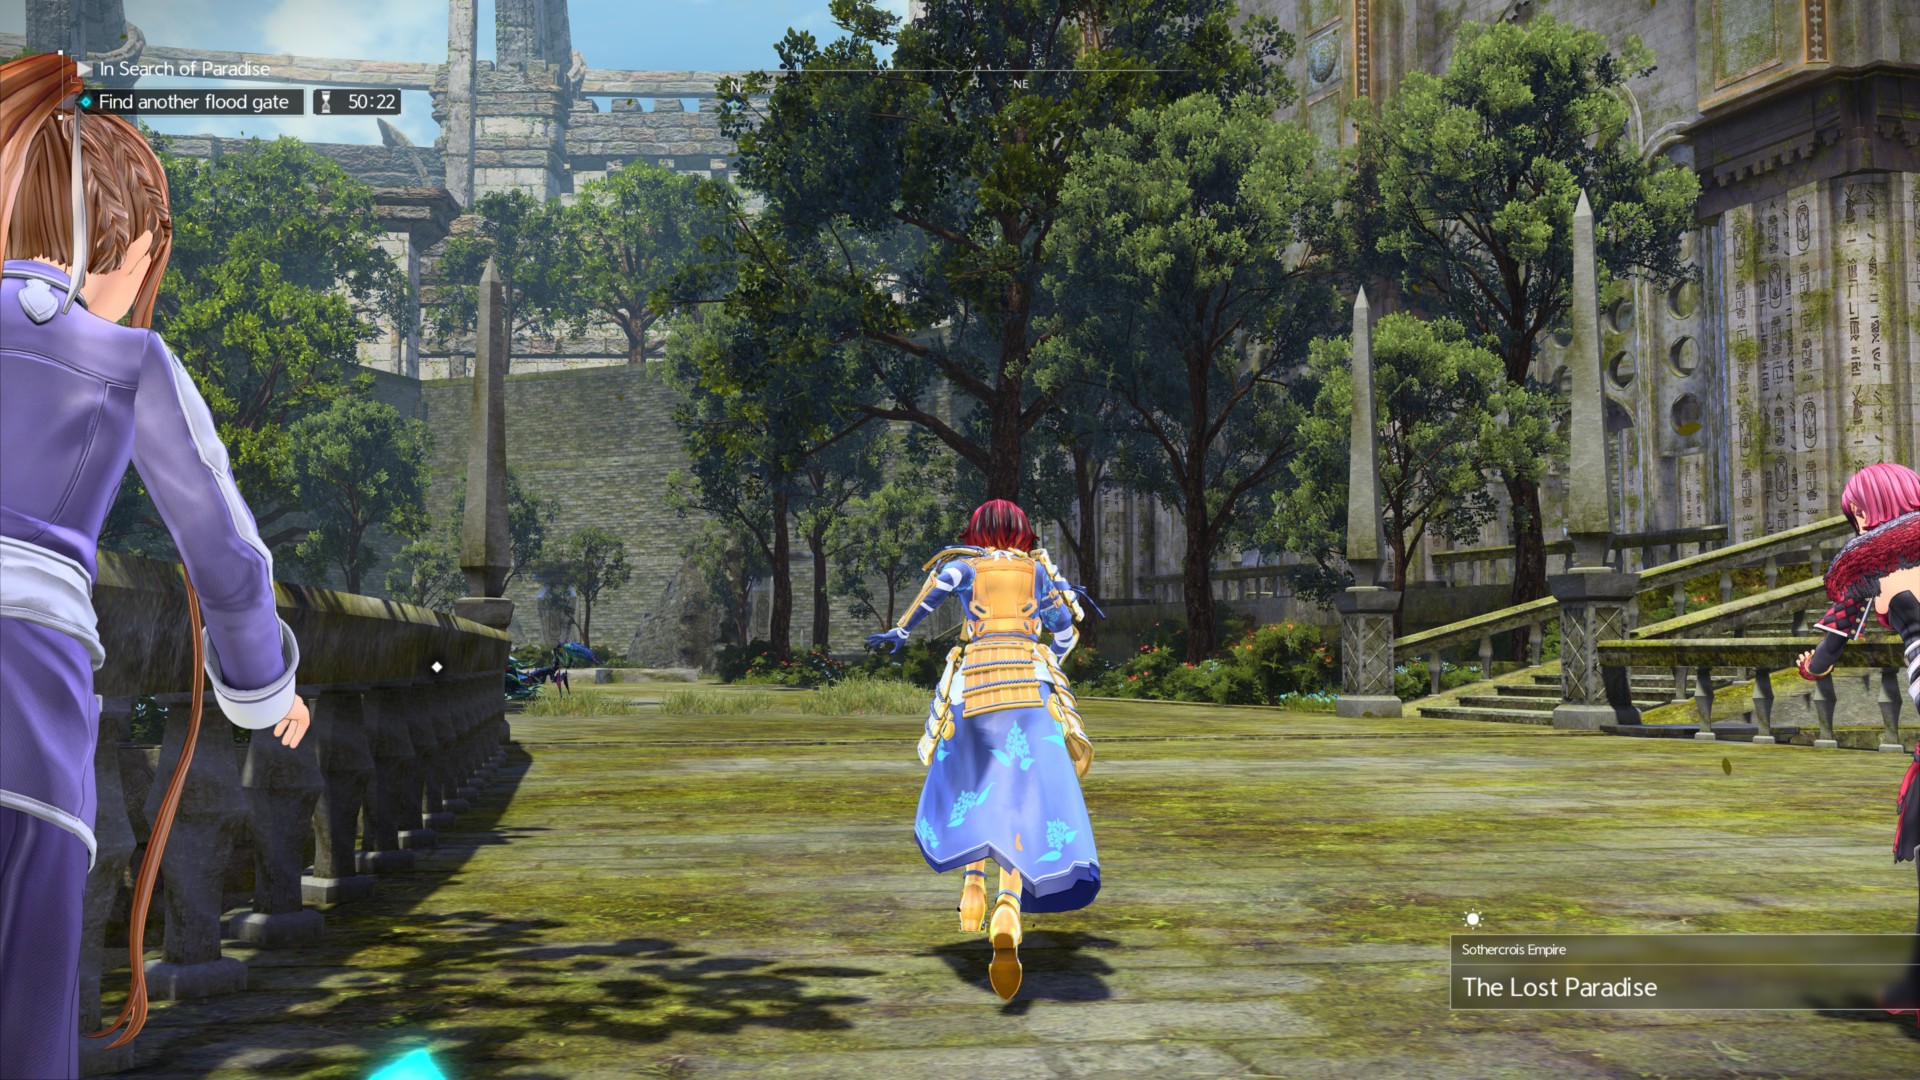
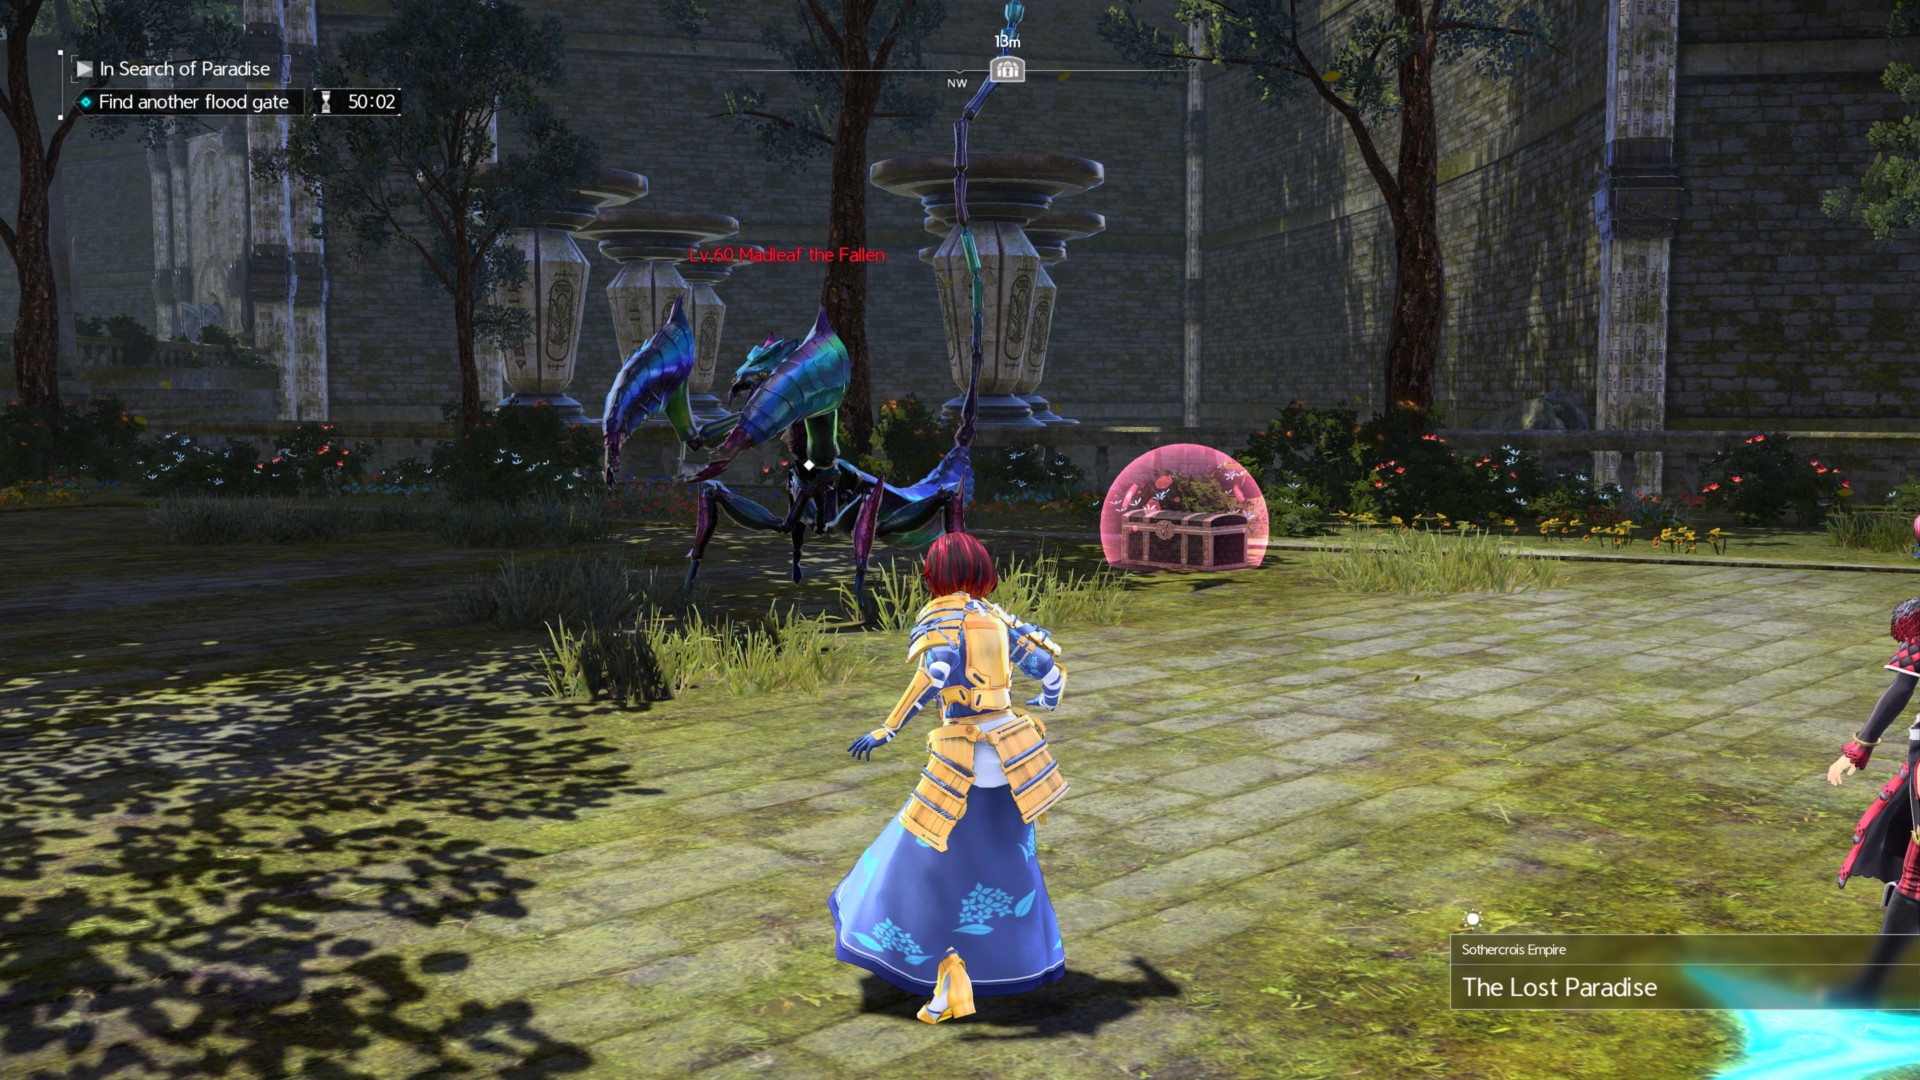
You should spot another elite, Madleaf the Fallen (level 60), next to a chest.
Reward: Bygone Earrings
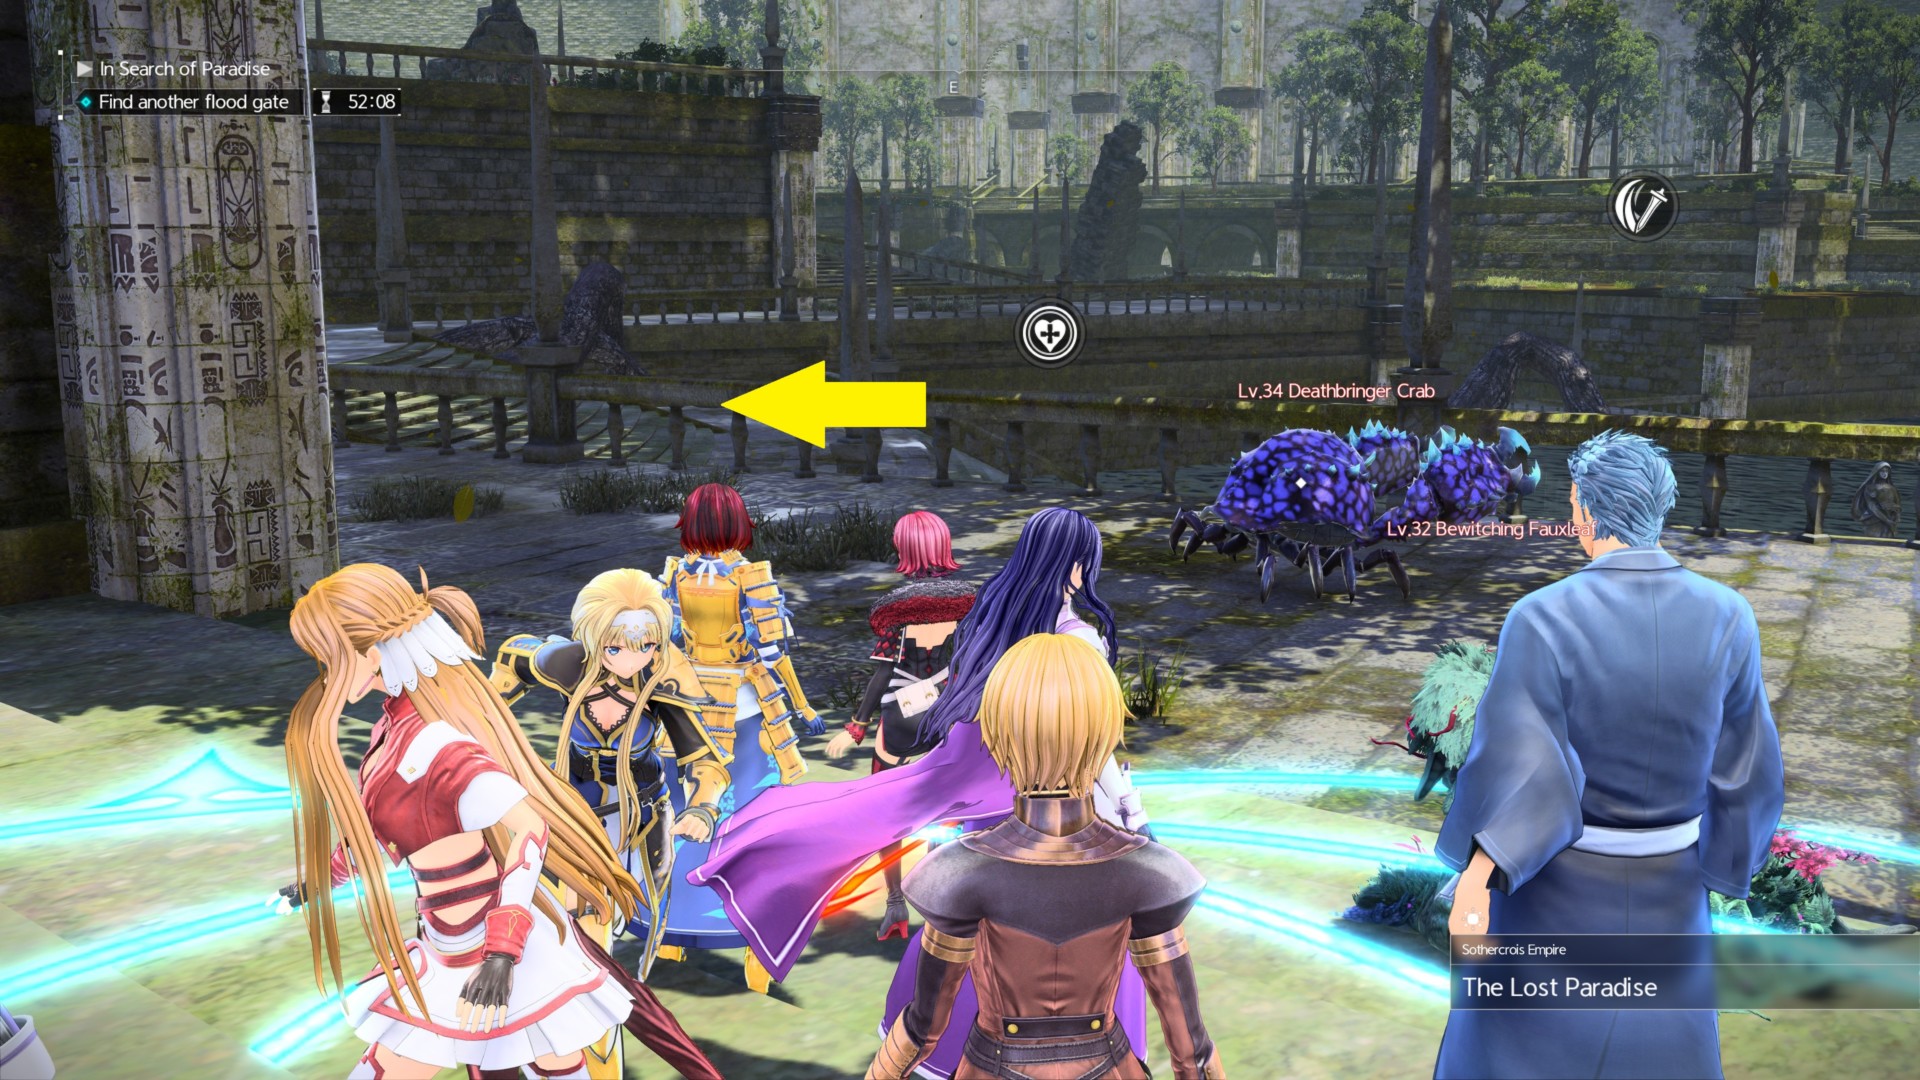
Return to the temple ruins and go to the opposite garden. There’s another chest here surrounded by mobs.
Reward: Mythic of Astrals
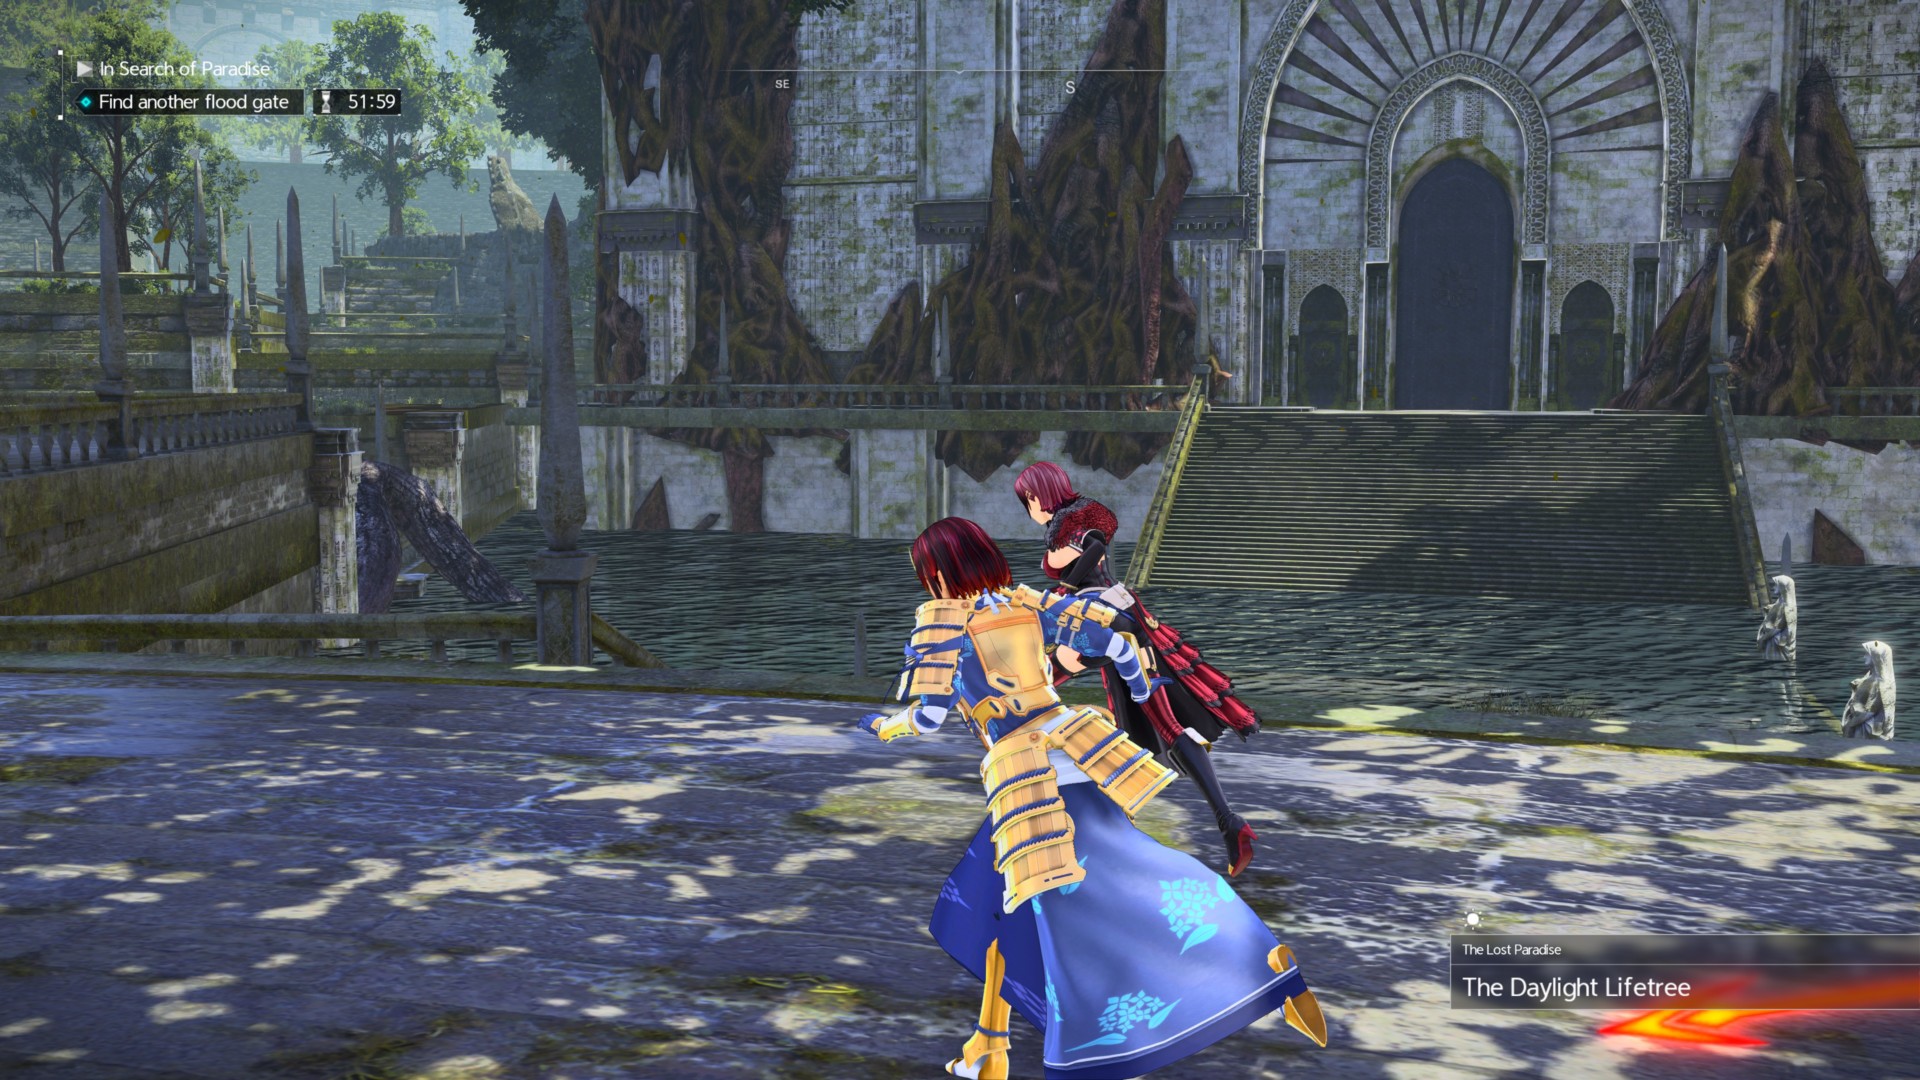
Finally, activate the second control panel to completely lower the water level in The Lost Paradise Raid Dungeon.

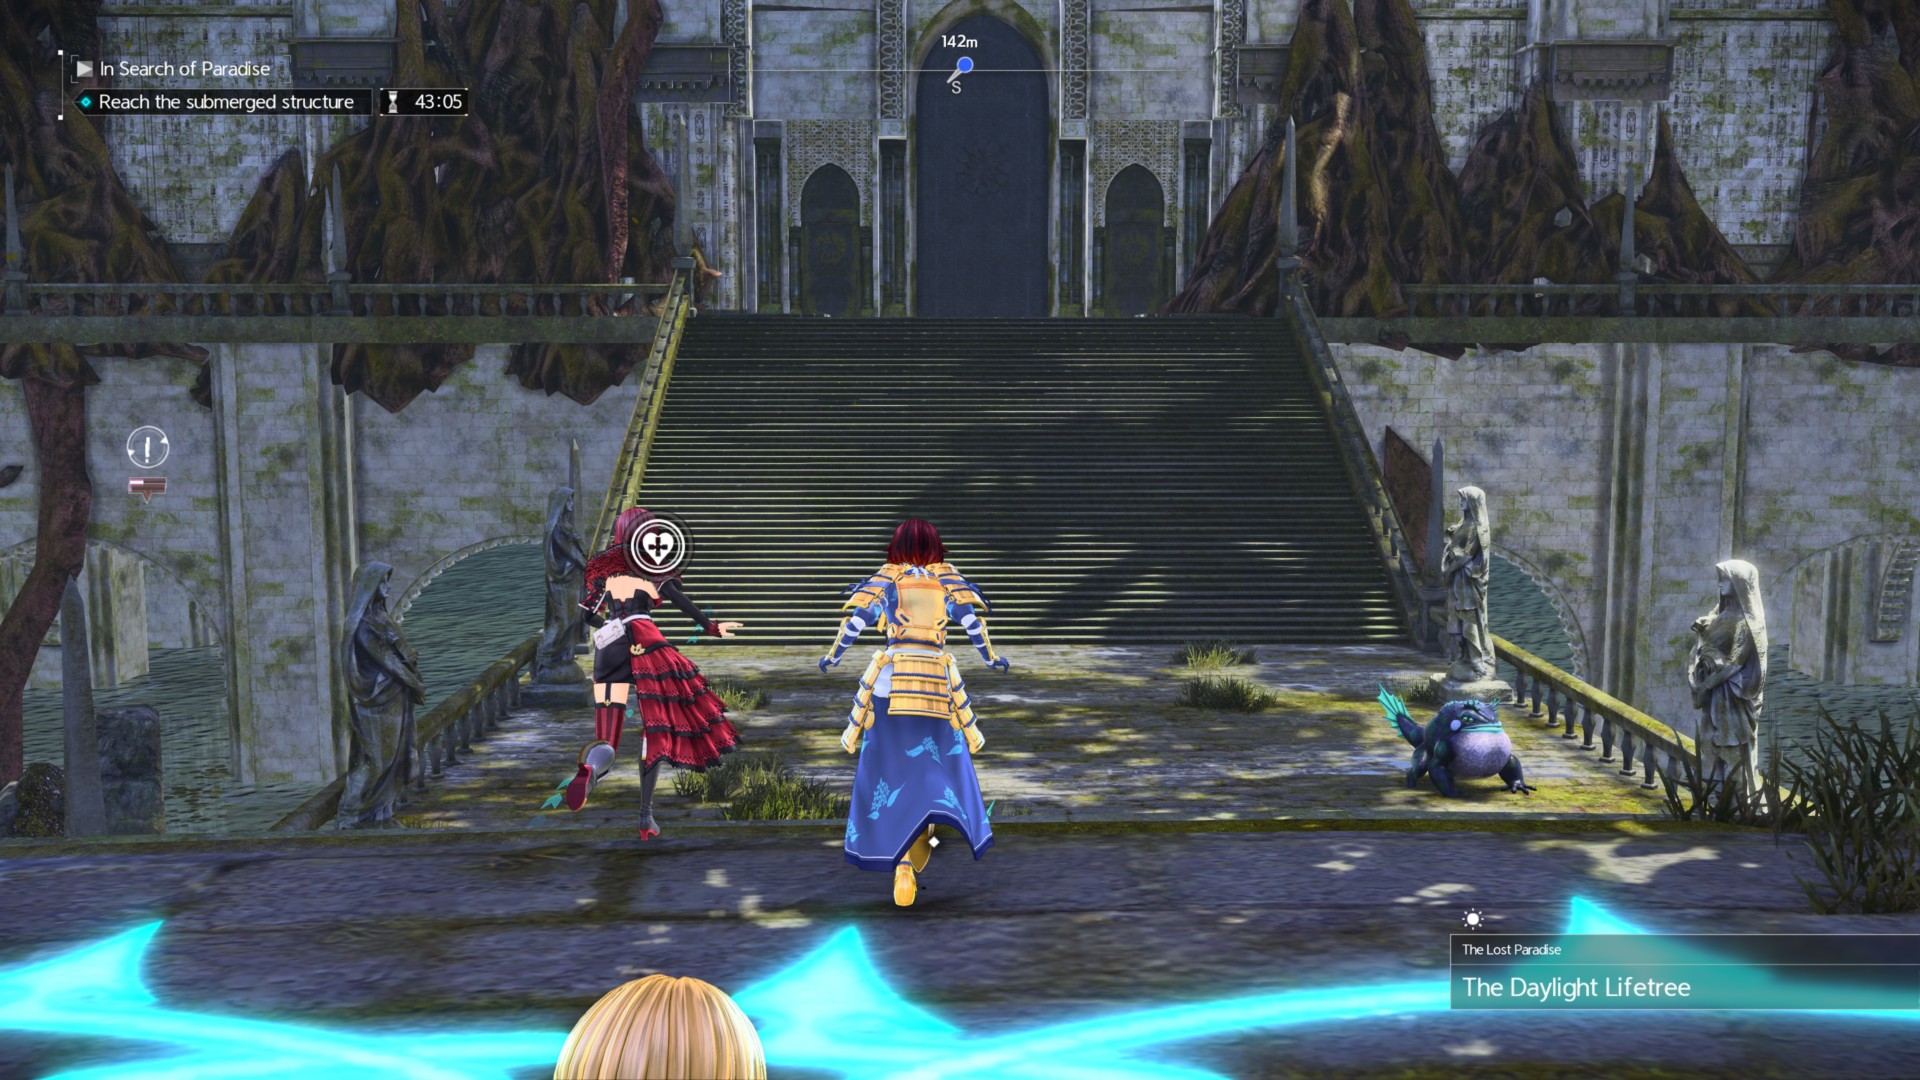
Follow the quest marker and you’ll spot the main area with the giant tree once more.
You’ll also notice that the water’s gone, so you can enter the main doorway to the next area.
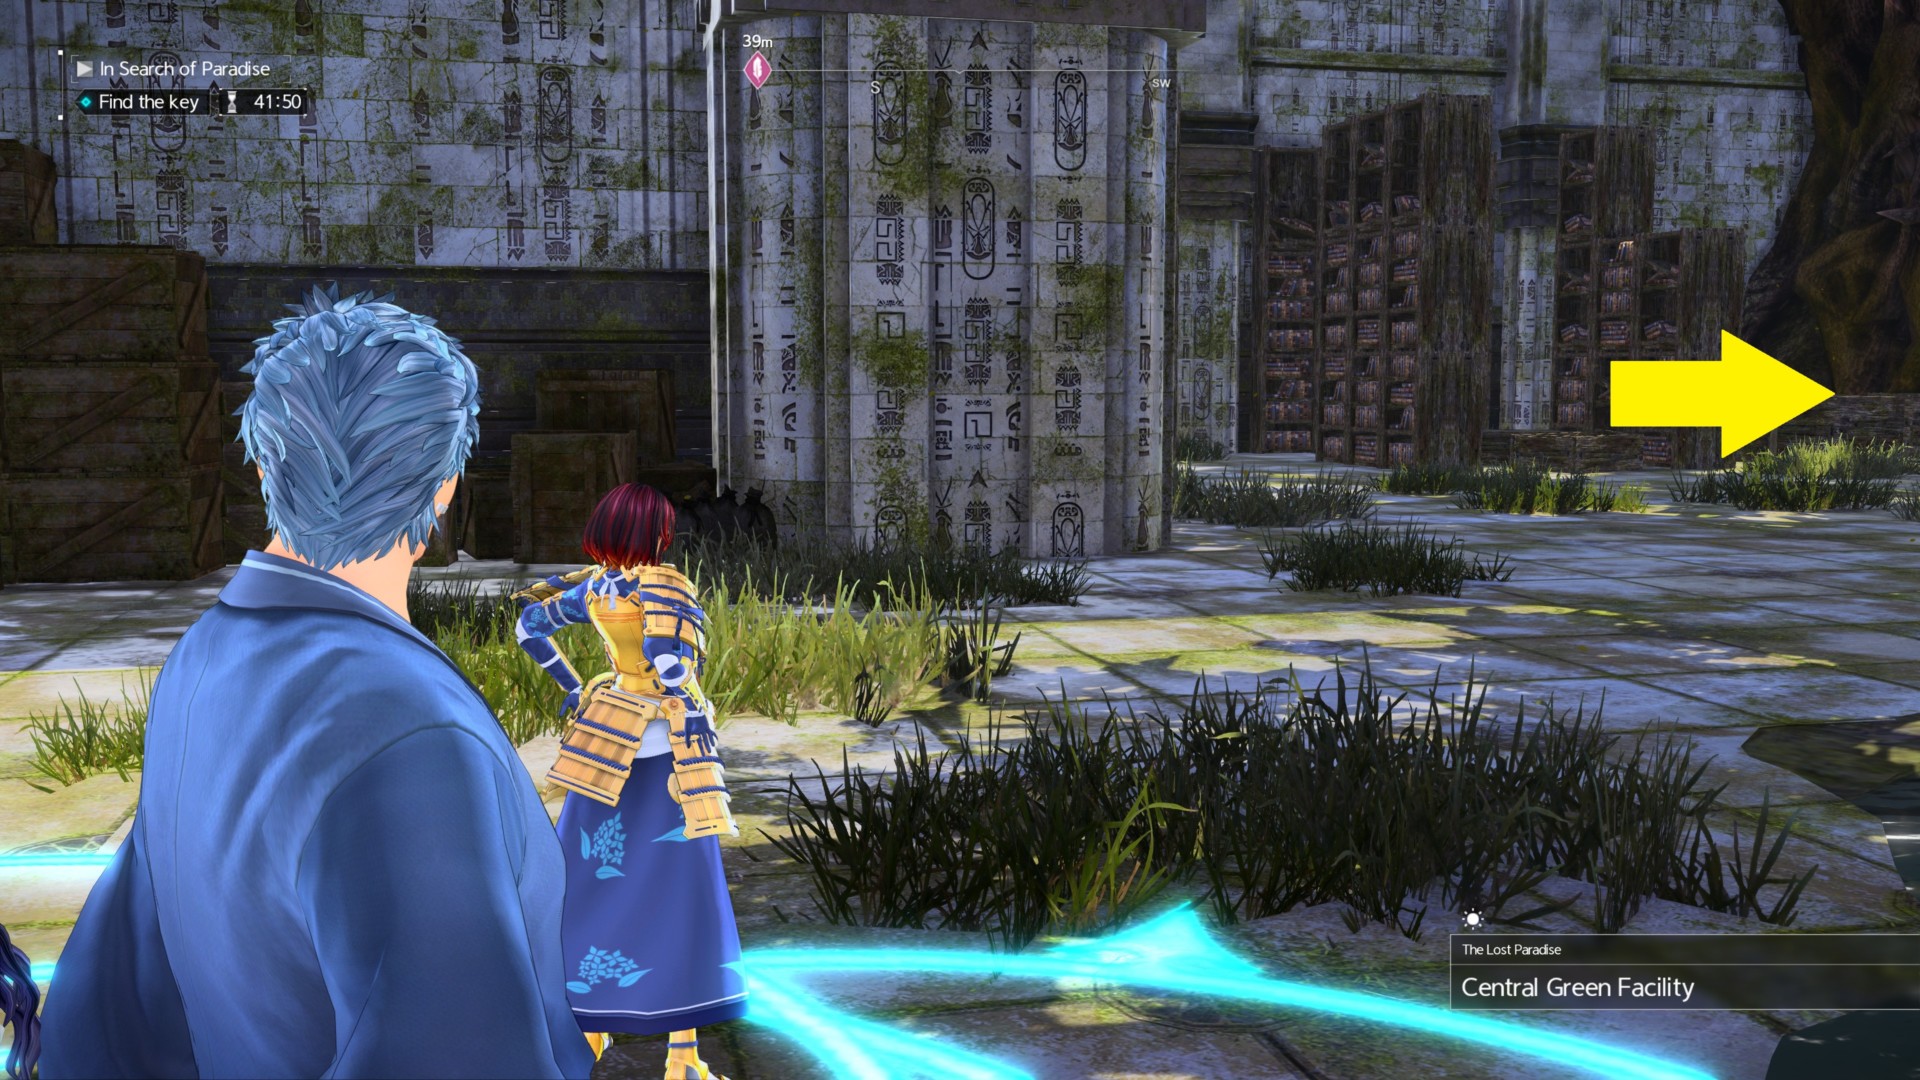
Where’s the key?
Hop around the roots and you’ll reach the next doorway. Surprise: it’s locked.
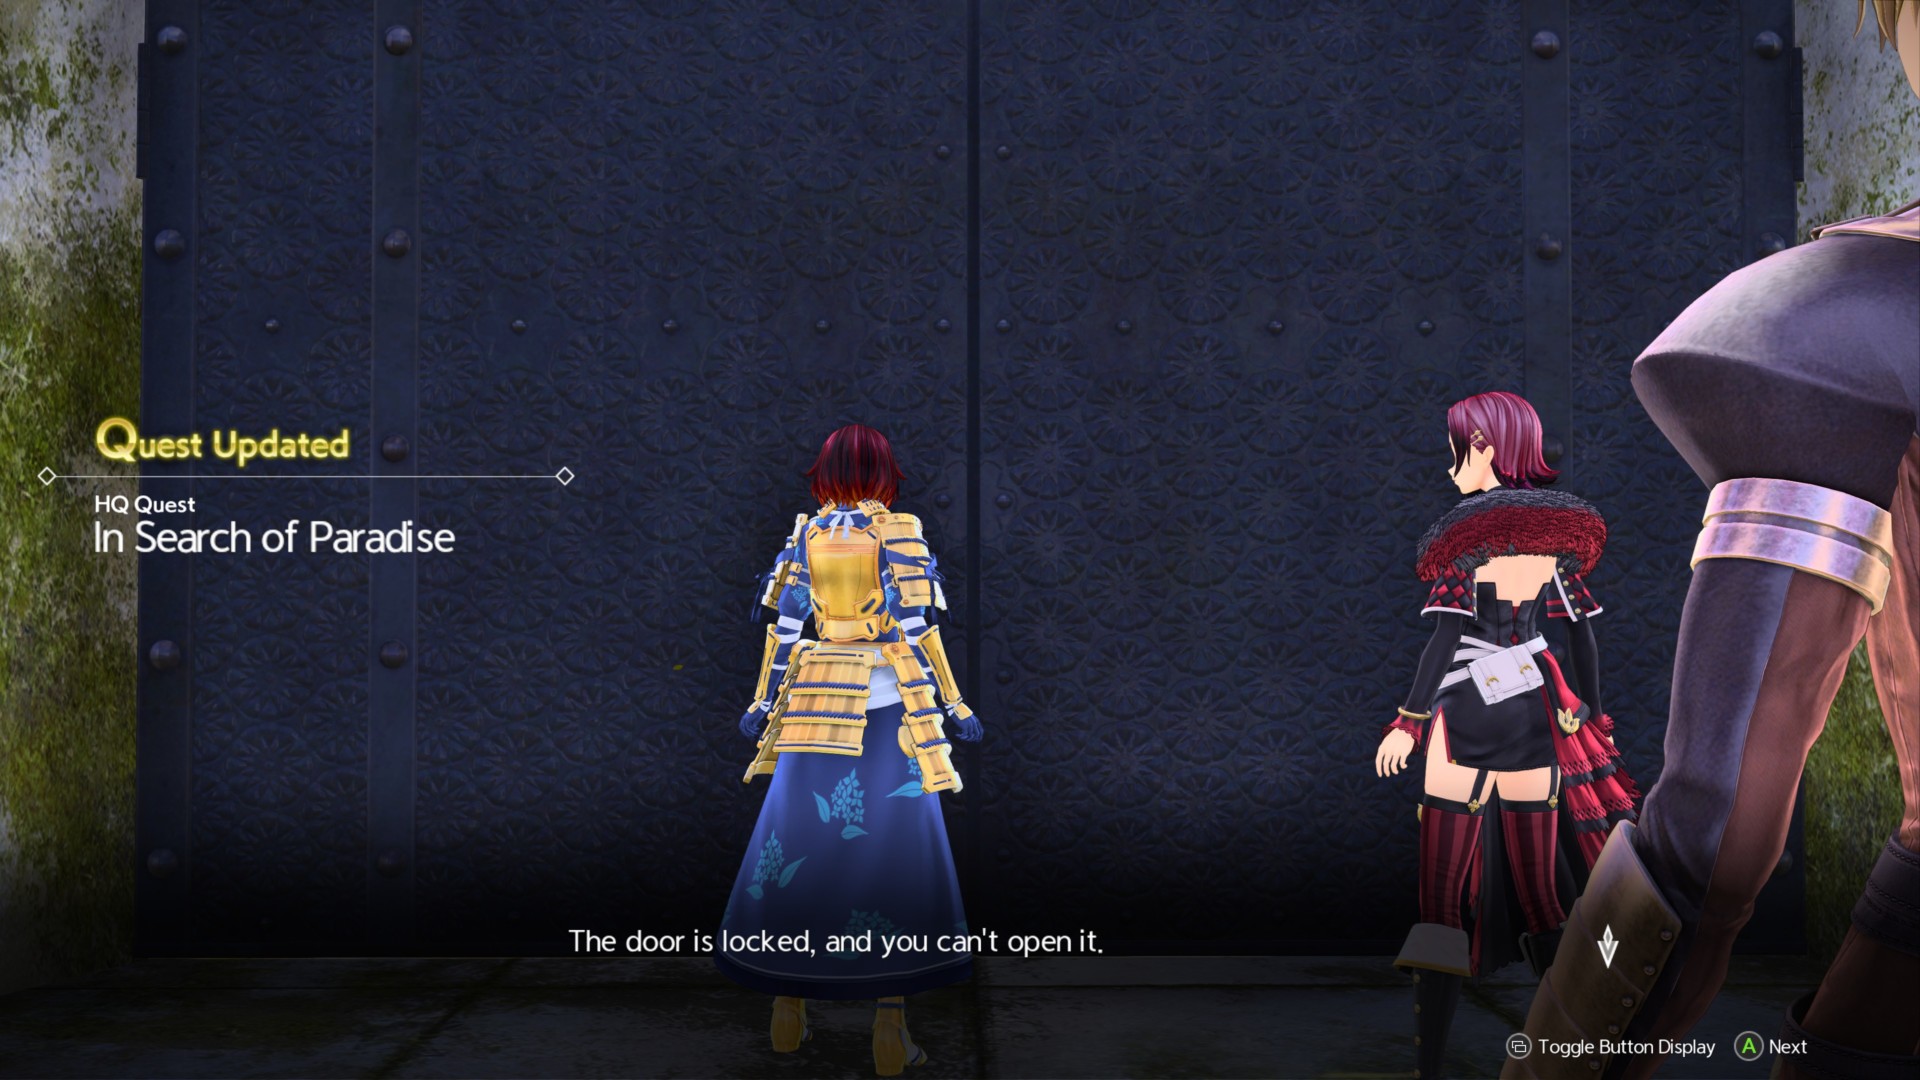
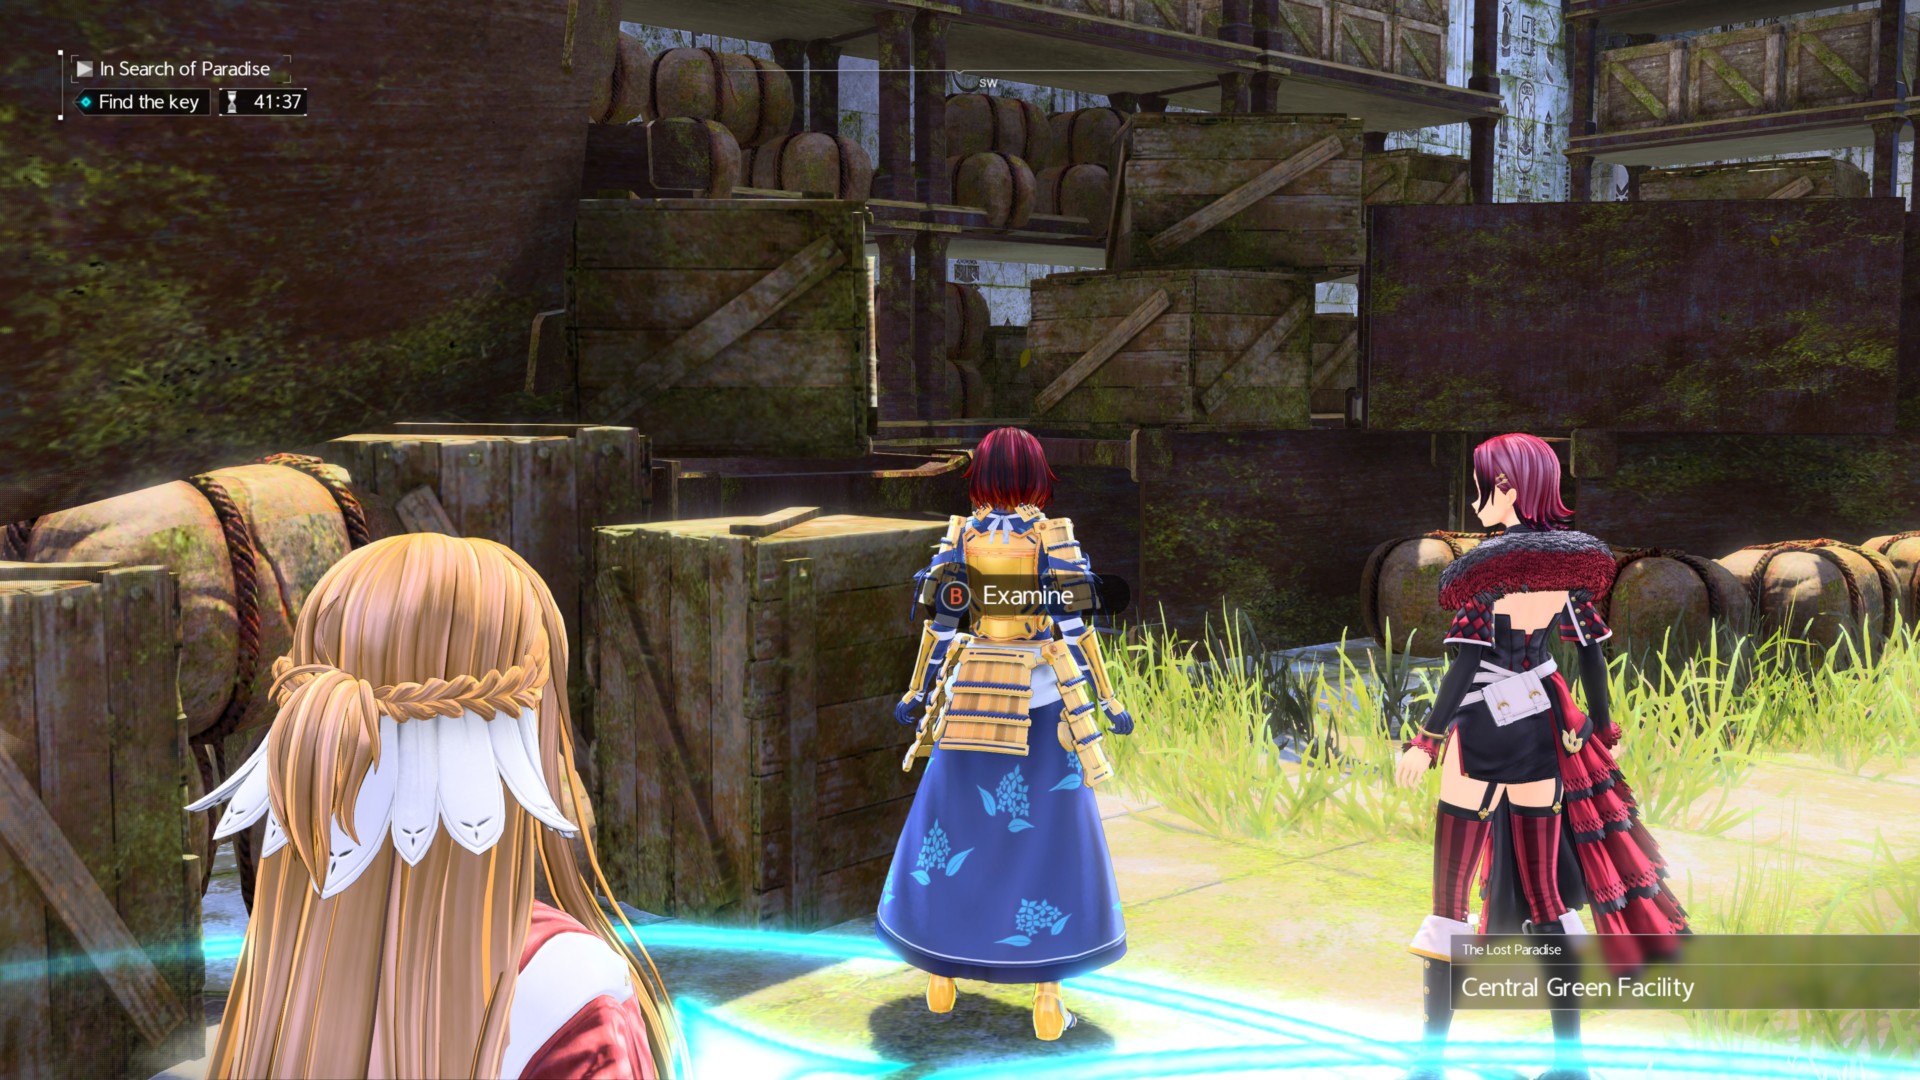
The key is actually nearby, so just go down the steps a bit and look at the right-hand side. You’ll spot some boxes and some bookshelves. Go further to the right of those.
There’s a crate here which has the key. Go ahead and use it to unlock the door.
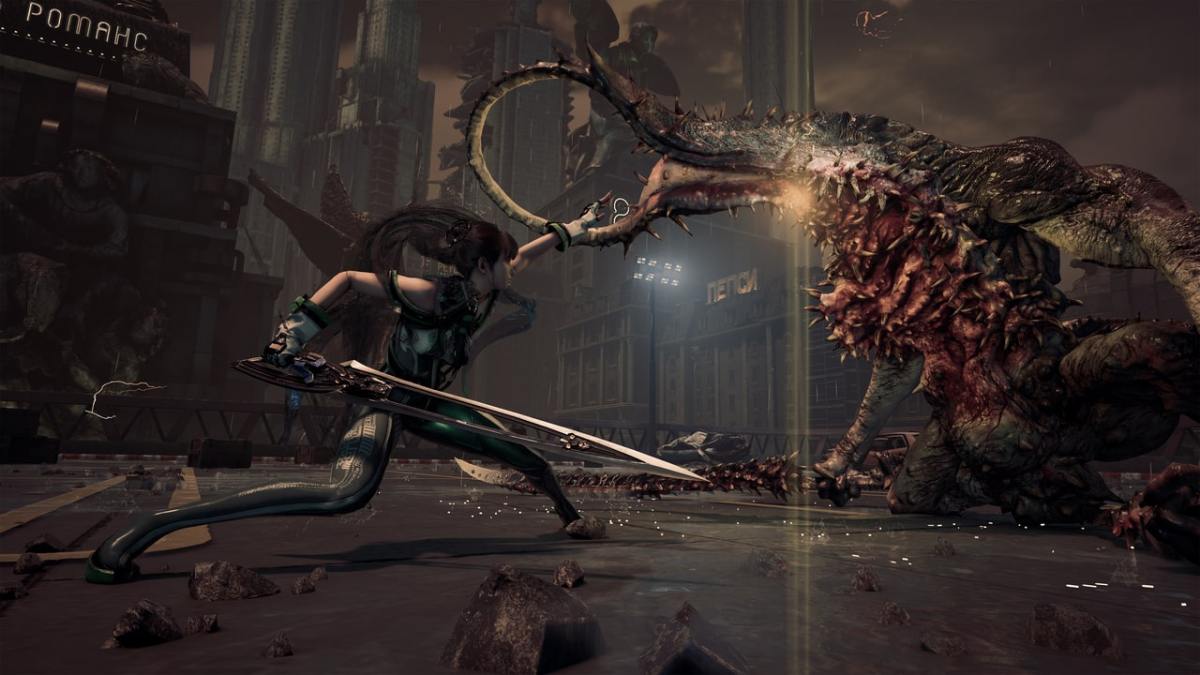
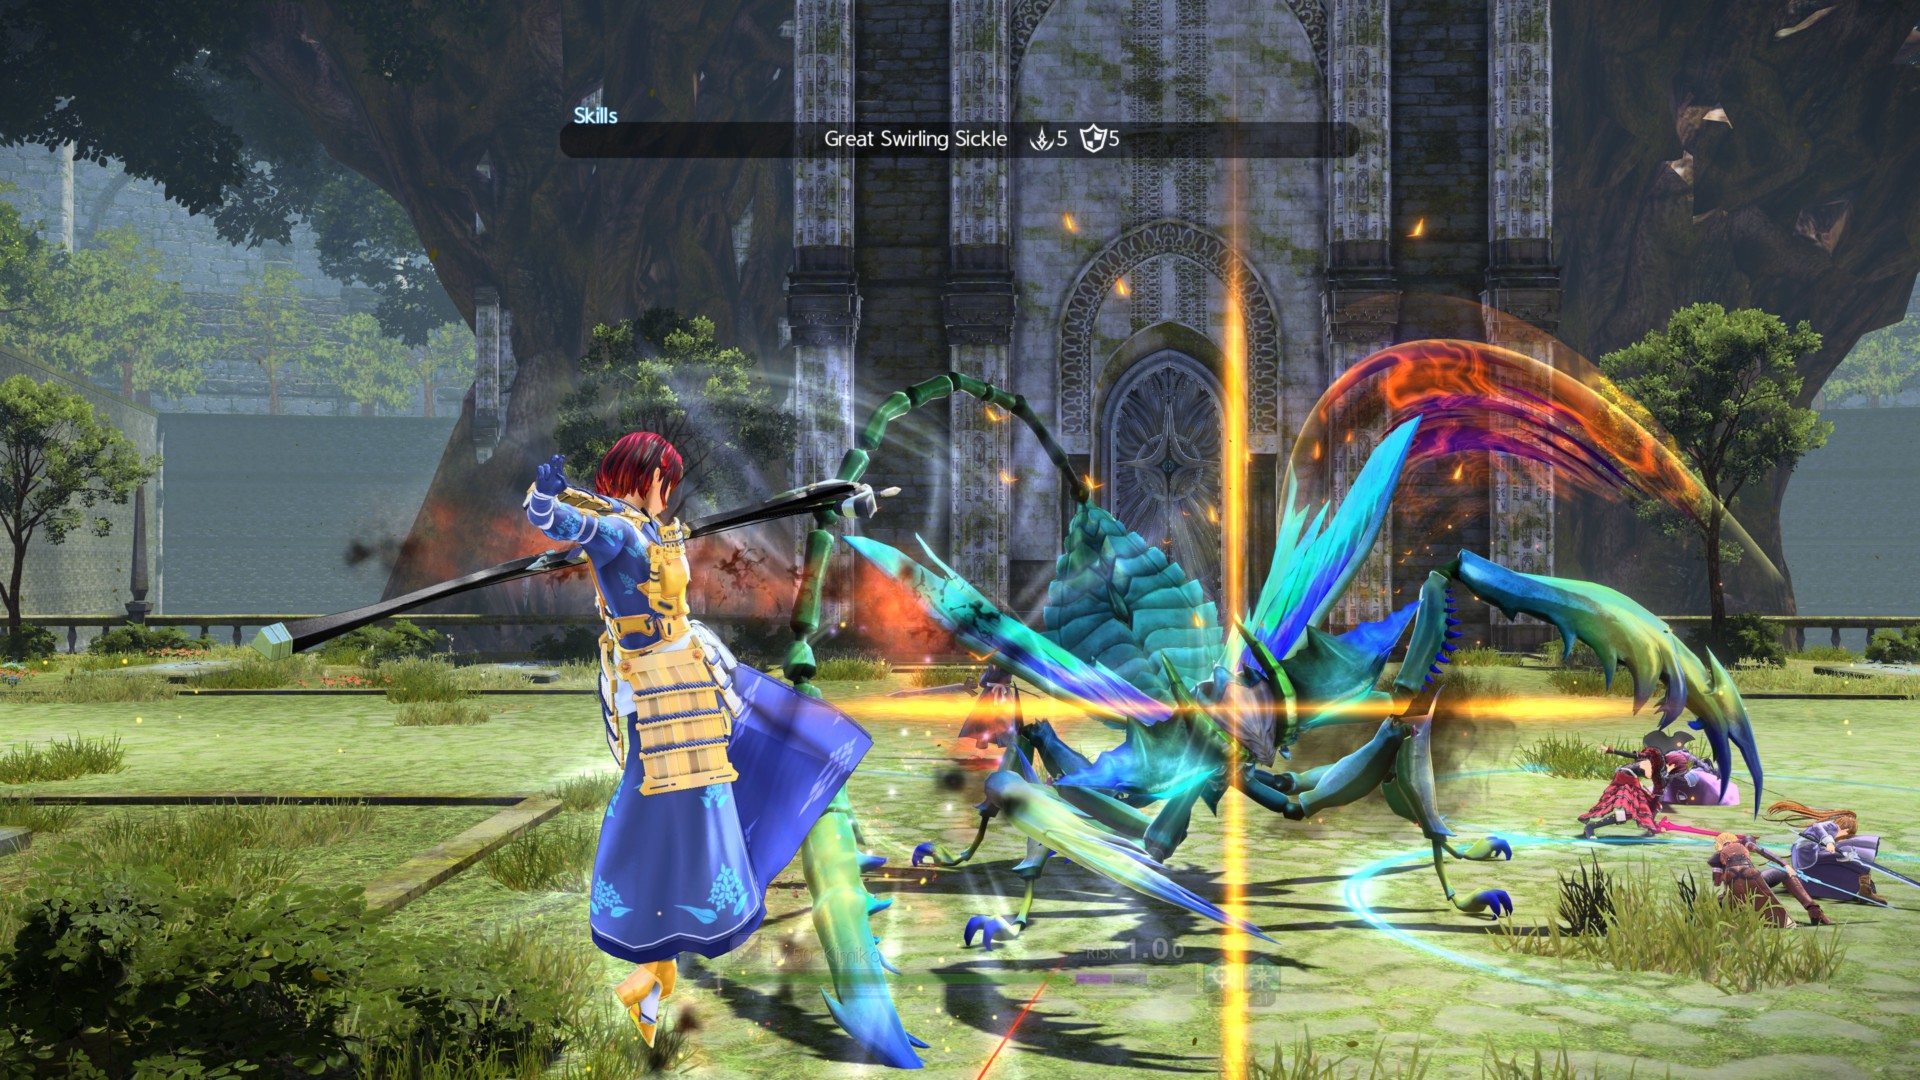
You’ll have an encounter against Grimeclaw the Calamity, a miniboss/elite in The Lost Paradise Raid Dungeon. It’s a preying mantis-type mob much like Waredge the Virtuous.
If you’ve done that Divine Beast fight, you’ll know that these mantis monsters are deadly. Nuke it immediately and block or soak its slashes with defensive Sacred Arts.
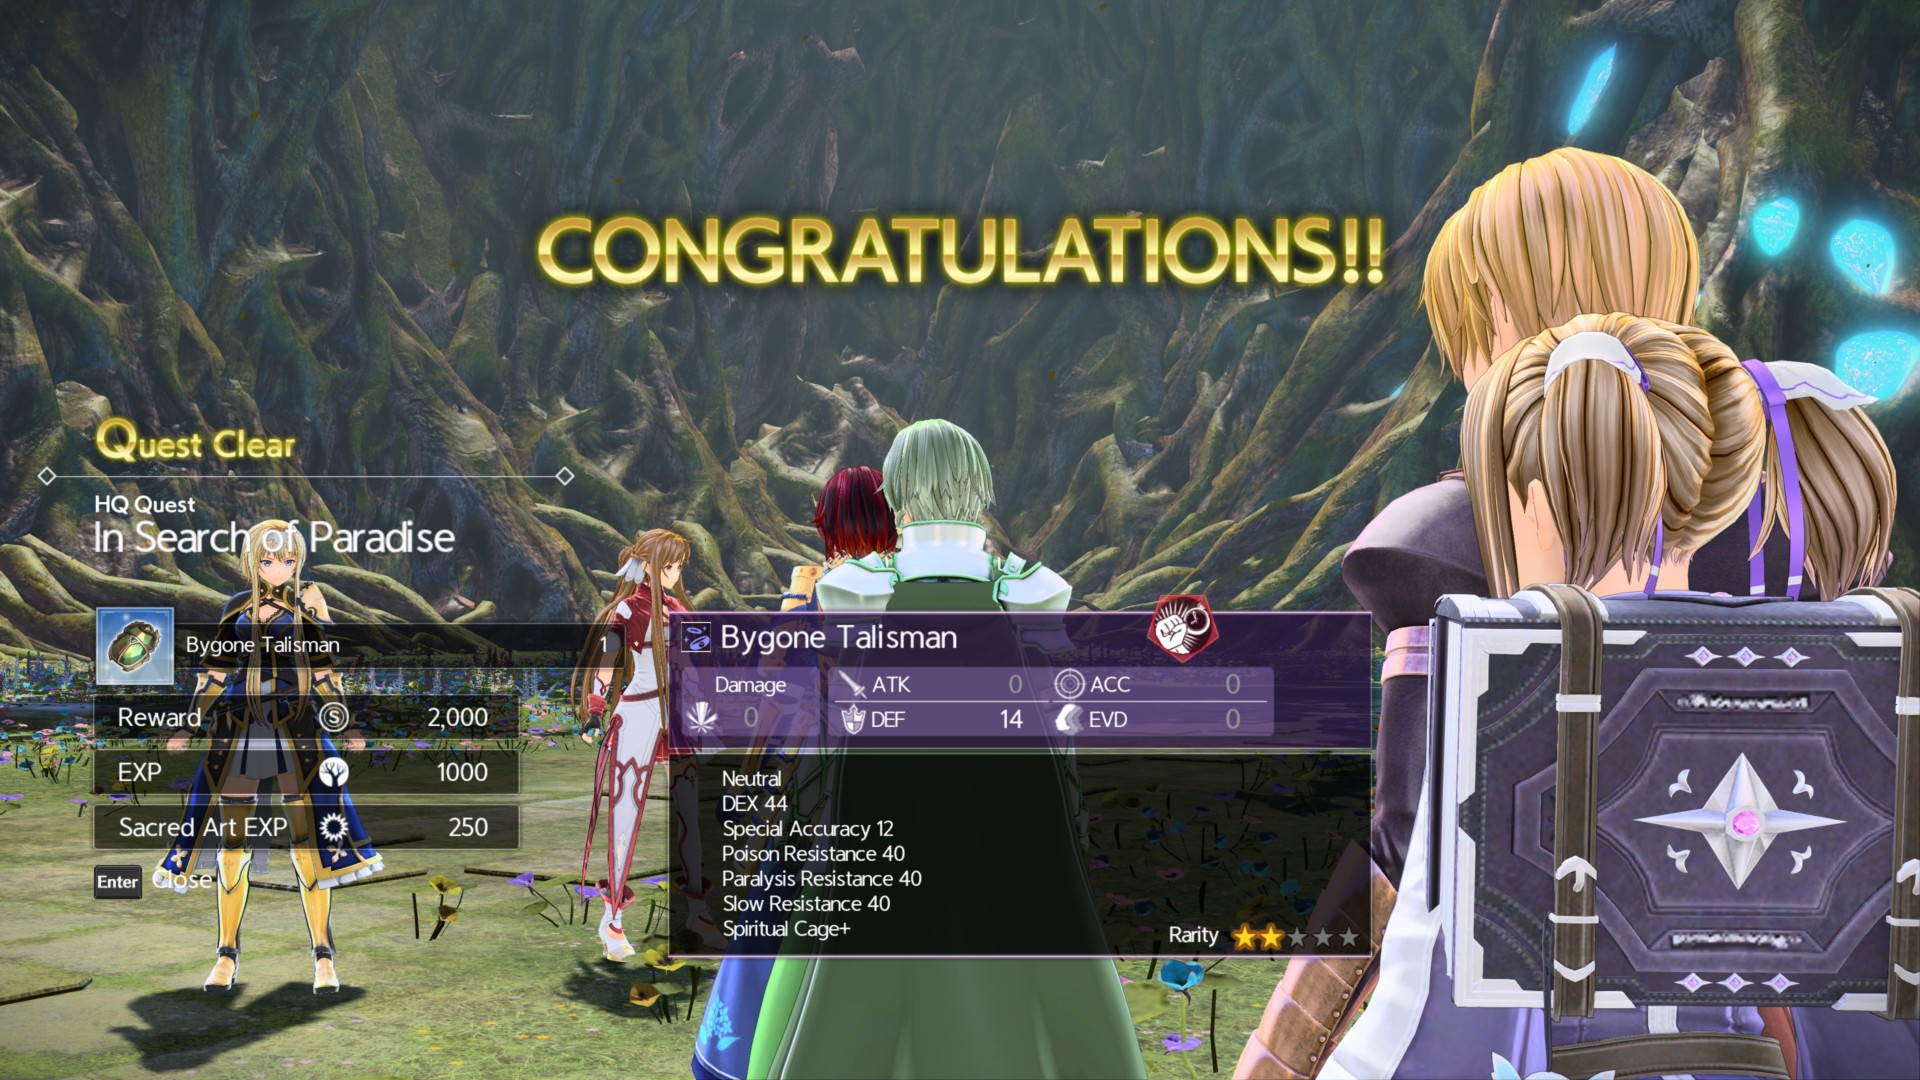
Once Grimeclaw is down, the door to the next area will be unlocked. You’ll be fighting The Lost Paradise’s final boss, Evergreen the Woodwyrm next, so be ready.
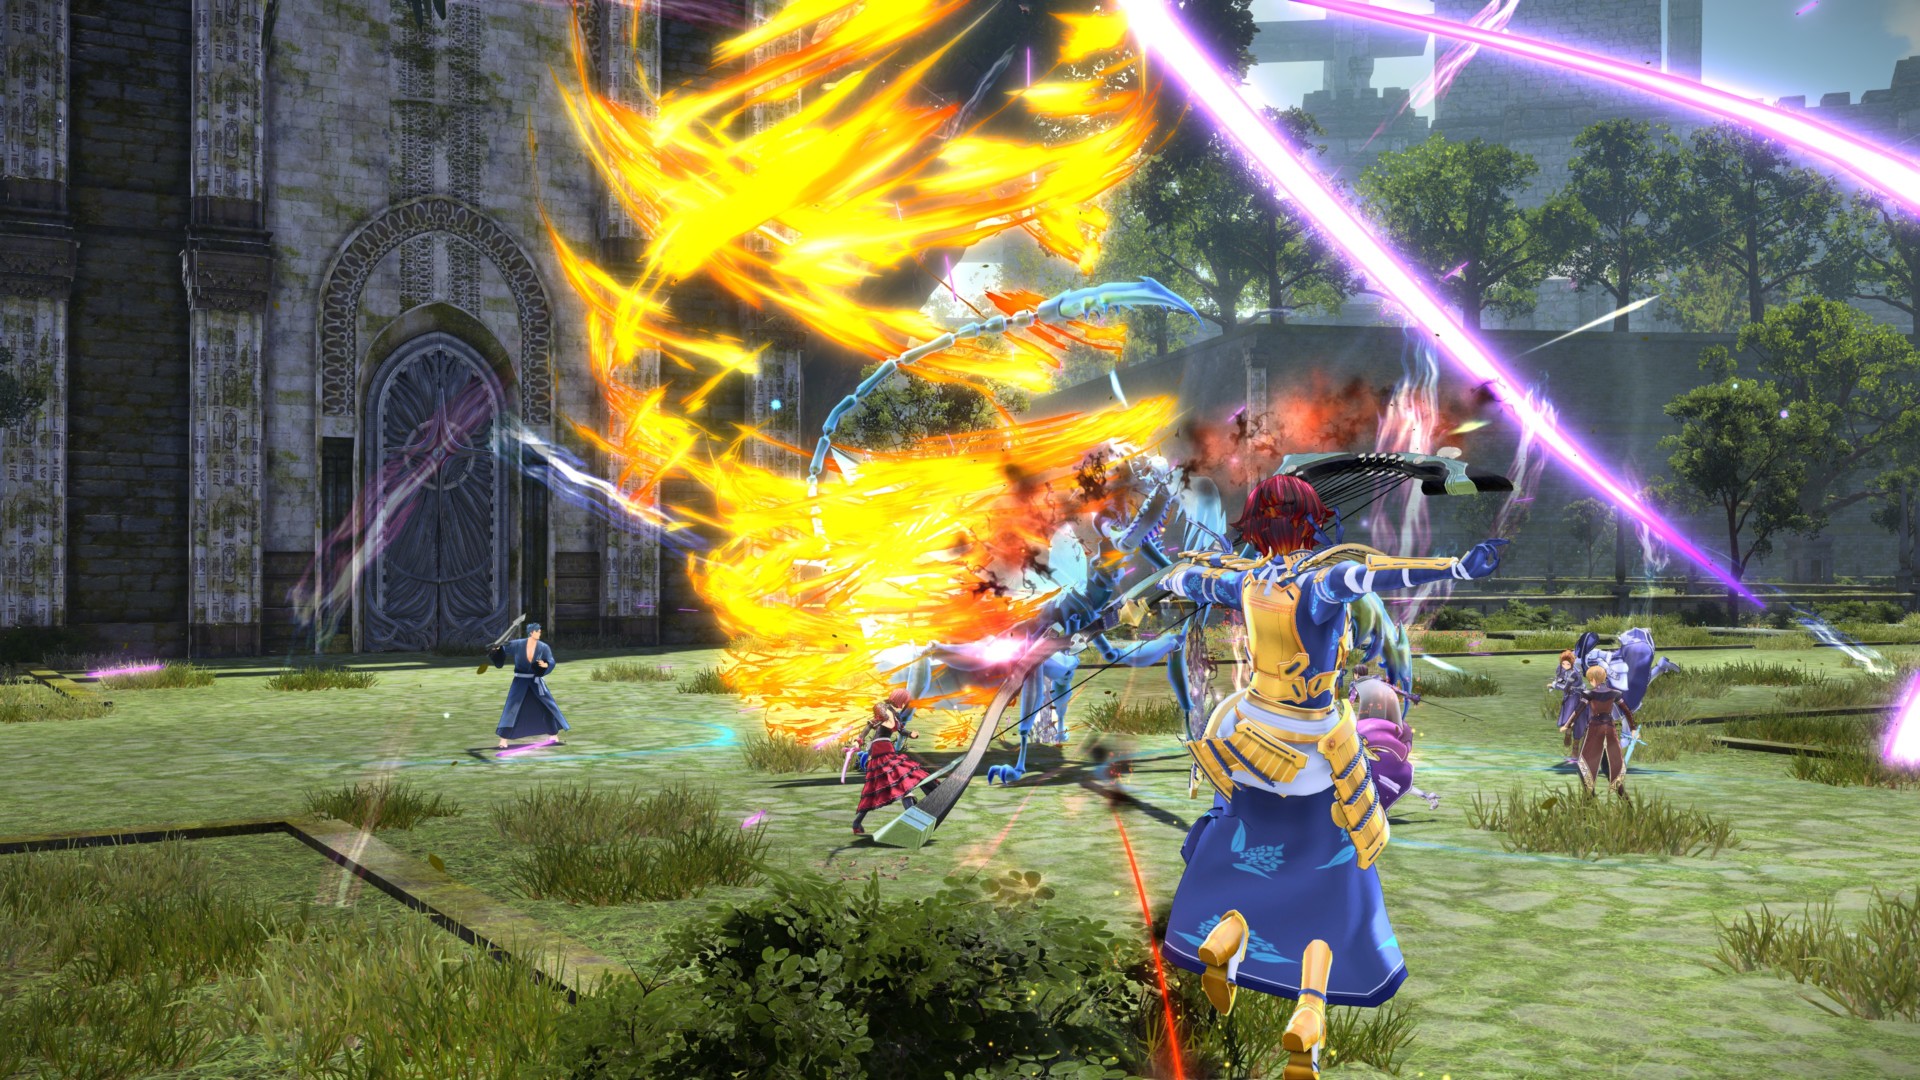
Boss fight: Evergreen the Woodwyrm (level 75-85)
Evergreen the Woodwyrm is a stone dragon that’s infused with the powers of nature. It’s also the final boss of The Lost Paradise Raid Dungeon.
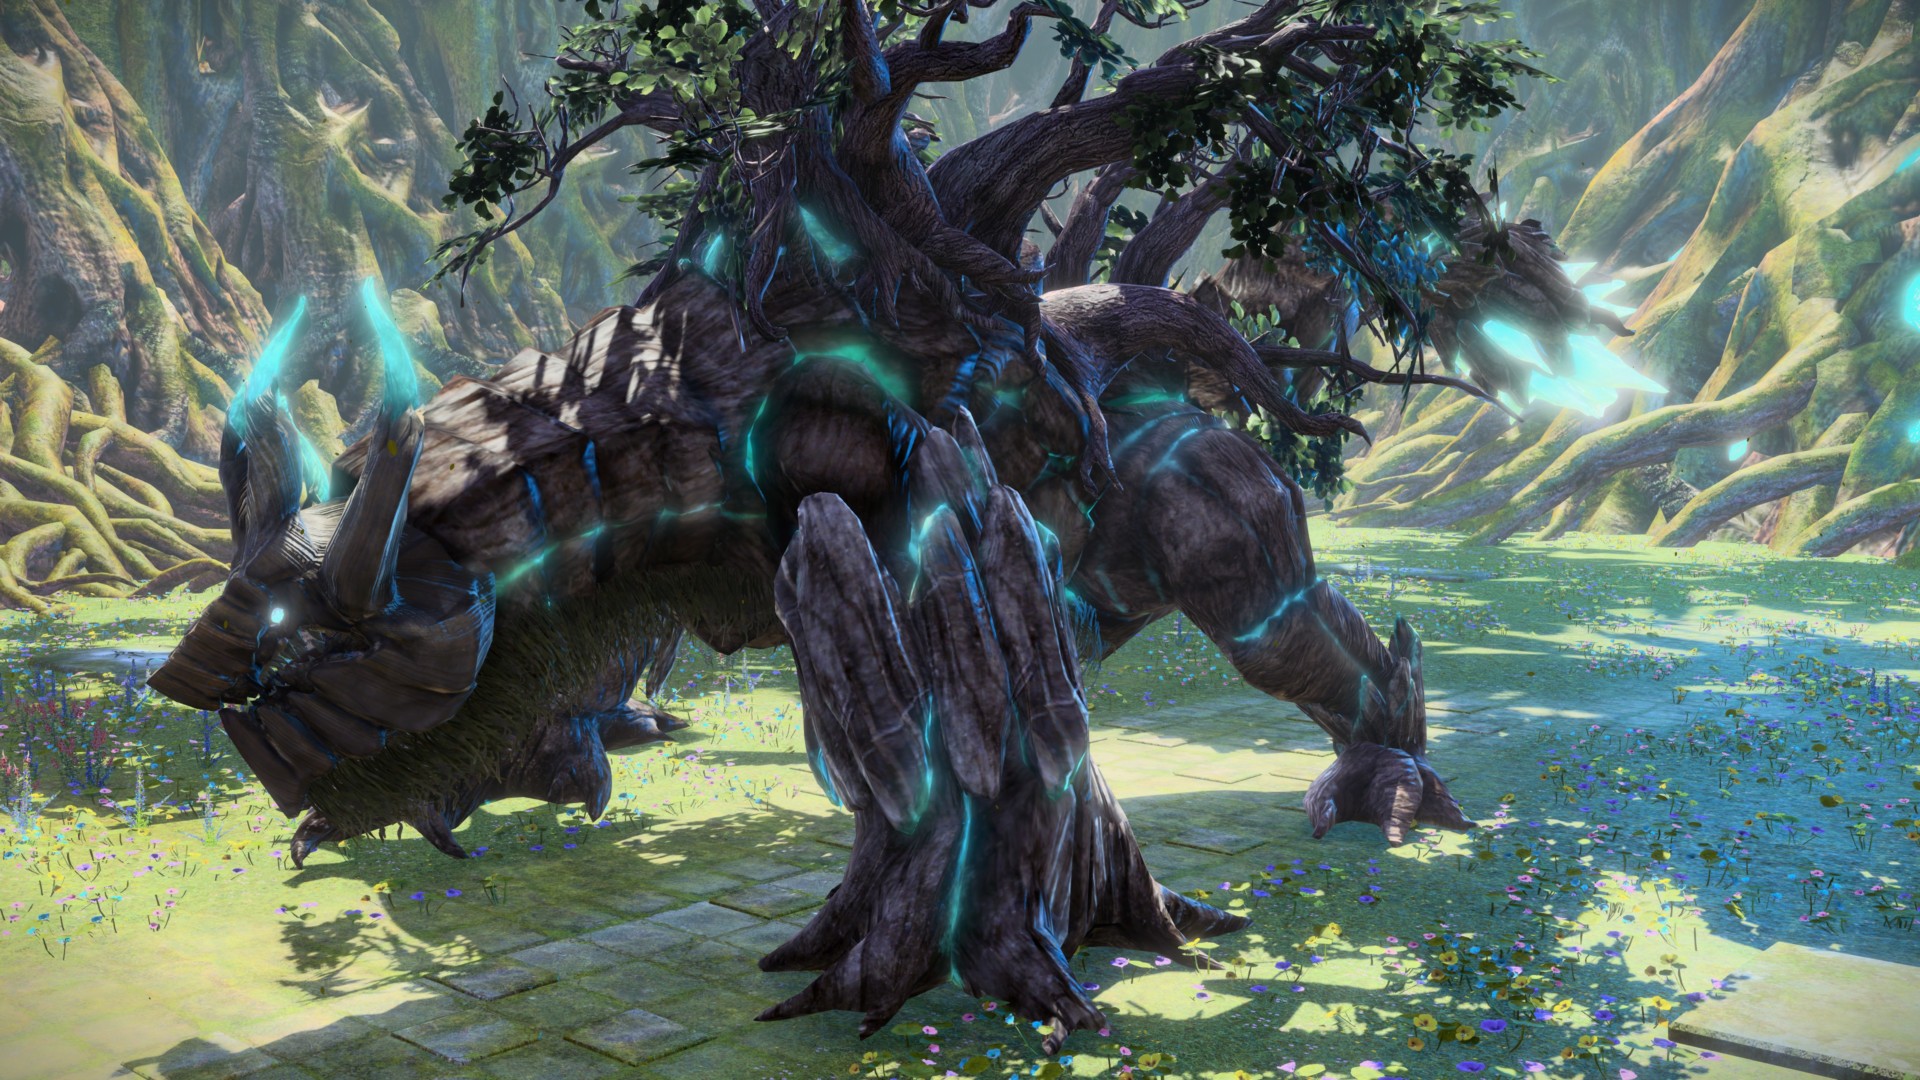
Make no mistake, this thing will make quick work of you if you’re caught unawares. Its special ability — the “tell” is when it stands on its hind legs — will make roots erupt and cover a large area. Characters caught within this area are likely done for.
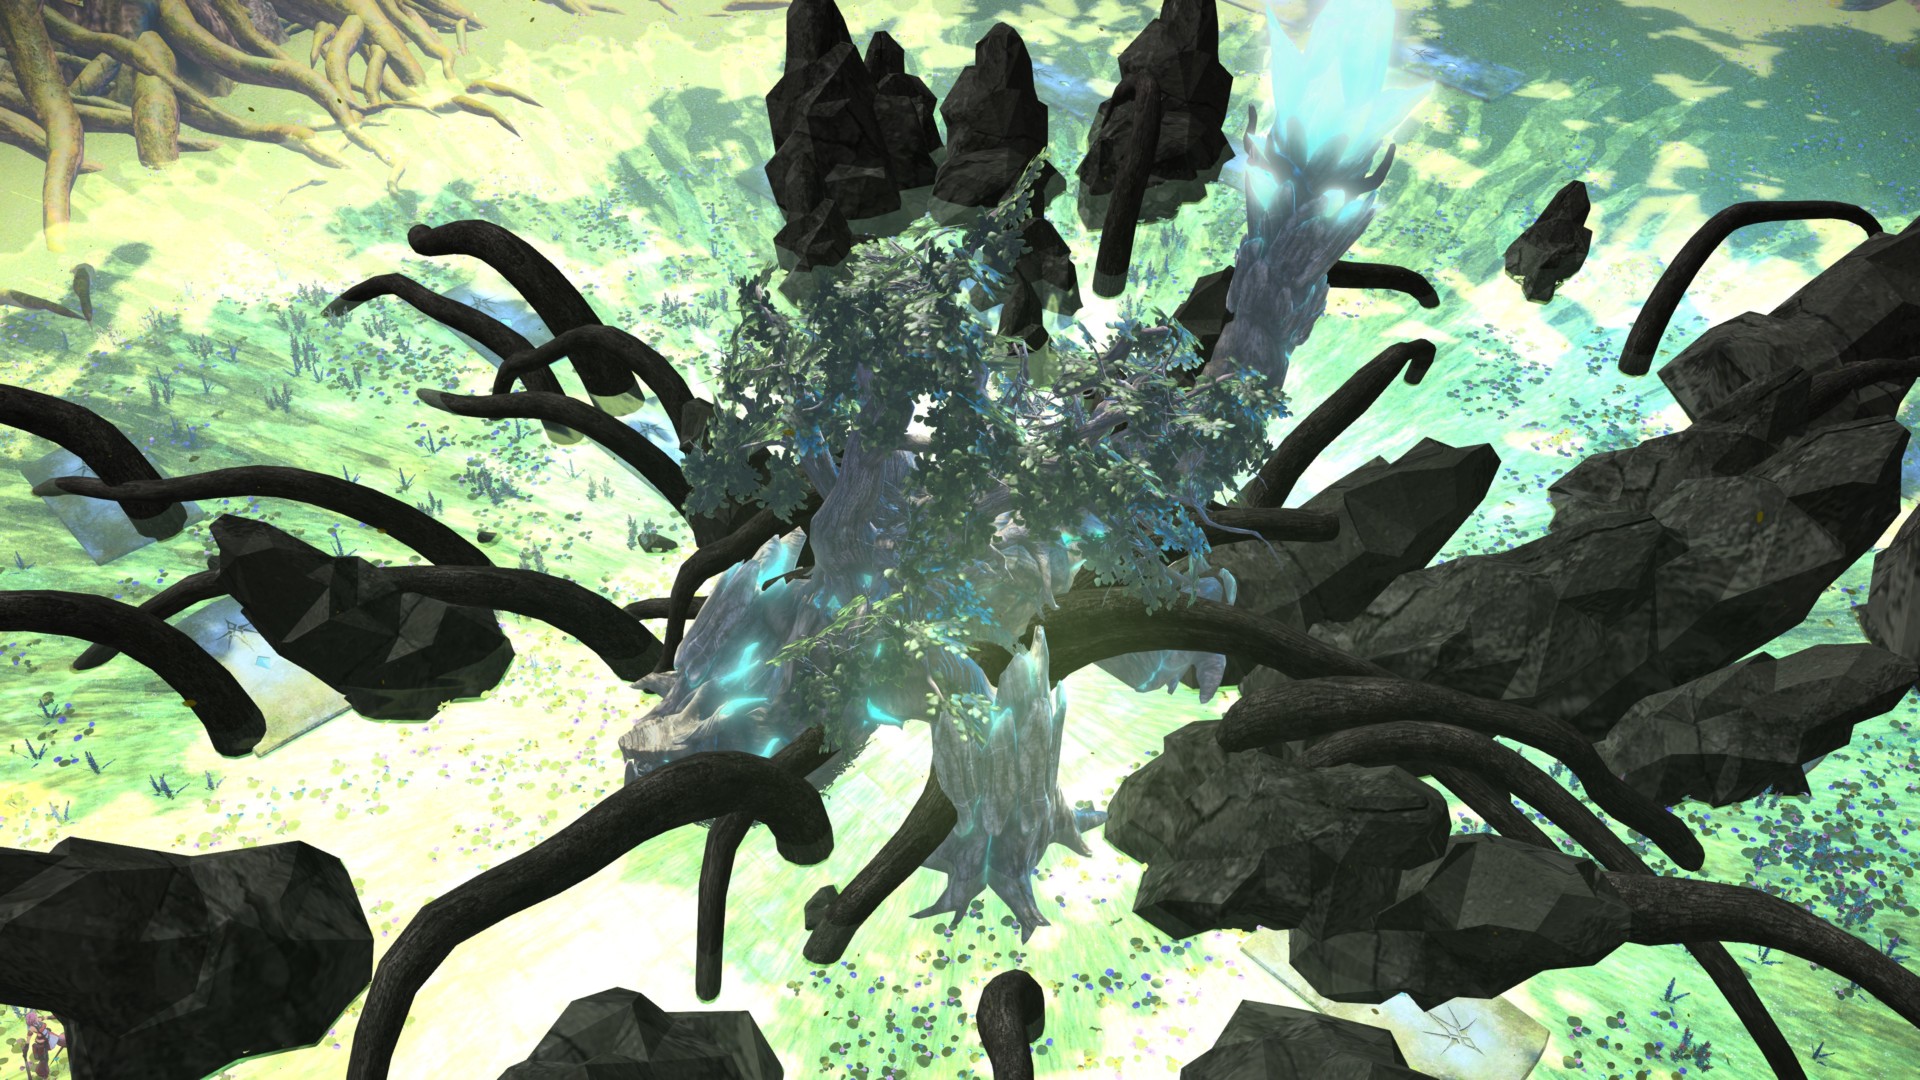
Since you have 16 characters with you and only four are in your party, expect that some of your companions would take the brunt of that damage. Still, because you have the numbers advantage, you can keep the boss in a “break -> fatal -> downed” sequence until it’s defeated.

Reward: Bygone Talisman
The Lost Paradise Raid Dungeon clear chest can give you a weapon, armor, or accessory. The example below (Lifestream Greatsword) might be a nod to Final Fantasy VII, but, who knows?

Sword Art Online: Alicization Lycoris is available on Steam. For more information, check out our guides and features hub.