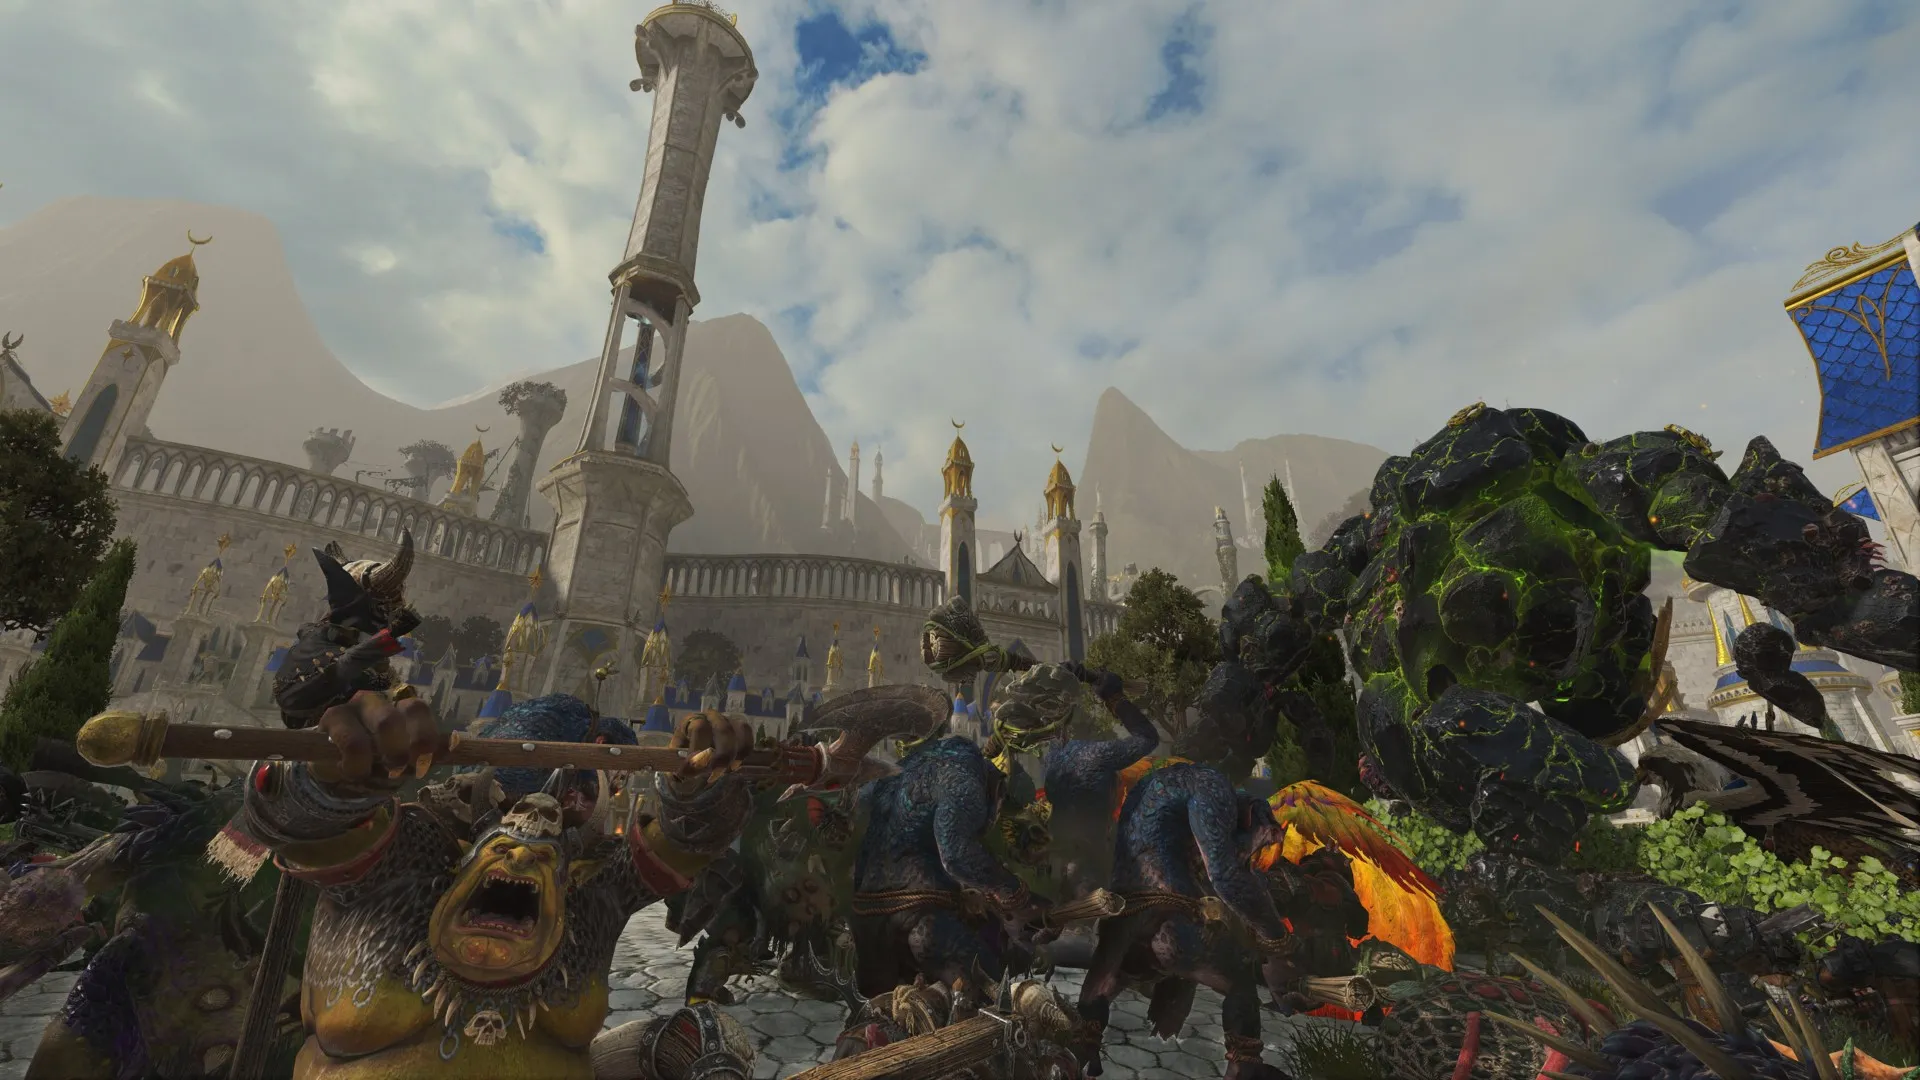
Grom the Paunch’s Waaaagh!
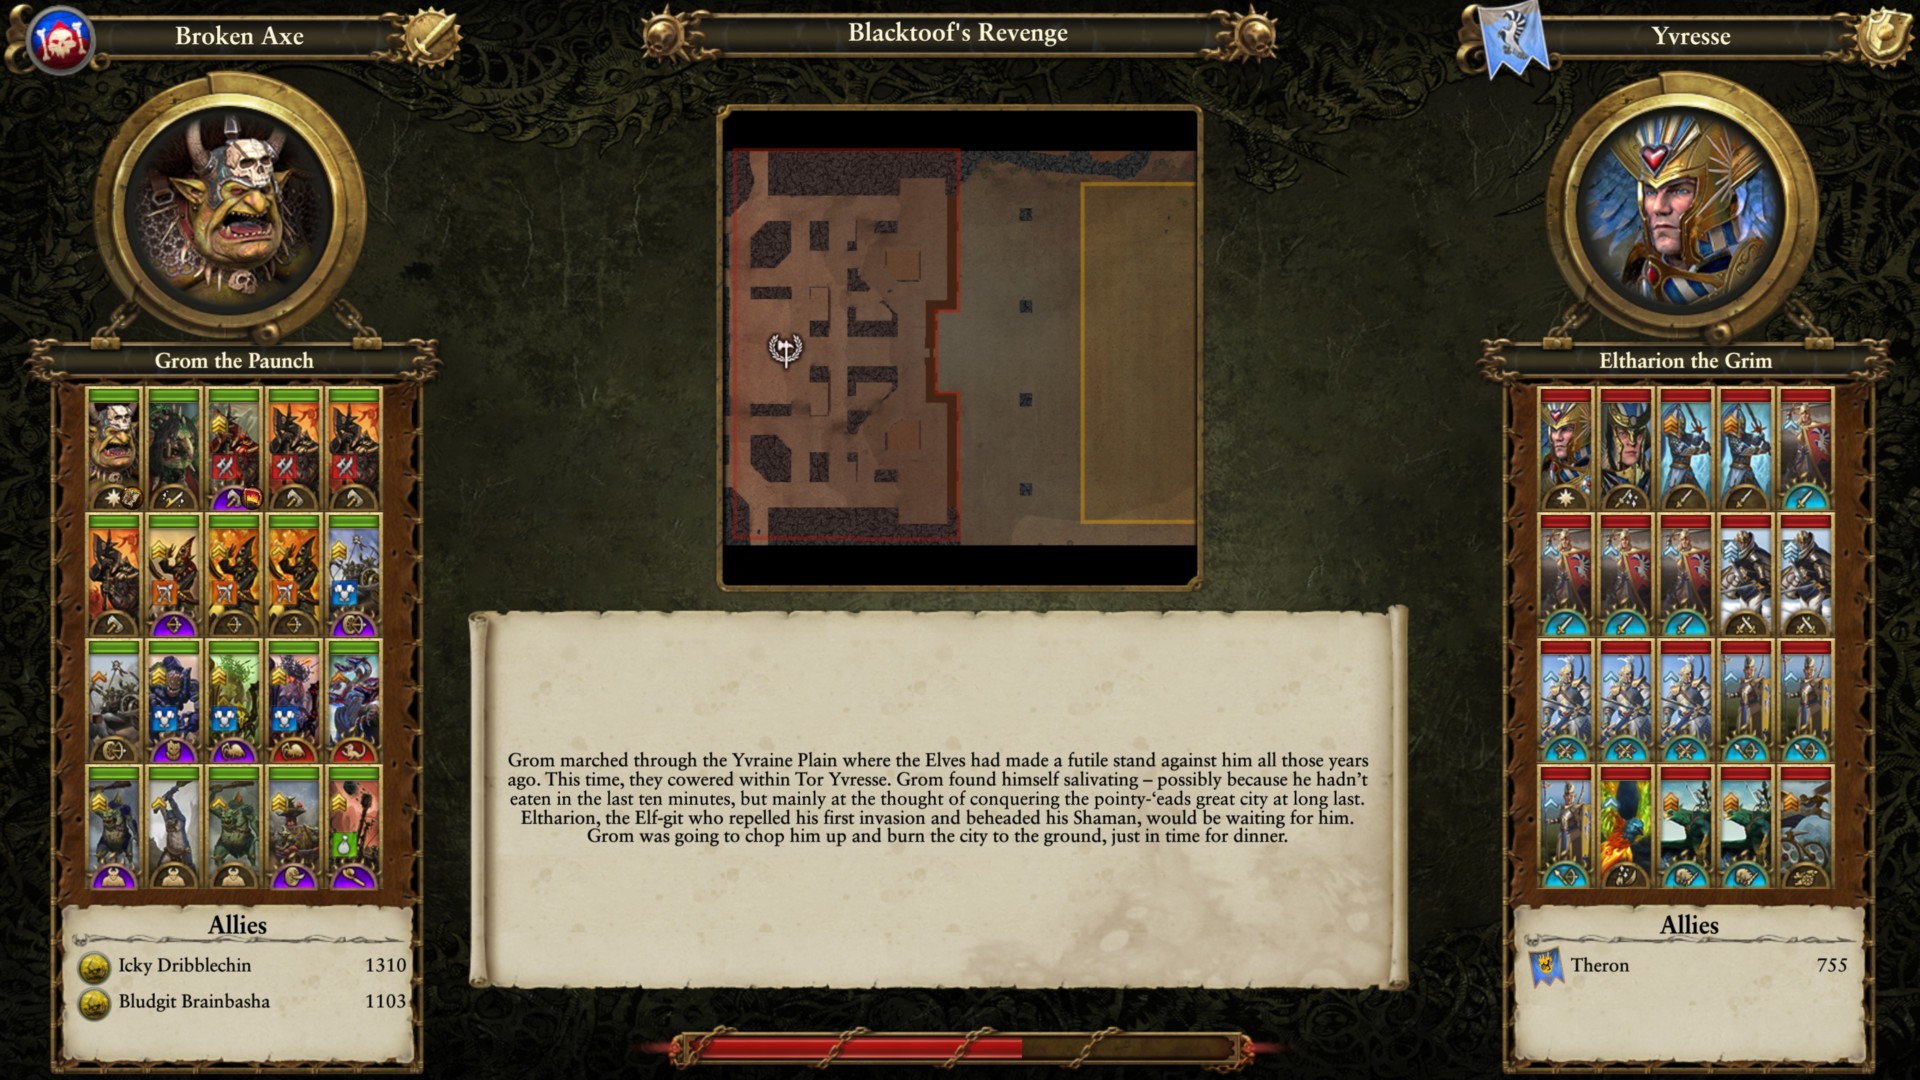
When playing as Grom the Paunch in Total War: Warhammer II, you’ll be able to initiate the Siege of Tor Yvresse final battle as soon as you’ve cooked 12/15 different recipes. Due to the Grom’s Cauldron mechanic, you don’t actually need to step foot on Ulthuan at any point in time in your campaign just to start this fight.
Note: You could have a Call to Waaagh! active, but your own Waaagh! units do not participate in the battle. Instead, you’ll have other AI reinforcements.

Army composition
Make sure that you’ve got several decent units in your army. In my case, I already had several Black Orcs, Night Goblin Archers, Goblin Wolf Chariots, as well as a Snotling Pump Wagon and Rock Lobber. The rest of my army had monster units such as Stone Trolls, River Trolls, Anachronok Spiders, a Feral Hydra, and a Rogue Idol (of Gork or Mork).
For my notable characters:
- Grom the Paunch (level 30) basically had all the important perks from the “His Great Immensity” unique yellow line. He also has red line bonuses for Goblin (“Da Gobbos” and “Sneaky Stabberz”), Orc (“‘Ard Ladz”), and large/monster units (“Da Big Ladz” and “Biggest ‘n’ Strongest”).
- Da Fishy Tiddlemuncha (level 30) Giant River Troll Hag already had several upgraded spells such as Spirit Leech, Soulblight, and The Purple Sun of Xereus.
- Shaman heroes, including the Troll Hag, can equip Blacktoof’s Head in a Jar. The unique item lets them summon a Rogue Idol in battle. Because it’s a summon, it’ll degrade over time.
Grom’s Cauldron recipes and ingredients
As for the Grom’s Cauldron recipes, I initially used Elven Foie Gras with the following combination of ingredients:
| Elven Foie Grass | ||
| Recipe Buff: +4 recruit rank for all units; -2 turns global recruitment; +50 unit experience gain per turn (faction-wide) | ||
| Ingredient 1 (Red) | Hell Pepper ‘Shrooms | “Frenzy” passive for Goblin and Night Goblin units; +25% fire resistance |
| Ingredient 2 (Orange) | Lizard Legs | +15 armor and +8 leadership for Goblin cavalry, Goblin chariots, and Squig Herd units |
| Ingredient 3 (Secret) | Eagle Talons | “Eagle Sight” ammunition for Goblin and Night Goblin missile units; increased armor-piercing damage |
| Ingredient 4 (Bonus) | Goldfish | +10% income from all buildings; -1 global recruitment duration; +8 obedience (public order) in all provinces |
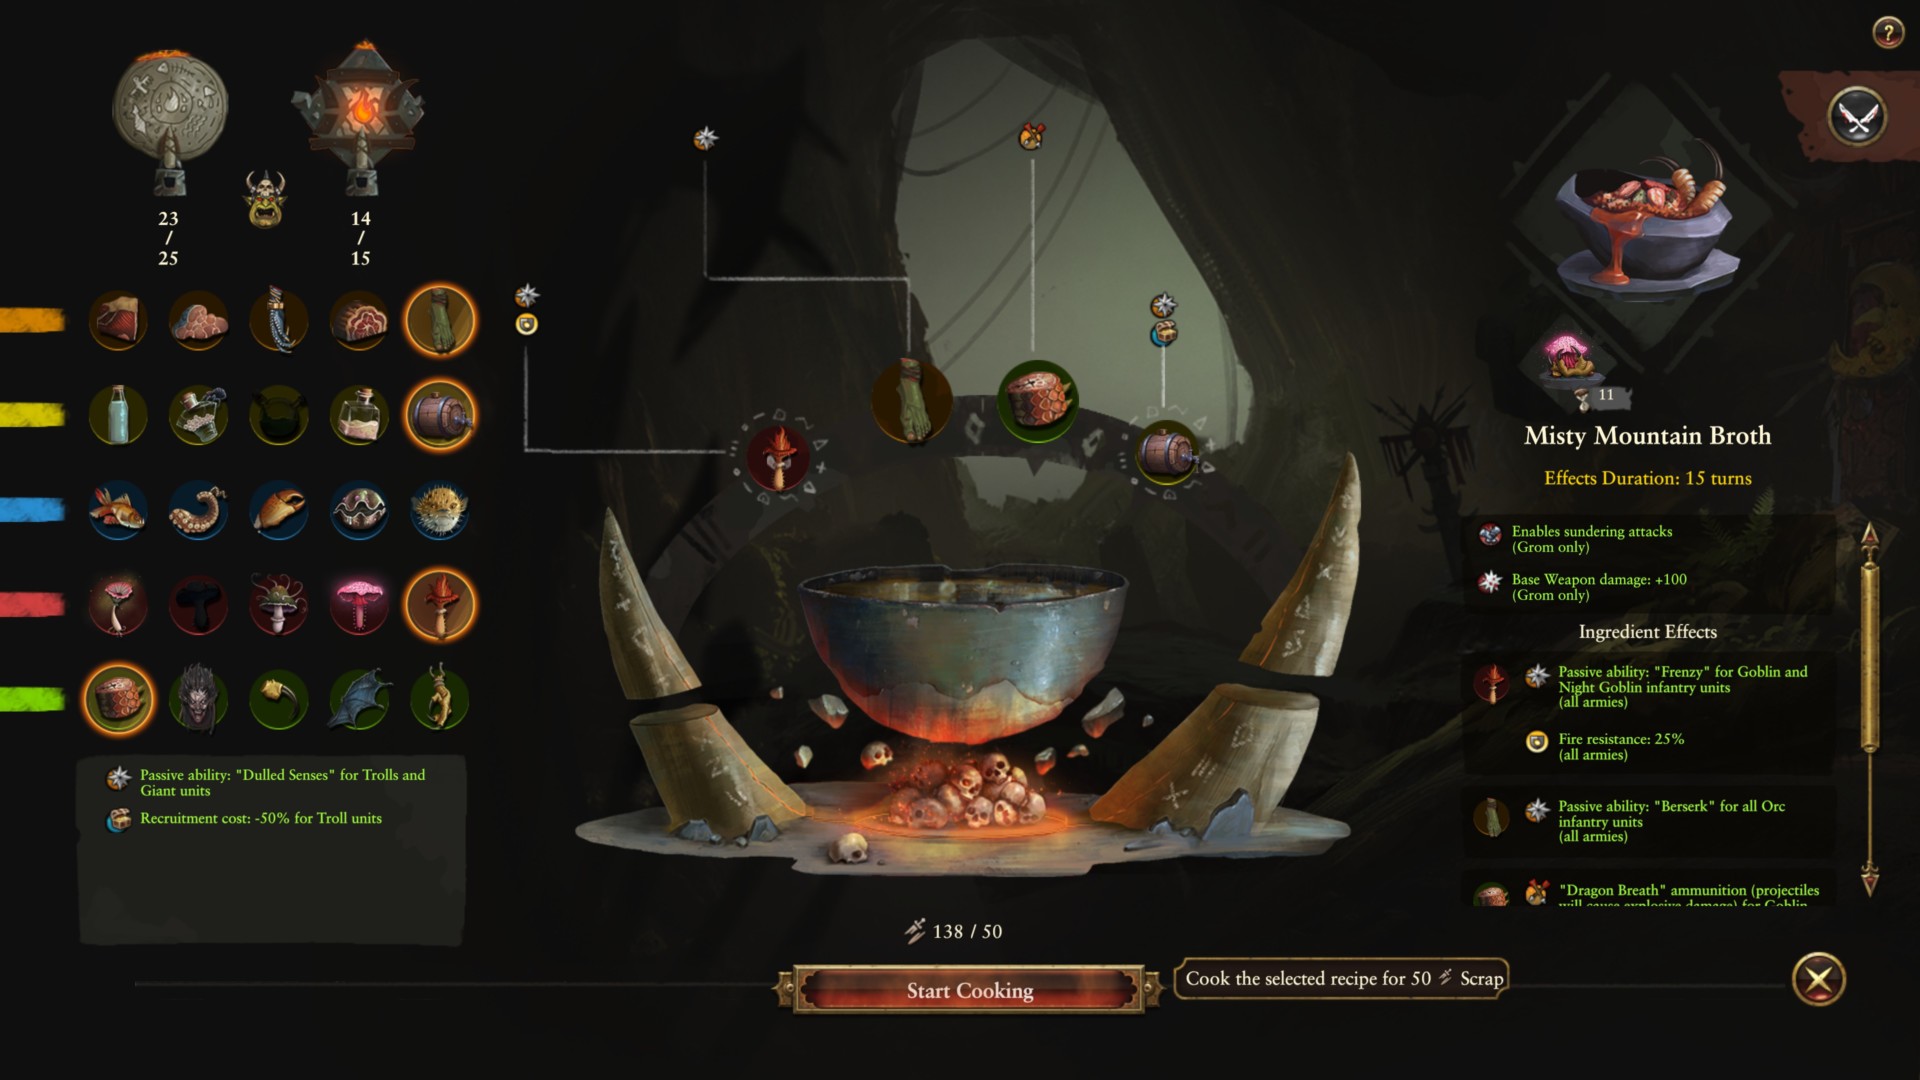
This was mostly to ensure that I was able to recruit high-end units quickly. However, I did switch to Misty Mountain Broth since it gave Grom higher offensive capabilities. I used the following ingredients:
| Misty Mountain Broth | ||
| Enables sundering attacks and +100 base weapon damage (Grom only) | ||
| Ingredient 1 (Orange) | Gobbo Legs | “Berserk” passive for Orc infantry units (all armies) |
| Ingredient 2 (Green) | Dragon Tail | “Dragon Breath” ammunition for Goblin and Night Goblin missile units; projectiles will cause explosions |
| Ingredient 3 (Bonus/Red) | Hell Pepper ‘Shrooms | “Frenzy” passive for Goblin and Night Goblin units; +25% fire resistance |
| Ingredient 4 (Bonus/Yellow) | Stunty Ale | “Dulled Senses” passive for Trolls and Giants; -50% recruitment cost for Troll units |
Additional spells
Battle spells:
- There really wasn’t much to add when it comes to spells other than those that your hero already has. I didn’t try to focus on more “weird magic” stuff for Da Boyz.
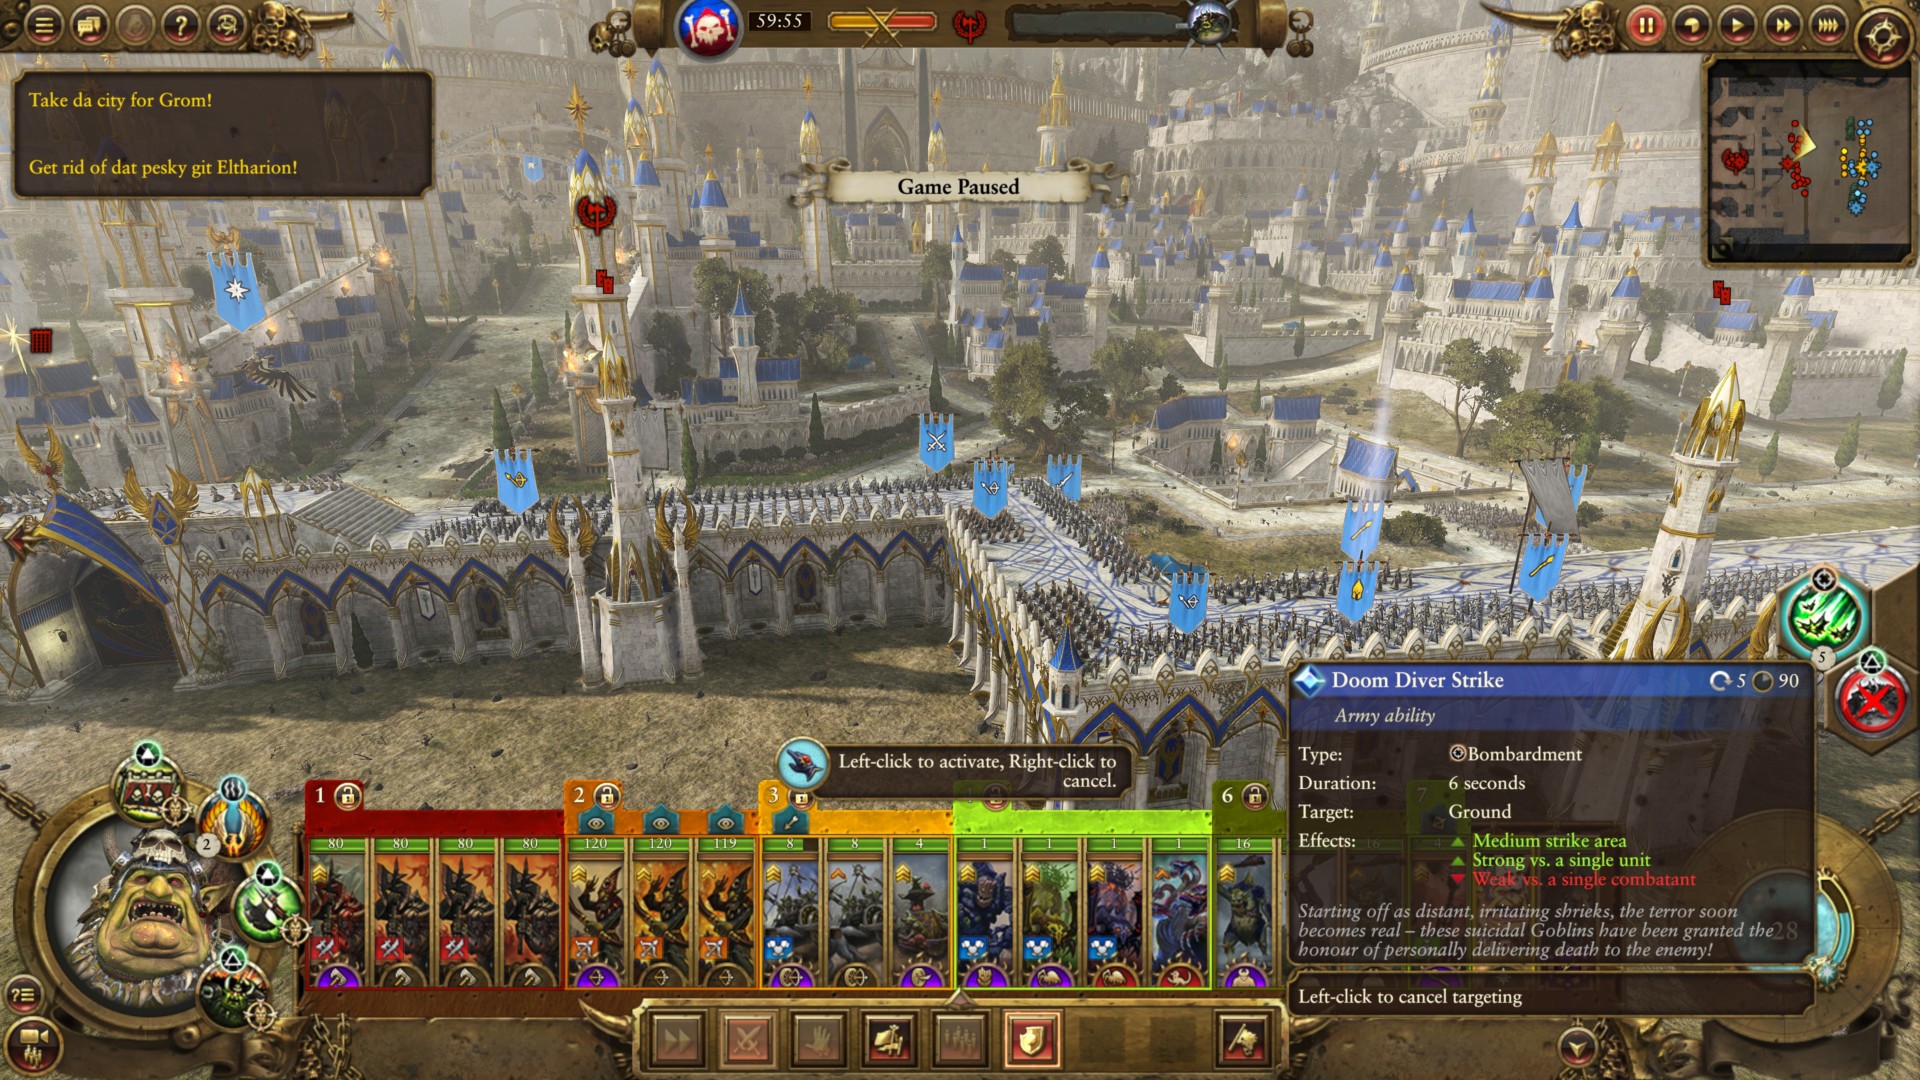
- You do have five uses of the Doom Diver Strike ability which you can cast on the High Elves manning the walls.
- And, of course, there’s the battle Waaagh! ability that can be used once you’ve filled up your meter. Unfortunately, this wasn’t possible for my army because the AI was the one taking a beating while in melee range.
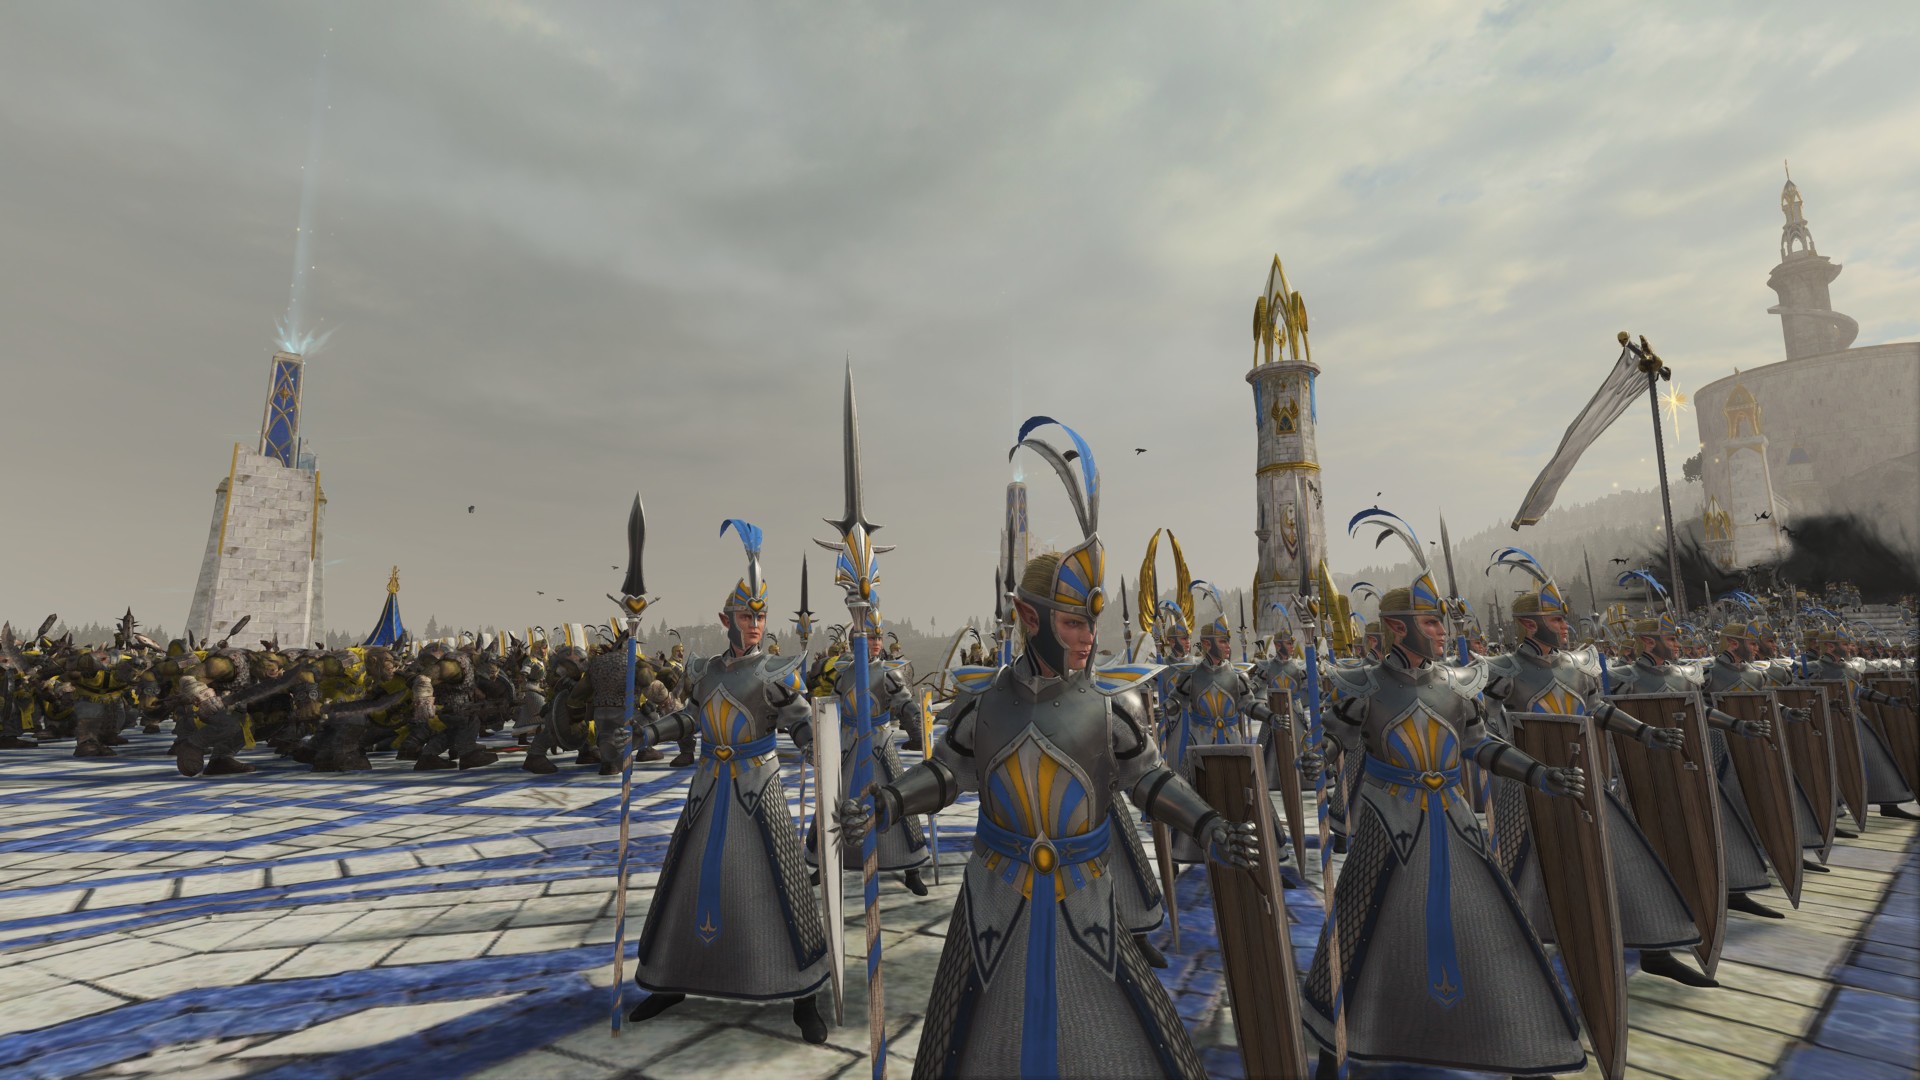
The walls, the traps, and the Waaagh!
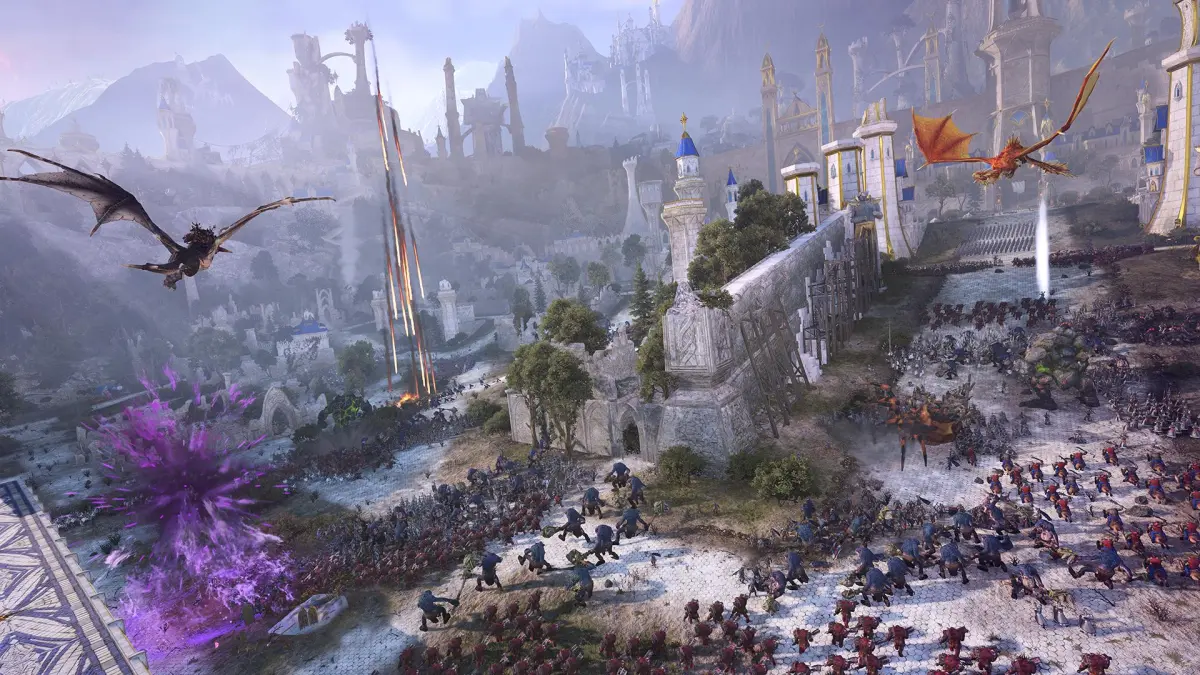
Two allied armies will take the brunt of the damage. They’ll also assail Tor Yvresse’s walls and gate due to having multiple giant monsters, siege towers, flying units, and Doom Diver artillery. I mostly used my Rogue Idol and Rock Lobber to destroy sections of the wall that had a mass of skinny gits.
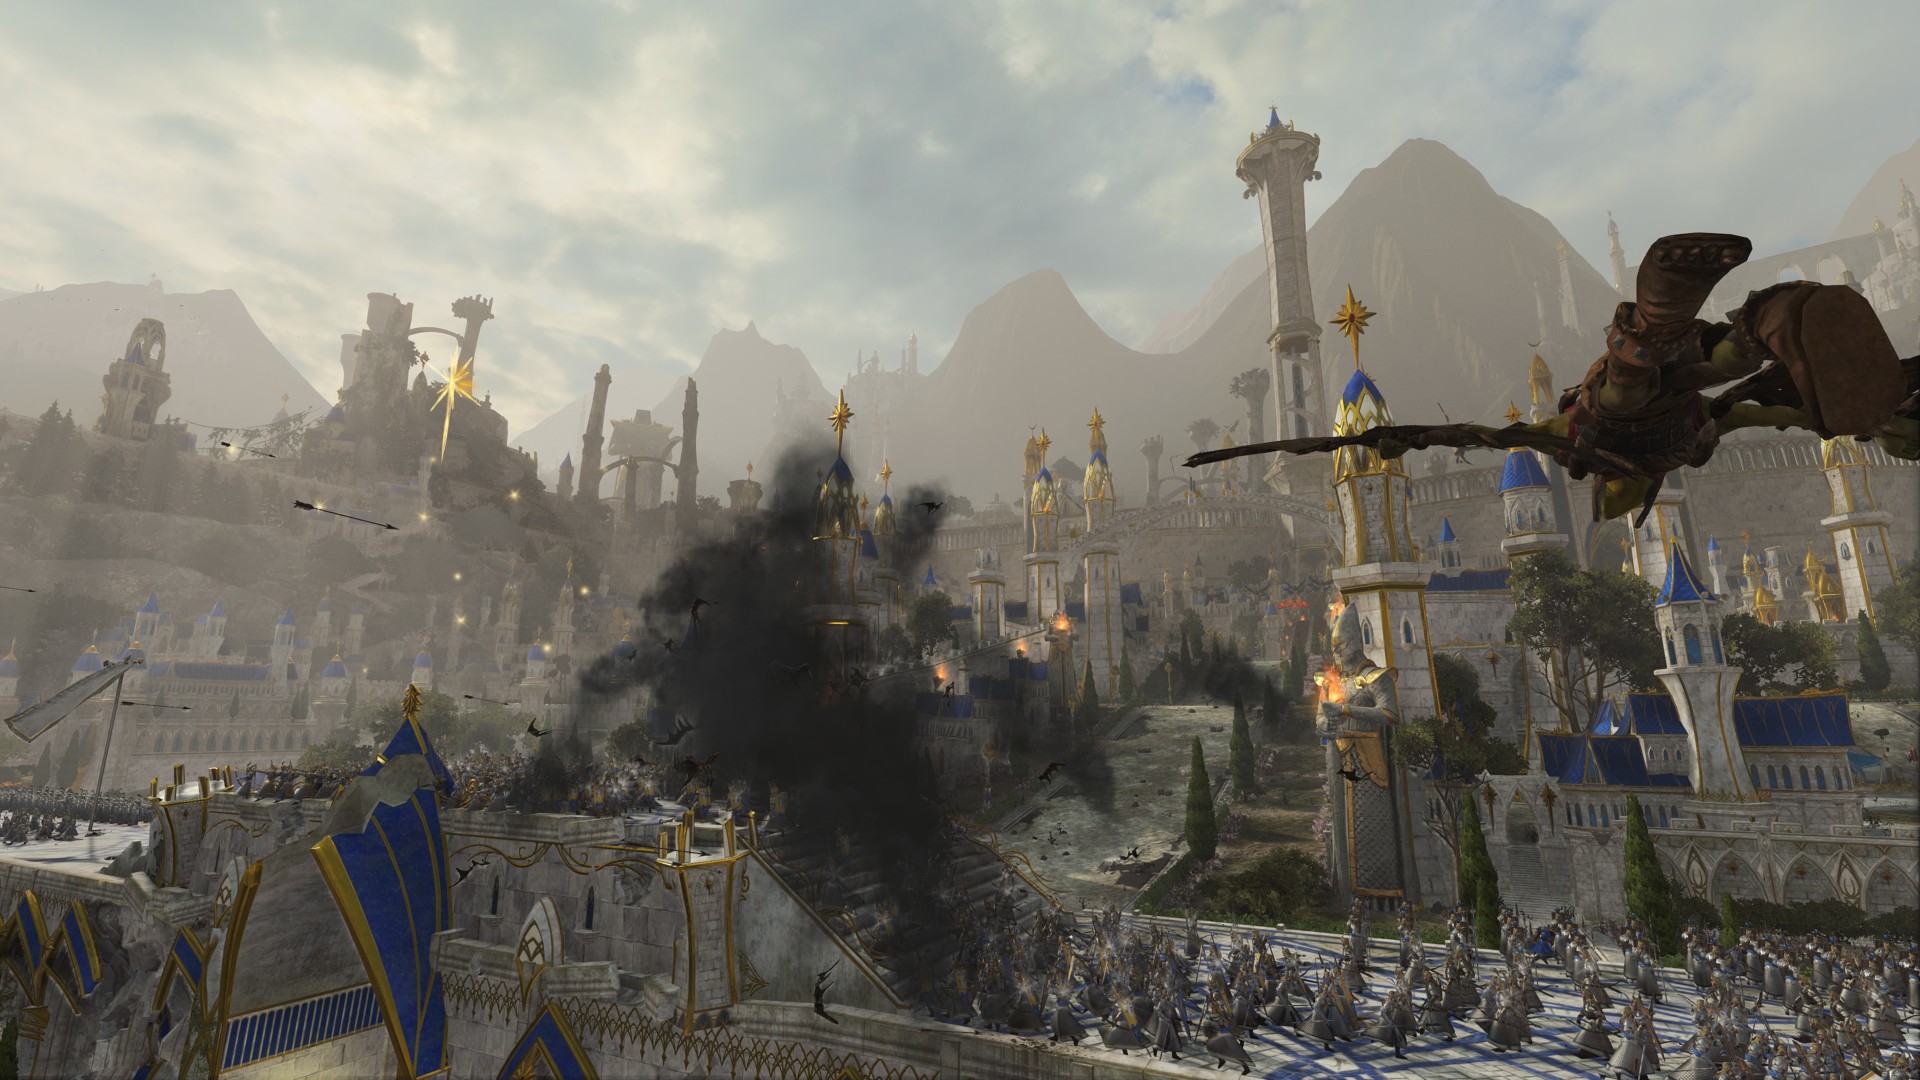
As for Tiddlemuncha, she’s just casting debuffs on units that were engaged versus AI Greenskins that already scaled the walls. There really wasn’t much to do for the first few minutes or so, and you might even notice how the High Elves’ AI reacts clumsily when hostiles are already swarming the battlements:
Your allied armies will eventually move deeper down Yvresse’s streets, likely triggering the traps. That’s totally fine since you’re not the one taking the hits. Once more of them start to waver and rout, though, you should advance with your monster units:

With multiple sections of the wall destroyed, you could send more monsters to enter the fray. Eltharion will also react slowly to these developments, as he’ll likely send his Knights of Tor Gaval only to get peppered with arrows, stabbed by spears, and smashed by Rogue Idols:

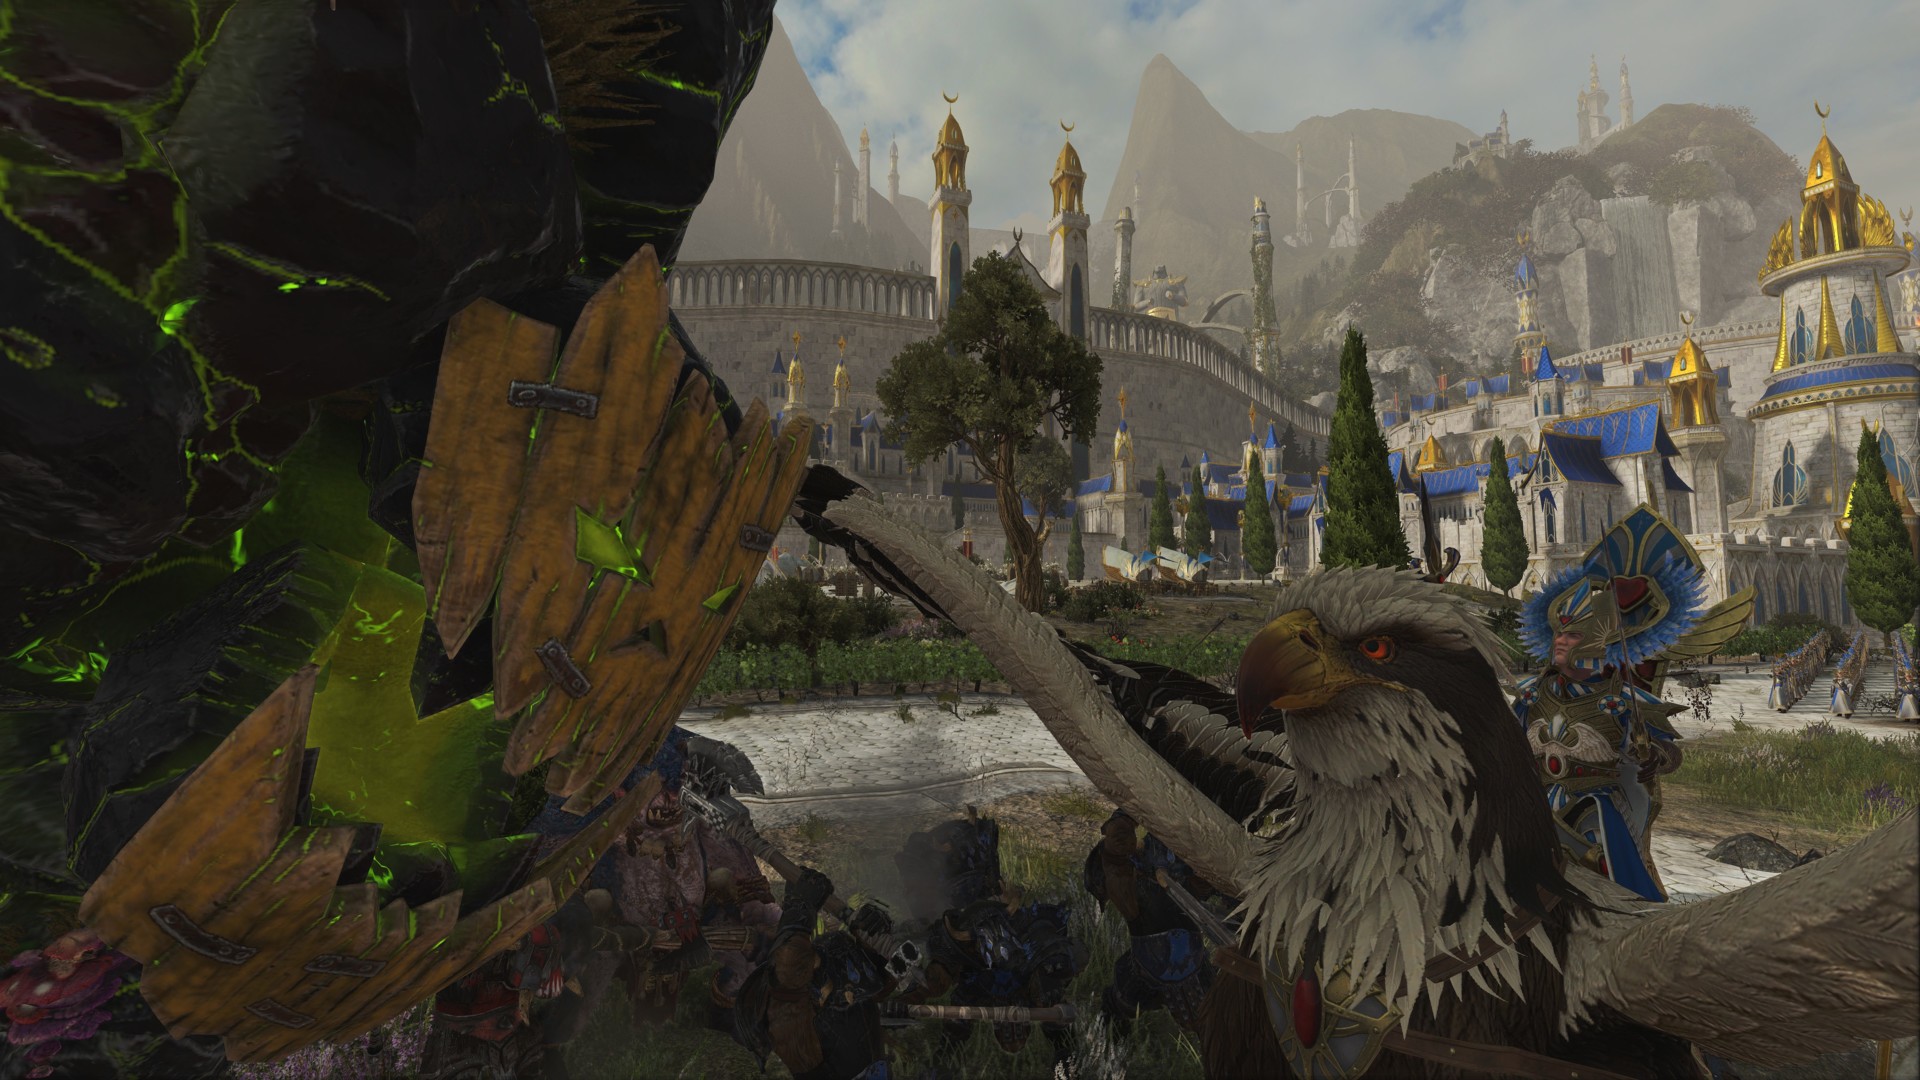
The green tide and Eltharion the Grim’s fall
Because your allies took out most of the elves, Grom the Paunch’s army just becomes the mop-up crew. So, just go ahead and advance towards the center lane. You might trigger a trap there, but that’s fine since your giant units will shrug it off. Eltharion also has Eagle Claw Bolt Throwers, but they were barely positioned properly before they were dismantled by my units.
Note: You might encounter issues with the camera since the archway in the center lane will force you to zoom out. It’s a lot more annoying than the traps, that’s for sure.
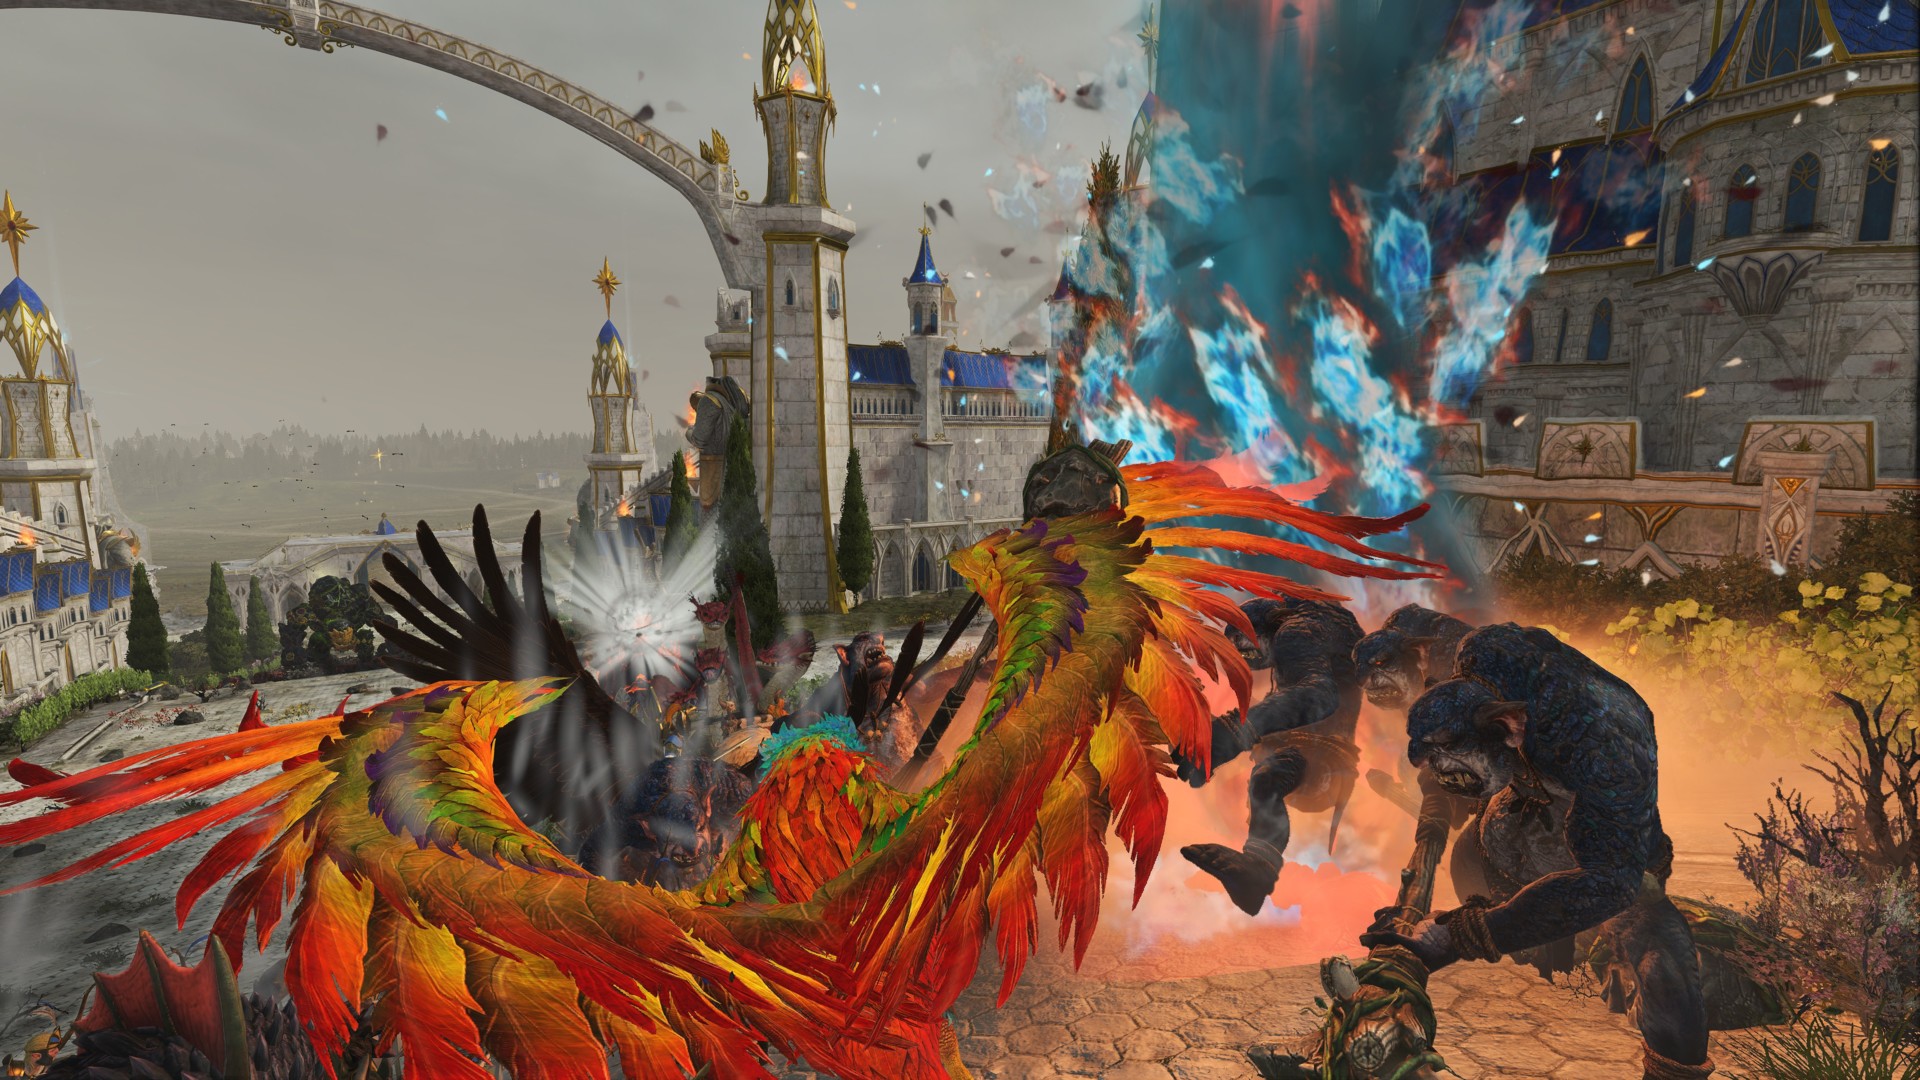
Finally, you’ll duke it out with Eltharion the Grim and his lone Arcane Phoenix. It’s The Warden & The Paunch rematch from Warhammer Fantasy Battles lore:
There’s no strategy involved since it’s just a mad rush to exterminate your remaining foes. Eltharion the Grim would be no match against Grom the Paunch’s overwhelming numbers and unfathomable size. With that, the Siege of Tor Yvresse ends in a Greenskin victory.
For your efforts, you’re given +15,000 gold and control of the Tor Yvresse settlement on Ulthuan. Uh, thanks, I guess.