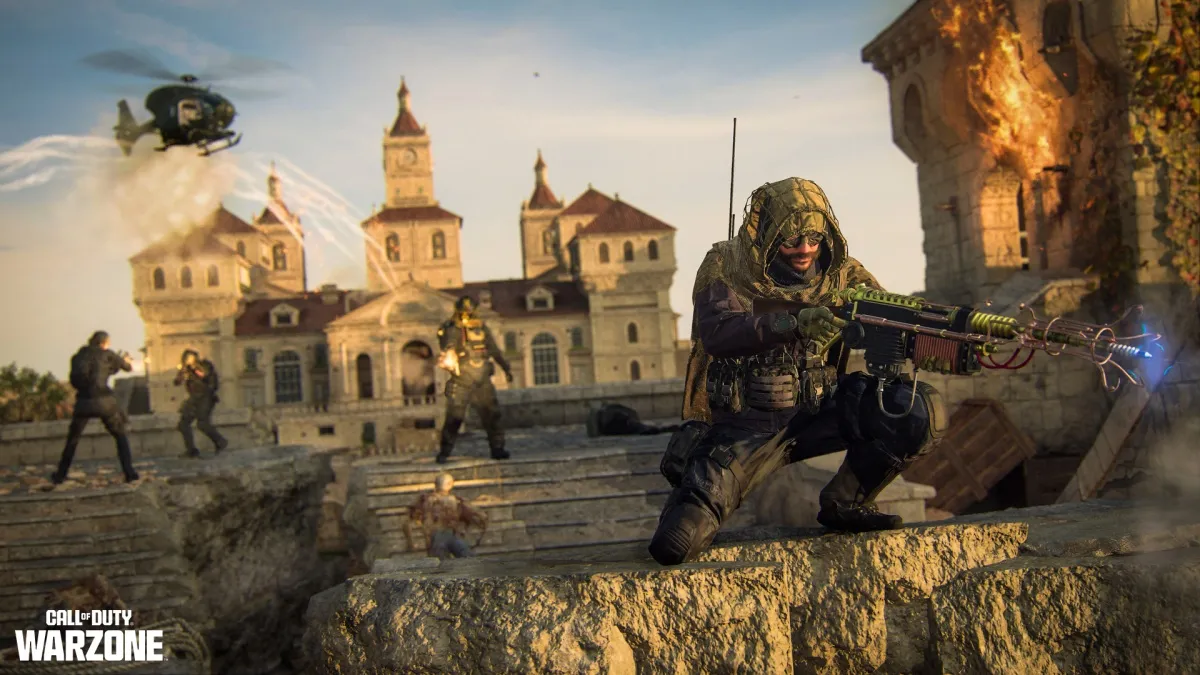
Fortune’s Keep has returned to Call of Duty: Warzone and there’s a secret easter egg that unlocks a cool new camo pattern for players who are clever enough to solve the island’s puzzle. This easter egg will take you all over the map, so be prepared for a fight.
How to Start the Warzone Fortune’s Keep Easter Egg

To start the Warzone Fortune’s Keep easter egg, head to the Lighthouse in the southeastern portion of the island. Once there, grab a gas can. Their locations are marked with red dots on the map above. They can be easily found surrounding the Lighthouse so you don’t have to go too far.
Once you have a gas can, make your way to the top of the Lighthouse. Inside the room at the top, you’ll find a blue generator. Interacting with the generator will cause the Lighthouse beacon to rotate. To start the easter egg, you need to stop the beacon when it’s pointing northwest toward a nearby building. Check the arrow on the map above for the exact direction.
Once the Lighthouse beacon is pointing the right way, you won’t be able to interact with the generator anymore. If you can still use the generator, then you’re not quite there yet.
How to Do the Dragon Stirs Easter Egg
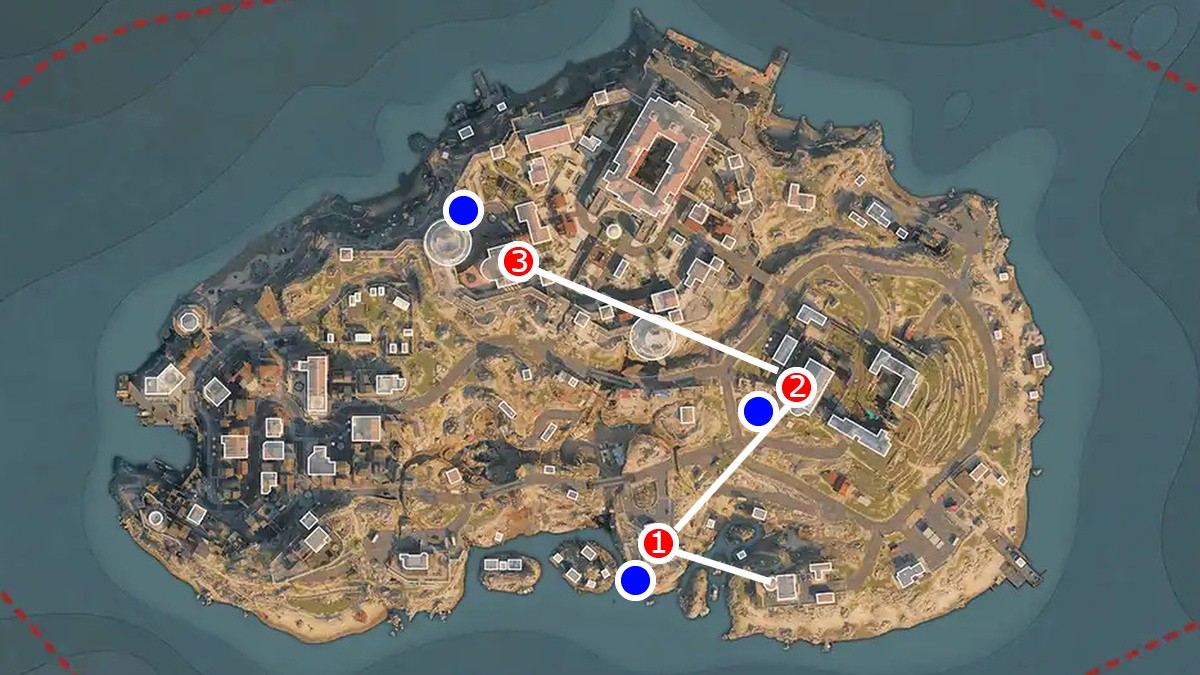
Once you’re done with the Lighthouse, it’s time to do the main part of the easter egg. Head to the roof of the building marked with a red dot and the number one on the map above. There’s a radio antenna on top of the building so it’s hard to miss. On the roof of that building is a small bird’s nest sitting on top of the small metal spinner.
These bird’s nests are the key to the Dragon Stirs easter egg. To complete the easter egg, you need to collect lenses from nearby binoculars and then place them in three different bird’s nests to create a beam of light that spans the entirety of Fortune’s Keep.
First Bird’s Nest
The first bird’s nest is located on the building near the Lighthouse with a radio antenna on top. Once you’ve located the bird’s nest, head a short distance southwest to the overlook with an Ascender and you’ll find white binoculars (marked with a blue dot on the map above).
Melee the binoculars and a Mysterious Item will drop. This is a reflective lens that will help you complete the easter egg. Take the Mysterious Item to the first bird’s nest and you’ll be prompted to place a shard. Interact with the bird’s nest to place the lens and complete this step of the easter egg.
Second Bird’s Nest
To find the second bird’s nest, head to the Winery. The bird’s nest is located on the southwestern edge of the building’s roof.
The binoculars for this bird’s nest are located in a small plaza right in front of the Winery with white tiles and a table with a white umbrella. It’s marked on the map above with a blue dot. Melee them, grab the lens, and climb to the roof to place it in the bird’s nest to complete this step.
Third Bird’s Nest
The third and final bird’s nest is located at the Terraces. You can find it on the eastern edge of the building’s roof.
The binoculars for this bird’s nest are located on an observation deck overlooking the ocean right next to the large circular tower northwest of the nest. They’re marked with a blue dot on the map above. Melee them just like the other two and then return to the nest to complete the easter egg.
Once you’ve placed all three shards in their respective bird’s nests, the easter egg is done! A message will pop up stating “The Dragon Stirs” and the entire lobby will be notified that you’ve successfully done the easter egg. Some fireworks will go off and you’ll immediately unlock the Crimson Wyrm camo after finishing the easter egg. It’s a universal camo that can be used on any weapon, so you can use it with your favorite Warzone loadout to flex on everyone else in Fortune’s Keep.


Published: Feb 9, 2024 02:33 pm