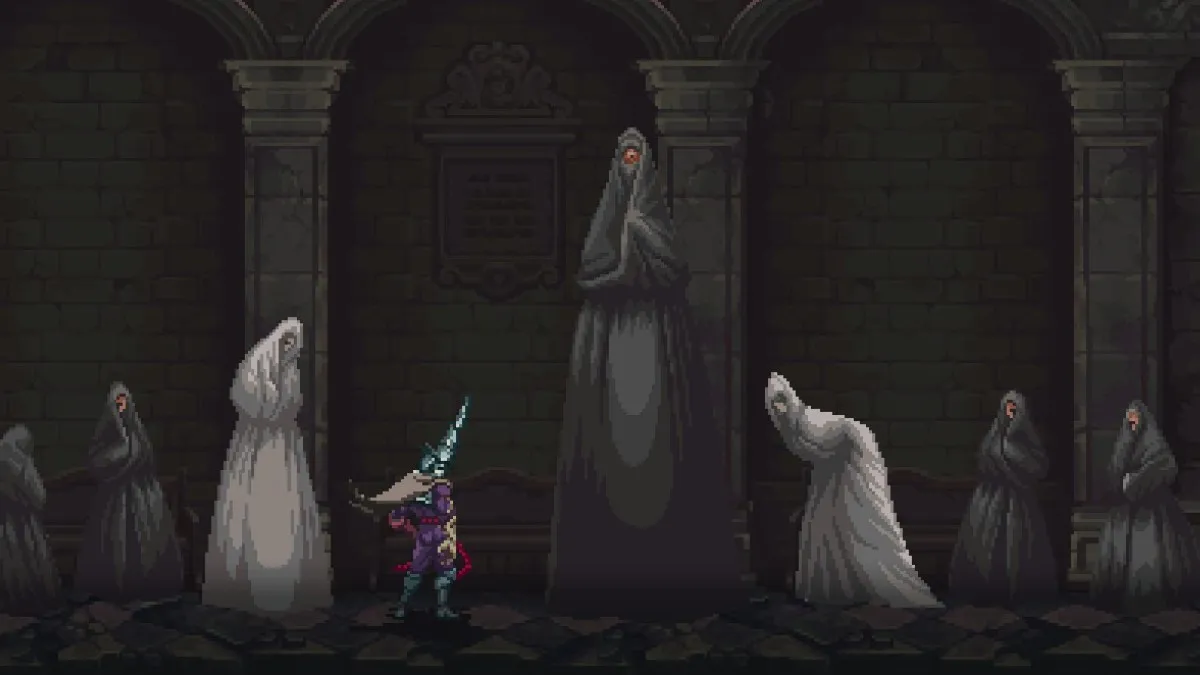
Fake walls are an absolute staple of the Metroidvania genre, and Blasphemous 2 brings them back in force. I’ve spent many hours in the likes of Hollow Knight or Castlevania, attacking every remotely suspicious wall in the hopes of uncovering a secret, and Blasphemous 2 rewards that behavior with a raft of great rewards. In particular, you’ll find the nine hidden Cobijada Sisters, subjects of one of Blasphemous 2’s most difficult sidequests, tucked away behind these fake walls. This guide will show you where to find all of the hidden Cobijada Sisters in Blasphemous 2, helping you uncover every last member of this elusive coven.
How to locate the nine hidden Cobijada Sisters in Blasphemous 2
-
- Screenshots by PC Invasion
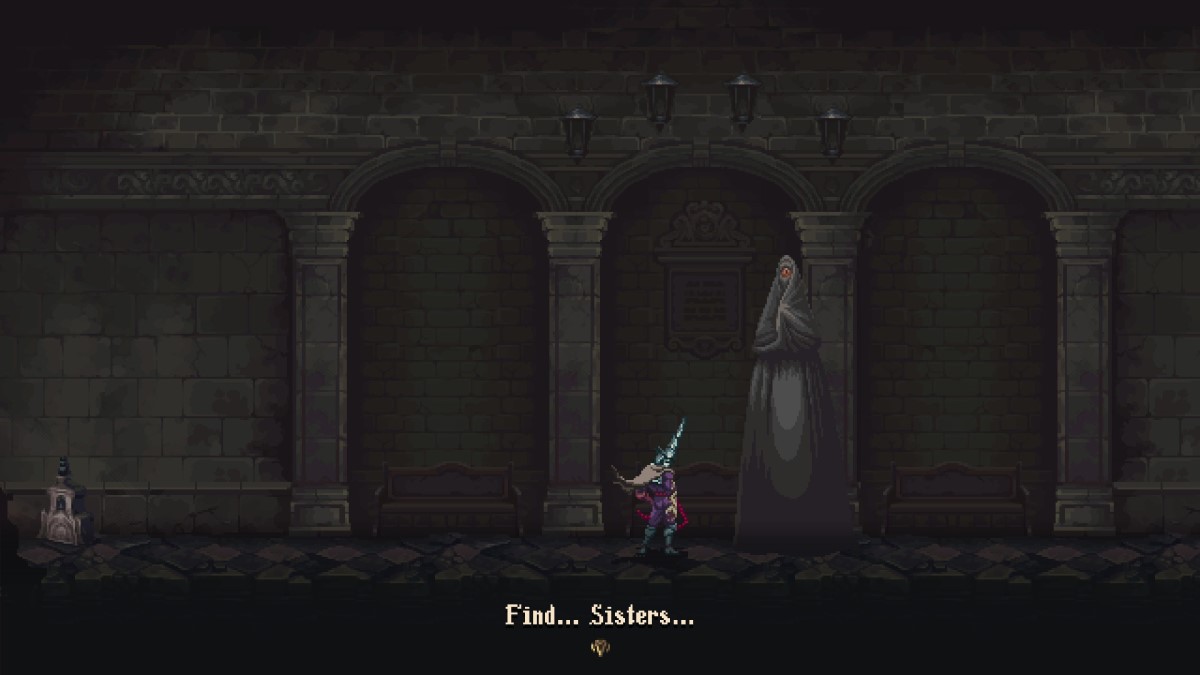
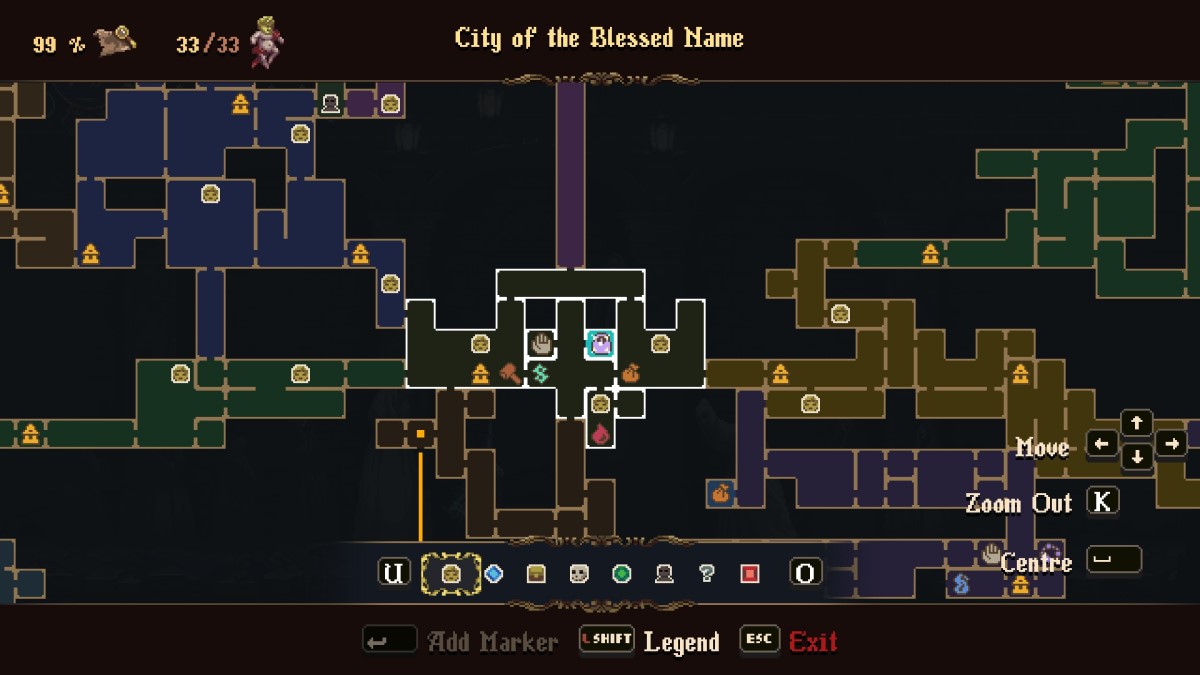
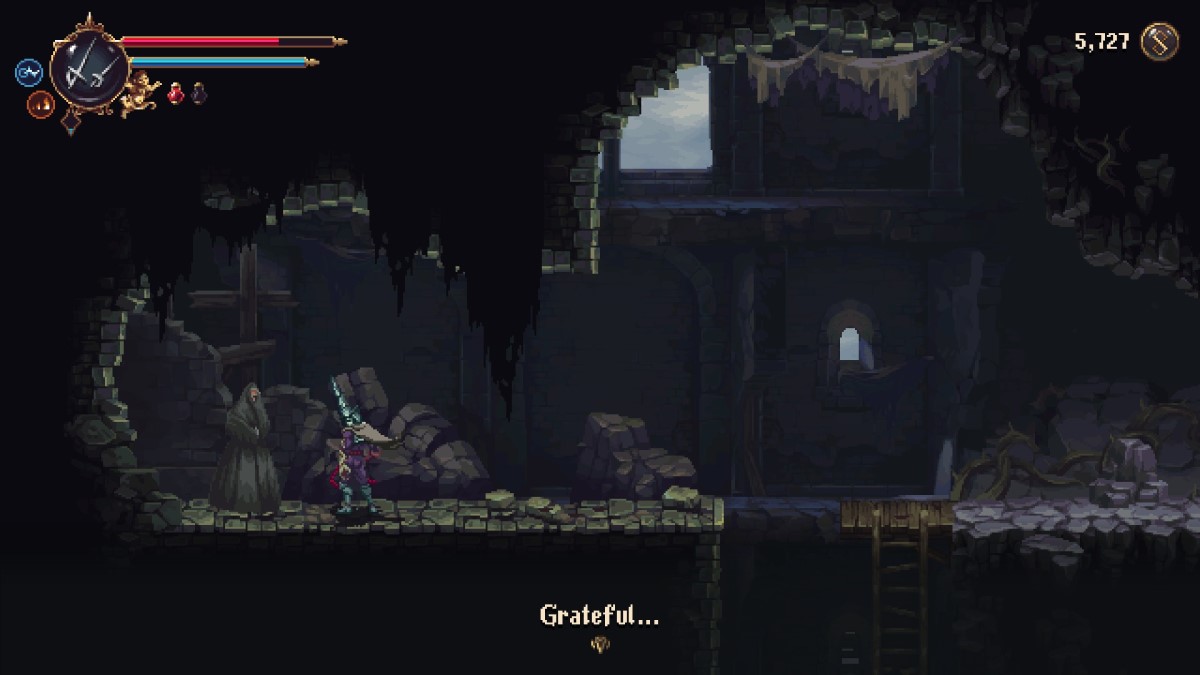
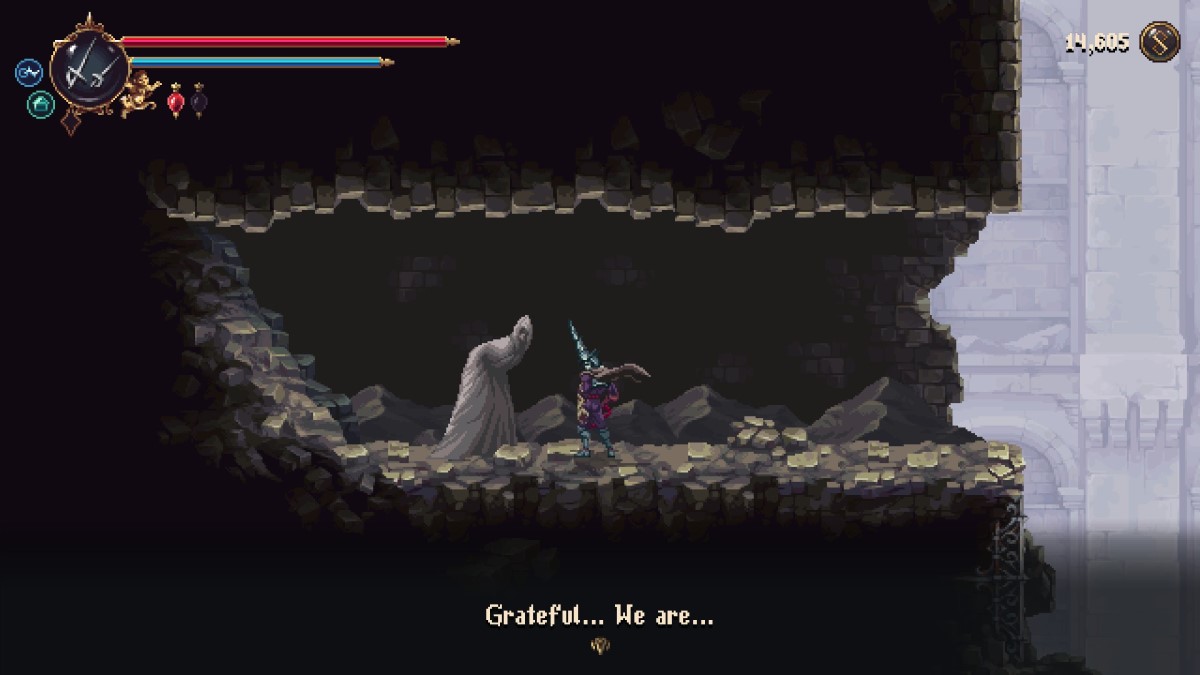
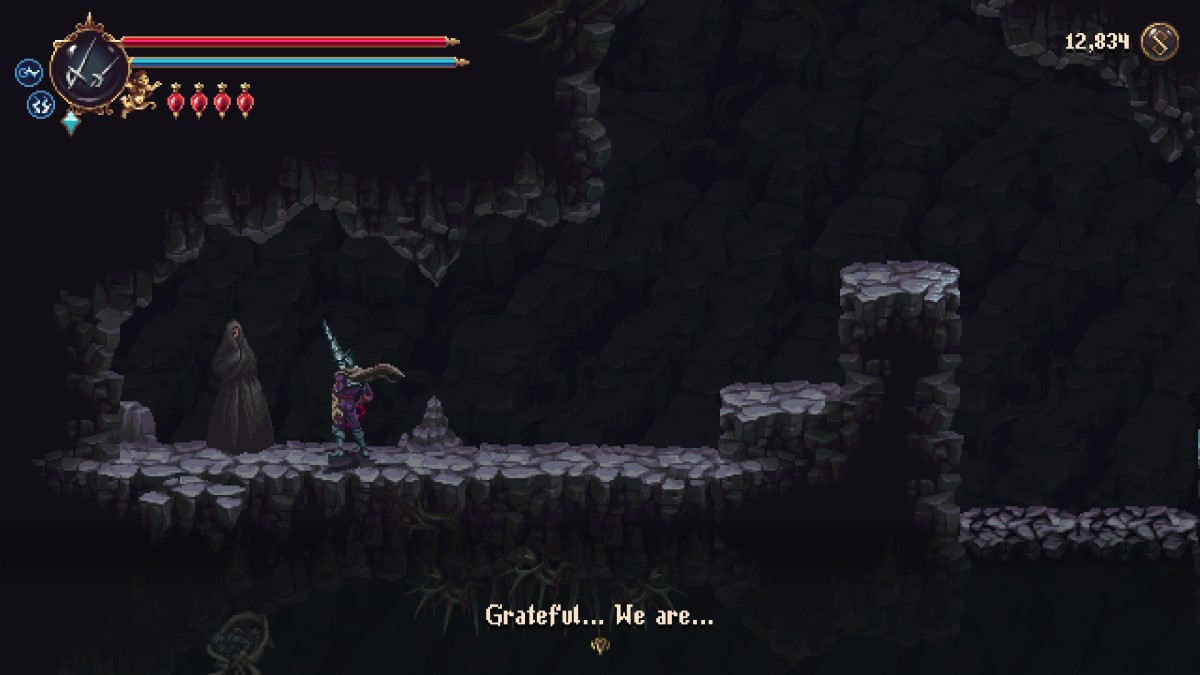
This sidequest begins in the City of the Blessed Name, in the room opposite the warp room. You’ll meet the head Sister, who will give you the vague task of “Find… Sisters…” This isn’t much to go on, but trust me when I say that the rewards you’ll receive for hunting down these Sisters are well worth the effort. There are nine Cobijada Sisters in total, spread out across the different areas in the game, and all hidden behind fake walls. Here’s a full list of their locations:
Cobijada Sister 1
-

- Screenshots by PC Invasion
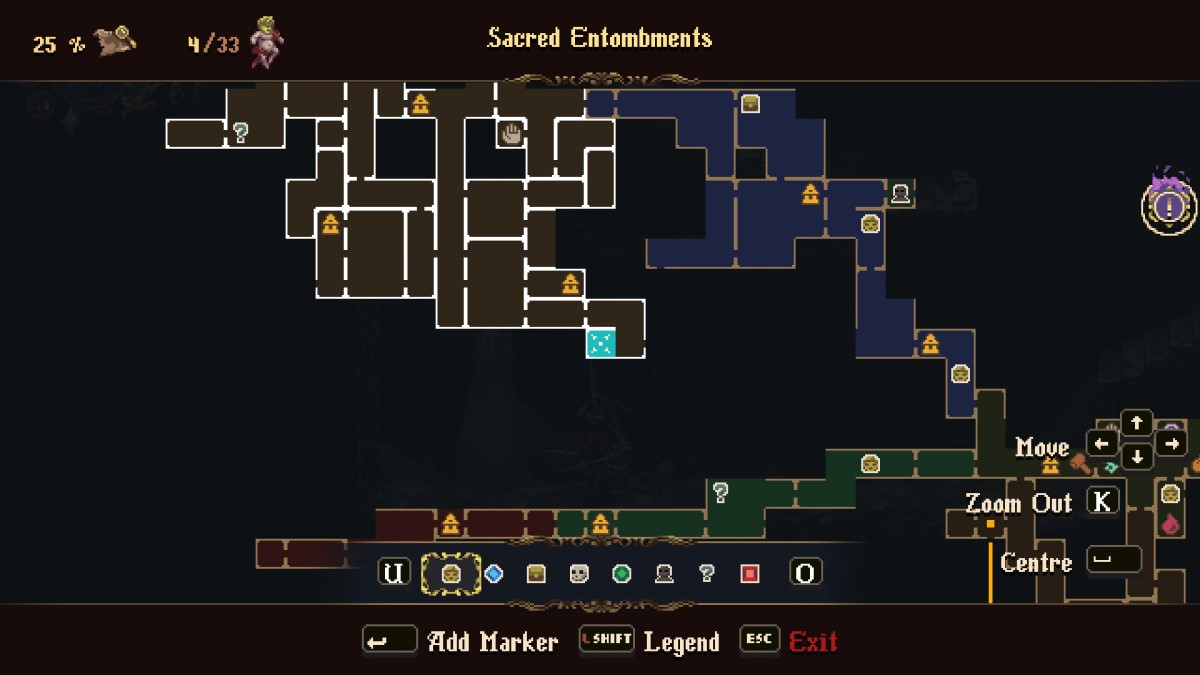
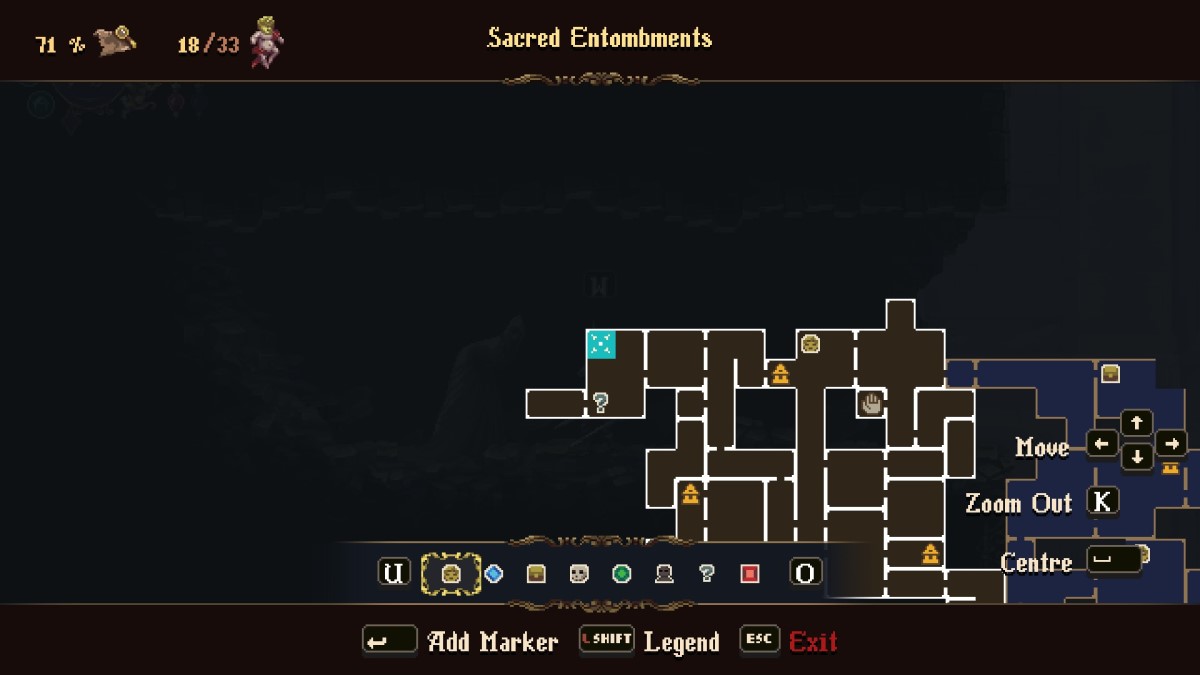
Location: Sacred Entombments
Requirements: Defeat Great Preceptor Radames
After defeating the boss of the Sacred Entombments area, Great Preceptor Radames, proceed right past his arena to find a square room. In the bottom-left of this room, break through a fake wall to find the first Cobijada Sister.
Cobijada Sister 2
-

- Screenshots by PC Invasion

Location: Grilles and Ruin
Requirements: Access to Grilles and Ruin
You’ll find this Sister in the top-left of the area, left of the entrance to Choir of Thorns. At the top of the ladder in the pictured room, break through a fake wall on your left to reveal the Sister.
Cobijada Sister 3
-
- Screenshots by PC Invasion
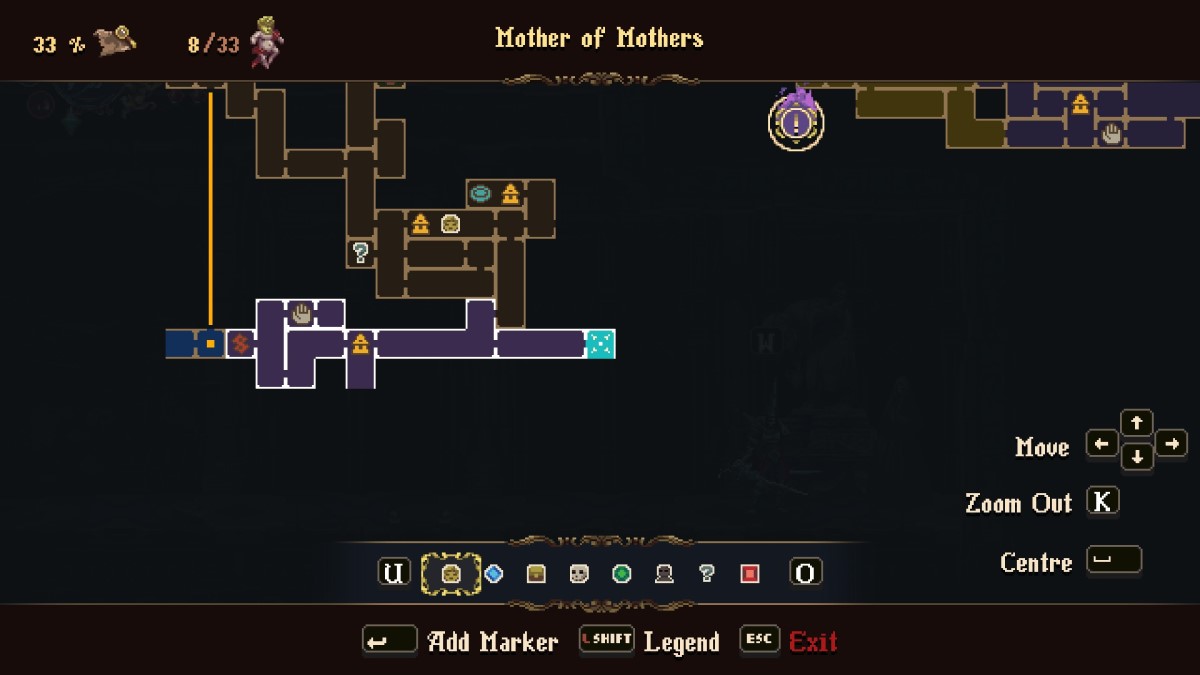
Location: Mother of Mothers
Requirements: Access to Mother of Mothers
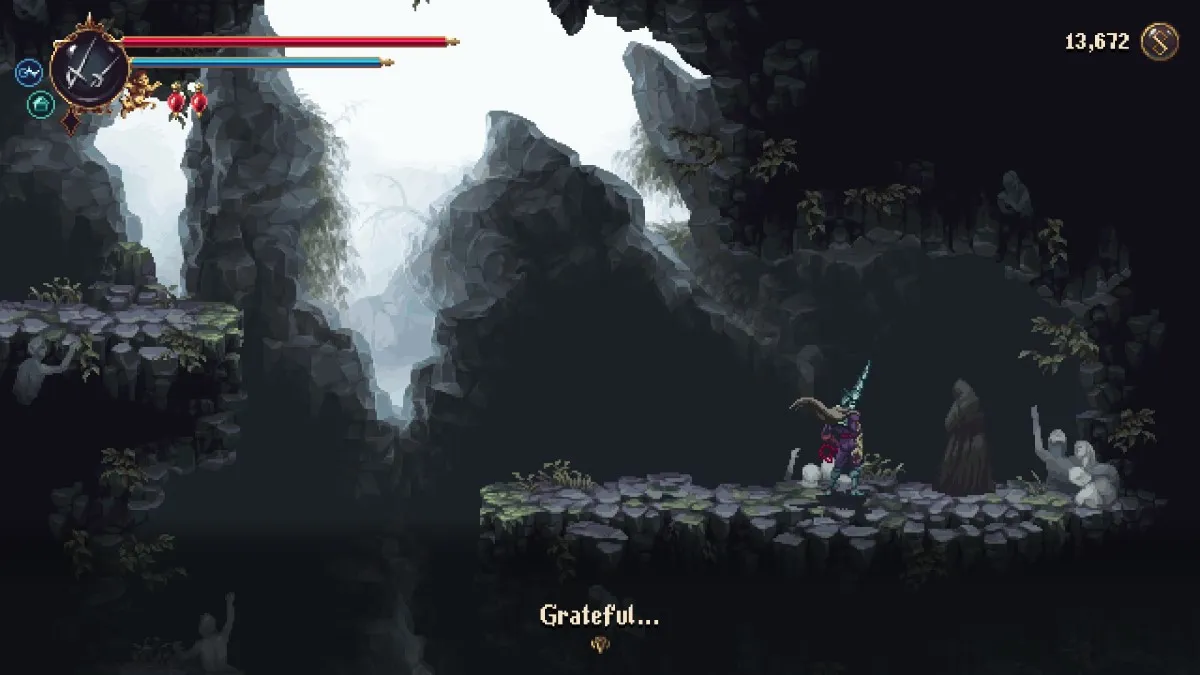
After entering Mother of Mothers from Profundo Lamento, head right in the long corridor, and keep going until you reach a ladder going down. To the right of this ladder, break through a fake wall to find Cobijada sister number three.
Cobijada Sister 4
-
- Screenshots by PC Invasion
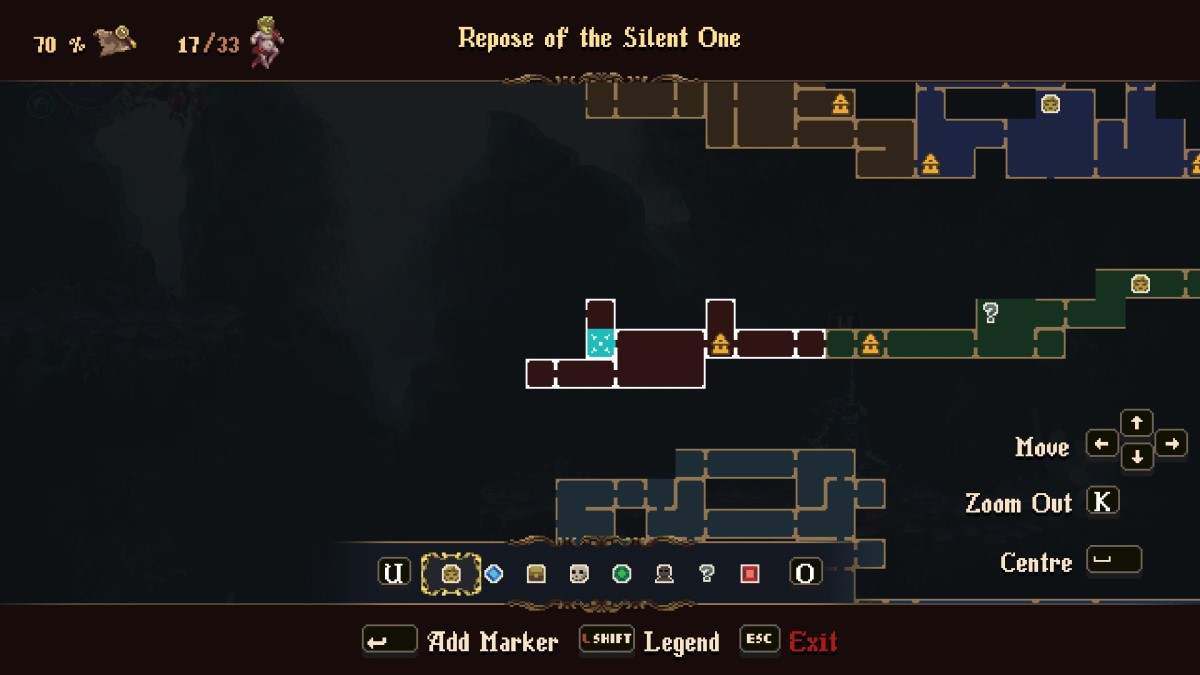
Location: Repose of the Silent One
Requirements: Passage of Ash Ability
From the start of this area, head right until you reach the large rectangular room. Using Passage of Ash, you can double-jump up to the ledge and leave the room through the top-left exit. From here, climb up the ledges in the small room that follows, and break through the fake wall in the top-right to find another Cobijada Sister.
Cobijada Sister 5
-

- Screenshots by PC Invasion
Location: Sacred Entombments
Requirements: Ivy of Ascension and Passage of Ash Abilities
This one’s a secret within a secret. As we covered in our Rosary Knot location guide, you can find an Abandoned Rosary Knot in the top-left room of the Sacred Entombments, accessible using the Ivy of Ascension and Passage of Ash abilities. To the left of this Knot, you can break through a fake wall to reveal the fifth Cobijada Sister.
Cobijada Sister 6
-

- Screenshots by PC Invasion

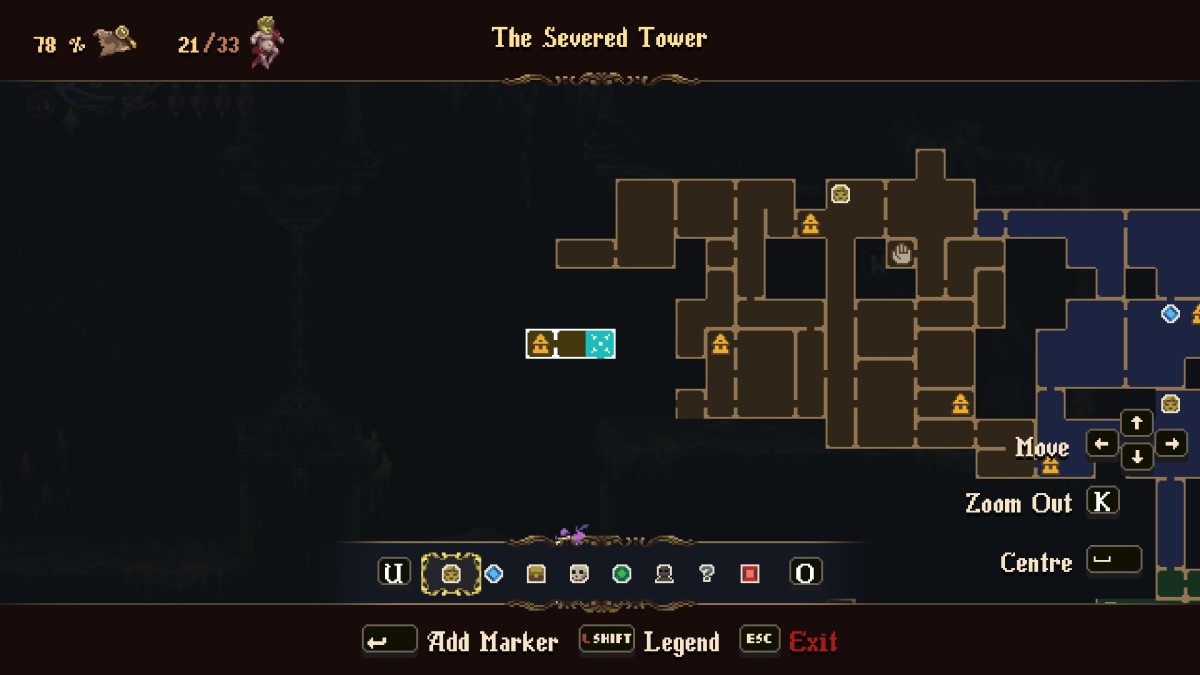
Location: The Severed Tower
Requirements: Procession of Shadows Trip 3, Mercy of the Wind Ability
To find this Cobijada Sister, you’ll need to have been following the Procession of Shadows throughout your playthrough. This is a mysterious group traveling in a black carriage, that will take you to new locations in exchange for Forbidden Tribute Key Items. You’ll first find them in Choir of Thorns, then they move to Profundo Lamento, then Choir of Thorns again, then The Severed Tower. Once you’ve taken this journey, head right, using the Mercy of the wind to pass through the blue chain and break through a fake wall on your right to find the next Sister.
Cobijada Sister 7
-

- Screenshots by PC Invasion

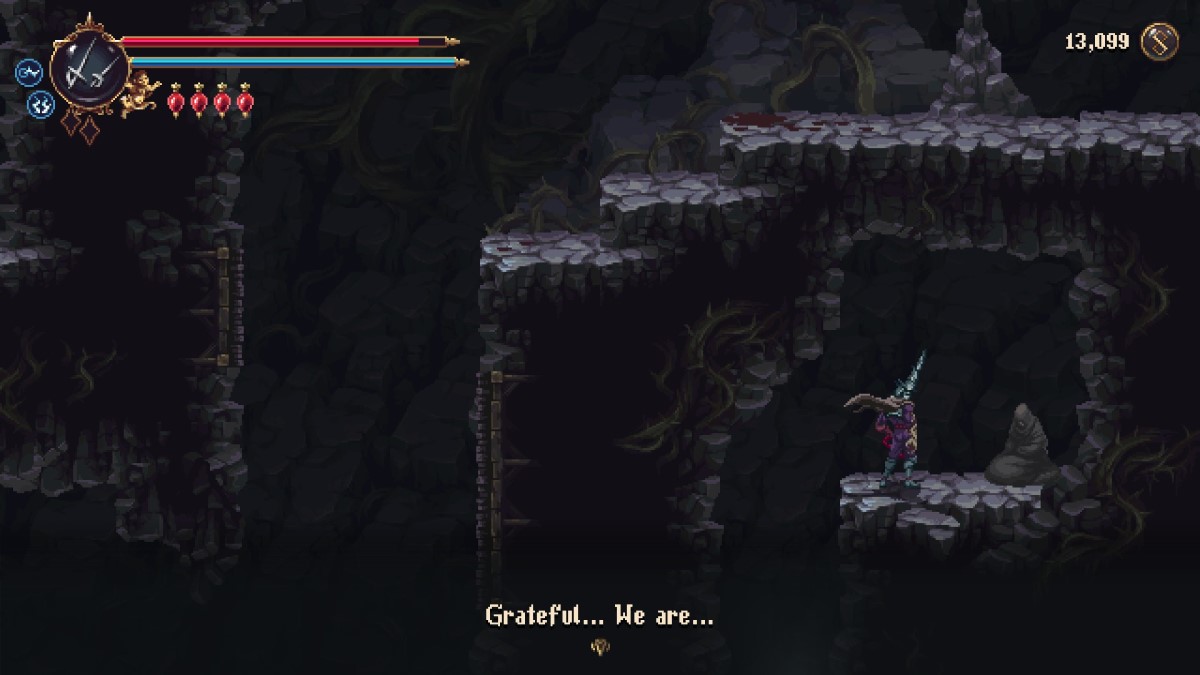
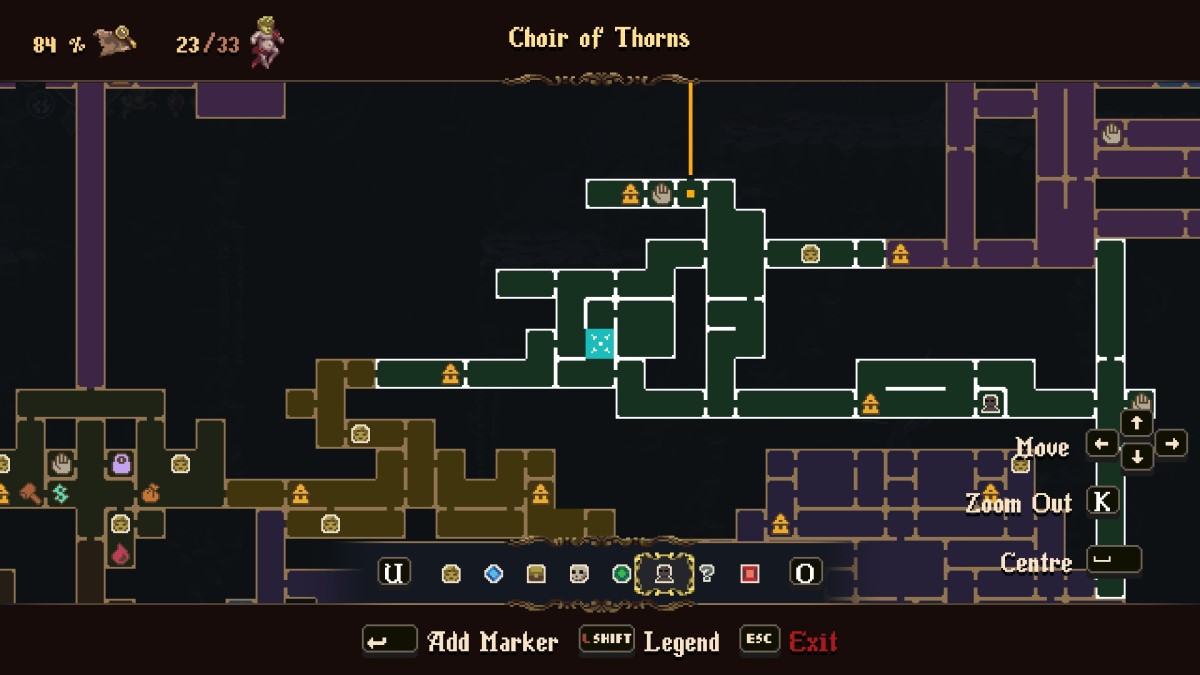
Location: Choir of Thorns
Requirements: Mercy of the Wind Ability
You’ll find this Sister in the top-left section of the pictured room, which is roughly in the middle of the Choir of Thorns area. You’ll need the Mercy of the Wind Ability to break through the blue chain, then you can break through the fake wall next to it to find the Sister.
Cobijada Sister 8
-
- Screenshots by PC Invasion

Location: Choir of Thorns
Requirements: Ivy of Ascension and Passage of Ash Abilities
The next Sister is also found in Choir of Thorns in the twisty room to the left of where Sister number seven is located. You’ll need to drop down to the bottom-right of the pictured room, break through the fake wall in your path, then use a combination of Passage of Ash and the Sarmiento and Centella swords to reach the platform with the Sister.
Cobijada Sister 9
-
- Screenshots by PC Invasion

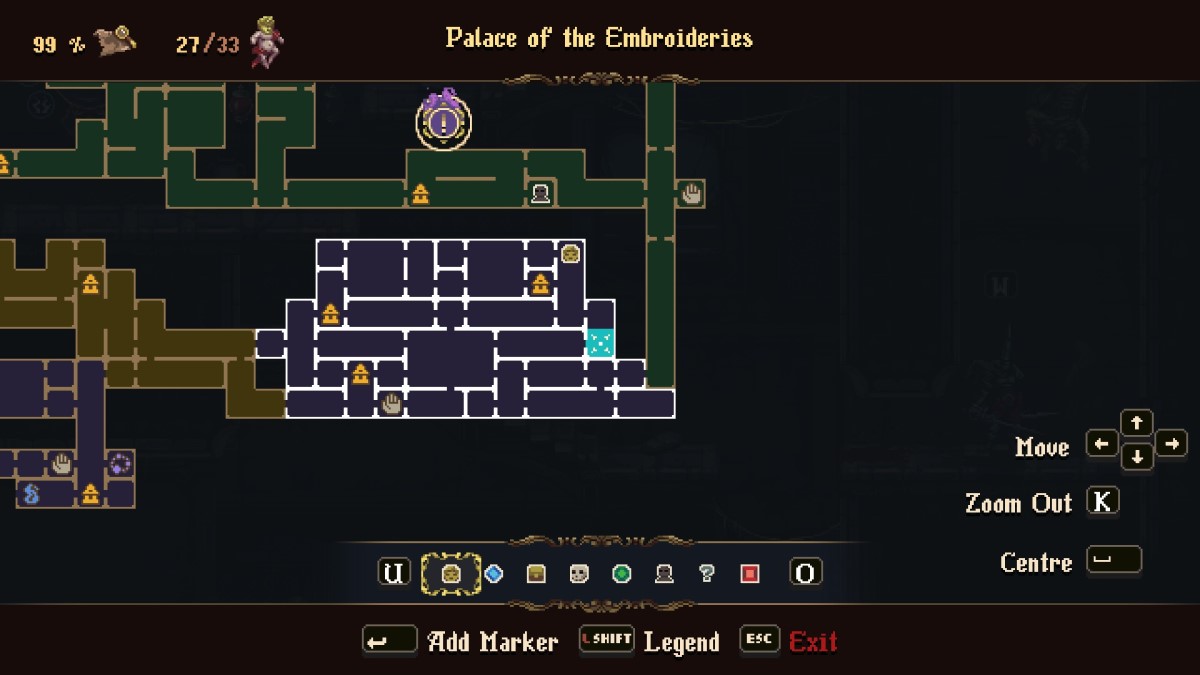
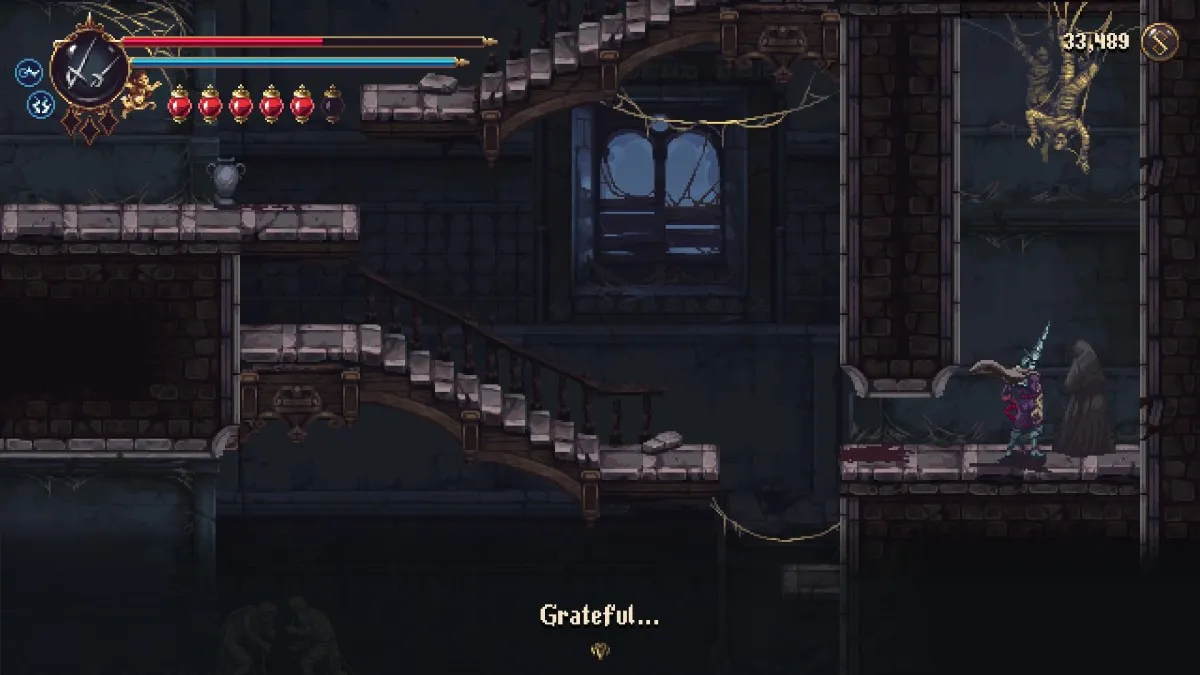
Location: Palace of the Embroideries
Requirements: Access to the Palace of the Embroideries
The final Cobijada sister can be found in the Palace of the Embroideries. Head to the pictured room, then make your way to the top-right and break through a fake wall. Defeat the enemy in the box, then drop down from here into a second secret area, this time containing a Sister.
Rewards
-
- Screenshots by PC Invasion

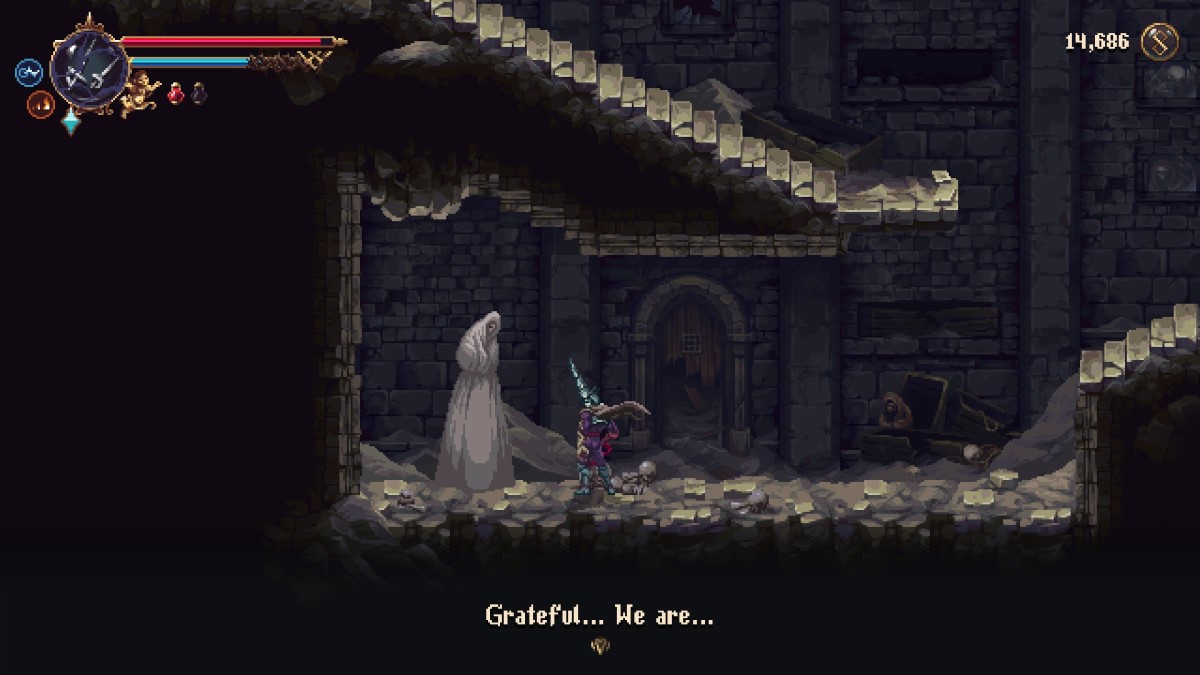
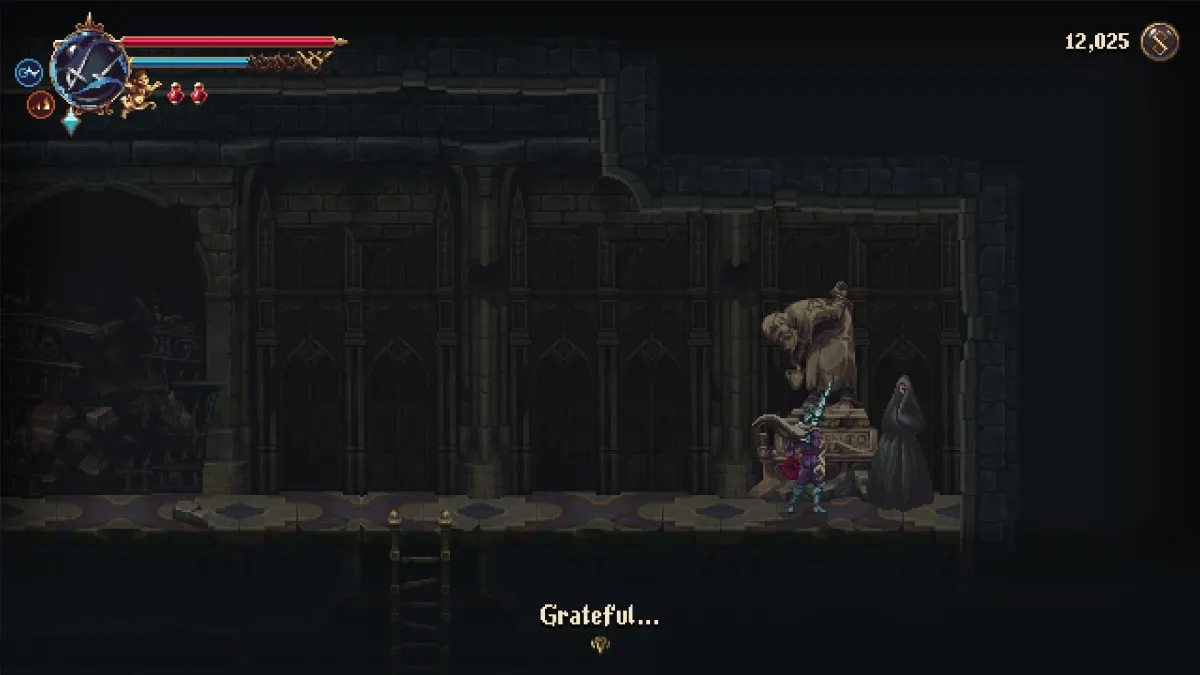
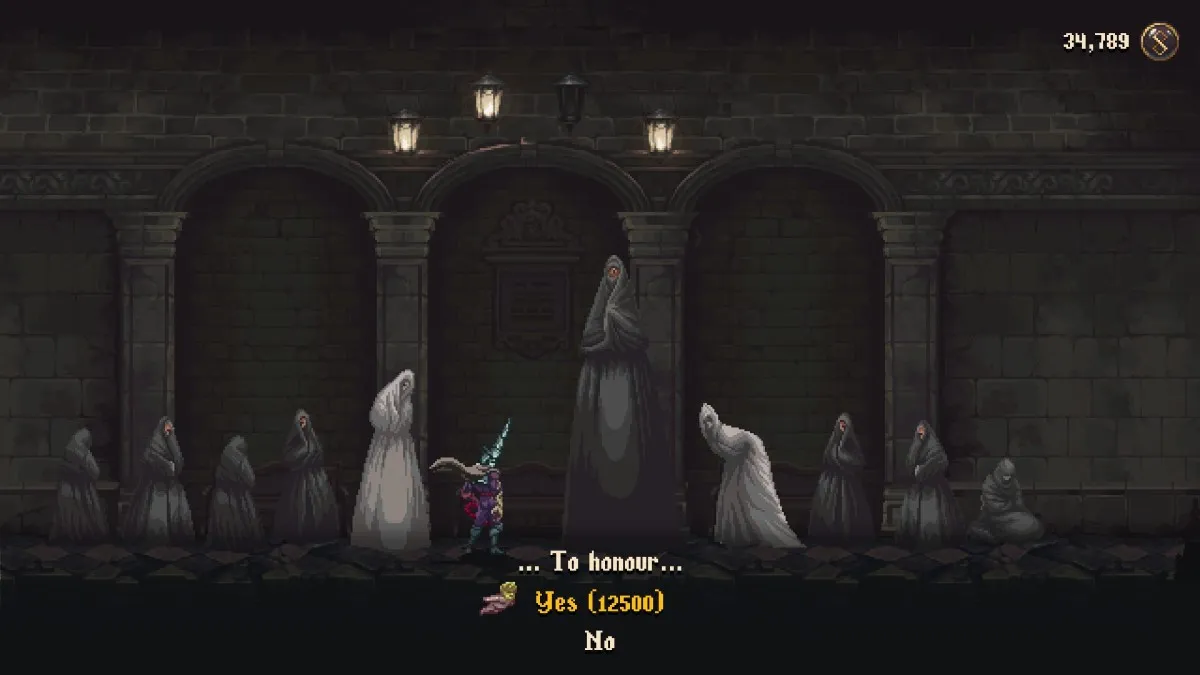
There are four different rewards available for finding Cobijada Sisters in Blasphemous 2. For each one, you’ll need to return to the head Sister in the City of the Blessed Name and pay some Tears of Atonement as ‘tribute’ in order to receive the reward. Here’s a full list of the rewards you can claim from this sidequest:
- Two Cobijada Sisters and 1500 Tears of Atonement tribute – You unlock the ability to travel to the City of the Blessed Name from any Prie Dieu.
- Four Cobijada sisters and 3000 Tears of Atonement tribute – You unlock the ability ro refill your Fervour after resting at a Prie Dieu.
- Six Cobijada Sisters and 6000 Tears of Atonement tribute – You unlock the ability to travel between any two Prie Dieus
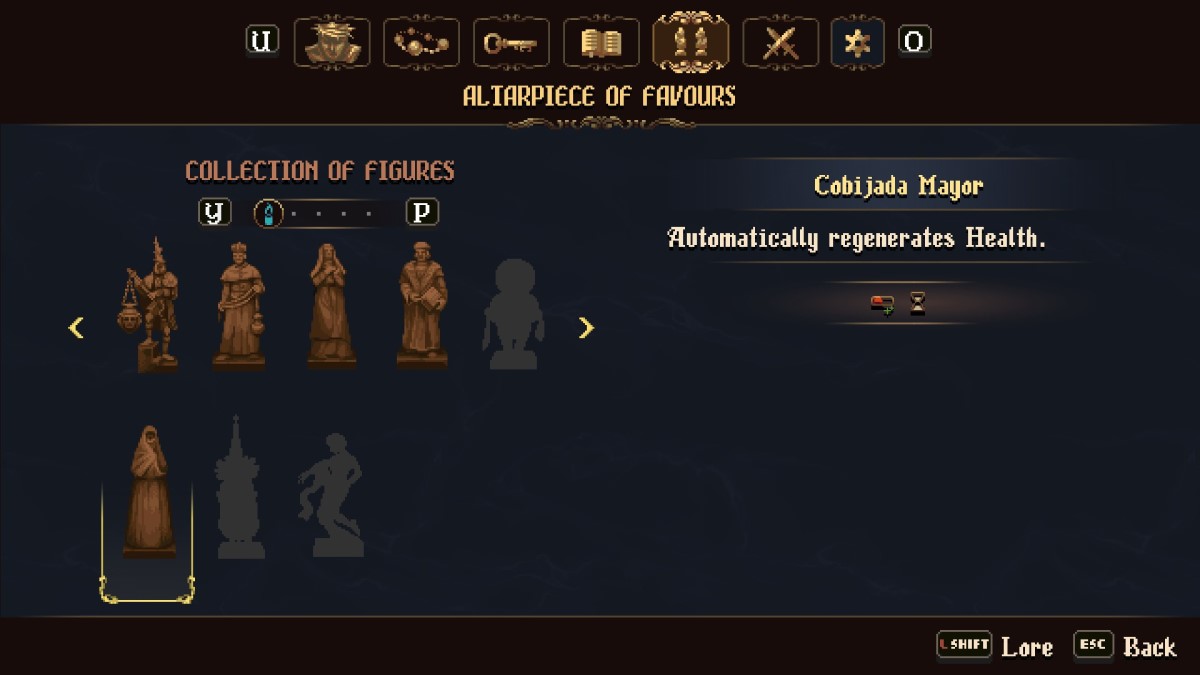
- Nine Cobijada Sisters and 12500 Tears of Atonement tribute – You receive the Cobijada Mayor, a Statue that causes you to automatically regenerate health while equipped.
And there you have it: a full guide on where to find the hidden Cobijada Sisters in Blasphemous 2. The rewards you receive for advancing in this quest are some of the most valuable in the game, greatly streamlining your experience in multiple areas, and making these Sisters worth seeking out despite their elusive nature.