The Goblin Camp is one of the major areas in Baldur’s Gate 3 Act 1 where you’ll do battle against Dror Ragzlin, Minthara, and High Priestess Gut.
These goblin leaders can be hard to defeat. Here’s our guide to the entire Goblin Camp, including defeating the goblin leaders, to help you out. Note: To defeat all three goblin leaders, you’ll need the best party class compositions in BG3.
Baldur’s Gate 3 guide: Entering the Goblin Camp
The Goblin Camp in Baldur’s Gate 3 is far to the west of the Druid Grove. There are a couple of encounters at the outer rim of the Goblin Camp, and you can tackle these whichever way you’d like.
I snuck around to the left and behind the camp. Once the goblins eventually found me, I used the horn to call the ogres I made friends with at the Blighted Village. They made quick work of the goblins here which allowed me to continue forward. Other tricks you can use include stealthily poisoning the booze tub, which I did as a Dire Raven to take out a bunch of exterior goblins and weaken others.
When you do reach the center of the Goblin Camp, it’s as though no one cares (mobs aren’t hostile). There’s even a fast travel point in the courtyard. If you start a fight, all the goblins will join in, which might be your cue to load your last quicksave. Continue forward into the goblin temple which is called Shattered Sanctum.

To get into Shattered Sanctum, I highly recommend quicksaving before interacting with the goblin guards inside. Speak to the guards with the character with the highest Charisma. Pass a Persuasion or Intimidation check and you’ll be able to walk around Shattered Sanctum without enemies turning hostile immediately.
Sneaking into Shattered Sanctum
I also found out that you can sneak into the Shattered Sanctum by climbing up to the area above the front door and attacking the loose wall. You’ll need to defeat the five drunk guards, but they aren’t hard to dispatch. With them out of the way, use an explosive or Eldritch Blast to knock the wall down.
Some things of note:
- The Bard, Volo, is performing for the goblins. You’ll have a sidequest to save Volo which you can complete in the goblin temple.
- If you didn’t kill the owlbear cub, you’ll find the creature here. Depending on your decisions, it could eventually make its way to your camp.

To eliminate the goblin leaders, you need to enter the goblin temple called Shattered Sanctum.

If you don’t pass the Persuasion check, I honestly think you should reload your save and try again. The goal here is to be able to walk around Shattered Sanctum freely, and if you can’t do that and get into a fight instead, eliminating all three goblin leaders is going to be tough. If save-scumming isn’t your bag, now’s as good a time as any to whip out Lump’s War Horn!
Inside the Goblin Camp in Baldur’s Gate 3

There are a lot of secrets and sidequests to participate in in Shattered Sanctum. Here are just a few that I found.
- You can find and free Halsin as he’ll become a temporary fifth companion and will help a lot in the fights ahead because his bear form is really powerful.
- You can convince a goblin torturer to release another prisoner just off of the main hall, who leads you to a secret passageway entrance/exit
- Another torturer offers to wound the main character. This will earn the disapproval of Gale and Shadowheart, but Astarion seems to be fine with it.
- You’ll find Volo jailed by a goblin who seems to be enamored with him; you can persuade her to hand you the key.
- You can also potentially find Volo outside the main entrance.

How to defeat High Priestess Gut and enter the Underdark in BG3
At the center of this large area, you’ll find High Priestess Gut, one of the goblin leaders you need to eliminate. She claims that she can heal your affliction and get rid of that “eye tadpole.” However, all your companions will disapprove of the High Priestess’ methods.
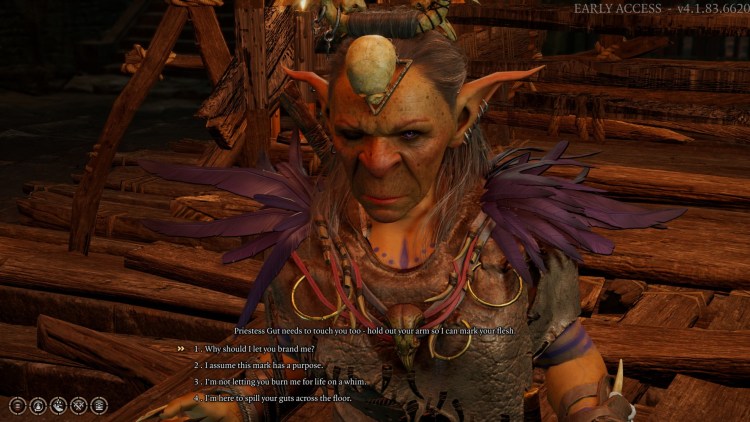
Anyway, if you agree to get cured, High Priestess Gut will lead you to her room and, if you drink the potion that she gives you, she’ll initiate a battle. Looks like it was a ruse all along, but luckily, this is the perfect place to quickly and quietly eliminate her.
Once I reached her room, I chose the dialogue option to attack her. This allowed my entire party to kill her without the other goblins becoming hostile.
Notes to consider about High Priestess Gut
Note 1: High Priestess Gut is one of three goblin leaders that you need to eliminate if you want to save Halsin and the Druid Grove in Baldur’s Gate 3.
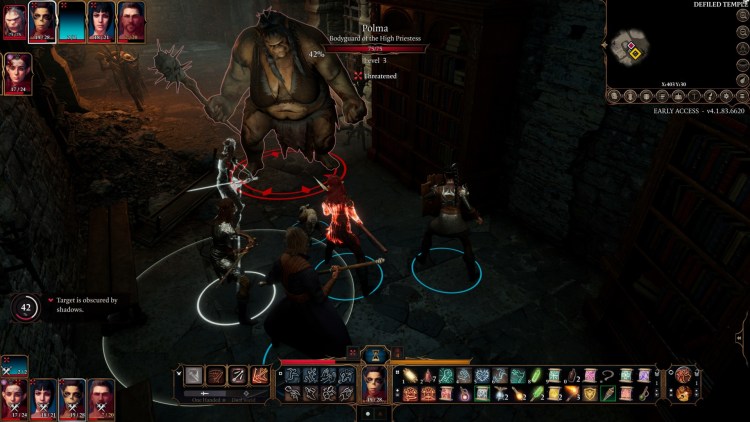
Note 2: You can pick up a key from Gut’s corpse. It’ll open her chambers and you need to fight her ogre bodyguard, Polma. Following this route will lead you to the Defiled Temple’s Moon Puzzle and, eventually, the Underdark area where the “Find the Nightsong” quest is supposed to be.
Note 3: The nearby small room houses a couple of elves and a dwarf. I’m not sure what they’re doing here, but they do ask you to leave. It won’t matter if you offer them gold because they’ll still attack you. You can use the barrels found inside to blow them all up, though.
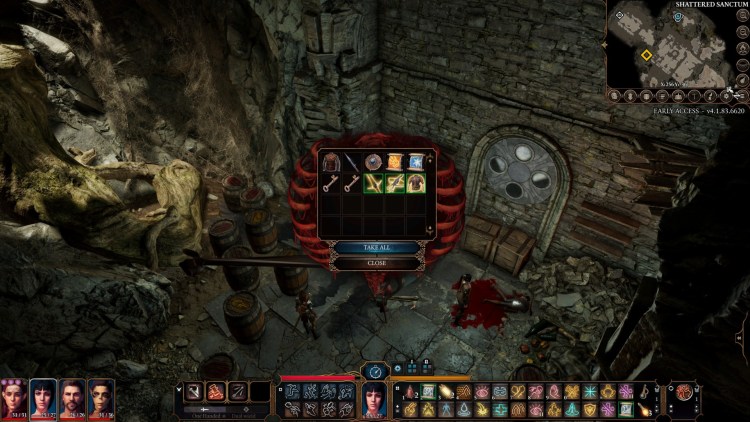
The dwarf has some nifty loot including several upgraded items and a couple of keys and scrolls. If you open the nearby chest, you’ll get a whopping 3,737 gold.
How to defeat Minthara in BG3
At the northeastern section of the fortress, climb a couple of ladders to reach the room of the drow, Minthara (the second goblin leader). Make sure you destroy any nearby war drums so reinforcements aren’t called.

Speak with her. A Deception check lets you convince her of your motives and she won’t be hostile. Minthara tells you that she plans on attacking Druid Grove. You could help her with the act, help her, and then betray her, or attack and kill her now.
Minthara cheese method
- Wait until you finish your conversation with Minthara when you meet her, playing along with her scheme
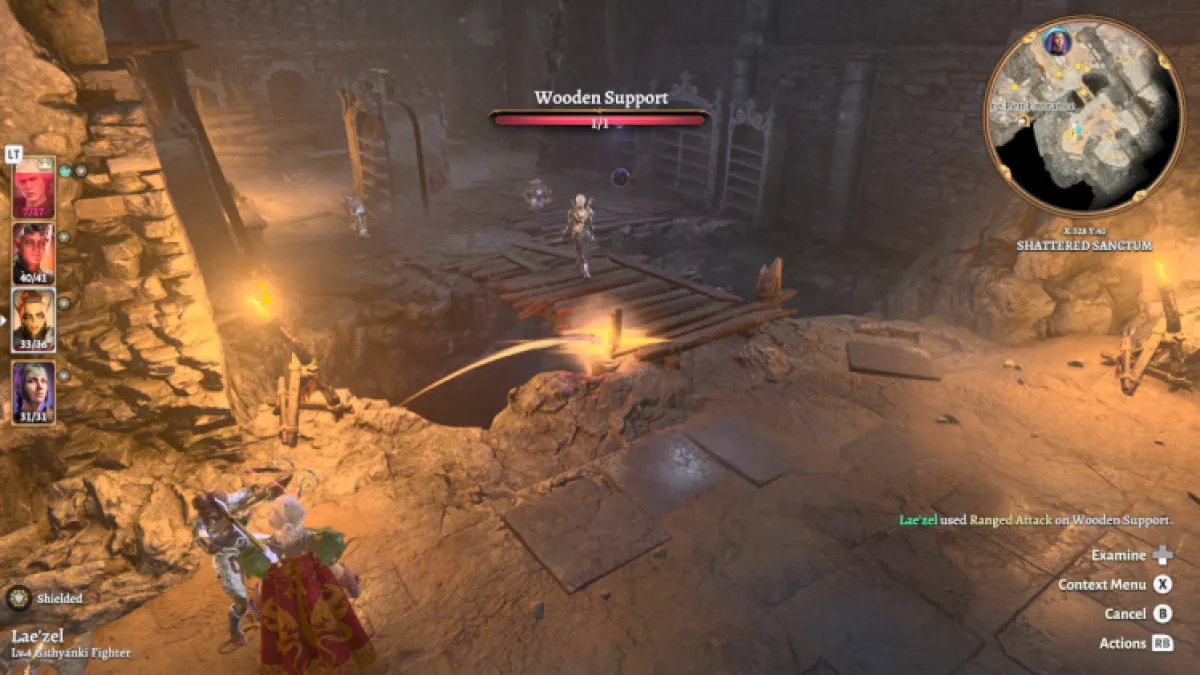
- As she walks away, use a bow or similar projectile to shoot the supports of a catwalk she crosses
- This will drop her to her instant death, and it’s hilarious but you likely won’t get her gear
Killing Minthara yields the Xyanyde (rare mace) and the Amulet of Misty Step (rare; gives the “Misty Step” spell). As far as I know, even if you attack her in her chambers, or drop her to her death, the goblins won’t notice.

I found Minthara to be the easiest Goblin Camp leader to defeat in Baldur’s Gate 3 since she’s isolated. Bully Minthara with high damage and you’ll beat her fairly quickly.
How to defeat Dror Ragzlin in BG3
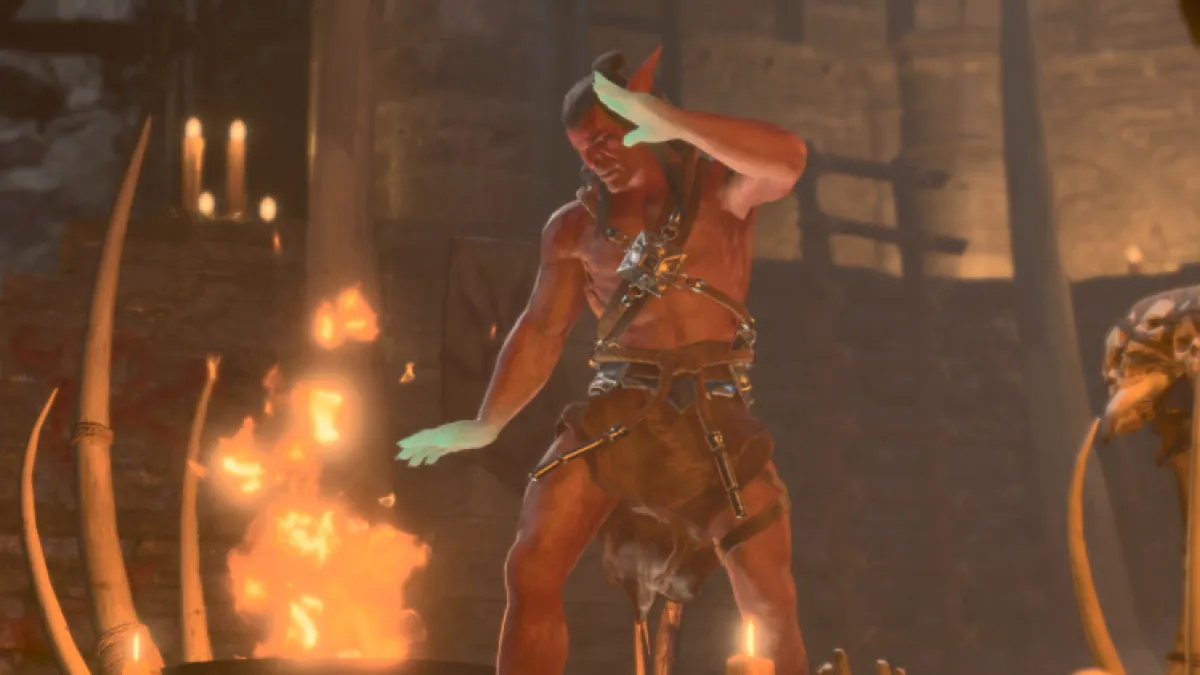
The third and final goblin leader in Baldur’s Gate 3 is Dror Ragzlin, a hobgoblin who’s obsessed with speaking with a dead Mind Flayer. He is found west of Minthara in the northern part of the temple. If you have Shadowheart selected, you’re given the option of talking to the corpse yourself (since Shadowheart is a Cleric).
There are several dialogue options here, mostly cryptic information about the Absolute. There’s also a Persuasion check to prevent Ragzlin from turning hostile immediately.

Anyway, he does ask you to visit Minthara and follow her orders (if you already killed Minthara, he won’t know about it). You could even decide to attack him, but there will be half a dozen hostiles surrounding you.
Dror Ragzlin strategies
The Dror Ragzlin fight is a hard one, but to beat it, I recommend three crucial steps:
- Destroy the war drums you find leading into the chamber and the one behind Dror Ragzlin
- Have one or two characters sneak upstairs to kill the 2 elves
- Use Grease and Fire Bolt, Spike Growth, or any AoE damaging attacks on the goblins flustered around Dror Ragzlin
Note: You can also get creative and use shove to push Dror Ragzlin off the cliff into the chasm below.
After looting Dror Ragzlin, you’ll find the Faithbreaker (rare martial mace) and a key that opens a small nook behind the throne room. A chest has an Amulet of Selûne’s Chosen (gives the “Selûne’s Dream” cantrip) and you’ll find a big pile of gold.
Looks like you’re done here. Return to the Druid Grove to remember to take all the parasites to grow your Illithid Powers.



Published: Dec 13, 2023 11:28 am