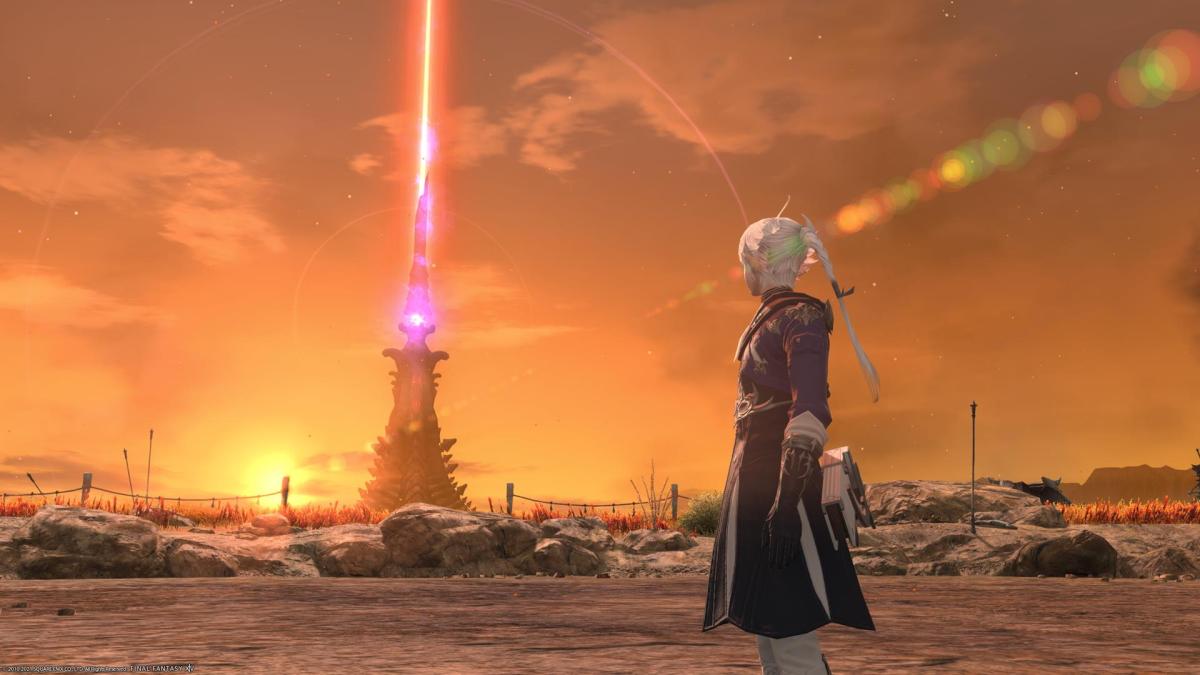
The new dungeon in Final Fantasy XIV: Shadowbringers patch 5.5 is Paglth’an, which isn’t actually as difficult to pronounce as it looks. This journey into the Amalj’aa lands will plonk you right in the middle of an ongoing battle, with invaders battling the locals, and Lunar Bahamut heading up your foes. Despite how that sounds, it’s not too tricky a dungeon (again, not as difficult to beat as it looks to be to pronounce). One boss is simple enough, one’s primarily about fighting hordes of adds (because everyone loves that), and the other is… well, that’s Lunar Bahamut.
There’s actually not a great deal to panic about, though. Across all three bosses, there are maybe three total attacks that can trip you up, and after seeing them once you’re unlikely to get caught out again. Read on to find out how to end this incursion.
Amhuluk
Attacks:
Critical Rip — Tankbuster.
Lightning Bolt — All party members are affected with Lightning Rod, as are some of the lightning rods around the edge of the arena. Run to one of the unaffected lightning rods to transfer the debuff to them, and then move away to avoid the blast.
Electric Burst — Unavoidable AoE damage. Heal through.
Thundercall — Pulsing lightning orbs appear around the edge of the arena, one bigger than the others. They’ll blast out a damaging AoE roughly every two seconds.
Wide Blaster — Massive frontal cone AoE, almost immediately followed by…
Spike Flail — A thinner rear cone AoE. Preferably, move to the side of Amhuluk to avoid both of these at once.
Strategy:
Amhuluk isn’t a particularly tough opponent, despite pushing out a lot of damage. Once you know to take the Lightning Bolt’s debuff to a non-electrified lightning rod, you’re basically 90% of the way through mastering this fight. The only real difficulty comes when the attacks are mixed together: the pulsing lightning orbs are often combined with Lightning Bolt, so some careful timing and positioning is needed to both remove the debuff and not get smacked. One hit from a Thundercall is preferable to the debuff from Lightning Bolt, though.
You can survive a Lightning Bolt (and the subsequent electric damage debuff) and Electric Burst, but it’s sketchy. If you can avoid it, then do so.
Magitek Core
Attacks:
No names given for some of the attacks here as far as I can see (unless you’re hit by them, anyway, which I’ve somehow managed to avoid), so I’m making them up as I go along.
Wave Cannon — Two of the three cannons to the side will charge up. Move into the column of the cannon that’s not glowing bright blue to avoid this.
Cannon Blast — One member of the party will be targeted with a sizeable AoE. Just move away.
Ground-to-ground Ballistic — Oh, hey, an attack with a name! This is a massive knockback that targets the center of the arena. Position yourself so it won’t smack you into the path of the Wave Cannon blast.
Missiles So Slow They’re Physically Impossible Because That’s Not How Propulsion Works — Missiles will appear at both ends of the arena, and will then slowly move in the direction they’re facing. Position yourself in an area where you’re not going to run into one or they’ll explode, doing AoE damage.
Defensive Reaction — Another attack we have a name for! The Magitek Core itself uses this, and it deals unavoidable AoE — just heal through it.
Strategy:
This is, honestly, an ‘add’ fight. All you’re doing is killing the adds while avoiding the (very telegraphed) attacks. When enough adds are killed, the Amalj’aa will take down the Magitek Core’s shields. Hop onto the bright, blue marker to leap up to it, and then do damage before you’re knocked back down and more adds appear.
And that’s it, really. It’s mostly add management, and (for once) it’s a fight that relies quite heavily on the tank, especially once adds with their own AoEs start popping up. But you know the drill: kill the adds, avoid the massive and obvious AoEs, and burn down the Magitek Core whenever the opportunity arises. Chances are you might not even see some of the above attacks simply due to burning down the adds so fast.
Lunar Bahamut
Attacks:
Twisted Scream — Lunar Nails to appear around the arena, causing unavoidable AoE damage. Get away from where they appear, but keep track of which ones appear when (which is usually a linear, easy-to-follow pattern). They’ll explode before long, and you want to keep moving to a safe spot.
Perigean Breath — Frontal cone AoE.
Akh Morn — It’s a dragon, so of course Akh Morn appears again. This is a stack marker attack, so everyone needs to stand in one spot. However, this hits four times: do not split until multiple hits have gone off, or someone’s going to die.
Megaflare — Target markers appear on every party member. Split up to avoid sharing damage. Each one will also leave behind an AoE that will explode a couple of seconds later, so once Megaflare hits and the AoE marker appears, move away.
Megaflare Dive — Similar to one of the attacks from the final boss in Anamnesis Anyder. Lunar Nails will appear at the sides of the arena, and Lunar Bahamut will prepare to dive down the middle of the arena. Head to the side of the arena where the Nails will explode last, and once Megaflare Dive goes off, move back to the middle.
Kan Rhai — One (and later, two) party members will be marked with an AoE that explodes in each cardinal direction. They should ideally move to one side of the arena to prevent hitting the rest of the party, and then move as soon as it starts to hit. It will strike multiple times, but after the first hit it won’t track the party member anymore.
Lunar Flare — The entire arena will be full of AoEs, which will gradually shrink. As they’re shrinking, you should be able to identify a safe spot to stand – it’ll likely either be at one edge between two of them, or in the dead center of the arena. Move there to avoid.
Gigaflare — Very hard-hitting, arena-wide AoE to punish anyone with vulnerability stacks.

Lunar Flare doesn’t offer many safe spots, but they’re not too hard to discern once you’ve seen the attack once or twice.
Strategy:
The final boss of the Paglth’an dungeon may have a lot of attacks, but is actually not that bad. A pale imitation of Bahamut, indeed. Things like Perigean Breath and Akh Morn shouldn’t cause much issue; you should’ve seen Akh Morn at least once before now. Likewise, many others are handily telegraphed and easy to dodge.
Lunar Nails and Lunar Flare are probably the big two to watch out for. Lunar Nails are similar to Titan’s boulders in that you just need to pay attention to when they appear and move to safe spaces around that. Lunar Flare, meanwhile, is about rapidly identifying a safe spot. The shorthand I’ve found is to see if there’s an AoE in the dead center of the arena. If there is, then the safe spot will be at the edges. If there isn’t, the safe spot will be in the center.
With that, Lunar Bahamut is down, the Paglth’an dungeon is clear. You’re primed to get some more info on these mysterious towers and also win the allegiance of the Amalj’aa.
For more Shadowbringers guides, have a gander at our guide hub. Only one more patch to go, and then we’re into Endwalker!


