Final Fantasy XIV: Shadowbringers — The Seat of Sacrifice Guide
Bring shadow, and with it, bring this story arc to a close.
I’m just going to say this right now: Final Fantasy XIV spoilers ahead. This is the climactic boss of the entire Shadowbringers expansion, and if you don’t want to know what you’re about to face, please do not read any further. Even if you’re preparing for your first time, I’d at least suggest waiting until you can queue for Final Fantasy XIV: Shadowbringers – The Seat of Sacrifice before tackling this guide.
Right. Have the curious ones gone? Excellent.
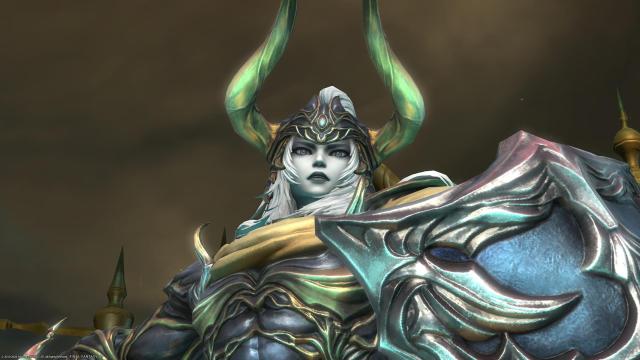
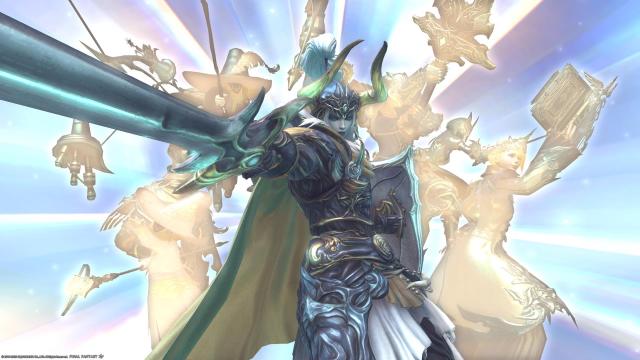
Considering the whole “become the Warrior of Darkness” thing in Final Fantasy XIV: Shadowbringers, it only makes sense that our final foe is the Warrior of Light. And I do mean the Warrior of Light, because this boss design is very heavily based on the art and design of the character from Final Fantasy I. It’s a doozy of a fight, too, and quite a fun one to play through.
Phase One Attacks
Terror Unleashed – The entire party is reduced to 1 HP. Anyone not healed to full HP within 15 seconds will die.
Solemn Confiteor – Circle AoEs are placed underneath four random party members.
Coruscant Saber – Either a circle AoE around the boss, or a donut AoE that spans the entire arena with the only safe space being under the boss.
Absolute Fire III – Arena-wide AoE that does minor damage and applies a Pyretic debuff for three seconds. Moving or acting while under Pyretic inflicts heavy damage.
Absolute Blizzard III – Same as above, except Deep Freeze is applied instead. This stuns and roots players if they’re not moving when the Absolute Blizzard cast ends.
Imbued Absolute Blizzard III/Imbued Absolute Fire III – Further attacks will add the Pyretic or Deep Freeze debuff. Remember what the Warrior of Light is imbued with and either keep moving or stop moving when larger casts end to avoid the effects.
Imbued Coruscance – See Coruscant Saber, but you must either stop moving or keep moving to avoid Pyretic or Deep Freeze.

Sword of Light – A glowing sword will spawn at the north end of the arena and will trace a triangle on the ground. Anyone standing in the triangle when the trace is complete will take extremely heavy damage and likely die.
Summon Wyrm – A dragon will appear at one end of the arena, and inflict damage on everyone standing opposite it. Move to the other side to avoid.
The Bitter End – Tankbuster.
Elddragon Dive – Unavoidable arena-wide AoE.
Ultimate Crossover – Unavoidable, absurdly powerful arena-wide AoE. A tank must use a Limit Break for the party to survive this. The fight will restart from this point following a wipe, assuming you survive.
Phase One
Have you fought Exdeath in Deltascape V4.0, back in Final Fantasy XIV: Stormblood? If so, you’re going to have an advantage when it comes to some mechanics. In Final Fantasy XIV: Shadowbringers – The Seat of Sacrifice, Fire and Blizzard are pretty much the same as they were there. And with Warrior of Light opening the fight with a potential instant-kill. The latter one is simple enough, at least: just AoE heal as hard and as fast as you can. If absolutely necessary, healers can drop a cooldown on the main tank, but that really shouldn’t be needed. 15 seconds is plenty of time to heal up.
You really want to remember Absolute Fire and Absolute Blizzard here, if nothing else. Helpfully, the markers for these show either a pause or play button. If he’s using Fire, stand still and stop attacking. If he’s using Blizzard, run like a headless chicken until the cast ends. Fire and its Pyretic debuff are the ones that will kill you and/or really piss off your healer, so please, please stop doing things when that takes effect. Squishy DPS classes can easily kill themselves in the three seconds it takes for that to wear off.
Most other attacks are pretty easy to evade. Keep Imbued Coruscance in mind, and whether you need to stop moving or keep moving when the cast ends; it’s easy to forget that it isn’t just the Coruscant Saber AoE. Sword of Light is the only other one likely to catch people out. I’ve only ever seen this spawn at the north end of the arena, so the safe spots are to the north-west and north-east. Just keep an eye out for the Wyrm and be ready to move to the other end of the arena if needed.
Once the Warrior of Light is down to about 50% HP, you’ll get a cutscene and a quick-time event. Mash as hard as you can for 15 seconds: I believe everyone has to succeed in this event or you wipe. Once you get back, his limit bar will charge up and he’ll use Ultimate Crossover. A tank needs to use a Limit Break here for the party to survive this. Do so and you’ll get a checkpoint here, and can move onto phase two.
Phase Two Attacks
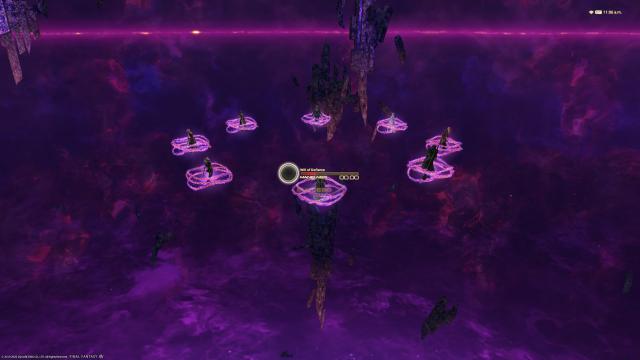
Specter of Light (Twincast) – Meteor towers appear around the arena. Two people need to stand in each to mitigate them.
Summon Wyrm/Seemingly nameless attack – The same as Summon Wyrm above, but two corners will also have AoE markers in them. These AoEs will expand to cover an entire quarter of the arena: stand in the one safe corner to avoid.
Absolute Holy/Deluge of Death – One party member is targeted with a stack marker, another with a directional AoE marker. The one with the AoE marker should stand in the corner; the others should stack up away from those directions.
To the Limit – The Warrior of Light charges up for one of the following Radiant attacks. He’ll generally do them in the following order, using To The Limit between each.
Radiant Braver – Four players are marked with target markers. They should move away from each other and the rest of the players, because each marker will result in a conal AoE.
Radiant Desperado – Two players are marked with linear stack markers. Four player should stand in each, and neither should be in line with the other to avoid overlap.
Radiant Meteor – Four players are marked with massive AoE markers. They should move to the corners of the arena while the rest of the party stays in the middle.
Sword of Light (again) – The same as the previous, but two swords and two triangles instead. There are a few safe zones – the corner between where they spawn has generally been safe in my experience.
Specter of Light (again) – Massive knockback AoE on one side of the arena. Stand close to it to avoid getting knocked off the arena, then stack up for the following stack AoE.
Four dragons appearing – I have no idea what this is called, but four players will be tethered to dragons. Make sure those tethers are pointing to the outside of the arena: they’ll turn into wide conal AoEs.
Phase Two
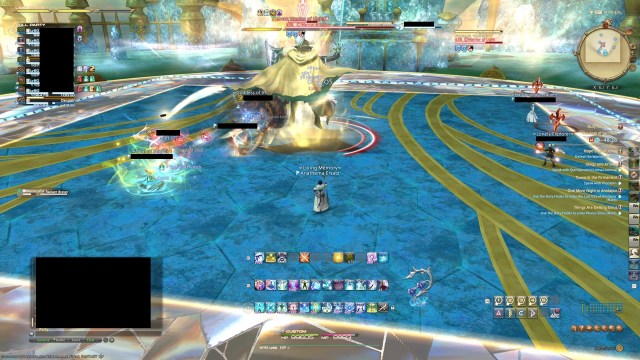
And now the Warrior of Light metaphorically turns red and goes into pissy boss mode. Phase two has most of the mechanics from phase one, but amped up. Summon Wyrm happens, but two corners of the arena are rendered lethal at the same time. Sword of Light now has two death triangles instead of one. Etc.
You should be able to sight-read most of the mechanics here if you’ve made it this far into Final Fantasy XIV. Standing in meteor towers, for instance, should in no way be new to you. Still, there are a few that’ll catch people out.
The first two of note are Radiant Braver and whatever attack makes those four dragons spawn. I’ve lumped these together because they’re very similar: four players are marked or tethered, and will then be targeted with a conal AoE. For both of these, if you’re marked, ensure the attack isn’t going to go flying across the arena into other players and that you’re not stacked up with other marked allies. The dragons are arguably the easiest as you can stand in the corners; for Radiant Braver, you can fairly safely use most of the arena while everyone else stacks in one corner.
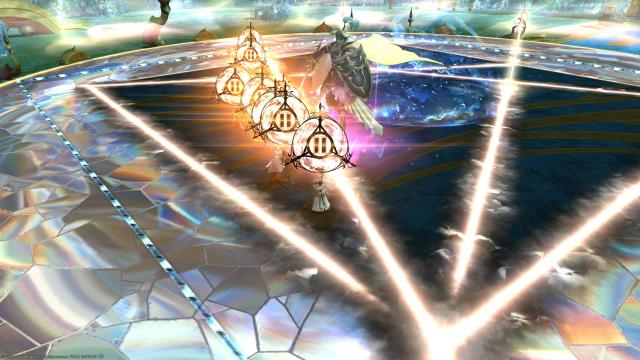
Sword of Light is definitely worth noting, because two triangles criss-crossing the arena is tough to keep track of. Every time I’ve done this, the biggest safe spot has been in the corner between where the two swords spawn.
Radiant Meteor is the only other one I think is particularly worthy of note, if only because of how big the AoE markers are. Move to a corner if marked. If you’re not, move to the middle. That should ensure the safety of the party.
There are other nameless attacks I haven’t mentioned above, mostly caused by him summoning other classes. There’s a Spectral Warrior who’ll hit the arena with two AoEs, one after the other, and you’ll need to move from one safe spot to the other as they land. But again, most of these should be fine if you’re familiar with general boss mechanics.
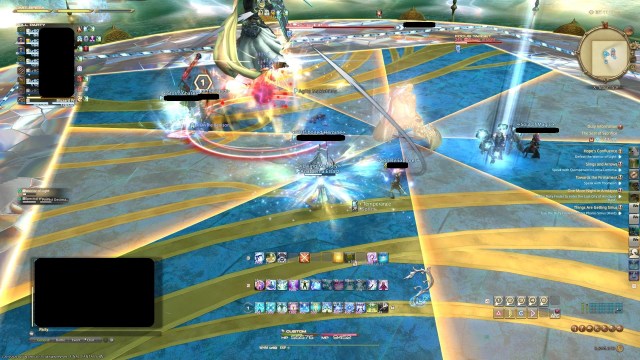
He’ll still be flinging out the rest of his attacks too, so you can’t forget about Absolute Zero or Absolute Blizzard yet. Healers will need to be on their toes for people messing up mechanics, and for the hefty damage that Elddragon Dive causes. But all in all, it should only take a few attempts before you bring the Warrior of Light to his knees, and Shadowbringers to a close.
Congratulations. Now get some popcorn, go do the wrap-up quests, and look forward to the closing cutscenes.
If you need further help, we’ve got more Final Fantasy XIV: Shadowbringers guides up here on PC Invasion.

