Flashbacks are a type of Monument in Forspoken. These strange objects dot the countryside and, upon interacting with one, you’ll partake in a time trial activity. Here’s our Forspoken Flashback locations guide to help you discover all Monuments of Wisdom and complete the time trial challenges they entail.
Note: For more information, check out our Forspoken guides and features hub.
Forspoken all Flashback locations guide
The Basics of Flashbacks in Forspoken
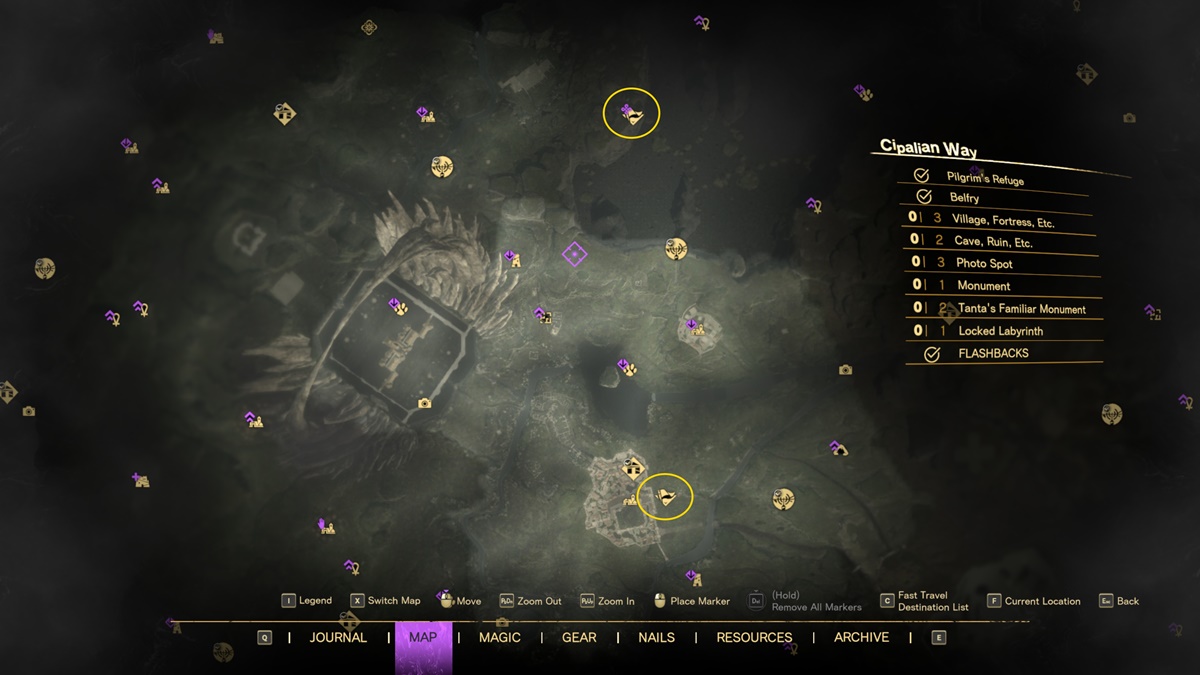
The Flashback locations in Forspoken have a flag icon on your map, and they’re also known as Monuments of Wisdom (i.e., quite different from the other Monuments you can stumble upon while exploring). Before you head out, we suggest progressing further in the campaign. Each major boss you hunt and eliminate gives you access to new regions, as well as spells (i.e., Zip, Glide, and Float). Moreover, taking out the final boss nets you the Skip ability, which lets you temporarily fly while incorporeal. These powers aid you in exploration and traversal so you can reach far-flung areas.
As for the time trial challenges themselves, there are four kinds that you can experience in Flashback locations in Forspoken:
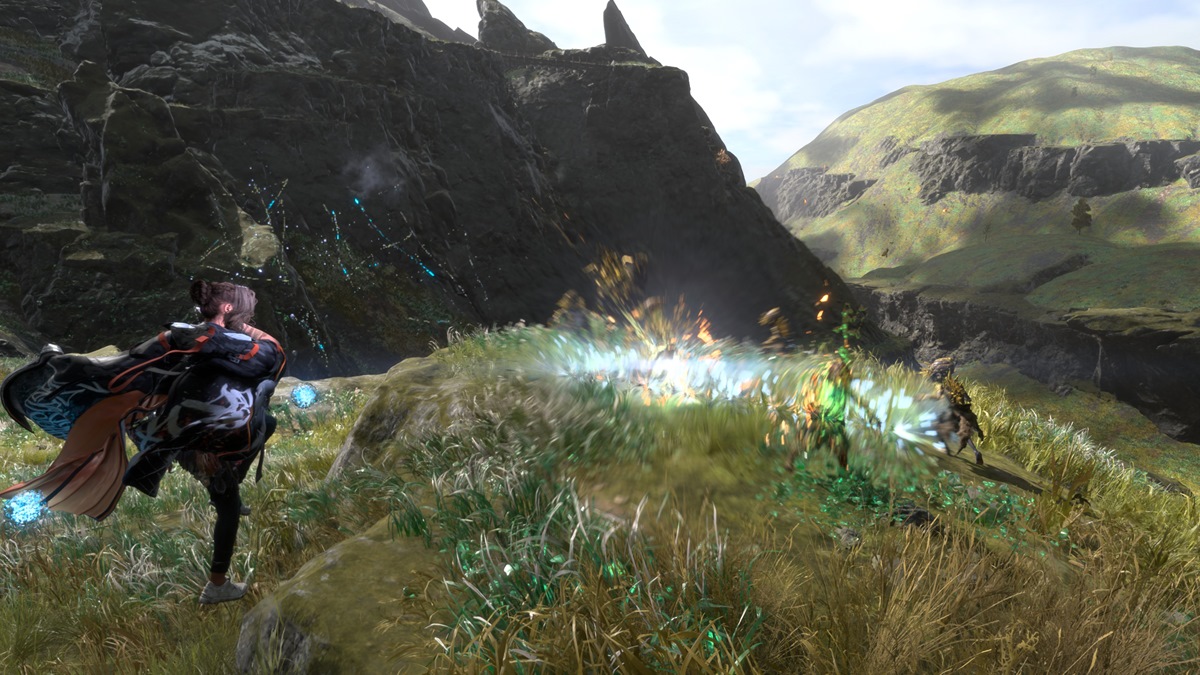
- Kill all enemies – The most straightforward task involves defeating all the enemies in the area.
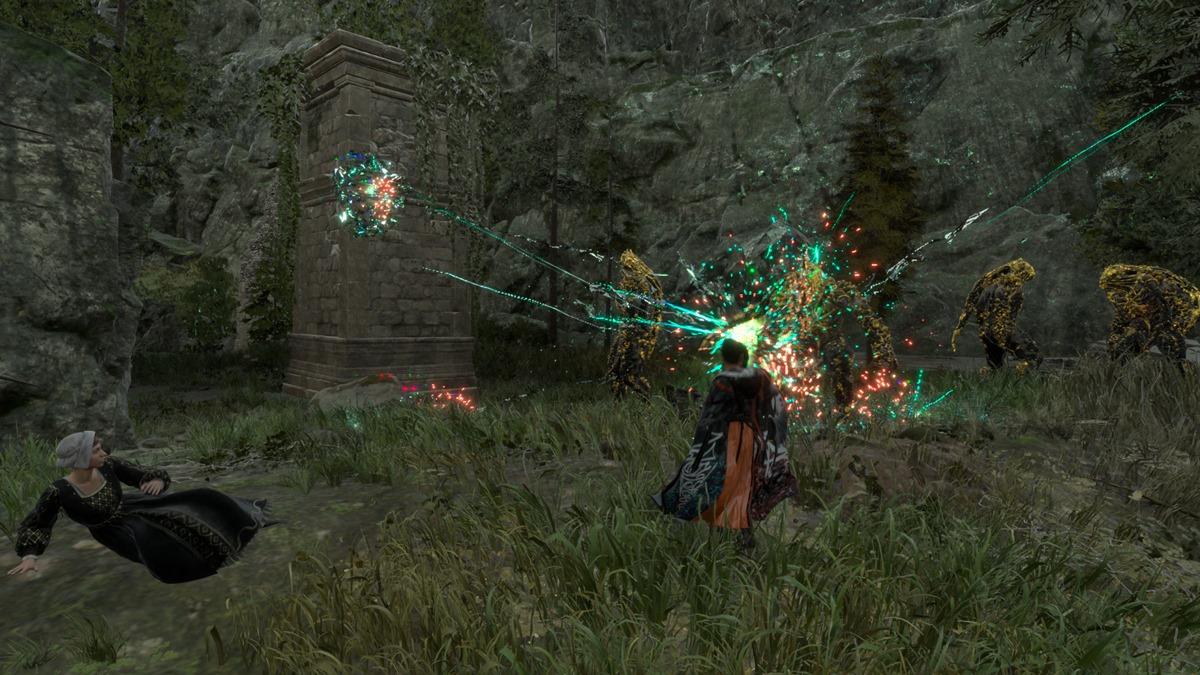
- Defend the villagers/horde mode – You still need to annihilate numerous hostiles, though you have to ensure that NPCs are safe. The monsters all beeline for NPCs, which means this is heavily reliant on damage output and nuking.
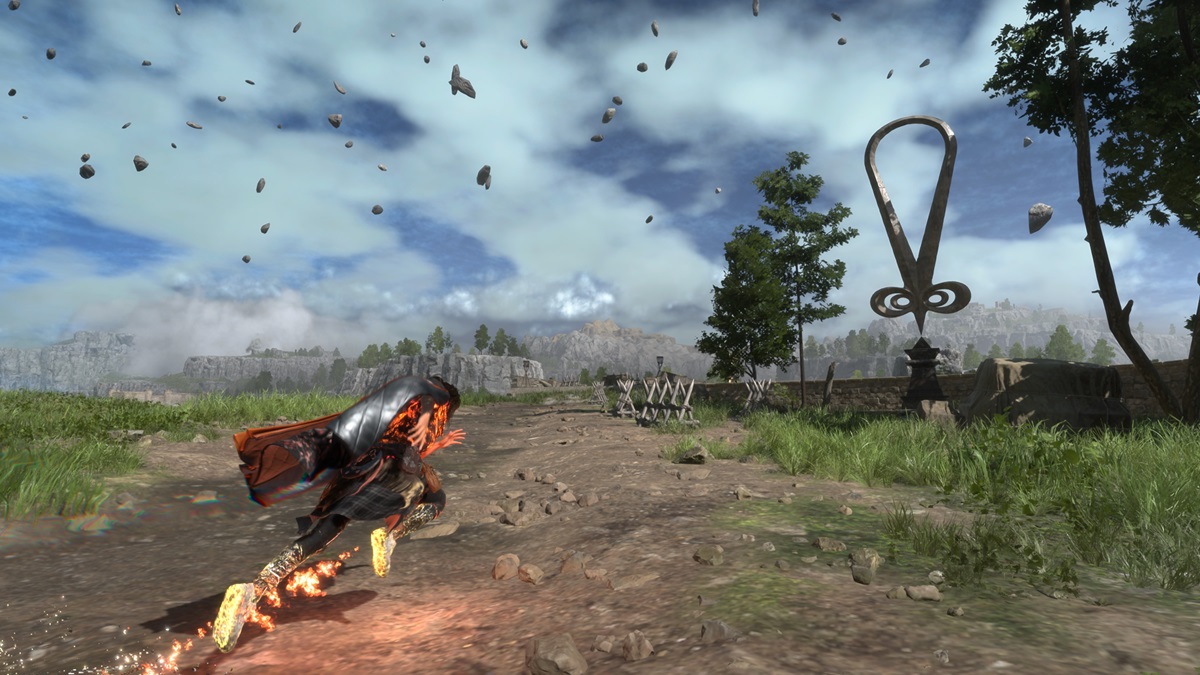
- Checkpoint run – You’ll have to traverse great distances to reach a destination. Along the way, you also have to beat a few enemies that are blocking the path.
- Defeat the boss – A specific miniboss/world boss will appear, and you have to eliminate it within the time limit.
At the end of your Flashback run in Forspoken, you’ll receive a score based on your efforts (i.e., number of enemies killed, remaining time, and so on). You’ll receive some extra mana and various crafting materials.
- Screenshots by PC Invasion: Defend/horde mode
- Checkpoint run
Flashback locations in Junoon
Junoon has several Forspoken Flashback locations. While this is the first region of Athia that you visit, it’s recommended to return here much later in the game (or even after completing the campaign) due to tougher foes.
- Cipalian Way: The Tempest – Defeat the boss (Bandersnatch).
- The boss is surrounded by countless spawning Nightmares. A spell like Distortion (Lightning) will be useful here since it causes mobs to attack each other. Alternatively, you can pop Maelstrom (Water) close to the boss, as it causes multiple damage ticks.
- Physic Garden: Run the Gauntlet – Checkpoint run.
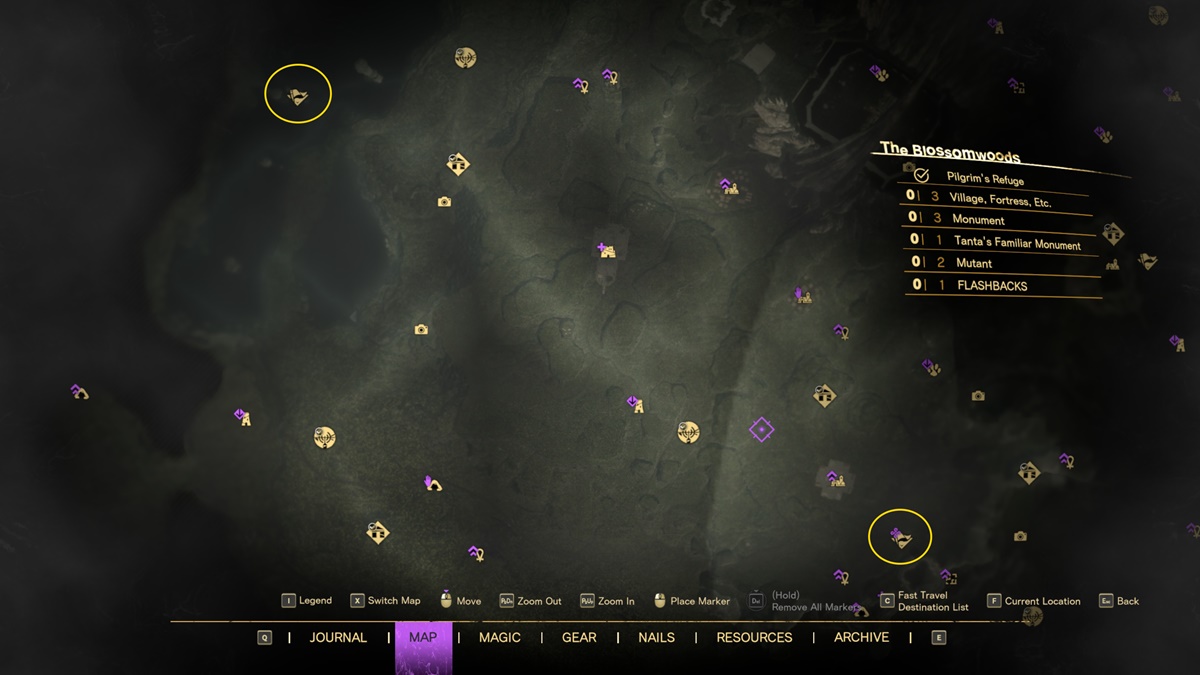
- The Blossomwoods: Impregnable Defense – Kill all enemies.
- Wolfwoods: Monsters’ Lair – Kill all enemies.
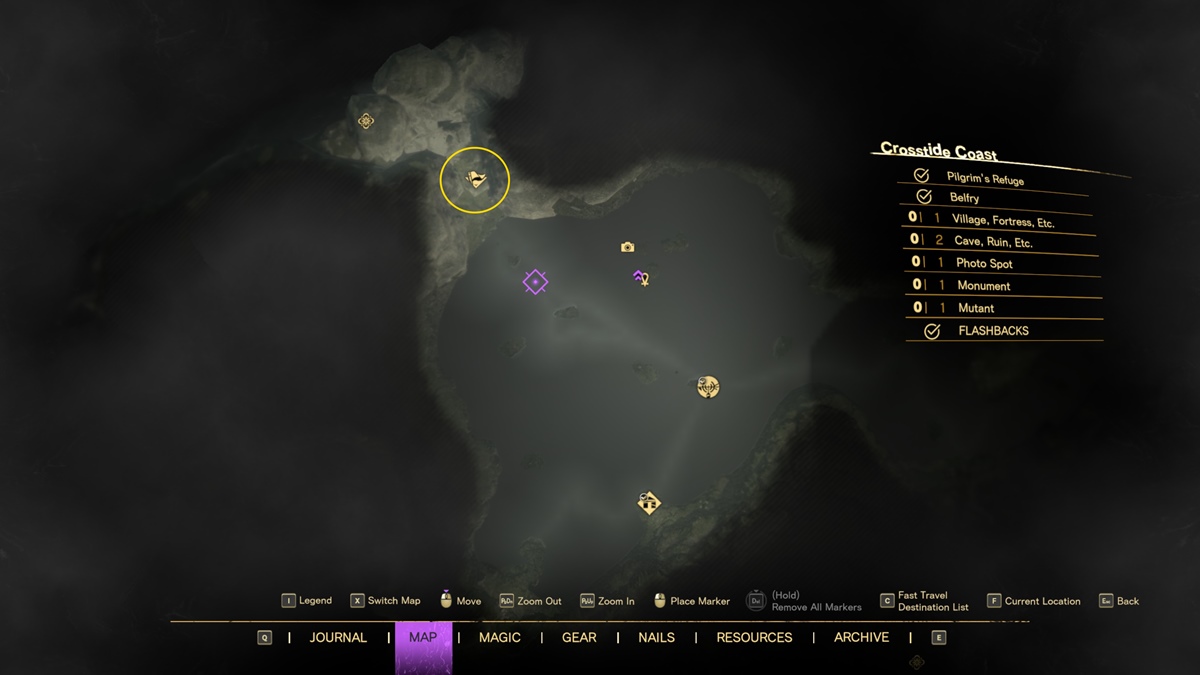
- Crosstide Coast: Deliverance – Defend/horde mode.
- Screenshots by PC Invasion: Cipalian Way and Physic Garden
- Blossomwoods and Wolfwoods
- Crosstide Coast
- Bandersnatch boss
Flashback locations in Cipal
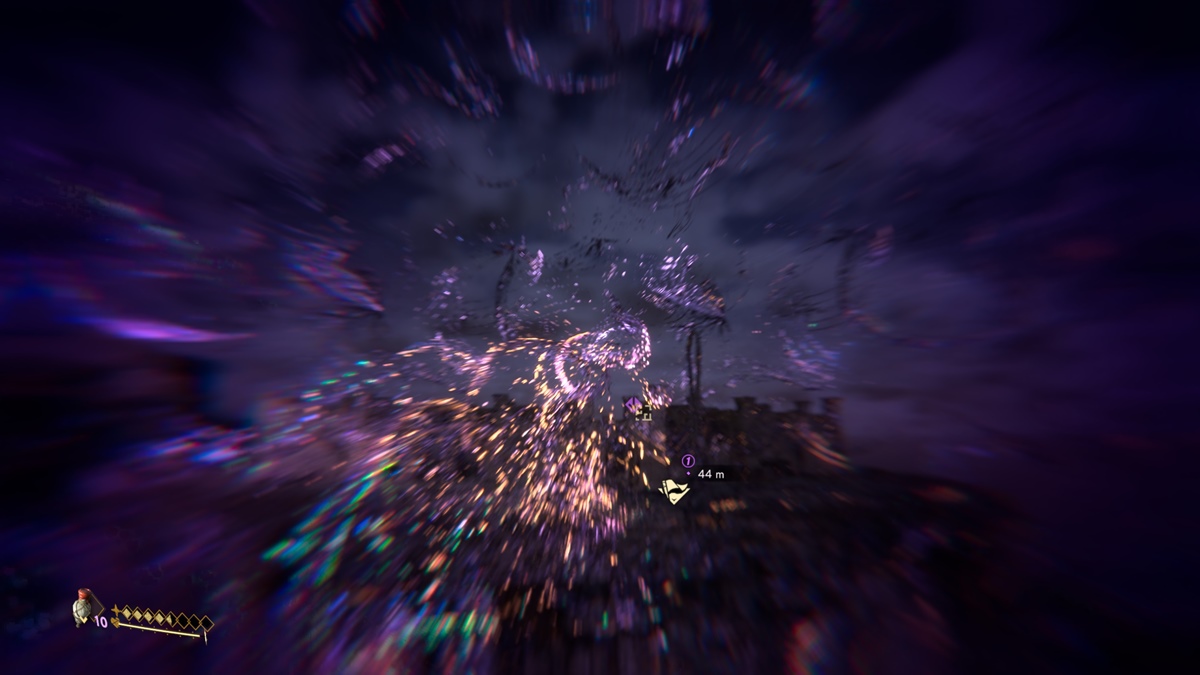
Cipal only has one Forspoken Flashback locations. However, it requires the completion of the campaign so you can receive the Skip ability. Only then will you be able to levitate and cross the gap.
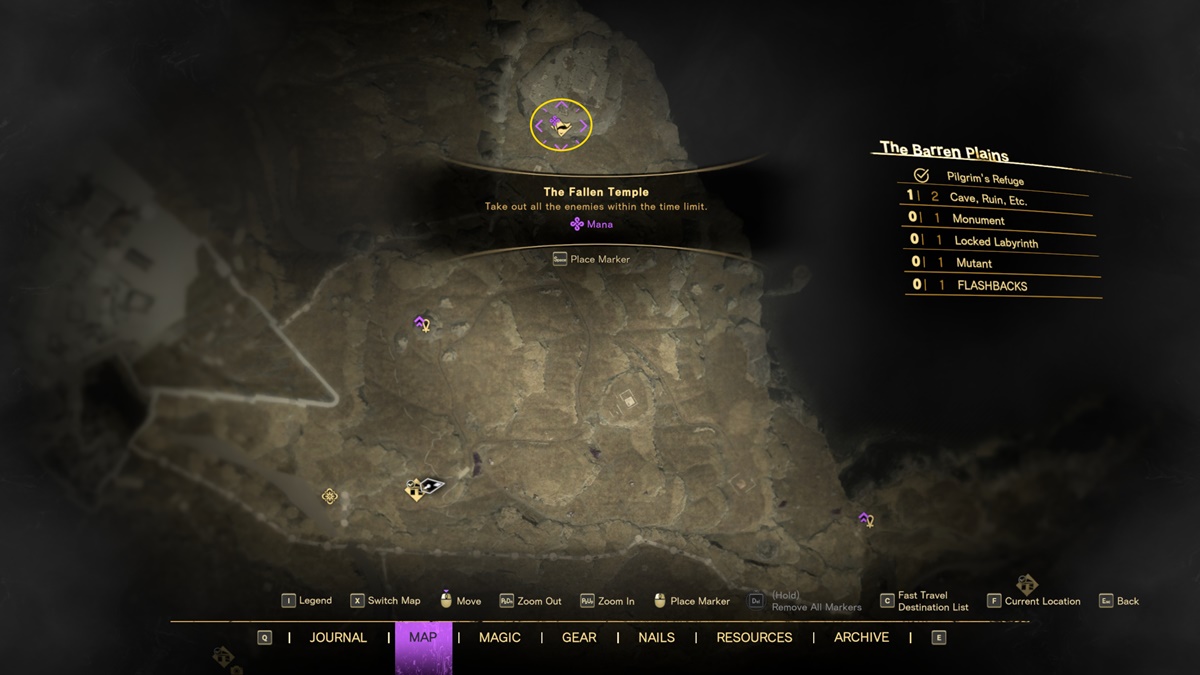
- Barren Plains: The Fallen Temple – Kill all enemies.
- Screenshots by PC Invasion: Barren Plains
- Skip power/magic spell
Flashback locations in Praenost
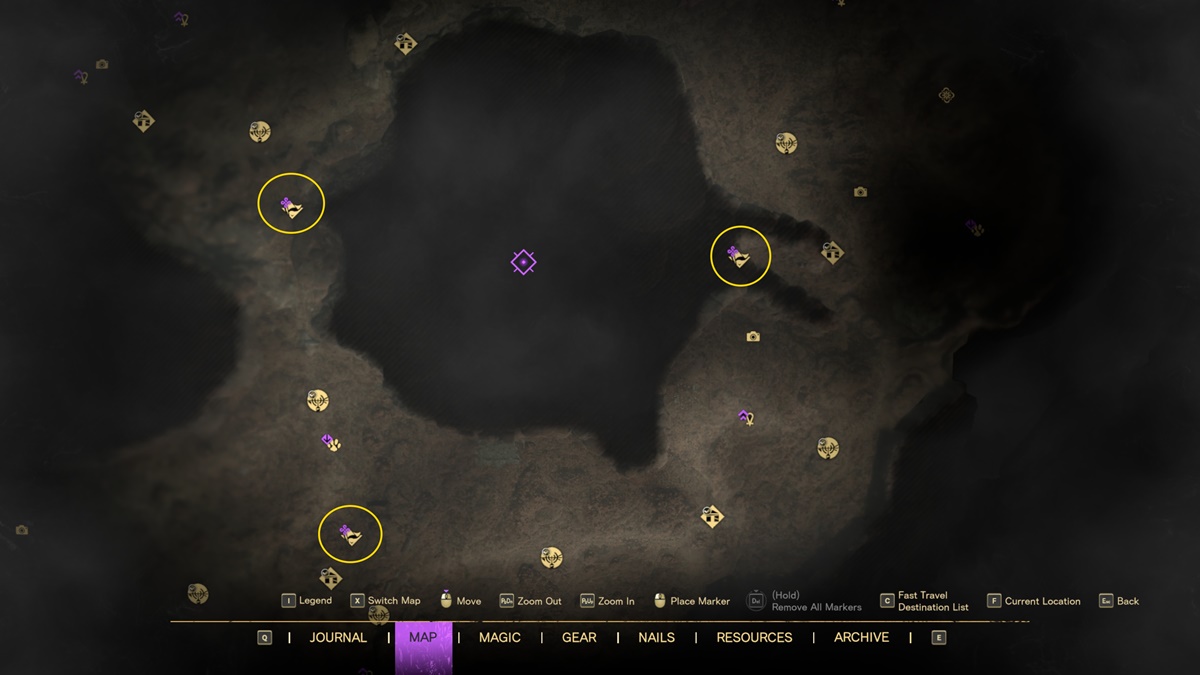
The desert land of Praenost has several points-of-interest. You can see these spots in the maps below. We’ve made it simple since these areas are fairly easy to reach:
- The Guardians’ Way: A Fortress Overrun – Kill all enemies.
- Brass Hollow: Raging Rager – Kill all enemies.
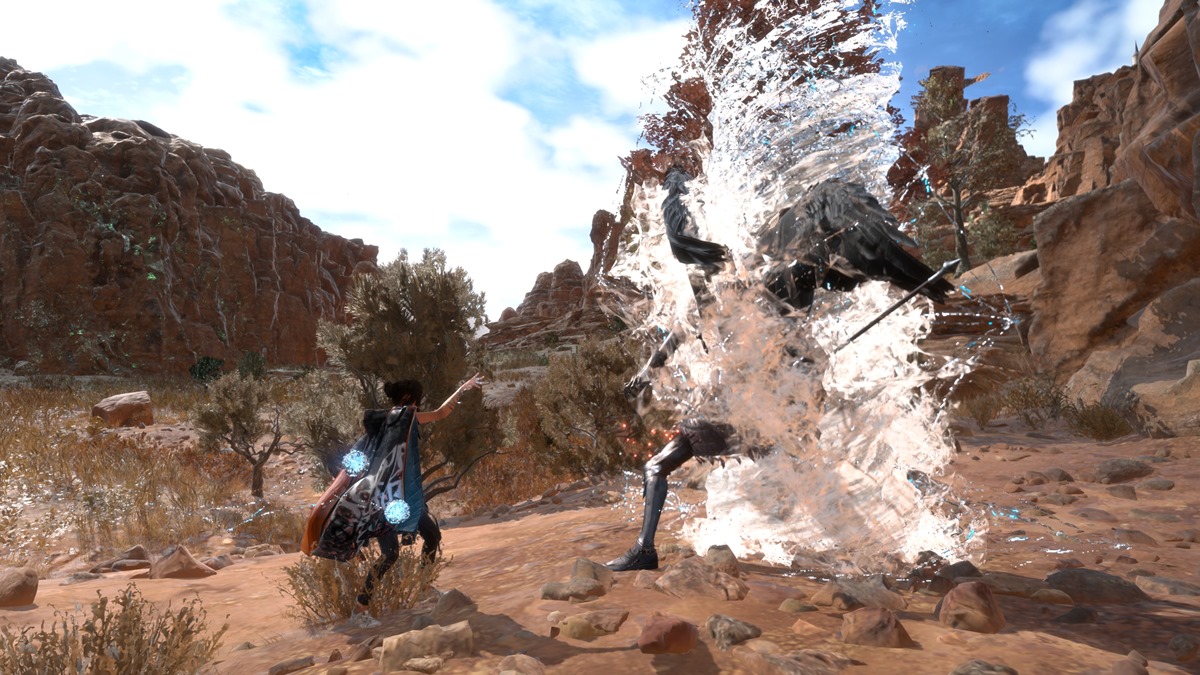
- Middle Praenost: A Signal to Strike – Defeat the boss (Recreant Knight).
- The target is weak against Blue Magic. You can pop Maelstrom under it to cause a lot of damage in a short span of time.
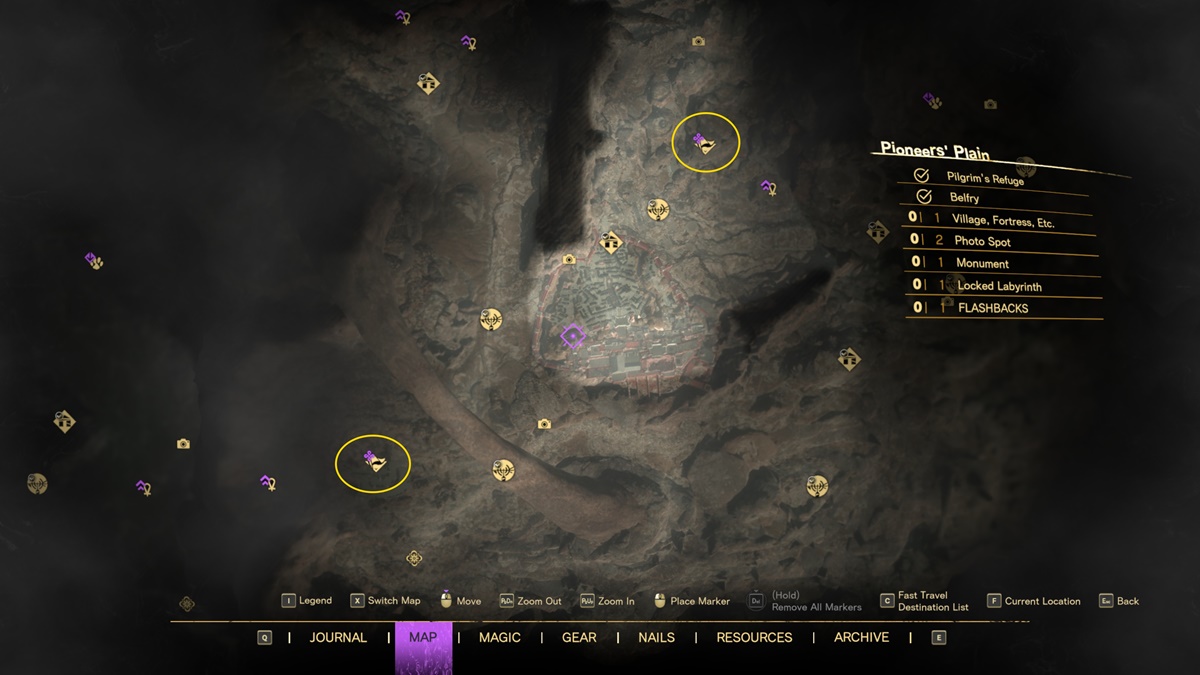
- Pioneers’ Plain: Race for the Ramparts – Checkpoint run.
- The Mustering Ground: A Village Besieged – Defend/horde mode.
- Screenshots by PC Invasion: Guardians’ Way, Brass Hollow, and Middle Praenost
- Pioneers’ Plain and Mustering Ground
- Recreant Knight boss
Flashback locations in Avoalet
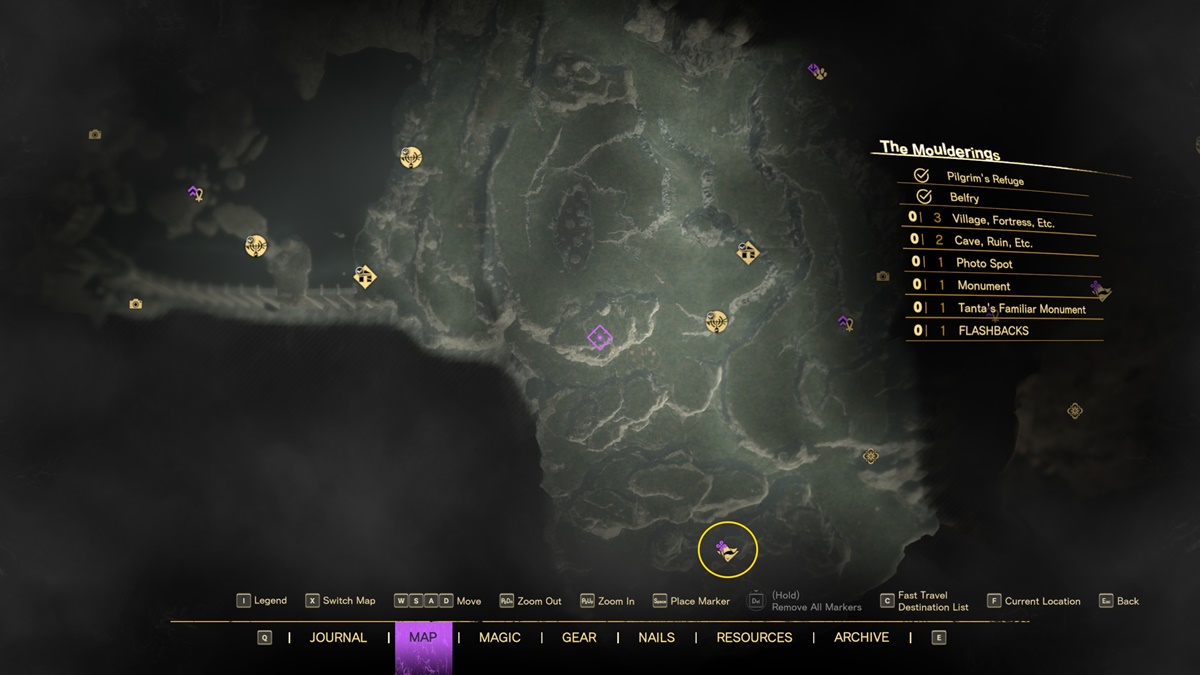
You’ll find a few more challenges in the Avoalet region. One location of note is The Moulderings, which requires you to Glide across the lake in Samum Coast all the way to the east. That’s the only way you’ll reach The Moulderings zone:
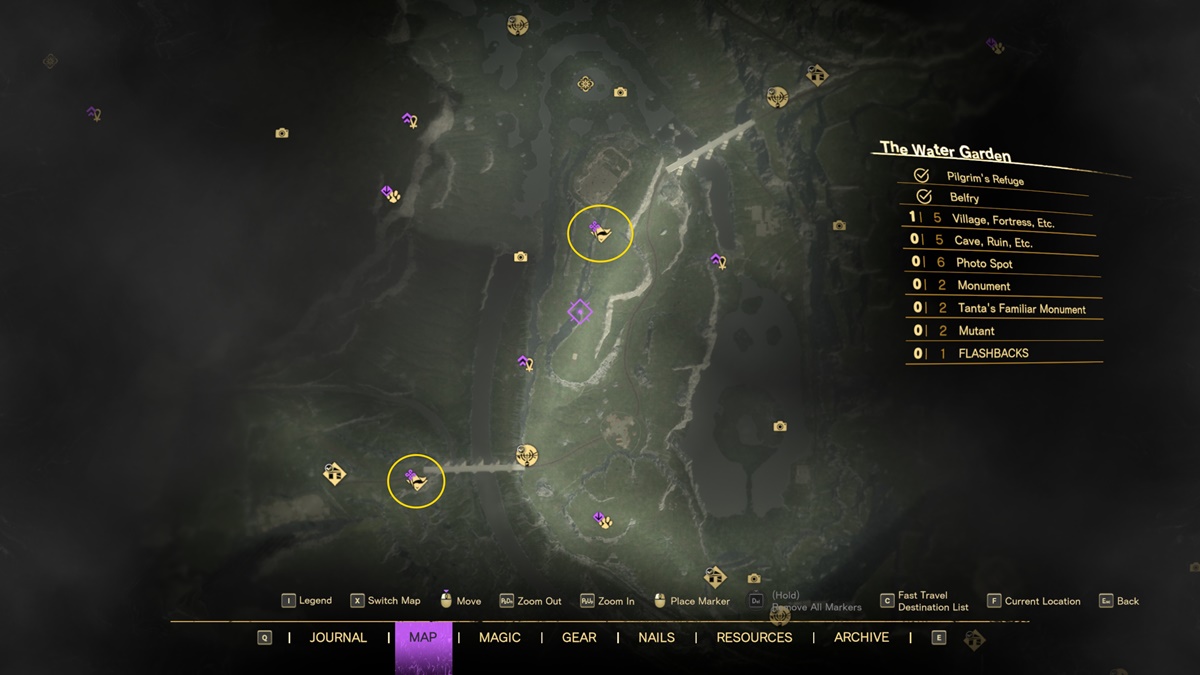
- The Water Garden: A Vital Outpost – Defend/horde mode.
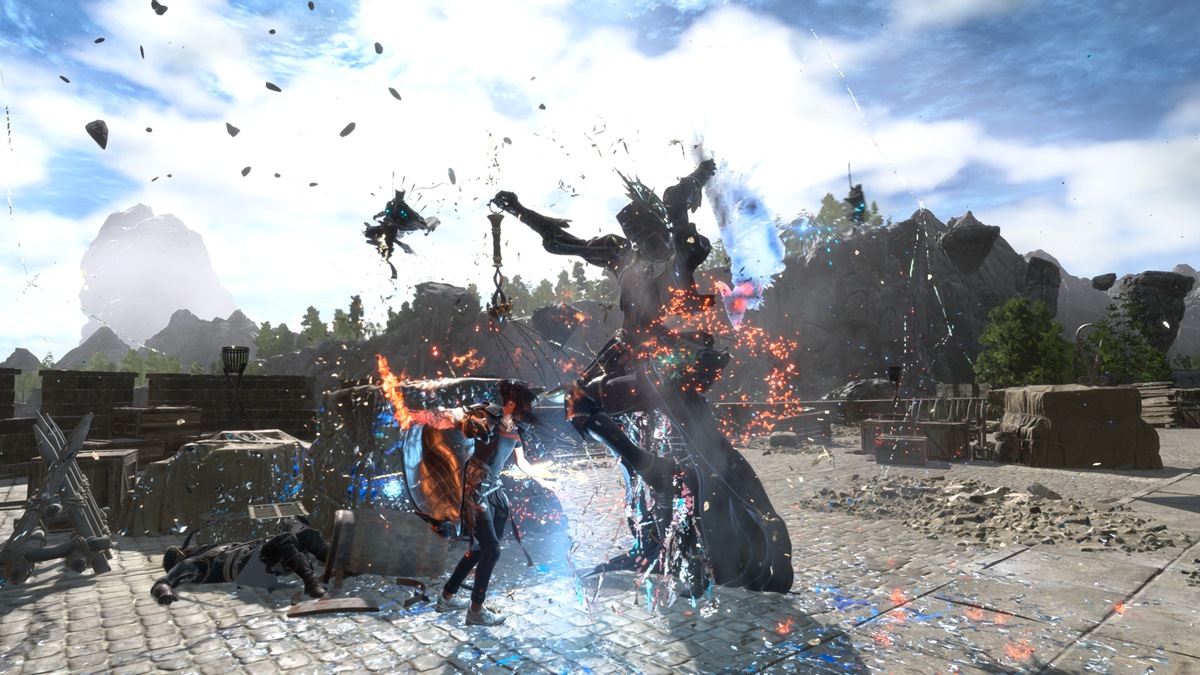
- The Fountainfields: A Bridge Too Far – Defeat the boss (Pitiless Arbiter).
- You can strike it swiftly with Fire spells (i.e., Blast Slice) to make quick work of it.
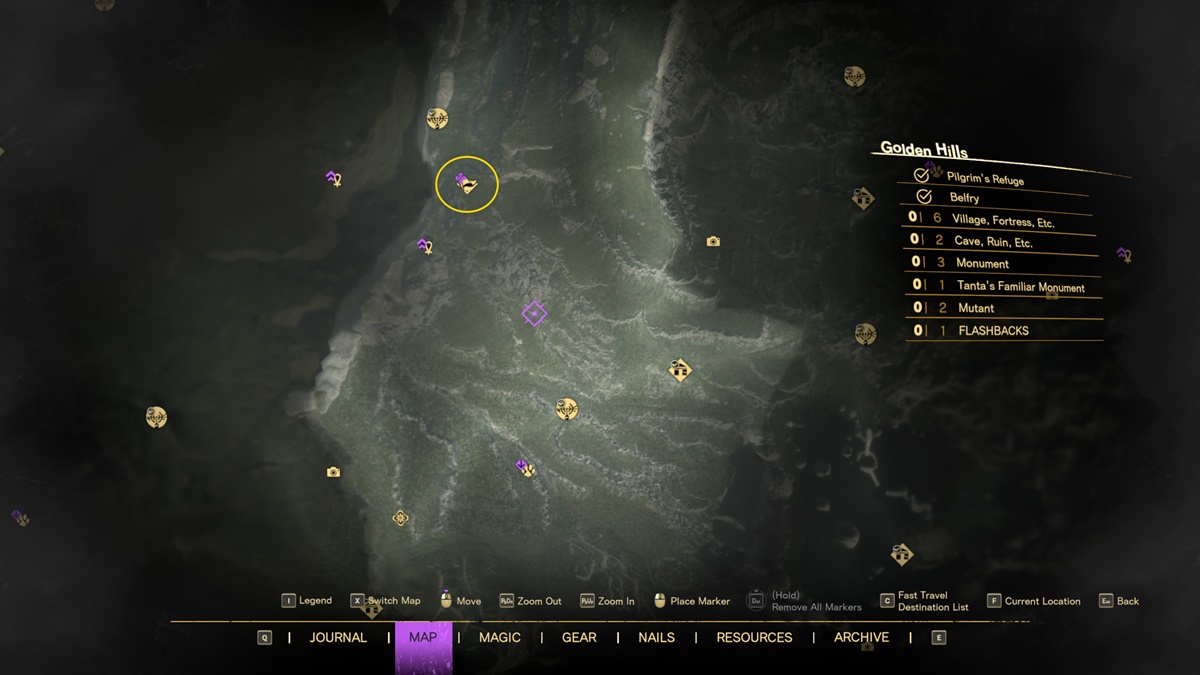
- Golden Hills: Runner’s Choice – Checkpoint run.
- The Moulderings: Fortress Clear-Out – Kill all enemies.
- Screenshots by PC Invasion: Water Garden and Fountainfields
- Golden Hills
- The Moulderings
- Pitiless Arbiter boss
Flashback locations in Visoria
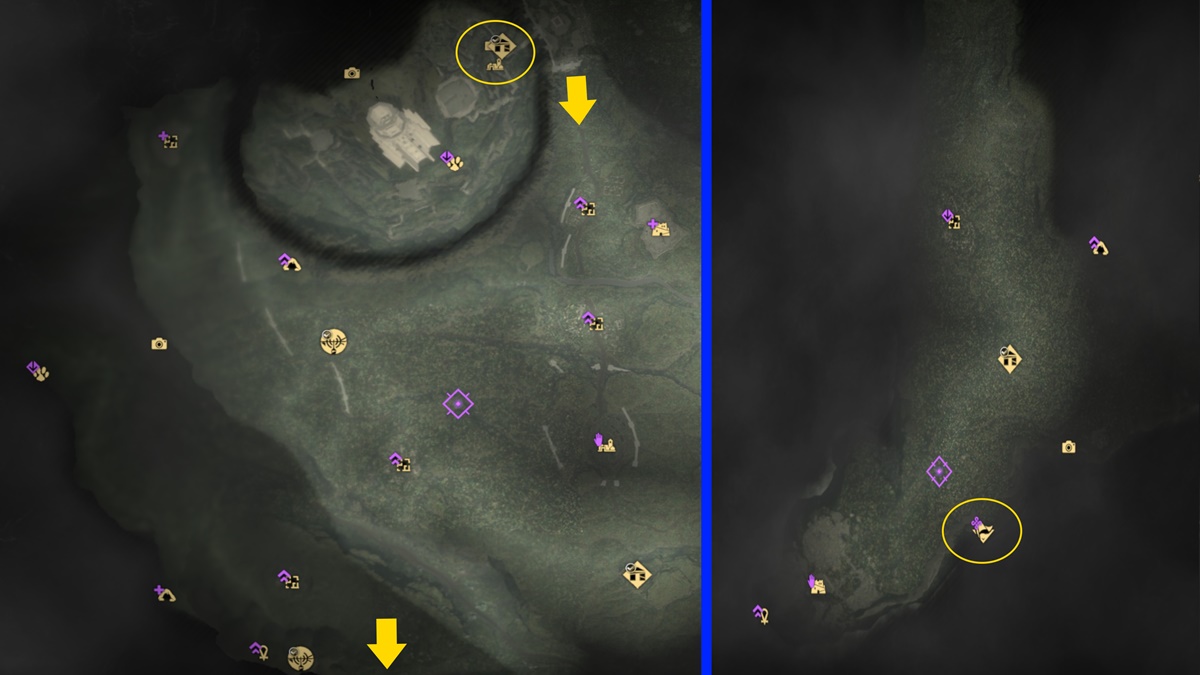
Lastly, you’ll discover several Forspoken Flashback locations in the Visoria region. One place that you might not have visited before is Yonder Cape. You can reach it by taking the southern exit in Visoria Castle’s courtyard. Keep going south until you’re well past the zone. Eventually, you’ll stumble upon a cliffside path. Use Zip here to cross gaps until you arrive in Yonder Cape. The Flashback spot is along the coast.
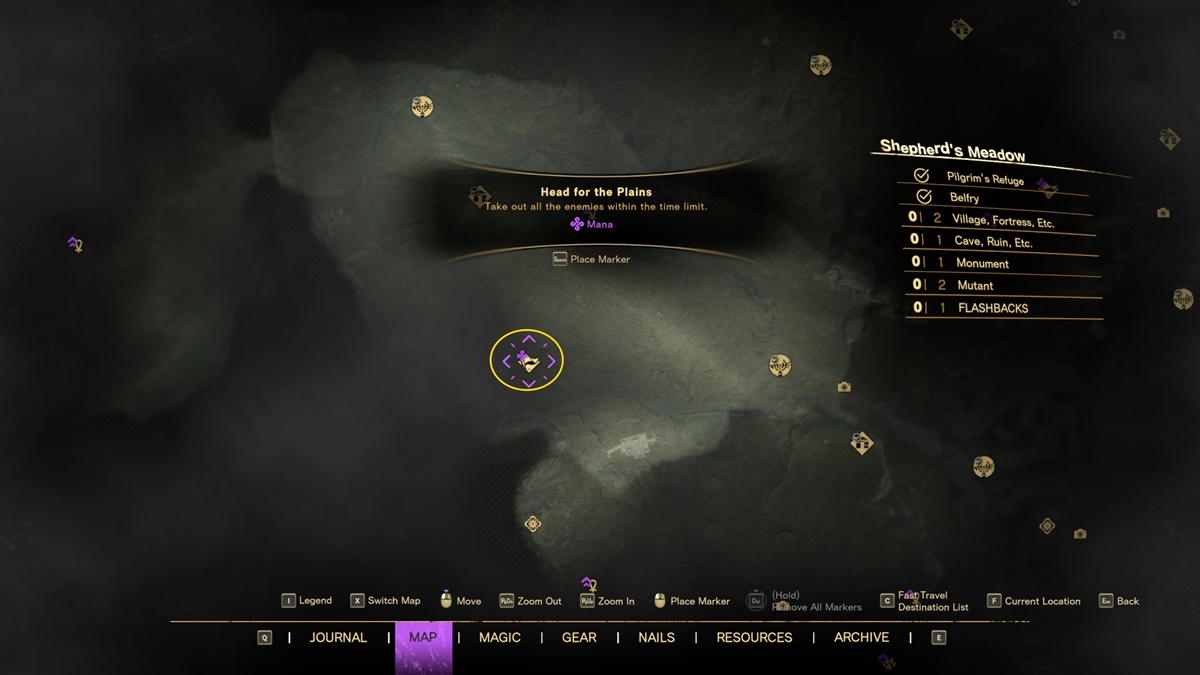
- Shepherd’s Meadow: Head for the Plains – Kill all enemies.
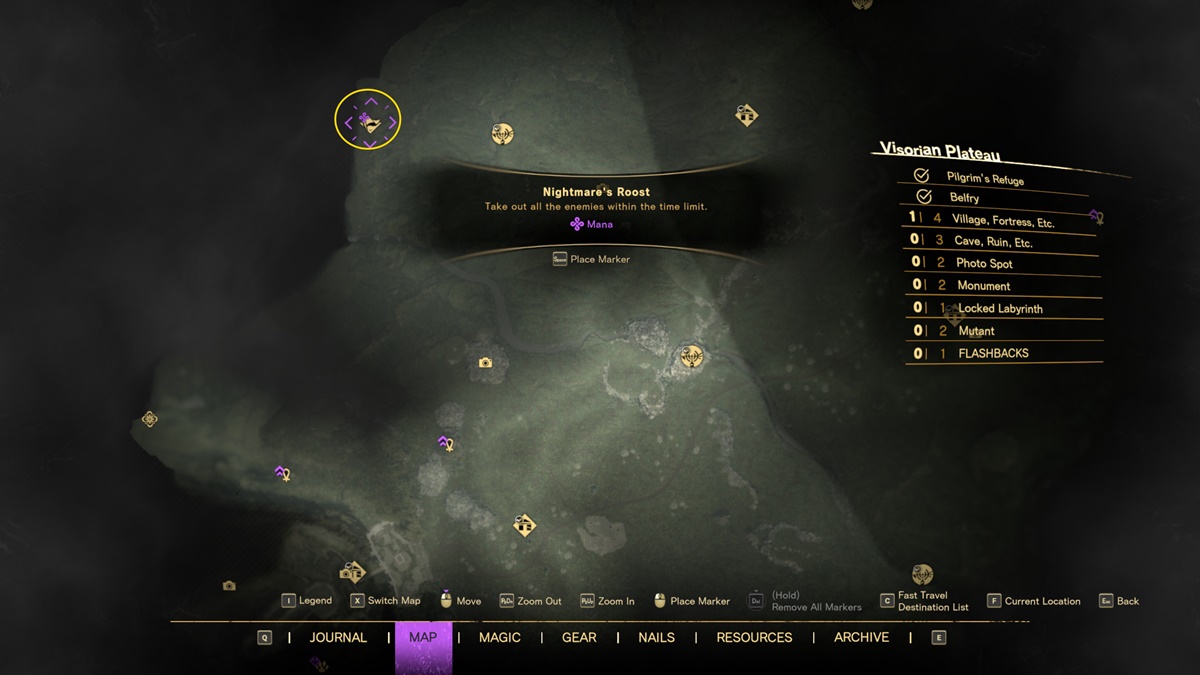
- Visorian Plateau: Nightmare’s Roost – Kill all enemies.
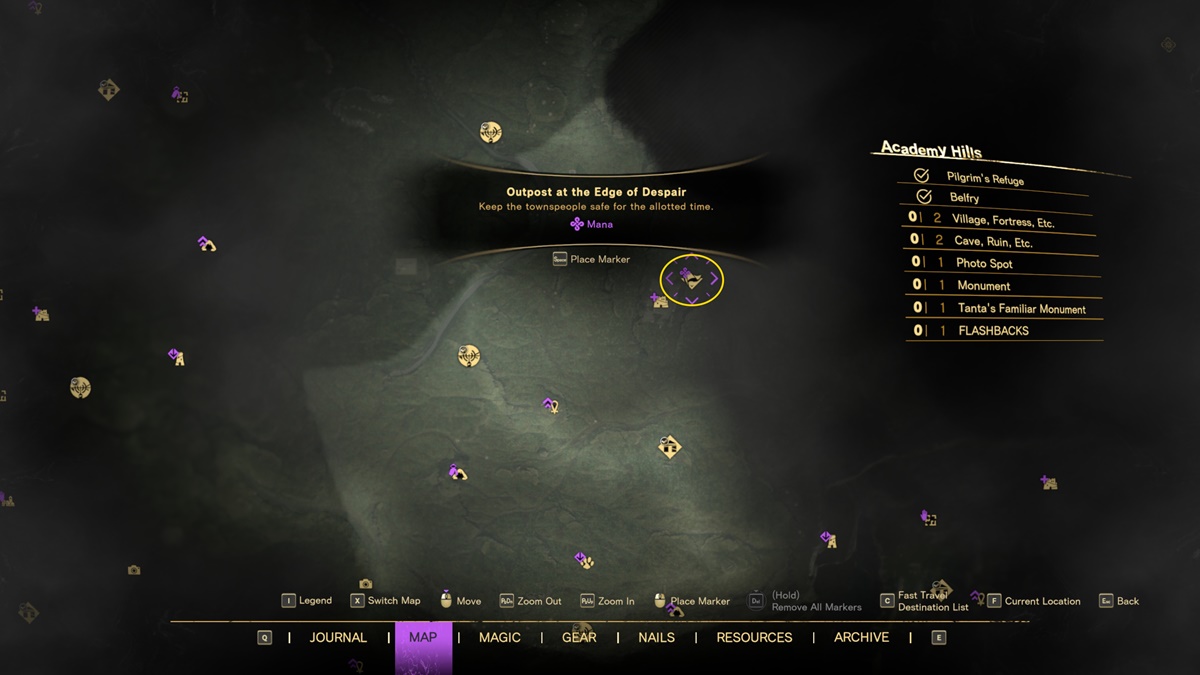
- Academy Hills: Outpost at the Edge of Despair – Defend/horde mode.
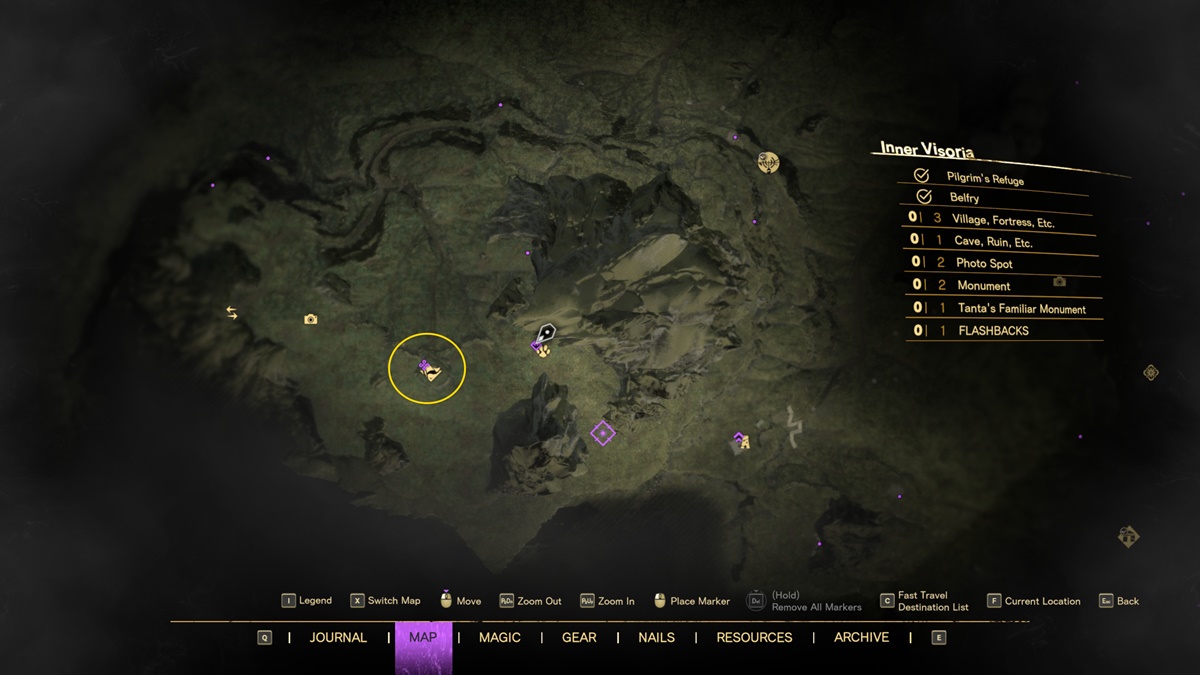
- Inner Visoria: Downhill Dash – Checkpoint run.
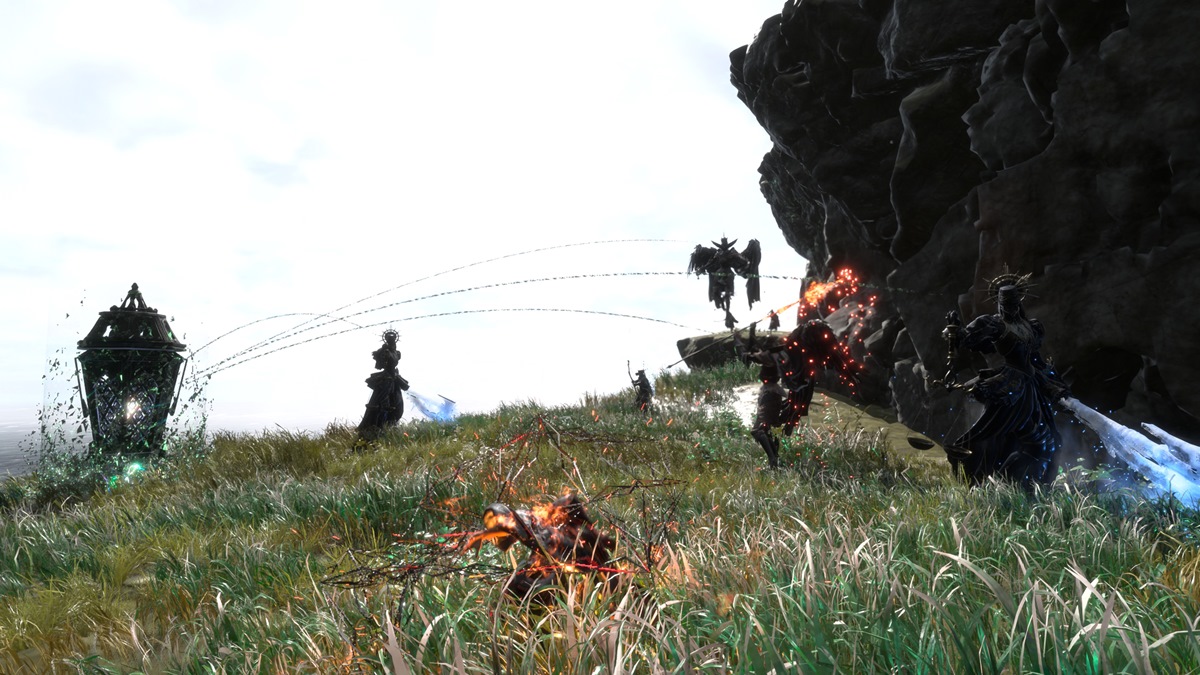
- Yonder Cape: Back-Road Raid – Defeat the boss (Bardaga Lantern).
- You’ve probably seen this object before prior to battling the Senseless Savant. It’s immune to damage until you take out the mobs that are shielding it.
- You’ll be up against Recreant Knights, Pitiless Arbiters, and several Spectral Archers. You’ll need to beat the Recreant Knights first (use Water spells like Maelstrom) to remove the Bardaga Lantern’s shield. Only then will you be able to damage it.
- Likewise, be careful not to fall off the cliff, as that will cause you to fail the challenge. You’ll have no choice but to restart the task.
- Screenshots by PC Invasion: Shepherd’s Meadow
- Visorian Plateau
- Academy Hills
- Inner Visoria
- Yonder Cape
- Bardaga Lantern boss
Forspoken is available via Steam.

