The Malfeasance is one of the most sought-after Exotic weapons in the game. It’s a powerful Hand Cannon with one of the most brutal unlock requirements outside Raid exclusives. In short, you want one. Here’s how to get the Malfeasance in Destiny 2.
Destiny 2 – What is Malfeasance?
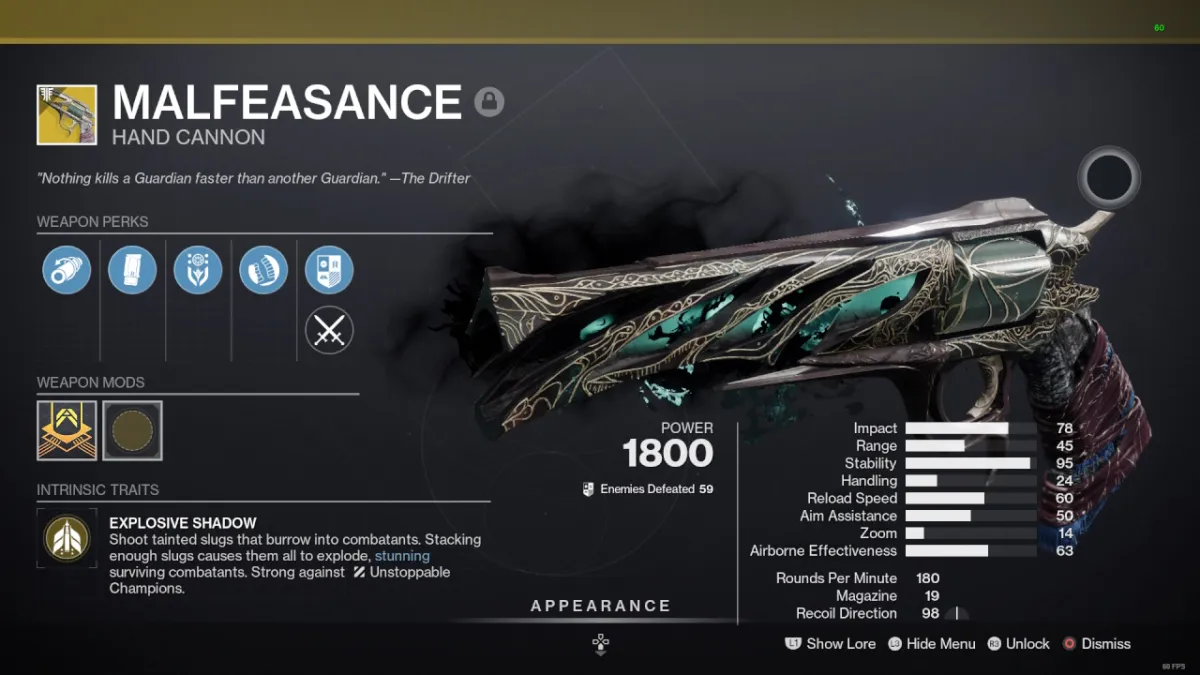
Malfeasance is a Kinetic Hand Cannon that was added to Destiny 2 when Forsaken was released. It has a Trait called Explosive Shadow, which builds up a stack on enemies as you shoot them. Once you’ve shot an enemy enough times, it’ll cause an explosion. It’s also strong against Unstoppable Champions and boasts a massive magazine and snappy reload time.
How to get the Malfeasance Exotic Hand Cannon

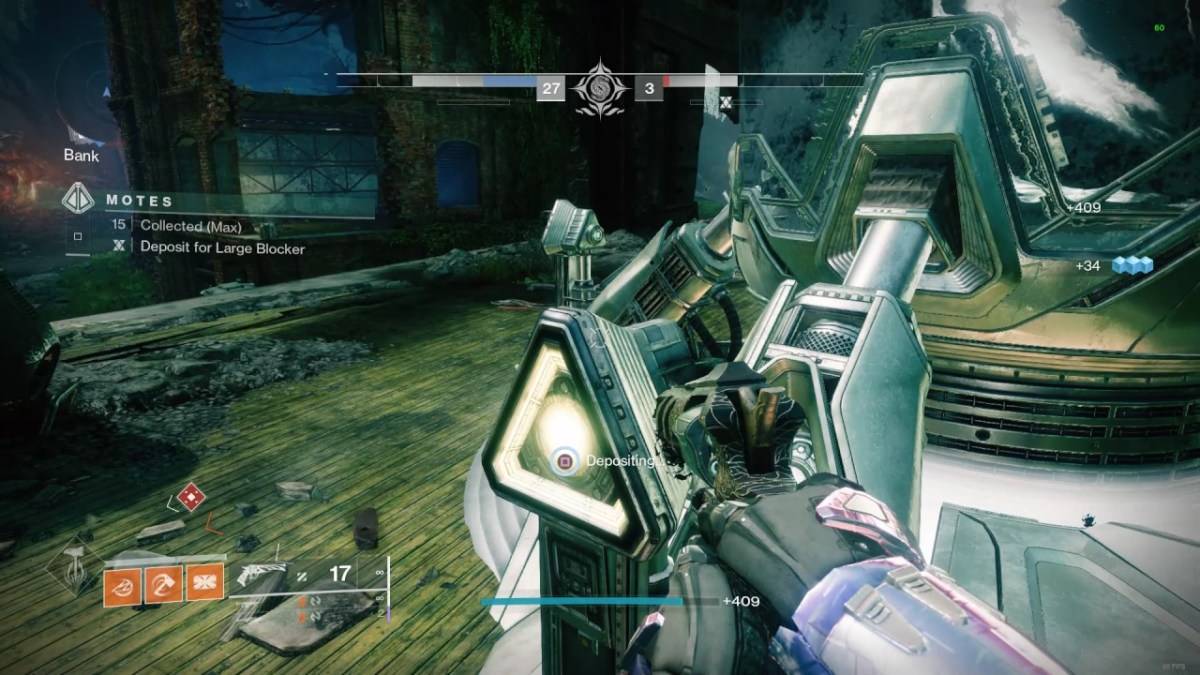
The Malfeasance is locked behind the extensive “Darkness in the Light” Quest line and requires you to play a ton of Gambit matches. Gambit is Destiny 2’s PvPvE mode, where you race against another team to defeat a boss (Primeval) as fast as possible. Every enemy you kill drops Motes, which must be collected and deposited in the middle of the map. You need 100 of these Motes to summon your Primeval.
You can invade the other team and attack them to slow their progress, but they can do the same to you. If you’re uncomfortable with PvP, you can still unlock the Malfeasance, although it’s an uphill struggle.
How to complete the Darkness in the Light quest
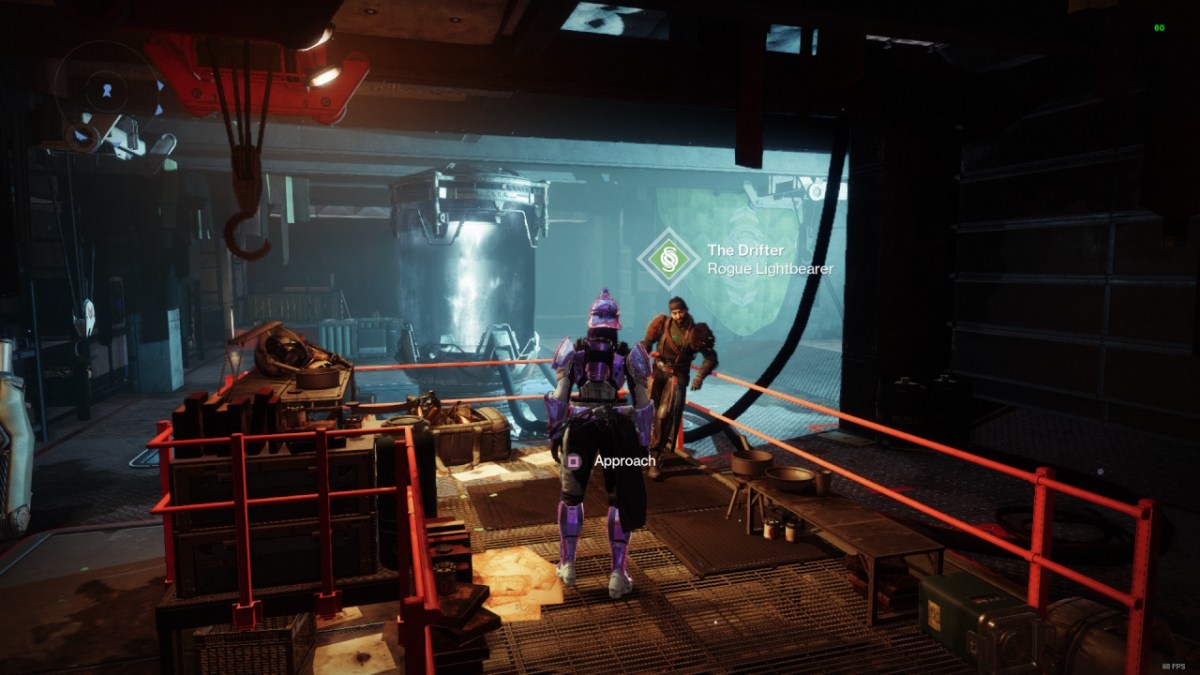
Now you know what Gambit is, let me talk you through the quest. Most steps are pretty straightforward but will take a while as many tasks are grindy. Speak with Drifter at the Tower (pictured above) to begin the quest line.
The Seething Heart
Your first objective is to play a Gambit match and defeat a Primeval. A lot of this quest line is down to chance, as you’re at the mercy of your teammates. I recommend staying until the end even if things go pear-shaped, as there are penalties for frequently disconnecting early.
City of Secrets
For this step, you must defeat 25 Taken Bosses/Mini Bosses. You can complete this step by roaming the Dreaming City, although I finished it in the Strike playlist. Strikes are great as they offer Exotic Engrams and a chance at Catalysts, but you won’t always be battling Taken.
The best Strike to fight the Taken specifically is The Corrupted, also on the Dreaming City. You’ll quickly reach your 25 Taken kill quota after running this Strike a few times.
The Corrupted Strike
Your next objective is to clear a story variant of the Corrupted Strike. The Strike plays out differently from normal, and you must defeat a large Taken Boss called Yachaar. Keep your distance in the fight, as Yachaar can easily push you off the map with his shield.
This battle is challenging for a solo player, as Yachaar has many reinforcements, and the arena is pretty small. If the boss gets too close, try to keep some rocks between you and him, as if he launches you off the map, you have almost no chance of getting back. Once you’ve beaten the mission, return to Drifter in the Tower to begin the next part of the quest.
Business as Usual
This part of the quest can take the longest as you must win 10 Gambit matches and deposit 500 Motes. If you die to an invader while holding Motes, a percentage of those are deducted from your total, so make sure you don’t carry them longer than necessary.
While this step is long and tedious, it can be completed regardless of your skill level. You don’t need to invade the enemy team yourself if you just want to focus on summoning and defeating your Primeval. Ten wins can take a long time if you end up on a losing streak, so I recommend tackling this over a few sessions.
Once you’ve completed this step, you can tackle the final and most difficult part of the quest.
Lights Out
To earn the Malfeasance, you must defeat 25 Guardians in Gambit and kill all four enemy Guardians during an Invasion. If you can’t do this, you can wait for a teammate to do it. If you choose to wait, your squadmates must defeat the entire enemy team three times, which will take multiple matches.
I won’t sugarcoat it. At the time of writing, this step is exceptionally difficult as Gambit has a low player count. You’re likely to be put against experienced Gambit teams, and it’s a miserable time with unbalanced squads.

That said, as you’ve come all this way, here’s how I did it and a few recommendations. I beat this step as a Hunter with the Knucklehead Radar Exotic Helmet and the Golden Gun Super. Golden Gun shots have a generous hitbox and kill instantly. I also used the Thunderlord Machine Gun, as it quickly shreds Guardians. Any Machine Gun will be fine if you don’t have a Thunderlord.
If you’re not playing as a Hunter, any Super ability that lasts a while will do the trick. I’ve also beaten all four Guardians with the Titan’s Hammer of Sol, although it’s harder to aim. I usually wait until each team has their Primeval and my Super is live before I Invade.
Even with the right loadout, you’re still at the mercy of Gambit matchmaking. I’m a decent PvP player, and this step took me well over an hour. There are also many variables outside your control. For example, If you Invade at the same time as one of your opponents, you’re not getting four kills.
Ultimately, keep at it. Switch to your heavy weapon whenever you’re Invaded for the best chance at scoring a Guardian Kill. You’ll complete this step eventually, but expect it to take a while.
The Malfeasance is a worthy reward for such a grueling questline, but there are plenty of other fantastic Exotic weapons to try out in Destiny 2. Take them all for a spin and find one that suits your playstyle the best.