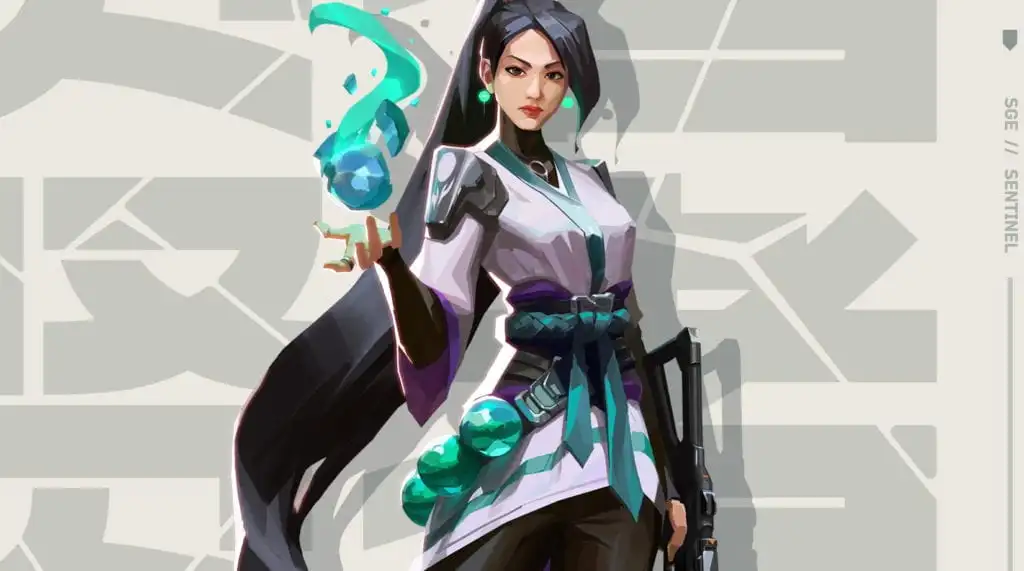
Sage is Valorant’s quintessential support character with her abilities to heal and resurrect allies. However, her Barrier Orb and Slow Orb are an equally important (if not more important) part of her kit. This Valorant agent guide has some tips and tricks you can use to start improving your Sage gameplay.
Incredibly, none of the other agents can replicate any of Sage’s abilities. That makes her unique and essential in competitive team compositions. If you’re unsure which agent to learn first, Sage is a solid choice.
Before we get into some ways to use Sage’s abilities, let’s talk about positioning. Sage’s Healing Orb and Resurrection can bring your team back into a round or even give you a numbers advantage over your enemy. So, you should never be the agent on the front line.
On defense, you want to play in a position where you can support your teammates, but not be killed first. On attack, your teammate should always peek first. If they get killed, you can trade. If they take damage, but you manage to kill the enemy, you can restore their health. It should go without saying, but Sage should never be alone. The space between your teammates is where you play.

Restore balance – Healing Orb
The best tip I can give you for Healing Orb is to not hold onto it like it’s a precious item. It’s free and has a cooldown. If you or a teammate takes some damage as shots are flying, use your Healing Orb. Every bit of health could help you or an ally win the next fight. Plus, you’ll be able to use the ability again in 45 seconds.
This is probably the most obvious tip in this Valorant Sage guide, but you should try to never die with your Healing Orb unused. It can heal yourself or an ally from one health to full health. That’s essentially an extra player on your team. It’s almost as good as a resurrection.
You shall not pass – Barrier Orb
On defense, Barrier Orb is typically used to block corridors to bomb sites – forcing the enemy team to choose another route or shoot down your barrier, which gives away their position. My favorite trick to pull with Barrier Orb is to boost myself and my teammates into elevated positions, while also blocking their approach to a bombsite. When the enemy starts shooting your barrier, you and your teammates can step out of your elevated cover and shoot them over the wall.
If the opposing team has a Sage and they wall off a corridor with Barrier Orb, they will feel confident that the only way your team can get through is by shooting the barrier down. But you don’t have to go through the barrier; you can use your Barrier Orb to boost your team over it and surprise your enemies.
Don’t forget that Sage’s Barrier Orb only lasts 40 seconds. So, if you plant the Spike and are setting up to defend the site, you don’t need to wall off a section immediately. If you know which path the enemy team is using to approach the bomb site, a late wall can force them into making a hurried decision.
You can also place Barrier Orb in front of the Spike as a last defense against the enemy. If your team is killed, your opponents will need to waste precious seconds destroying your wall before they can defuse the Spike.
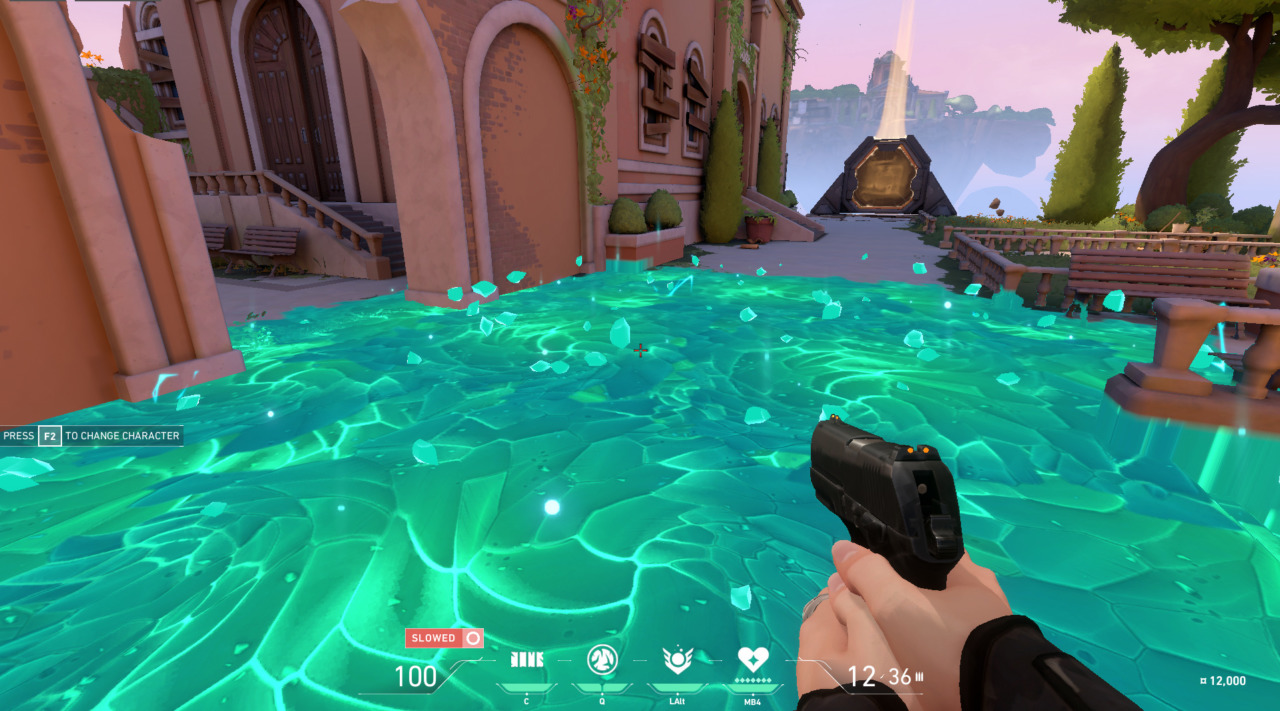
Easy does it – Slow Orb
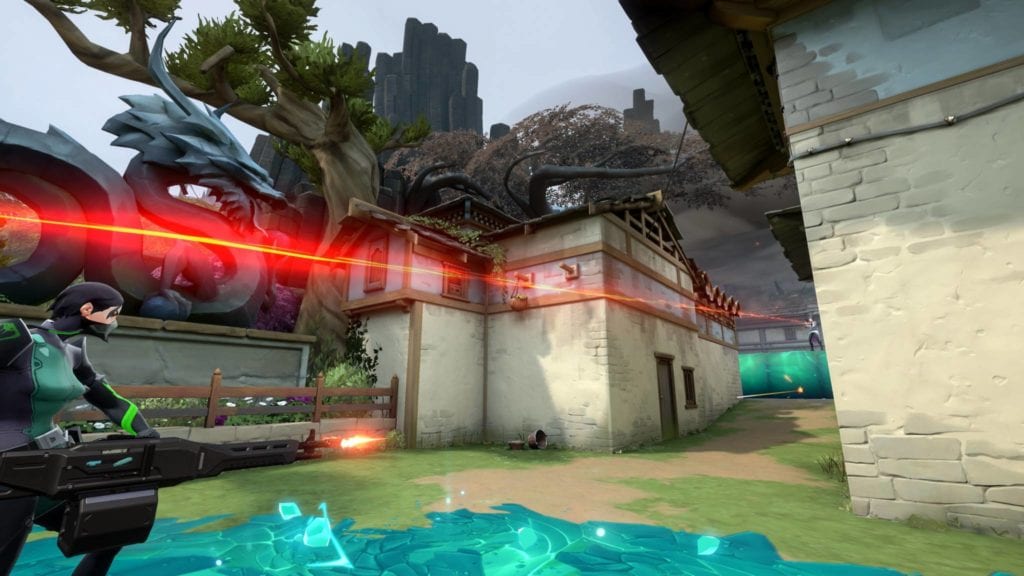
Sage’s Slow Orb doesn’t stop enemies like the Barrier Orb, but it does waste their time. And buying time can be very valuable. Placing a Slow Orb in the path of the enemy team will force them to make a lot of noise running through it or move incredibly slowly walking through it quietly.
When using Slow Orb to defend a bomb site, always ensure the edge of the area affected is in your line of sight. If the enemy decides to silently walk through it, they will be a sitting duck for you and your team as they come onto the site.
Slow Orb is particularly good when defending a bombsite after your team plants the Spike. As the remaining enemy players rotate, they will be very conscious of the clock ticking down. As they hurry, you can throw down Slow Orbs to waste precious seconds. This will often cause the enemy to make rash decisions that your team can capitalize on.
Everyone who walks in the area affected by Slow Orb will be slowed by it, your team included. So, be mindful of your teammates when you use it. You don’t want to hinder your own approach to a bomb site while attacking or rotating on defense.
The final tip for this section of the Valorant Sage guide: Always try to cast Slow Orb from cover. It bounces reliably off walls, so you can easily hit your target without exposing yourself.
Back once again – Resurrection (Ultimate)
Resurrection can turn a round in your favor. It’s an incredibly potent ability. However, when you revive a teammate, they will be completely defenseless as they come back to life. You should always try to use it on an ally that is behind cover. If you need to resurrect an ally who isn’t behind cover, get another teammate to use their cover-creating abilities to help you – someone like Jett, Phoenix, or Brimstone.
Those are all the tips and tricks I have for this Valorant Sage guide. I hope you can add some of them to your repertoire. If you’ve got any other tips to help players improve on this support powerhouse, please let us know in the comments. You can also check out our other Valorant guides, featuring the likes of Phoenix and Sova.