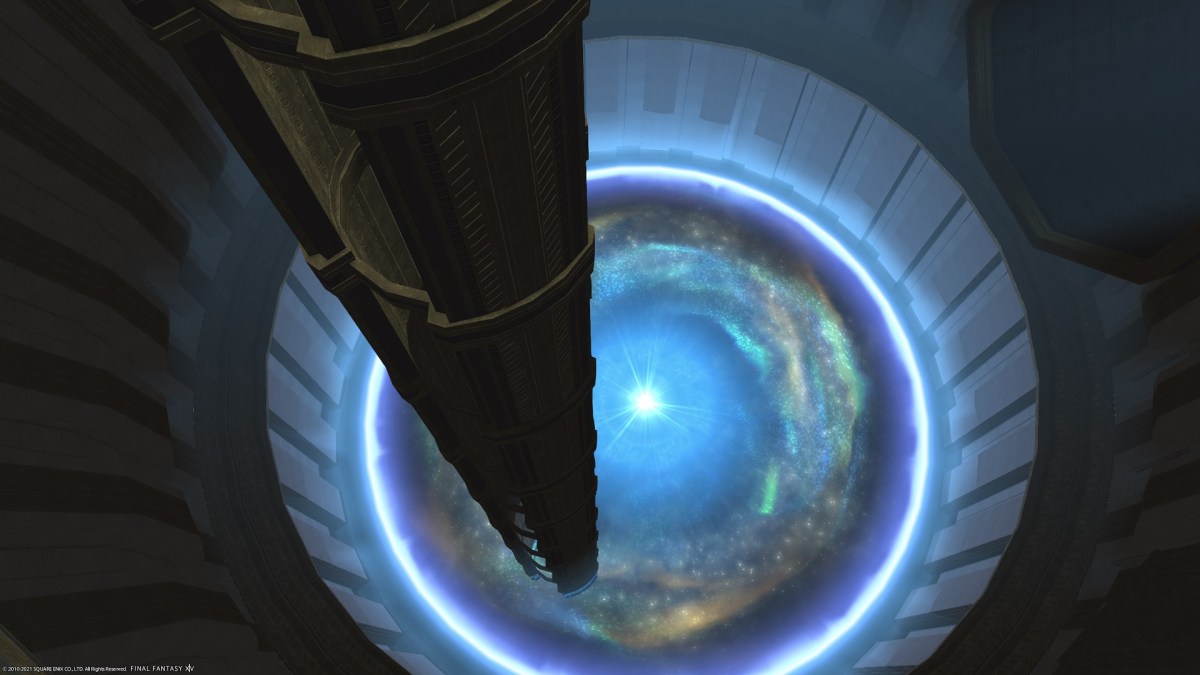
We’re not at the end of Final Fantasy XIV: Endwalker yet, but we’re getting there — the Aitiascope promises yet more revelations if you can get through it, and that’s what this guide is here for.
As ever, I’m not going to spoil anything past this dungeon, but by necessity all bosses will be discussed and shown in this guide. And, y’know, we’ll be talking about the dungeon itself. This is a very spoiler-y place, so in short: spoilers ahead if you haven’t yet reached this point.
Right. Now that the people who don’t know what this dungeon is about have left, let’s talk about the array of foes blocking your path here.
Final Fantasy XIV: Endwalker – The Aitiascope guide
Livia the Undeterred
Attacks:
Frustration — Unavoidable raid-wide damage. Heal through.
Aglaea Bite — Tankbuster. Mitigate and heal. Note that this is a frontal cleave, so do not stand next to the tank. This mean you, Reapers. Please.
Aglaea Climb — Livia moves to the center of the arena and some of her tentacles will start charging up. These tentacles will then unleash a conal AoE that hits roughly a quarter of the arena (note that the arena’s floor pattern pretty much divides it into quarters). Don’t stand near any glowing tentacles to avoid.
Aglaea Shot — Four line AoEs will travel across the entire arena, and will leave an Aethershot behind. After a short period, these will repeat the AoE. In short: avoid the initial AoE, and then don’t stand in the path it travelled until the second AoE goes off.
Odi Et Amo — Two party members will be marked with circle AoEs. Move out of them to avoid. Immediately after, one party member will be marked with a stack marker (Ignis Odi), so group up on them.
Disparagement — A frontal cone AoE. Don’t stand in the big orange danger zone. Still talking to you, Reapers.
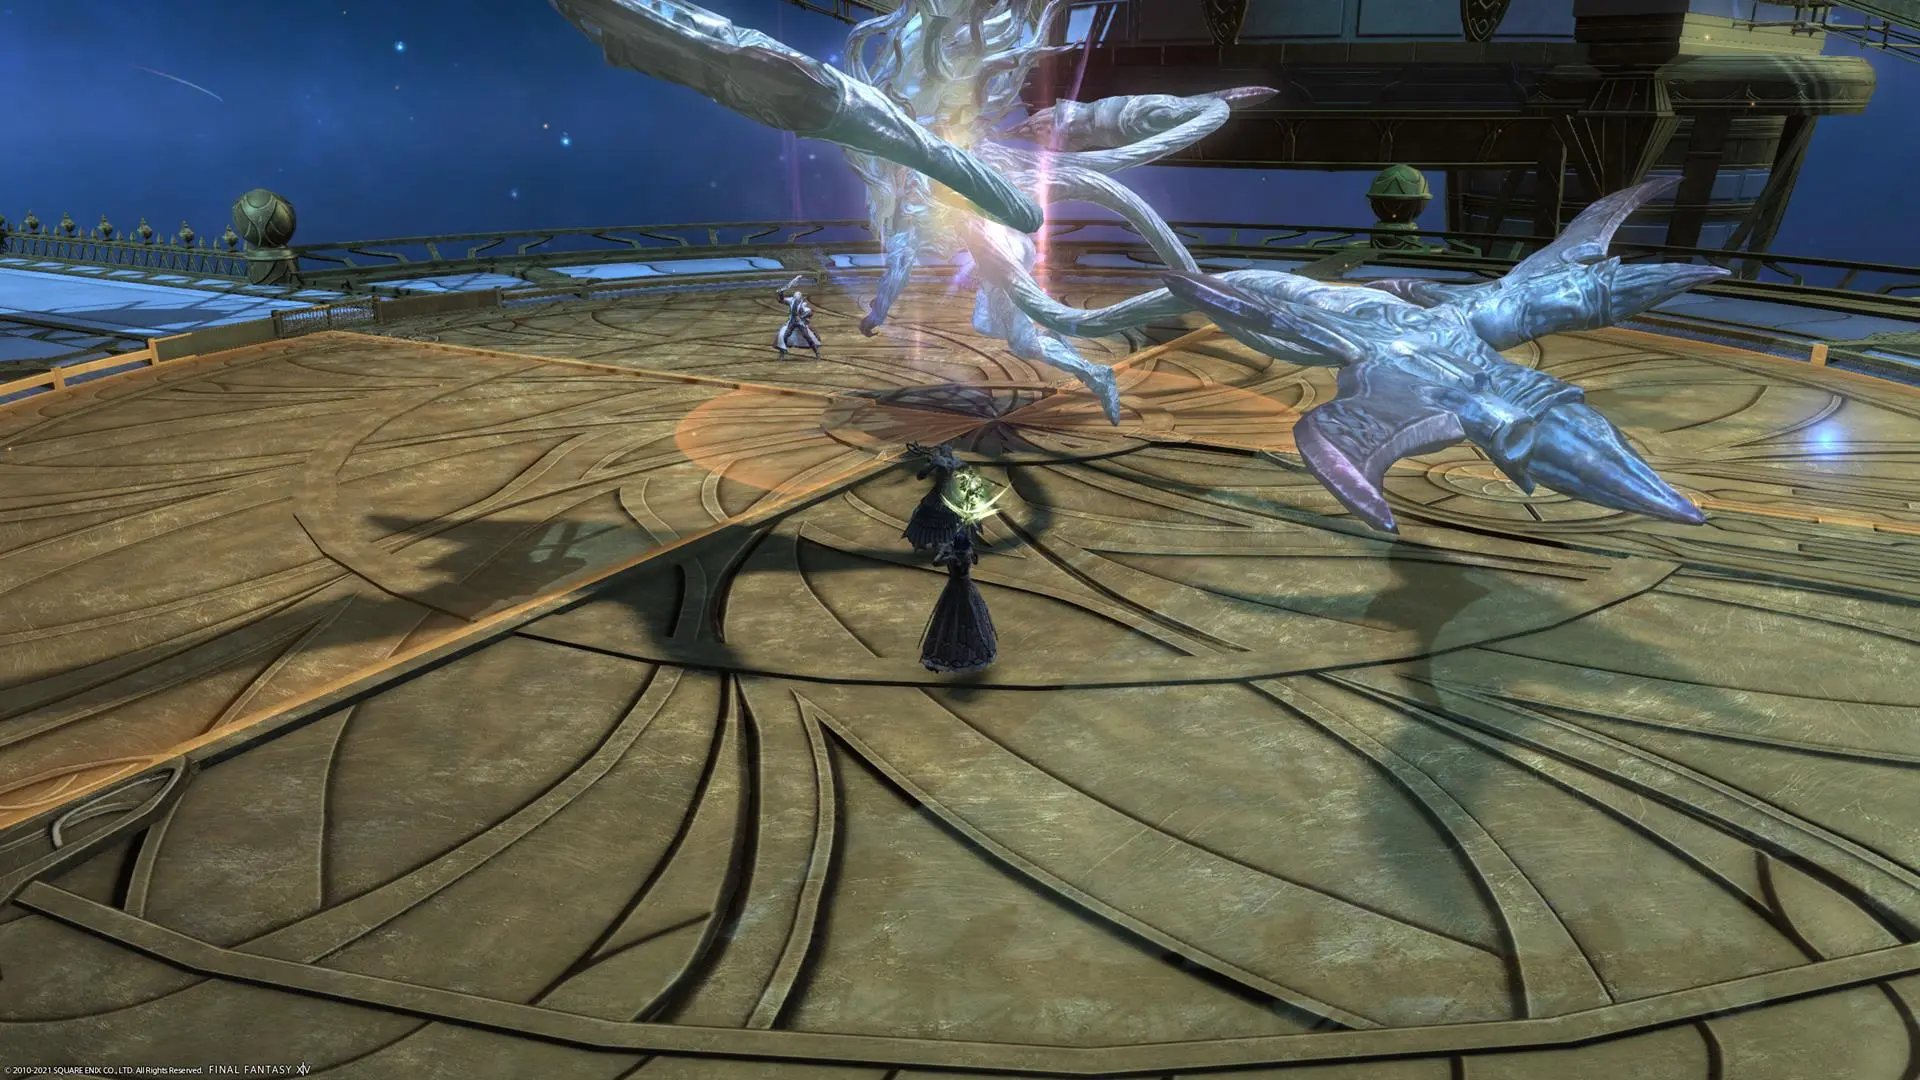
The glowy tentacles do conal AoEs in the designated quarters of the arena, so it’s fairly easy to see where each will hit.
Strategy:
Yep, this dungeon is full of foes from your past. Livia sas Junius pops up here to try to keep you in the Aetherial Sea in a less corporeal manner.
Two attacks of major note, here. Aglaea Climb has two of her four tentacles start visibly charging with energy: they’ll then sweep a quarter of the arena as an AoE. Note which ones are charging and don’t stand near them. Secondly, Aglaea Shot is a simple enough line AoE, but unless you’re paying attention you might miss the fact that the Aethershots are still there and will repeat the attack shortly afterwards. Things can get a bit trickier when she starts layering attacks on top of each other, but Livia the Undeterred still shouldn’t make you sweat.
Also, again, this tankbuster is a cleave. Please do not stand in it unless you are a tank. Please. As your healer, I am begging you.
I have honestly kinda given up on spelling Rhitahtyn’s name.
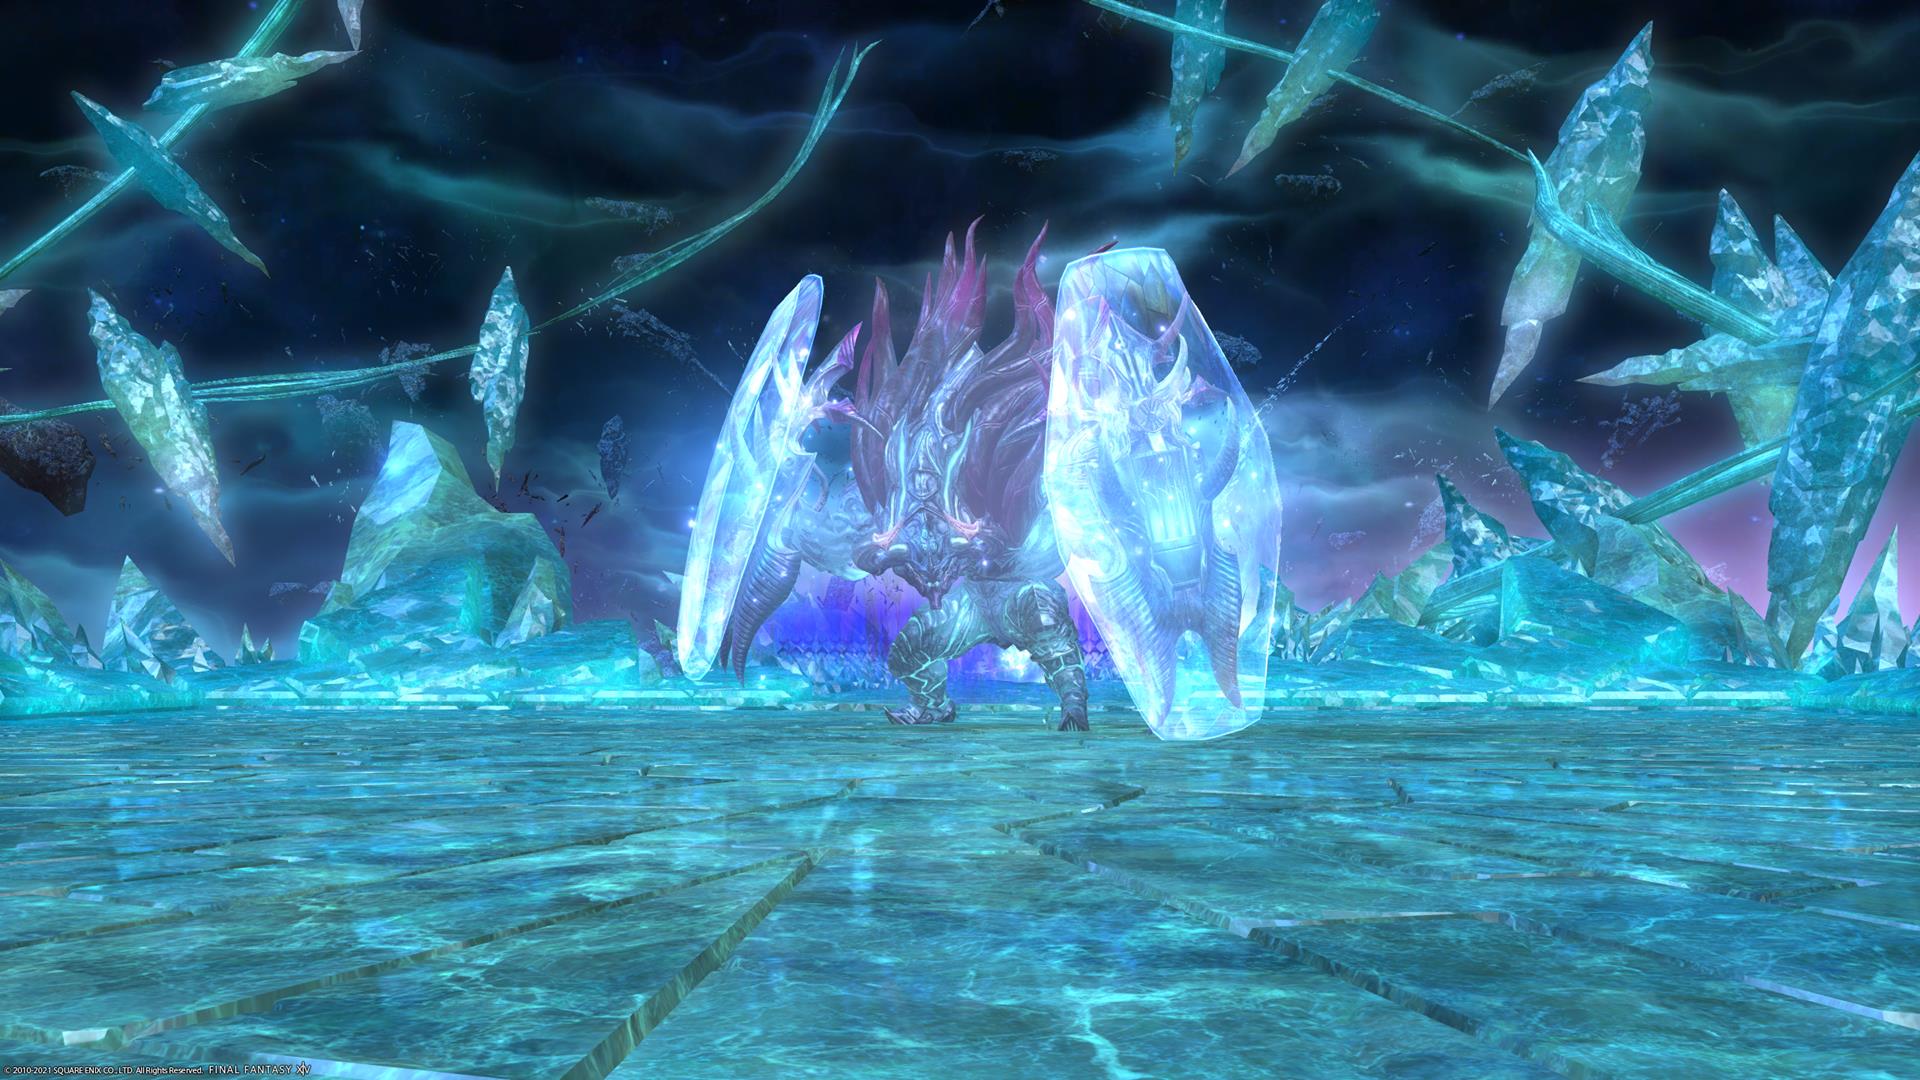
Rhitahtyn the Unshakable
Attacks:
Tartarean Impact — Unavoidable raid-wide damage. Heal through.
Tartarean Spark — Line AoE. Don’t stand in it.
Anvil of Tartarus — Tankbuster. Mitigate and heal.
Vexillatio — Two wide AoEs on the side of the arena, which will then erupt into walls. Do not stand in the AoEs. This is bad, because…
Shield Skewer — Rhitahtyn will charge up an AoE that will cover the arena not blocked off by walls. Good news: he does this by draining crystals in those walls. Some drain much faster than the others: these will crumble and vanish before his cast completes, and you can duck into the gaps left by them to get out of the AoE. You can judge these by either looking for the ones with a faster-draining meter, or the ones that are… well, black.
Shrapnel Shell — Target markers will slowly move away from Rhitahtyn. After that, target markers will rapidly appear in a cone around that area, and circle AoEs will appear in that region. Basically, do not stand anywhere near the quarter of the arena a target marker went into.

Two of the crystals will drain faster than others and rapidly turn black, but on successive castings, one side will be bombarded with Shrapnel Strike. Hide in the other side.
Strategy:
Ye gods, they actually did it. They brought back Rhitahtyn, the meme from Cape Westwind. And you’ll actually see some attacks this time! (Which you will have done if you played A Realm Reborn or did this fight at min iLvl too, but not so much now.) There are three attacks of note here: Vexillatio, Shield Skewer, and Shrapnel Shell — and funnily enough, they’re of note mostly when they’re used at the same time. So to some extent, it’s really one mechanic.
Let’s look at Shrapnel Shell first. This is theoretically a lot of small AoEs, but it’s easiest to think of it as a pair of conal AoEs; stay out of those cones to stay safe.
Vexillatio and Shield Skewer are avoided through the simple method of “don’t stand in the AoEs,” but it’s not quite that easy for Shield Skewer. Keep an eye out for the blackened crystals and duck into one of those alcoves to be safe. The tricky part comes later in the fight when Rhitahtyn uses Shrapnel Shell at the same time, making one side of the arena dangerous — do not duck into the “safe spot” on that side.
If you can keep those in mind, you can break the unshakable and move on.
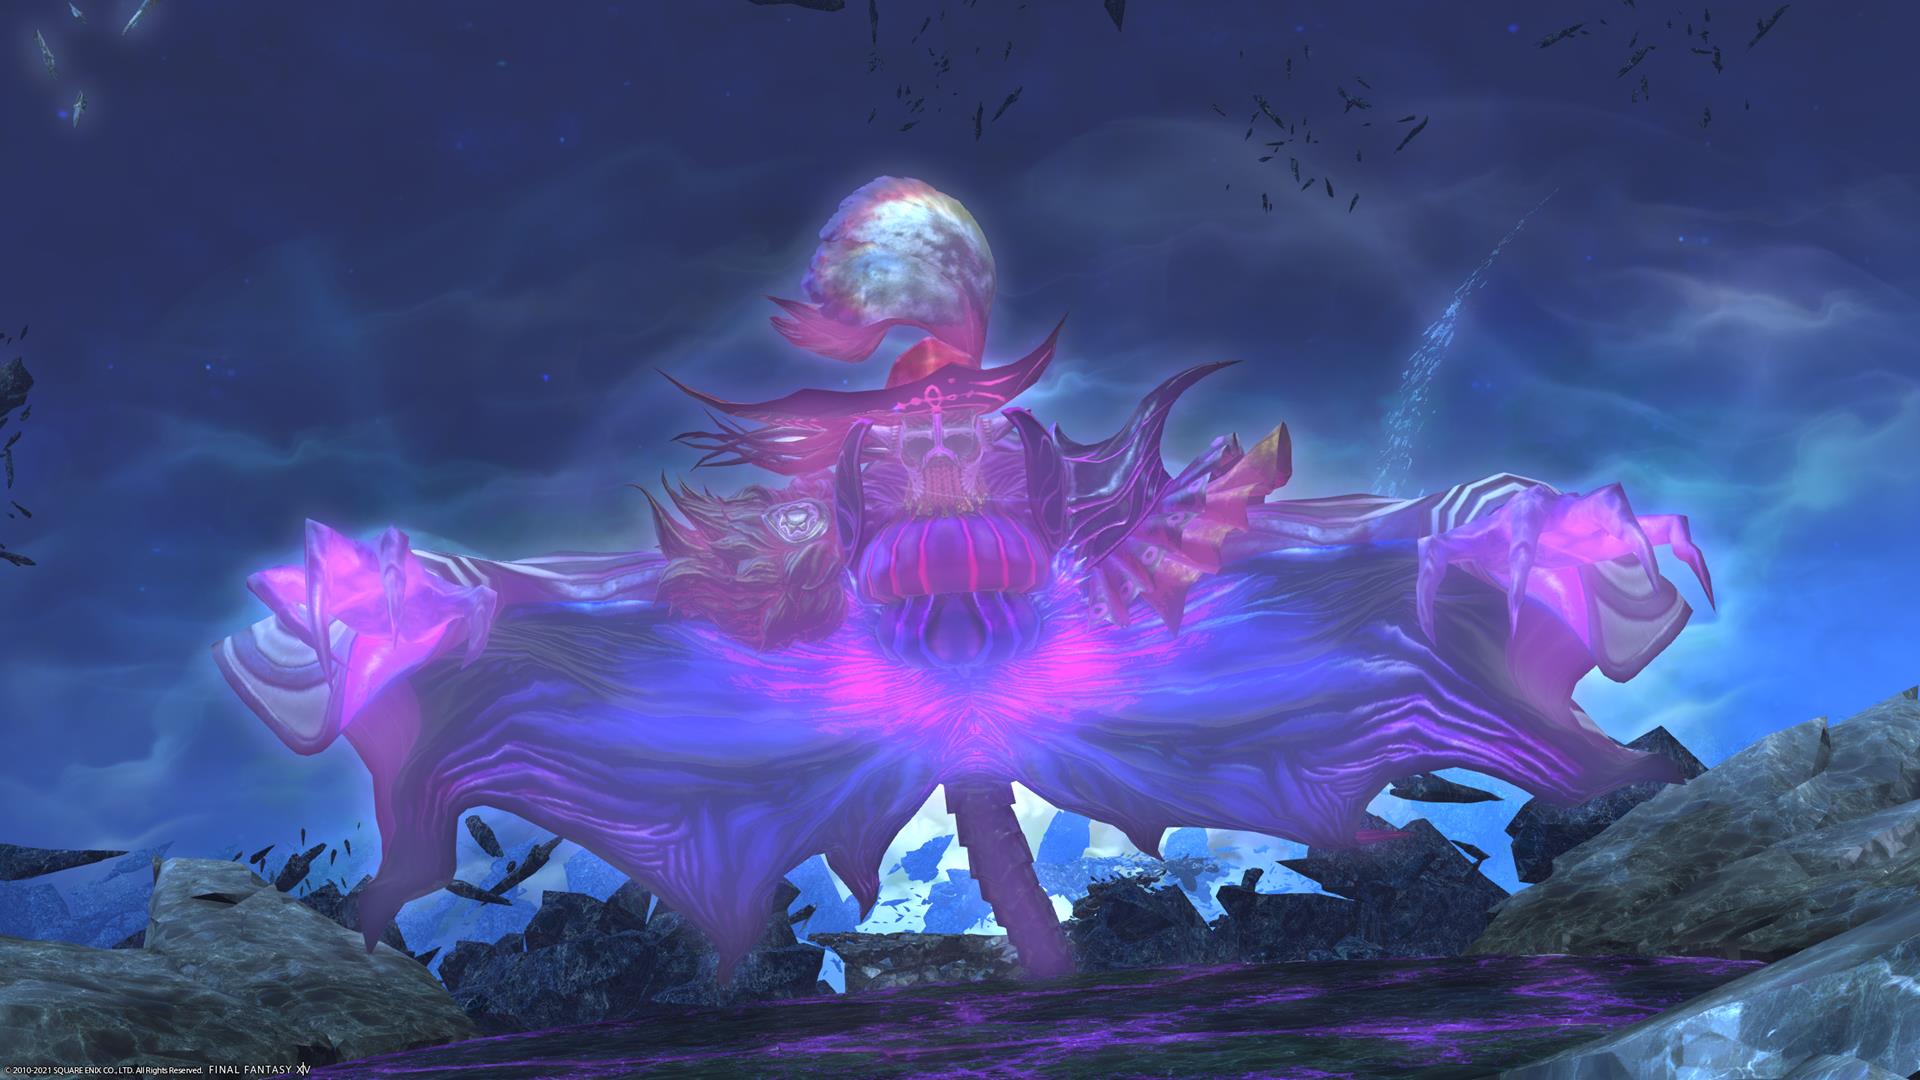
Amon the Undying
Attacks:
Dark Forte — Tankbuster. Mitigate, heal. You know the drill.
Thundaga Forte — Distance AoE targeted at the middle of the arena. Stand at the far edges to take as little damage as possible, then heal. This will the send out two sets of conal AoEs that will cover the entire arena. Look for the cones with lightning further ahead, and get out of those. Once that AoE has gone off, move into the space it left behind to avoid the second.
Strophe — A giant circle sigil will appear in the arena (one with the first cast, multiple with later casts).
Antistrophe — The giant circle sigil(s) will start floating. The direction they face, front and back, will be blasted with a line AoE.
Left/Right Firaga Forte — An AoE will hit either the left or right side of the arena. Note that this is from Amon’s perspective, not yours: if it’s Left Firaga Forte then it comes from his left hand, so if you’re facing him, the right of the arena will be blasted.
Entr’acte — Unavoidable raid-wide damage.
Curtain Call — AoEs will be placed underneath party members while Amon charges up. Shiva will eventually appear to summon a giant icicle in the middle of the arena. Hide behind this before Amon finishes casting to avoid damage.
Eruption Forte — Large circle AoEs will be placed underneath two party members (as with Curtain Call). Move out of them to avoid.
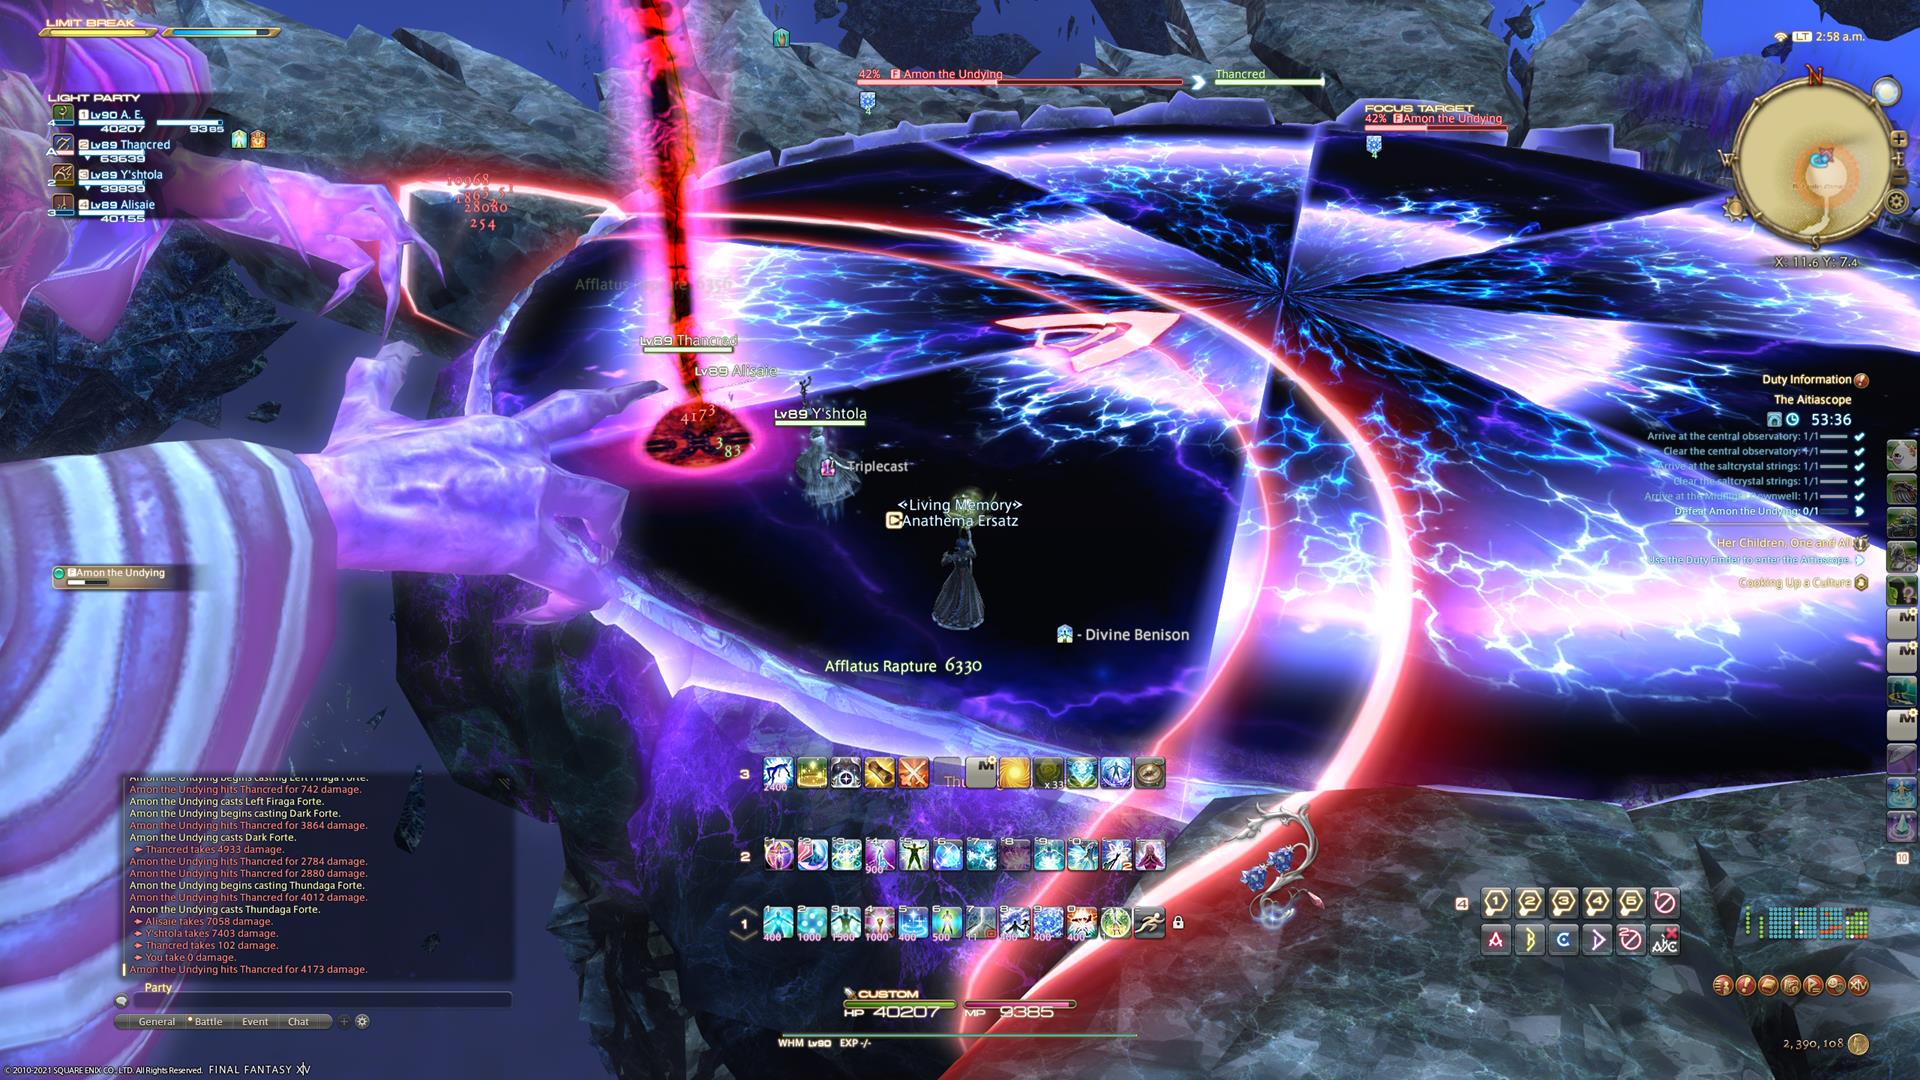
The ones with lightning nearer the outer edge will go off first, so stand on the other sections first and then move to avoid both strikes.
Strategy:
You didn’t think you were getting away without fighting Amon, did you?
Not too hard a fight, thankfully. It’s lots of little things, but most are very well telegraphed, and Amon is fixed in place at the end of the arena so you don’t need to worry about positionals and the like.
Curtain Call, for instance, is just “hide behind the big thing” like in Syrcus Tower. The Firaga attacks are telegraphed by their name. Strophe and Antistrophe can be a bit tricky with two of them, but it’s really just mapping out two lines in your head. Honestly, there’s less to talk about here than with most of the other bosses. There’s no particular “trick” mechanic to this fight; it’s just a lot of things that aren’t telegraphed super clearly.
And with that, you’ve made your way through our Endwalker – The Aitiascope guide (and the Aetherial Sea) and can get some real answers. For more guides, including what’s left in your adventure, check out our guide hub.