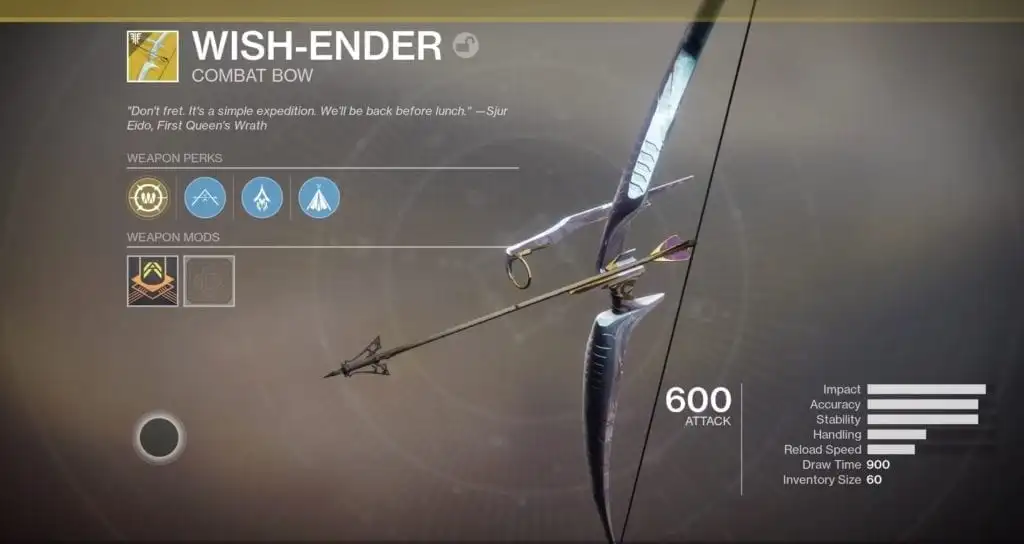
Three weeks ago, Destiny 2, players were shocked when the Dreaming City became completely corrupted by the Taken. This led to the Shattered Throne mission becoming available. That mission itself, another secret in Forsaken, provided players the means to obtain the Wish Ender exotic bow. If you still need to get your hands on it, this guide has you covered.
Do take note that while the Shattered Throne has a recommended Power Level (PL) of 570, the latter encounters have bosses and mobs that hit like a truck. They are 590 PL, after all. It’s doable at around 571 PL, but anything below will require some friends to scrape your carcass off the floor. When it originally became available, I was able to finish this and collect Wish Ender early on. I had an easy time — but I was 595+ PL already. You are going to have a lot of deaths if you’re below the mob/boss levels, and the respawn timer is at 45 seconds, which can be annoying. The good news is that you do get checkpoints after each major area or encounter in the Shattered Throne.
Also, if you’re still not 590-600 PL, hopefully our leveling guide will be able to help you out.
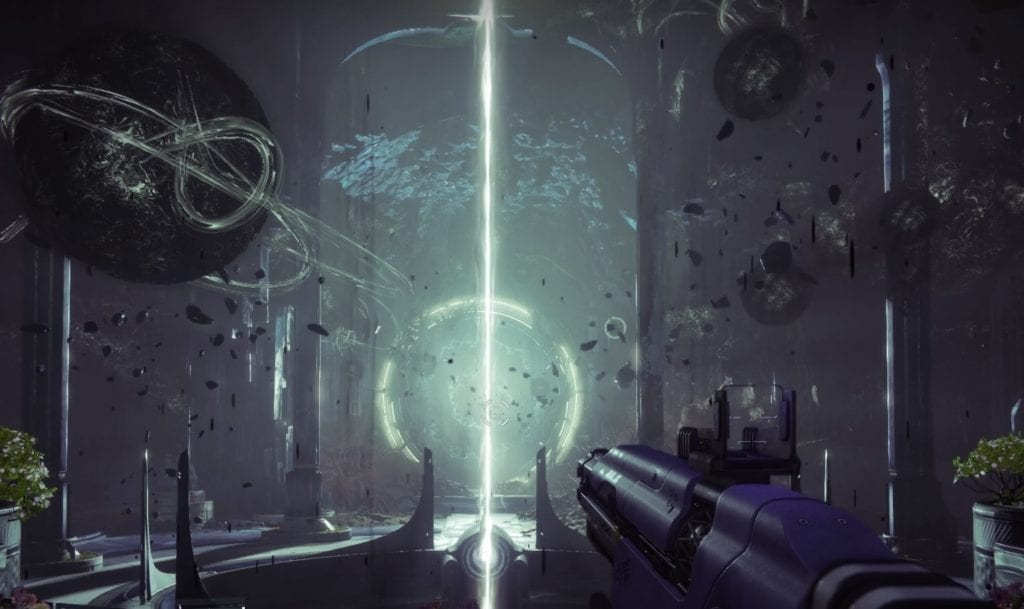
The Confluence And Shattered Throne Labyrinth
That grainy backdrop in the Dreaming City this week is exactly what the Taken corruption is — something that surprised many of us when we flew to the zone the first time this event happened. The entire area seems to be teeming with potential Taken incursions, with their goop all over the place. Make your way to The Confluence zone via the portal in the Spine of Keres and speak to Shuro Chi. If her name sounds familiar, that’s because she’s one of the raid bosses in Last Wish. Yep, she was cleansed when Guardians defeated her and completed the raid.
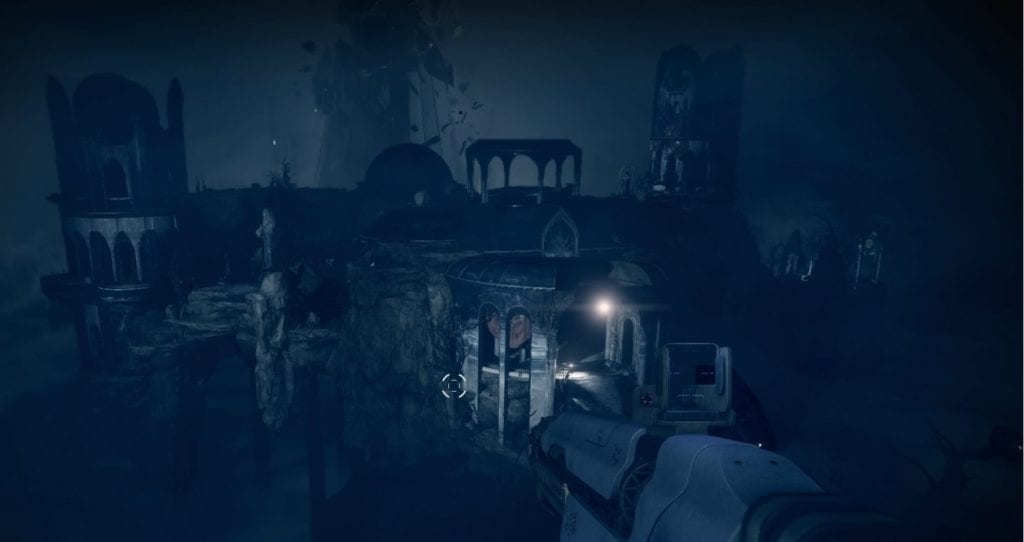
The first area in the Shattered Throne is the Labyrinth. It’s a gigantic zone where each building has those Last Wish symbols — ie. “bird flying down,” “fish curl,” “infinity snake,” and others. You’ll need to kill the Labyrinth guards (various Taken elites). Killing them shows a symbol of the next building that you’ll need to go to. Because it’s easy to get lost in this place, a general rule of thumb is to follow your radar. If you spot red pips that denote enemies, there’s a good chance that the next Labyrinth guard spawned there. Killing all Labyrinth guards in sequence grants you a powerful gear drop and access to the next part.
The Shattered Throne – Sniper Alley, Ogre Walkway, Thrallway
The next areas are fairly straightforward:
- Sniper Alley has a number of Taken hobgoblins, knights, and phalanxes that are out to ruin your fun. You’d want to have a scout rifle or Whisper of the Worm handy for this area.
- The same goes for the Ogre Walkway since these guys can push you off the walkways to your doom.
- Lastly, you’ve got the Thrallway. This one’s a blighted room where you’re chased by infinitely-spawning thralls and your sprinting and health regen are disabled. You’ll just need to bunny hop your way past all the thrall and get to the exit. Attunement of Grace Warlocks help a lot with their medic grenades and panic rifts. Hunters can also sneak and tether their way through.
Once you’re done you’ll find yourself at The Descent, a gaping chasm that you need to cross while Taken wall-pushers are out to ruin your day. There’s also a side path here that can get you across without issues. Make your way past this area and you’ll arrive at the lair of the Keeper of Petitions, a Taken ogre boss. This is what he looks like — image courtesy of Reddit user OaksMan.
Boss #1: Keeper Of Petitions
The Keeper/Ogre is a fairly easy fight. Again, your power level matters. If you’re around the same level as the mobs here, then no worries. If you’re a lot lower than these guys, then prepare to wipe a lot.
You’ll notice glowing plates around the room. You’ll need to disable one of these to break the Keeper’s shield. To do that, you’ll need to kill the Taken wizards around the room. These will give you orbs that provide the Petitioner’s buff. You’ll need one player with a x4 buff to disable the plate.
Note: If players die, they lose all stacks of the Petitioner’s buff. Adds/wizards will keep spawning until one player who manages to get a x4 stack can disable the shield.
Once the Keeper’s shield has been broken, that’s when you wail away on him. Sleeper Simulant and Whisper of the Worm work wonders, and so does the Ikelos shotgun. Standing on a Warlock Well of Radiance is also immensely helpful because his axion darts can be a pain.
If you have the damage output, you can one-phase him easily. If not, just repeat the same steps as before. Once the Keeper of Petitions dies, you get your second powerful gear drop. Next up, you’ll be jumping on some elevators and balconies until you reach the second and final boss.
There’s also the Statue of Sjur that you’ll spot after the Keeper encounter. Interacting with this statue removes your Awoken Talisman quest item and unlocks the remaining steps for the Wish Ender exotic bow.
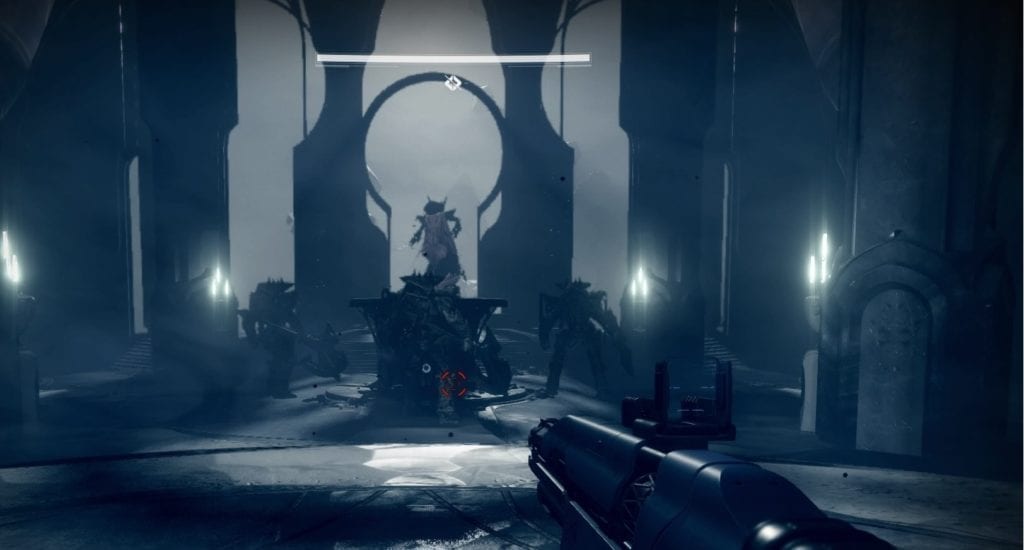
Boss #2: Dul Incaru
Dul Incaru is the daughter of Savathun, one of the sisters of Oryx — a big-bad from the Taken King expansion of the first Destiny game. Dul Incaru’s arrival in the Dreaming City has been hinted at since Forsaken came out.
She’s surrounded by three sword knights reminiscent of Alak-hul, the Darkblade in Destiny 1. You do NOT want to get hit by these guys. If regular mobs hit like a truck, then these guys hit like a train! I actually saw my poor 598 PL/3 Resilience Warlock get one-shot while standing on a Well of Radiance, believe it or not!
When you kill a sword knight, you gain a damage buff that allows you to pour tremendous damage on Dul Incaru. However, she periodically makes them immune. You need to destroy a crystal that spawns behind wherever she is to remove their shielding. Doing so spawns waves of psions that you’ll want to take out quickly because they can be very annoying to deal with.
The key here is to move around the various balconies whenever your spot is getting overwhelmed. Likewise, to pump out as much damage as possible, you’ll want to kill all three knights at the same time. You gain a x3 damage multiplier. I was actually hitting Dul Incaru for 999,999 damage with each Whisper shot! She melted within five seconds.
If you can’t kill her quickly, you’ll need to hop on the chalice in the middle of the room. This cleanses you and prevents you from dying due to the effects of the damage buff. In any case, once you’re done with her then I offer you my congratulations… wait, no I don’t. That’s because there’s more to do. You need to grab that Wish Ender exotic bow, Guardian!
Wish Ender – Prove Your Worth
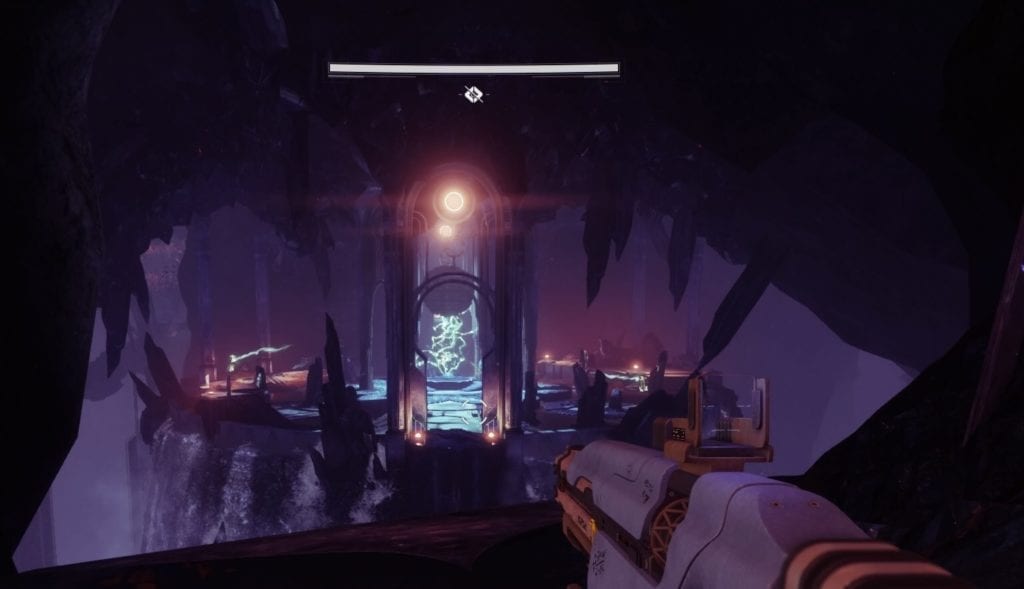
The next quest step for Wish Ender won’t appear on your Destinations map at all. You’ll need to head to the Tangled Shore’s Four-Horn Gulch zone. There, you’ll spot the spirit of Toland floating around. This will allow you to start the “???” mission. The mission takes place in Sjursrest, a previously closed-off area in Forsaken.
This is fairly straightforward. Kill mobs and get to the next areas and so on. In the end, you’ll face off against three Taken bosses. Bring a friend if you want to help you out. It is quite possible to die unexpectedly here because that annoying Taken ogre can shoot you across the map and into a chasm. Anyway, focus fire on one boss at a time to whittle them down.
Once that’s done, you’ll receive three tokens that go to your bounties menu. If they ended up in your postmaster due to having a full inventory, well, by all means, make some space for them. You’ll need them for the next bit.
Wish Ender – Empowering Your Tokens
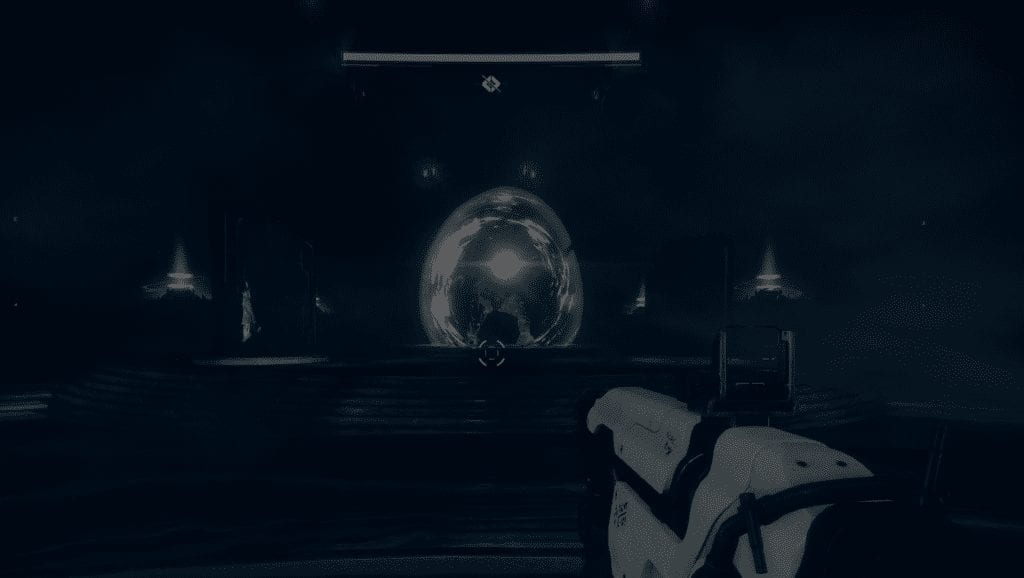
In order to empower your three tokens, you’ll need to head back to the Shattered Throne. There are various orbs/relics that can be found in hidden locations. You’ll need to place these on lady statues that are not holding an orb. Doing so can unlock secret rooms and spawn mini-bosses that will empower those tokens.
Credits go to Reddit user SarcasticSpaceman who first discovered a hidden encounter in the Shattered Throne. It gave many players an idea that this might be related to the Wish Ender exotic quest. However, as far as we know, the first reported discovery comes from Reddit user Viannarella, who mentioned getting the Wish Ender as well as the full steps on how to obtain it.
You can also check out the video above from YouTube user HarryNinetyFour who’s empowering the tokens in various locations in the Shattered Throne. To add a few details, here’s how it goes:
Token #1 – Labyrinth
Make your way past the first Labyrinth guard and to the left. Go up the rocks to the roof of the Temple of the Deep. You’ll find the orb/relic here. Turn around and get back on those rocks again and make your way across to the central area’s rooftops. There are several lady statues here.
Place the relic in the correct statue (the one not holding an orb) to spawn a minotaur boss. This boss also spawns clones so you’ll need to kill them quickly. Doing so means you’ve proven yourself worthy, and it empowers your first token.
Token #2 – Ogre Walkway, Thrallway, The Descent
In the Ogre Walkway, check the rightmost corner as you enter to find the relic behind a small domed rock. You’ll need to bring this to the statue at the far/outer wall.
Next, in the Thrallway there’s a relic at the right-hand side room. Pick that up and bunnyhop all the way to the end. Once you drop down to safety, the statue is at the right side wall.
Doing these will open up a secret room in The Descent — it’s right in front of you as you enter the area, you can’t miss it. In this room, numerous psions will spawn so just take them out. A few seconds later, a Taken captain will also spawn. Kill it quickly to prove yourself worthy and empower your second token.
Token #3 – Keeper Of Petitions Boss Fight
Remember that Ogre boss that was fairly annoying? You’ll need to pay him another visit.
When you break the Keeper’s shield for the first time, a minotaur spawns at the opposite side of the room from where you entered it. It’s a little hard to find since it’s invisible, but it’s there. Kill this minotaur quickly and you’ll get another relic. You’ll need to bring that to the statue at the left-hand side of the wall (as you enter).
When you’ve done this, a second Ogre spawns. This one does not have a shield. Simply find a safe spot and kill this behemoth. You’ll now have your third token empowered. Kill the Keeper afterward to get to the next area.
The Statue Of Sjur – Claiming Wish Ender
Just after the Keeper boss fight, you’ll once again find yourself staring at the Statue of Sjur. Simply interact with it and it will allow you to obtain your Wish Ender. That’s pretty much it.
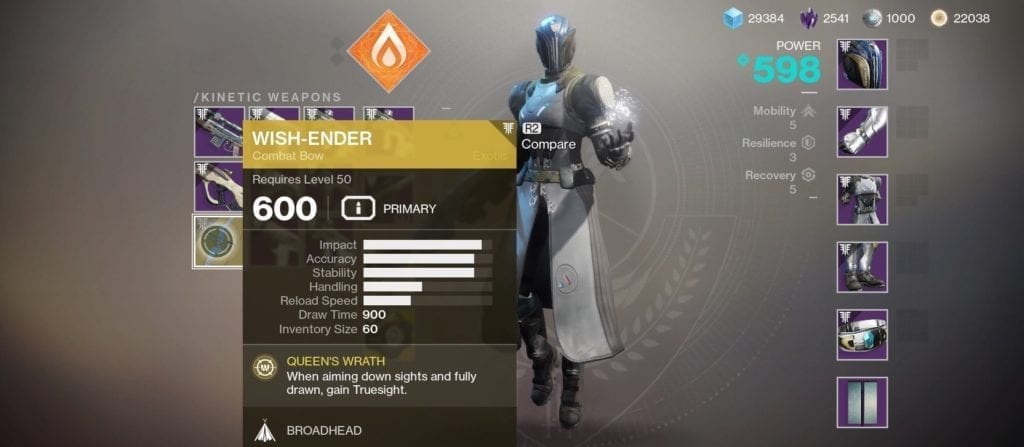
The Wish Ender has a couple of unique perks. The first is Queen’s Wrath, which gives you Truesight (wallhacks) when you’ve fully drawn the bow and are aiming-down-sights. The second is Broadhead, which allows its shots to pierce through multiple targets. To be honest, I’m not much of a fan of it. I like it for the sake of adding it to my collection and the overall challenge. It was also a major disappointment since its perk, Broadhead, was bugged. Other exotics like the Sleeper and Whisper completely trumped it in terms of usefulness.
As for the entire quest line, many players have applauded Bungie for the effort they put in designing this secret quest and the Dreaming City overall. The ever-changing and ever-expanding Dreaming City, the secrets to discover, and the artistic design of Mara Sov’s Throne World — everything was a joy to discover and watch unfold. No matter how frustrated you might’ve gotten while doing the quest, you probably remained amazed at the intricacies and aesthetics of the place. One friend told me it felt very “Souls-like”, but for me, it felt as though I entered Commorragh, the Dark Eldar homeworld in Warhammer 40K.
In any case, we hope you liked this guide on how to obtain Wish Ender in Destiny 2: Forsaken. As usual, for general Forsaken info, you can check out our “Everything you need to know” guide. And, of course, if you’re having trouble in the raid, you can consult our complete Last Wish guide as well.


Published: Oct 16, 2018 03:00 pm