Your journey in Salt and Sacrifice will be long and arduous. There are several mechanics to consider, enough to pose a challenge as you progress. Here’s our Salt and Sacrifice beginner’s guide to help you with the functions of Pardoner’s Vale NPCs and some combat tips.
Note: For more information, check out our Salt and Sacrifice guides and features hub.
Salt and Sacrifice beginner’s guide – Pardoner’s Vale NPCs and combat tips
Choosing a class
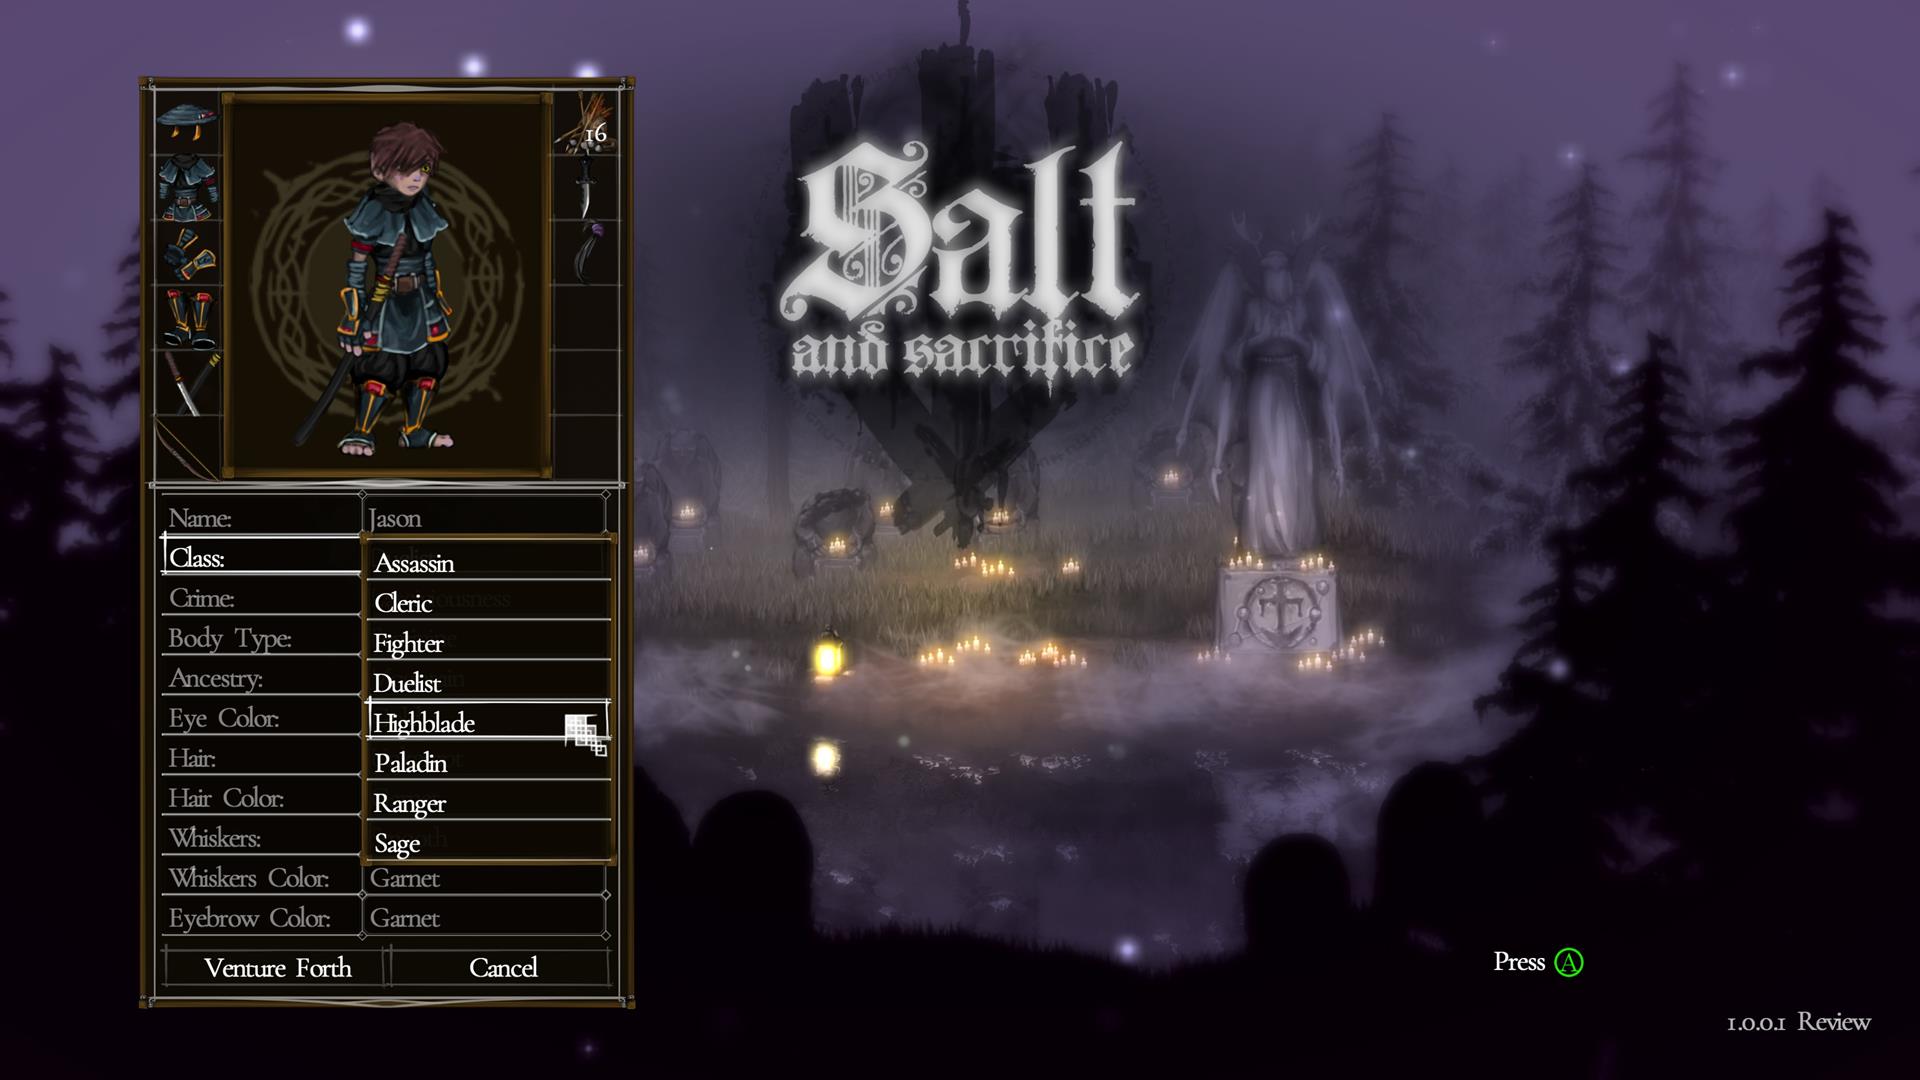
Before you begin your adventure in Salt and Sacrifice, you’ll have to select a class. Your decision here will determine your starting equipment and unlocked perks/stats. For instance, a Sage begins with a stave, a channeling rod, and the ability to cast level 1 Forbidden Glyphs (i.e., weapon skills/magic). Although you can definitely branch out to create a hybrid build, I would suggest sticking to something that you’re more comfortable with.
Fighting the Inphyrean Warden
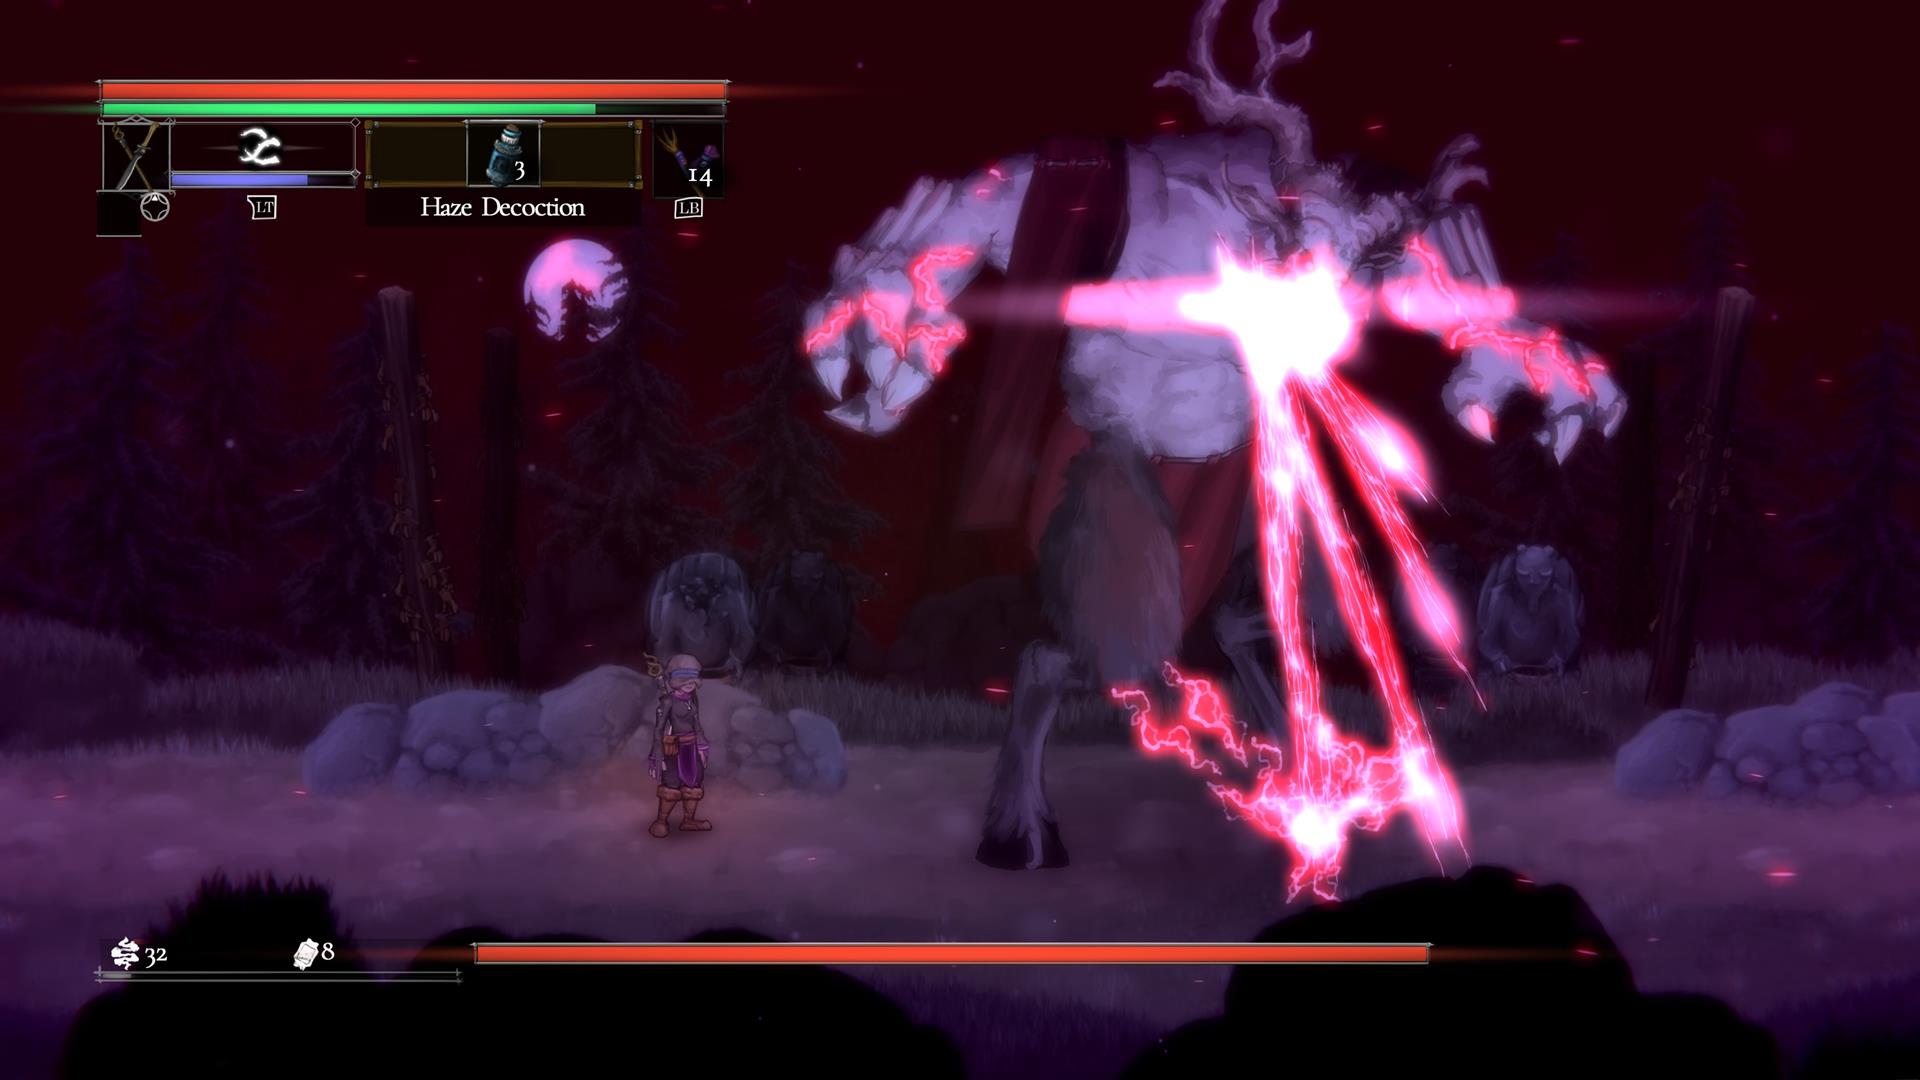
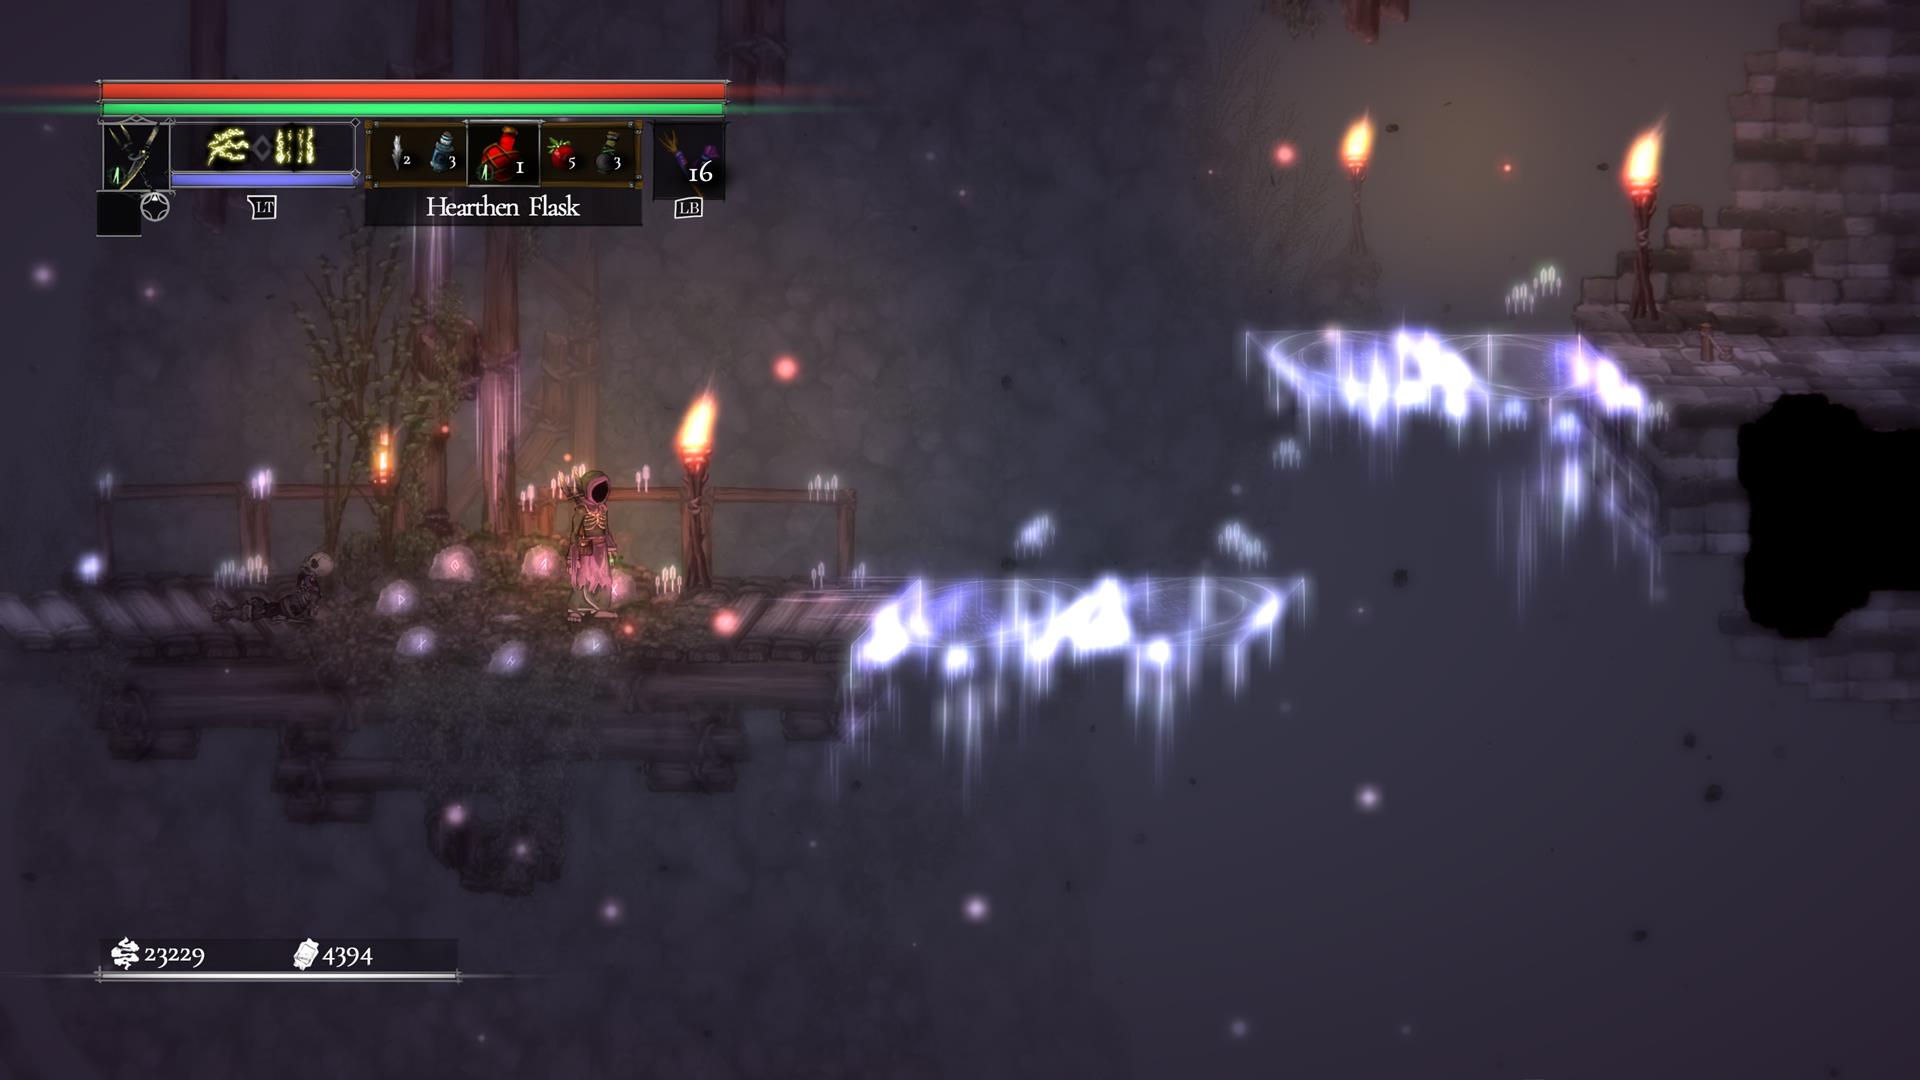
After the short intro, your character will fight the Inphyrean Warden. This gargantuan demon can annihilate you in a couple of hits, and it will take a bit of effort to kill it.
If you end up dead, that’s totally fine (as is the case in most Souls-like intros). But, if you do manage to beat it, its death throes will still kill you, though you’d have a few bags of silver when you start the campaign proper.
NPC functions in Pardoner’s Vale
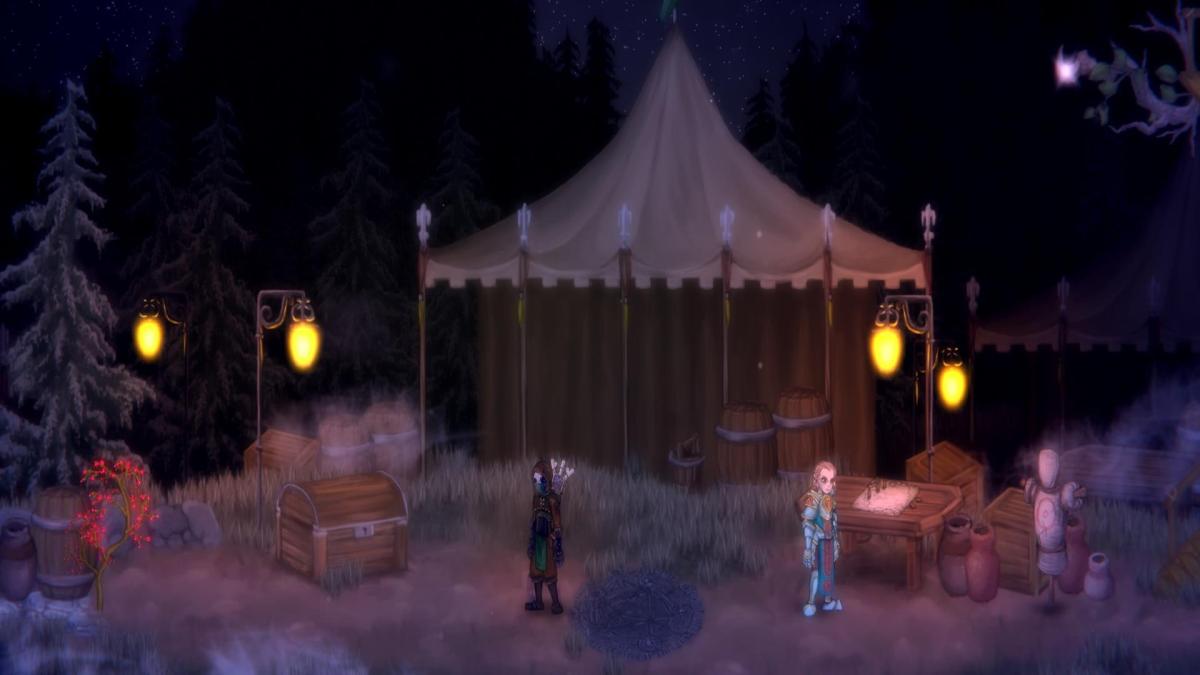
You’ll next wake up in Pardoner’s Vale, the main hub in Salt and Sacrifice. Here, you’ll see several NPCs and objects with their respective functions:
- Forge – The forge allows you to create weapons, armors, accessories, and even cosmetics. These use materials dropped by bosses and their mob spawns.
- Arcane Table – This lets you upgrade your equipment by spending “Pyr” (found in pouches/chests or dropped by enemies).
- Statue – This is where you level up (more on this later).
- Tools – You can upgrade your decoctions and ammunition count here.
- Portal – The rune markings, Nameless Hunts, and Fated Hunts that you encounter will allow you to teleport to a particular zone.
- Merchants – Merchant NPCs will move to Pardoner’s Vale once you meet them on your travels. They’ll let you buy items that cost silver.
Note: Other NPCs can also end up in Pardoner’s Vale, and they’re mostly related to PvP objectives which we won’t discuss in detail here.
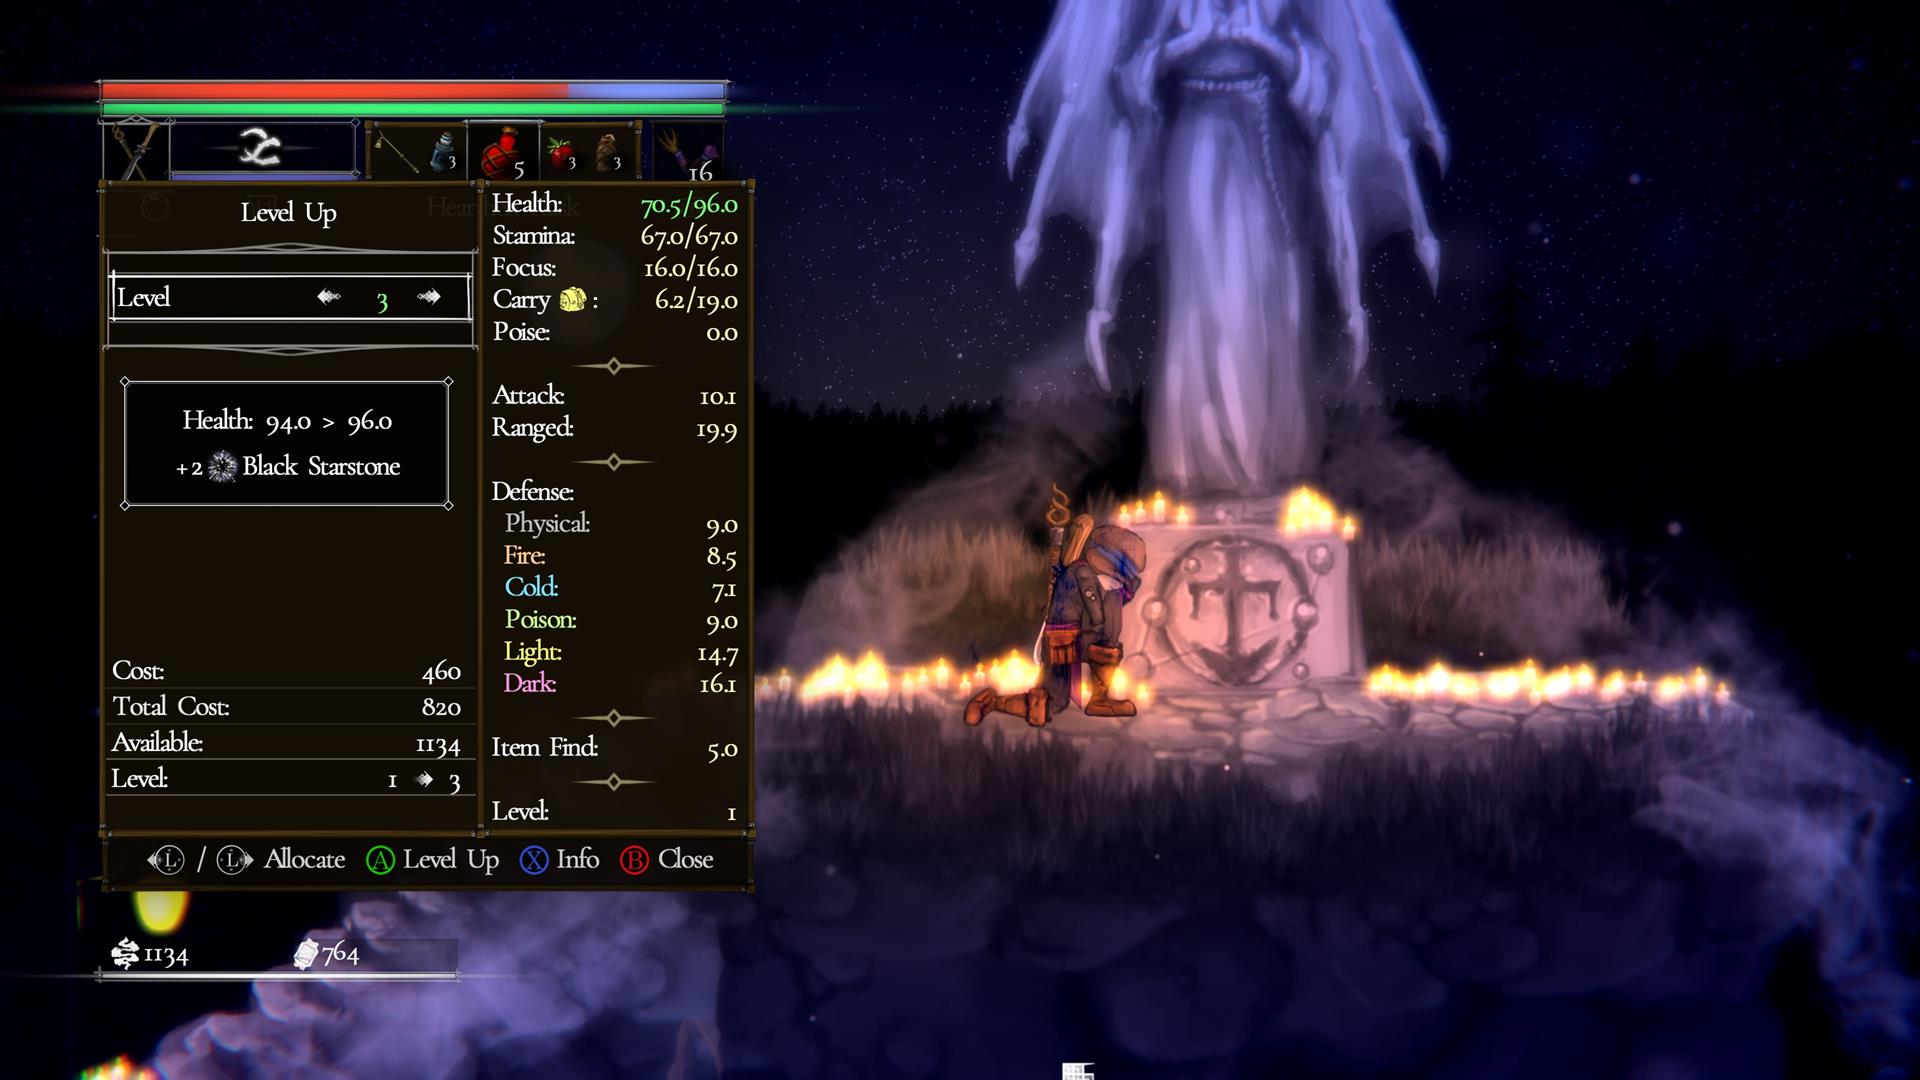
Salt, leveling, and allocating your skill points
As mentioned earlier, leveling is done by way of the statue in Pardoner’s Vale. Here are some tidbits:
- The main currency/XP used for leveling is salt, which is commonly dropped by enemies. You may also find or buy salt pouches/bags which provide an amount of salt once used.
- Similar to other Souls-like games, any salt that you have will be lost when you die. However, you can still go back to that spot to pick up your lost currency. If you die along the way, then it’s gone for good.
- The only stat that increases when you level up is your HP.
- Every level grants 1x Black Starstone (i.e., skill point). Every five levels grants 1x Gray Starstone (i.e., respec point).
Note: You can learn more in our leveling and skill points guide.
Itemization and equipment
Apart from consumables, the following types of items can be equipped on your character:
- 4x armor pieces (head, chest, arms, and legs)
- 2x sets of melee weapons (can be swapped during combat)
- 1x ranged weapon
- 1x amulet
- 1x charm
- 2x rings
- 3x artifacts

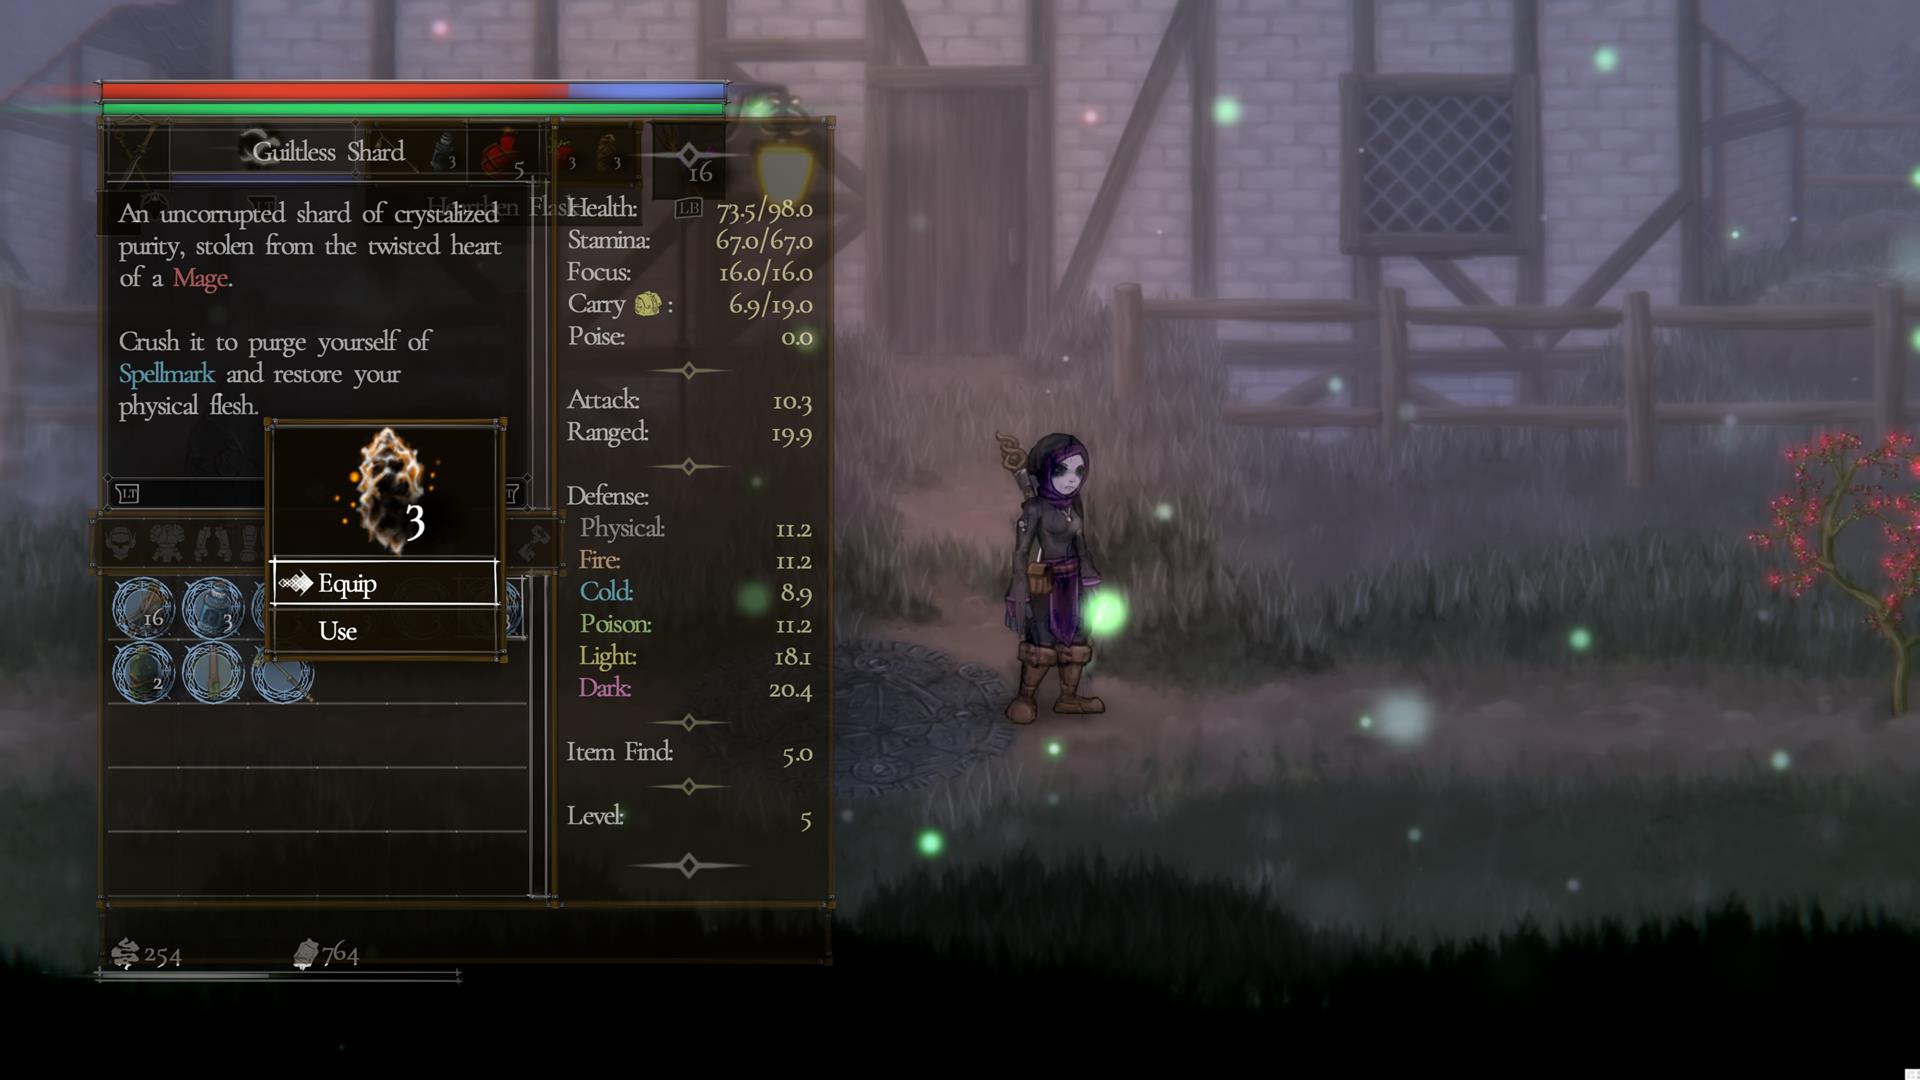
The Spellmark curse
Another thing you’ll notice is that part of your HP bar has a bluish-gray hue. That’s because your character is Spellmarked, a curse that prevents you from reaching your maximum HP. The only way to get rid of this is by using a Guiltless Shard, though the debuff will be active once more if your character dies.
Note: You can learn more in our Spellmark/Guiltless Shard guide.
Obelisks: Rest and resupply – How to replenish your flasks and ammo
Salt and Sacrifice has five main zones (and a sixth that I’ll discuss in a bit). These are all separate from each other, so it’s not a vast, interconnected world.
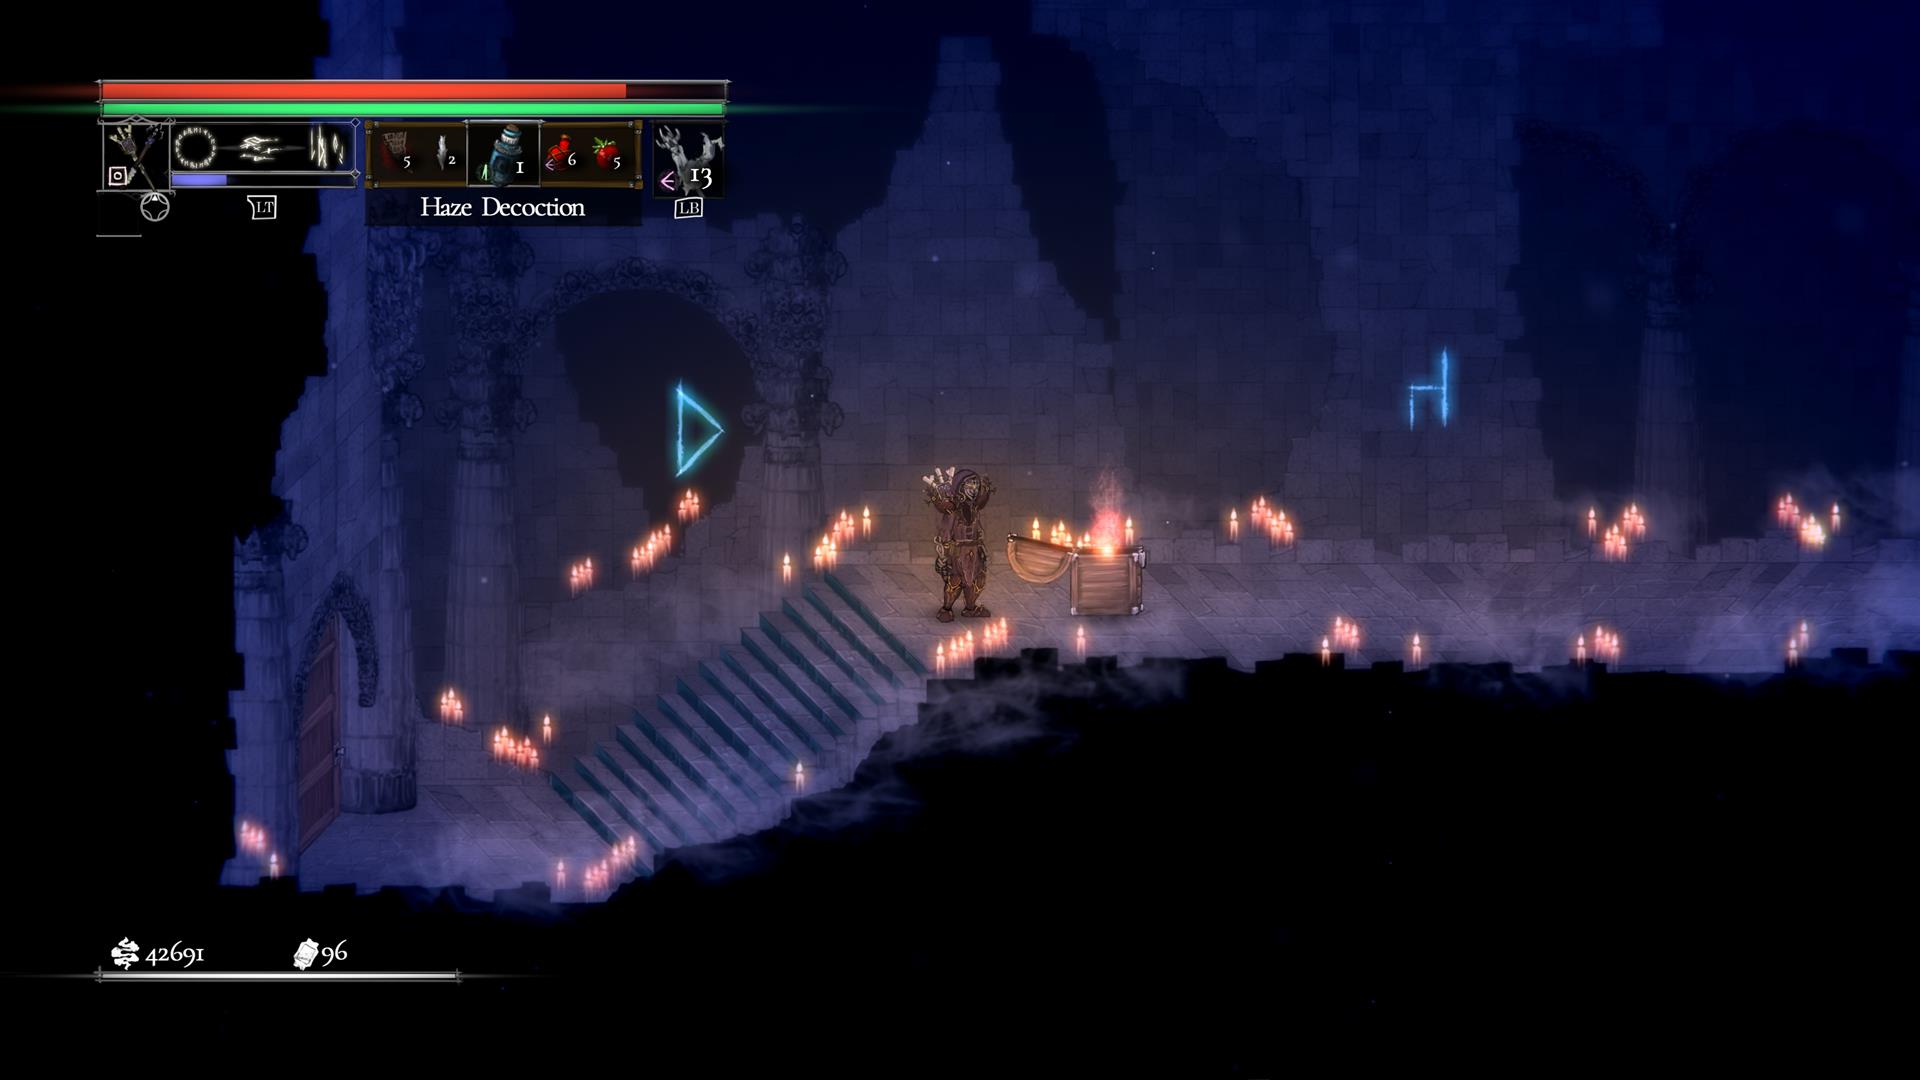
When you use the portal, you’ll end up in the initial area of that zone. There’s an Obelisk nearby, and you’ll find a few more as you explore. Obelisks allow you to return to Pardoner’s Vale, and they can also be used to replenish your supplies. However, there’s no way for you to fast travel from one Obelisk to another.
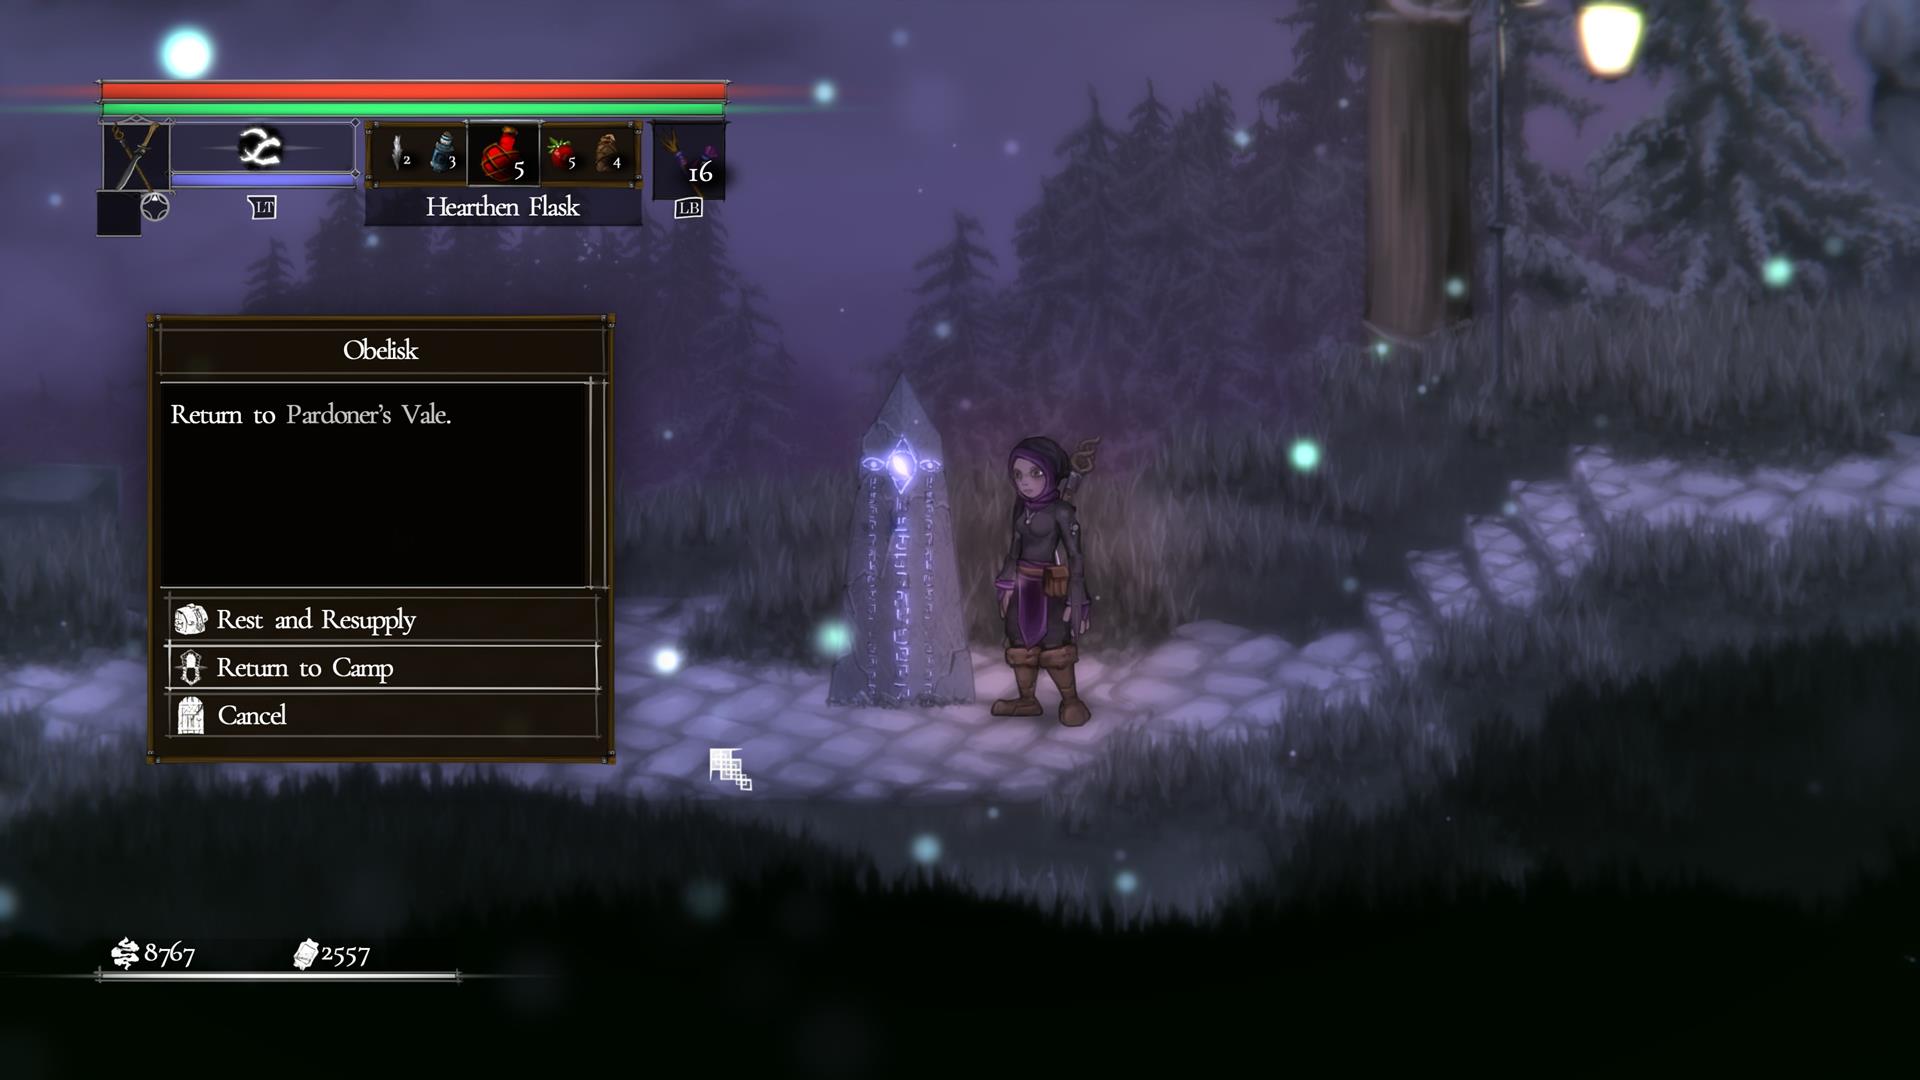
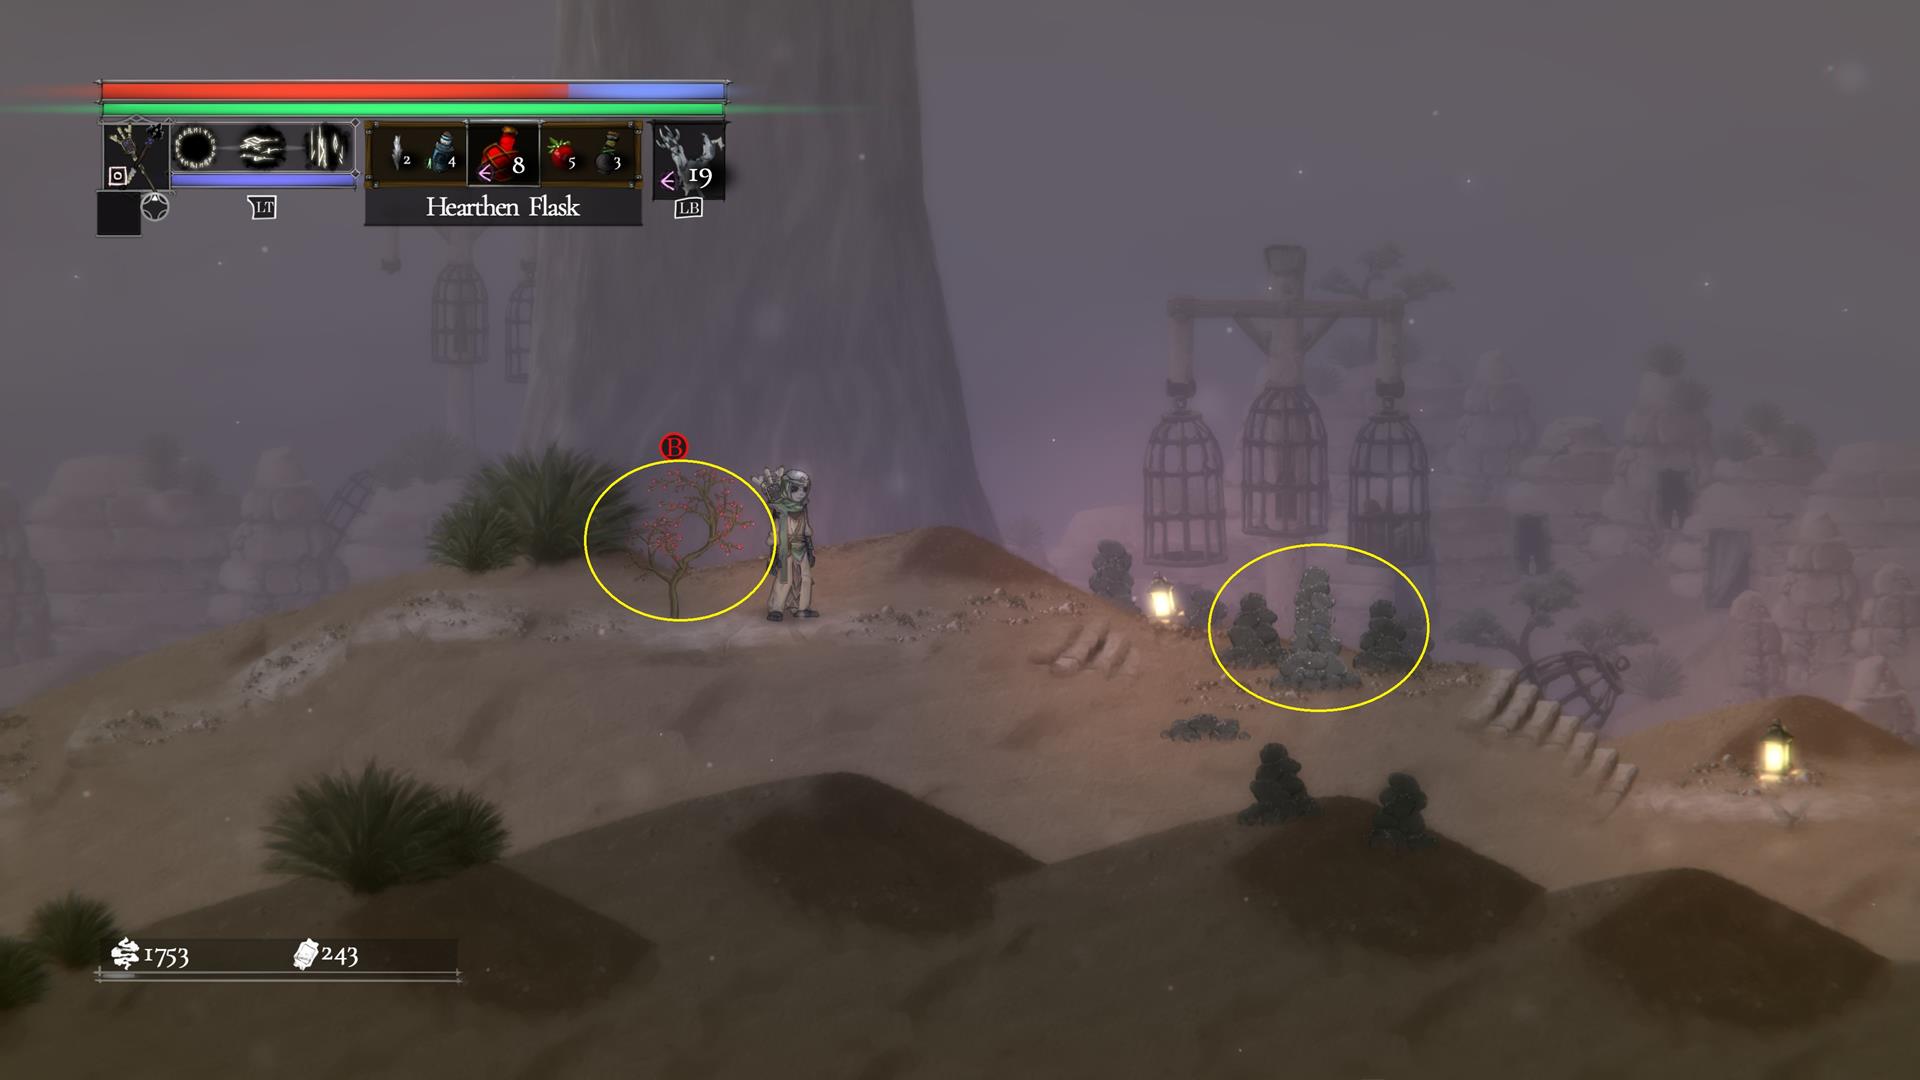
The Obelisk command to rest and resupply can be used as often as you’d like. Still, the only way you’ll replenish some items is if you’ve gathered certain raw materials:
- Hearthen Flask (i.e., health potion) – Valley Herbs from plants.
- Haze Decoction (i.e., mana potion) – Haze Spirals from cairns/stone formations.
- Ammunition – Iron Ore from crystalline nodes.
Note: Activating an Obelisk will respawn mobs, as well as the nodes/objects that can be gathered. You could pick up lots of these and the excess will be sent to your stash in Pardoner’s Vale.
There is no map
Salt and Sacrifice is different from many other Metroidvanias and Souls-like games because it has no map at all. This does present somewhat of a challenge simply because it’s hard to remember every single detail or forgotten corner of a region, especially in a 2D game where landmarks aren’t always that clear.

Pan the camera before using tools/devices
While adventuring, it’s always a good idea to pan the camera first by moving the right thumbstick. This will let you see if there are other objects that can be interacted with, hidden ledges, or if you’ll end up falling to your doom. For instance, some areas of the game have jumping puzzles in quick succession. You’ll use the Luminstone tool to reveal platforms, but you also need to use the Grappling Hook before the grapple point disappears.
Keep an eye out for traps
Traps, such as spinning blades and wooden spikes, can send your character careening across the screen if they get hit. Apart from the initial damage, you also have to take note of fall damage and any enemies that can smack you.
Stamina is key
Stamina is a very important factor to consider when you’re fighting. Almost every action requires it (i.e., attacks, dodge-rolling, blocking, and casting weapon skills/spells).
Although stamina can be replenished fast enough, it won’t occur if you’re taking damage or if you’re jumping. As such, it’s very easy for multi-hit attacks to break your guard. It’s also possible to get juggled in mid-air, preventing you from blocking or dodging out of the way.
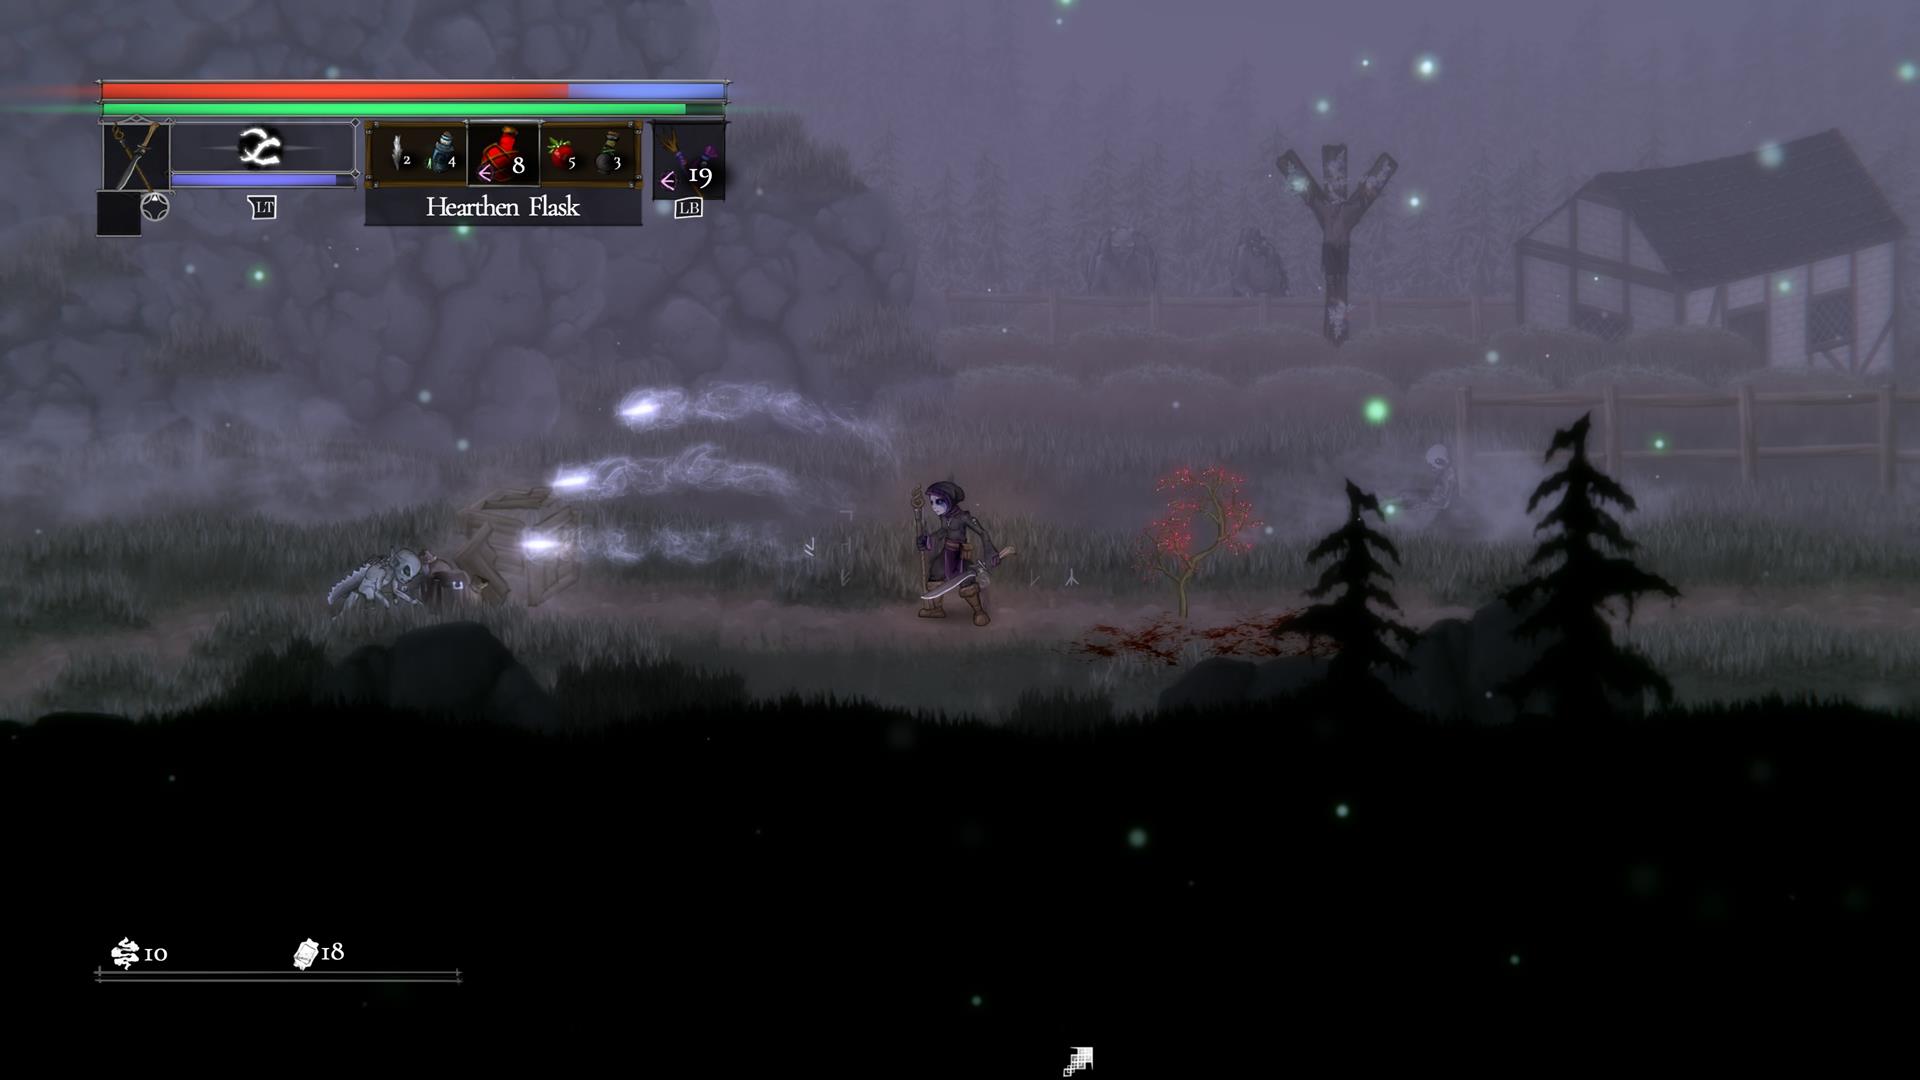
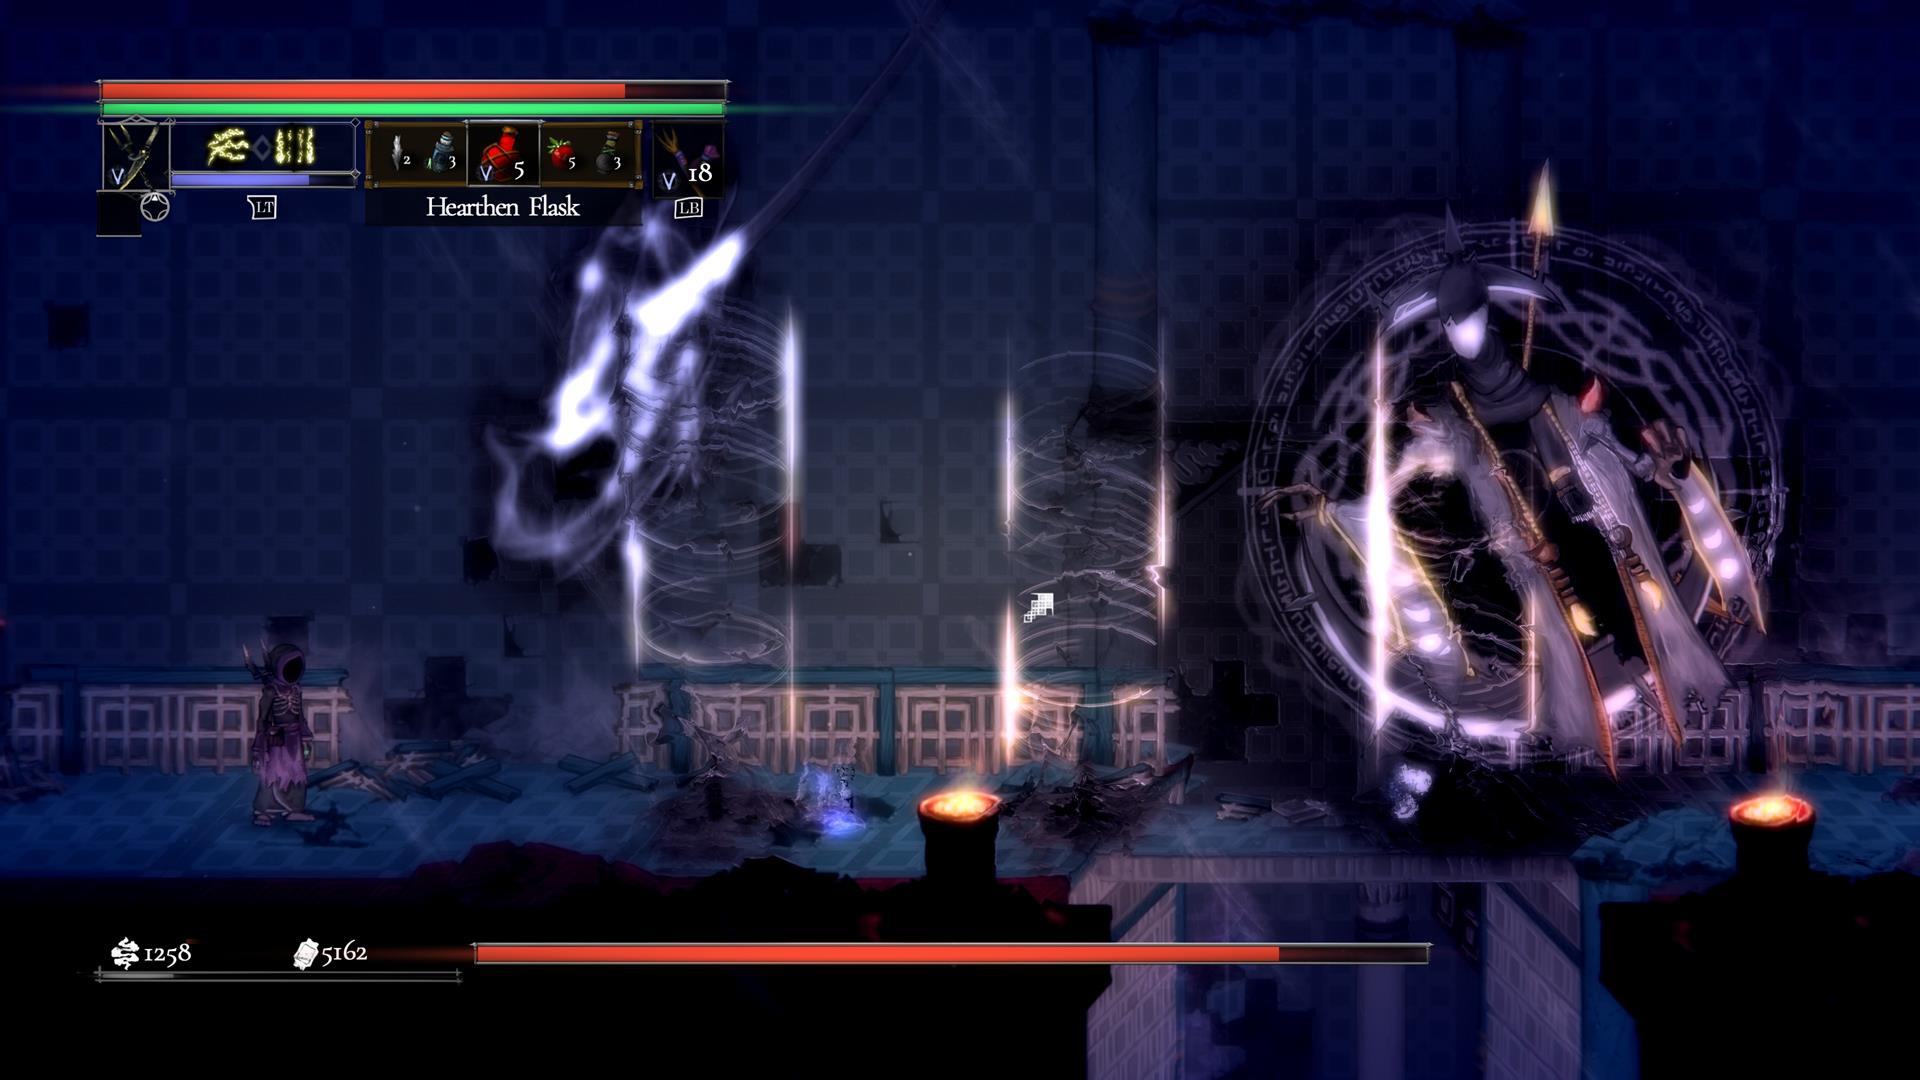
Chasing down Mage bosses
The key mechanic in Salt and Sacrifice is called Mage Hunts. You’ll encounter bosses and you’ll have to chase them down all over the zone. After the chase sequence has ended, a battle occurs in an arena of sorts where the edges are barricaded.
Mages will spawn their own mobs, and they drop crafting materials, too. Likewise, these bosses will be hostile towards other creatures in the vicinity. You may even see moments where bosses will fight other bosses.
Note: You can learn more in our Mage Hunts guide and Fated Hunts/Fated Tomes guide.
Discovering secrets
Whenever you pick up new tools (i.e., Grappling Hook, Magnesin Supply, Luminstone, and Ethercloth Bolt), you can always go back to areas that you’ve previously visited. In some cases, going off the beaten path might lead to loot, NPCs that you can meet, more Mage Hunts, and other secrets.
Note: You can learn more in our Hallowed Hill secret area guide.
Salt and Sacrifice is available via the Epic Games Store. For more information, check out our guides and features hub.


Published: May 12, 2022 06:00 pm