Another week and it’s time for another Destiny 2 content drop. This week, we’ll see the release of The Menagerie’s heroic version and the return of the Vex minotaur boss Hasapiko. Heroic Menagerie can be quite a pain in the butt to get through, but it’s certainly manageable if you play your cards right. We’ve got this Destiny 2 mini guide to help you out.
Note: To understand more about The Menagerie and various encounters, refer to our previous guide here.
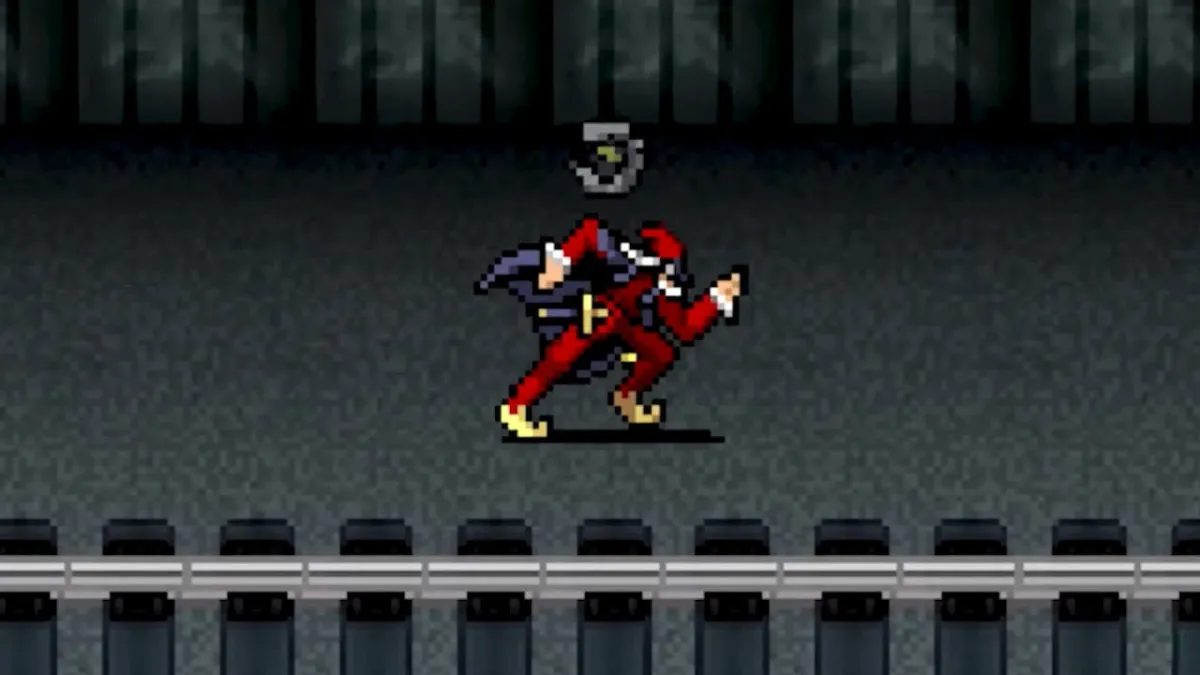
This annoying robot is back.
Heroic Menagerie – Modifiers And Rewards
First things first, here are the main differences for The Menagerie’s heroic mode:
- Four modifiers – Weekly elemental singe/burn; three others that have negative effects. According to Bungie, these modifiers will be active throughout the week.
- This week’s modifiers are Void singe, Iron, Blackout, and Extinguish — yikes!
- No matchmaking, you’ll have to look for a fireteam.
- Encounters will never repeat. If you’ve done all encounters once and you still haven’t reached the boss, you’ll be returned to orbit.
- Since Extinguish is active, you’ll also be returned to orbit if everyone in the fireteam dies.
- 740 power level (PL) requirement, but enemies are roughly 770+ PL. They have the red sword icon even if you’re already at max light.
Why go through all this trouble? That’s because the Heroic Menagerie guarantees you a fully-masterworked item on your first completion per account depending on the runes you’ve slotted in your Chalice of Opulence. It may be possible that you’ll still get something fully-masterworked for next week’s reset, but we’re not sure yet.
Also, if your Chalice of Opulence is fully upgraded (ie. perfected status), you’ll gain the Izanagi’s Burden catalyst.
Update: Apart from a masterworked item and the Izanagi’s Burden catalyst, it’s possible to get items that can only drop from heroic boss kills. Reddit user Hcrld reports getting a sword called Death’s Razor after killing Hasapiko — not from the chest, but from the boss’ exploding corpse instead. You can see Hcrld’s screengrab below:

Heroic Menagerie Triumphs
New Destiny 2 triumphs are also active now that The Menagerie’s heroic mode is available. They are:
- Short-Handed – Complete a Heroic Menagerie run with three fireteam members or fewer.
- Go, Speed Runner, Go – Complete a Heroic Menagerie run with time left on the clock; this means completing all encounters successfully without the time running out until you get to the boss.
- Break A Leg – Defeat Hasapiko (this week’s Heroic Menagerie boss) without anyone in the fireteam dying.
- Uncontrolled Rage – Defeat Arunak (week 2 boss) in Heroic Menagerie without anyone in the fireteam dying.
- Lambs to the Slaughter – Defeat Pagouri (week 3 boss) in Heroic Menagerie without anyone in the fireteam dying.
Heroic Menagerie General Tips
In general, since Extinguish and Blackout are active, you do not want to get punched by knights or minotaurs. These can effectively one-shot you even at 750 PL. Since Void singe is also active, watch out for any Vex hydras and cyclops enemies. The cyclops eye blast can kill multiple players even while standing inside a Well of Radiance!
Play defensively and don’t risk it. Normal mode Menagerie is too easy and randoms tend to go all-out, aggressively taking it to enemies. If you do that in heroic mode, you’re as good as dead.
If your team is getting pounded badly and you’re dead (there’s a 30-second respawn timer), save your respawn until everyone has wiped. Respawn immediately before you’re returned to orbit. This should nullify the Extinguish effect. Go revive people or hide somewhere until everyone else has respawned.
Ah, ha, ha, ha, staying alive, staying alive.
Heroic Menagerie Encounter Tips
The mechanics of each Menagerie encounter will still be the same as what you’ve experienced in normal mode. Refer to our guide here.
- Lamplighter – The easiest of the bunch. If your team wipes here, you might as well go back to orbit anyway.
- Gauntlet – Use the projectile weapon cheese to gain extra points so the progress bar fills up. Unless you’re going for a speed run triumph, just hang back and don’t bother killing the ultra that spawns. You don’t want to do the gauntlet run again (with flamethrowers active), and risk having people die randomly.
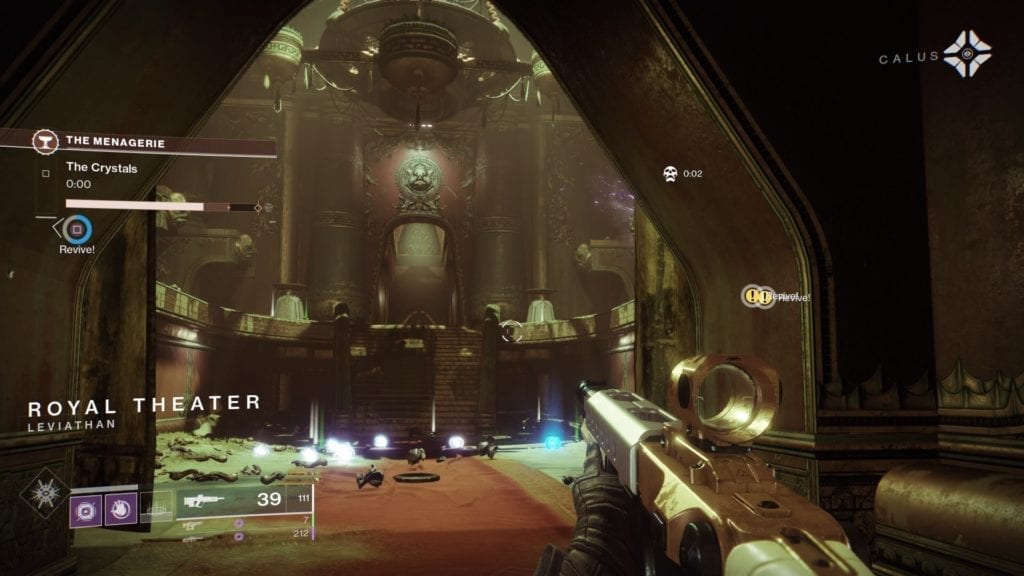
- Crystals – Try not to roam around solo or you’ll get pelted easily by mobs. Watch out for minotaurs and cyclops majors. Have one teammate staying behind near the entrance doorway in case people further inside the room end up dead.
- Mockery – Don’t split up. Huddle up, kill mobs, and bank those motes, sister! Watch out for sword knights, I promise!
- Arkborn – Designate only a couple of people to collect the empowerment and have them bank at the same location, all while protected by teammates who are taking out enemies.
- Riposte – Ouch! Make sure you’ve got a Titan bubble to protect sword carriers while they swipe at ogres. The light attack -> light attack -> heavy attack combo works wonders.
- Hunted – Pray. No, seriously, I can only guess that I’ll see so many teammates dying in one cursed thrall explosion or the ultra knight’s sword slam. Be sure to stick together and hope for the best. If one of the central plates needs to be activated (the one where cursed thralls spawn from the openings above you), just ignore that.
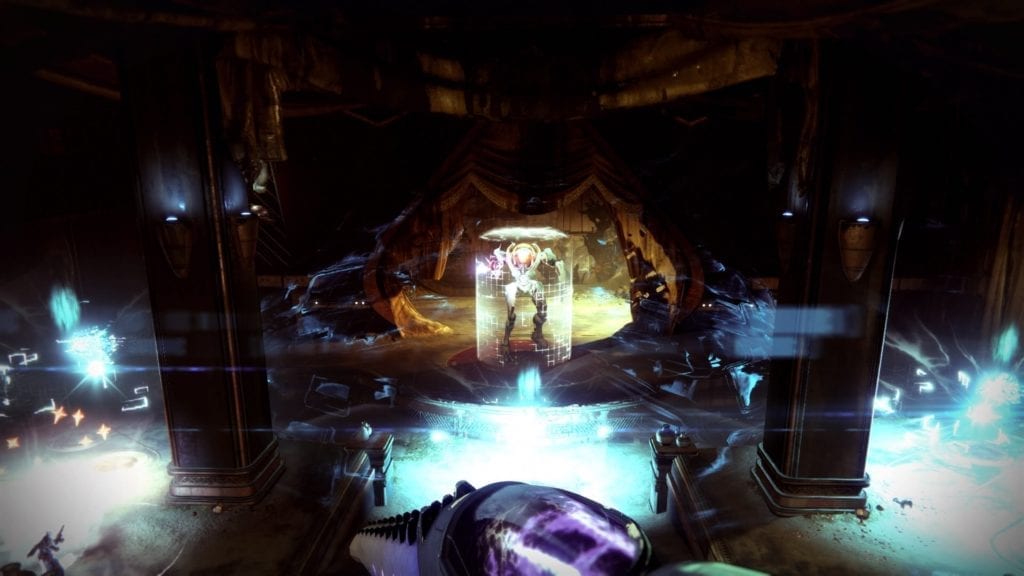
It’s Boss Time: Hasapiko
The Vex giant minotaur, Hasapiko, is back, and it will delete you within two cannon shots. The harpies that allow you to break Hasapiko’s shield can also soak more damage. The hobgoblins that spawn on the ledges can two-shot you easily. Oh, and those hydras that spawn towards the end will machine gun you to death.
So, how do you survive and beat Hasapiko? Well, again, play defensively. Make sure to have some teammates using the stage/dais where you started the encounter from. There are low walls that can easily block shots. Do note that some mobs such as goblins and exploding Vex can walk towards you.
Whenever Hasapiko’s shield is down, pump it with everything you have taking care to avoid the deletion walls/forcefields. The Titan bubble nullifies its effects, by the way. When Hasapiko’s shield is back up, immediately head back to the start point and take out the mobs from afar. Make sure you have supers that can clear out mobs, especially hydras, later on.
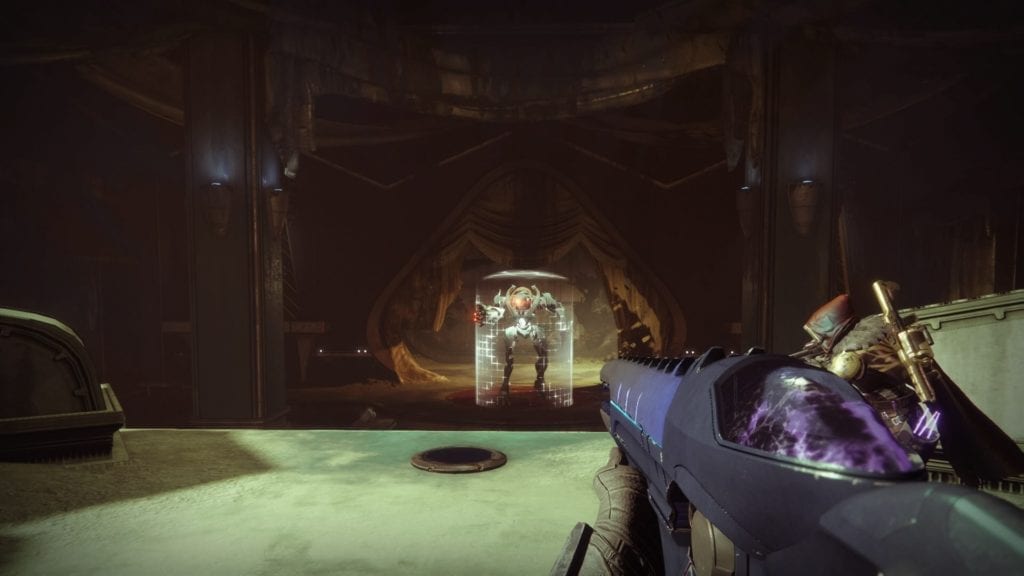
My little hideout where I also have a clear shot at hobgoblins as soon as they spawn.
Class Tips And Loadouts Guide
- Warlocks – A couple of Warlocks running Well of Radiance would be great. If you have more than two, then the third one can run with Nova Bomb instead.
- Hunters – Tether/Shadowshot with Orpheus Rig is the only thing you’ll want to go with. Tether packs of mobs to generate orbs. If you’ve got too many Hunters in your team, then Blade Barrage or Golden Gun (with Celestial Nighthawk) are your next choices.
- Titans – The Defender Ward of Dawn can save lives, especially when you’re in close-quarters combat.
As for weapons, Telesto is next to godlike due to this week’s Heroic Menagerie modifiers. With Void singe active, it will clear out entire packs or two-shot shielded minotaurs. Your heavy weapon choices could be Swarm of the Raven (with spike grenades) or Hammerhead. Although risky for one teammate due to Blackout, you can have that one fella running Tractor Cannon to increase your DPS against ultras and Hasapiko.
That does it for our Heroic Menagerie mini guide. It can be challenging, but it’s still manageable. Enjoy your fully-masterworked item, brand new emblem, and Izanagi’s Burden catalyst (if you’ve got a fully upgraded Chalice of Opulence). Are there additional Destiny 2 secrets to discover? There might be but we haven’t heard of any rumblings just yet.
For more Destiny 2 Season of Opulence guides and features, check our hub over here.