Encounter 1: Witch’s Ritual/Entrance
The first part of Destiny 2’s Crown of Sorrow raid is actually quite easy. Well, provided that you have at least a couple of Warlocks (for well of radiance) and Hunters (for tether).
The goal of this encounter is to survive four phases where numerous mobs will continuously spawn, all while destroying crystals and passing around the blessing/buff among teammates.
The All-Important Blessed Buff
There is something that’s extremely important to remember, and that’s transferring the blessed buff between teammates. The buff, known as “Witch’s Blessing,” will be the key not just for this encounter but also throughout the entire Crown of Sorrow raid.
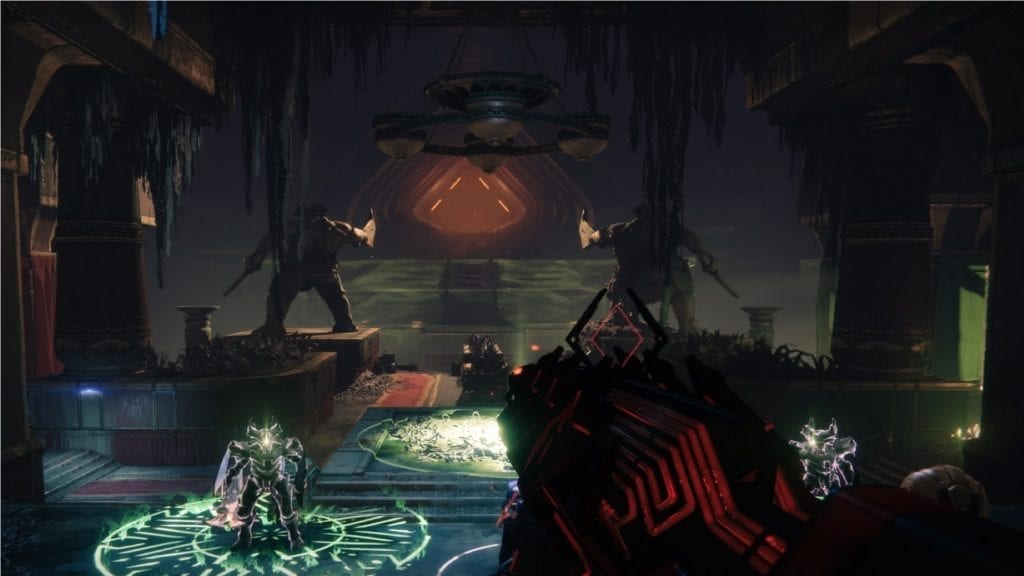
Throughout the Crown of Sorrow raid, you’ll spot two types of mobs — blessed and non-blessed. The blessed enemies will have a slight glow with the word “blessed” plastered on their name (you can’t miss it).
Note: Only those with the blessed buff can kill blessed enemies. The other normal/non-blessed enemies can be killed by players without the buff.
Opening Moves
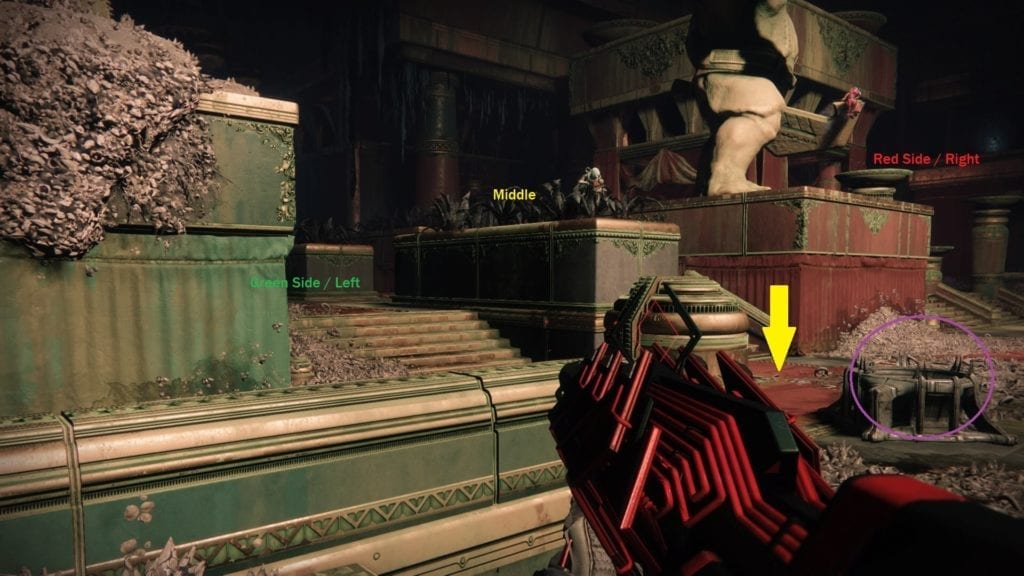
Split up your fireteam into three groups of two. Call them the left (green side), middle, and right (red side) teams. You can see this in the image above.
Each duo will need to have one blessed player and one that’s not blessed. Here’s the fun part, you don’t actually need to scatter around (except for particular instances which I’ll explain later).
The three people in your team that will be assigned as the “blessed” players at the beginning will need to stand inside the green circle at the spawn area. They’ll need to kill the blessed knights in front of them. Have everyone gather to the little nook just beside the purple cauldron/ball. In fact, most of this encounter will be spent on this spot.
Mobs will spawn at the left and right sides. As mentioned, players with the blessing will kill the blessed enemies, players without the blessing will kill all others. As long as you have a couple of Warlocks cycling their well of radiance and Hunters making orbs, you should be able to survive.
Transferring The Witch’s Blessing
Blessed players will notice that they have a timer on the left side of their screen. When you’re at 20 seconds or so, have everyone gather next to the purple cauldron/ball and shoot it. When the ball gets destroyed, the blessing will be transferred to the three players who did not have it before. You will still have three blessed and three non-blessed players.
Note 1: If you have the blessing and your timer runs out, you’ll die. That will cause confusion when passing the buff so don’t let that happen.
Note 2: If you’re not within the purple ball’s aura, the buff transfer will not happen, which means it can cause confusion and wipes.
Note 3: Grenades and projectile/AoE supers (nova bombs, hammers, and yes, even two well of radiances getting popped at the same time) can destroy the cauldron accidentally and cause a sudden blessing transfer. You do not want this to happen since it will cause confusion as well.
Basically, you do not want the team to get confused. Just be more careful and always be mindful of your buff timer.
Shooting The Crystals
Periodically, crystals will spawn around the area. There will be one on the left side, one on the right, and one on the left. To destroy them, they need to be shot by one blessed and one non-blessed player. This is the only time that you need to roam around for a few seconds.
That’s why you’re split up into teams. The left side duo destroys the left side crystal, the middle duo destroys the middle crystal, and the right side duo destroys the right side crystal. If a side needs help and you’ve already destroyed your crystal, go ahead and support them.

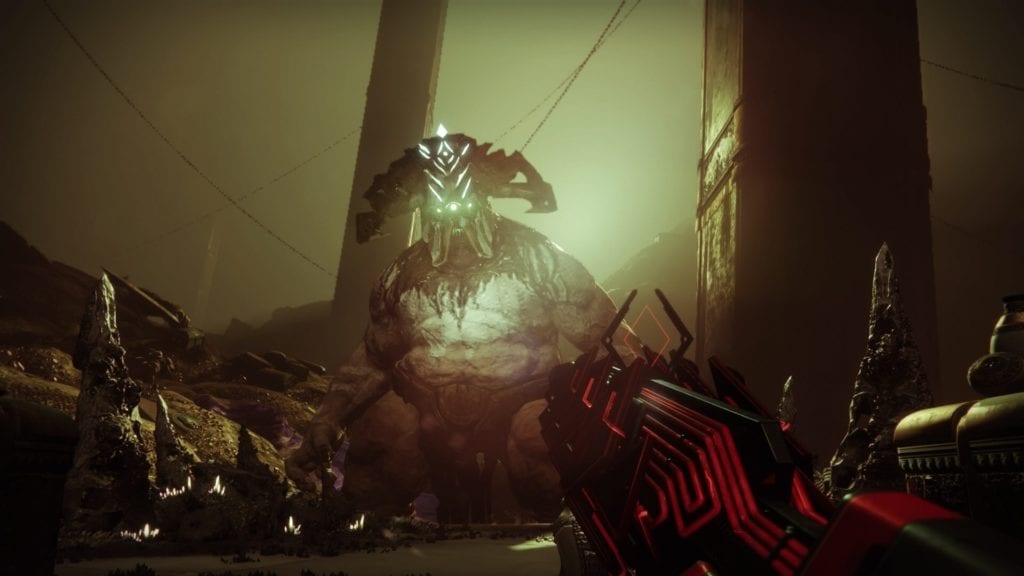
Killing The Ogres And Getting Swarmed
You’ll contend mostly with acolytes, thralls, and sword knights. Periodically, ogres will also spawn. One will be blessed and one will be non-blessed. Simply shoot the one that corresponds to your status.
There will be times when it becomes hectic and your safe spot gets swarmed. Keep those wells/rifts properly cycled. If enemies do get close, try to avoid shooting the purple ball next to you since it will switch the buffs suddenly, screwing up the blessings.
Just keep taking out crystals, ogres, and all other enemies, and cycling those buffs when needed. Once you’re done with all four phases, platforms will spawn allowing you to cross and claim your first powerful loot for Destiny 2’s Crown of Sorrow raid.
High Level? Stand Next To The Statues
If you’ve attained a decent power level on your character, you’ll notice that mobs don’t hit like a truck anymore. Being around 720+ PL should do the trick. Check out our leveling guide for more tips.
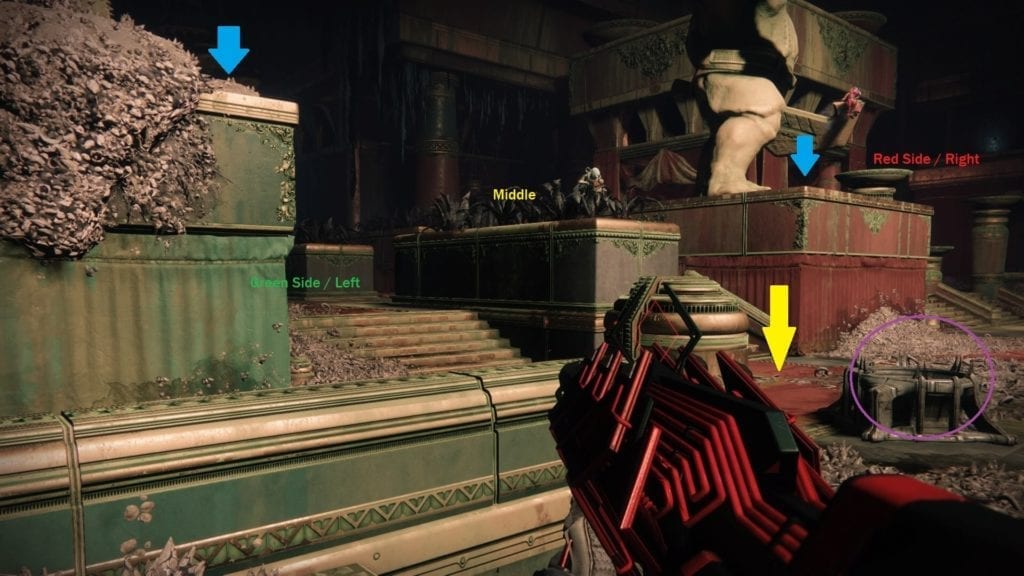
If your team isn’t having issues playing defense, then, rather than stacking up next to the cauldron (yellow arrow), you can simply stand on the statue platforms to the left and right side of it (blue arrows). Have your fireteam leader call out when people need to stack next to the cauldron once more to switch the blessing.
Ideal Classes And Loadouts
- Warlocks with Well of Radiance should equip Phoenix Protocol. Alternatively, use Lunafaction Boots. You should have at least two Warlocks.
- Hunters should run as Nightstalkers for their tethers with Orpheus Rig equipped. If your Warlocks don’t have issues cycling their wells, just be a Gunslinger with Celestial Nighthawk to take down ogres faster.
- Titans should run Sunbreaker. Don’t use the Defender’s bubble as that can overlap with the purple cauldron/ball and screw up the shooting.
- The Outbreak Perfected is extremely useful for this encounter. Use the Ikelos SG for your energy weapon. Your power weapon should be a machine gun like the Hammerhead.