Encounter 3: The Chamber of Suffering
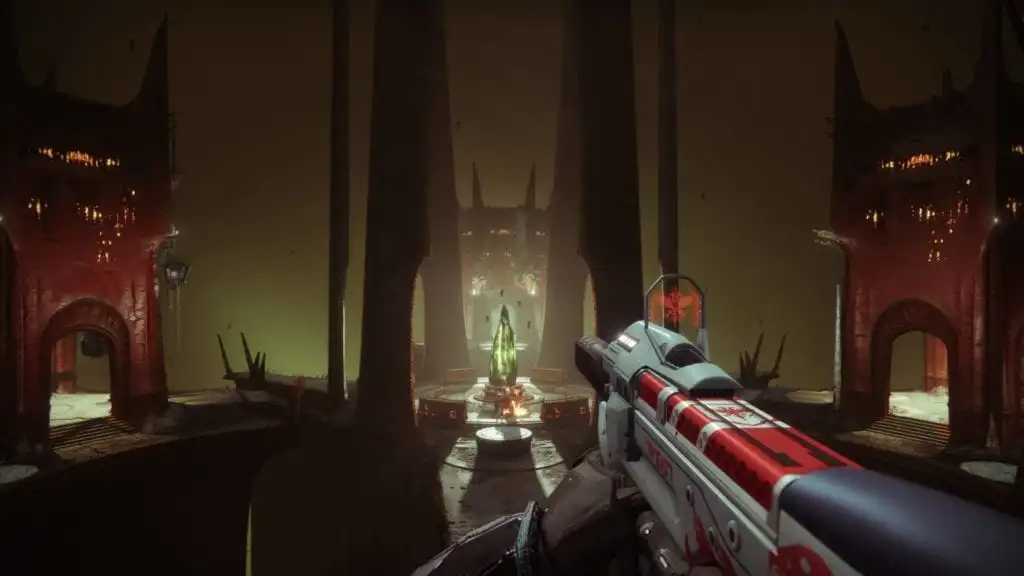
The Chamber of Suffering encounter in Destiny 2: Shadowkeep‘s Pit of Heresy dungeon is a quick one. At the start, you’ll notice several acolytes praying at the totem in the middle. Shoot one of them to start the fight.
Much like the totems encounter in King’s Fall (a raid in Destiny 1), you’ll need to have someone standing within the totem’s area of coverage. This will prevent the team from wiping due to a hidden timer that starts counting down when there’s no one on it. As long as the encounter’s active, players will suffer a “curse” debuff that slowly stacks up to 10 (which will lead to a wipe).
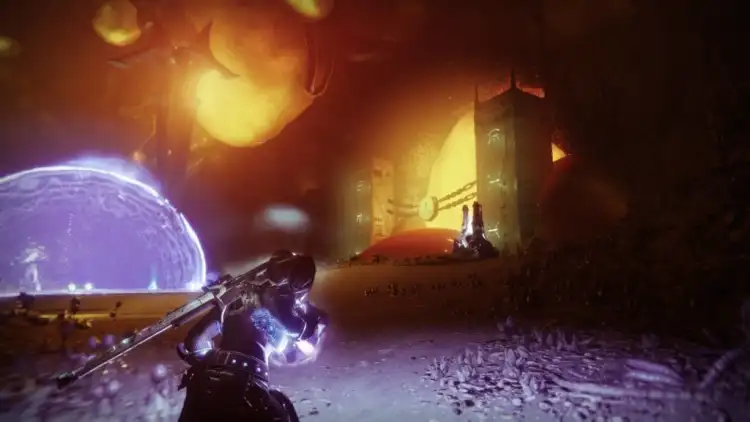
Ideally, you’ll want a Titan with bubble or a Warlock with well of radiance to defend this middle/totem area. The player can also dip in and out of the middle area, just be sure that there’s usually someone there to step in to prevent a wipe if the totem glows red.
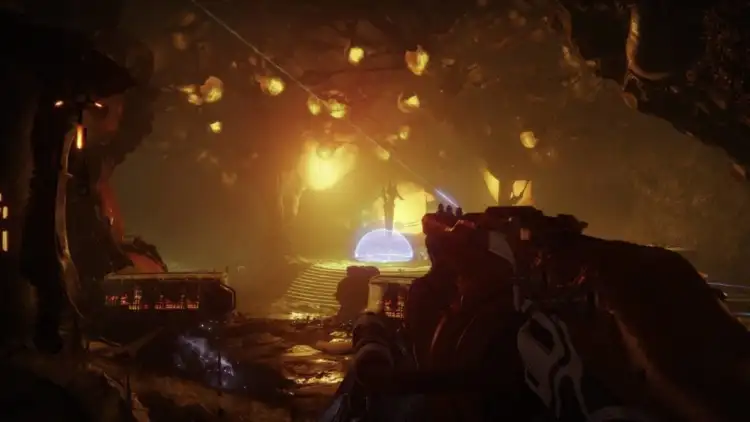
That’s not all you need to contend with. While you’re defending the central totem, mobs will start flocking in from all sides (left, middle, and right). These hordes include thralls, cursed thralls, and acolytes. There will also be heretical knights — and these are the same ones that drop orbs.
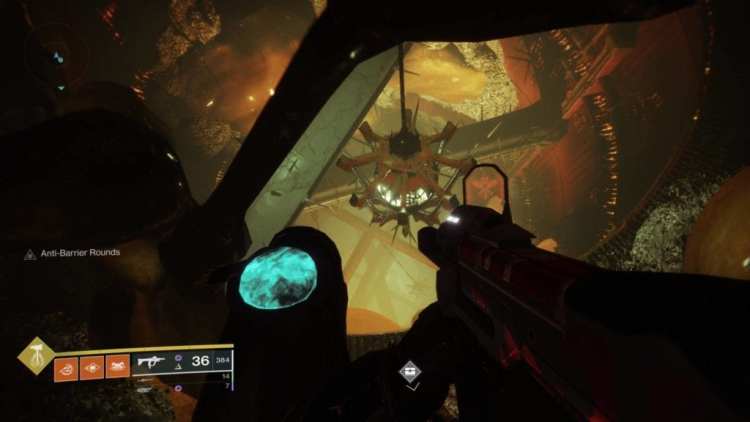
Kill these heretical knights, pick up their orbs, and dunk them in the receptacle next to the totem. There’s one knight per side and they can be easily taken out with an Izanagi’s Burden shot.
The goal is to dunk six orbs in total to complete the encounter. Dunking an orb in the receptacle will also clear the curse debuff. Of course, it’ll start stacking again so your team needs to move quickly.
Again, just make sure that someone’s defending the middle and people are grabbing orbs to dunk. You should be done in no time.
Secret Chest
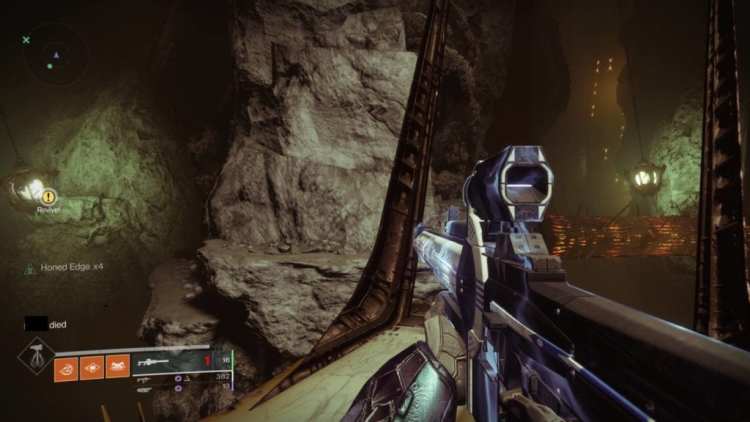
Once you’re done with the Chamber of Suffering encounter, you’ll need to drop down while avoiding getting killed by the “meat grinder.” Once you reach the next area, you’ll also be able to grab a secret chest.
Head out into the open and you’ll spot some hanging platforms. Jump gingerly across these and you’ll spot the chest nearby. Like the previous secret chest, this one will usually have a Nightmare Essence quest.
The Harrows
In any case, you’ll find yourself in the Harrows which is a transition zone. This can be downright frustrating if you’re clumsy, so try to play it safe. The reason why you want to be very careful in the Harrows is because of all the traps. You’ve got pendulum morning stars, rolling spiked logs, a deadly fall, and several mobs along the way.
The objective here is to eliminate the mobs — especially the wizards — guarding the various pathways with a corresponding runic symbol. Killing all of them will let you proceed to the final area.
Head over here so you can get ready for the Pit of Heresy’s boss, Zulmak the Instrument of Torment.

