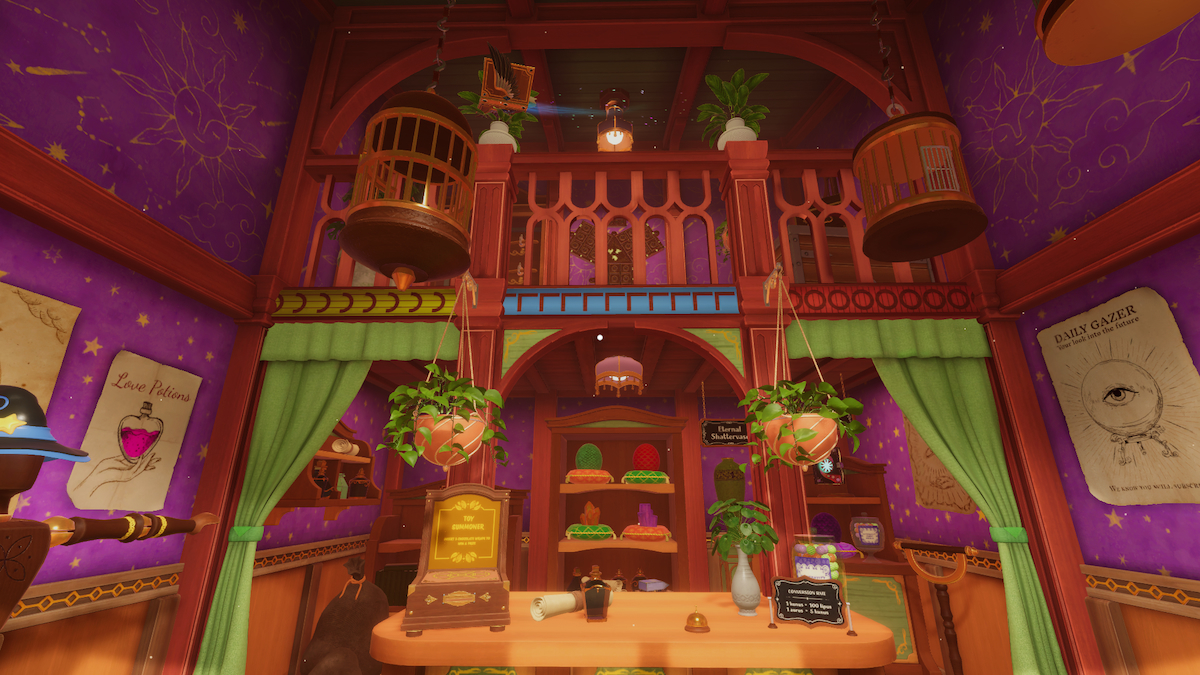
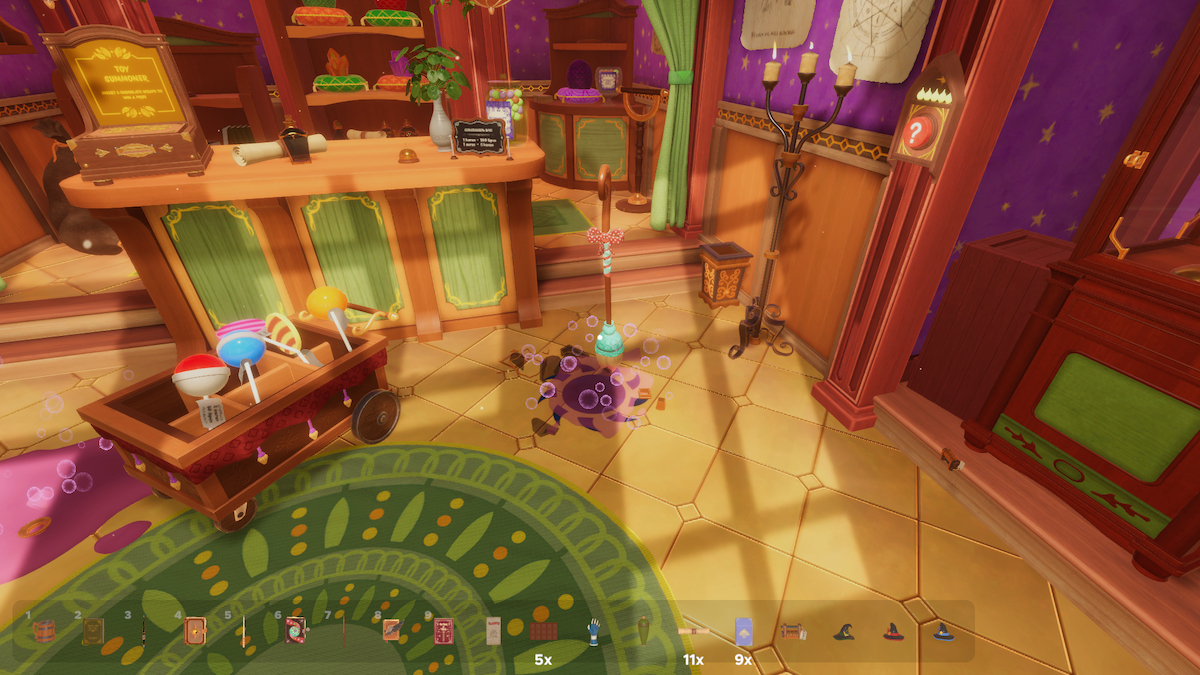
The first level of the new Magic DLC for Escape Simulator is the Magic Shop, a store that we’ve been stuck in past closing hours. Let’s leave before the owner returns, but not without finding the secret Tokens!
I will be guiding you through the level step by step. At the end, you can continue to stay in the level to hunt down all eight hidden tokens!
Finding the five Chocolate Bars
There are five Chocolate Bars hidden throughout the first floor. We’ll have to find them all, unwrap them, and place their wrappings in the Toy Summoner on the desk in the store.
The easy ones
I’ll quickly take you through finding the easy Chocolate Bars that are simply sitting around:
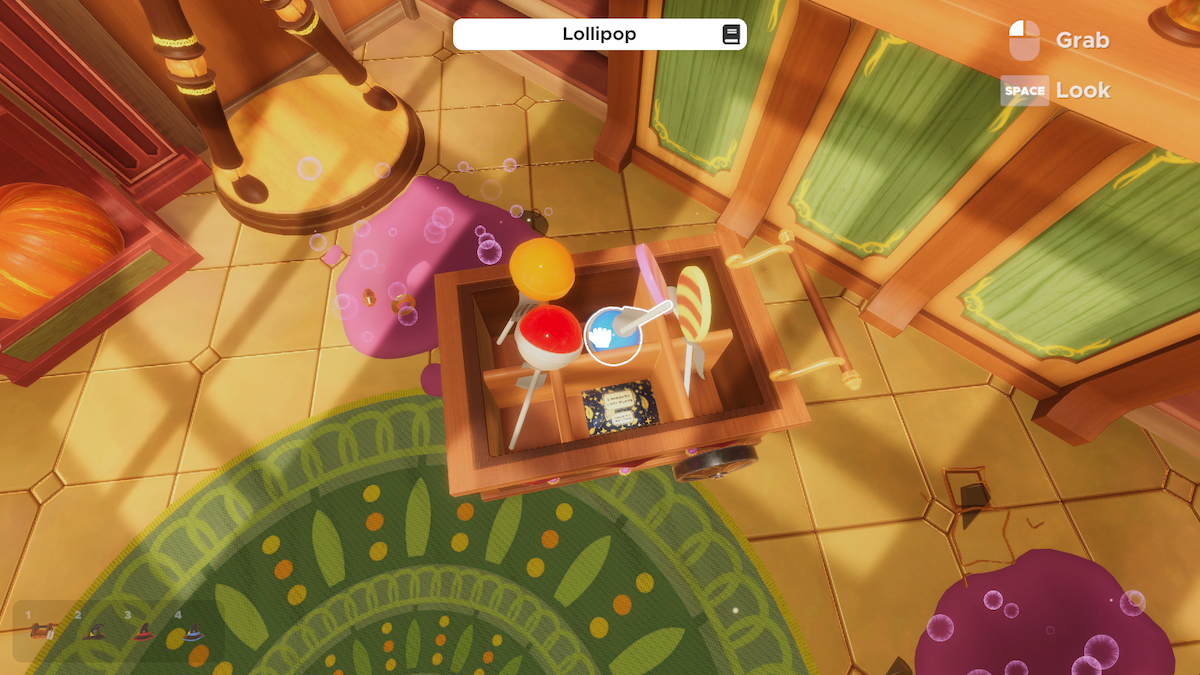
- A Chocolate Bar is sitting in the Lollipop wagon in the middle of the store
- There is a Chocolate Bar in the right drawer underneath the left window when looking at the storefront under the cauldrons.
- There is a Chocolate Bar underneath a Candy Box on the lowest shelf of the middle shelving unit behind the desk.
The next two Chocolate Bars require solving puzzles to find them.
The Glove of Need
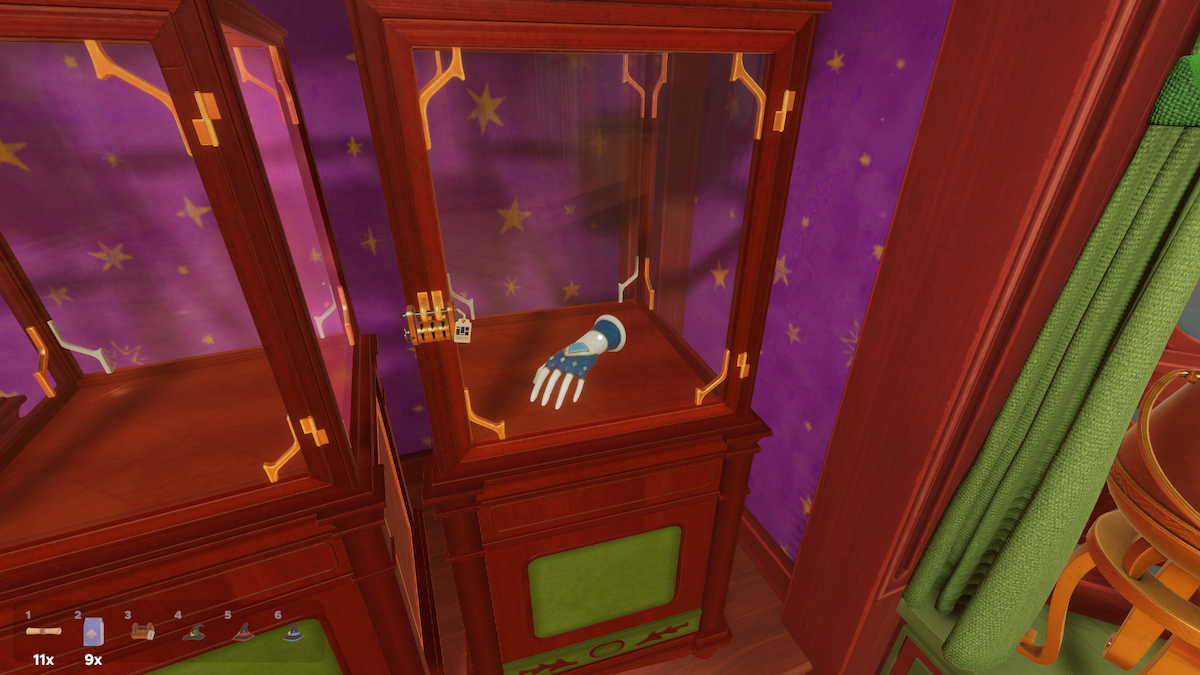
The Glove of Need, once inspected in your inventory, will summon a Chocolate Bar. To unlock the display, we’ll need the help of the Eternal Shattervase.
The tag on the lock shows three columns of colors, each interrupted by a white dash. The lock itself consists of various vase shapes. To get the combination, we need to keep smashing the Eternal Shattervase, as it’ll reform in a different size and a different color, giving us the corresponding vase shape to get the combination.
Throw the Eternal Shattervase, originally located at the back of the store, and watch it shatter and reform. Take note of the color and the shape, as the color will tell you which row on the lock you need to set that shape to.
Once you’ve cracked the code, you can grab the Glove of Need. Inspect it in your inventory, and a Chocolate bar will appear.
The Lollipop Safe
The Lollipops in the center of the room all have price tags. It is with these price tags that we will reveal the code for a safe tucked away under the desk. The tag next to the lock will show three symbols. One blue, one pink, and one orange, with “Lipus” written under them. We will be converting the prices of those lollipops into Lipus and combining them to get the combination.
However, the prices on the Lollipops aren’t just in Lipus, so we’ll have to do some math. On the desk is a Conversion Rate sign. 1 Aurus = 5 Kunus, and 5 Kunus = 100 Lipus. When converted and combined, the prices of those three Lollipops add up to 3579, which is the combination of the lock.
Unlock the safe to reveal the final Chocolate Bar.
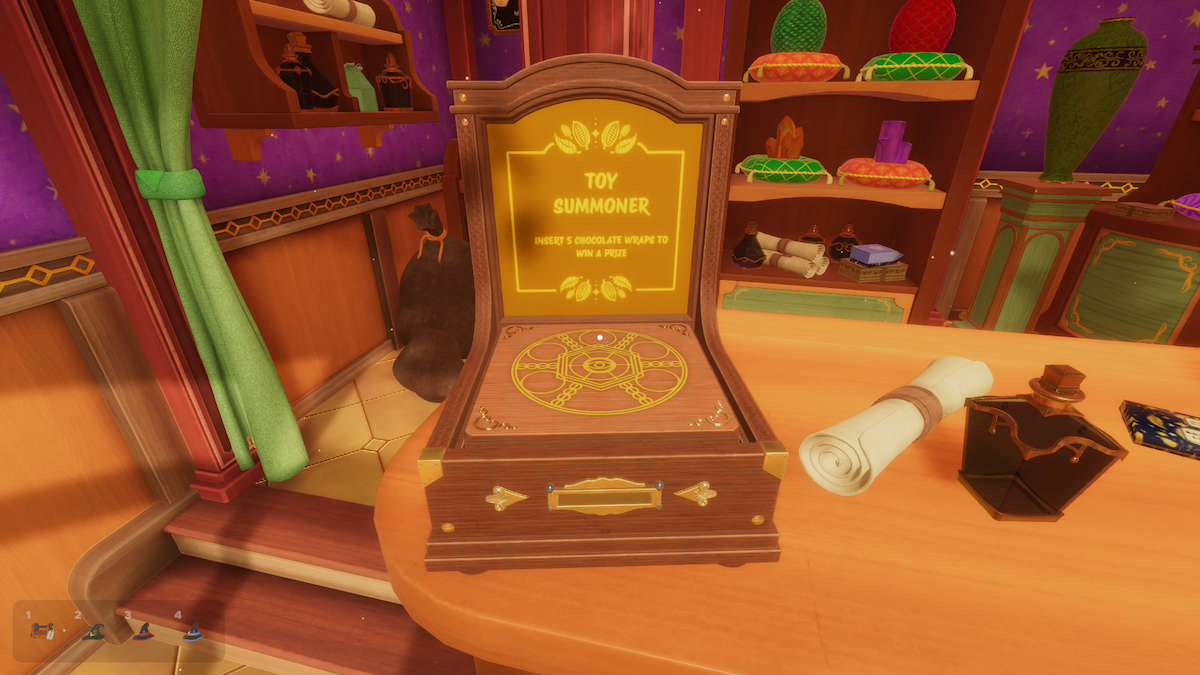
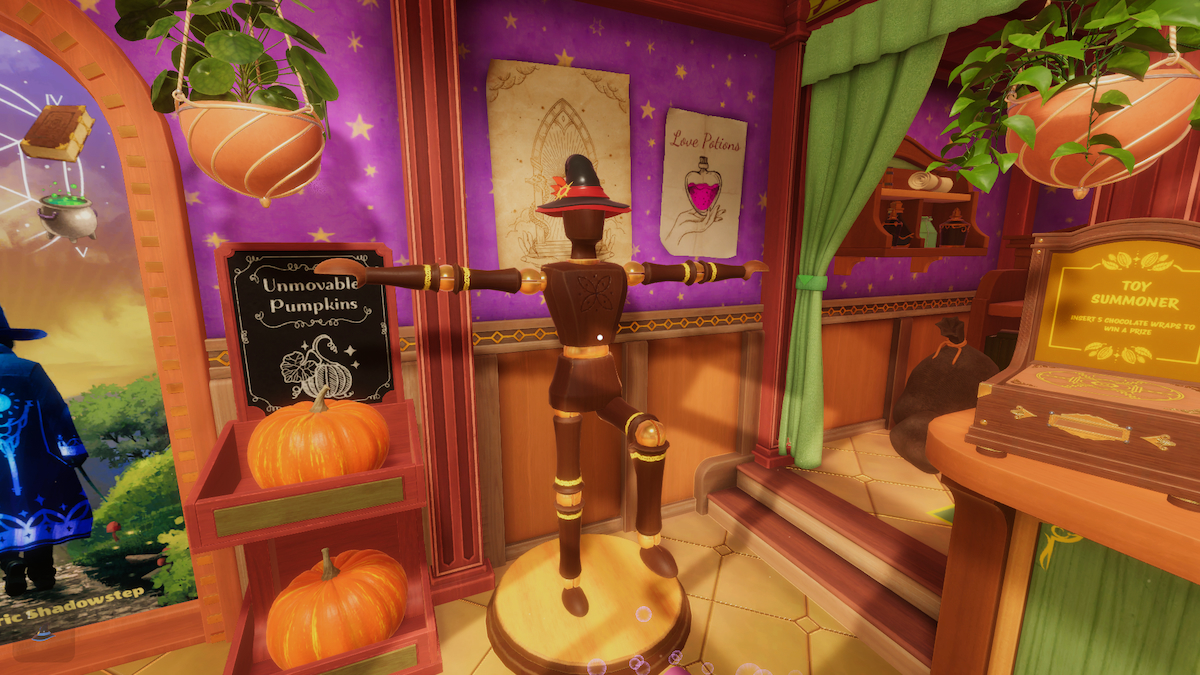
Activating the Toy Summoner
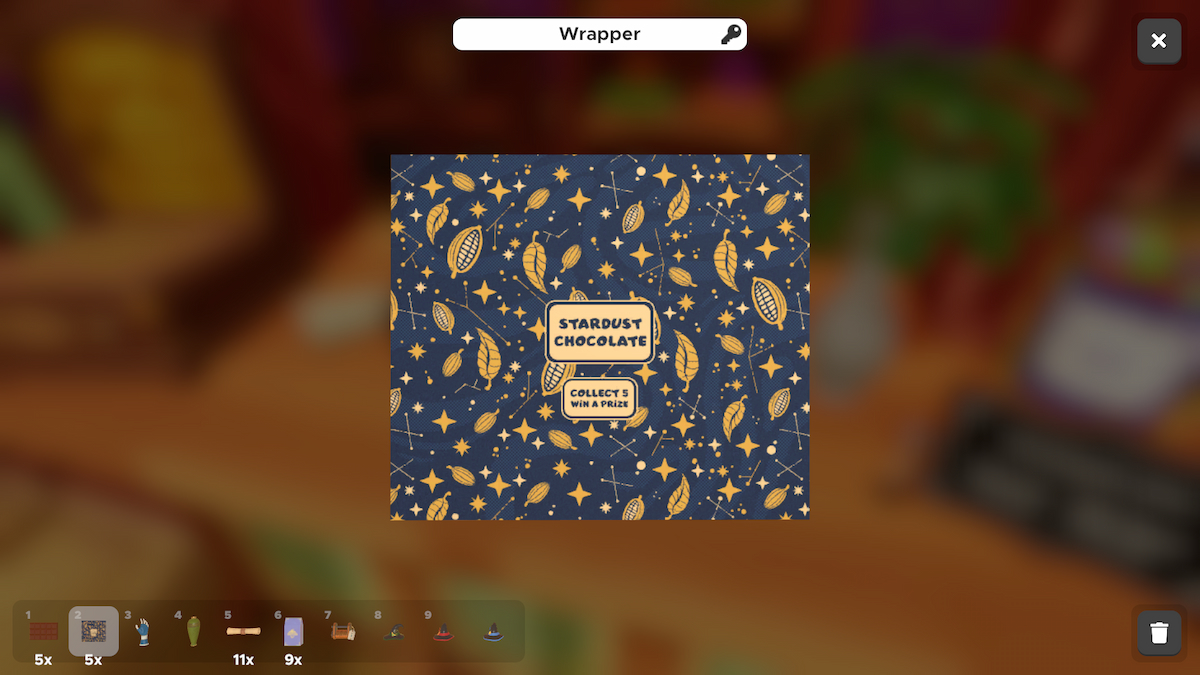
Now that we have all five Chocolate Bars, we can use the Toy Summoner. In your inventory, click on a Chocolate Bar. It will unwrap, providing you with both a Chocolate Bar and the Wrapper. Make sure not to eat the Chocolate, as we may need it later for Token hunting. Now, however, insert all five Wrappers into the Toy Summoner.
This will unlock you the Ghost Map.
In Ulfric Shadowstep’s Footsteps
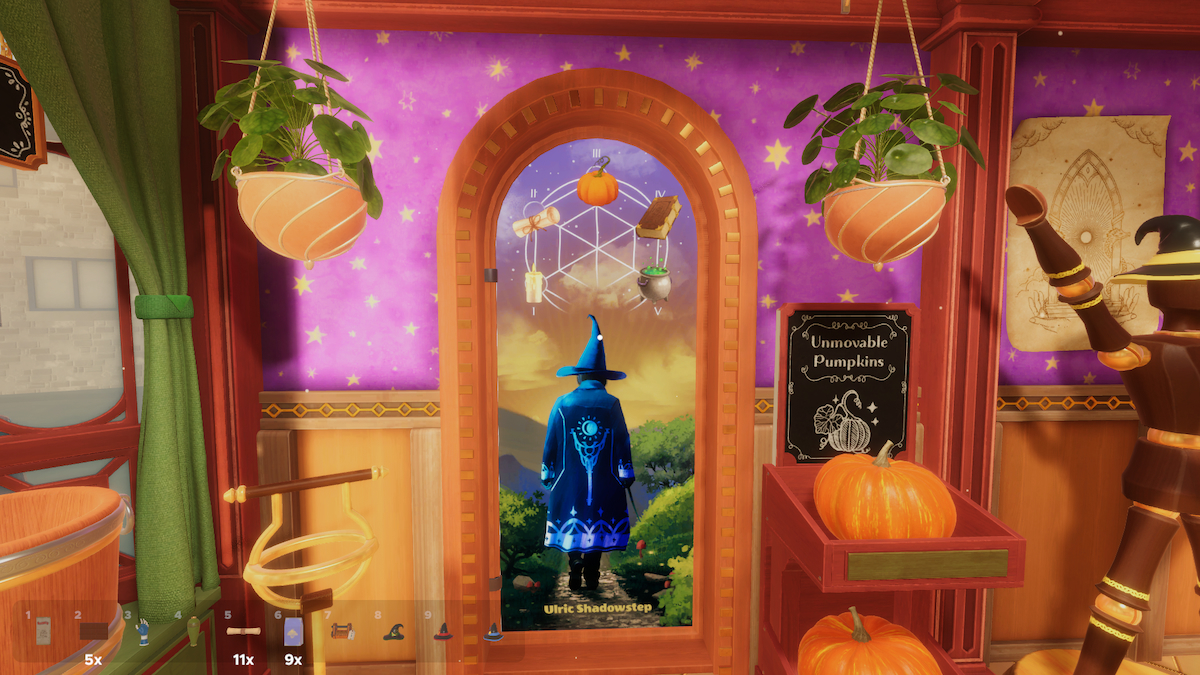
Using the Ghost Map, we can solve the puzzle on the door preventing us from going upstairs.
Using the Ghost Map we gained by solving the previous puzzle, we can watch as Shadowstep walks around the store. He will stop five times, and at each stop, we need to relate that area of the store to an item on the door. We will then number them 1 through 5 to unlock the door.
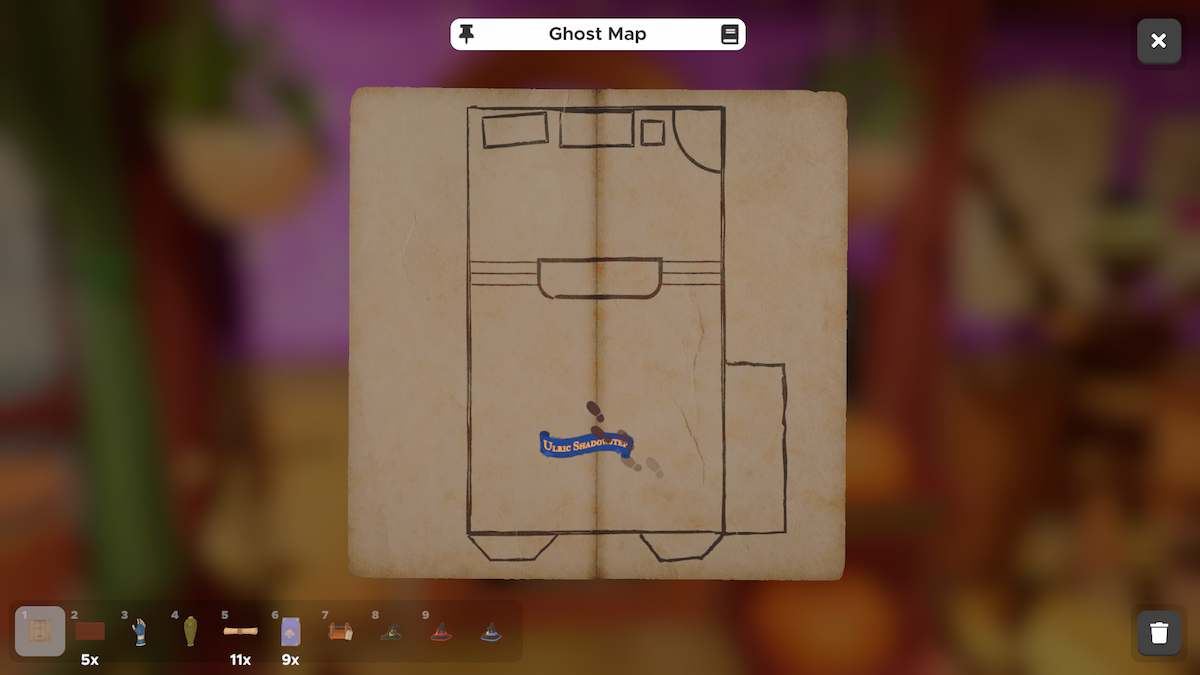
He first stops at the Cauldrons, then at the Pumpkins, then at the Books, then at the Candles, and finally at the Scrolls. This is the order that the icons on the door should be in. Interact with each number to change the icon until they’re all in this order.
This will unlock the upstairs.
The Enchanted Striders Lock Box
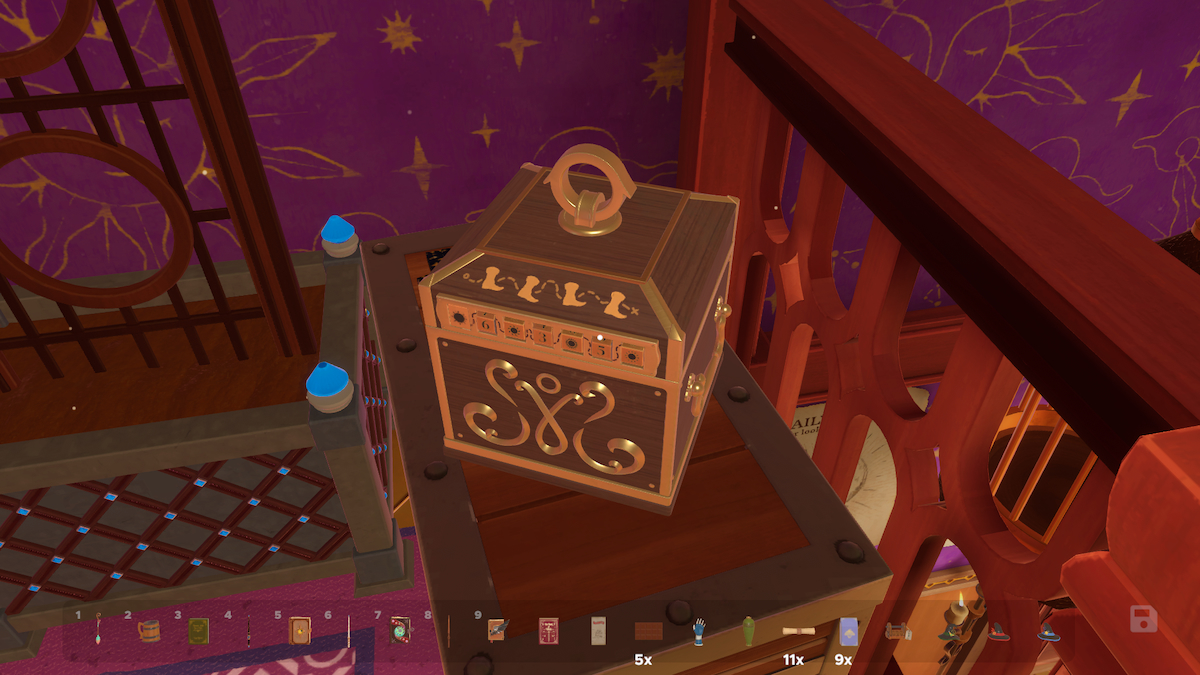
Upstairs are two rather complex puzzles, and I’ll be taking you through the Lock Box first, as it’s needed to unlock a key item for the penultimate puzzle.
This puzzle requires us unlocking the Enchanted Striders to use its path to unlock the box. We’ve got to liberate the striders first, however.
Unlocking the Wizard Hats
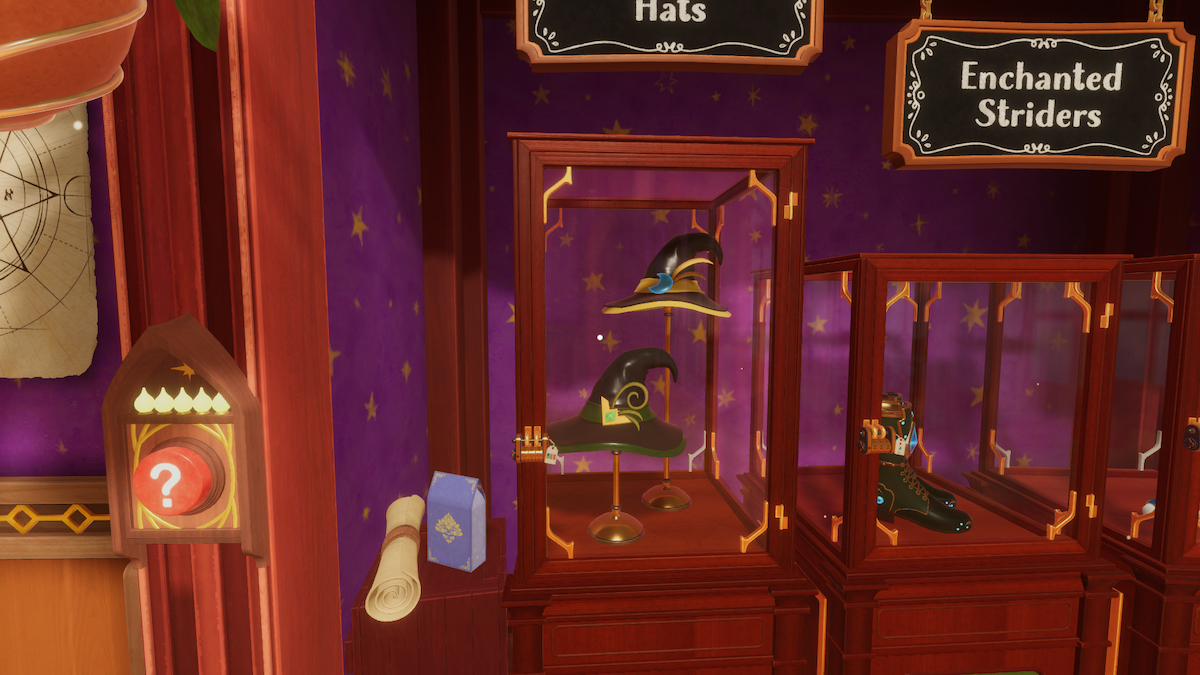
We will start by unlocking the Wizard Hat display, as this will allow us to unlock the Enchanted Striders in the display next to it. The lock to the Wizard Hat display is accompanied by a label that has a 2×3 grid of colors.
This relates to the moving banners as seen in the image below.
We need to substitute the icon on the colored banner to the colored square as shown on the label. So the first digit, with a blue square above a green square translates to a 5, as that’s what the two icons look like when placed like that. This logic can be extended to the other two digits, to create the combination 538.
Use that combination on the Wizard Hat lock to unlock the Wizard Hats. We will be using those on the mannequin on the opposite side of the room to unlock the Enchanted Striders Display.
Unlocking the Enchanted Striders
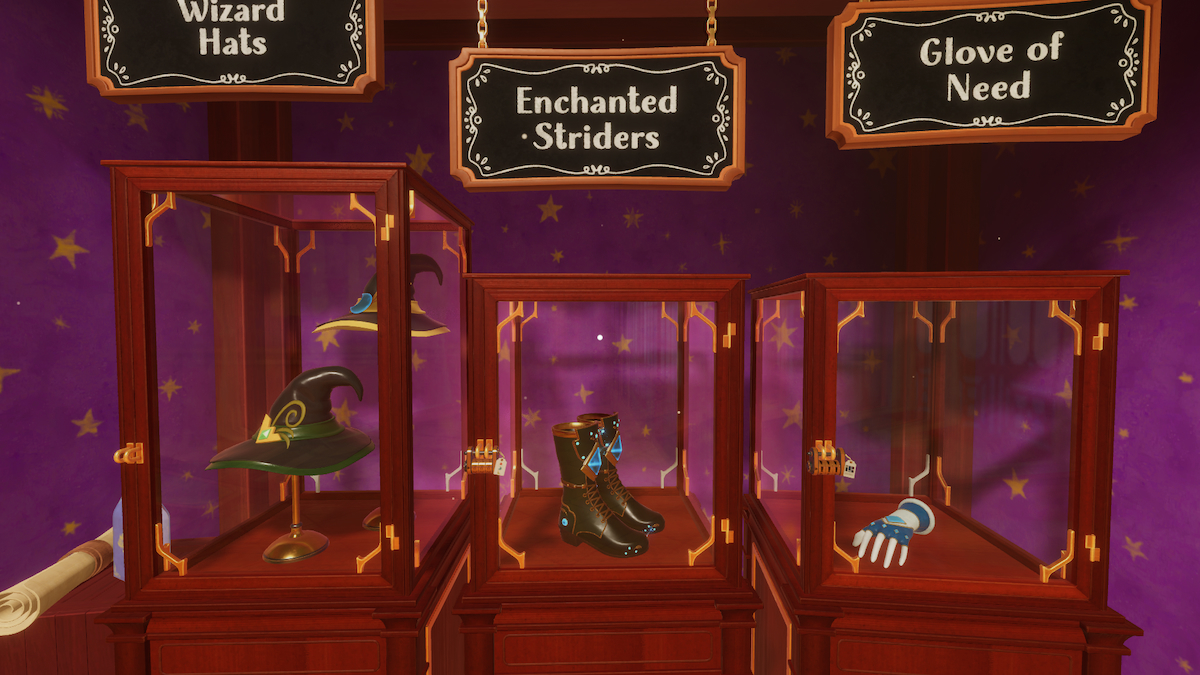
The lock on the Enchanted Striders is a strange one. The symbols on the tag correlate to three of the Wizard Hats, two in the Wizard Hats display that we just unlocked, and the one on a window display at the front of the store. We will be placing these hats on the mannequin and matching the pose on the strange lock.
When matching the poses in the order of the corresponding hat symbols, you’ll have your code. It’ll unlock the Enchanted Striders, and we can get to putting it to work. Take out the Selfwalking Boots (Enchanted Striders) and place them on the floor in the corner of the store with the bootprints. You will see them as they walk around the store!
This is only half the puzzle, however. We next need to use the Enchanted Broom.
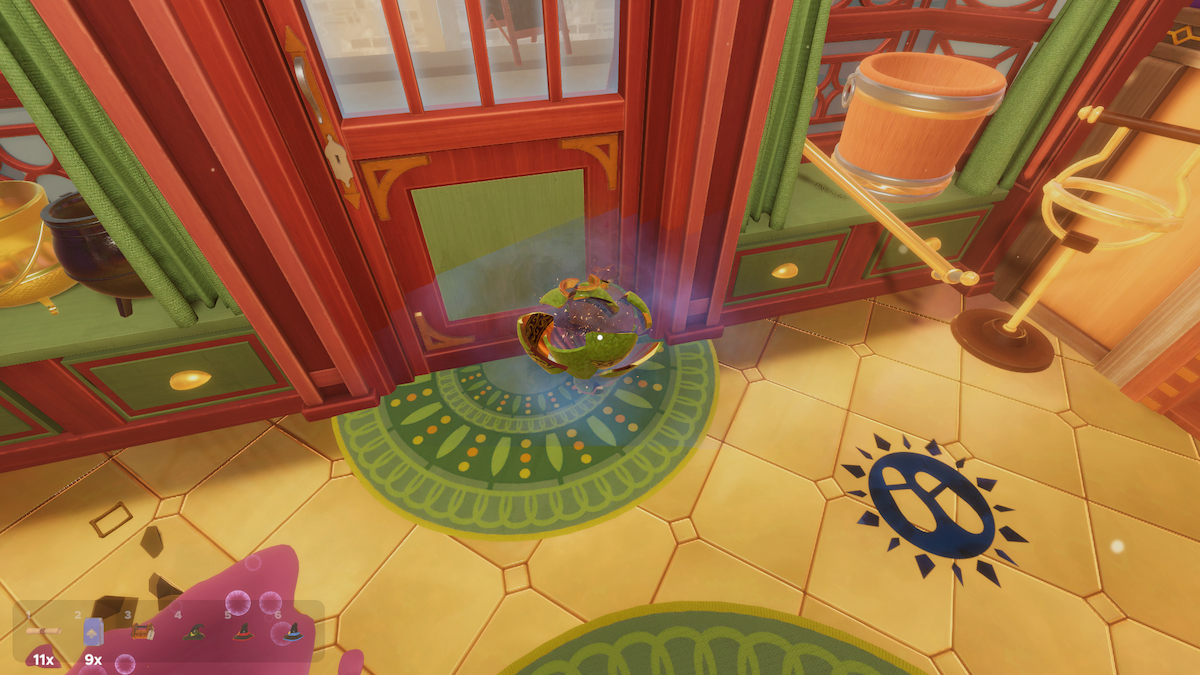
Mopping up the mess
The smashed potions on the floor are covering up key sigils we need to unlock the box. We need to use the Enchanted Broom to mop them up. Head back upstairs to grab the Enchanted Broom.
We can throw the Enchanted Broom onto the messes to clean them up and reveal the sigils.
Unlocking the box
With the Enchanted Striders walking and the messes cleared, we can finally figure out the combination for the lock. We need to count the number of footsteps it takes the boots to get from one destination to the next. For the numbered dials, make sure they read 6, 3, then 5, in that order.
For the dials displaying suns, we need to match the order of the suns that the boots land on in order. The first sun’s outline looks like a shark’s fins. The next looks like a saw blade. The final looks like it’s surrounded by raindrops. With these orders in place, the box will open, revealing your first Wand.
Related: Best gifts for Nintendo nerds
The Four Wands

Now that we’ve got the first Wand, we can begin searching for rest of them to solve the next puzzle.
The rest of the Wands are all trapped in books. While you’re upstairs, you may as well wait for that flying book to come back around. When it’s in reach – snatch it out of the air! Inspect the book in your inventory and click on it to reveal a wand. Make sure to click on it to pick it up.
The next wands are both in books downstairs.
At the back of the store are two books. The Starving Grimoire and The Eye Book.
To open the Starving Grimoire, you need to feed it three pieces of Candy. This Candy can be found in a jar right next to it. Take the lid off and pick up a few pieces. In your inventory, drag the pieces of Candy into the Starving Grimoire’s mouth. Once it’s eaten three, it’ll unlock. Click on it to open it up and click on the wand when it appears.
To open The Eye Book, you need to hold it. The eye will point you in the direction of a specific spot in a corner of the store. Follow it over, until the eye closes, and you’ll be able to open it and claim the wand.
With all four Wands in your possession, let’s head back upstairs.
Grading the Wands
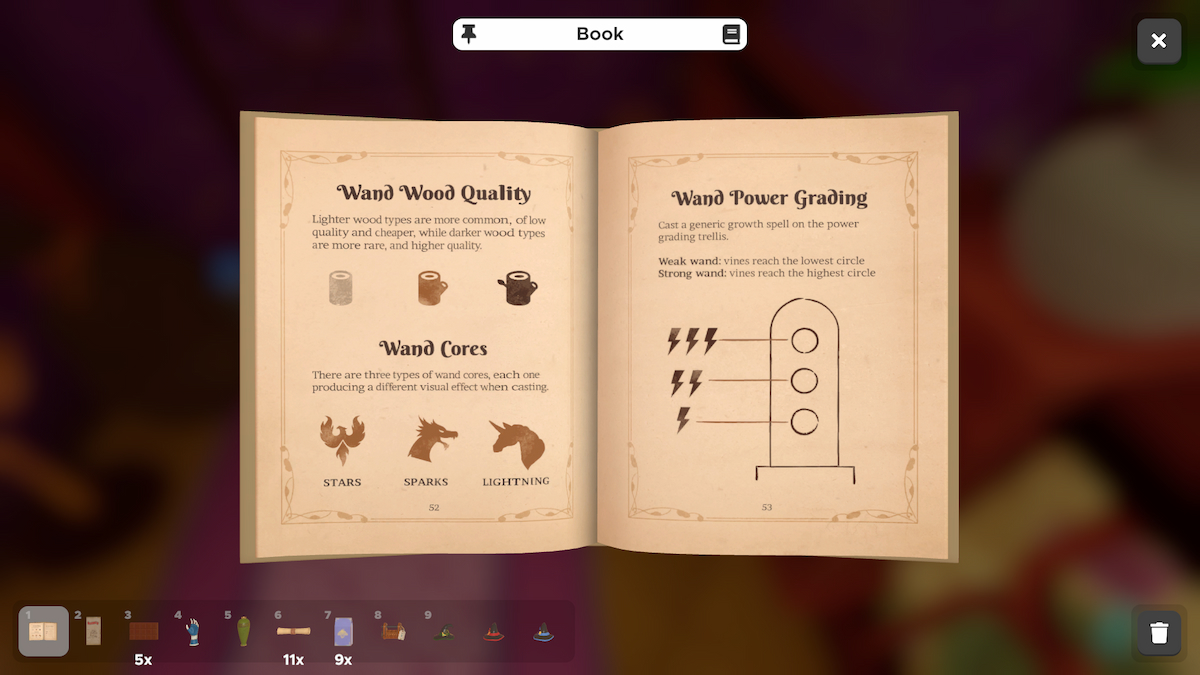
One at a time, we will follow the Book of Wands’ guidance to determine three things. The Wood Quality, the Wand Core, and the Power Grading. The color of the wand determines the Wood Quality, alone. To find the Core and Power Grading, we’ll have to cast spells on the power grading trellis against the wall.
Use the table below to easily refer to all three grading types of the four Wands.
| Wood Quality | Wand Core | Power Grading | |
| White Wand with green tip | Low Quality | Sparks (Dragon) | One |
| White Wand with blue tip | Low Quality | Lightning (Unicorn) | Three |
| Brown Wand with brown tip | Medium Quality | Stars (Phoenix) | Two |
| Black Wand with blue tip | High Quality | Lightning (Unicorn) | Three |
With this information, we can insert the Wands into the grids on the wall. Make sure to insert the Wand into the grid that branches from the correct Core symbol. Use the grid of lightning bolts (Power) and wood trunks (Wood Quality) to accurately place the Wands.
See below for the correct orientation.
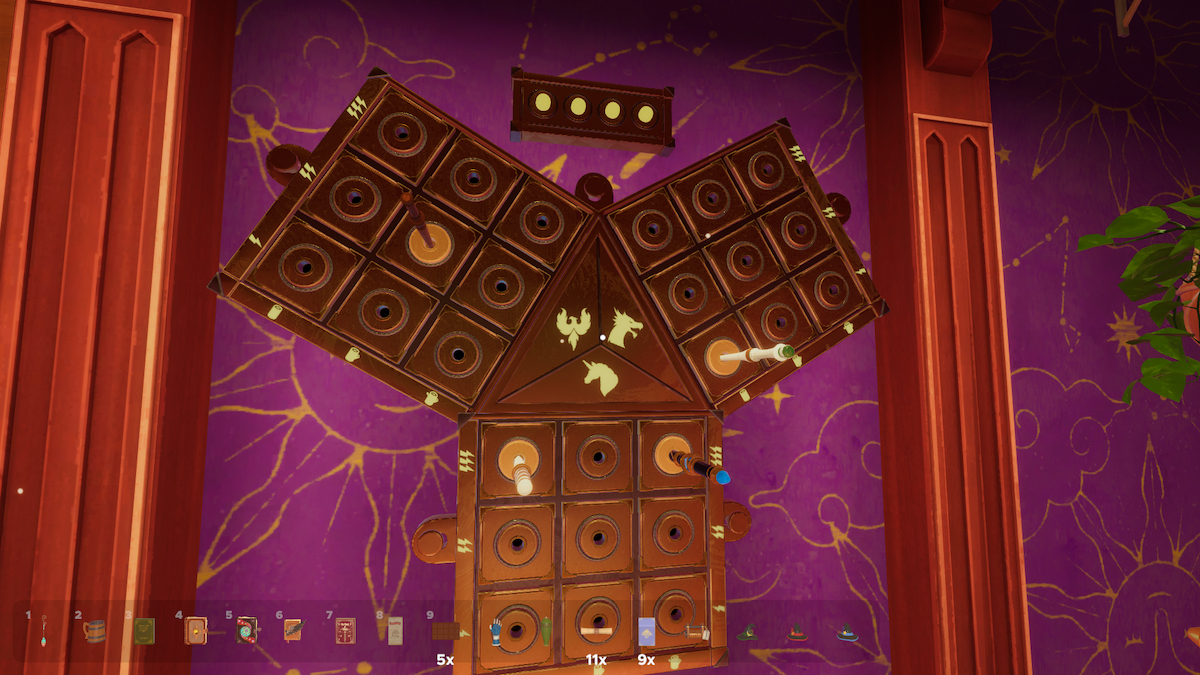
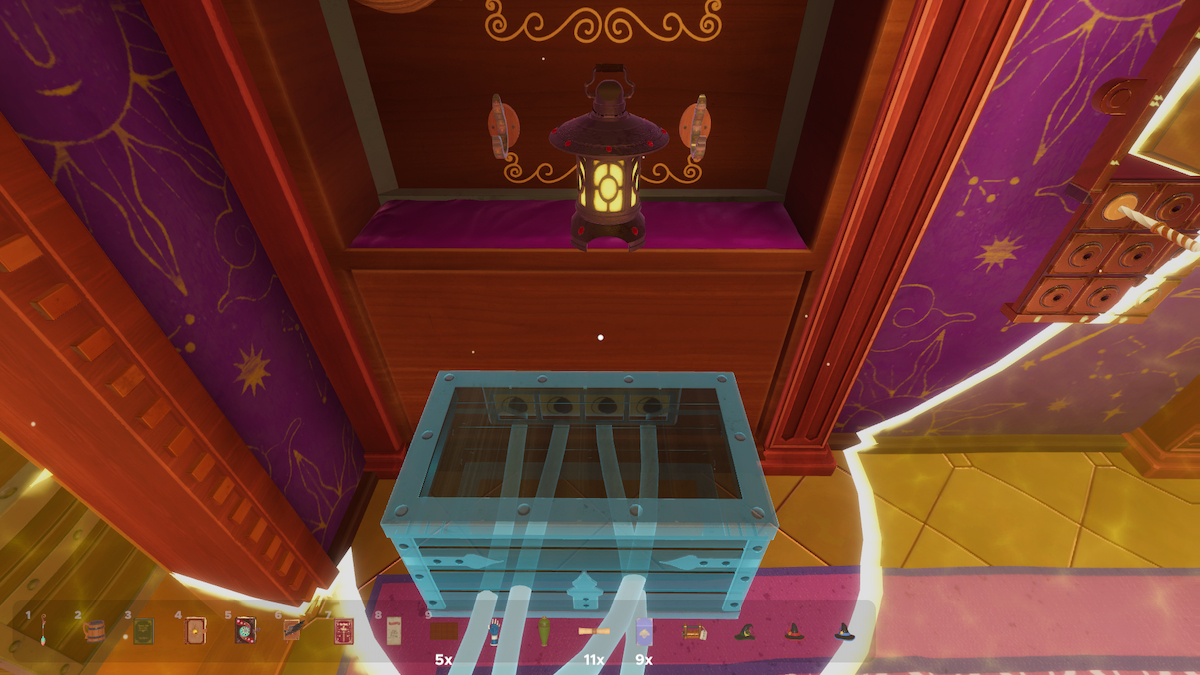
Once the grid is complete, it will reveal a Demystifying Lamp, the final piece for the final puzzle.
Escaping the Magic Shop
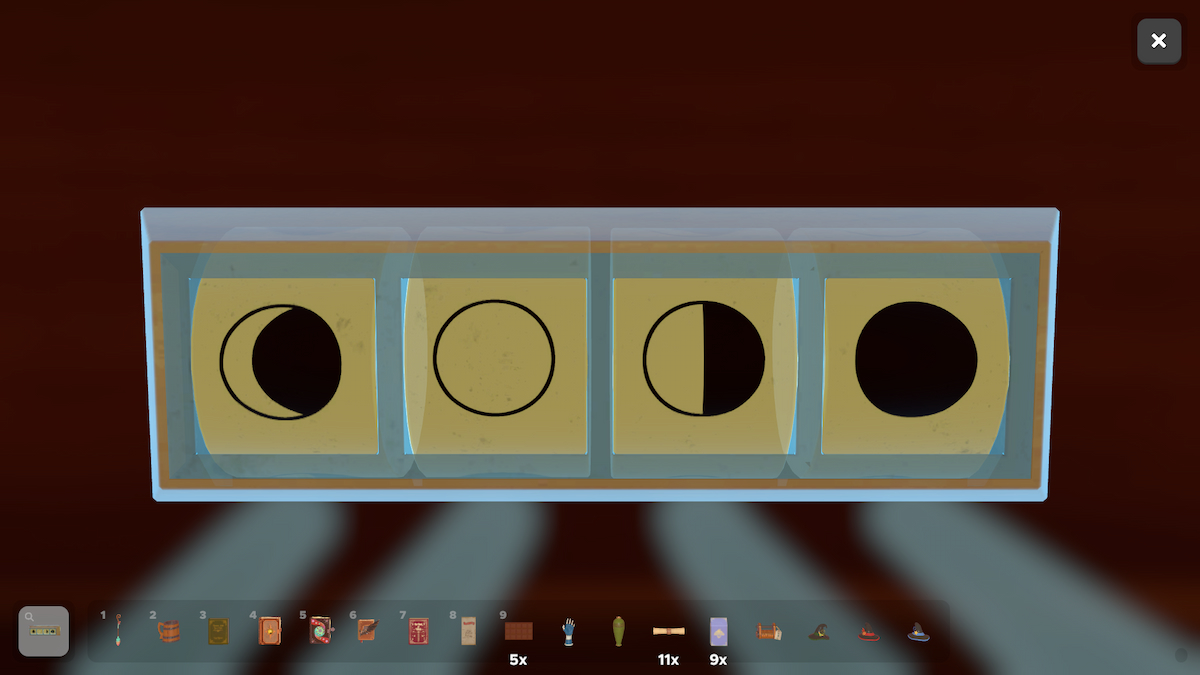
The Demystifying Lamp will reveal a lot of hidden features, such as a new combination lock, four cables that lead to large floating moon sigils around the shop, and what can be assumed to be a mannequin of Ulfric Shadowstep downstairs.
To open the combination lock at the bottom of the broom display upstairs, we need to find where the cables for each row lead. They all are attached to a floating sigil of one of the moon’s phases. This will tell us the combination for the lock.
The third moon sigil is difficult to reach, so we can simply use the process of elimination to figure it out. Once the combination is complete, it will reveal a Wizard Hat.
We can head downstairs to place the Wizard Hat on the Shadowstep mannequin. Place the Demystifying Lamp on the pedestal to free up your hand. The mannequin will raise a bird cage that’s only visible with the lamp, so grab it and hurry back upstairs. Place the Demystifying Lamp on the border to open up the bird cage and claim the Key.
It is with this Key that you will unlock the door to the shop! Well done!
Related: Best Elder Scrolls games, ranked from worst to best
Finding the Eight Tokens in The Magic Shop
For those completionists out there, there are eight secret tokens scattered around each level in Escape Simulator, and the Magic Shop is no exception.
Currently, I can only find four. I will continue to try and find the others, so keep checking here every so often if you still need help.
Floating Candy
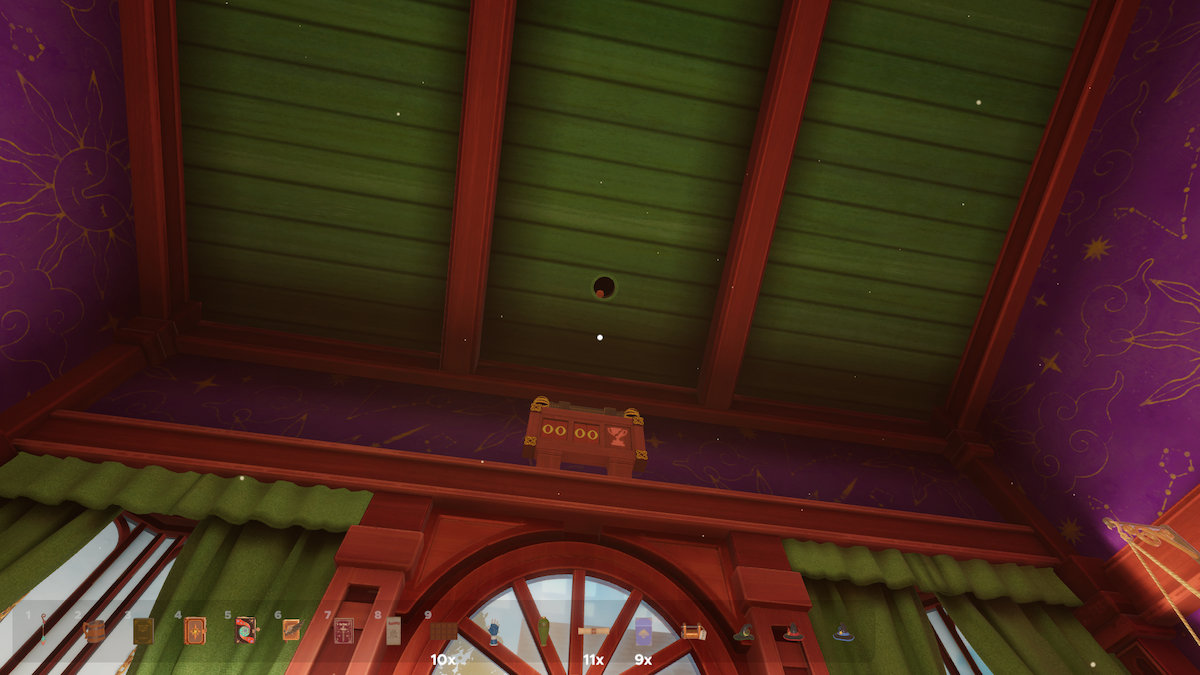
Remember those Candies that we fed the Starving Grimoire? Well, they float in case you missed it. On the roof above the entrance to the store is a hole. If you can throw a Candy into it, it’ll drop a Token.
Even more Chocolate Bars
Upstairs, there are five more Chocolate Bars. Two on the trunk in the stairwell and three on the chest with the lockbox and Book of Wands. When you feed the five Wrappers into the Toy Summoner again, you’ll have summoned another Token.
Service please!
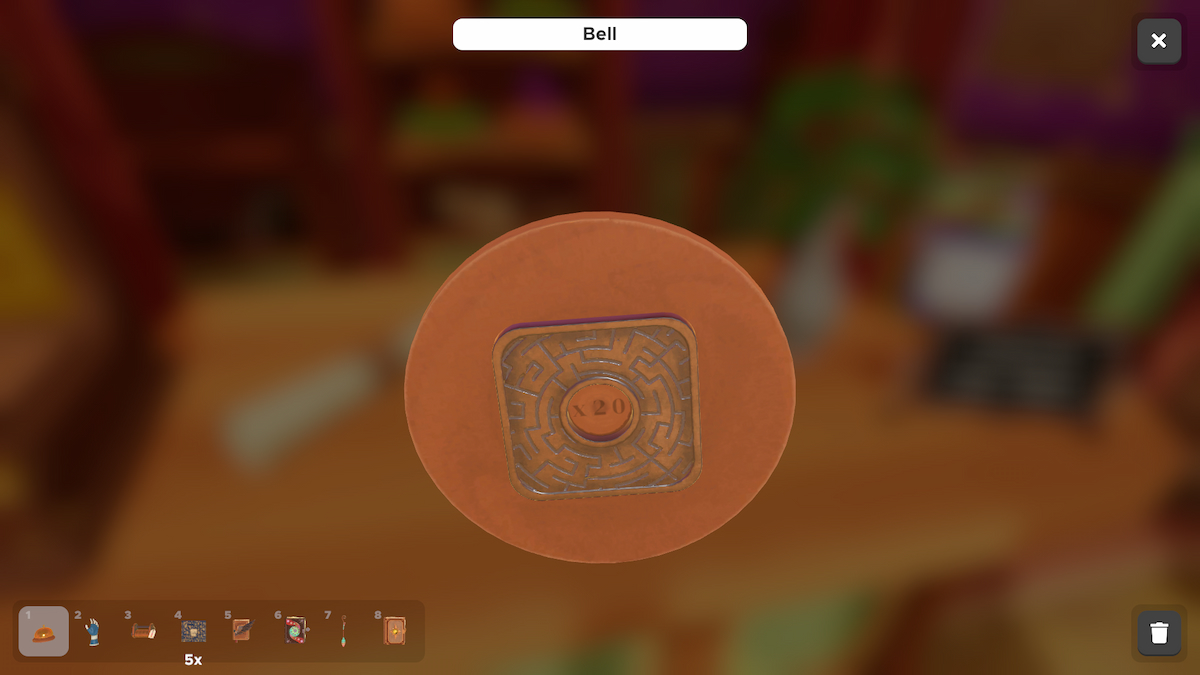
If you pick up the bell on the desk and inspect it, you’ll see at the bottom that it reads “x20.” You must click the dinger twenty times for the Token to spawn under it.
The bottom of a cauldron
There is also another Token at the bottom of a cauldron at the front of the store.
And there you have it. A full solution and (almost!) all of the secret Tokens in The Magic Shop in the Magic DLC for Escape Simulator. Now that you’ve escaped, why not check out whether the Wild West DLC is worth it?