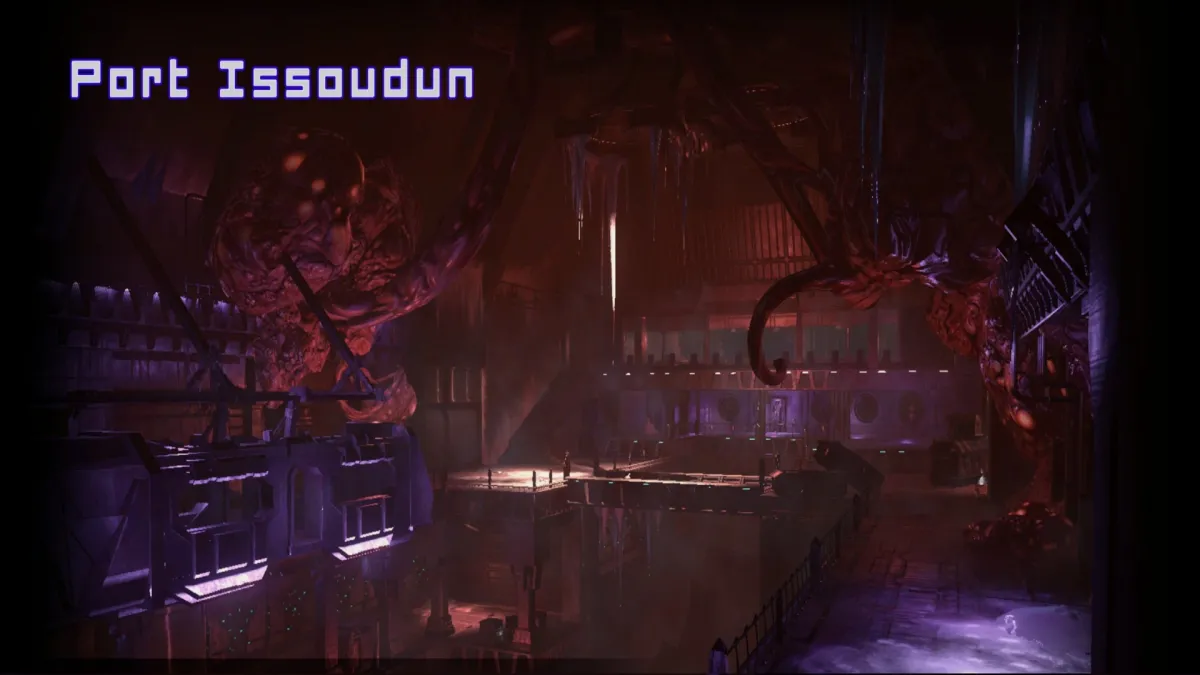
Port Issoudun is one of the main areas in the Irid Novo, a massive space station that’s been overwhelmed by nightmarish creatures in Hellpoint. It’s also chock-full of secret areas. Here’s our guide to help you out.
Note: For more information, check out our Hellpoint guides and features hub.
Hellpoint: Port Issoudun secrets guide
The Pit and the Narrow Corridor
Once you reach Port Issoudun, go to the nearest breach point (seen above) to save your game. Don’t forget that there’s also an easy-to-find secret room here near the teleporter. It contains the blueprint for the First Fool’s Head.

Next, go to the side building and pick up the Freight Credentials. This will let you open the zone’s main door.

From the Freight Credentials door, use the rail that leads downward.

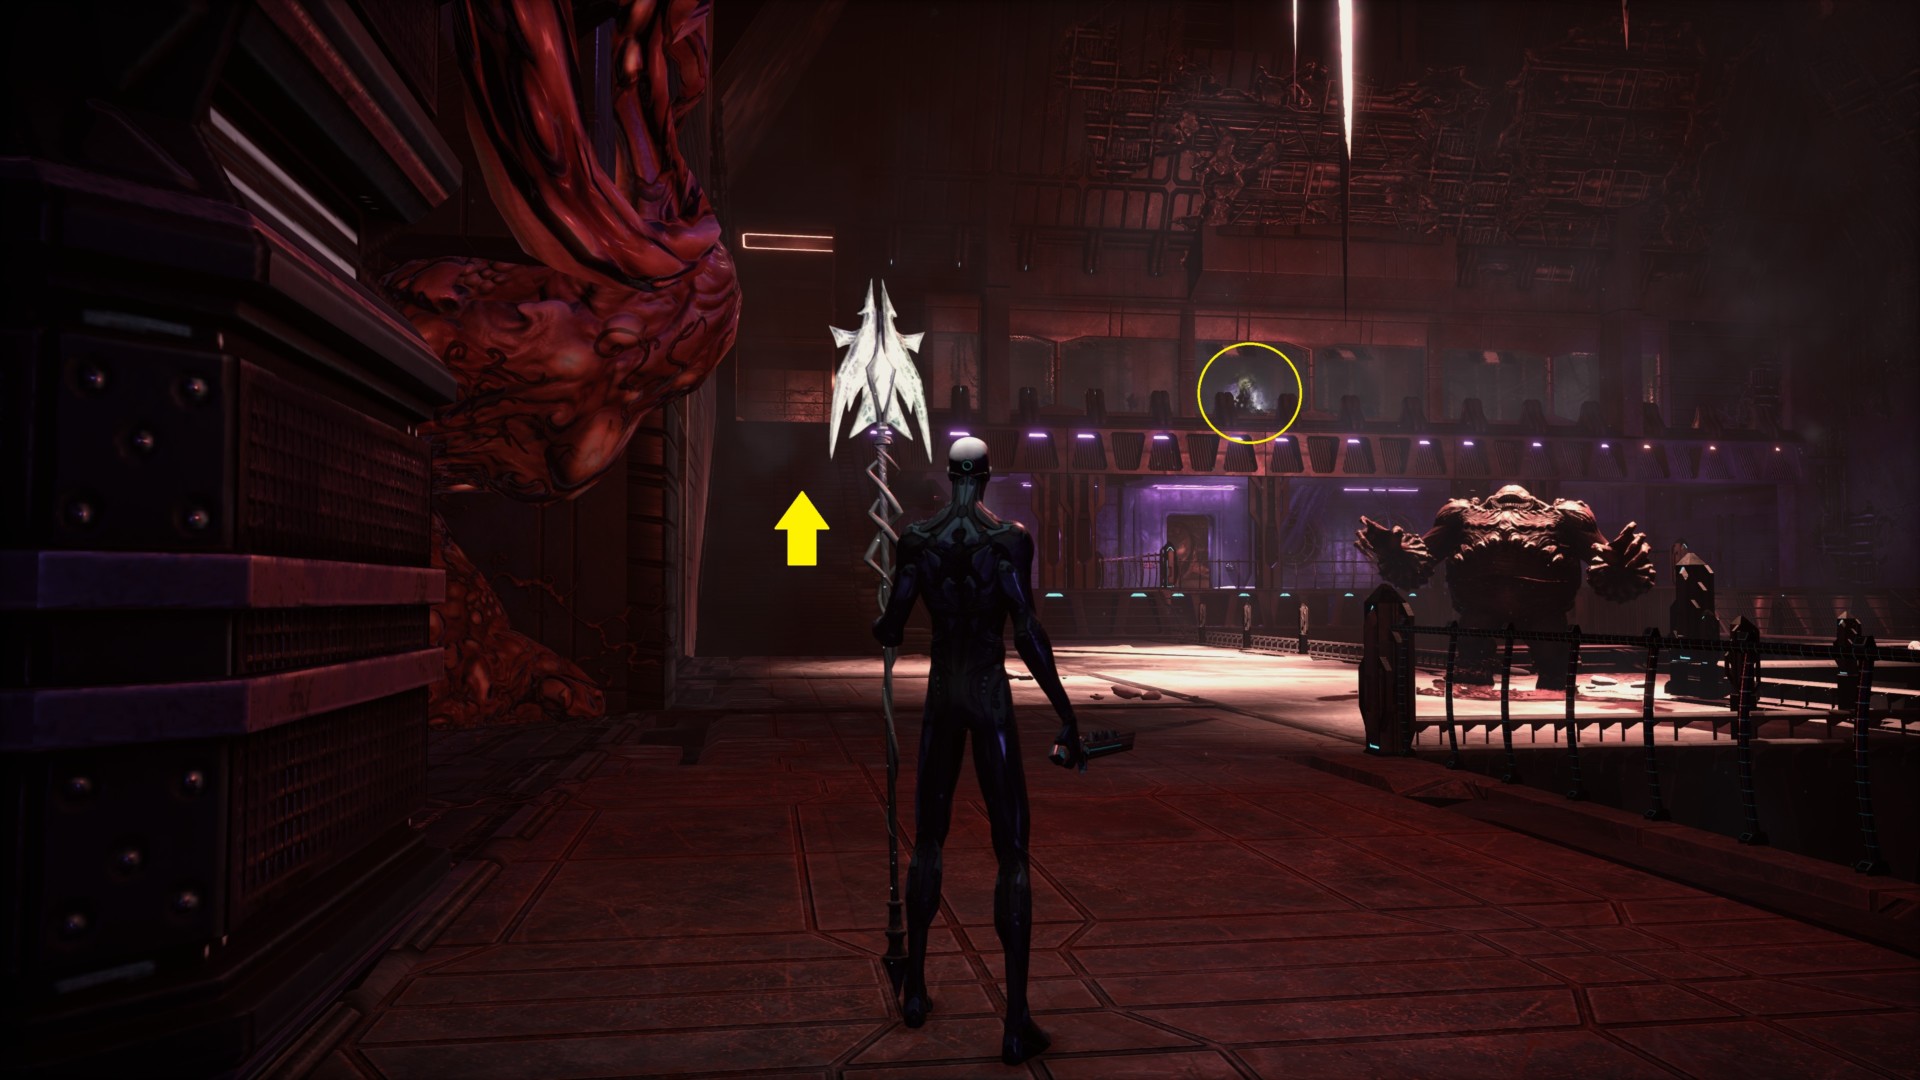
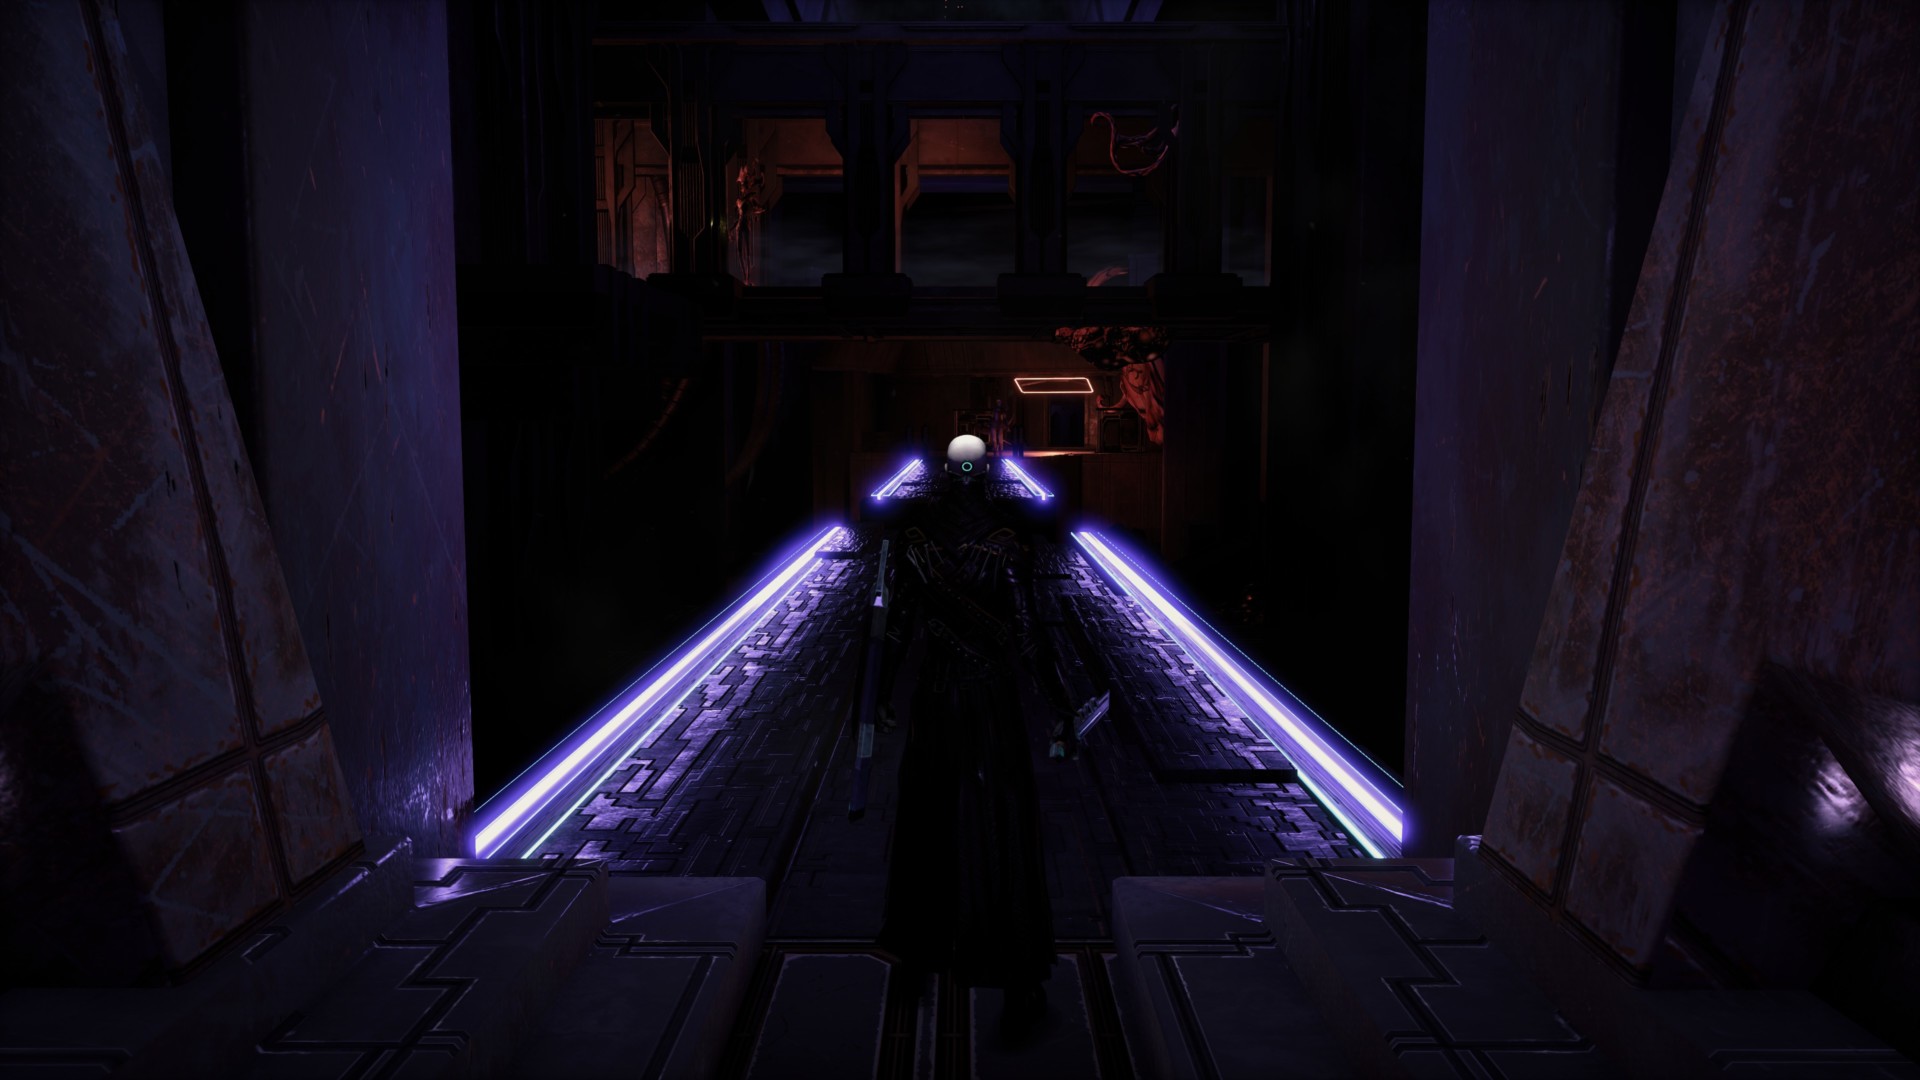
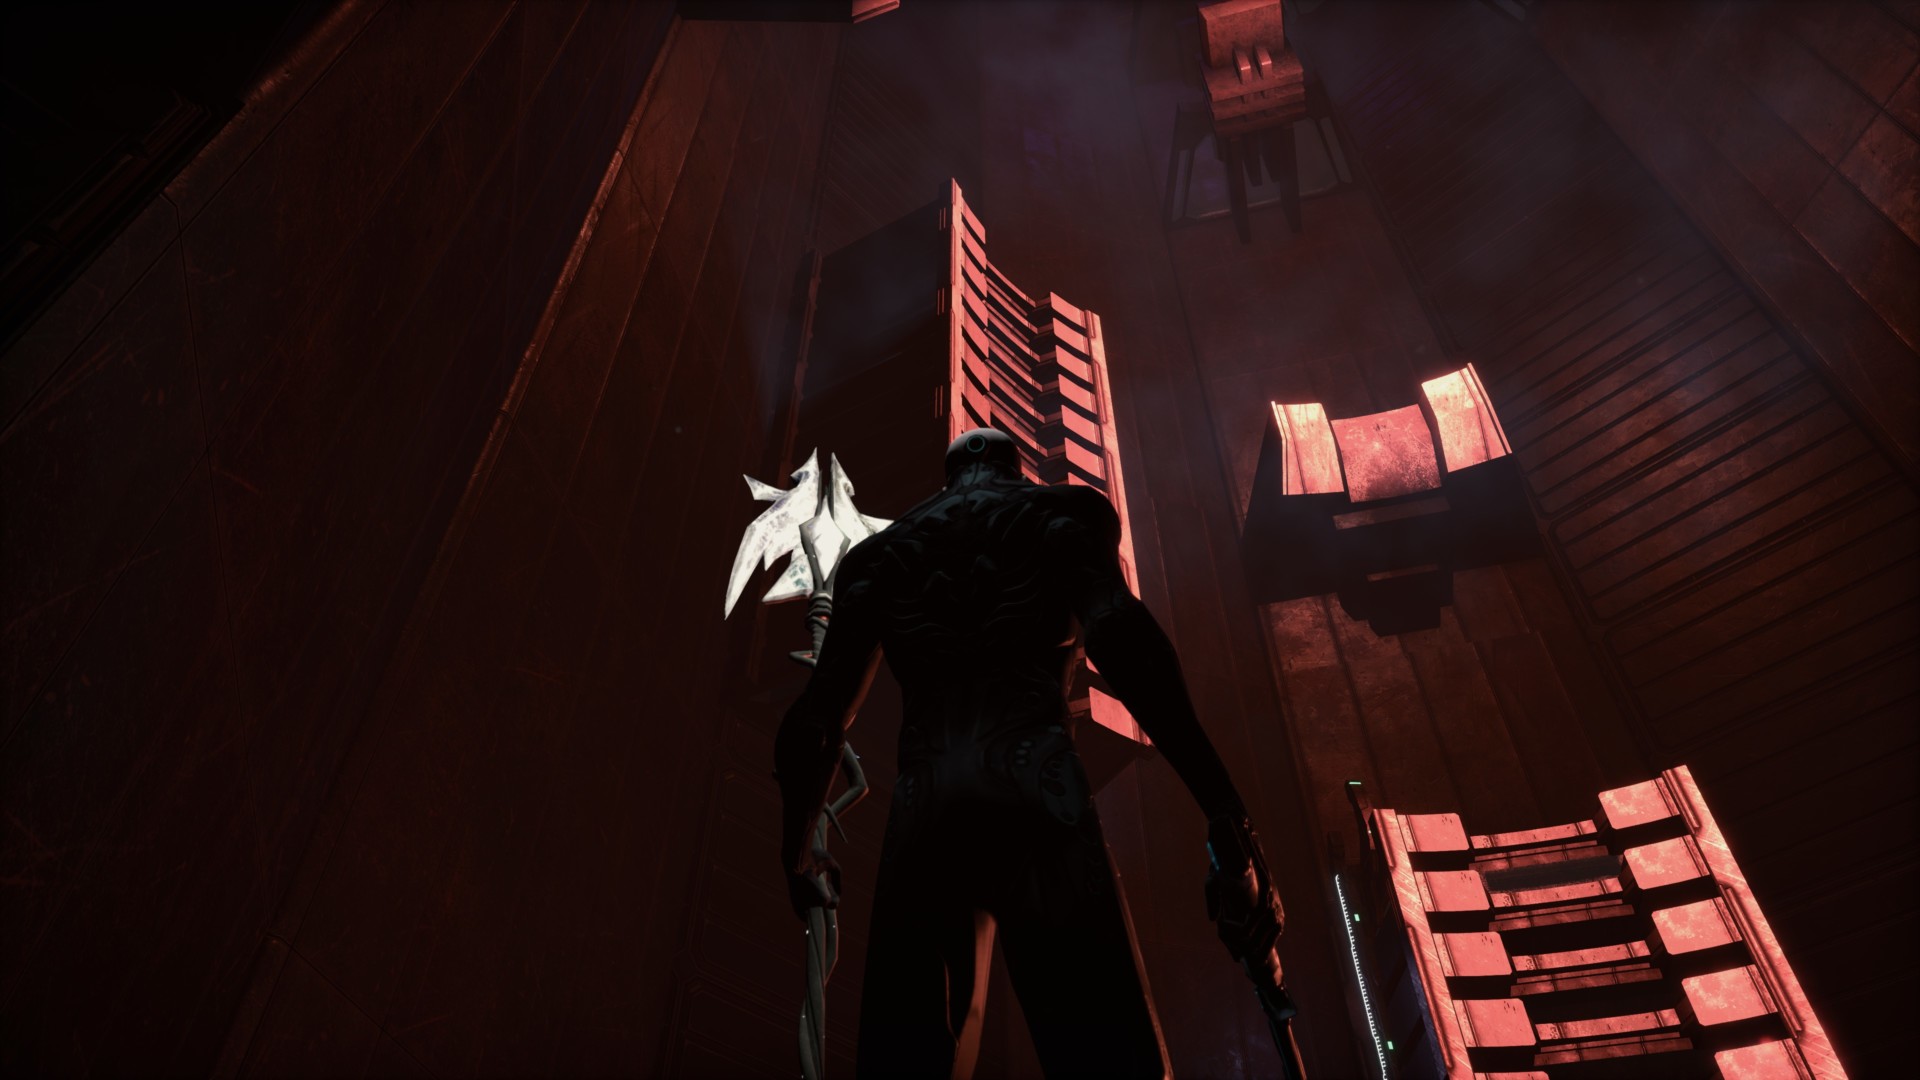
There are a few mobs in this place—which I’ll call “The Junction”—but just keep going straight ahead until you reach a spot known as “The Pit.” You’d even see a reward that we’ll get to in a while.

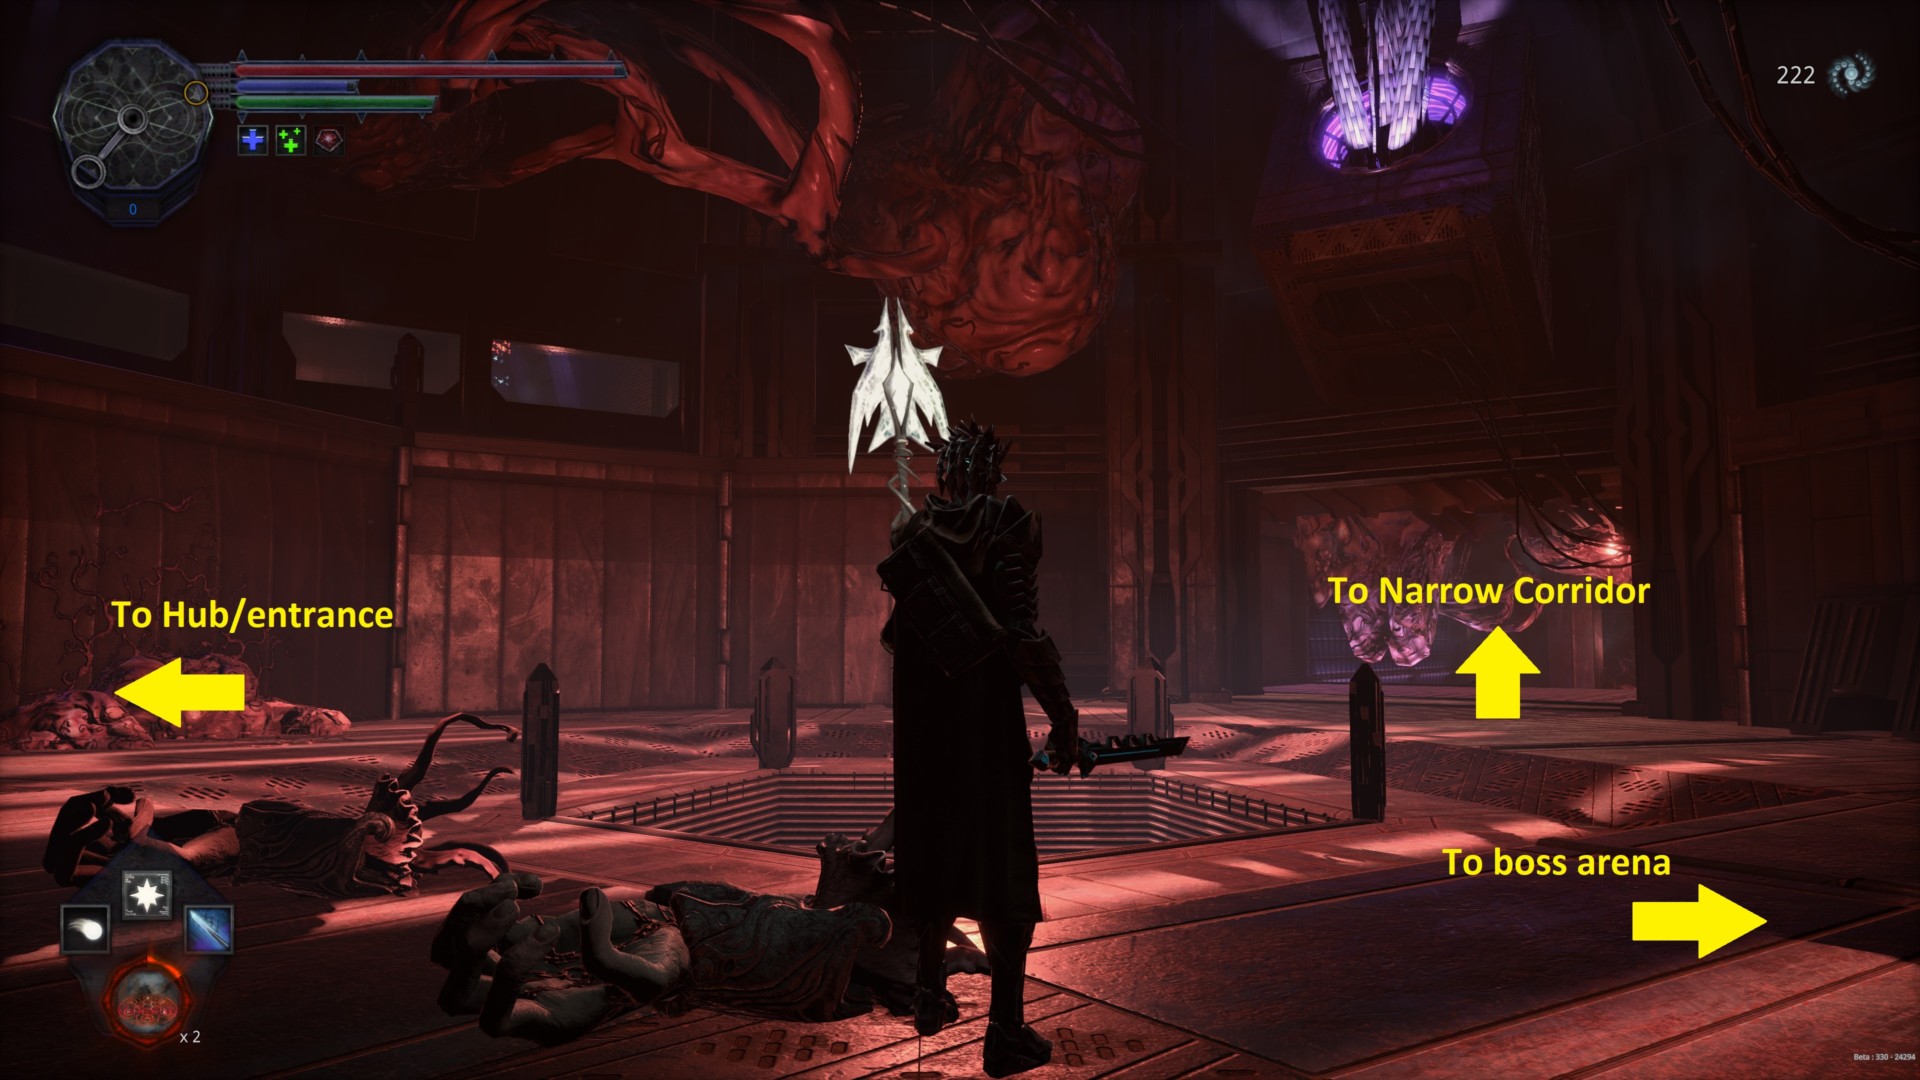
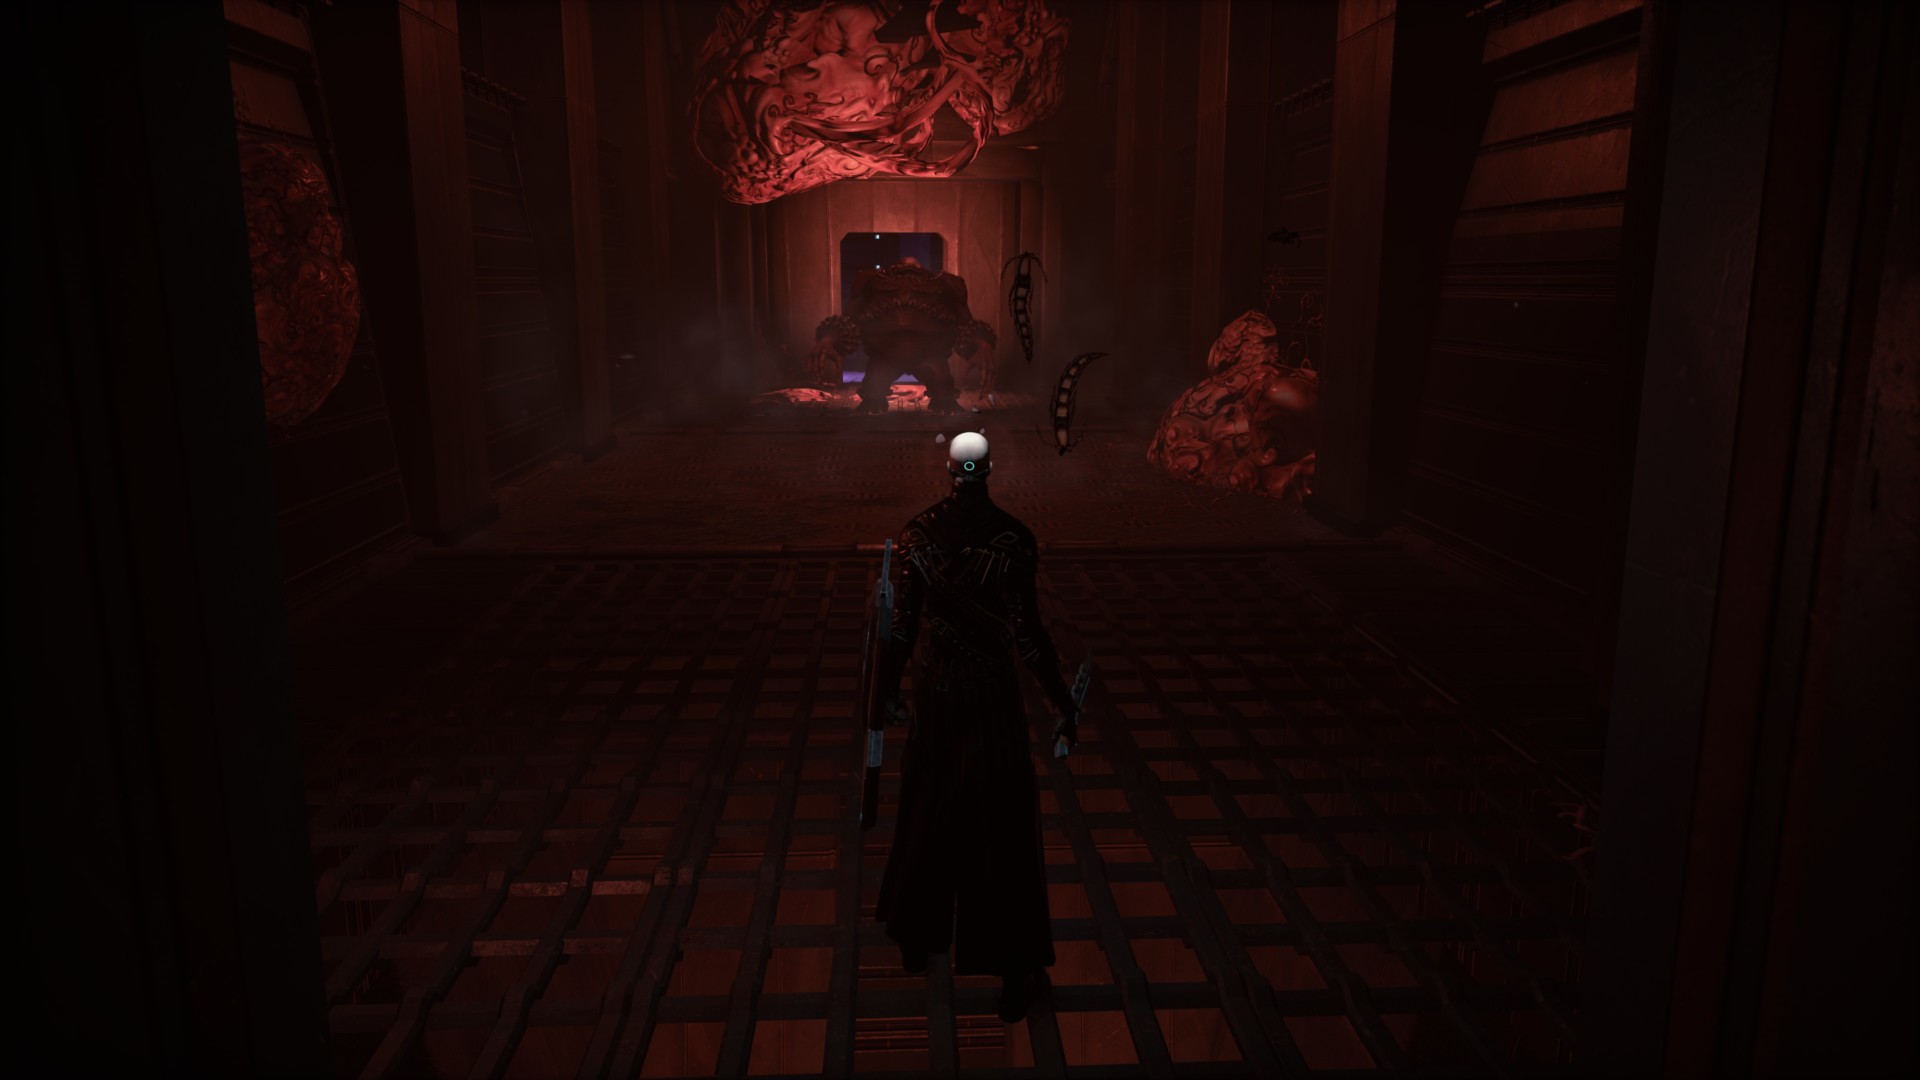
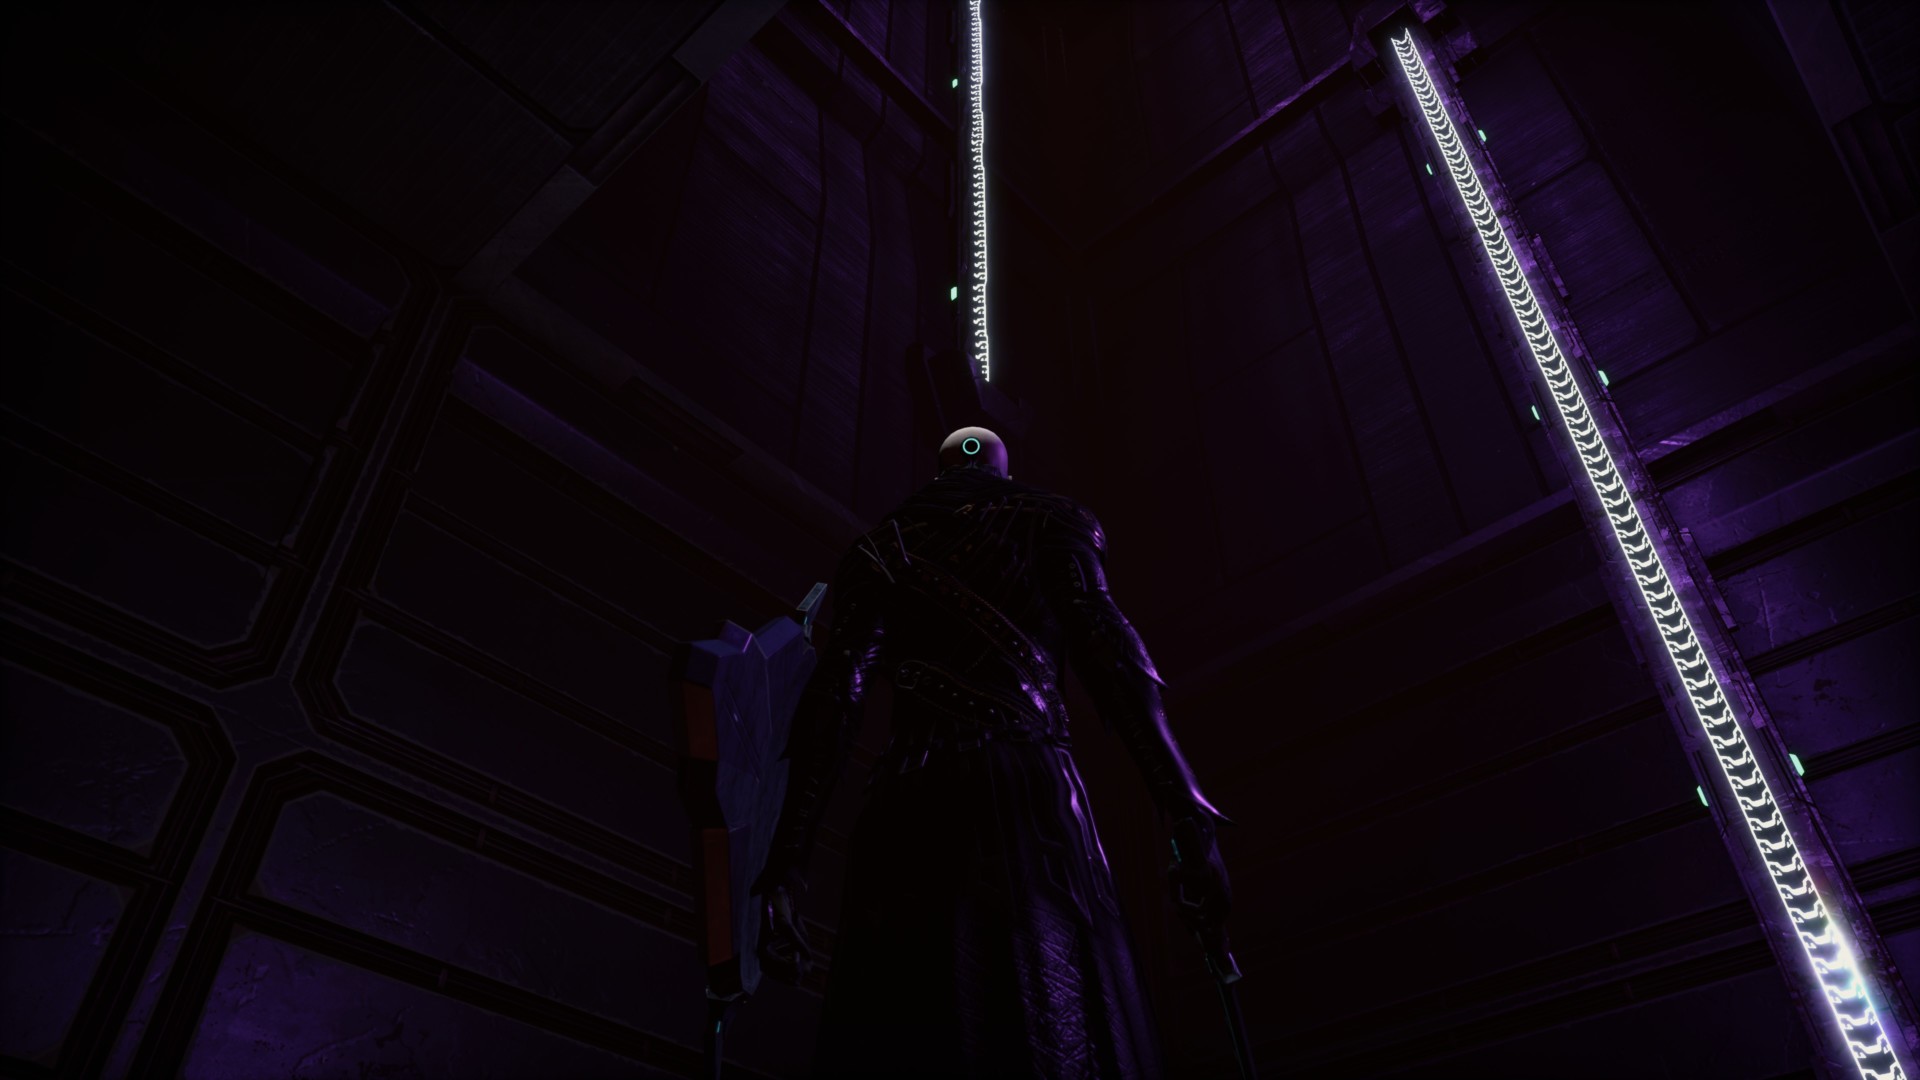
Anyway, there are three passageways in The Pit: one going back where you came from, the other going to the boss, and the last one (seen in the image) takes you to the “Narrow Corridor.”
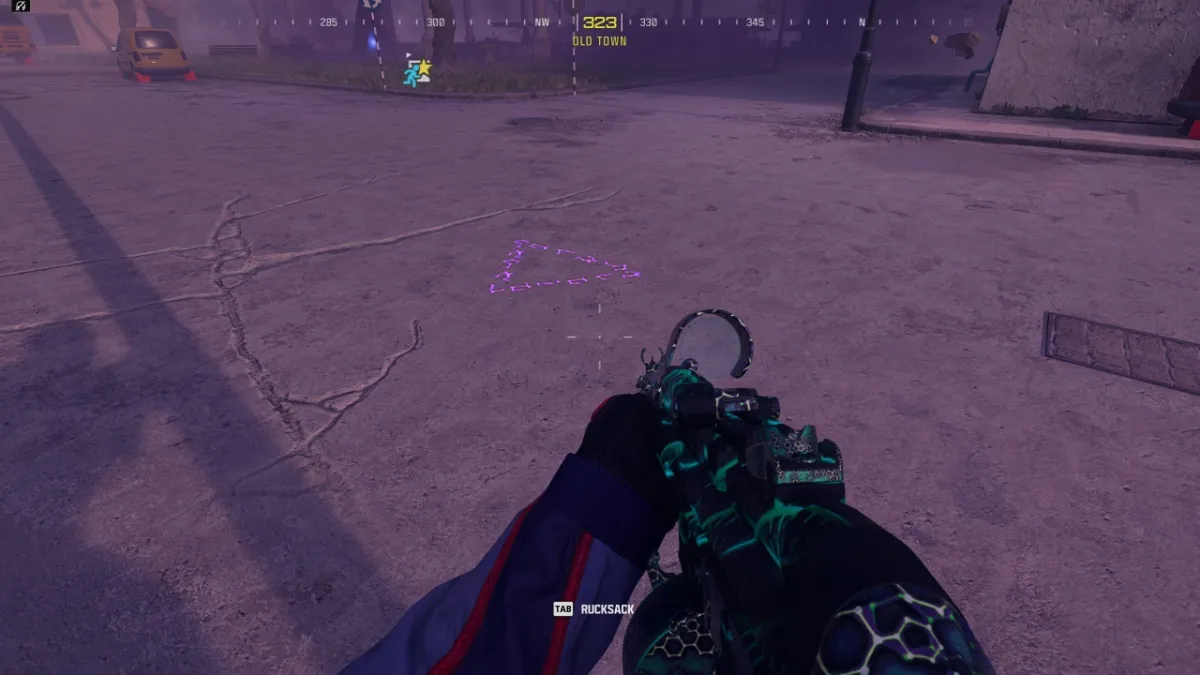
Head to the Narrow Corridor. There’s a chance you might see a marker here from beta/demo players denoting a secret doorway. Let’s ignore that for now.

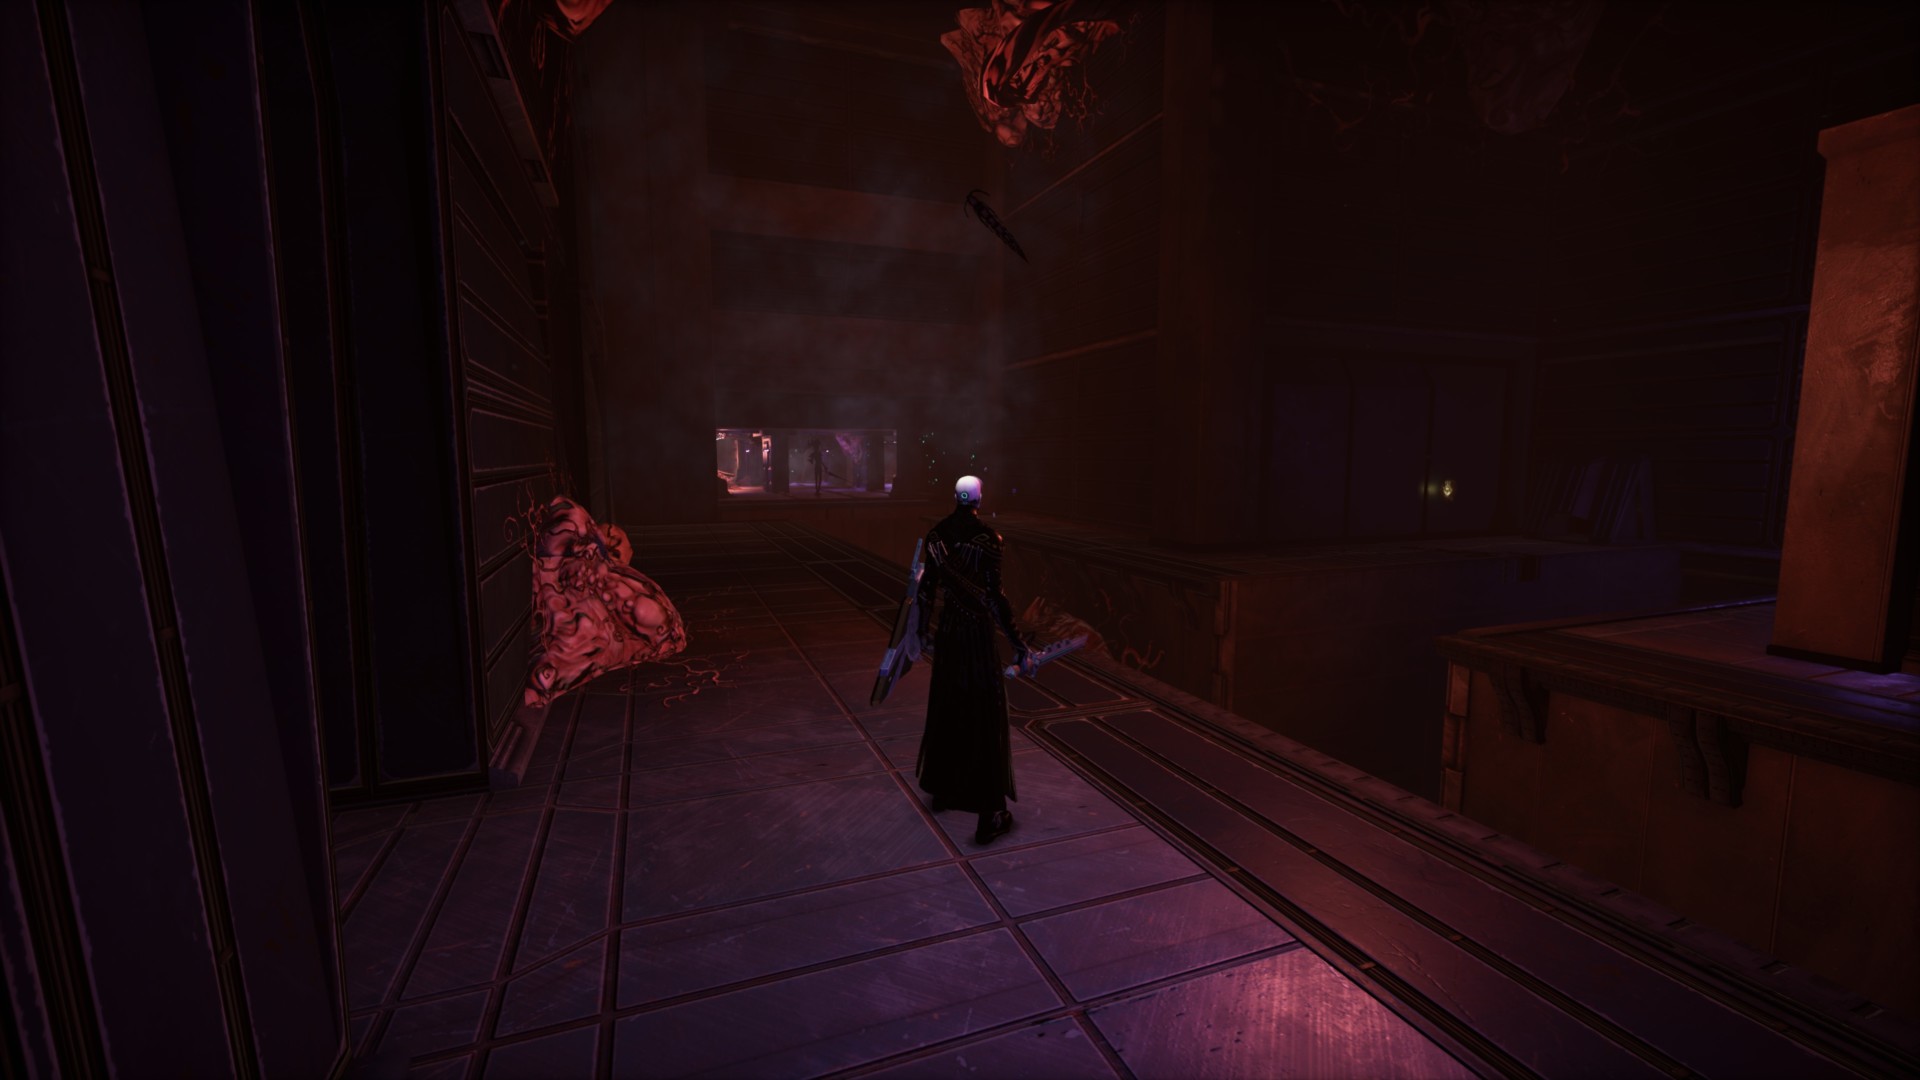
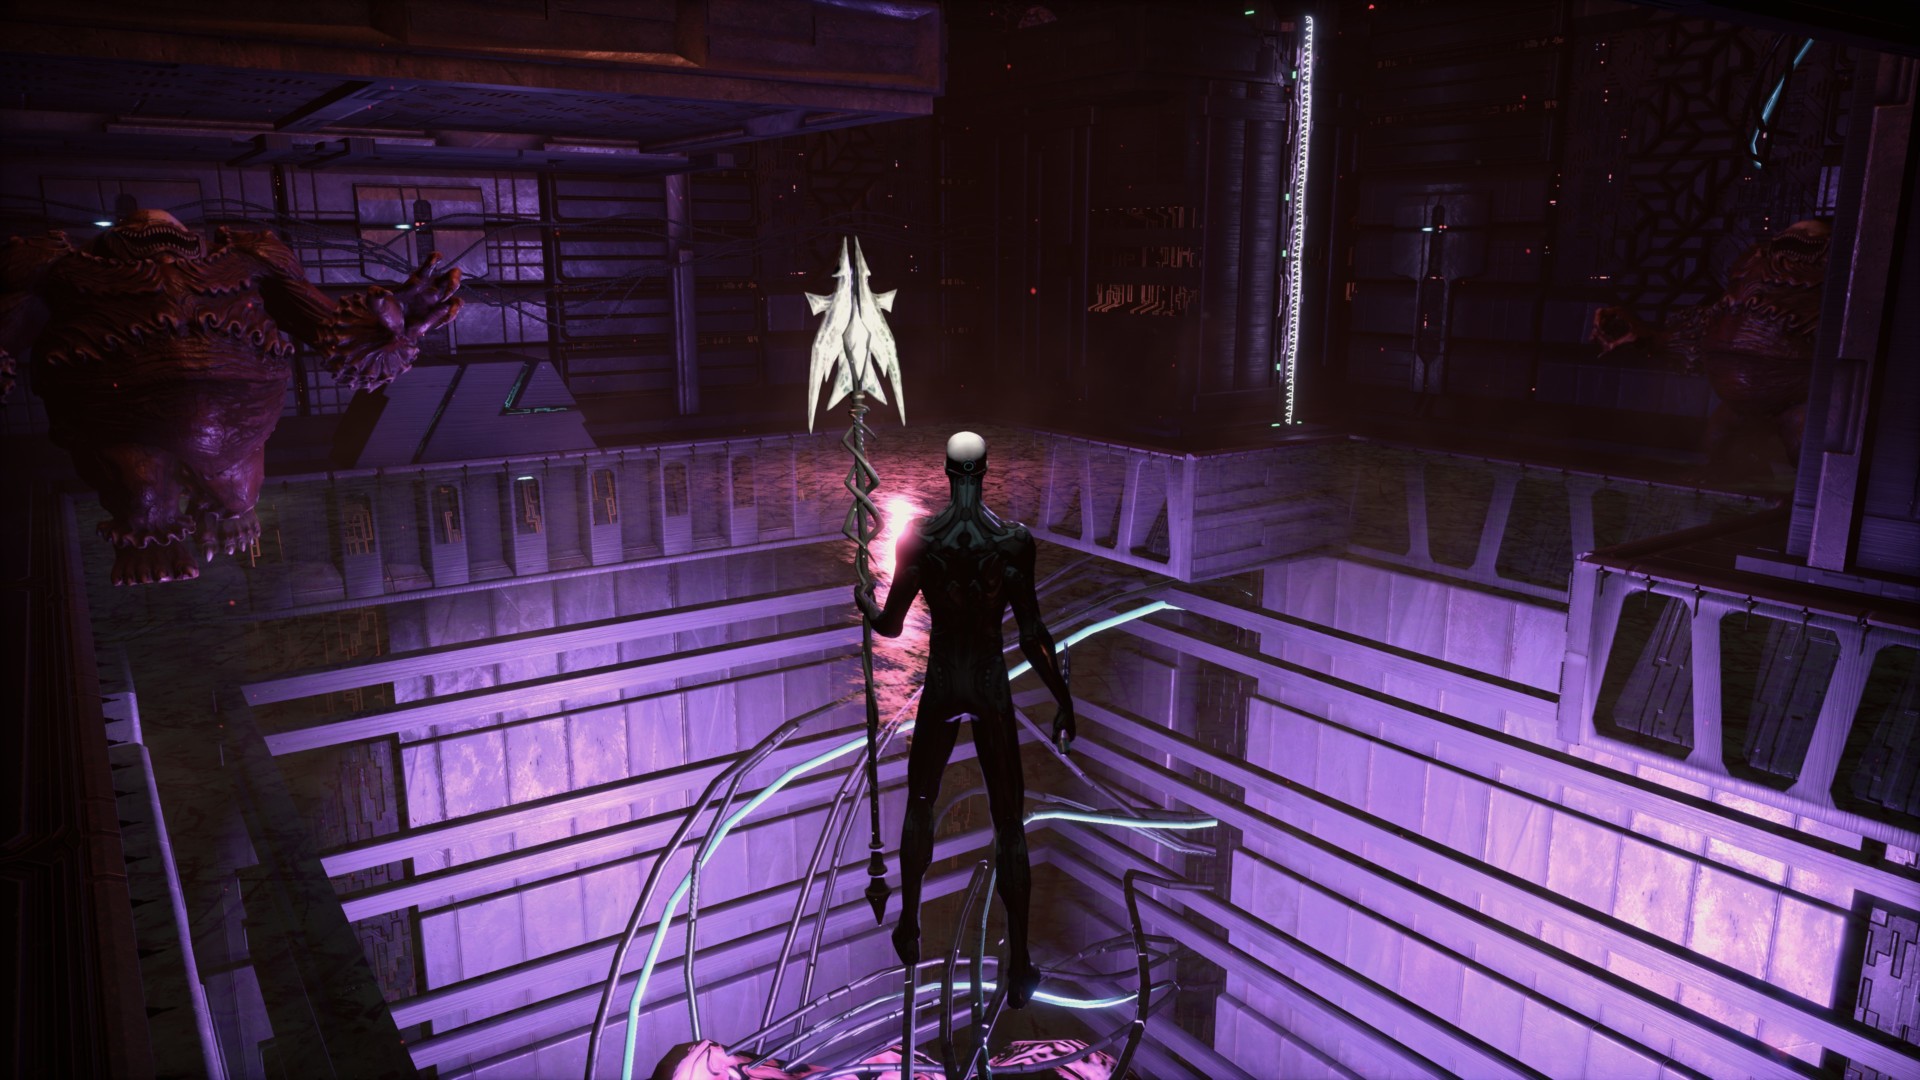
Instead, keep going through the Narrow Corridor until you reach an open area.
Secret #1
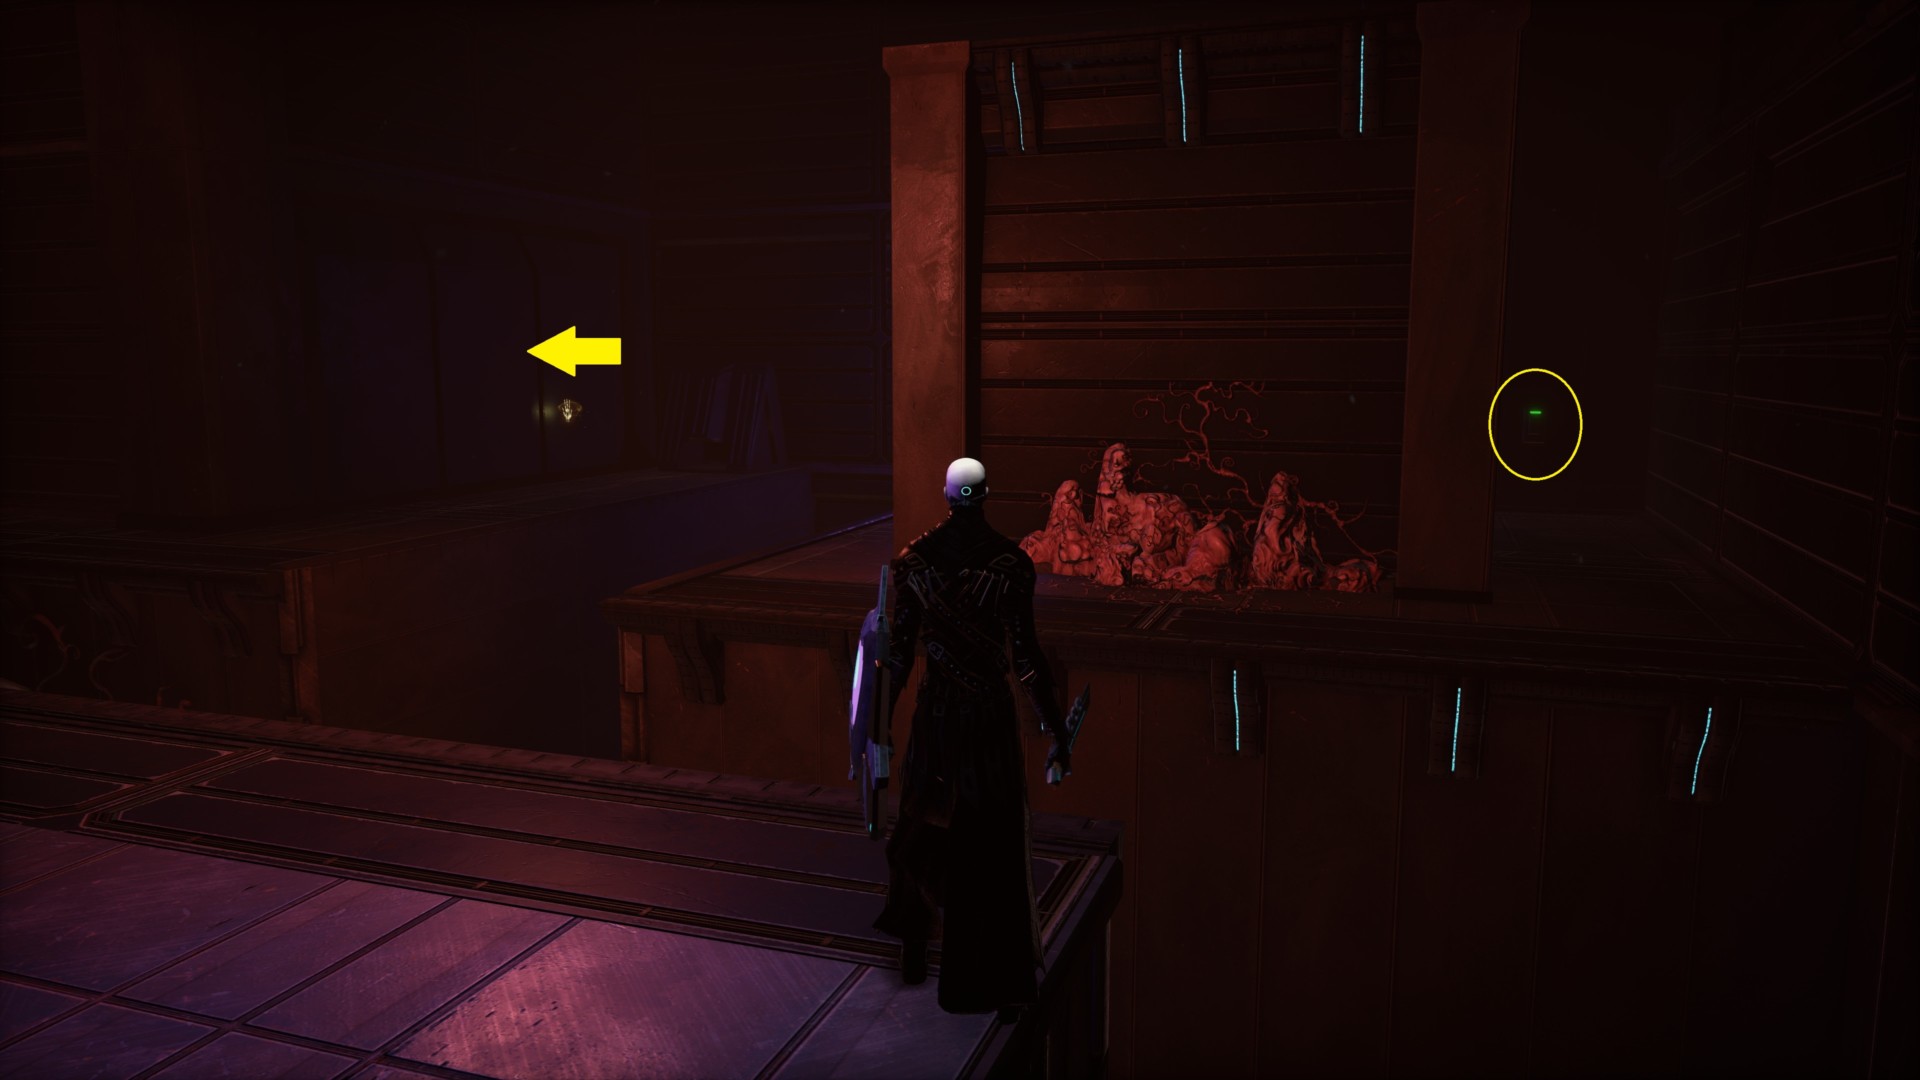
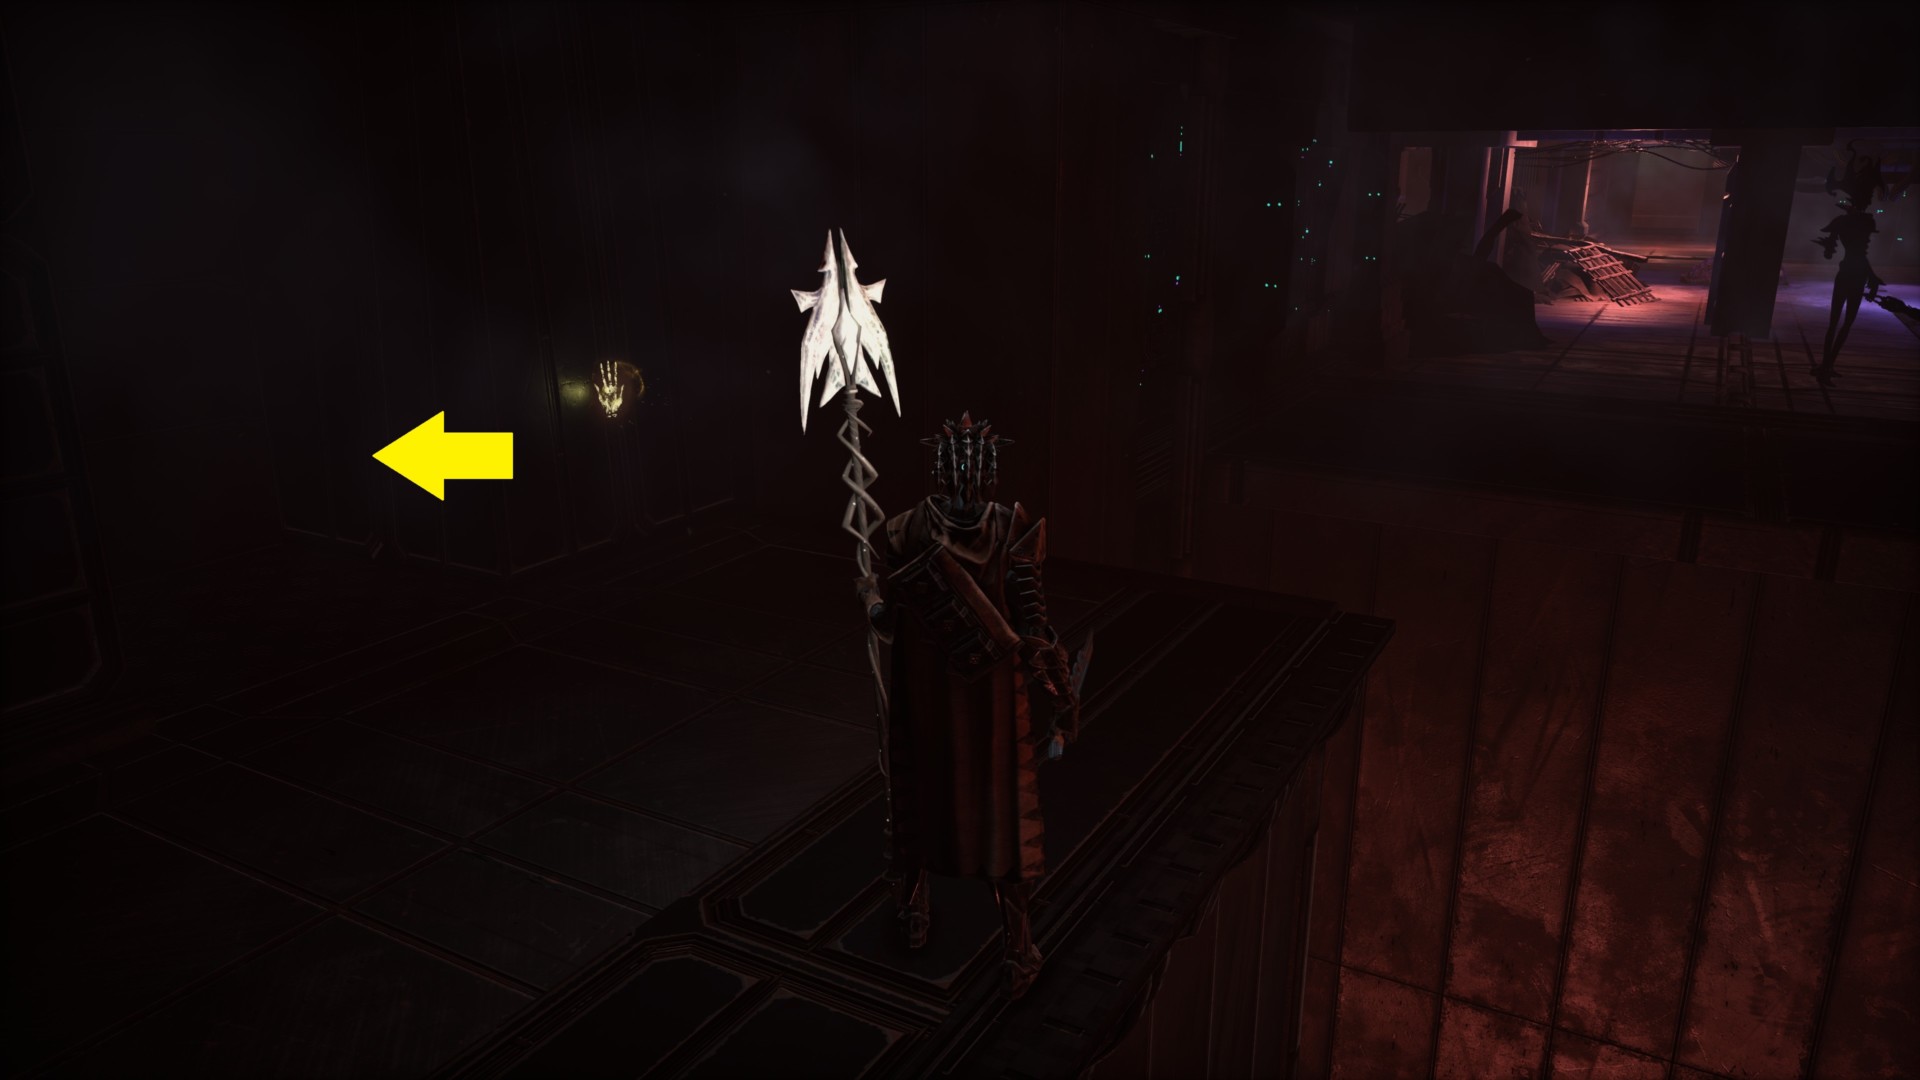
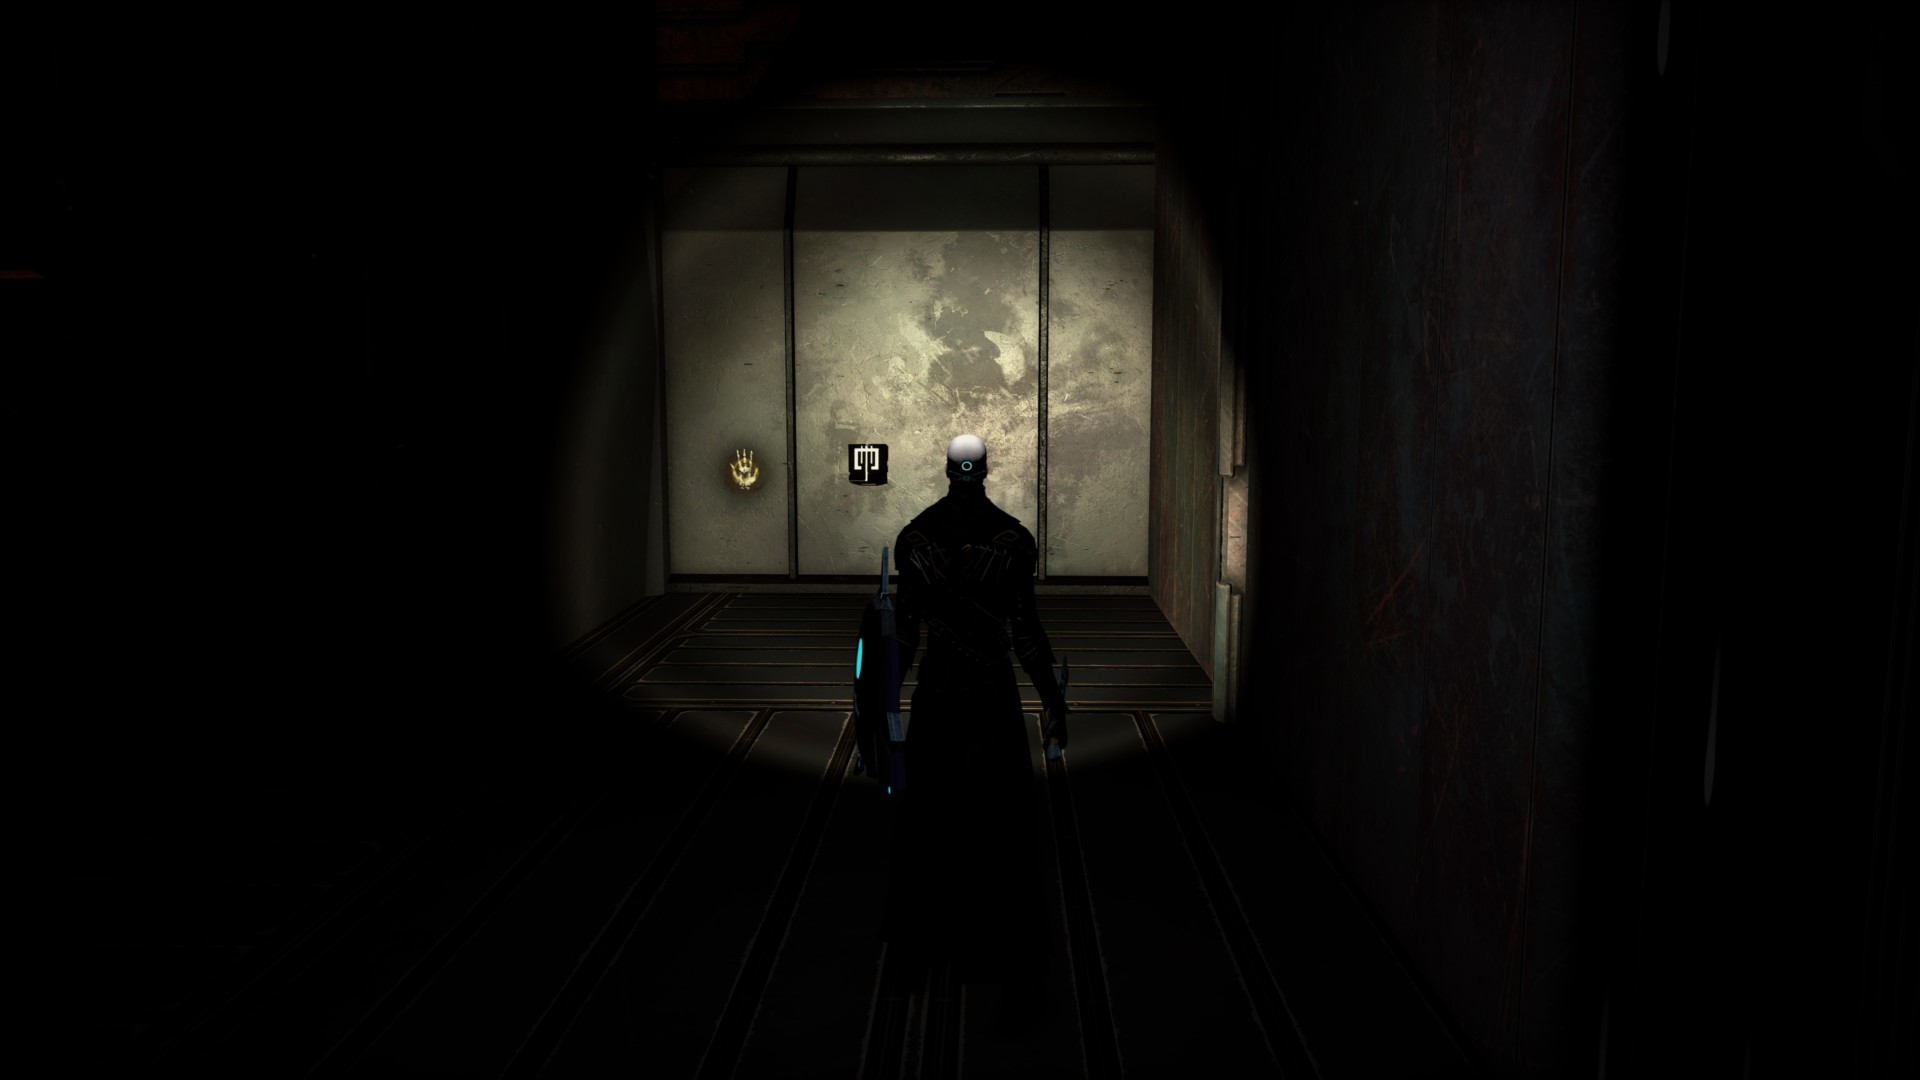
There’s a hidden doorway (marked by a palm icon) that’s next to a rail/ladder. If you look to the right, there’s also a switch. Activate it to get a Light Melee Conductor.
Secret #2
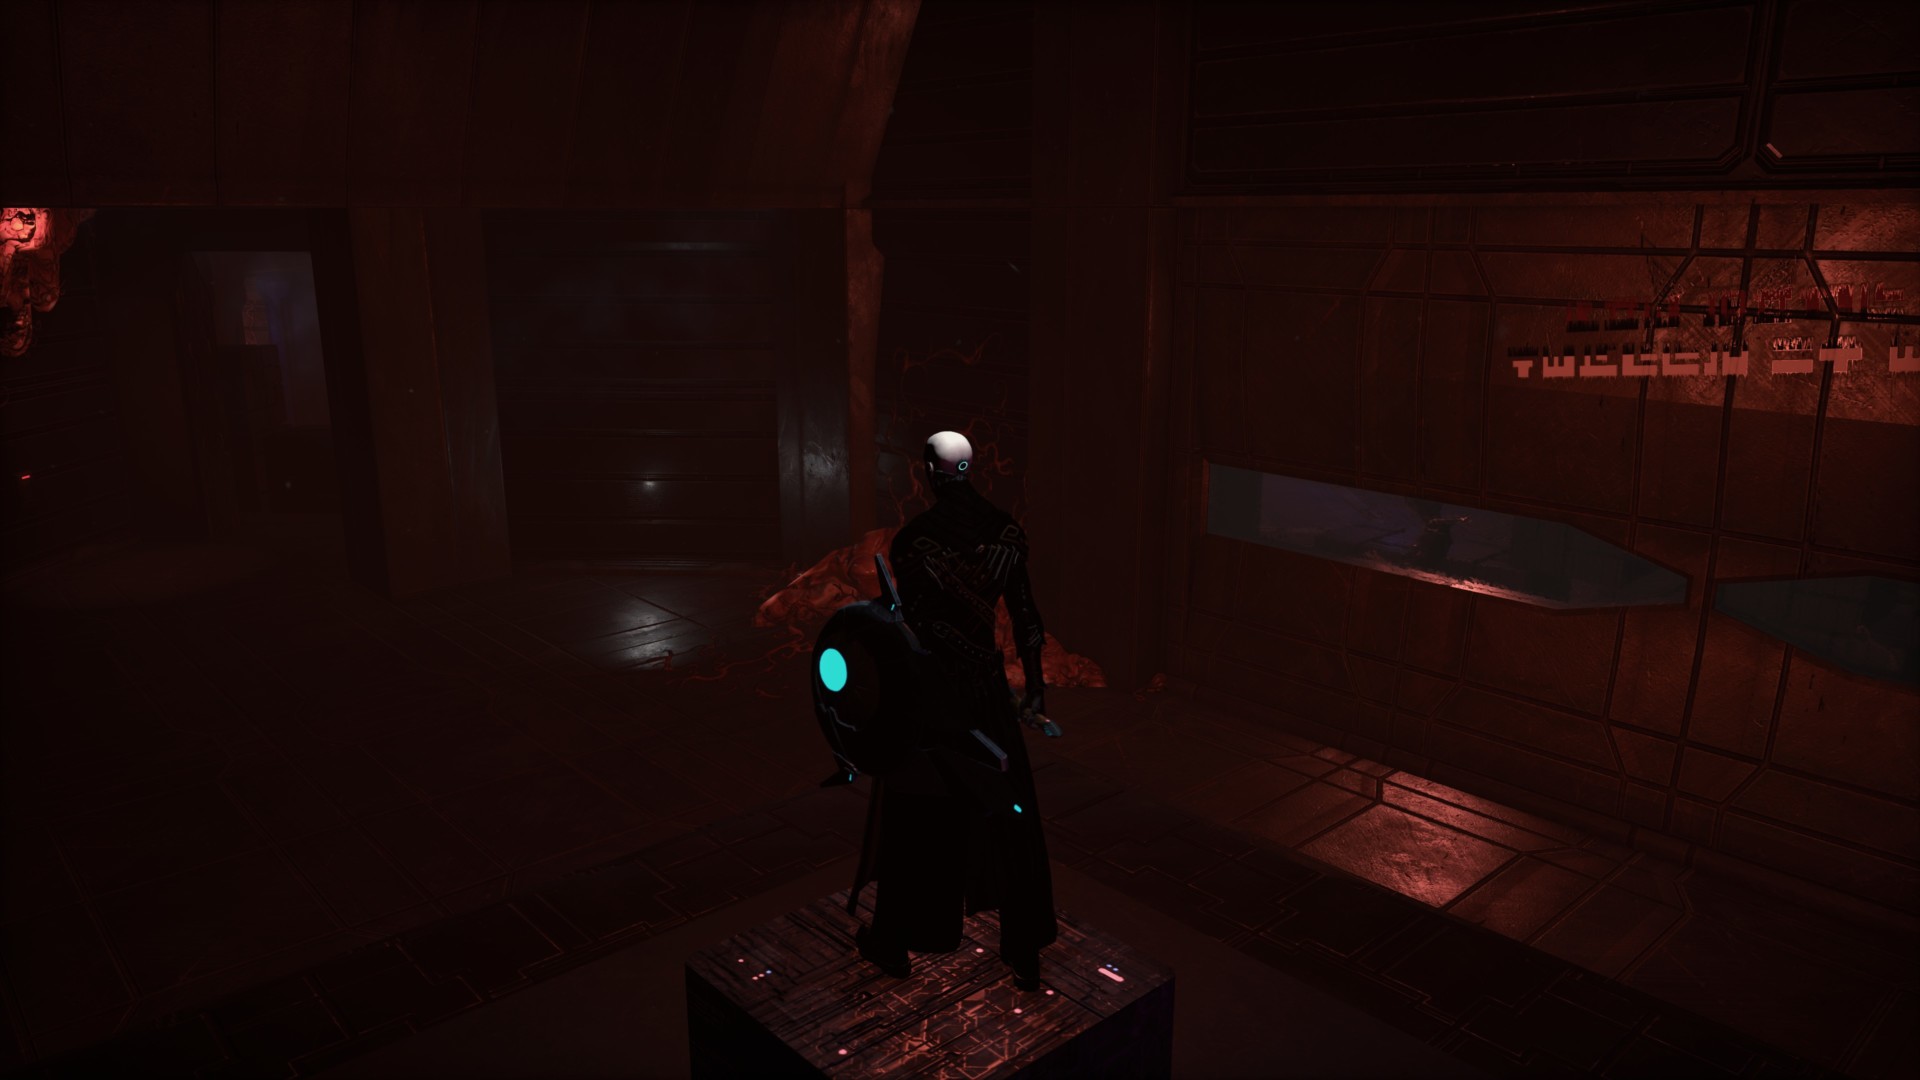
In the same open area, jump across the gap and you’ll see a peculiar looking floor panel.
Step on it and a secret elevator will take you to a room with a Gobbler (I’m just giving Hellpoint‘s mob new nicknames). More mobs will spawn such as some Iron Hands and a Sword Daemonette.
After killing it, follow the corridor and it’ll lead you to the ledge above The Pit (the one from earlier). Pick up a Thespian Hook here.
Secret #3
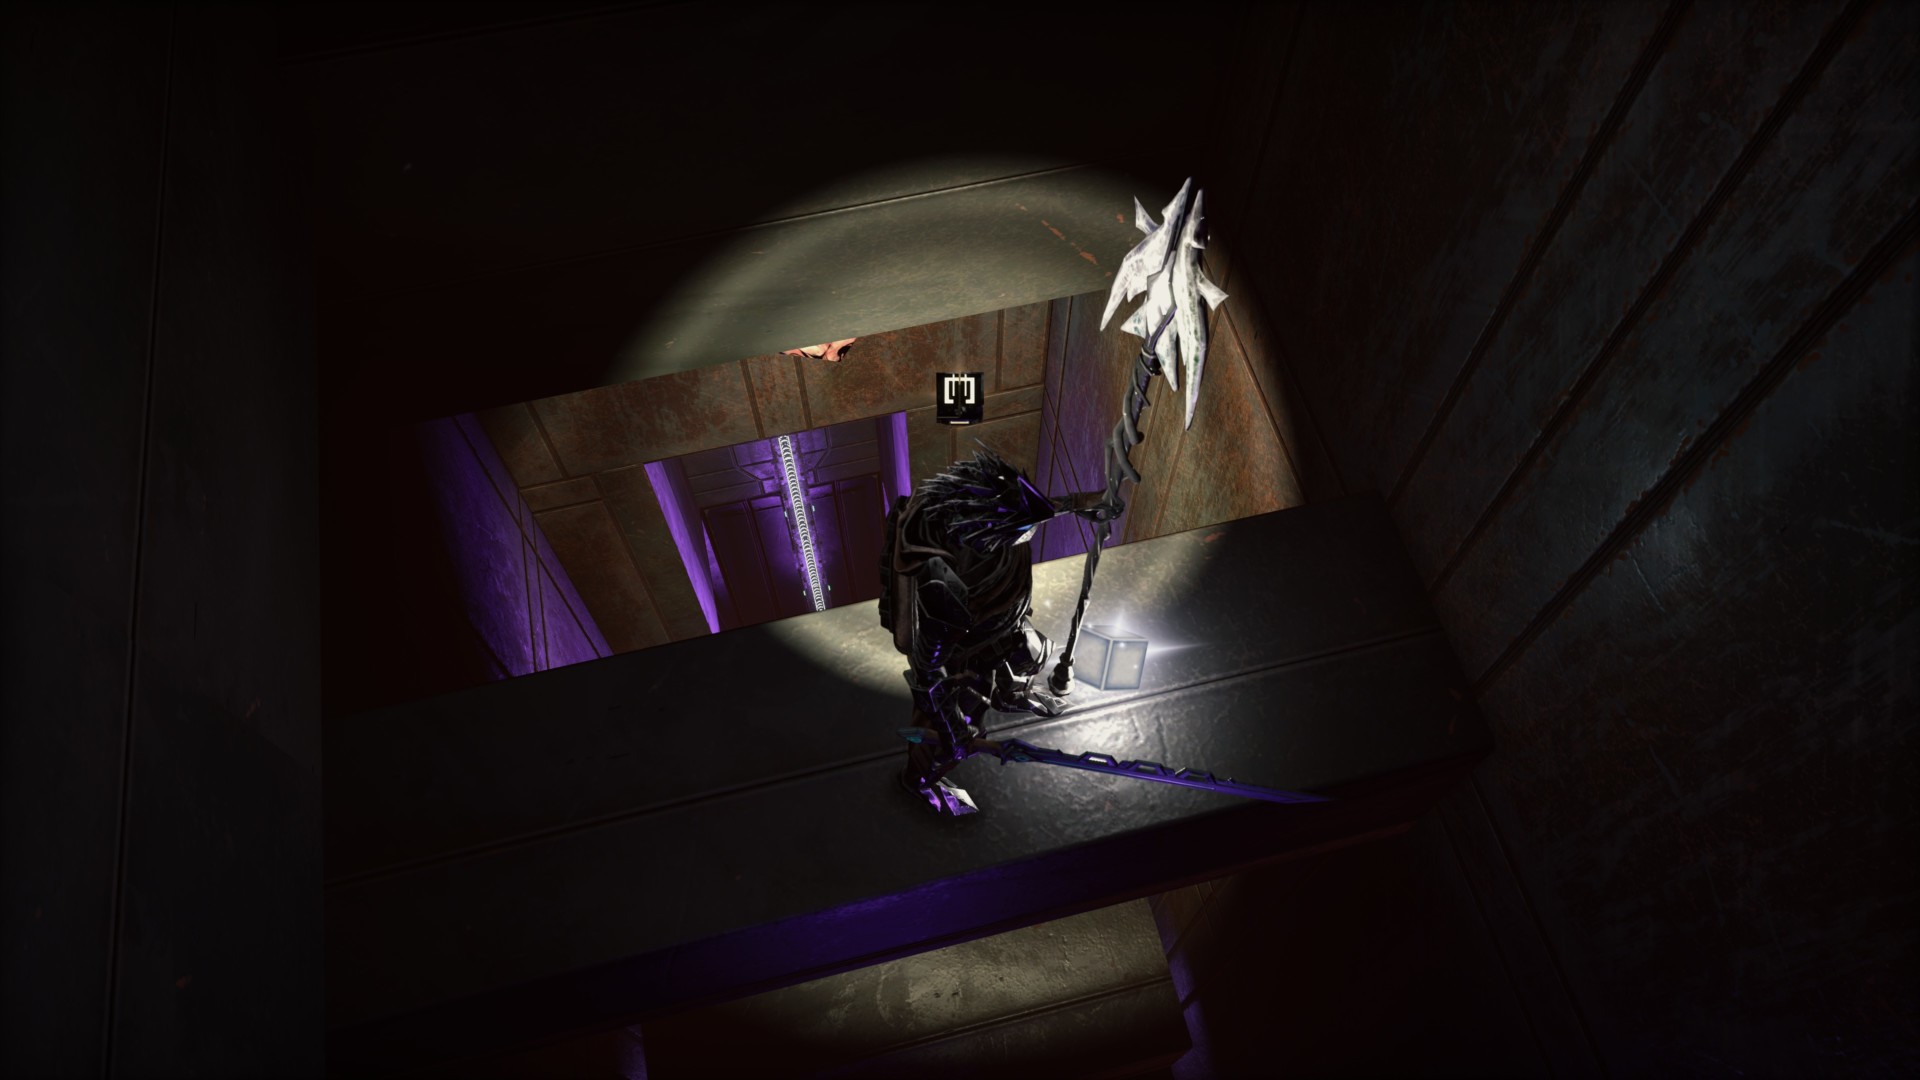
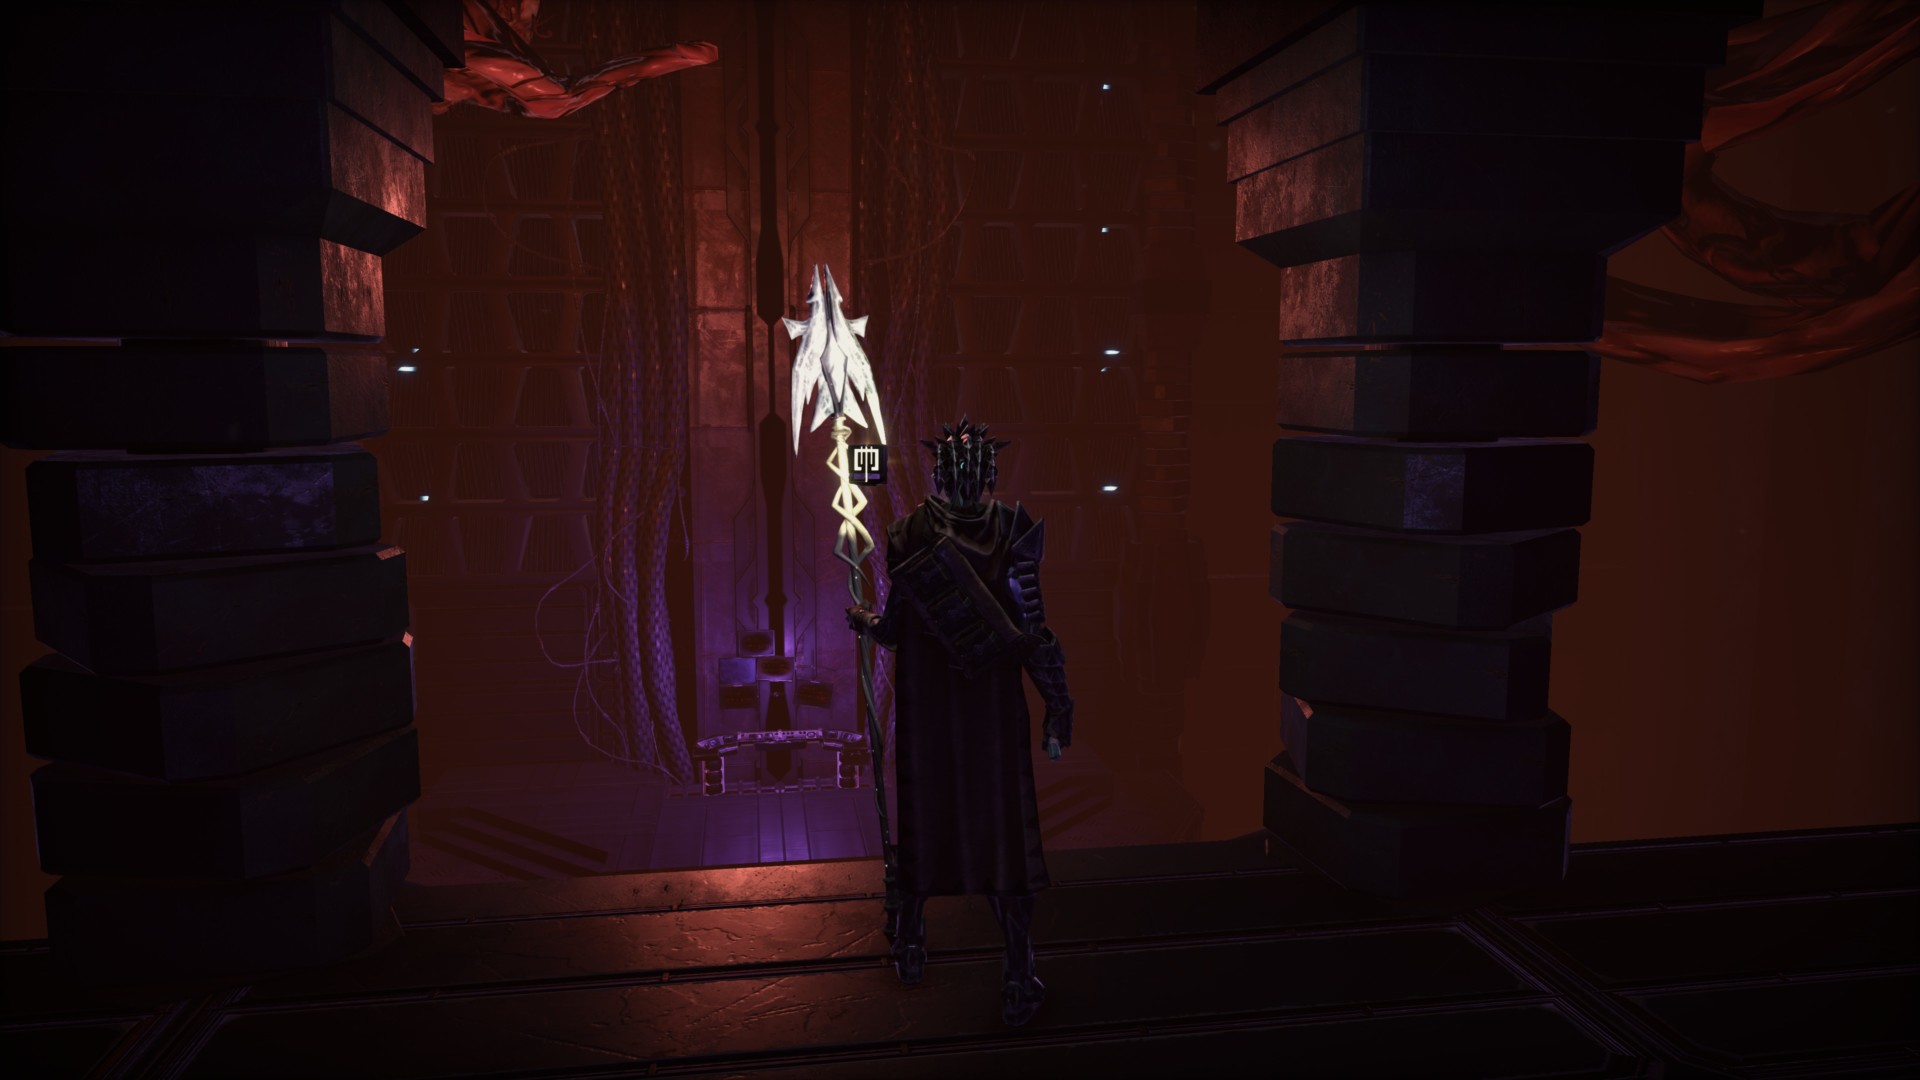
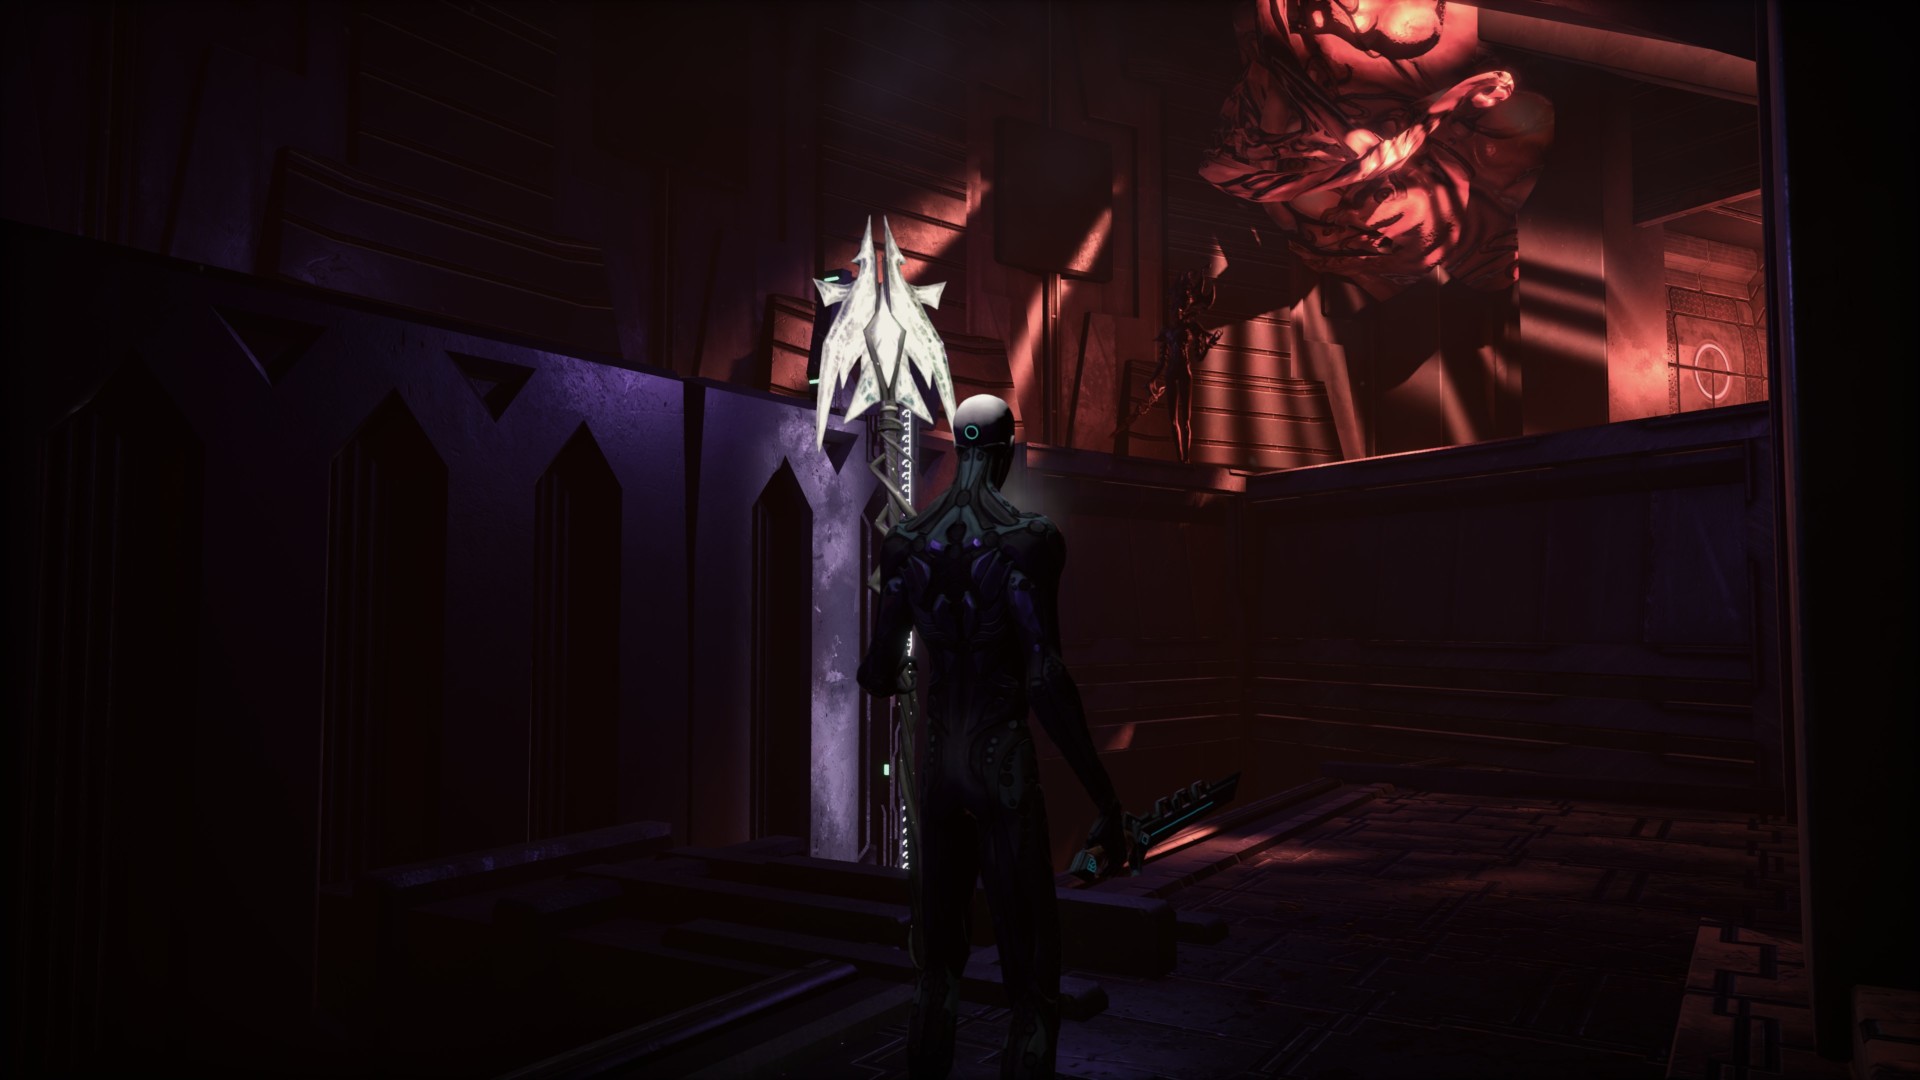
Go back to the Narrow Corridor and interact with the secret door panel from earlier.
There’s a purple doorway here that will transport you to the “underworld” or “shadow realm.” As mentioned in our official review, Hellpoint’s underworld/shadow realm is also like the game in “mirror mode,” where doorways and walls have been swapped around—e.g. the ledge you previously remember was to your right is now to your left.
Note: I don’t think there’s a way to recover lost axions if you die in the underworld. However, dying respawns you next to the purple doorway instead of the last activated breach.

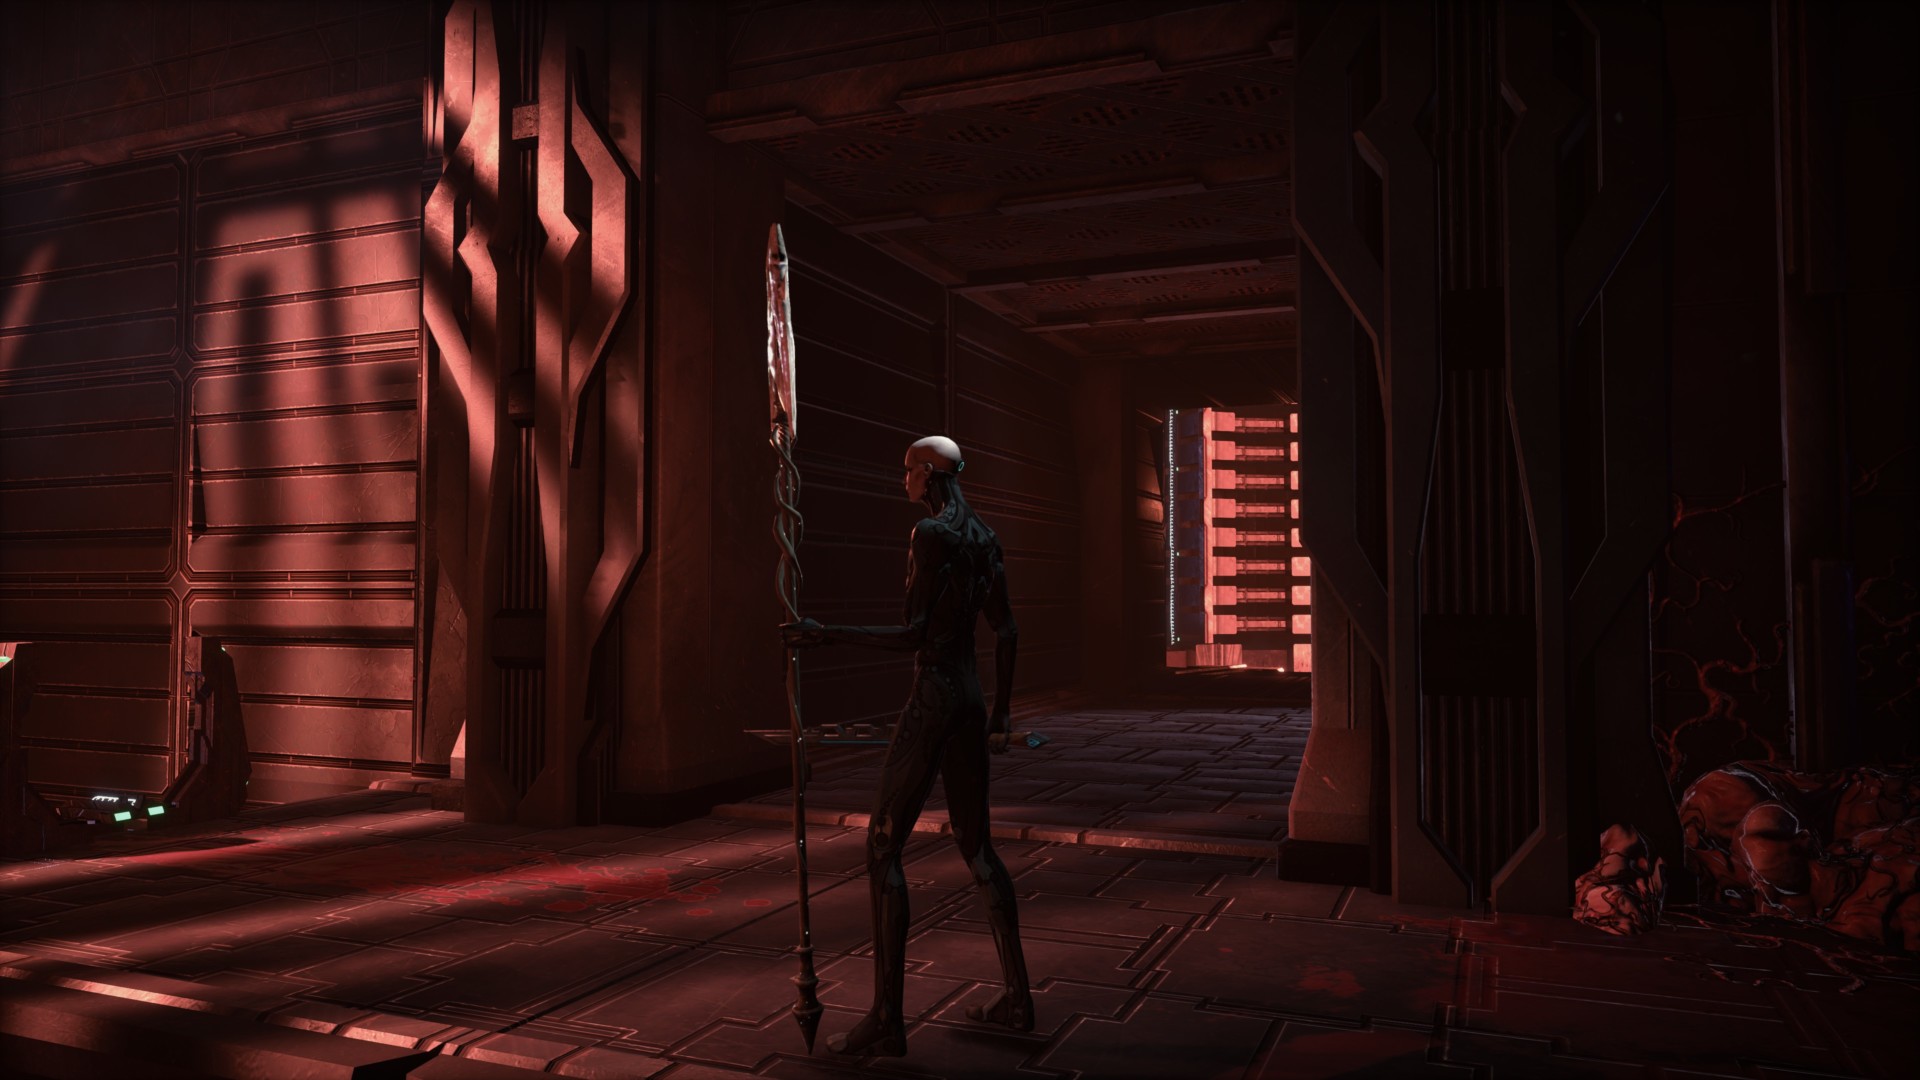
Some of the areas here are closed off and the ones that you can get to are filled with enemies. These include Shadow Beasts (which you’ll encounter more often in the Alma Mater zone, a different area in Hellpoint), as well as a mini version of the Banshee boss from the Embassy.
Try to pick up the nearby Nihl Shards (materials) too.

If you go back to the open area (where we found secret #1), there’s a different item that you can grab inside the hidden cubbyhole. Likewise, you could use the elevator going to secret #2. There’s now have a Banshee (and some Shadow Beasts) instead of a Gobbler. This could be a tough fight if you’re unprepared.

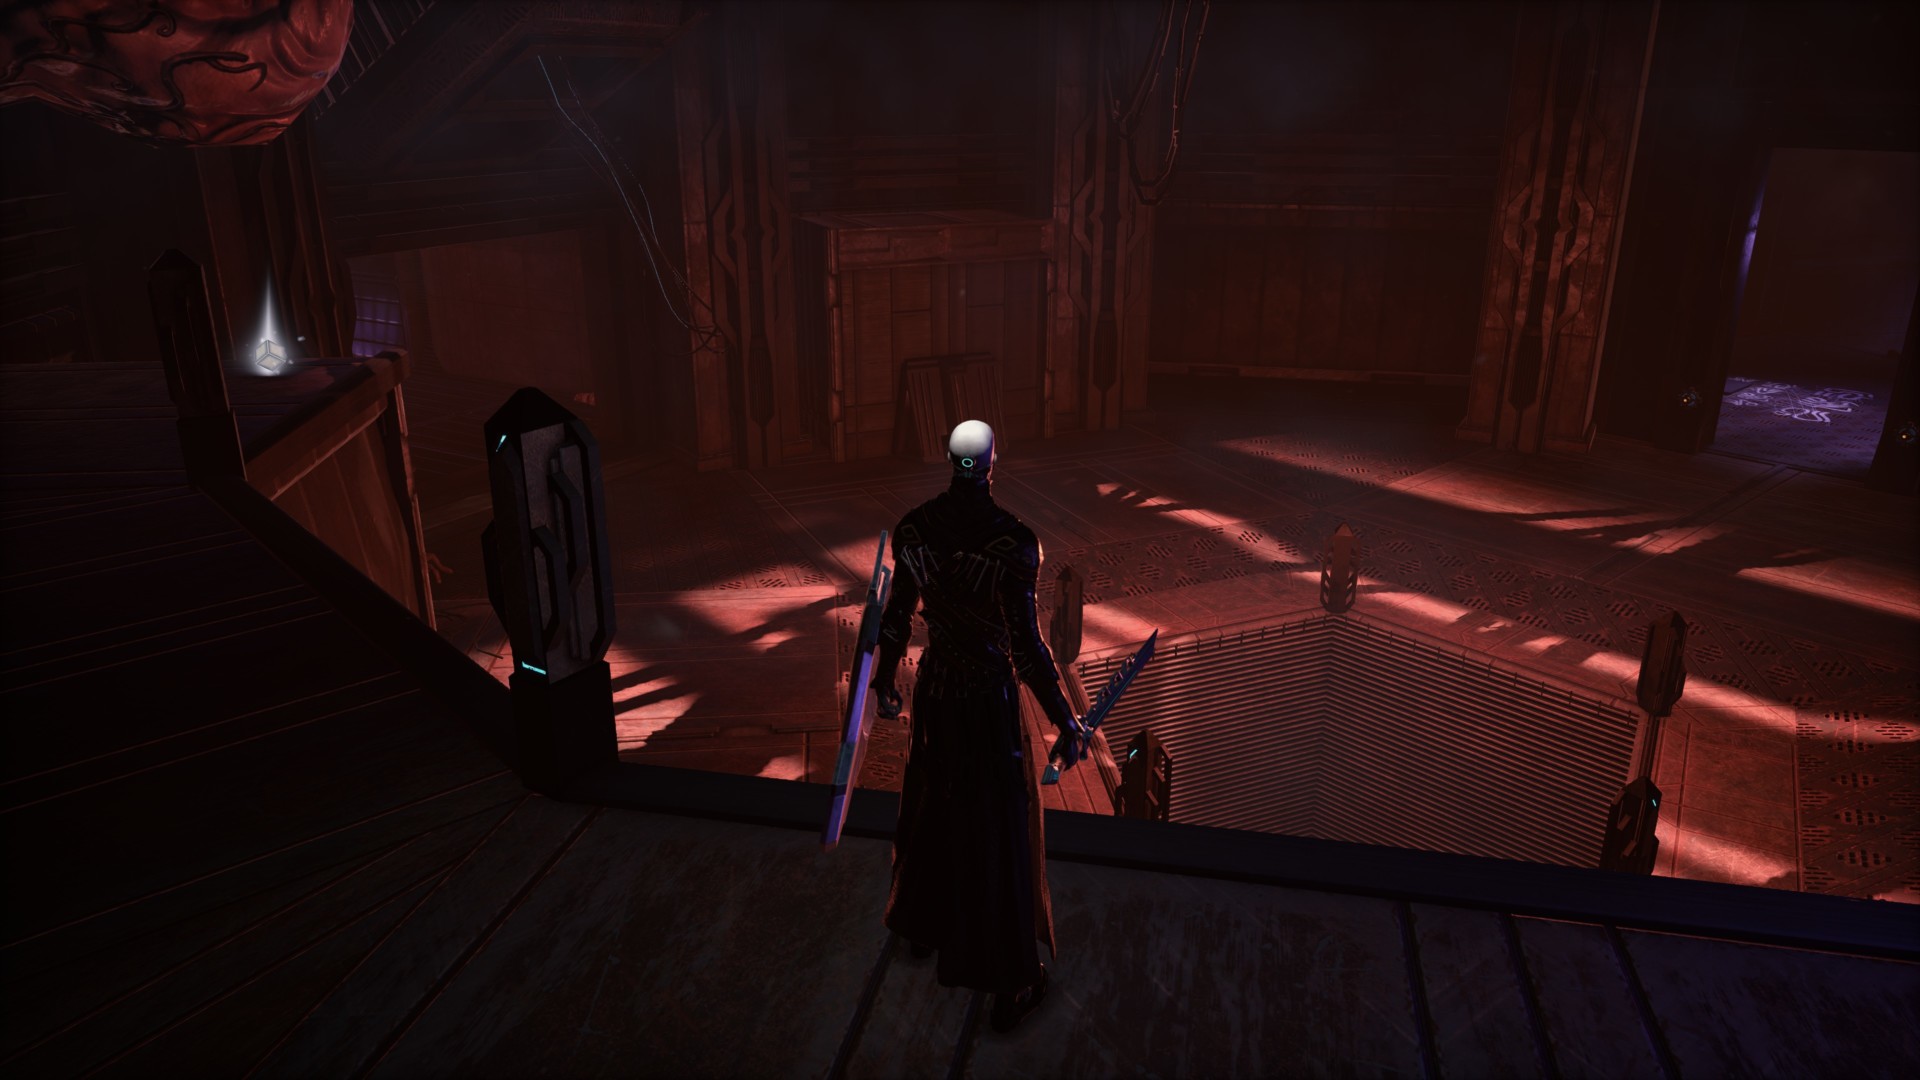
Follow the path until you exit at the ledge above The Pit. You’ll find an extra Breach Synchronizer here that you can use to turn regular breaches into fast travel points/teleporters.
Note: There are other nooks and crannies in Port Issoudun that you can explore while you’re in “underworld mode.” Unfortunately, the ones above seem to be the only spots with new stuff.

The Footbridge and the High Ateliers terminal
Return to Hellpoint‘s “normal world” and head back to the Narrow Corridor. You’ll find an elevator right next to the nook with the underworld doorway. Ride the elevator to the next location.

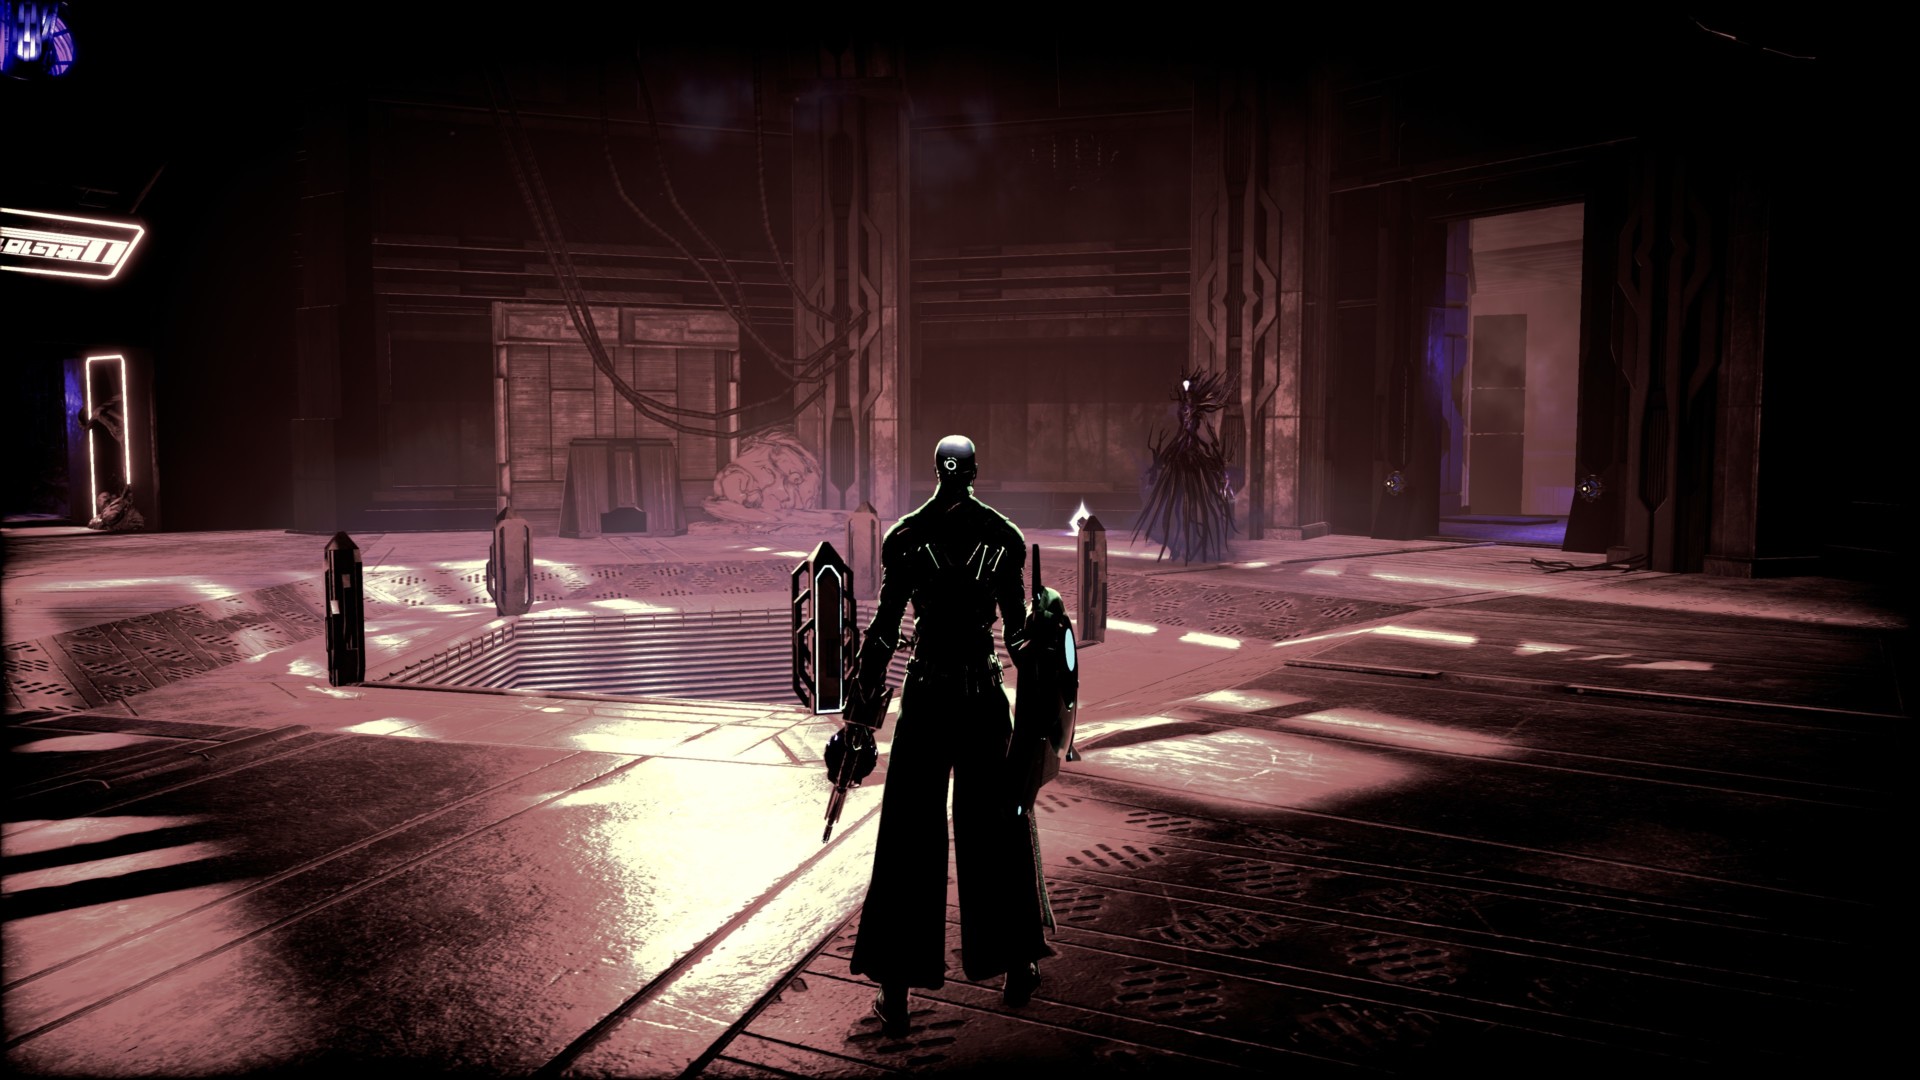
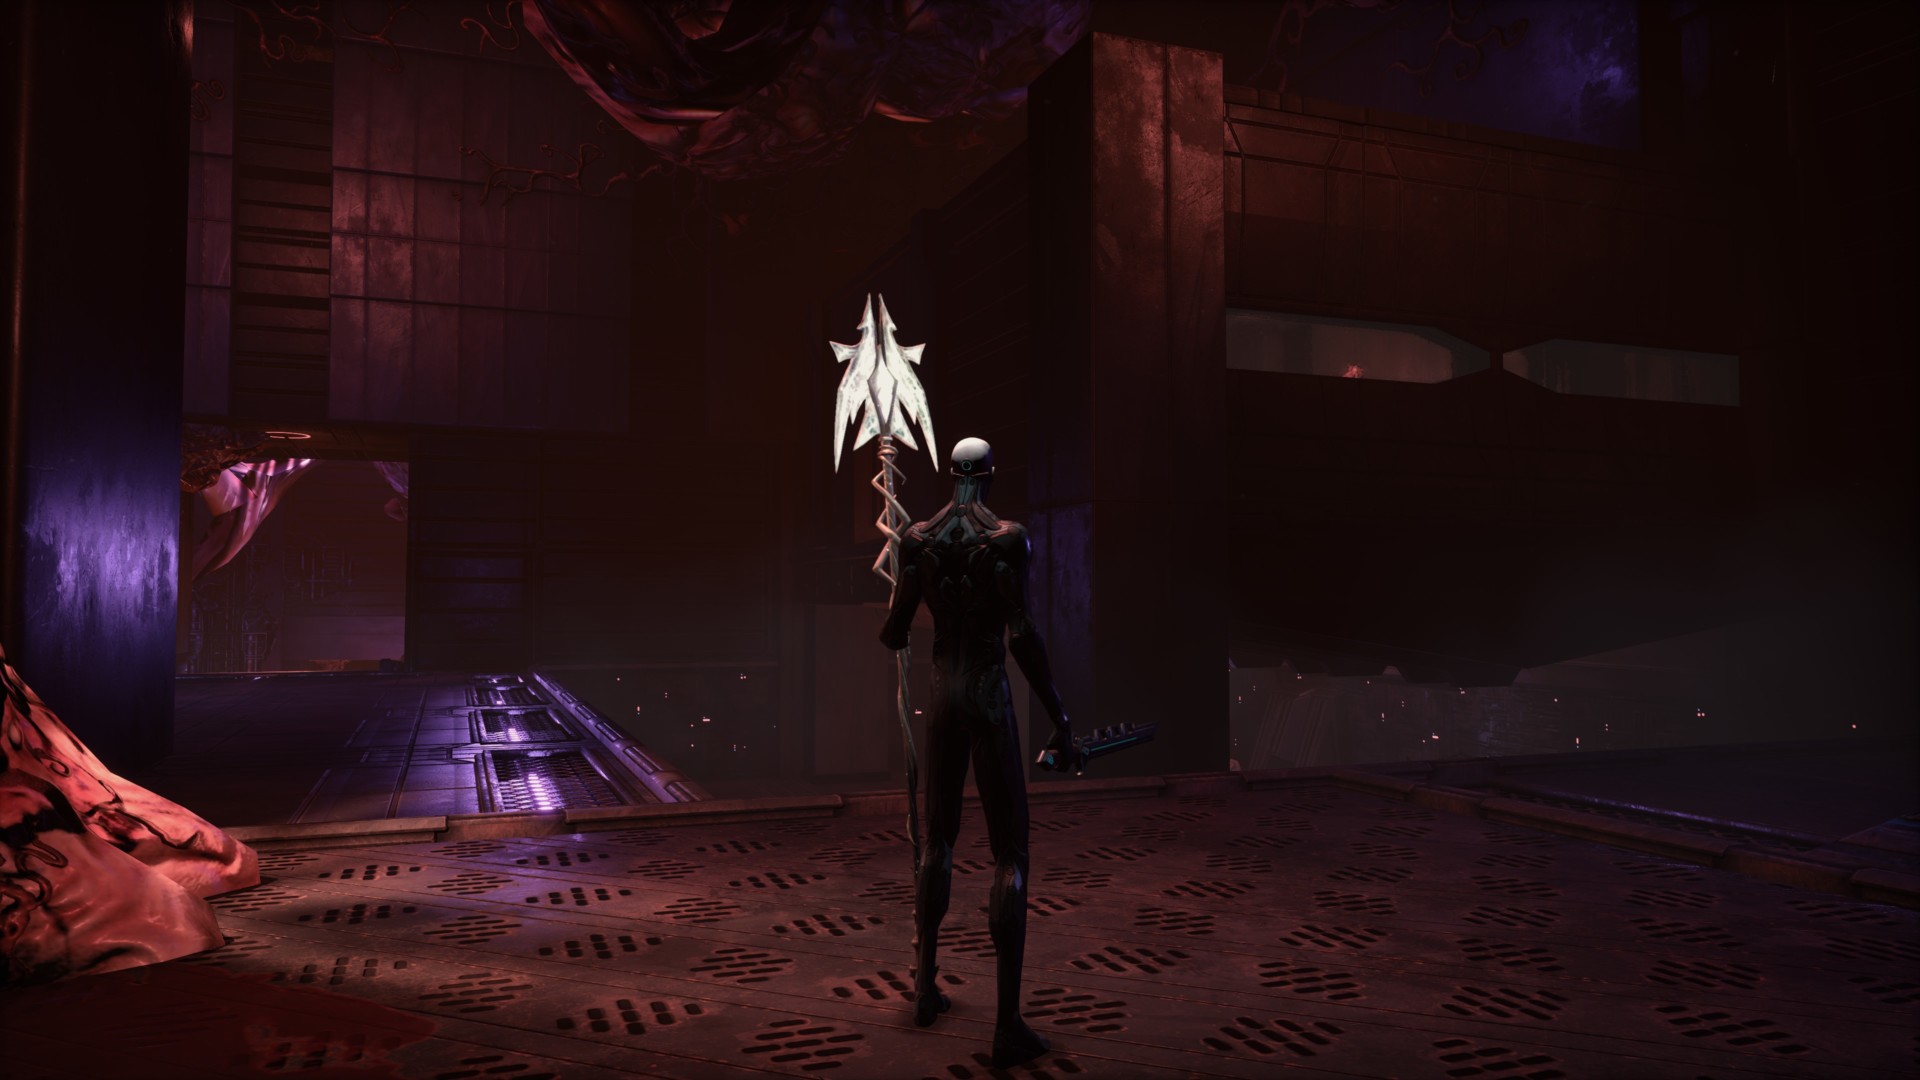
You’ll find yourself in an area that I’ll call the “Footbridge” (because, well, there’s a footbridge).
First, go down below, run past the mobs, head all the way to the end, then turn right at the corner. You’ll find a glowing loot item and some rails going further downwards.
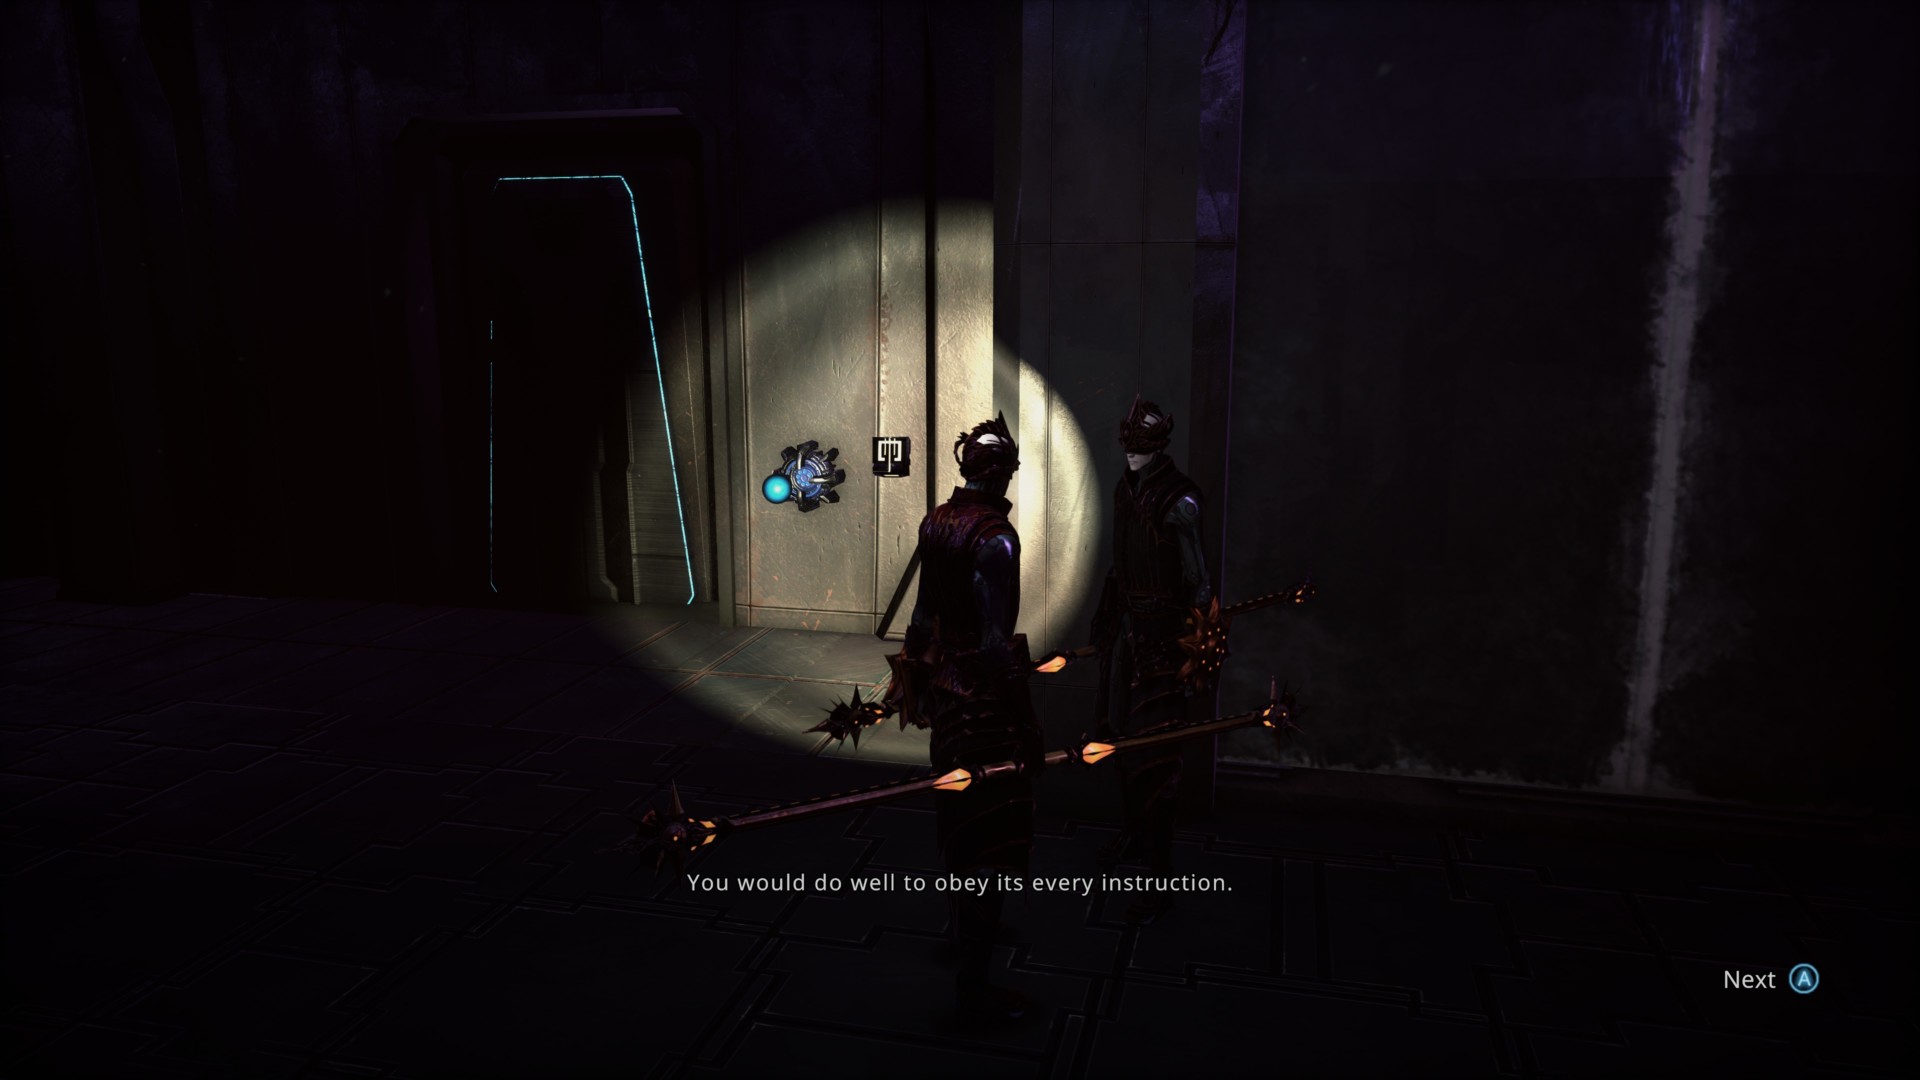
This will take you to another pit area with a terminal that powers up the High Ateliers zone. The passcode is 72501.
Note: The High Ateliers is Hellpoint‘s final location where you can, eventually, enable New Game+ mode. We cover that part in our Hellpoint 100% completion/New Game+ guide.
Secret #4
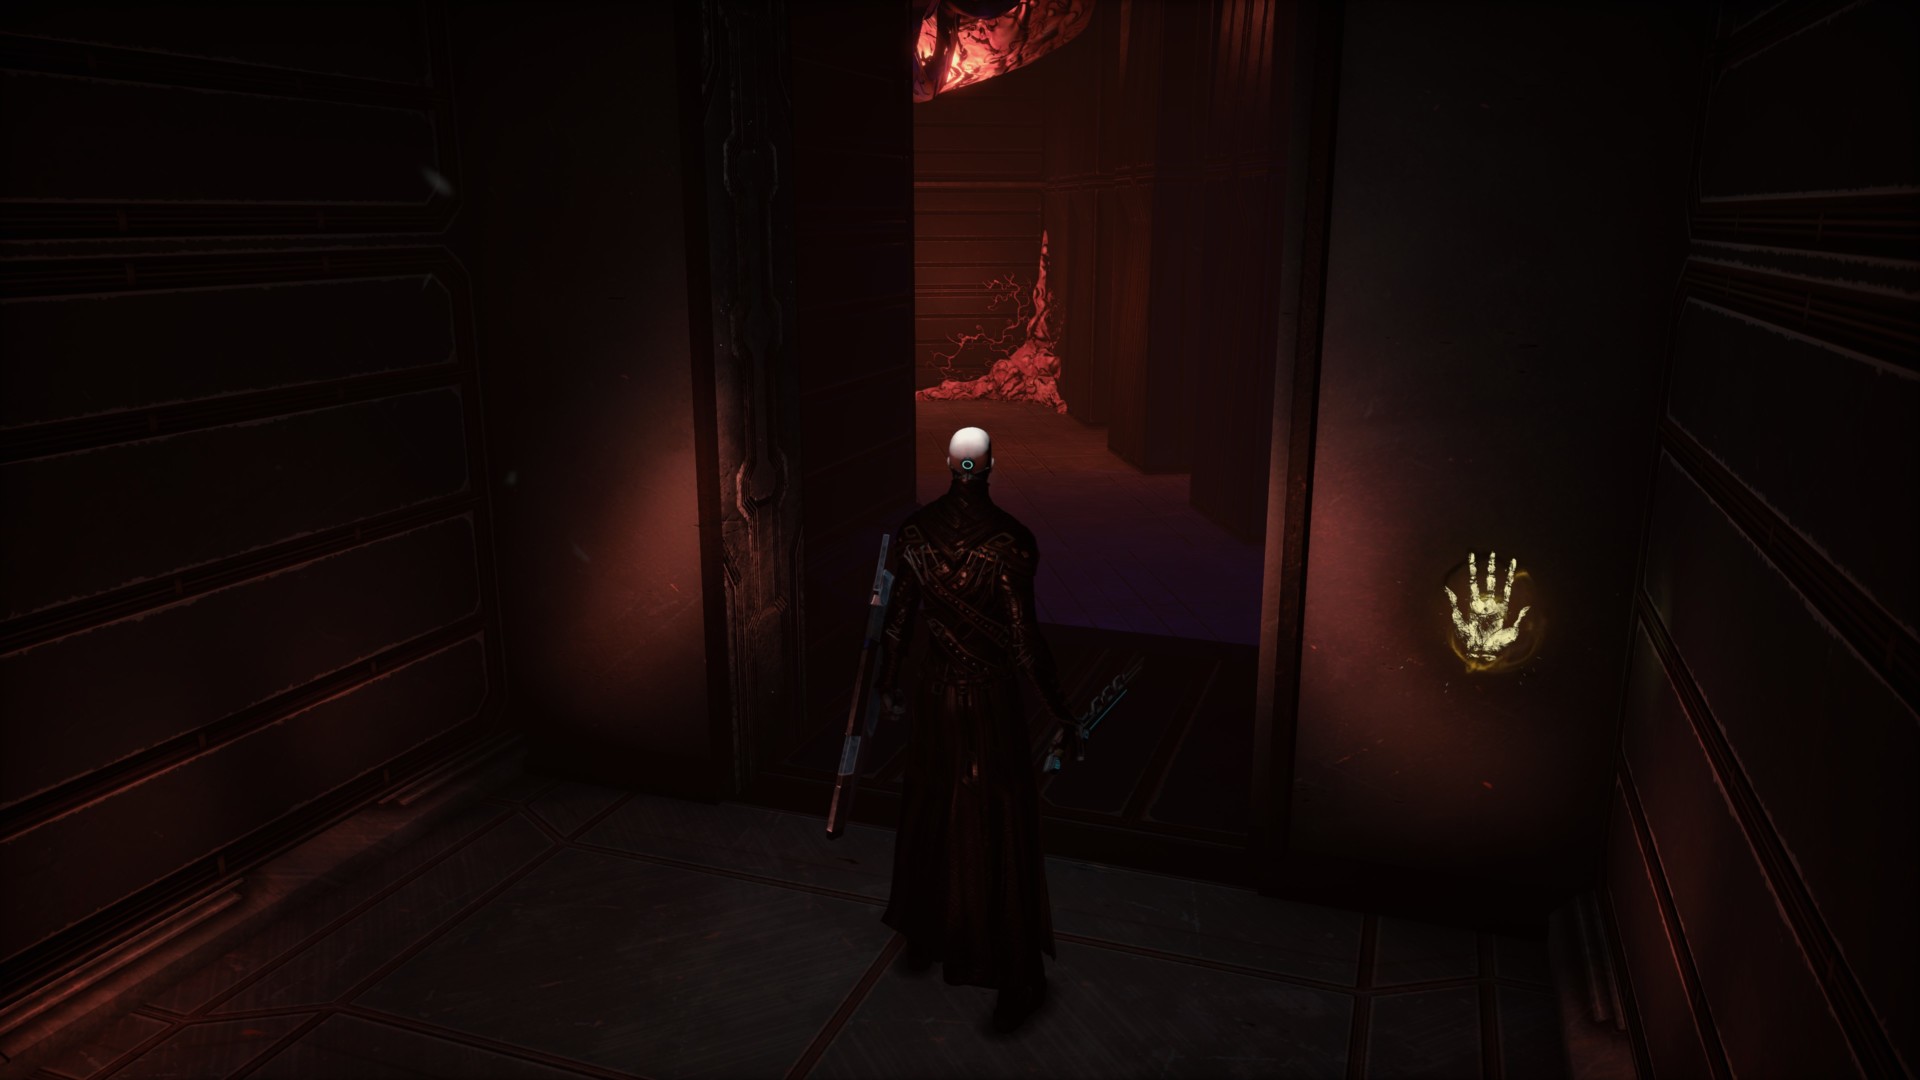
Anyway, go back to the Footbridge and look for a part of the wall where you’ll see a beta/demo player’s handprint icon.
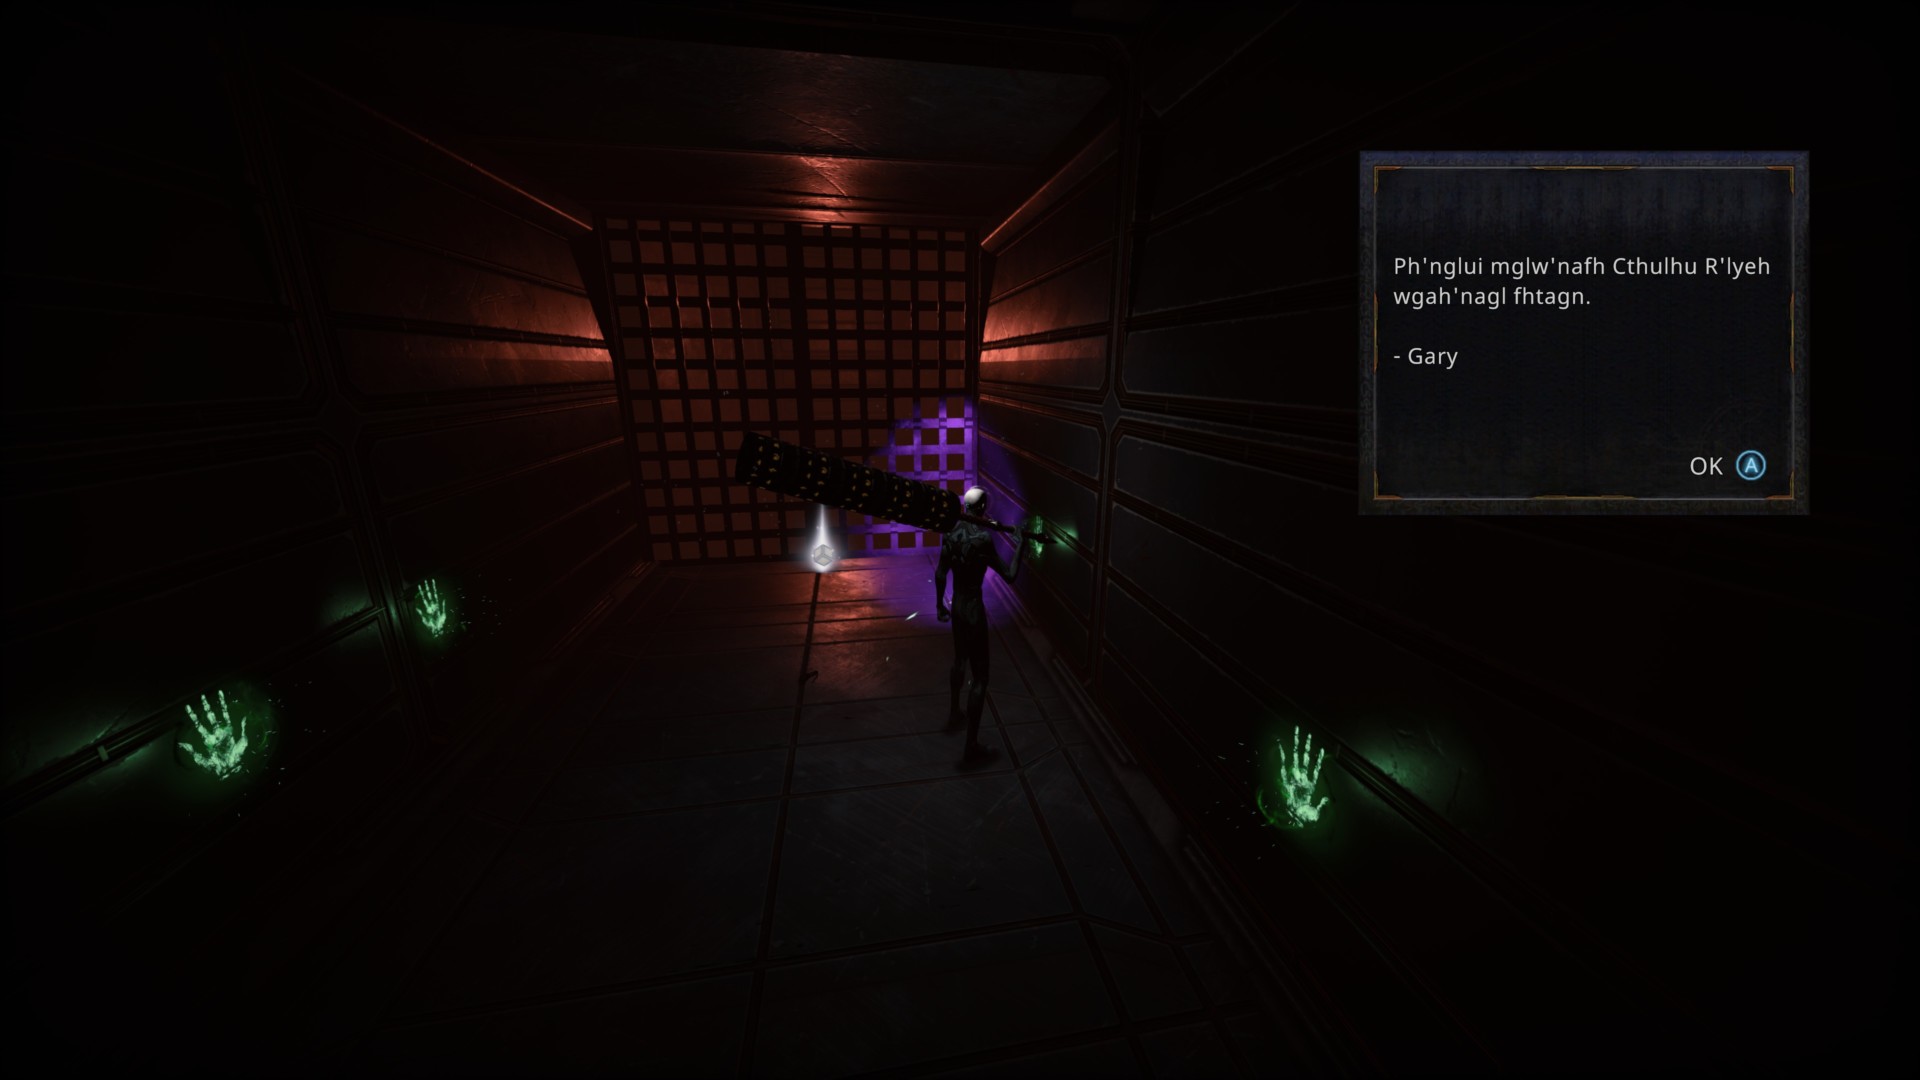
This takes you to a small chamber with a metal grate, several handprints from devs, and a health module.
Secret #5
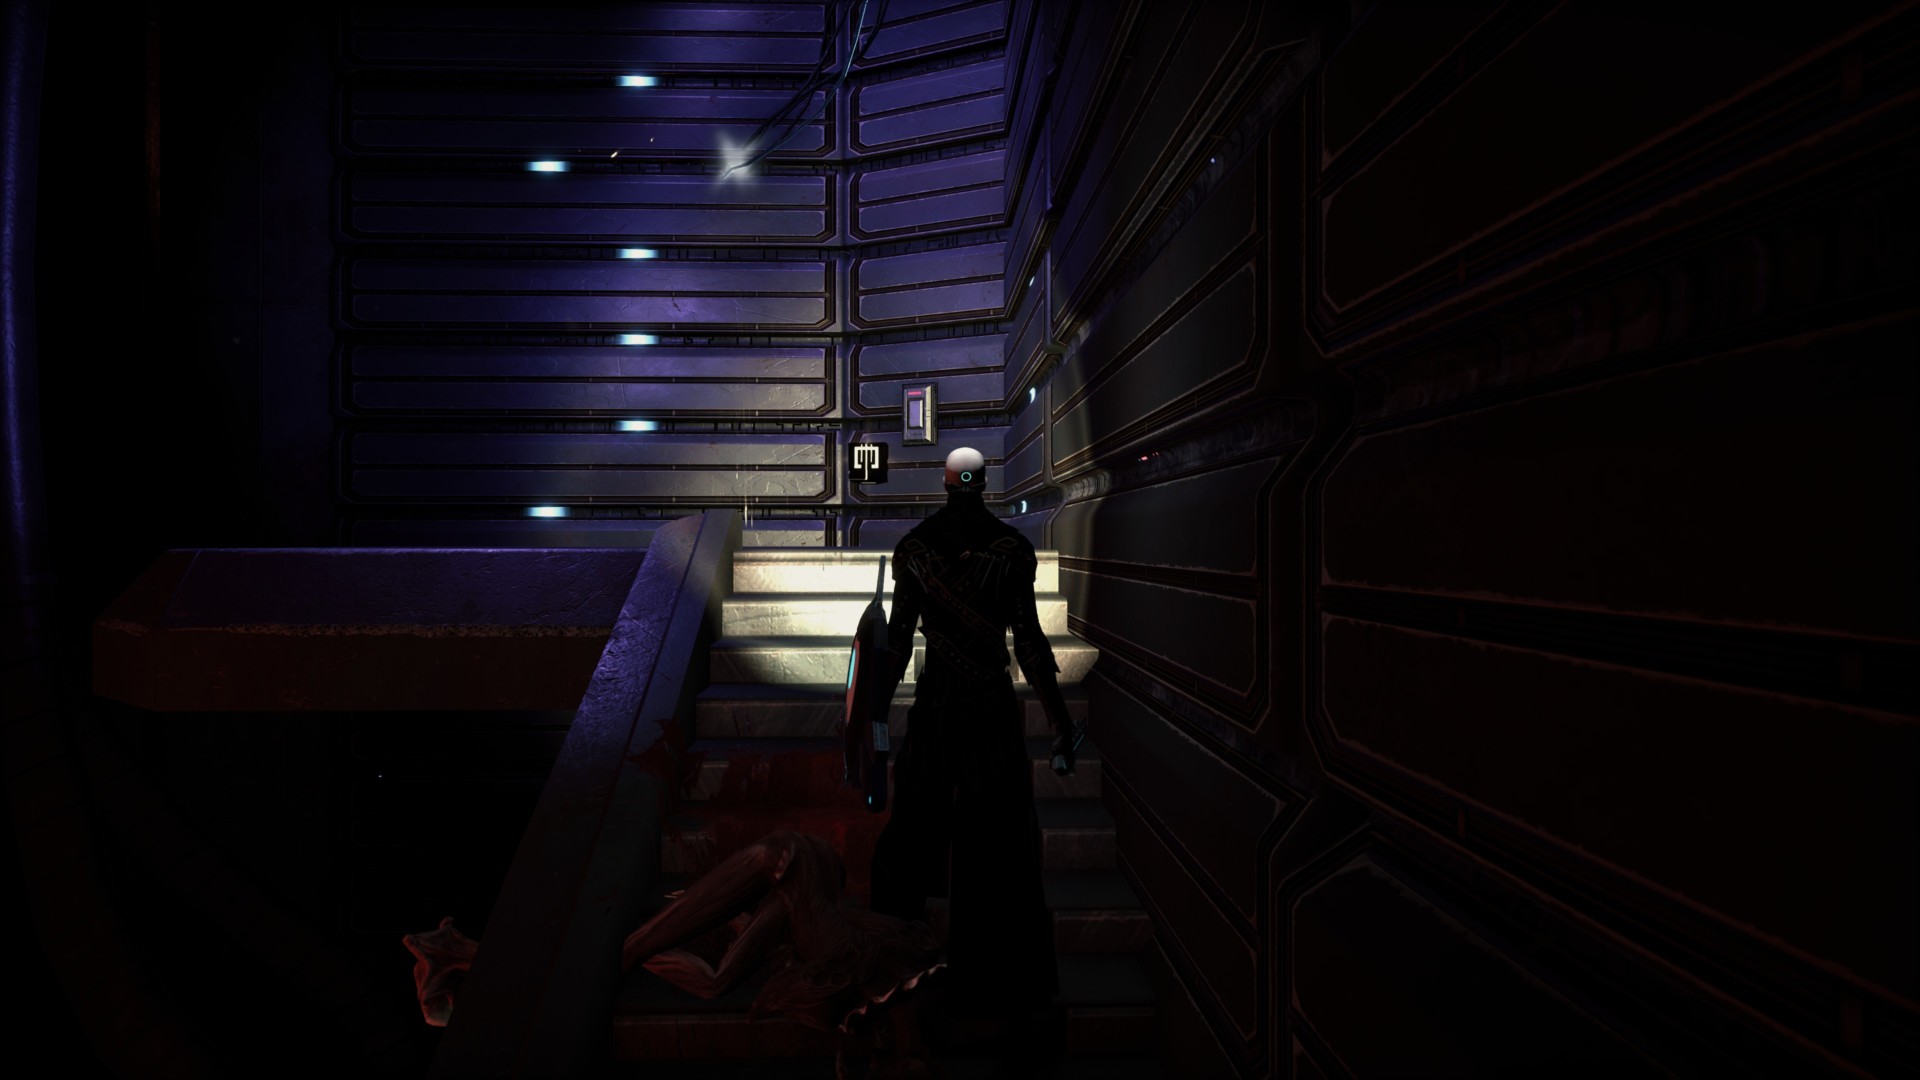
Go back to the main Footbridge area and look for a stairwell that leads nowhere. There’s a switch that you must activate.
Go to the opposite stairwell that leads to the actual overpass. There’s a room with some upgrade machines, but that’s not our destination. Instead, look to your left and you’ll see some ledges that you can jump on.
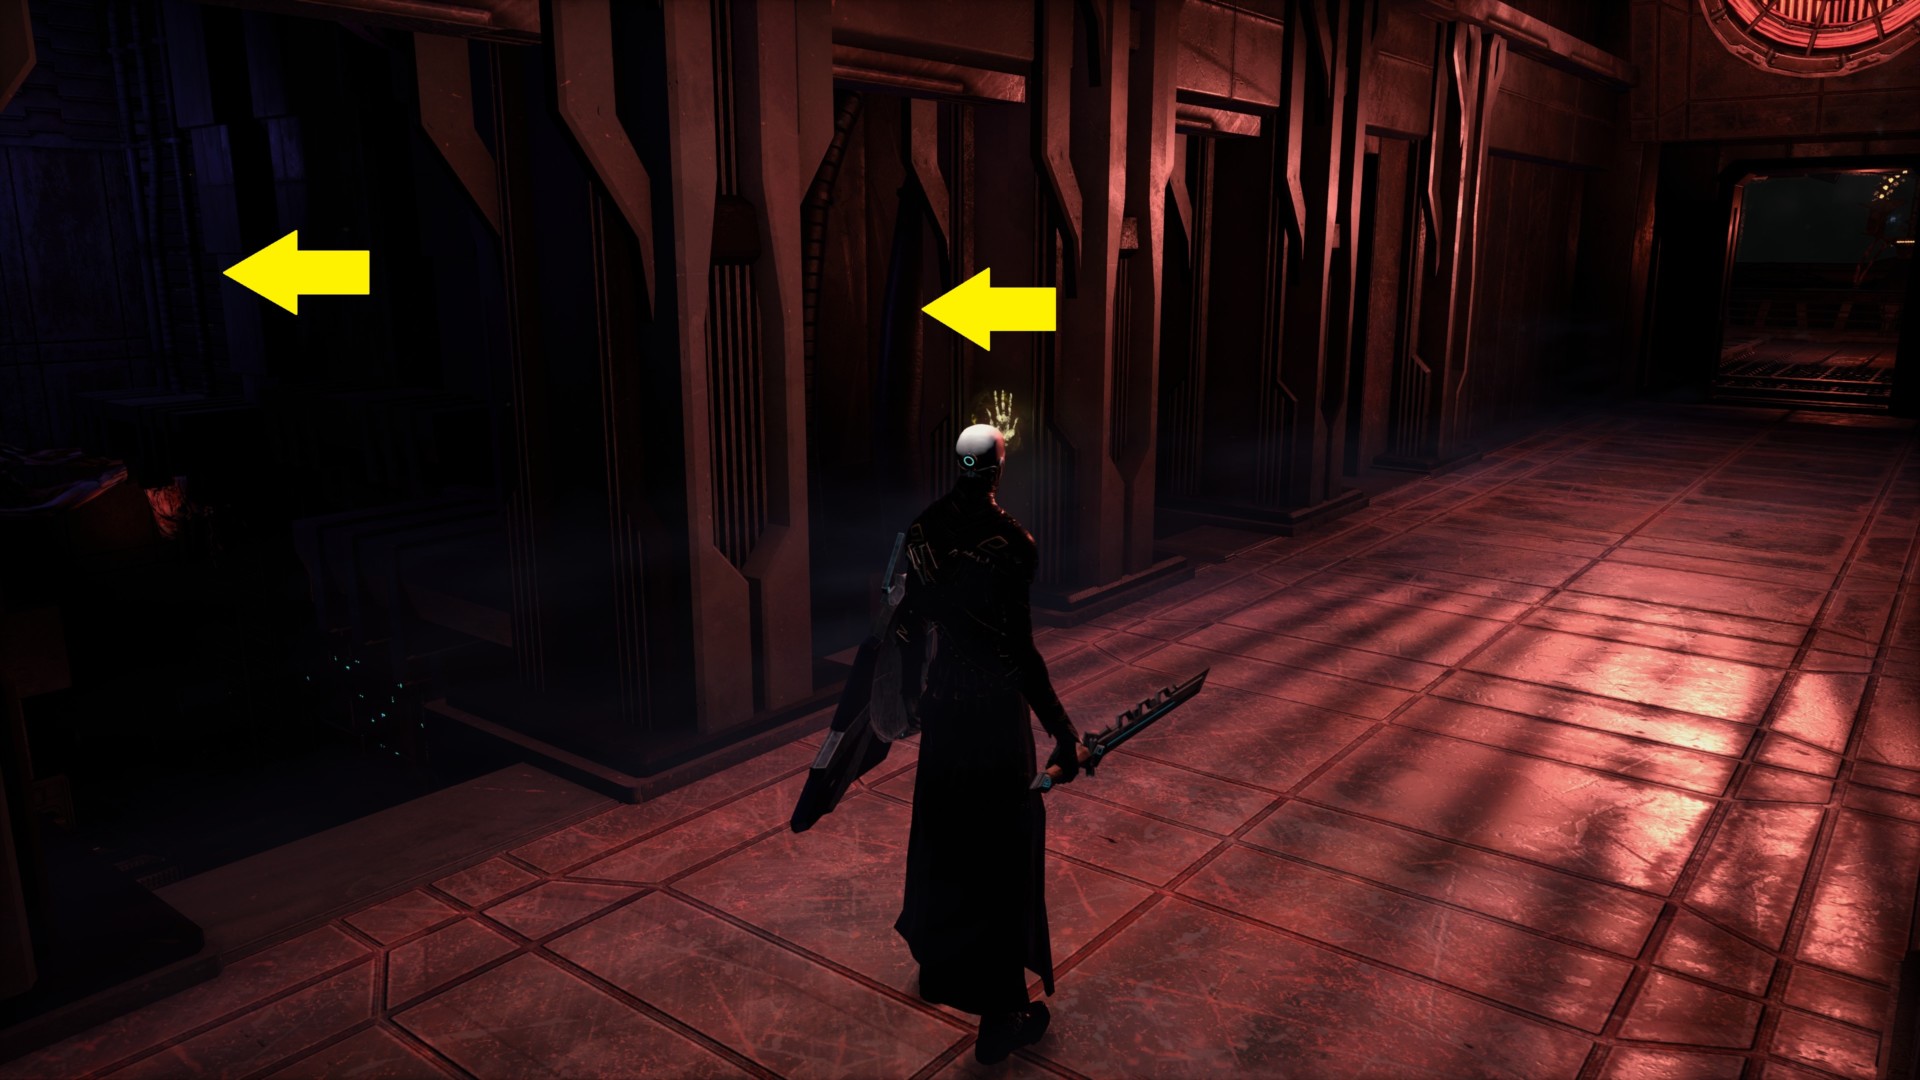
Jump across those ledges and you’ll see another hidden wall.
The next room has some loot and also an elevator.

Ride the elevator, then use the rails to make your way up even higher.
This takes you to a secret room in the Narrow Corridor area with some loot.
Secret #6
Go back to the Footbridge area, and go all the way to the opposite side. The next section has several Daemonettes.
The ledge will lead to a chamber with several rails leading upwards.
You’ll do a bit of platforming here so be careful. There’s also a lot of loot to pick up.
Once you reach the top, fight or run away from the Gobblers, Iron Hands, and Daemonettes.
You’ll find yourself in a familiar room.

That’s because we made it back to the start of Hellpoint‘s Port Issoudun area. Hurray!
The final secret: The Prodigal Spawn
The final secret in Port Issoudun will take you a bit longer to find in your journey in Hellpoint.
That’s because it’s also related to the Black Hole Hour mechanic and the Prodigal Spawn’s sidequest. You can refer to these guides if you need more help.

Hellpoint is available via Steam. For more information, check out our guides and features hub.