Developer Hopoo Games has cooked up a surprise for those anticipating the official launch of Risk of Rain 2. The game leaves Steam’s Early Access program today, and with version 1.0 going live, players will be able to visit the Moon — tackling the final level and facing off against the final boss. Here’s our guide to help you out.
Note: For more information, check out our Risk of Rain 2 official review as well as our guides and features hub. Oh, and be forewarned that this particular guide contains spoilers.
Risk of Rain 2: How to get to the Moon
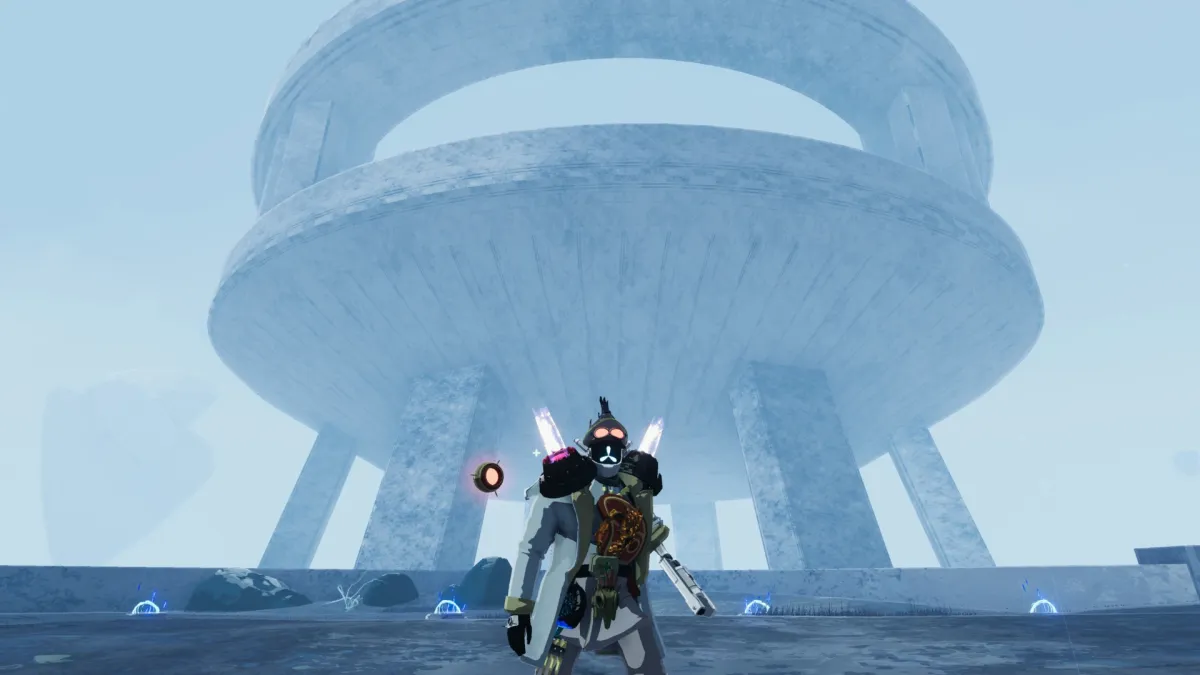
In order to reach Risk of Rain 2‘s final level, we’ll first need to go to Sky Meadow. The fifth stage in the game, usually, let’s you input codes to enter Bulwark’s Ambry and unlock new Artifacts — and, heck, you can still do that. However, our goal is to look for a specific object: a Primordial Teleporter.
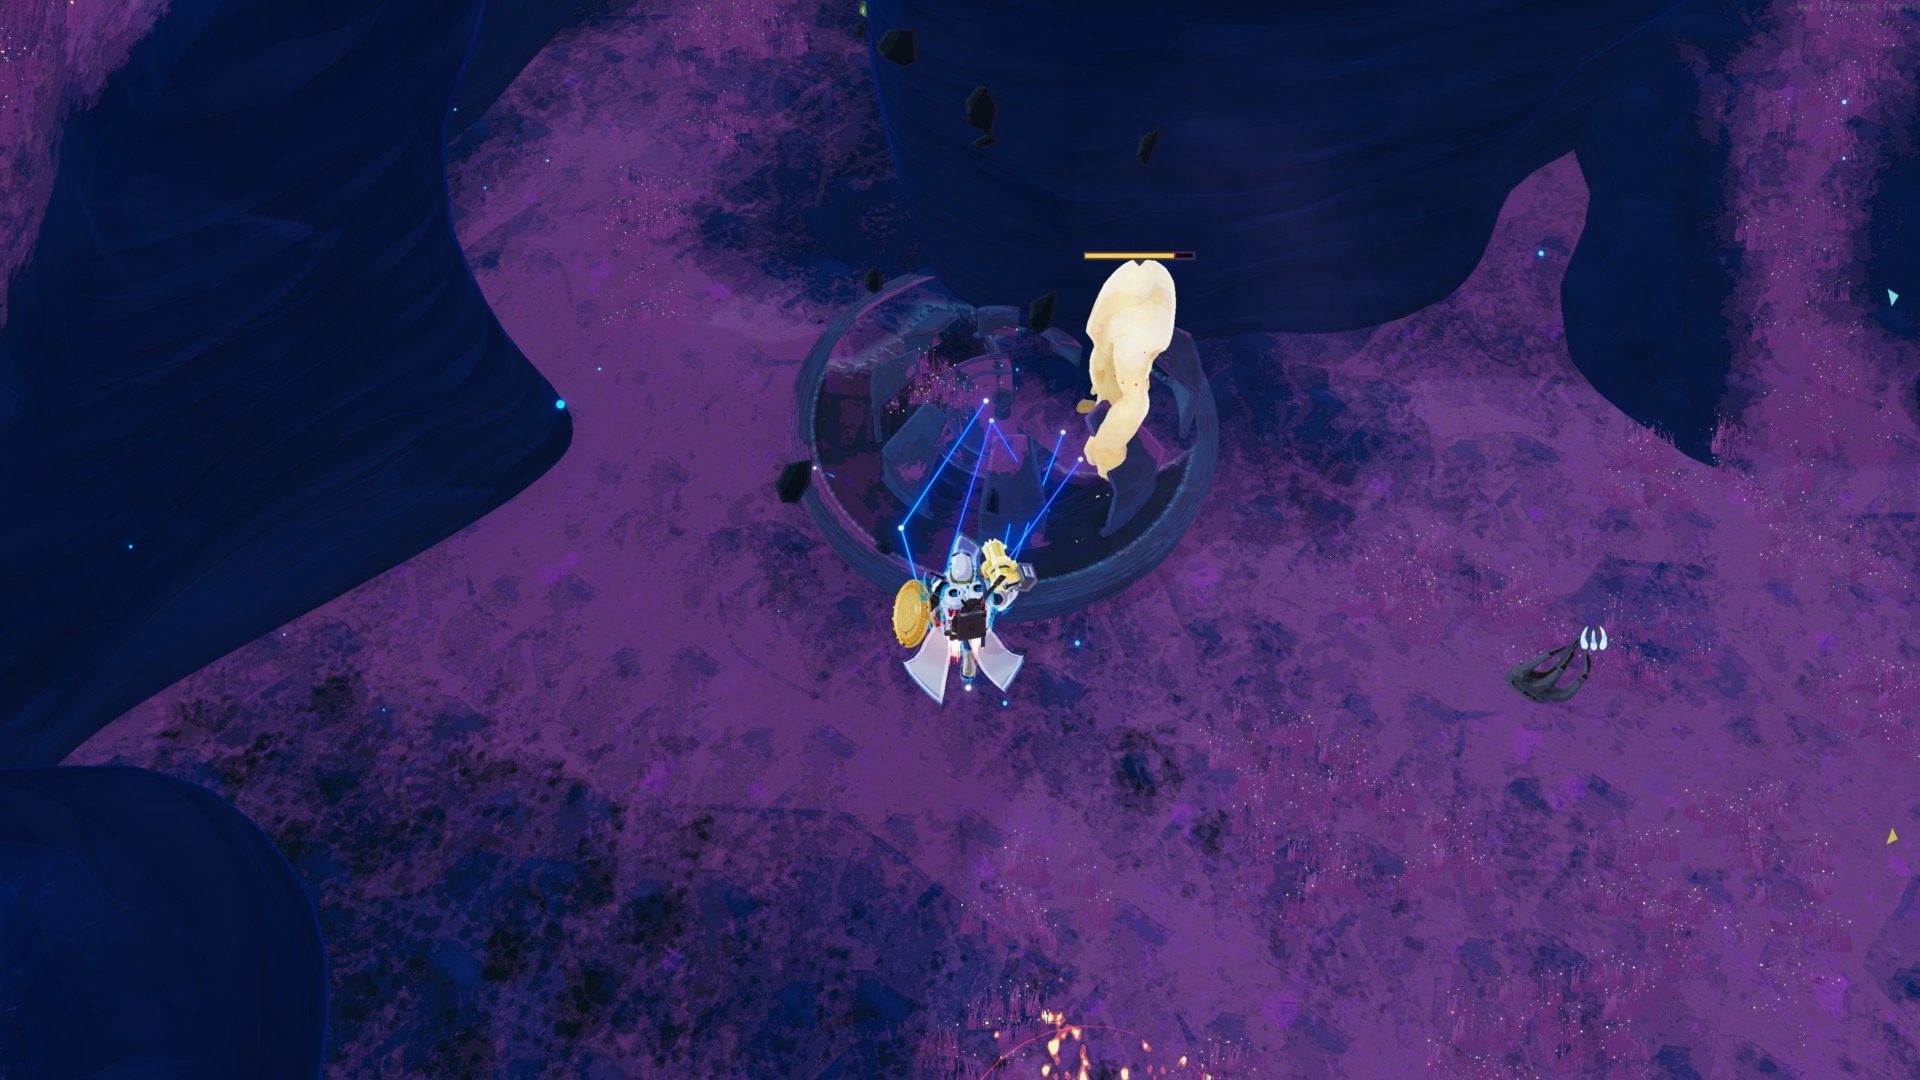
Unlike the game’s regular teleporters with the “horns,” the Primordial Teleporter is surrounded by a ring of claw-like rock formations. From a distance, it actually looks like Iron Man’s Arc Reactor.
Note: You can interact with this object before activating it, so you can either start a new loop (back to stage 1) or head for the Moon level. Alternatively, if you’ve found a Newt Altar, you can spend a Lunar Coin, defeat the level’s boss, and head to the Bazaar Between Time instead of using the teleporter.
Once you activate the Primordial Teleporter, be prepared for the Sky Meadow level’s boss (including any extras if you started the Challenge of the Mountain). Once you’ve killed it/them, you could go ahead and enter the portal if you feel that you’re ready.
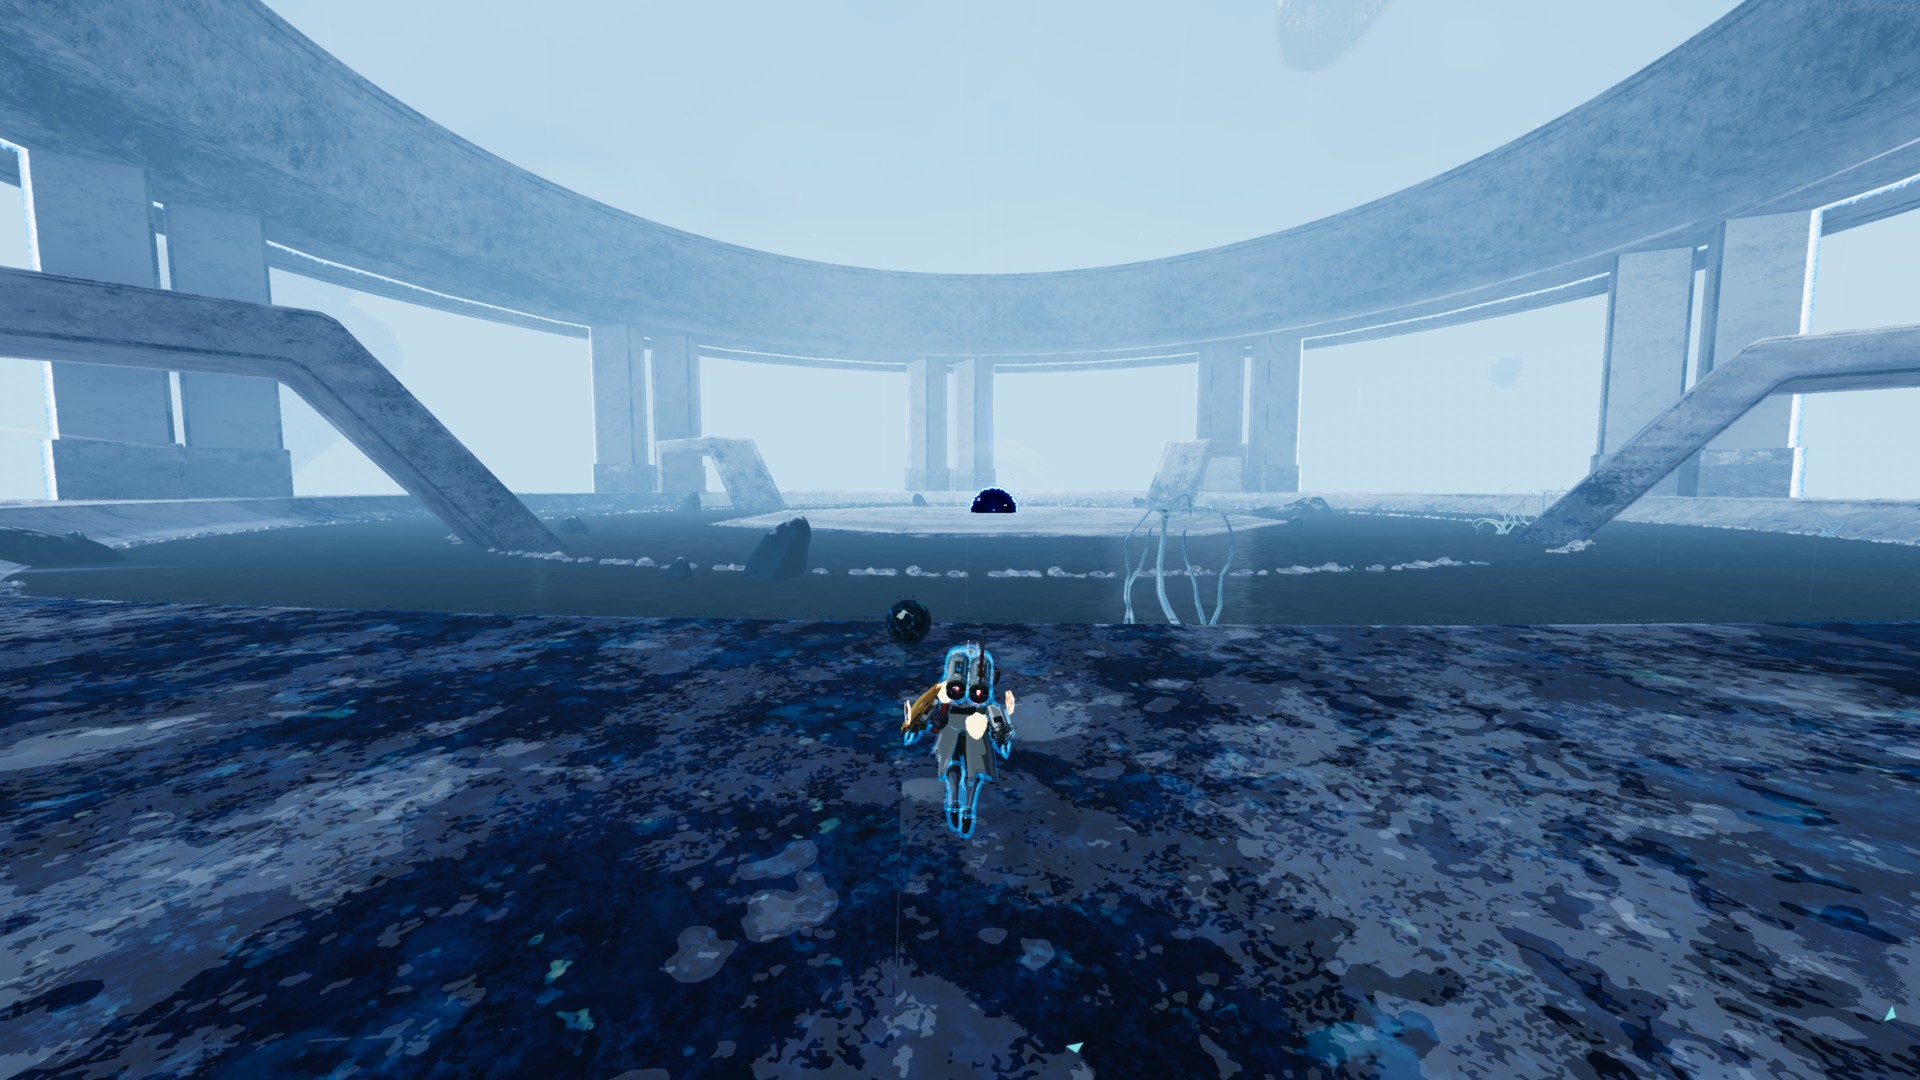
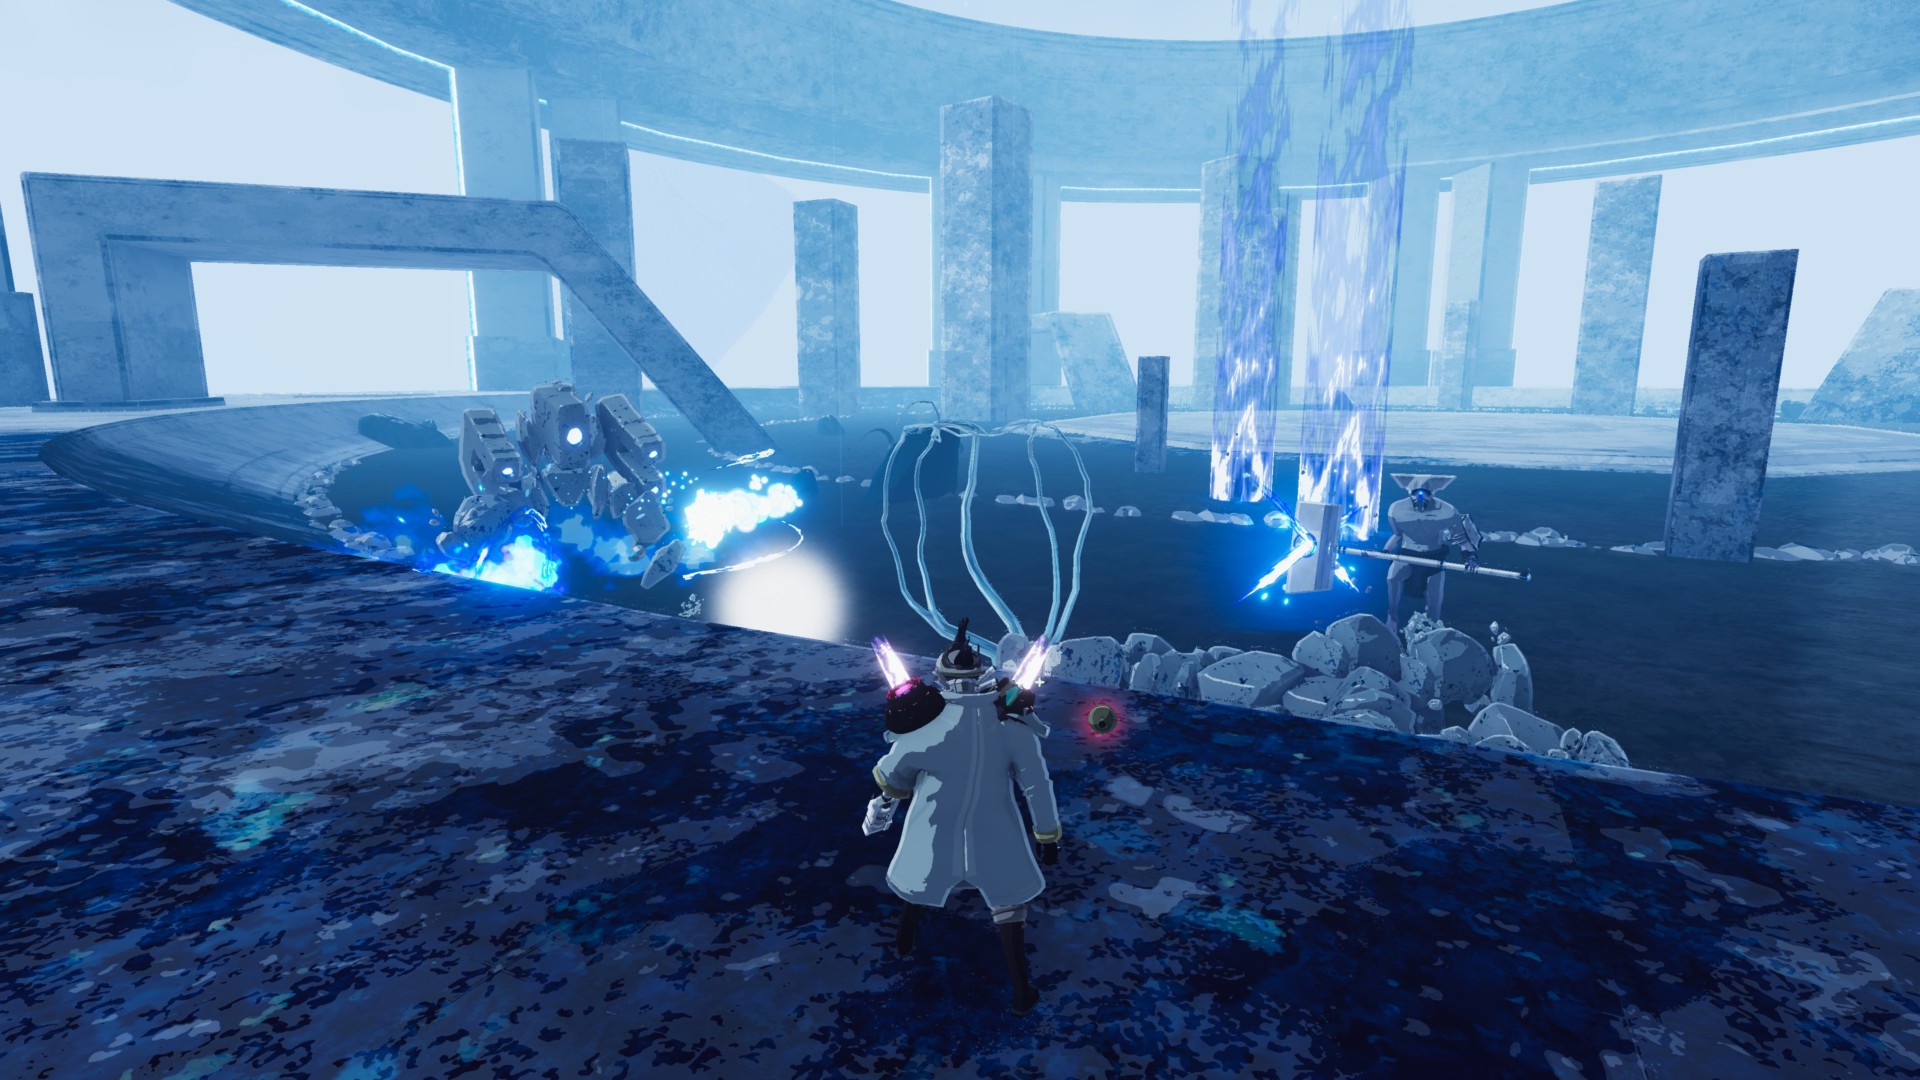
Exploring the Moon
The Moon in Risk of Rain 2 has a few mobs you’ll encounter in certain sections. There are blue golems (turret golems) that fire a spread of pulses. Likewise, there are nasty drones that’ll pepper you with dozens of bullets.
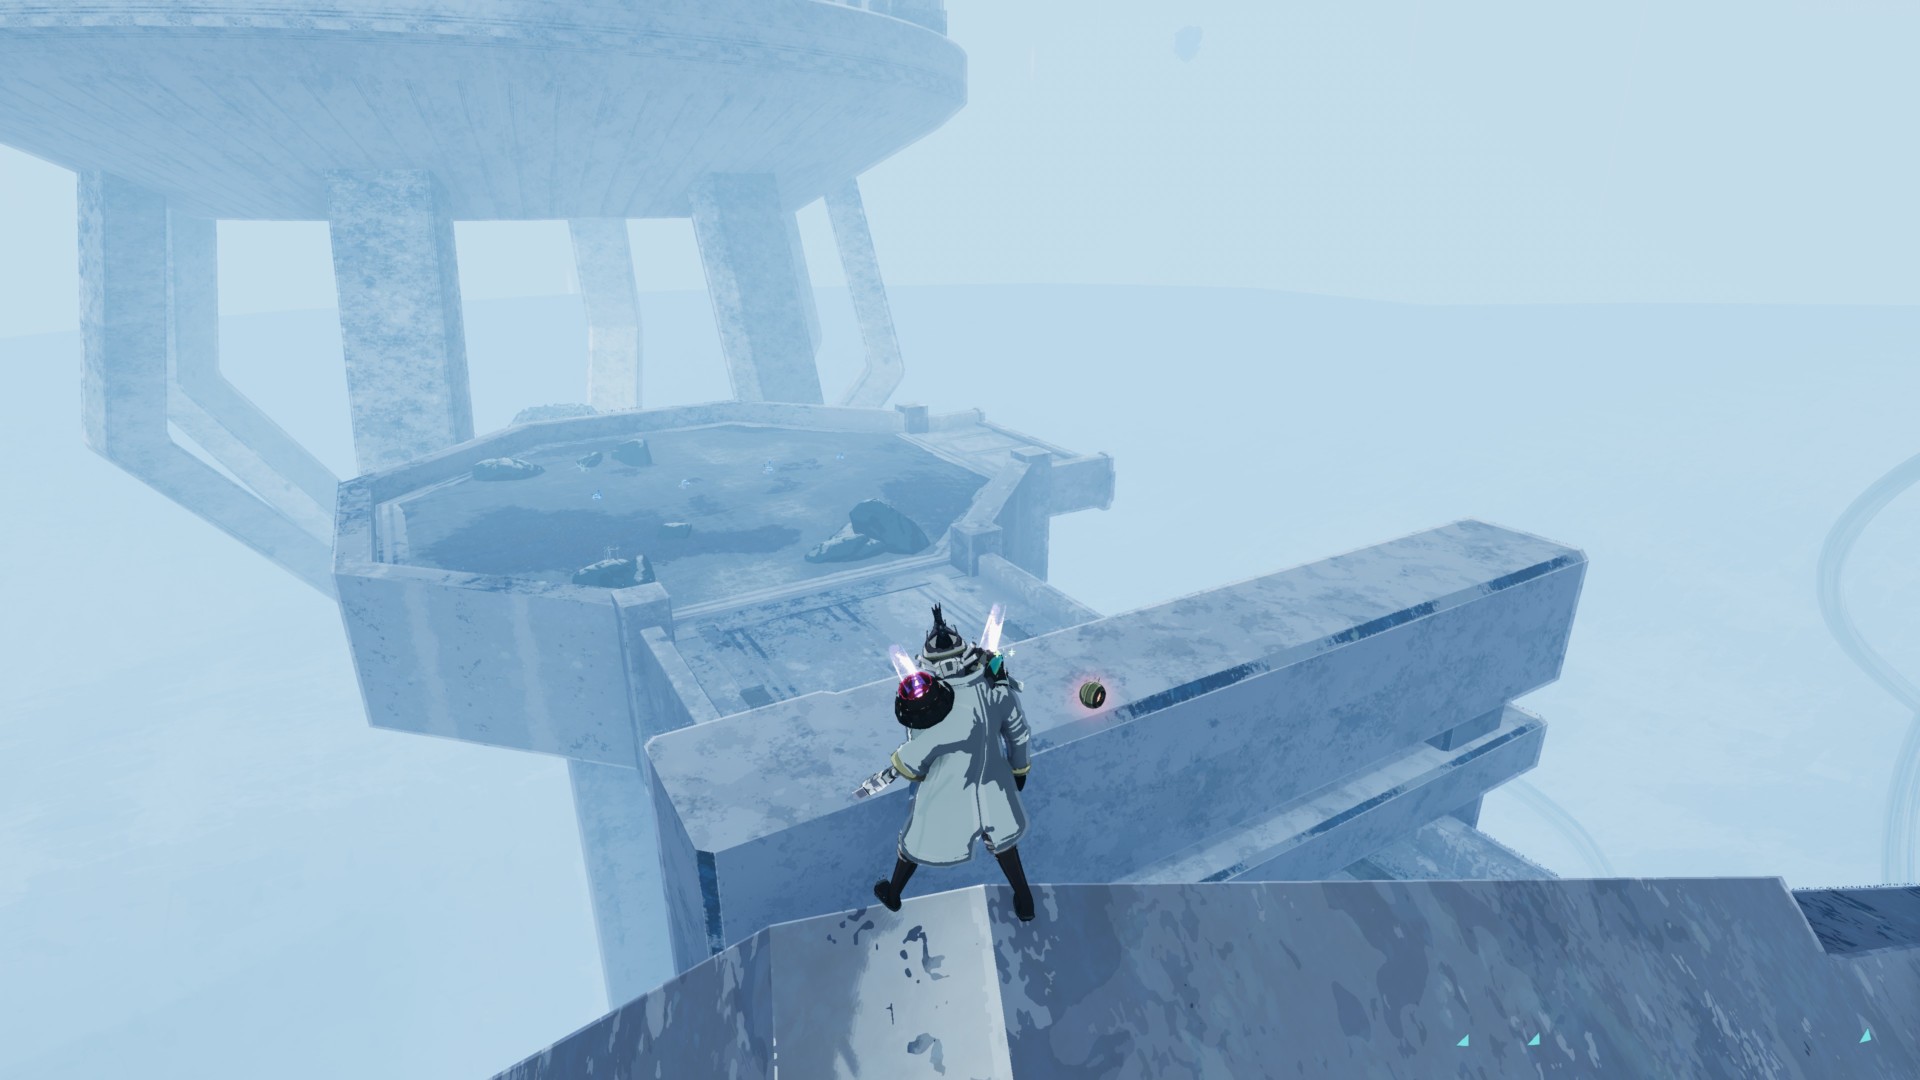
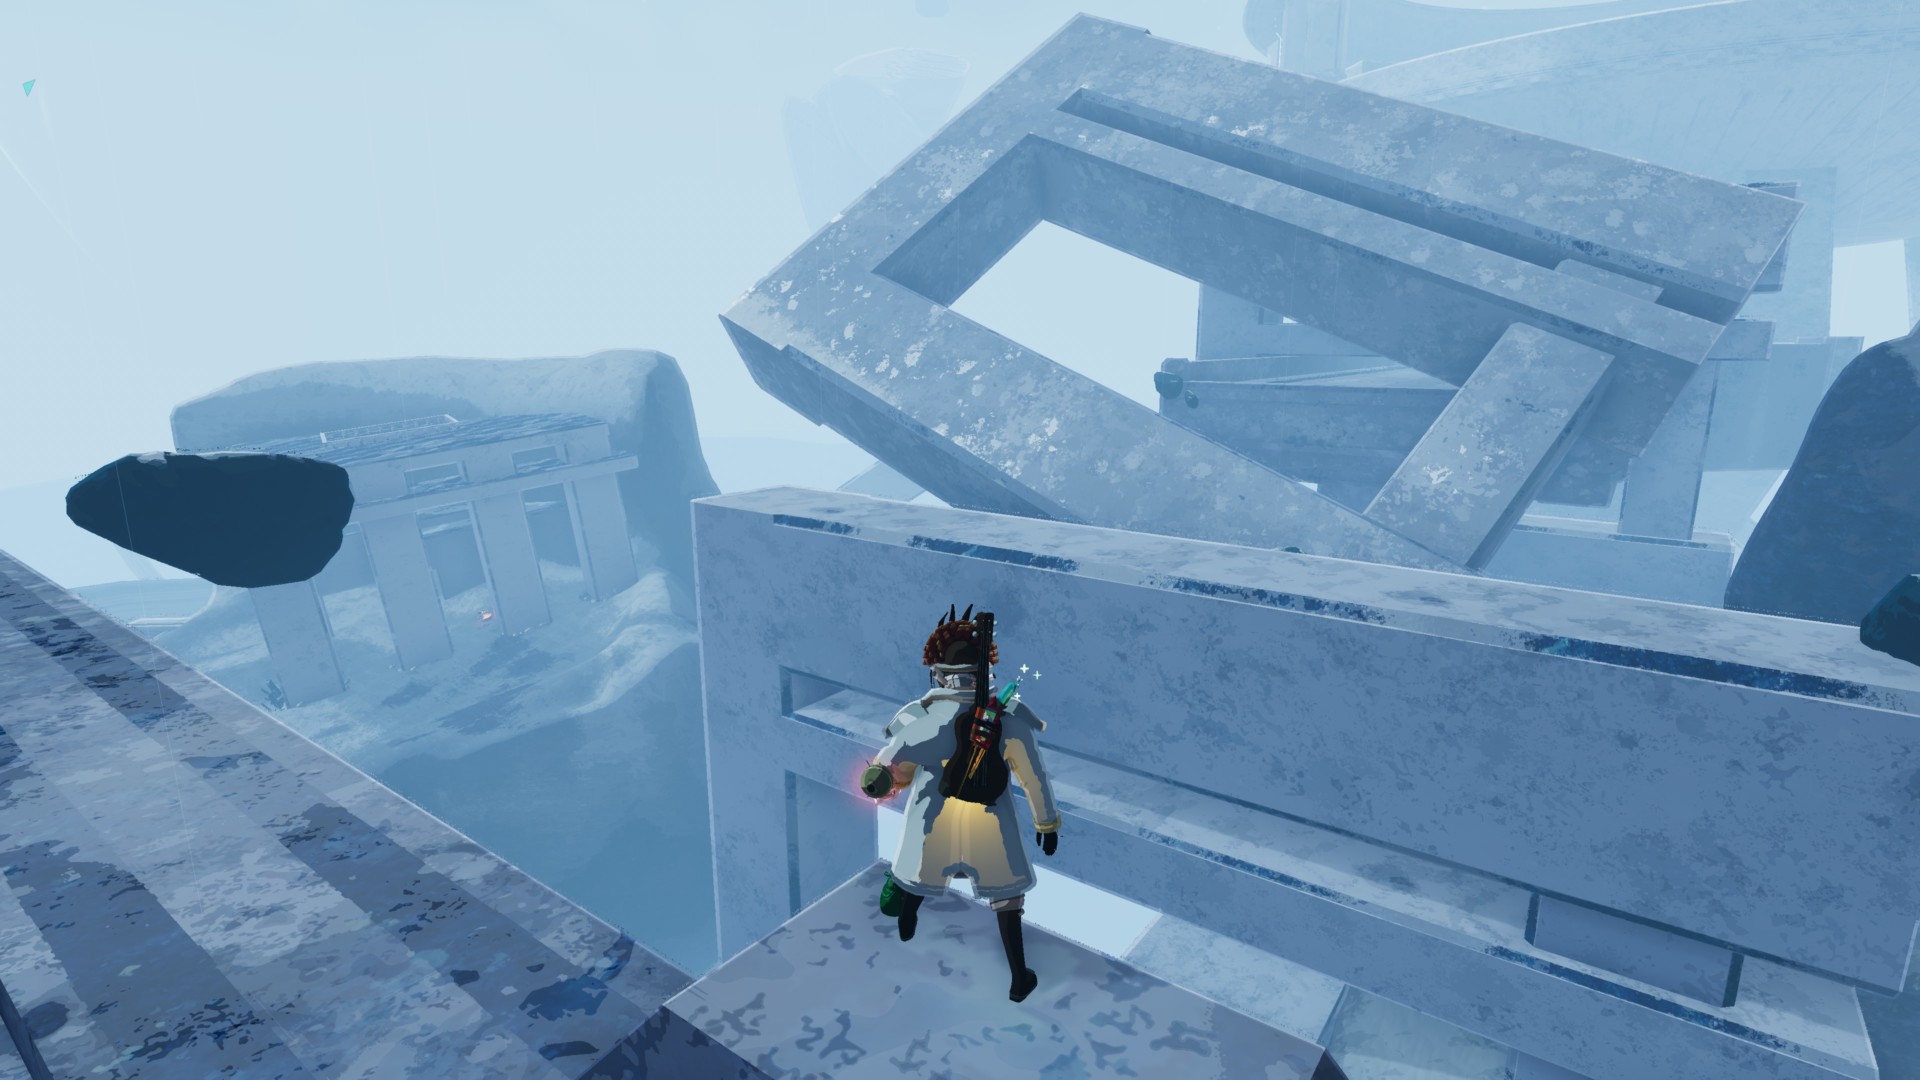
The level itself is fairly straightforward until you encounter a dead-end leading to a steep drop. There are three paths you could take:
(1) Jumping on the floating platforms and going straight ahead takes you to the final boss, Mithrix, King of Nothing. We’ll talk about him later.
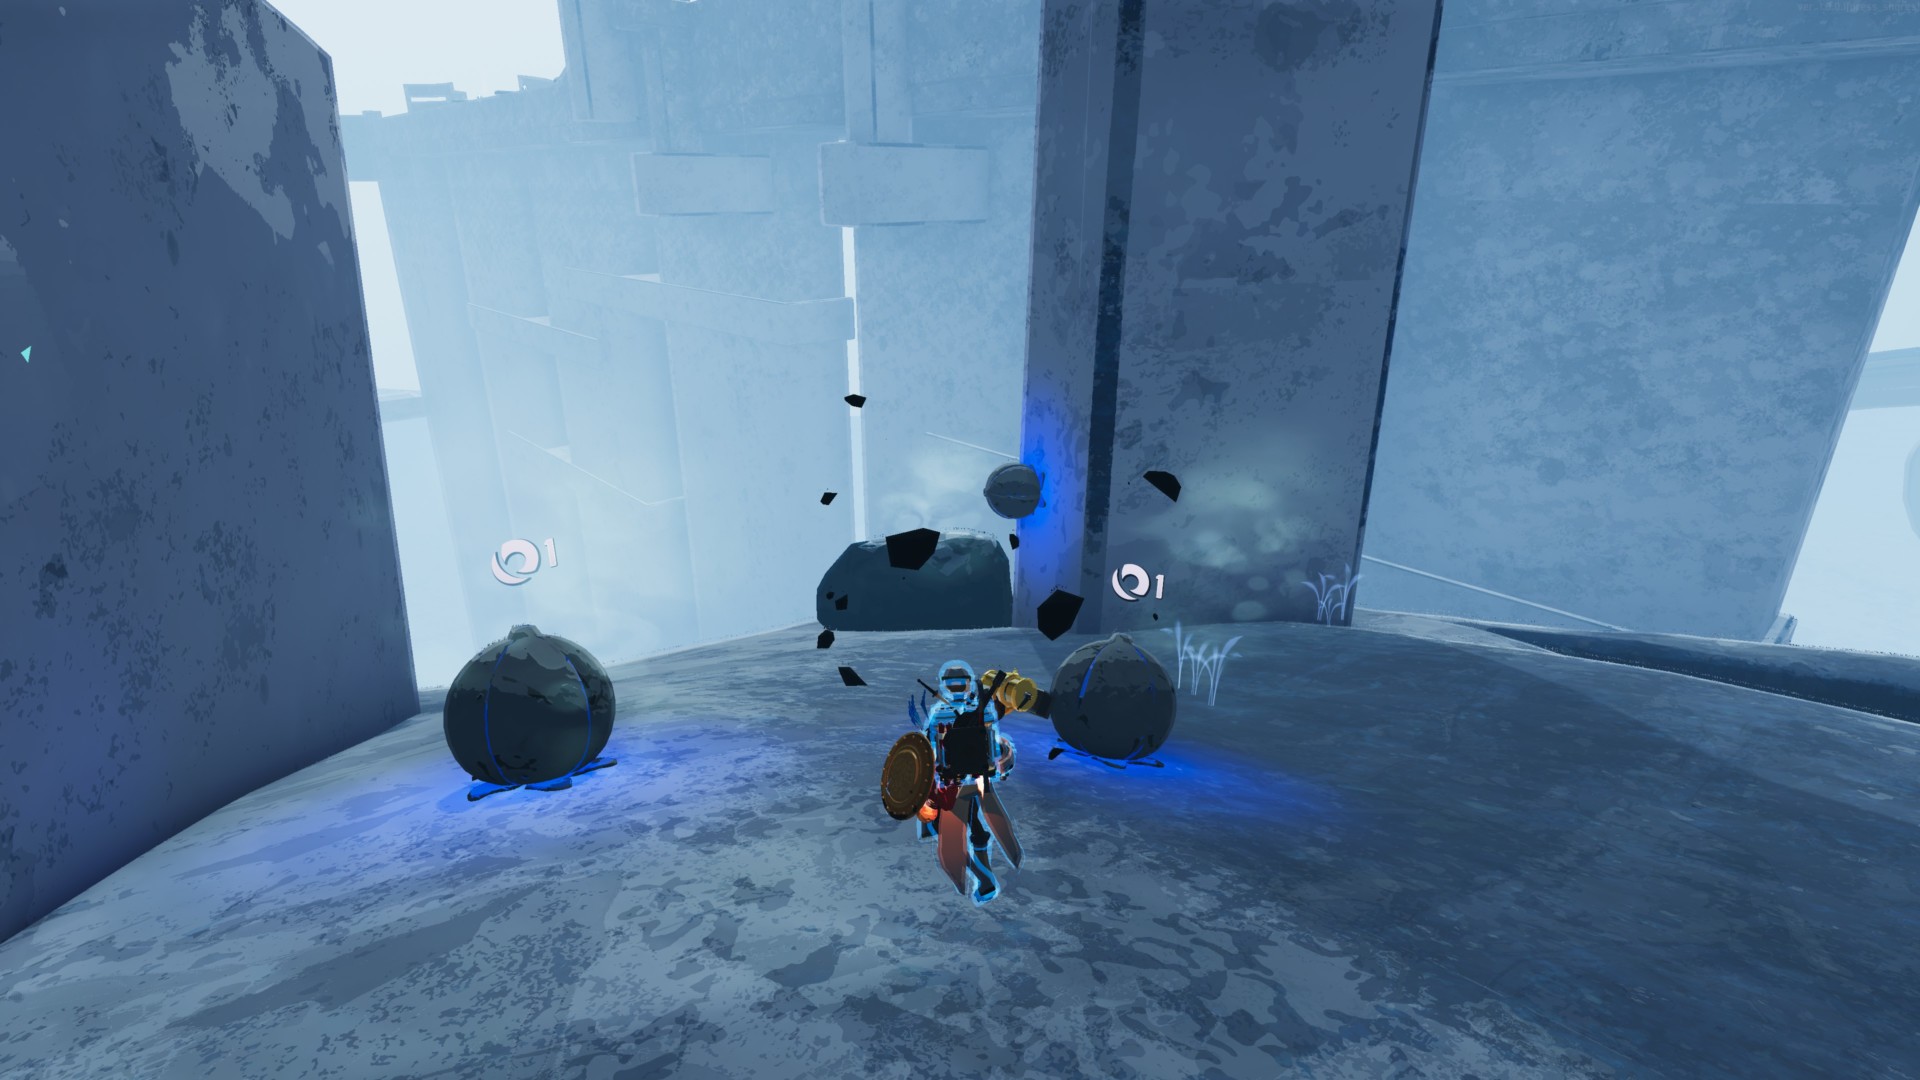
(2) If you cross the floating platforms to the right, you’ll find a section that has roughly three or four Lunar Pods.
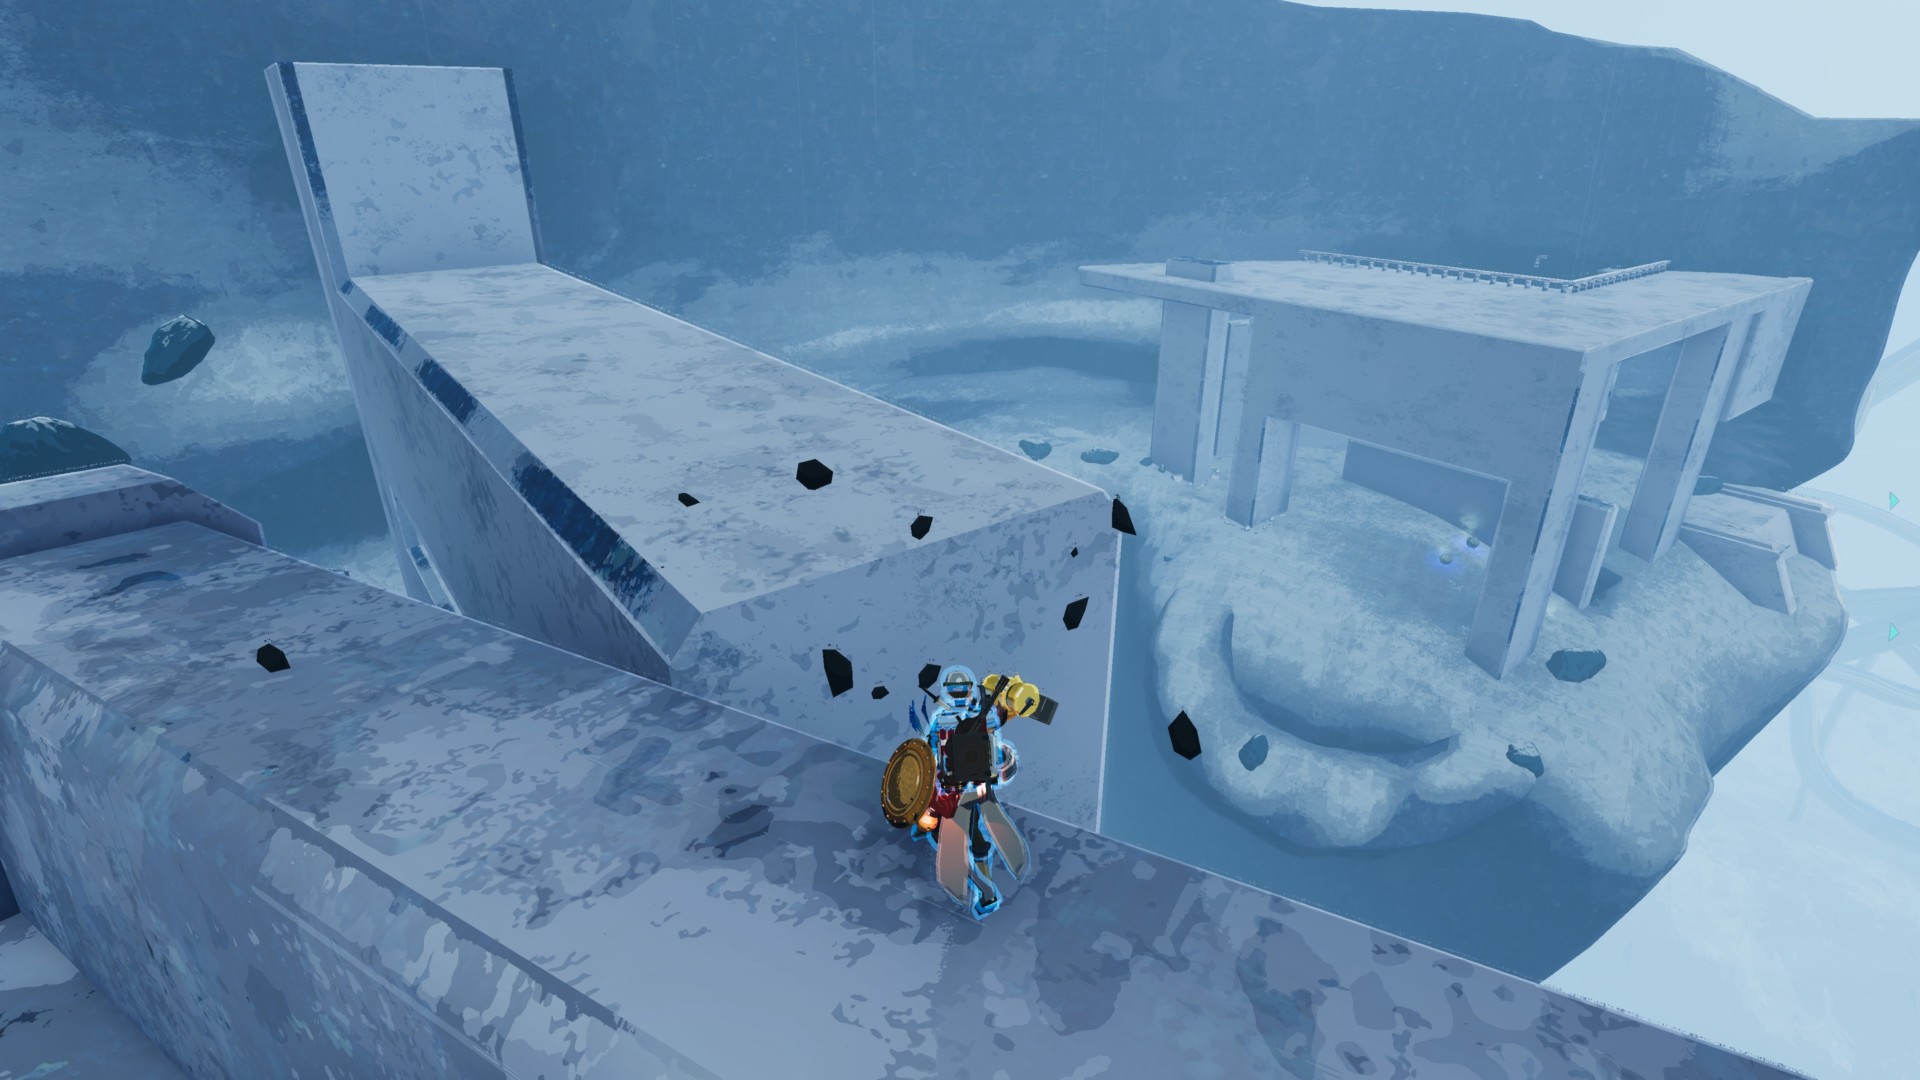
Feel free to use some of your Lunar Coins here in case you need the extra stuff.
(3) You can go back to the floating platforms and leap all the way to the other side (the left side if you came from the junction).
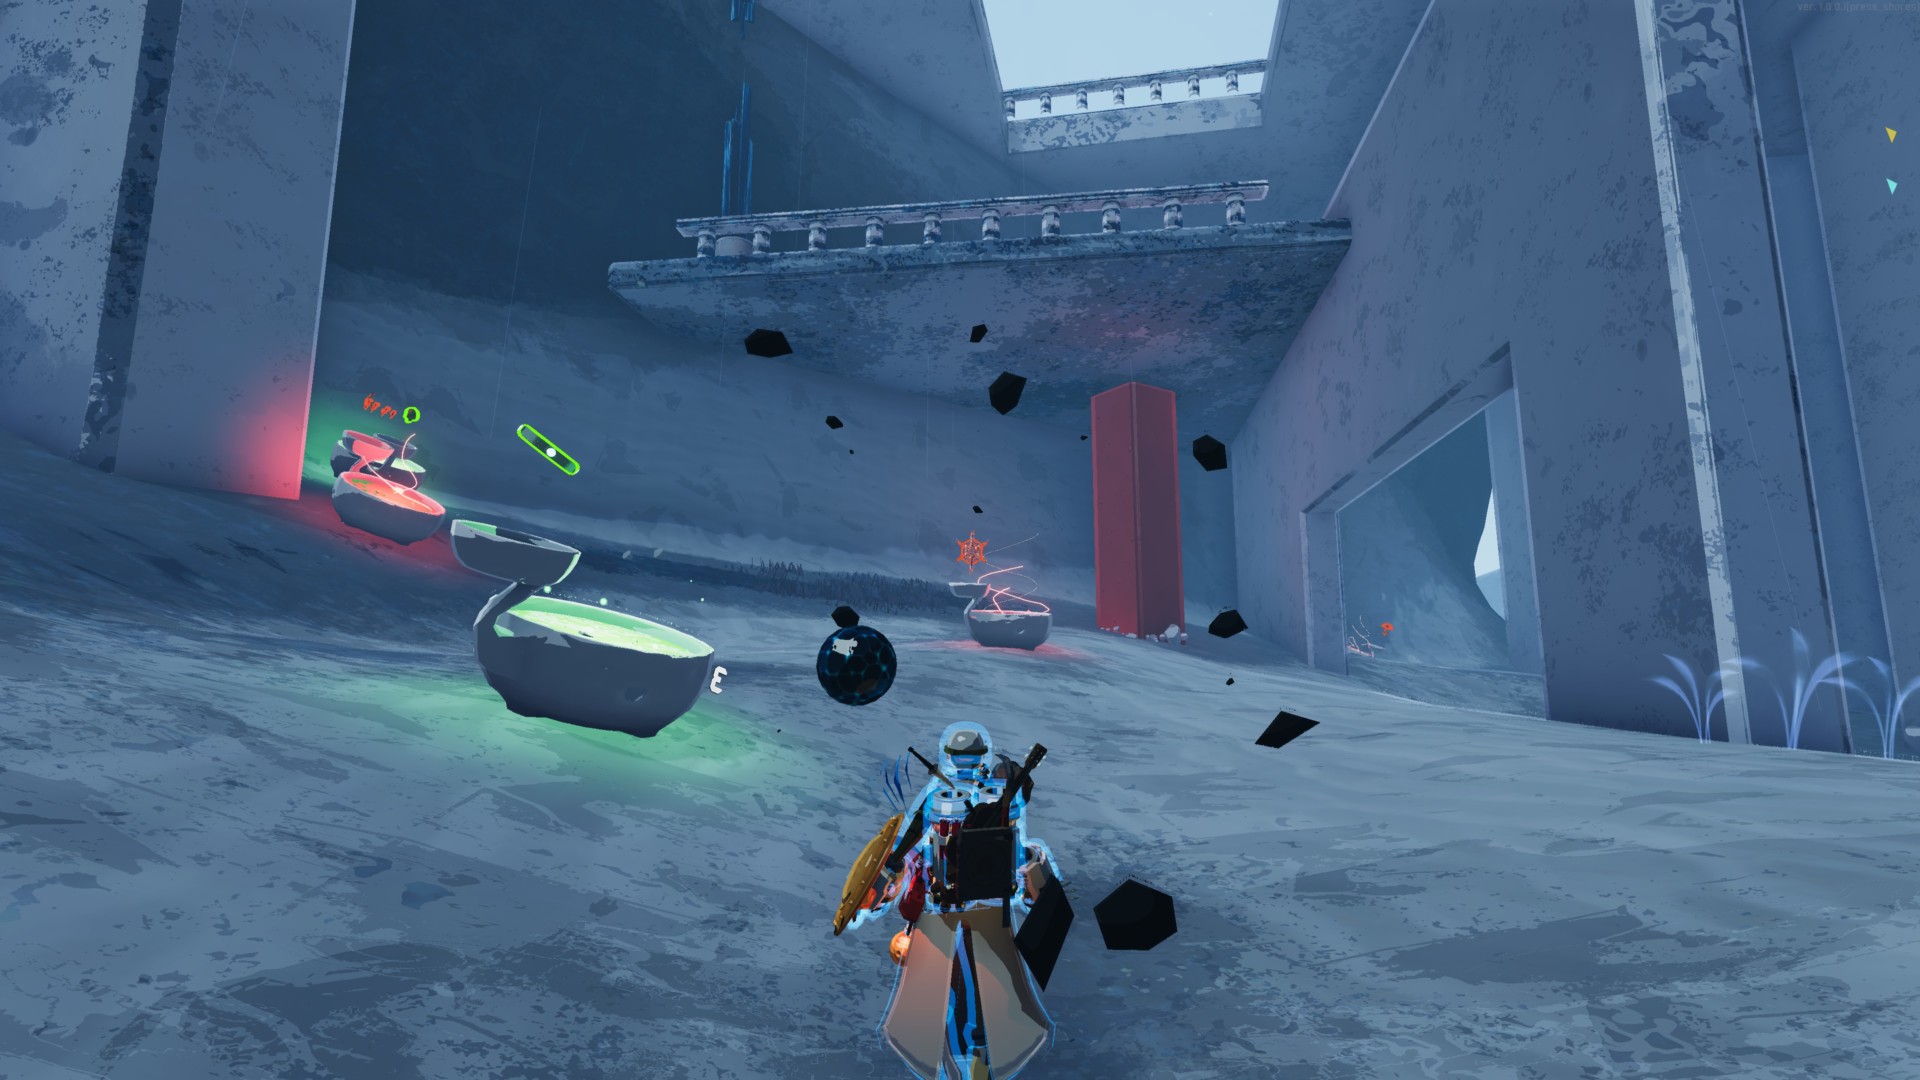
Here, you’ll find several receptacles that will allow you to exchange items for uncommon and legendary gear. Keep in mind that, even though you see the item that’s up for an exchange, the ones being taken from you will be completely random. If you have the Artifact of Command active, you could select the gear you pick up just to ensure that you’ve got an ideal build.
Note: You might need some additional mobility for your characters or certain items such as the Hopoo Feather, Volcanic Egg, Milky Chrysalis, or Strides of Heresy/Shadowfade to ensure that you can return to the main area. Even if you can’t reach it and you fall off the map, you’ll still respawn there provided that you’ve made it further away from this “shop” area.
When you’re ready, head to the central area straight ahead. Use one of the launch pads and you’ll be taken to Mithrix’s boss arena.
The final boss: Mithrix, King of Nothing
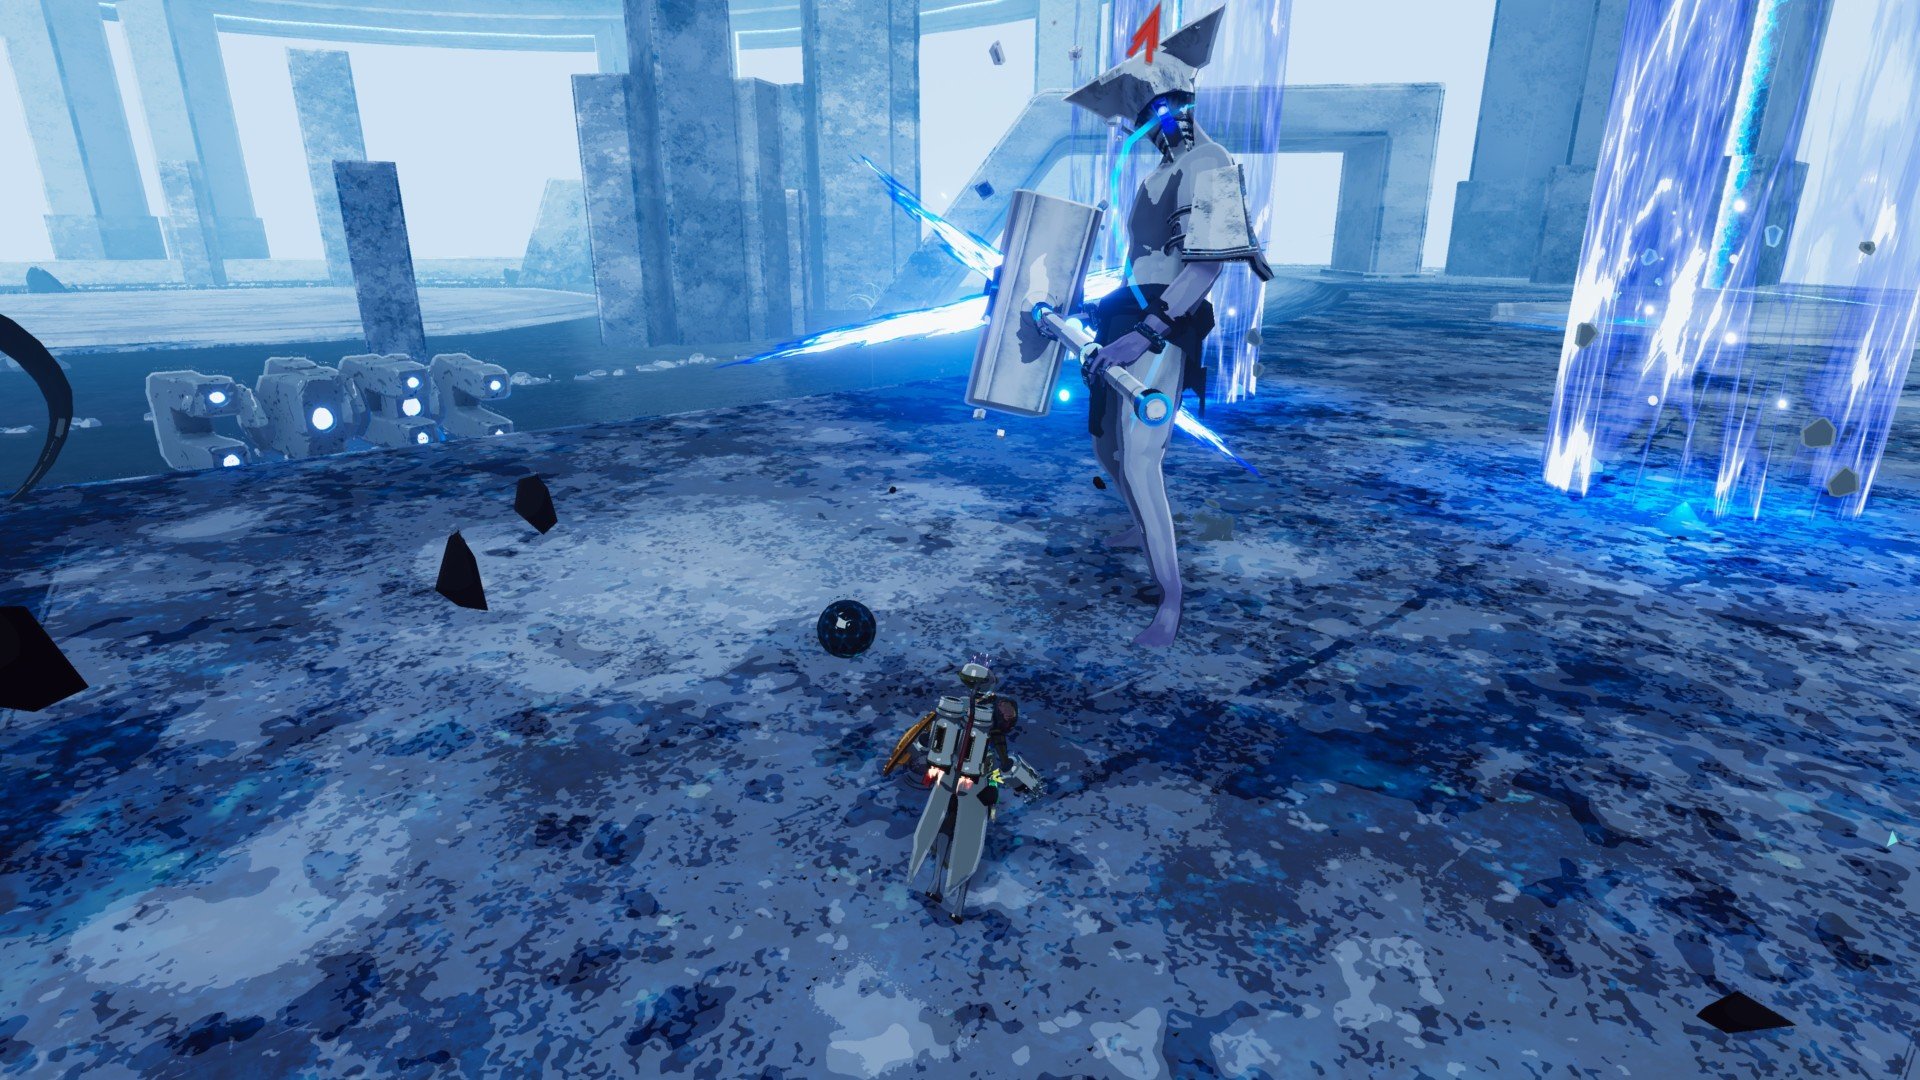
Risk of Rain 2 is pulling out all the stops. That’s because the final boss, Mithrix, King of Nothing, is a multi-phase encounter. Make sure you’re ready for this guy’s attacks because they’re deadly and the fight itself might take a while if you’ve got subpar gear.
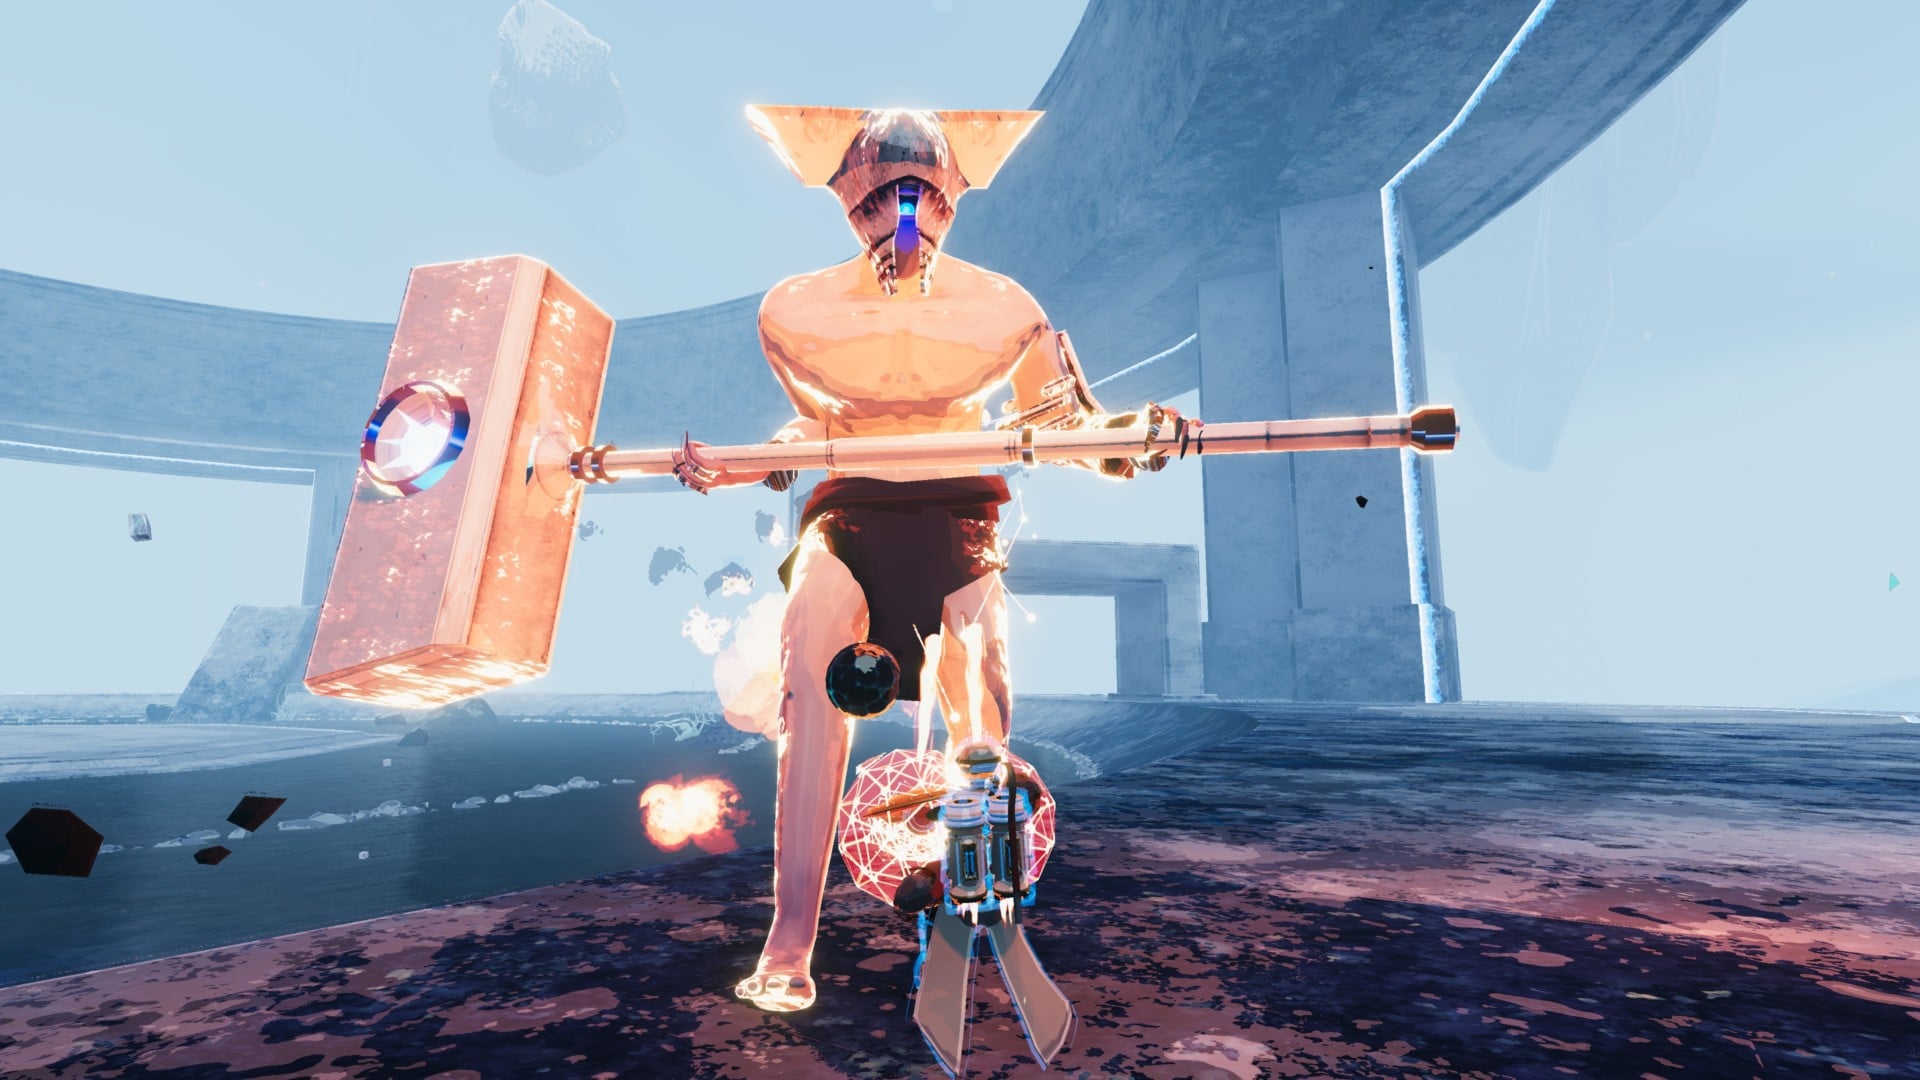
Phase 1: Mithrix
HP: 20,300
Mithrix tends to rush your position, happily wailing away with his giant hammer. Those melee attacks pack a punch. He also has a couple of special abilities:
- Hammer Smash – Mithrix tends to rush your position, smashing the ground with his hammer. This attack will take away a huge chunk of your health so make sure to avoid it.
- Down the Middle – Periodically, Mithrix will jump to the center of the arena. He’ll then fire several beams your way while running towards you. This is usually followed by, you guessed it, a melee attack or a Hammer Smash.
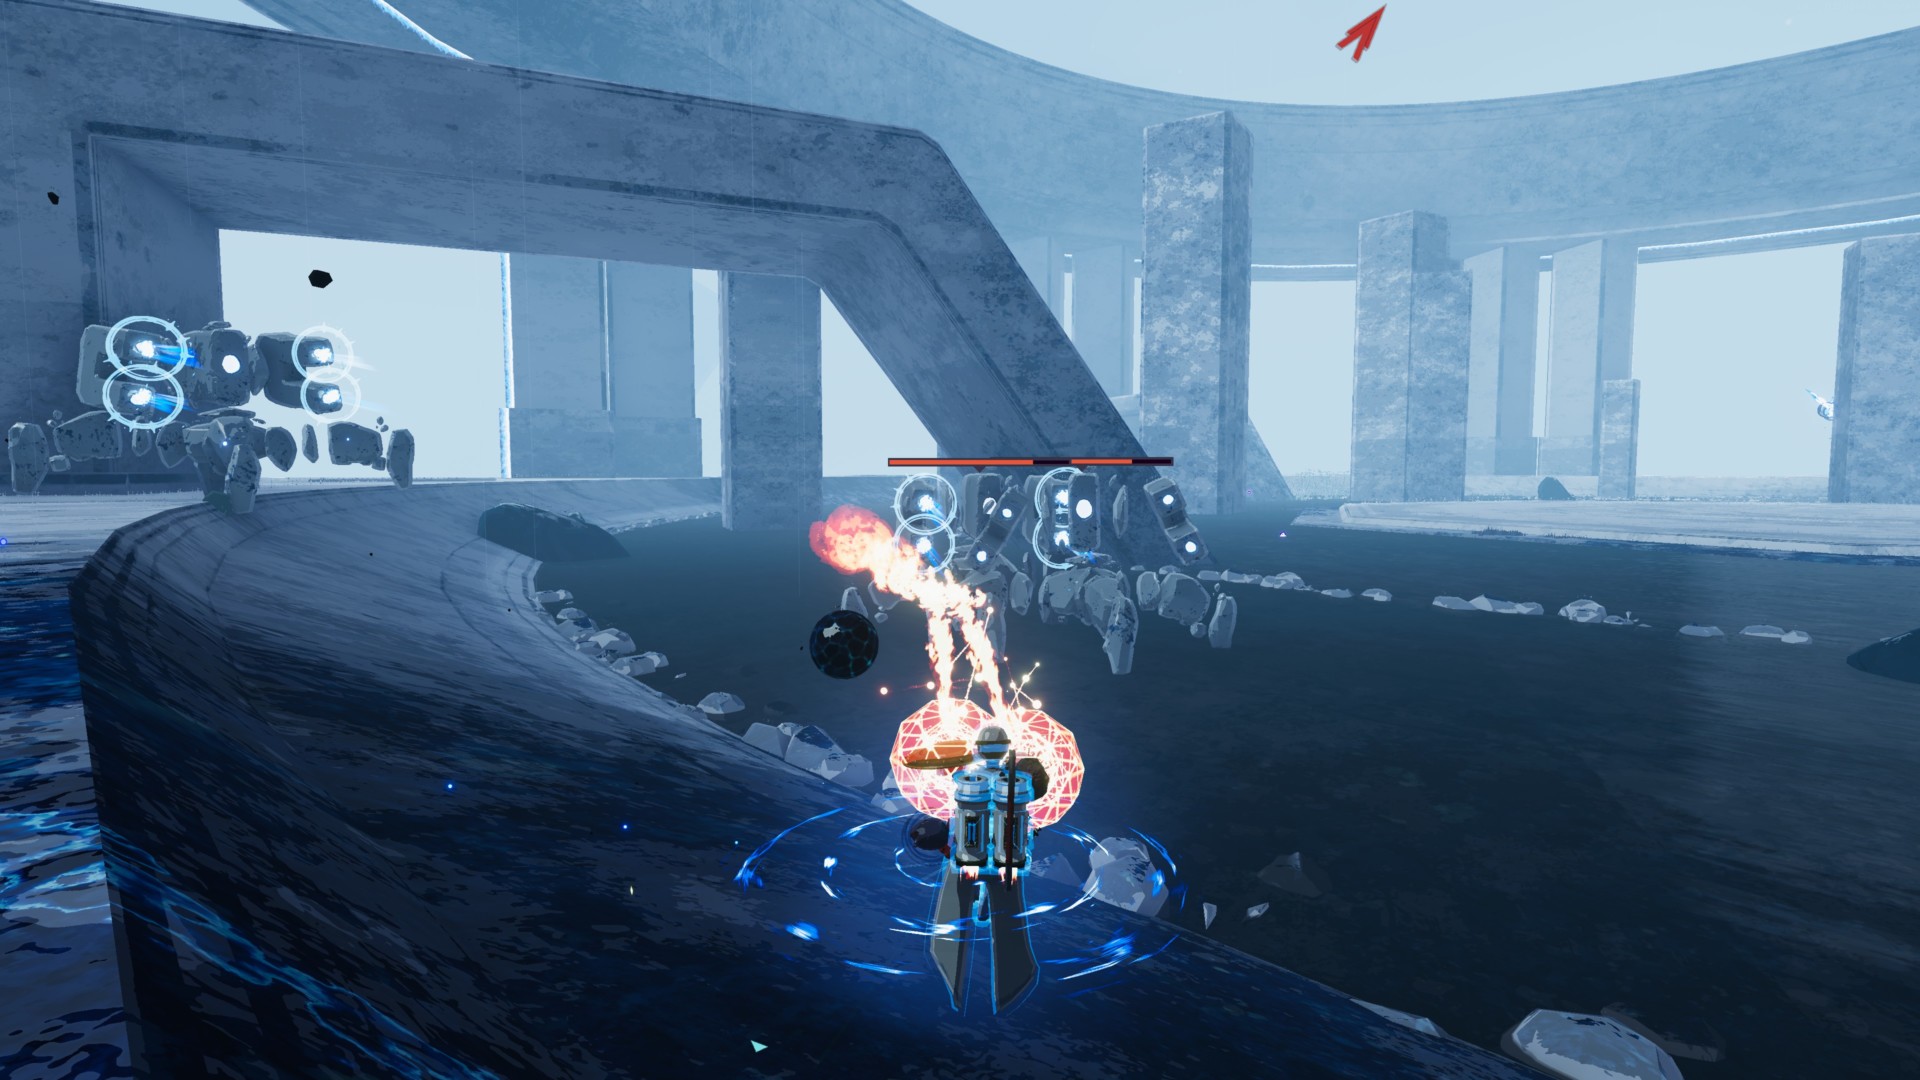
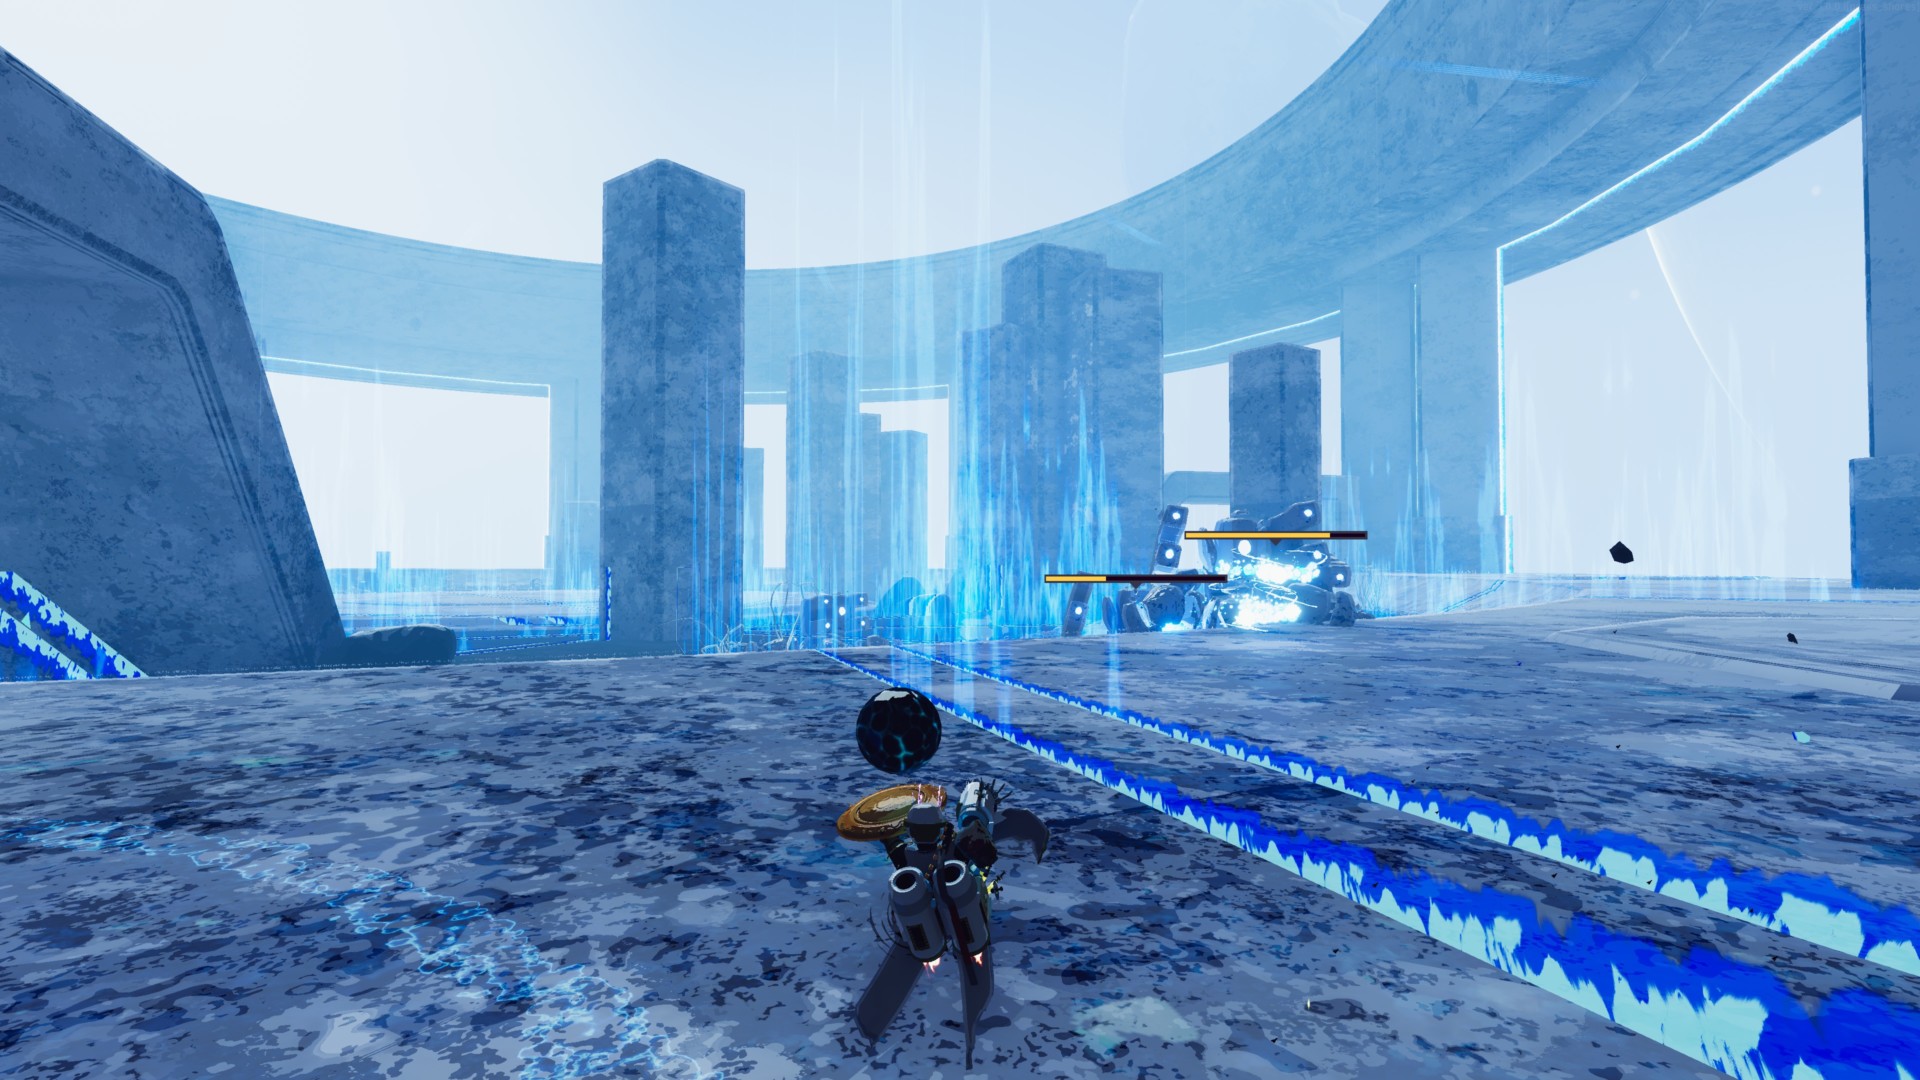
Phase 2: Lunar Chimera
HP: 46,080
The Lunar Chimera phase of this boss fight is actually quite different. Mithrix will disappear and he’ll be replaced by several turret golems and drones (the same mobs you fought while you tried to make your way here). Each mob you kill will deplete a portion of the Lunar Chimera’s health.
If you position yourself at the outer ring of the arena (don’t worry, you can’t fall or get pushed off), the turret golems can sometimes get stuck. Since they’re trying to stay away from you, they tend to cluster below the incline. The drones, meanwhile, are nastier since there are around five of them, and they’ll burst you down with their guns.
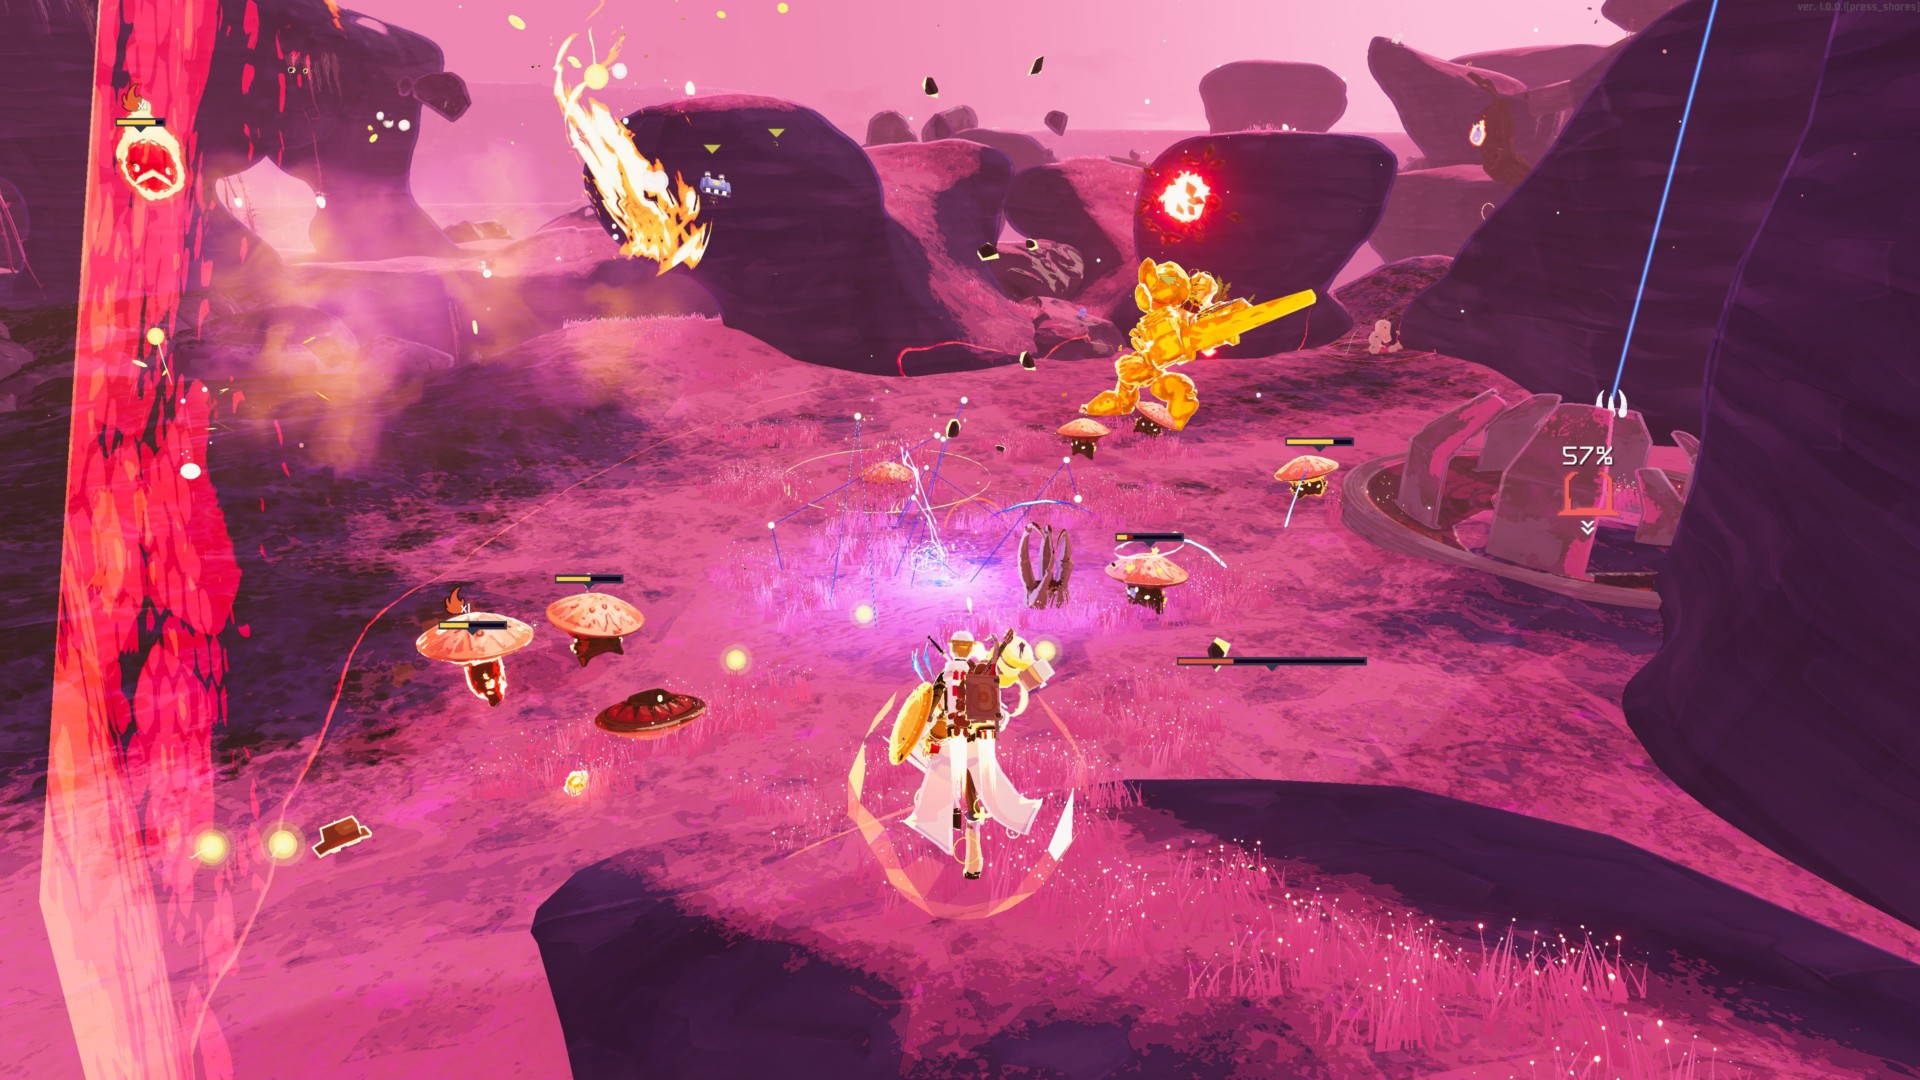
Phase 3: Mithrix with turret golems
HP: 26,130
This will be your ultimate test. Mithrix has more HP now compared to his first phase, and he’ll summon several turret golems to annoy you. Again, if you’re staying at the outer ring, you can easily avoid the barrages from these mobs.
As for Mithrix, however, he’s going to push you to the limit. The Hammer Smash ability now sends out a stronger shockwave, and flames will also erupt from the ground.
Worse, once the boss heads to the middle, he’ll also cast multiple rays of blue flame that spin around. You’re going to have to move sideways (depending on the direction of the rays) to avoid getting hit.
Phase 4: Mithrix the Collector
HP: 15,330
“The Collector” is just a nickname I thought of for this phase of the boss fight. Once Mithrix heads back to the middle, he’ll take away almost all your items and buff himself in turn.
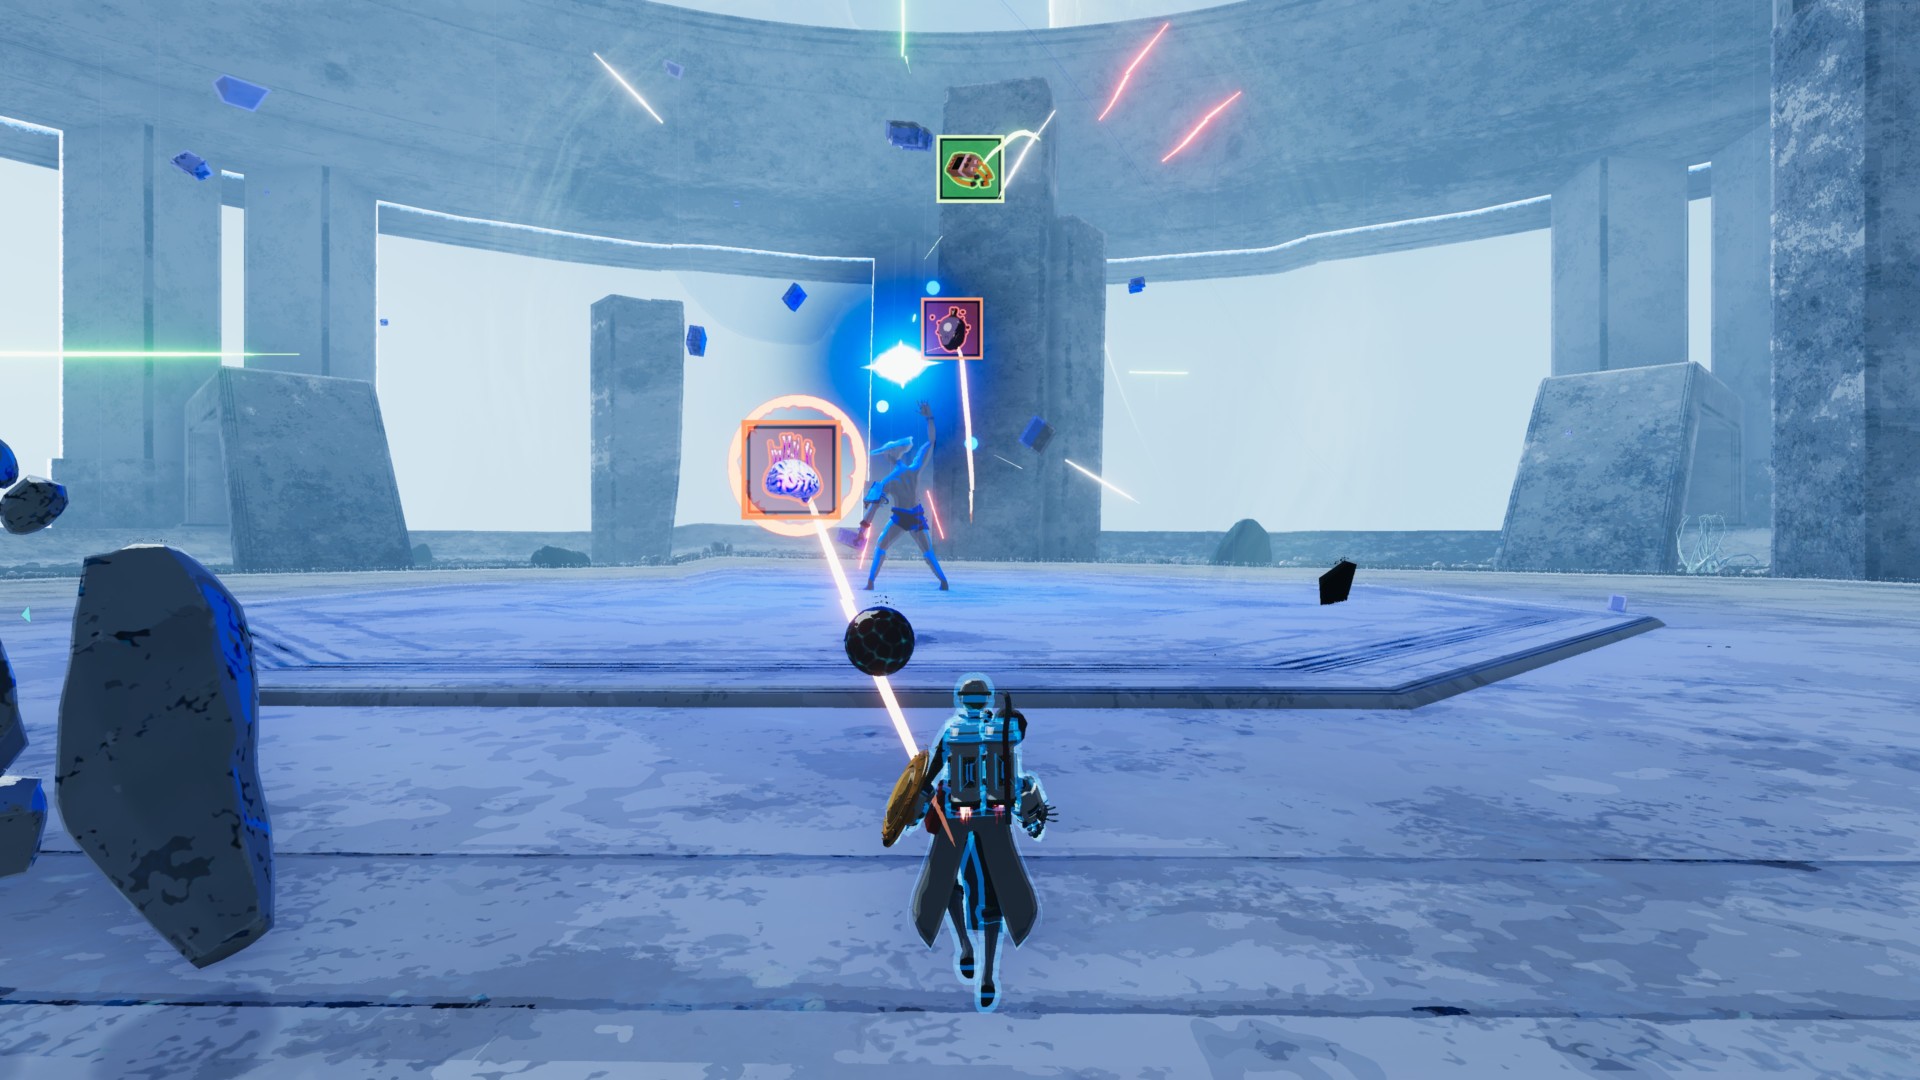
The goal here is to continue damaging him. As you’re DPSing down his health bar, your lost items will magically float back to you. Play it safe and play smart, and you should be done soon enough.
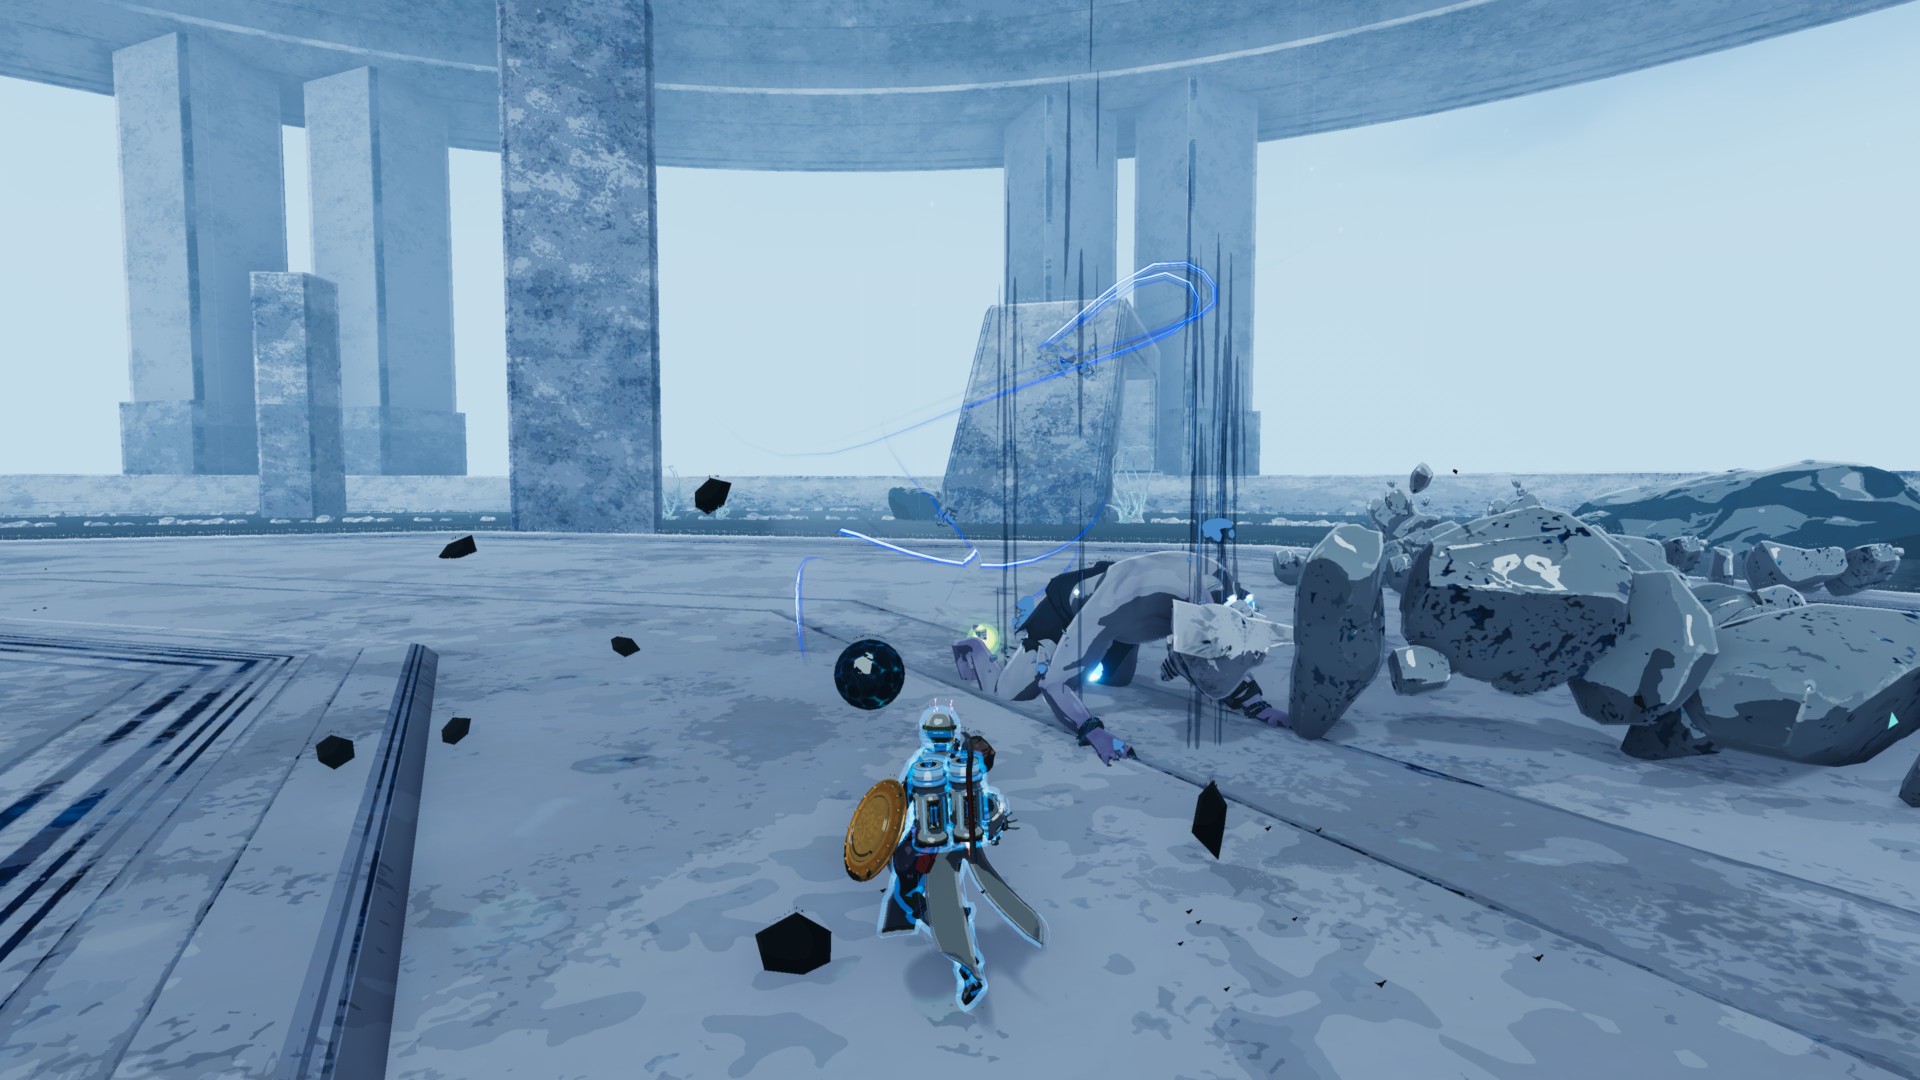
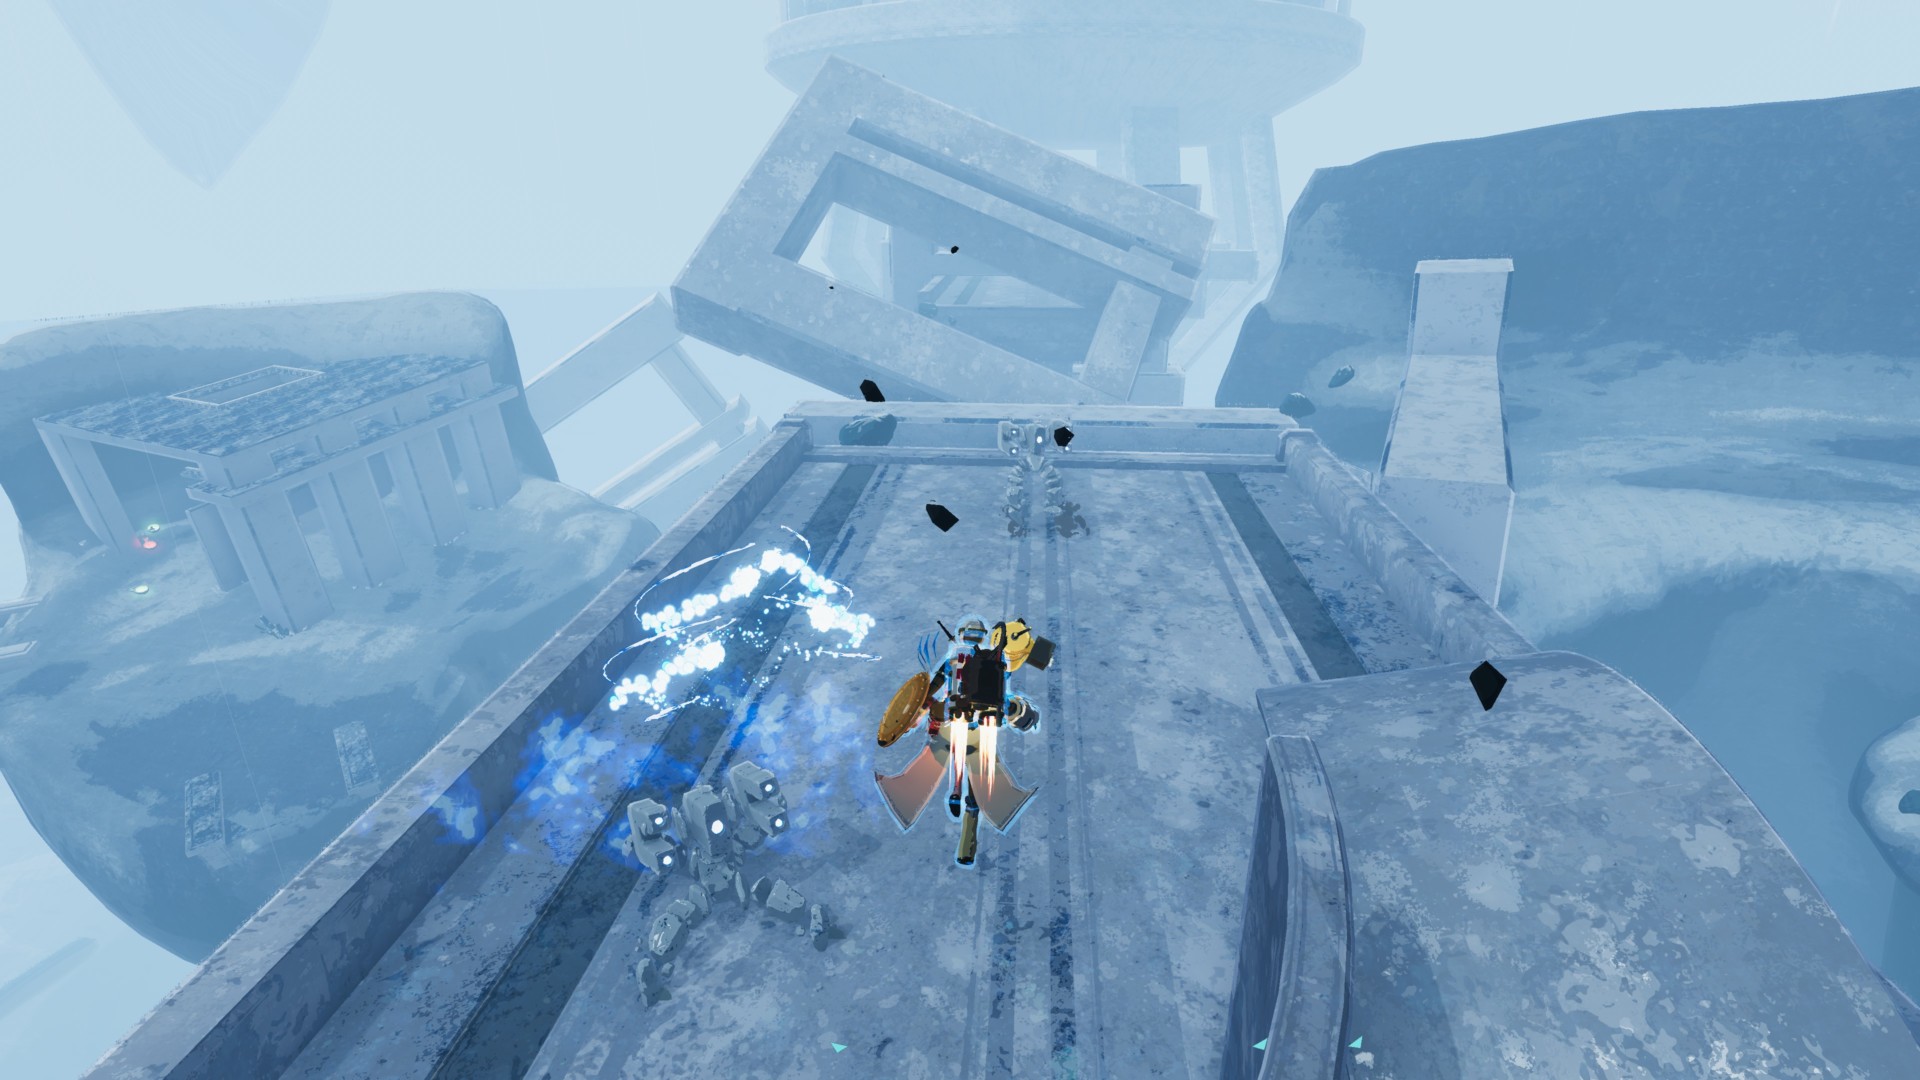
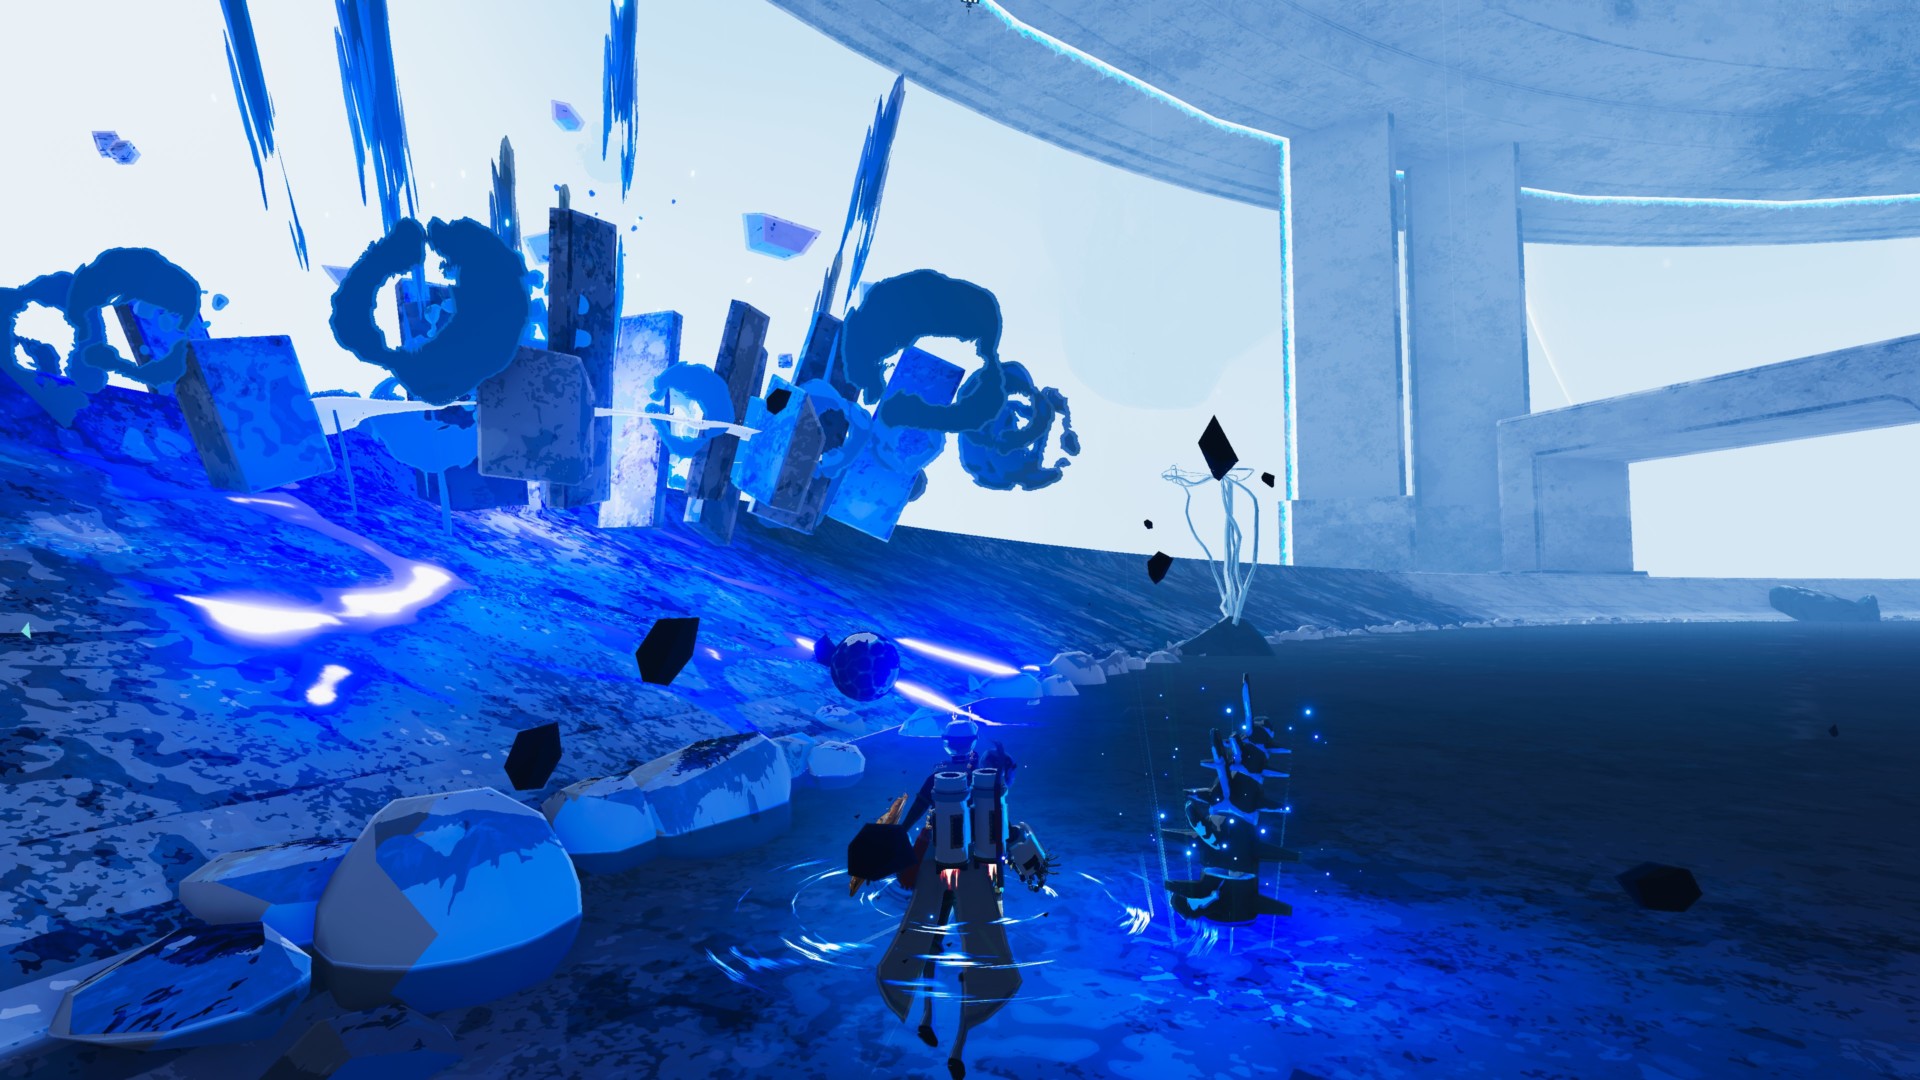
The escape
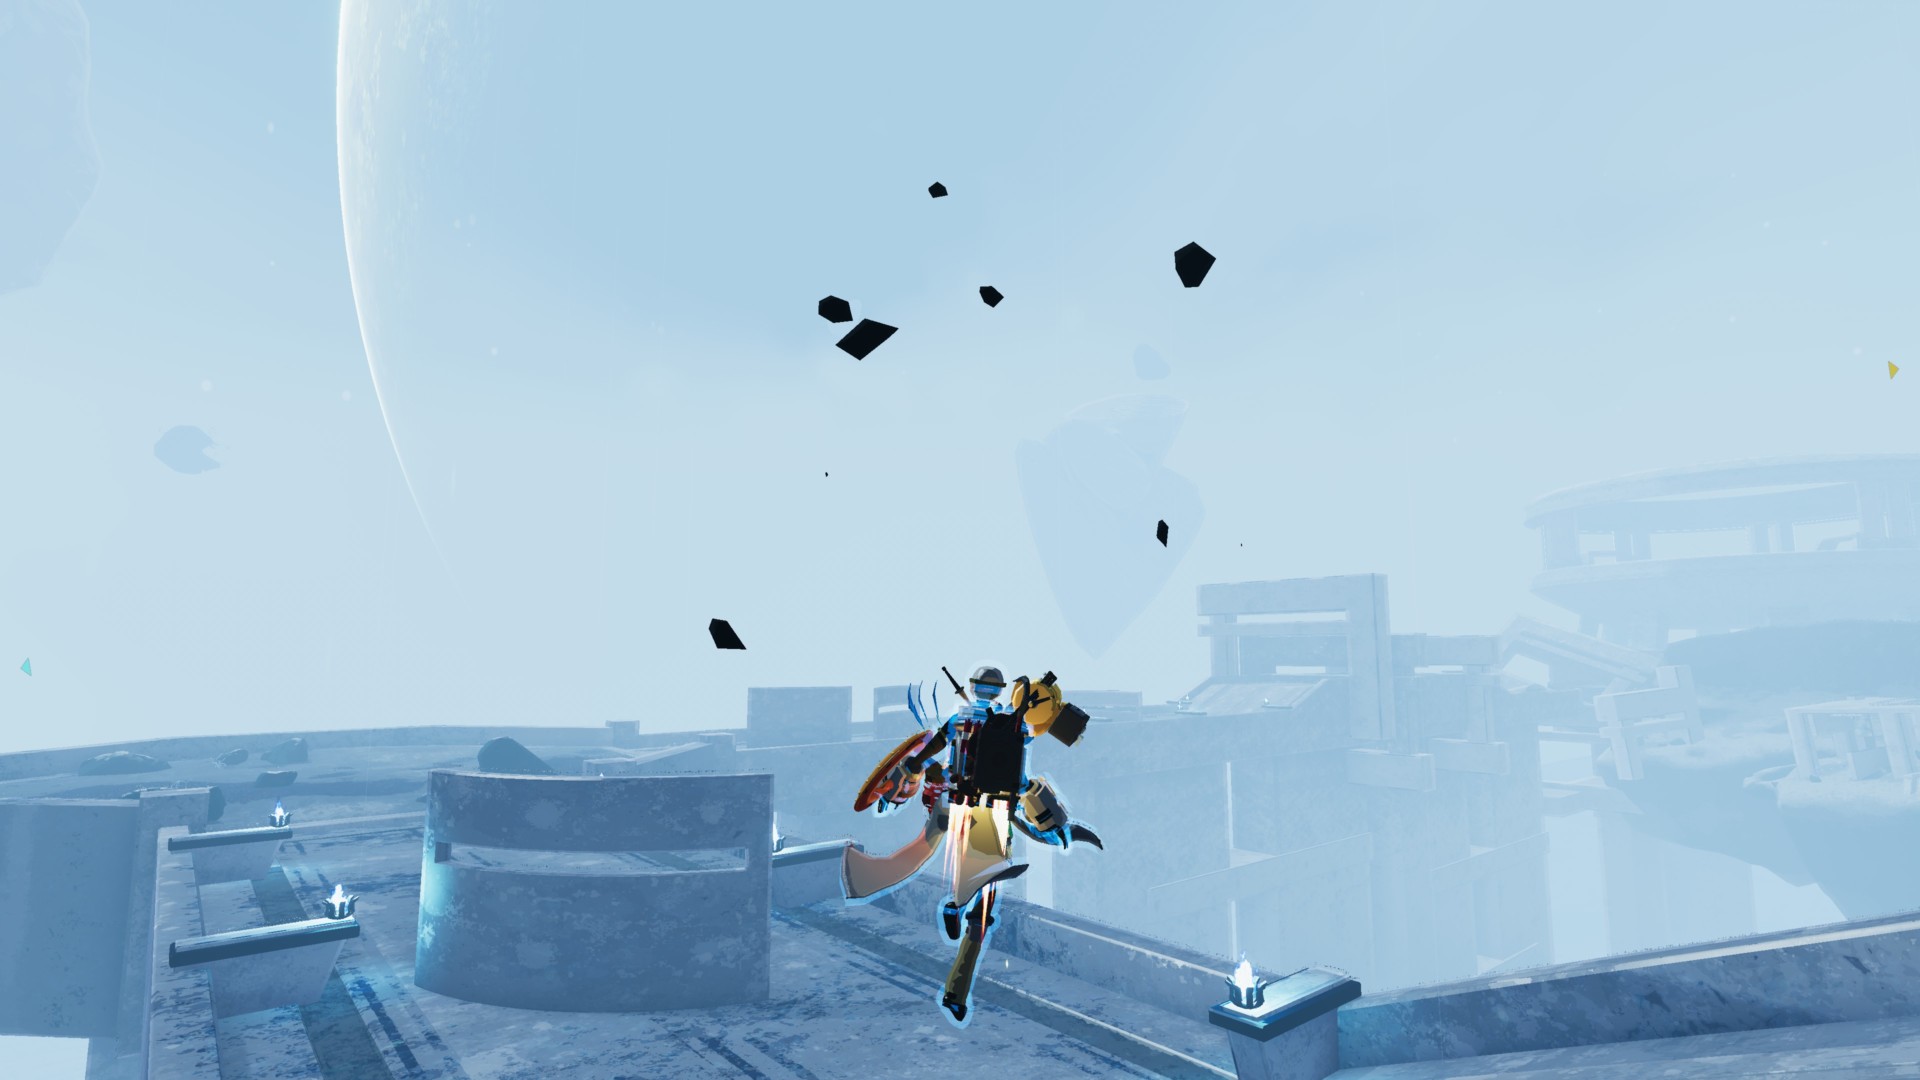
Now that you’ve beaten Risk of Rain 2‘s final boss, it’s time to relax… or not. It looks like there’s one more thing left to do: escape the damn moon before it explodes!
There’s a four-minute self-destruct sequence here, and you need to high-tail it from Mithrix’s arena, down the launch pad area, across the floating platforms, and past the eerie pathways. Oh, but that’s not all, some creepy shadow fiends will attempt to ensnare you and prevent you from running. Additionally, flames will erupt along the ground, crisscrossing as you advance.

If you manage to make it all the way to the open area (past the enclosure where you first stepped foot on the Moon), you’ll spot your ship. Make a break for it and enjoy the end credits.
Go ahead and check your characters now because you’ve just unlocked the Captain. Without a doubt, it’s an absolute powerhouse in multiplayer runs. Don’t forget to head over to our Risk of Rain 2 Captain guide if you need help with the skills and load-outs.
Risk of Rain 2 is available via Steam. For more information, check out our guides and features hub.