The Warrens is the underbelly of The Bizarre. It’s now overrun by the Payaso gang and they’re terrorizing the inhabitants.
Note: For more locations or quests, you can head back to our walkthrough’s main page. Alternatively, you can check our Wasteland 3 guides and features hub.
Wasteland 3: The Warrens
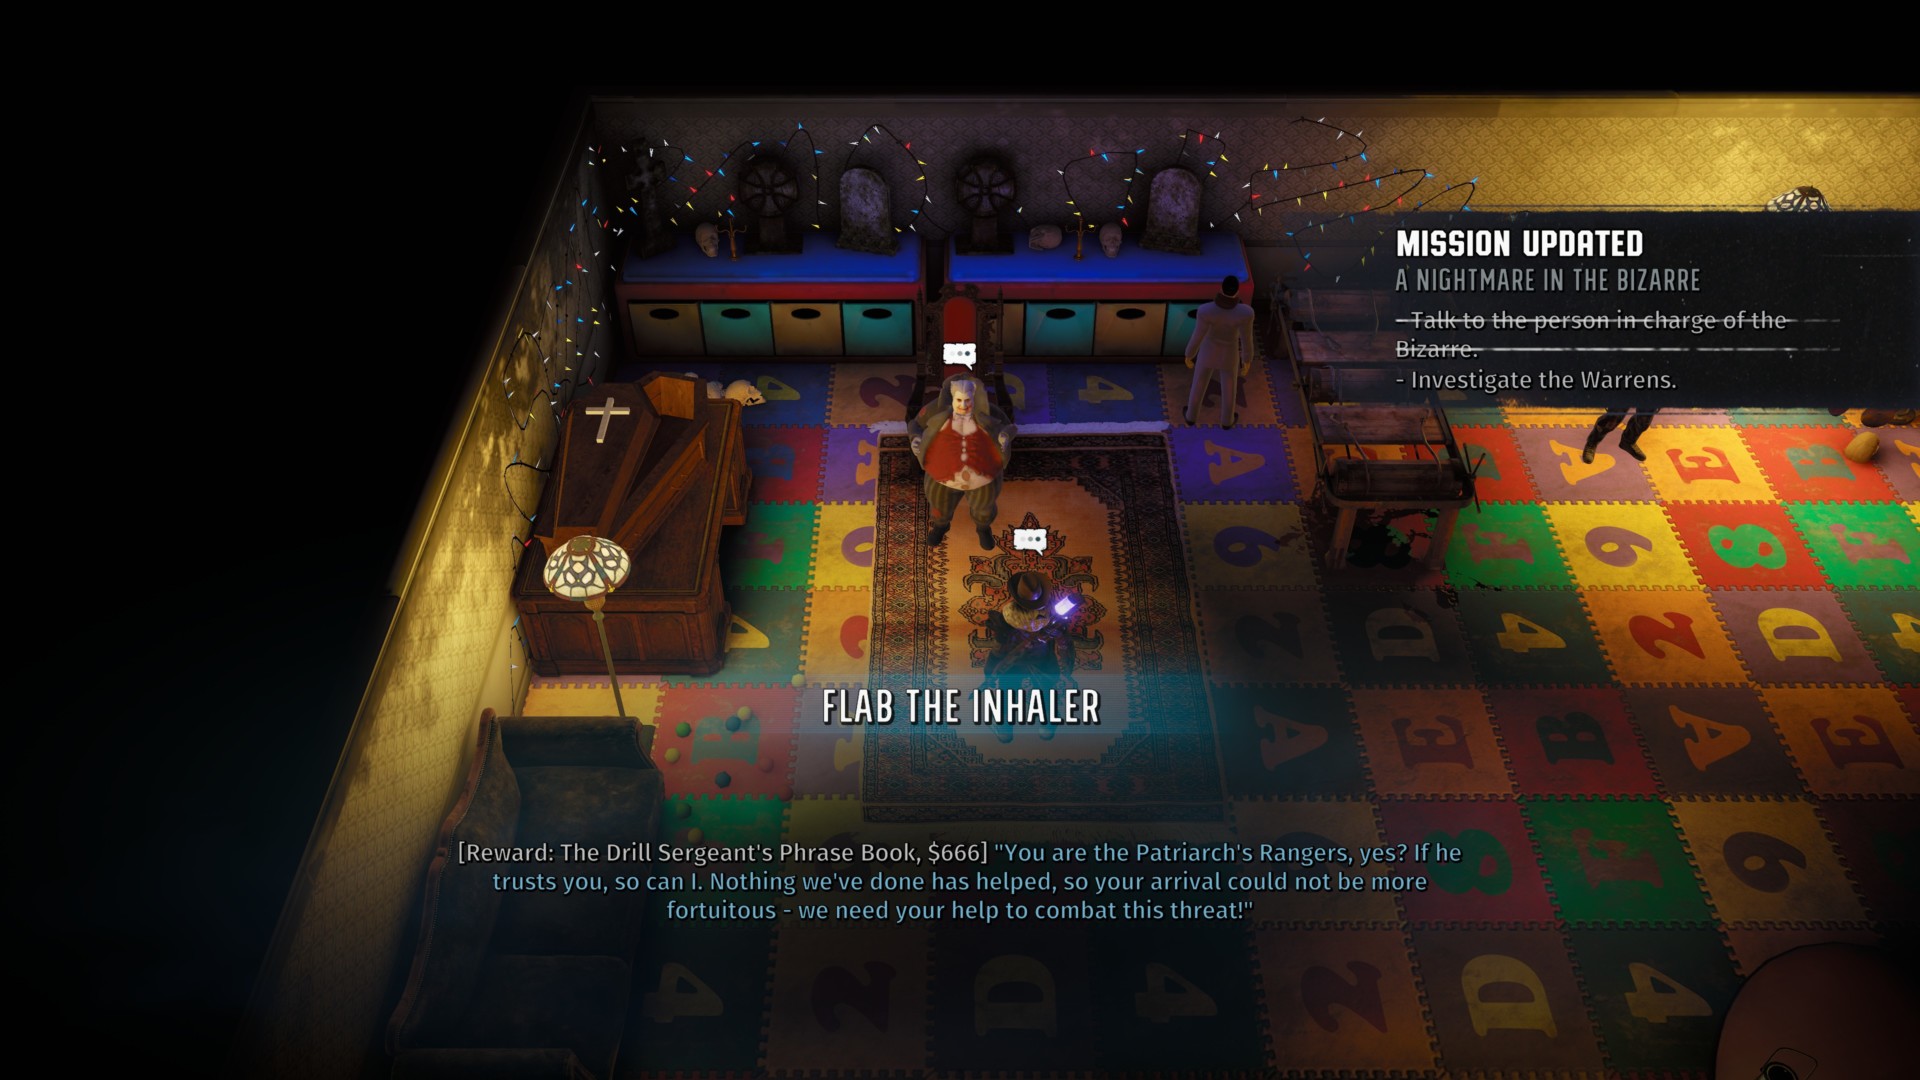
In The Bizarre – Interior, go up the steps and speak with Flab the Inhaler, the leader of the Monster Army faction.
Looks like he needs help with the commotion in The Warrens. The Bizarre – Interior’s plaza has an exit that takes you there.
Once you’ve reached The Warrens, speak with Gwynplaine who has a problem with the pig’s stench. You can give Perfume (quest item) which you’ll find in a short while.
DJ RIP, meanwhile, asks you to play a game. It’s a question about Ghostbusters and, if you answer “false,” you’ll get the Sonic Emitter weapon.

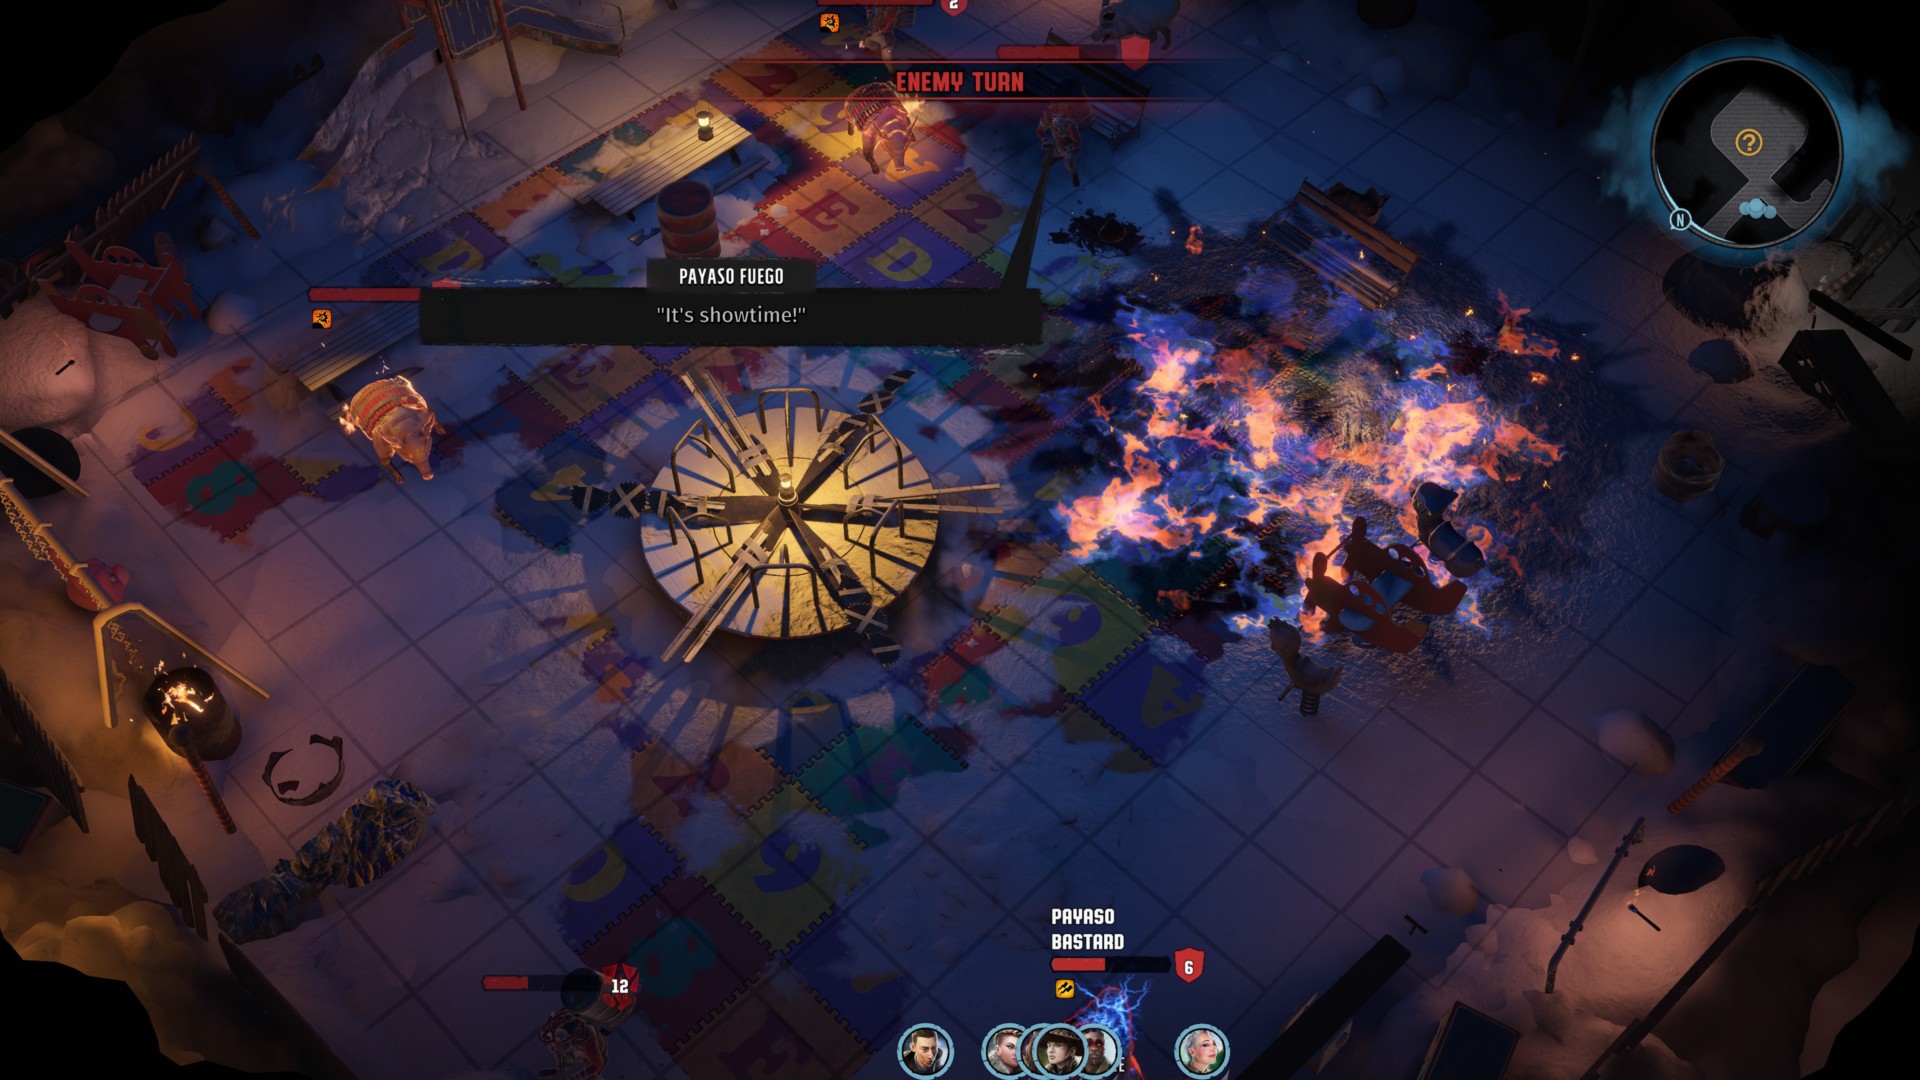
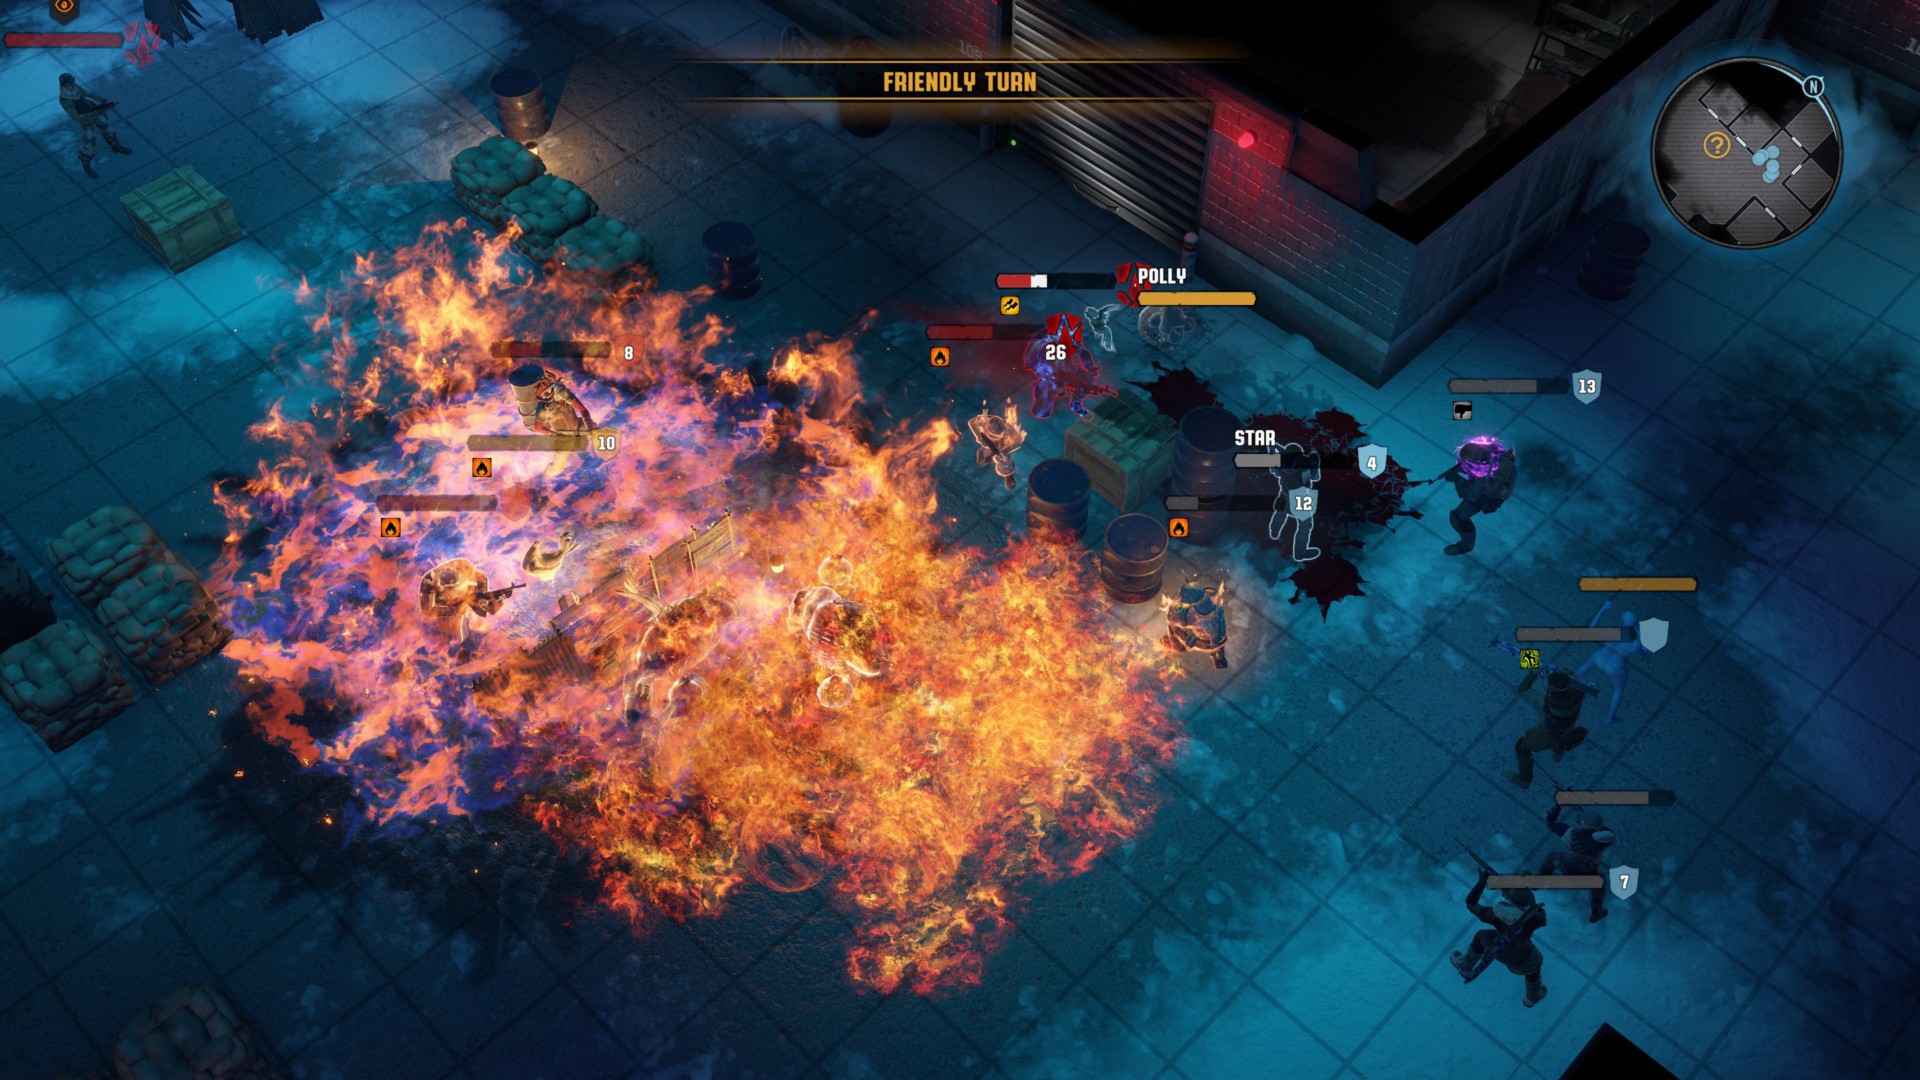
Head past the gate to reach The Warrens area proper — which has lots of burrowing worms and Payaso gangsters.
Because of the narrow pathways, make sure you can position your squad accordingly while funneling in all the hostiles.
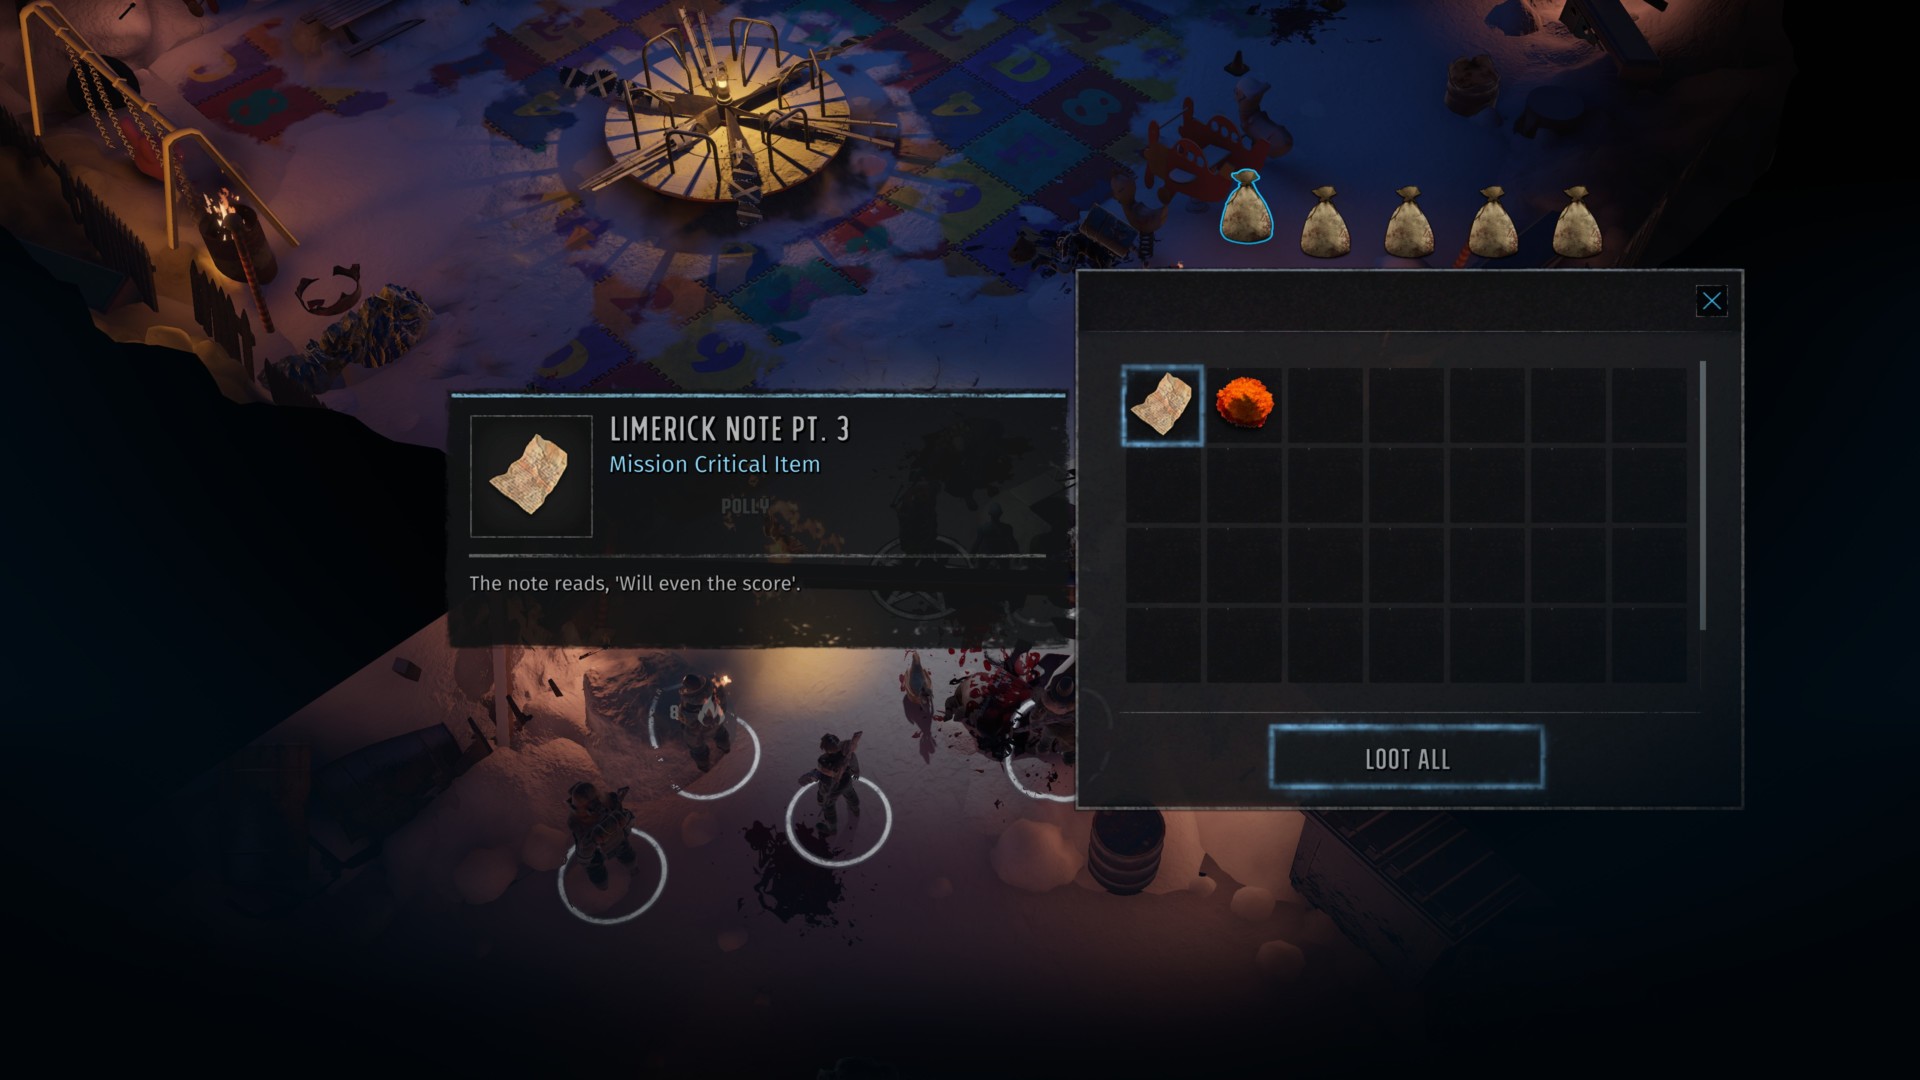
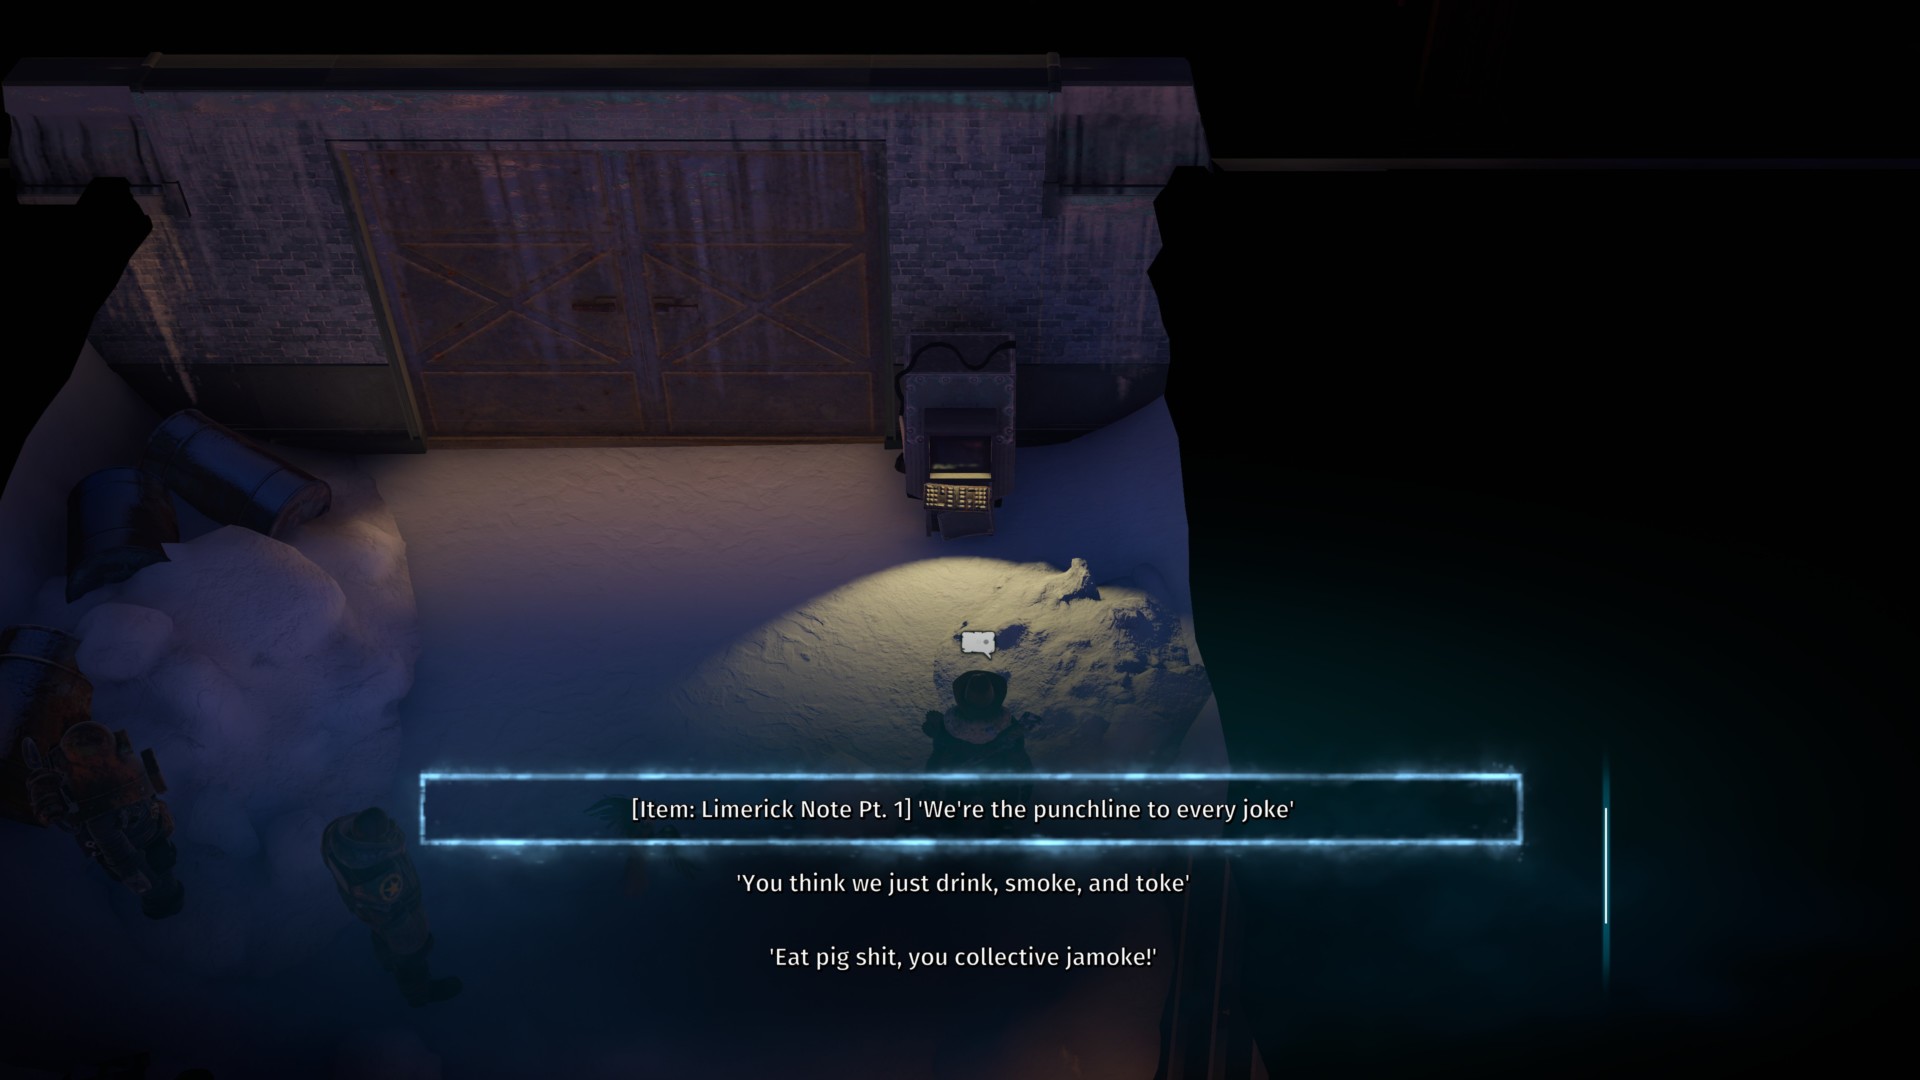
Our goal here is to find the “limerick clues” in various sections of this zone. There are also a few important items.
Limerick Note Pt. 3 is looted from one of the dead Payasos in the “playground” area (the one with the spinning carousel with spikes).
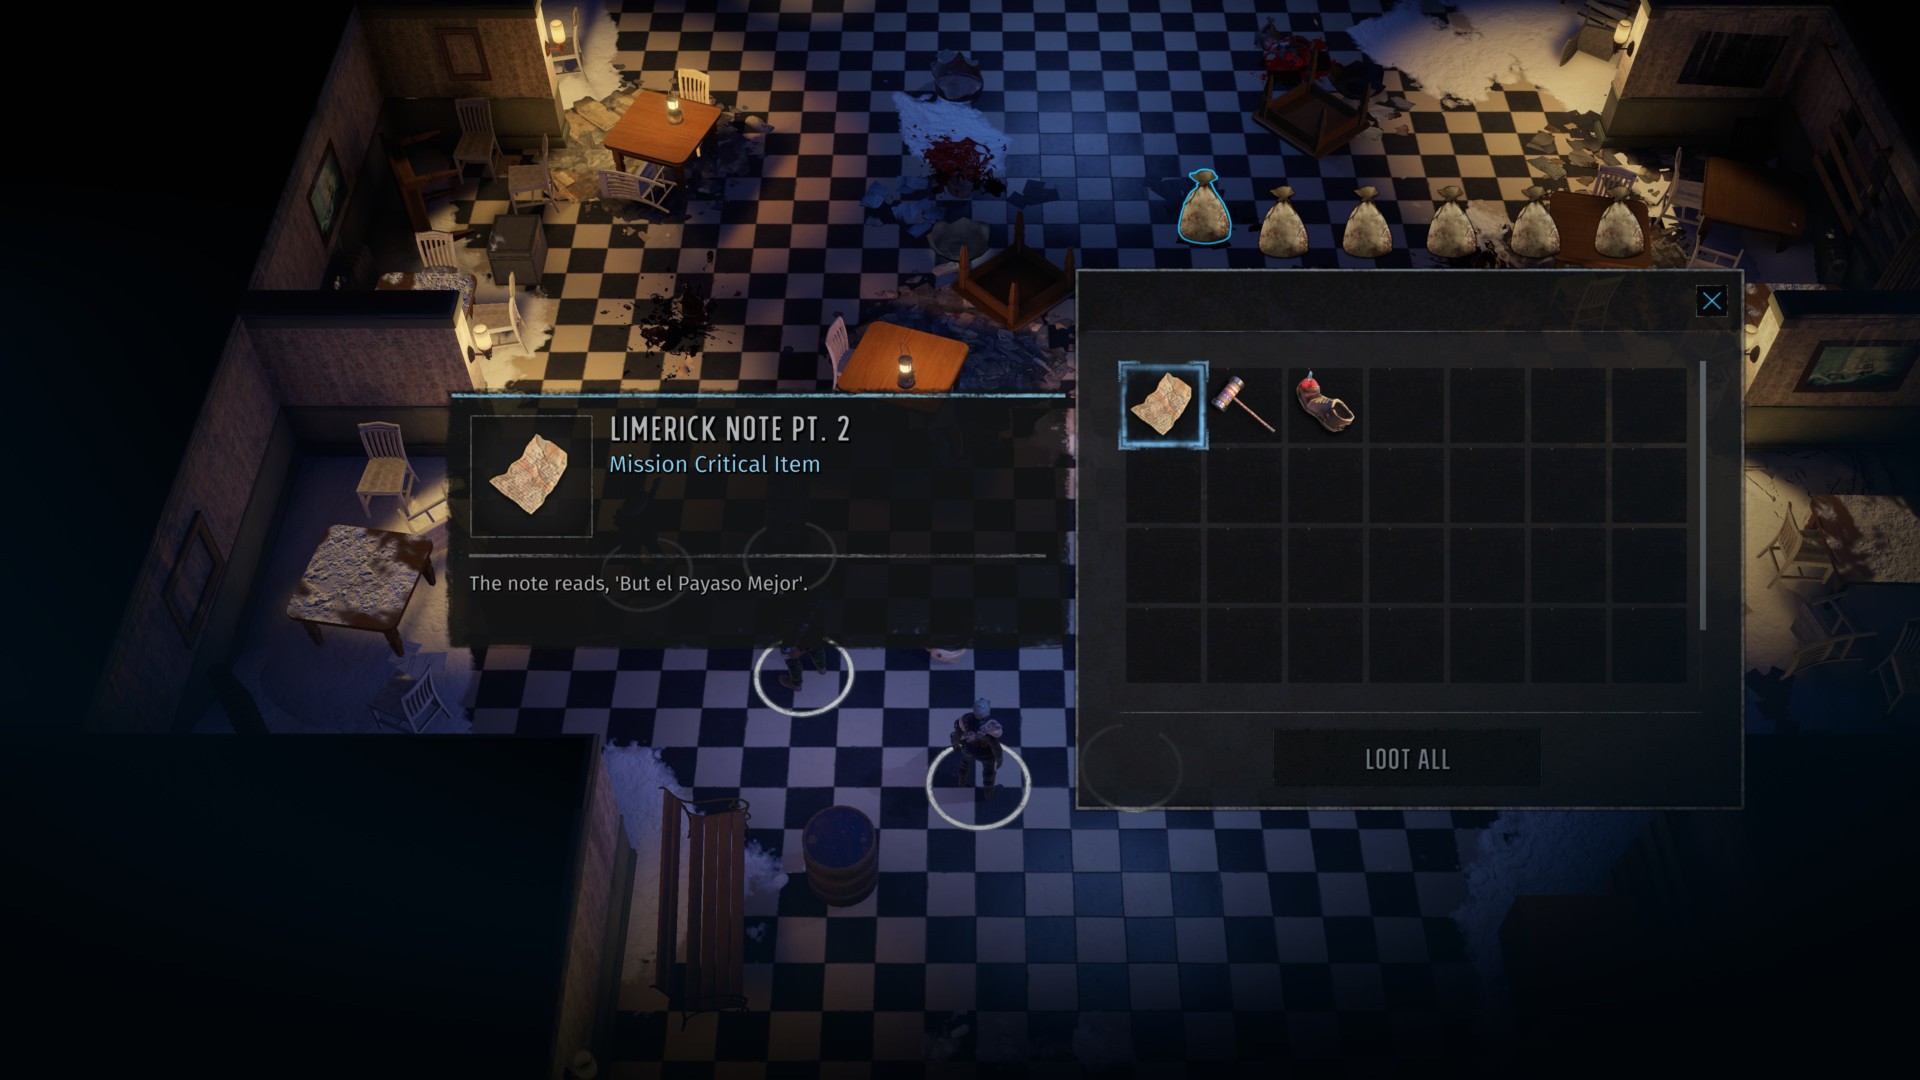
The dining room will lead to a battle against more Payasos. One of them drops Limerick Note Pt. 2 and the Clown Hammer melee weapon.
The dining room also has a vending machine. Nerd Stuff 5 lets you grab the Ramen Noodles. If you give this to Masato in The Bizarre – Interior’s plaza, he’ll head to Ranger HQ and become a vendor NPC there.
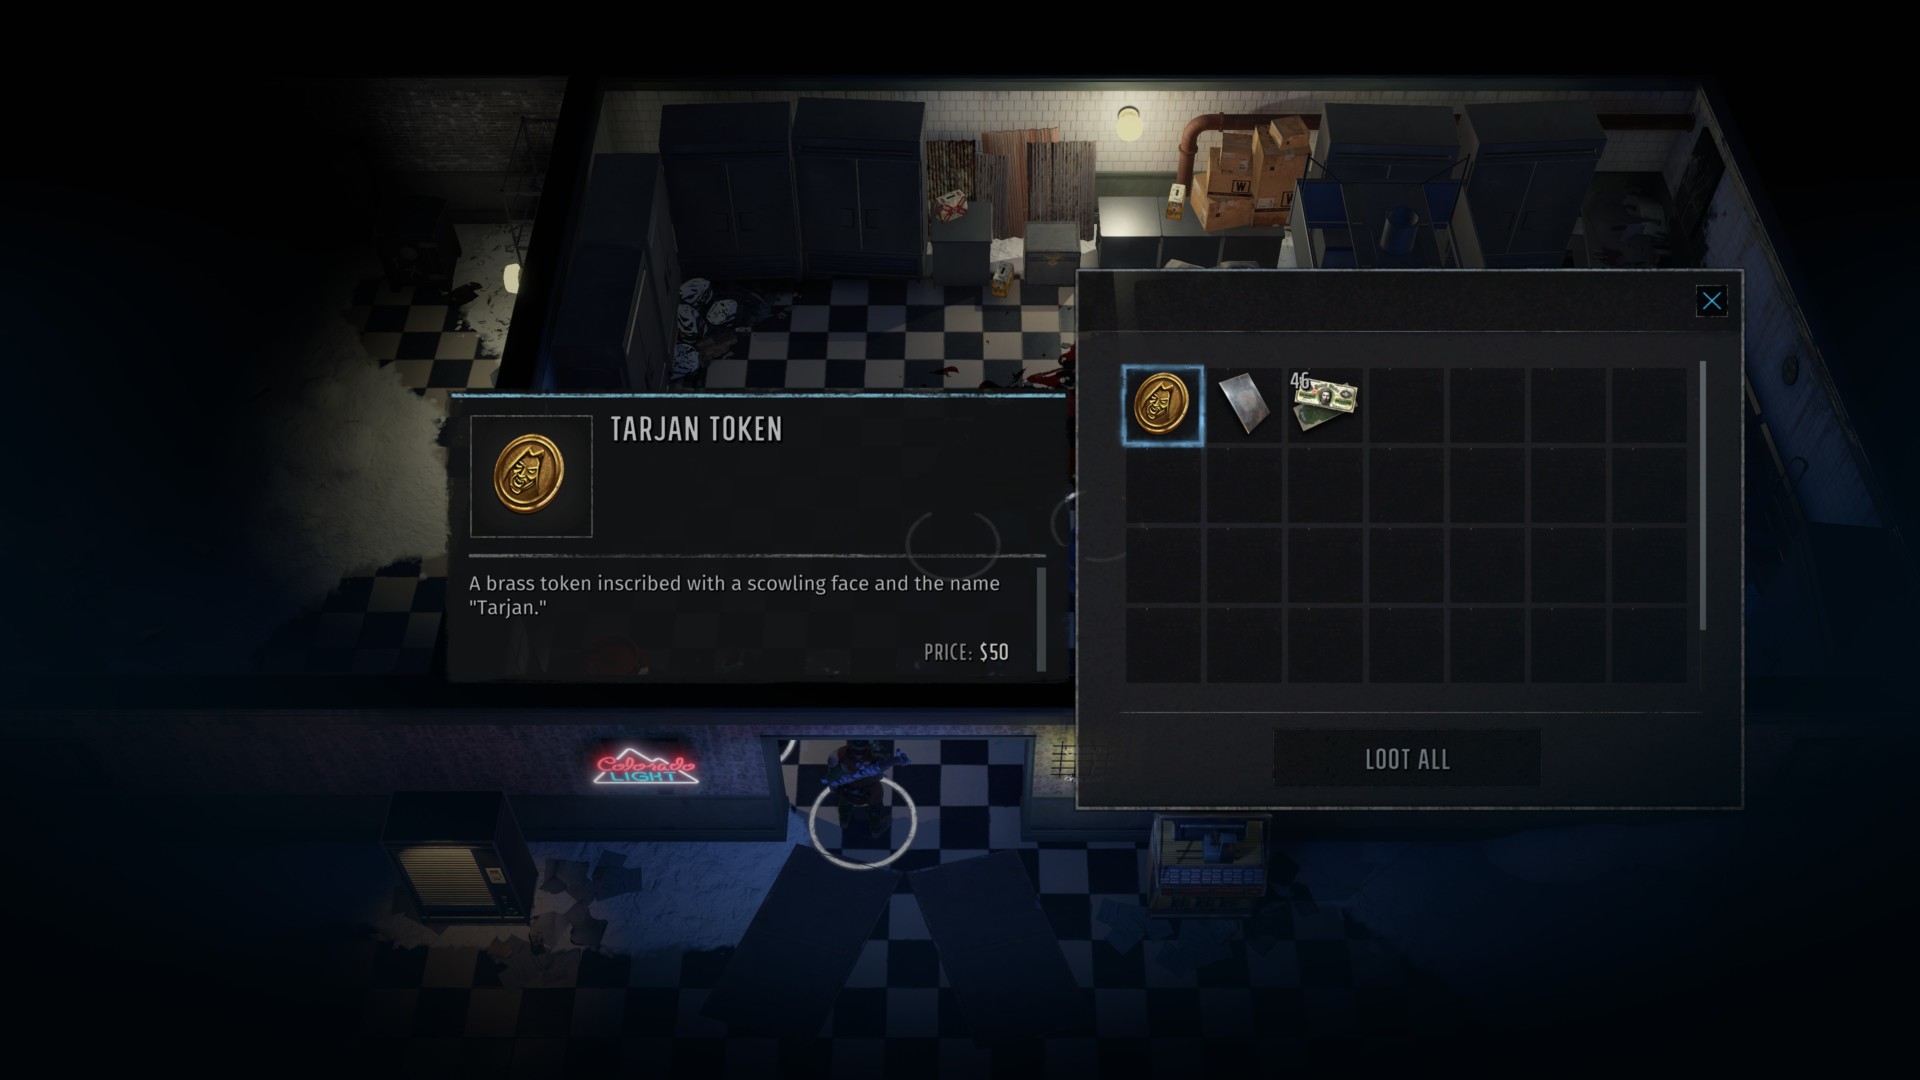
The kitchen has a toaster (Toaster Repair 5) which nets you a Tarjan Token.
The area next to that has the Perfume quest item (for Gwynplaine).
Eventually, you’ll reach the generator area and the storage rooms. This would’ve been where you dropped off from if you entered via the trapdoor in the Dentist’s Office.
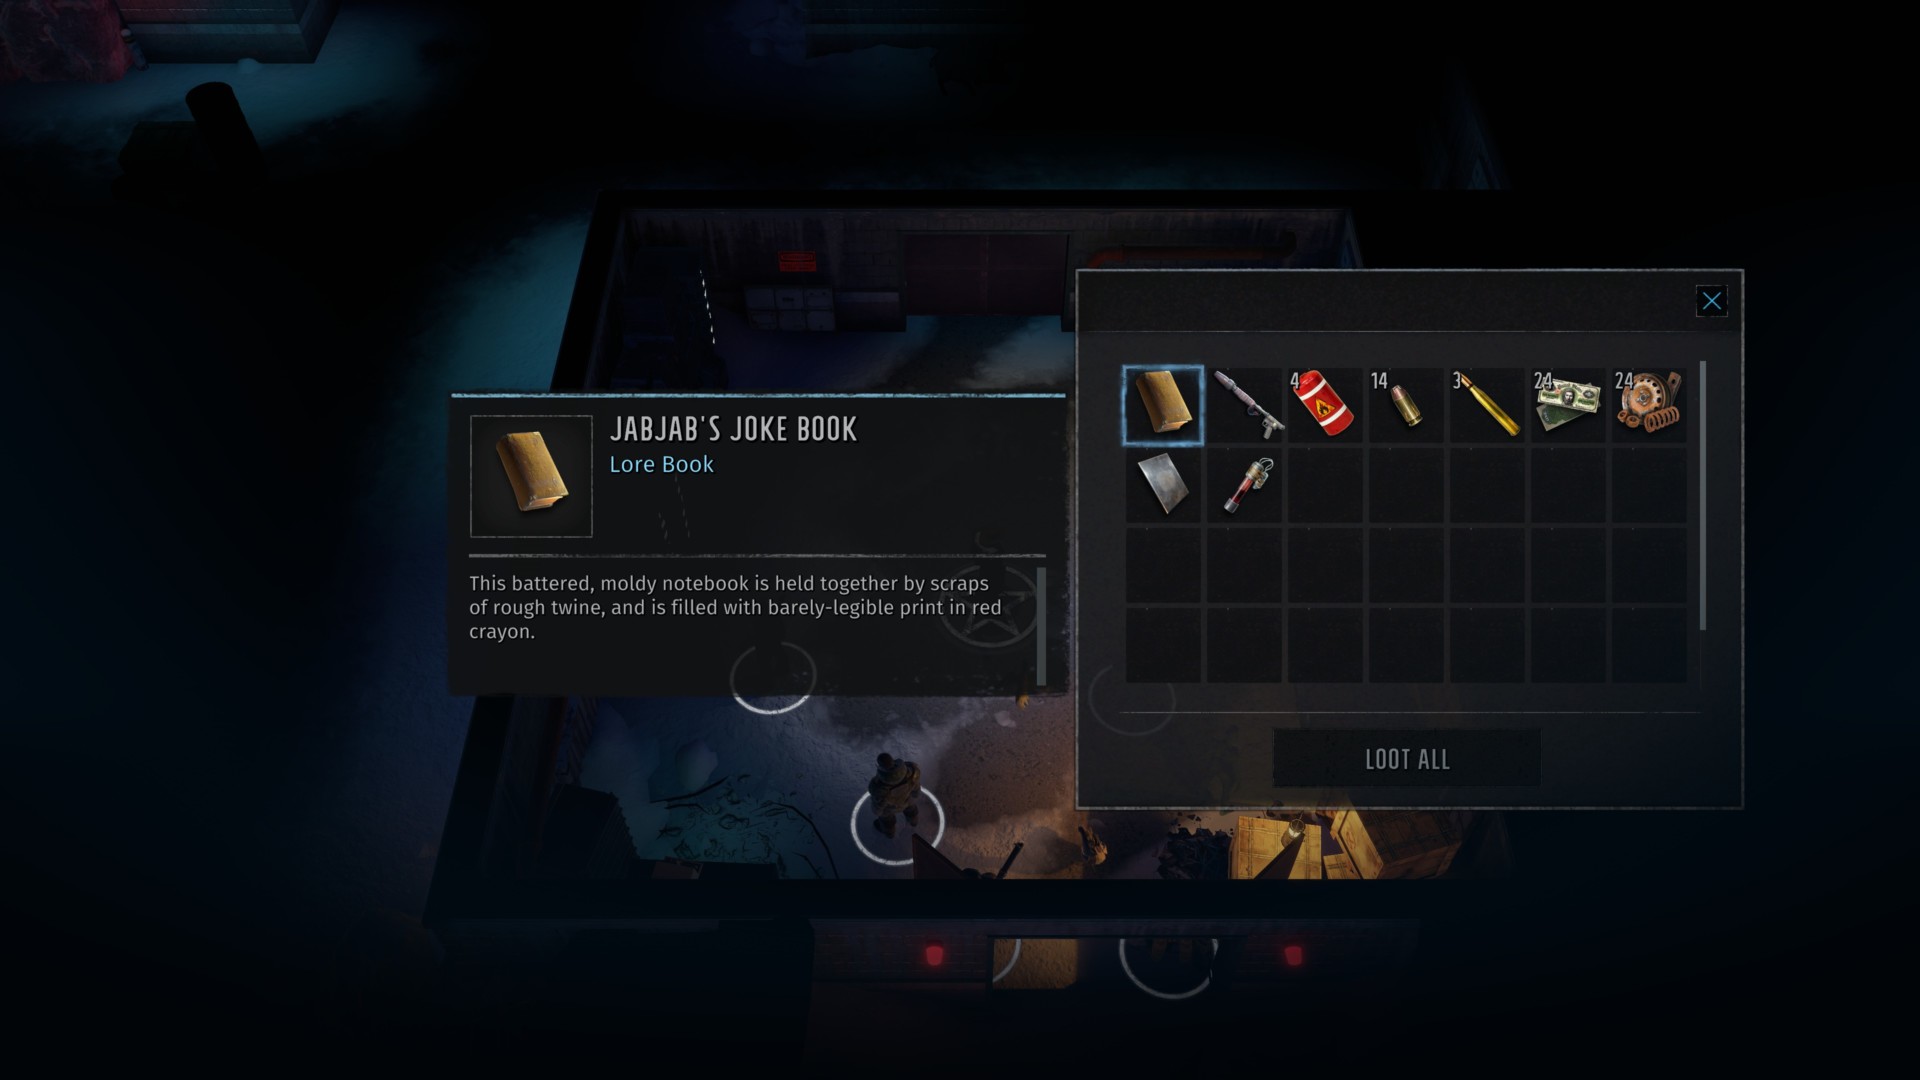
Mechanics 5 and Lockpicking 5 will let you interact with the contraptions and containers — you could get a lore book and a flamethrower.
If you access the terminal’s Temperature Controls, it’ll defrost the ice barrier coating one of the storage rooms too.
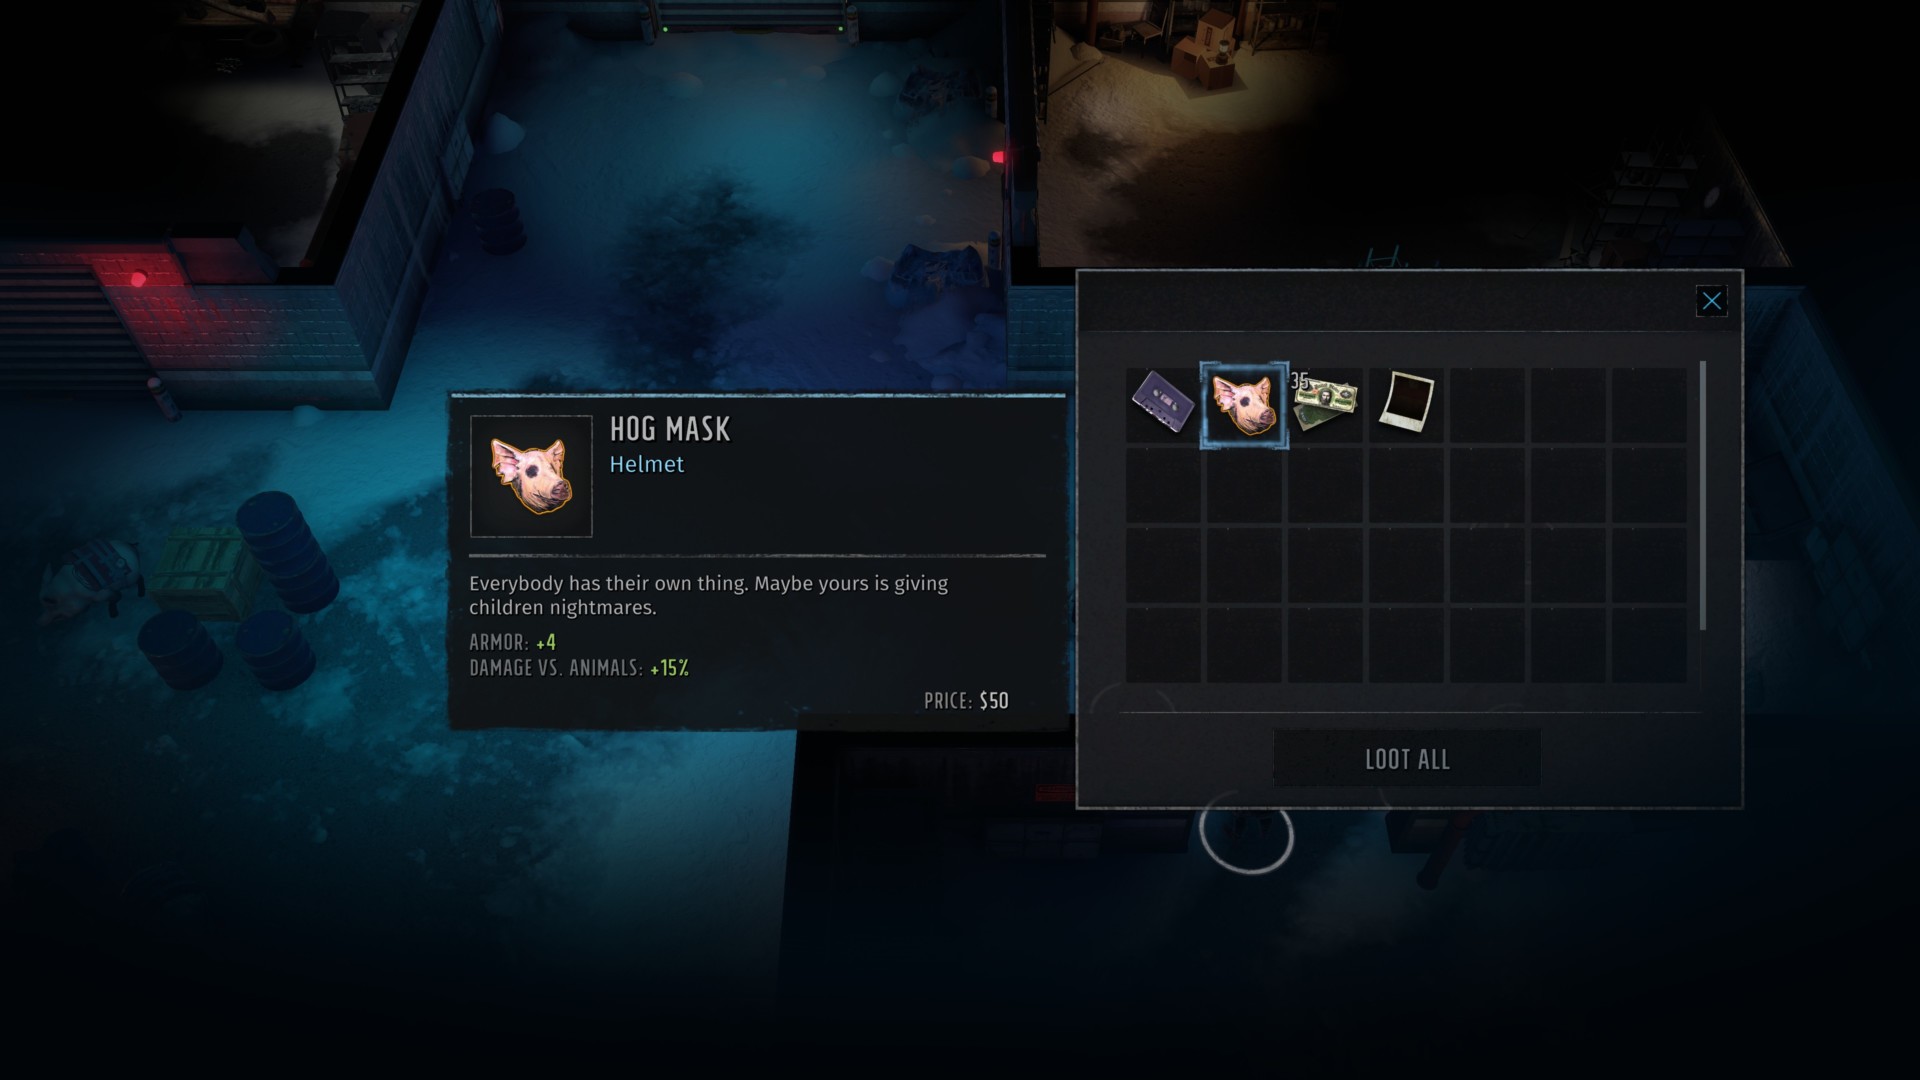
The other storage rooms also have chests with an audio cassette and Hog Mask. You can either use the Storage Unit keys you’ve picked up, or Lockpicking 7.
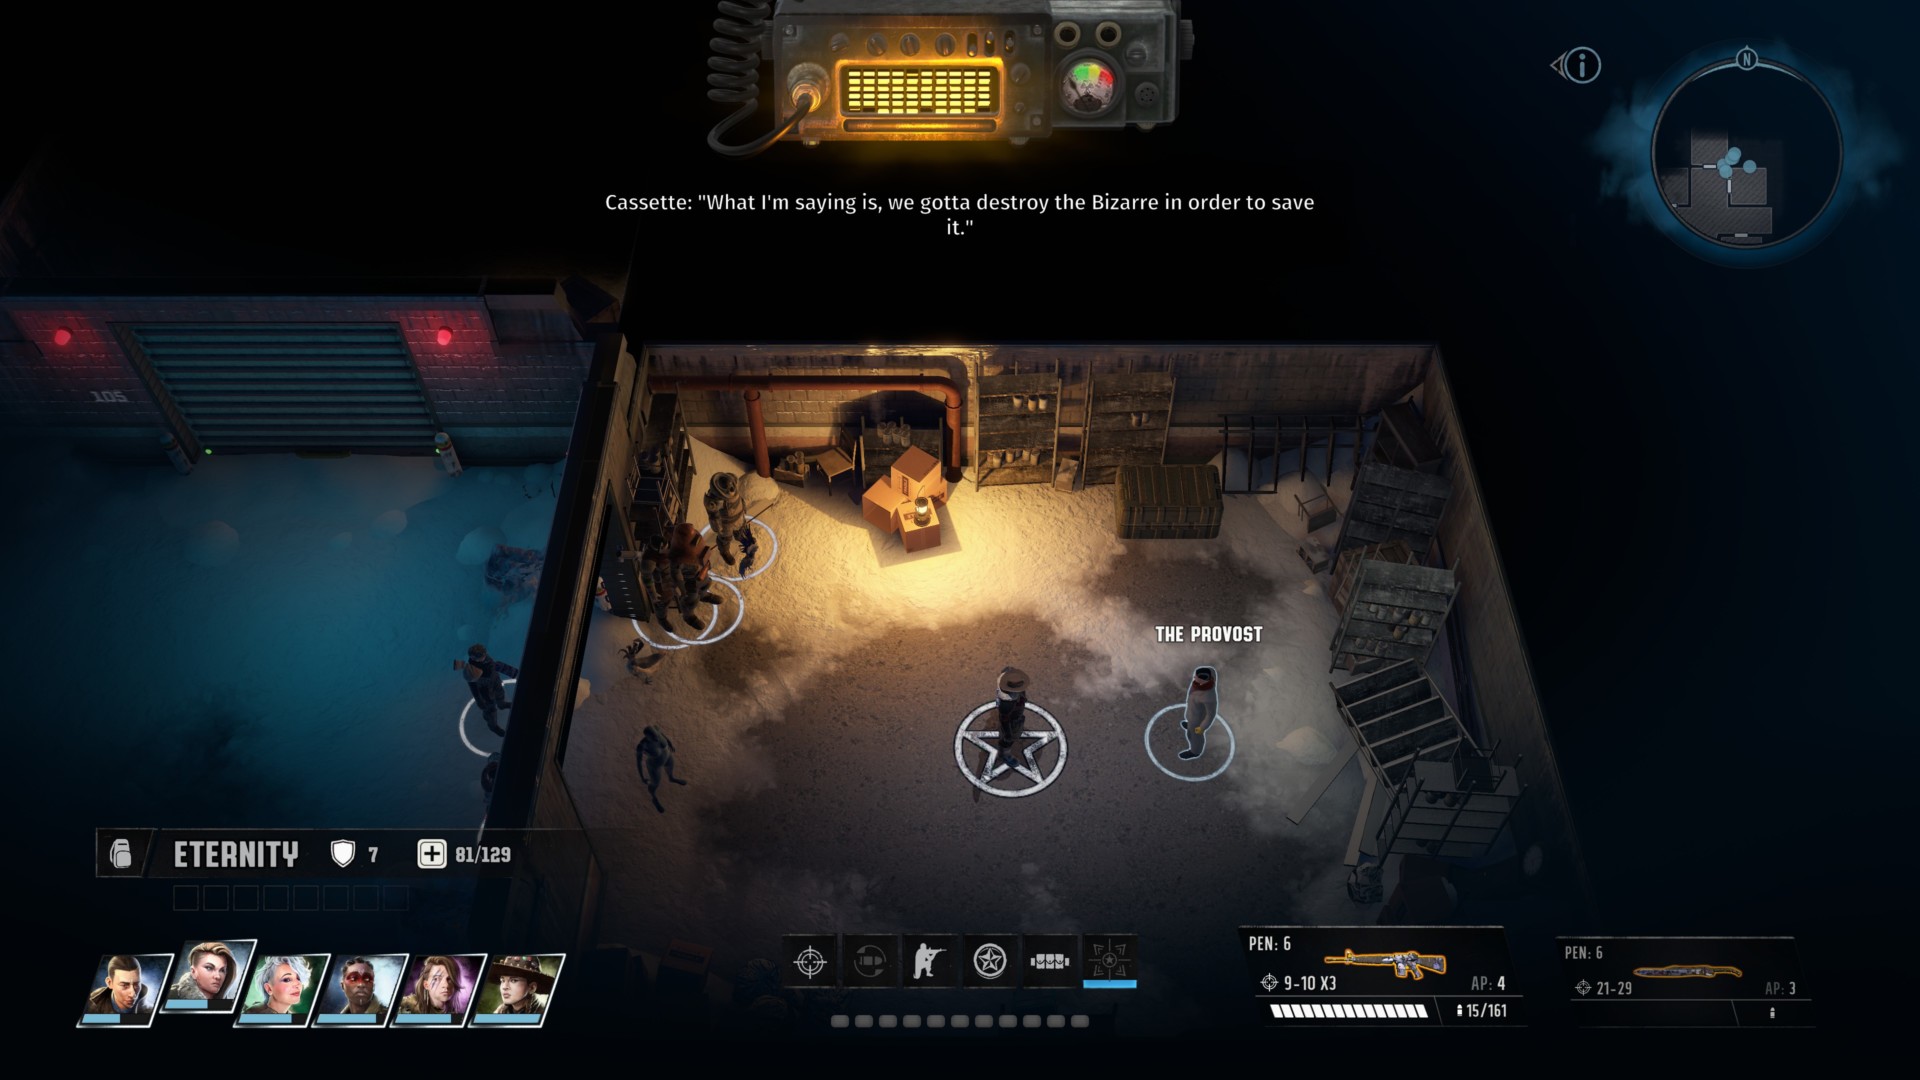
Oh, and one of the rooms has The Provost, a unique AI-controlled companion that nets you a Steam achievement.
Note: If you bring The Provost to the Snowed-Inn Resort and pick up a special item, he might lead you to a secret location.
In any case, go ahead and eliminate the Payasos in the area. You can pick up Limerick Note Pt. 1 from the dead guy here as well as the Scout Helmet.
Another storage room here has a safe (Lockpicking 7) that has the Frostbite cold-element revolver.
Make sure you’ve grabbed all the loot and limerick clues in various rooms. Go to the northern pathway leads to a large metal door and a terminal.
You can input the responses based on the limerick clues you’ve found.
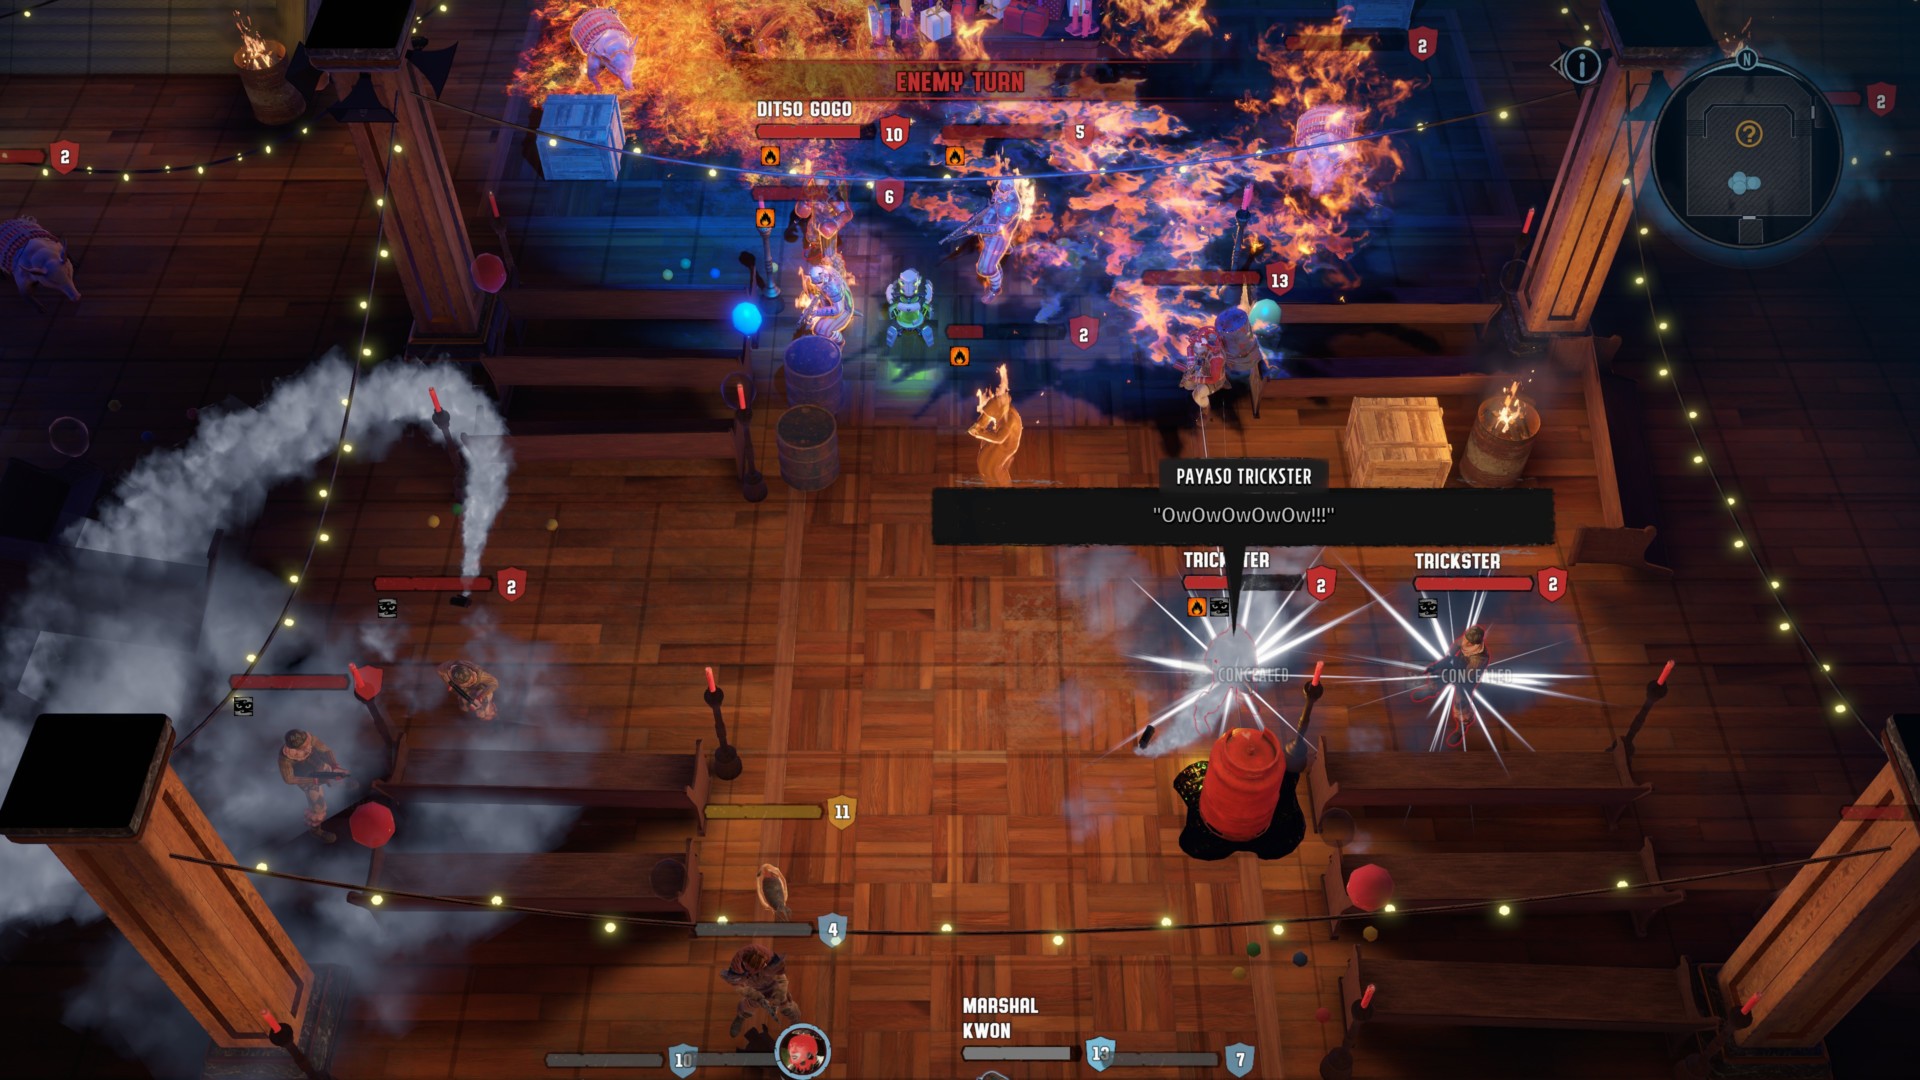
The next room looks like a shrine of worship for the Payasos. There are a dozen mobs here, including exploding pigs and, for some reason, the Great Gurn (the guy who made those prophecies earlier in the Hopefuls’ tent).
Kill them all and pick up the loot. You’ll find Ditso Gogo’s Safe Key, Ditso’s Letter, and a Nailbox weapon.
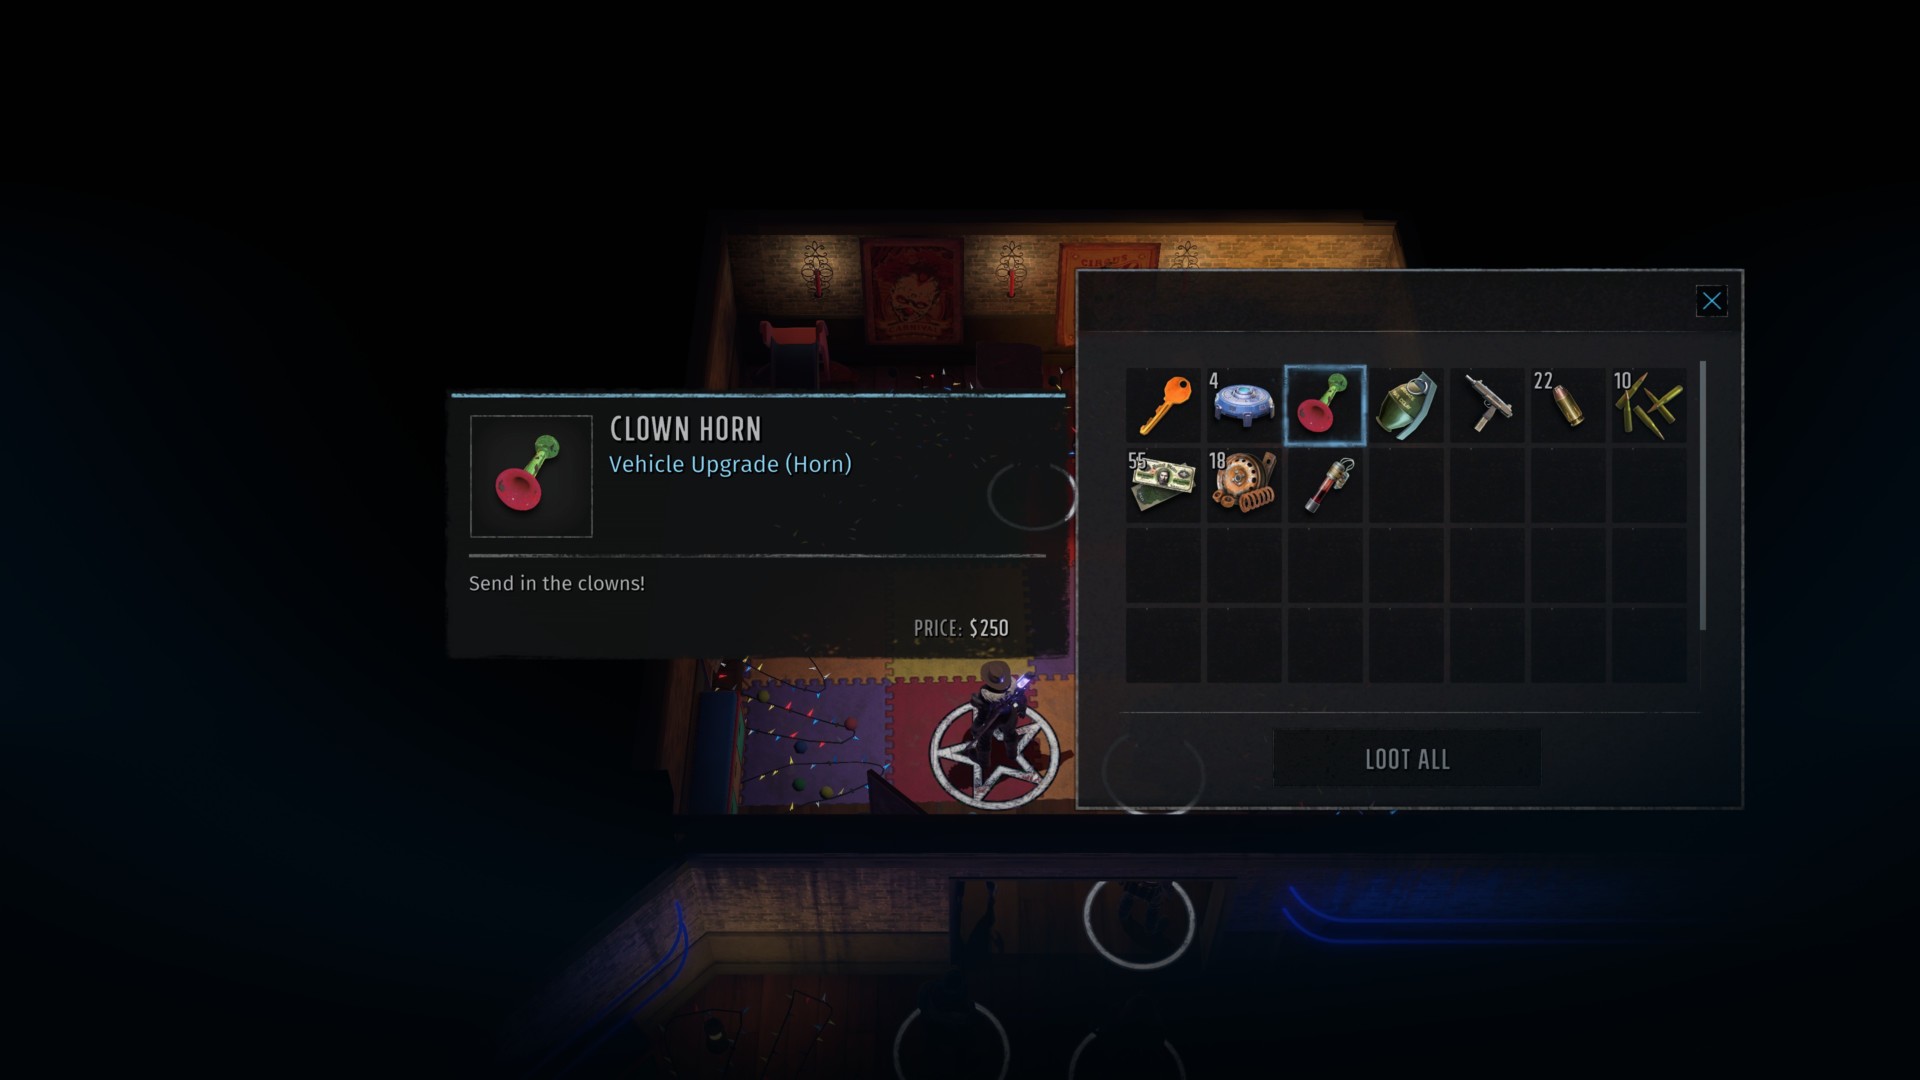
The room upstairs has Ditso’s safe containing a key for storage unit 107 (back in the storage room area), the Clown Horn Kodiak cosmetic, and several guns, ammo, and mods. You’re done here so return to Flab the Inhaler.
Flab will reward you handsomely for your help, including a boost to your Monster Army reputation.
What’s next?
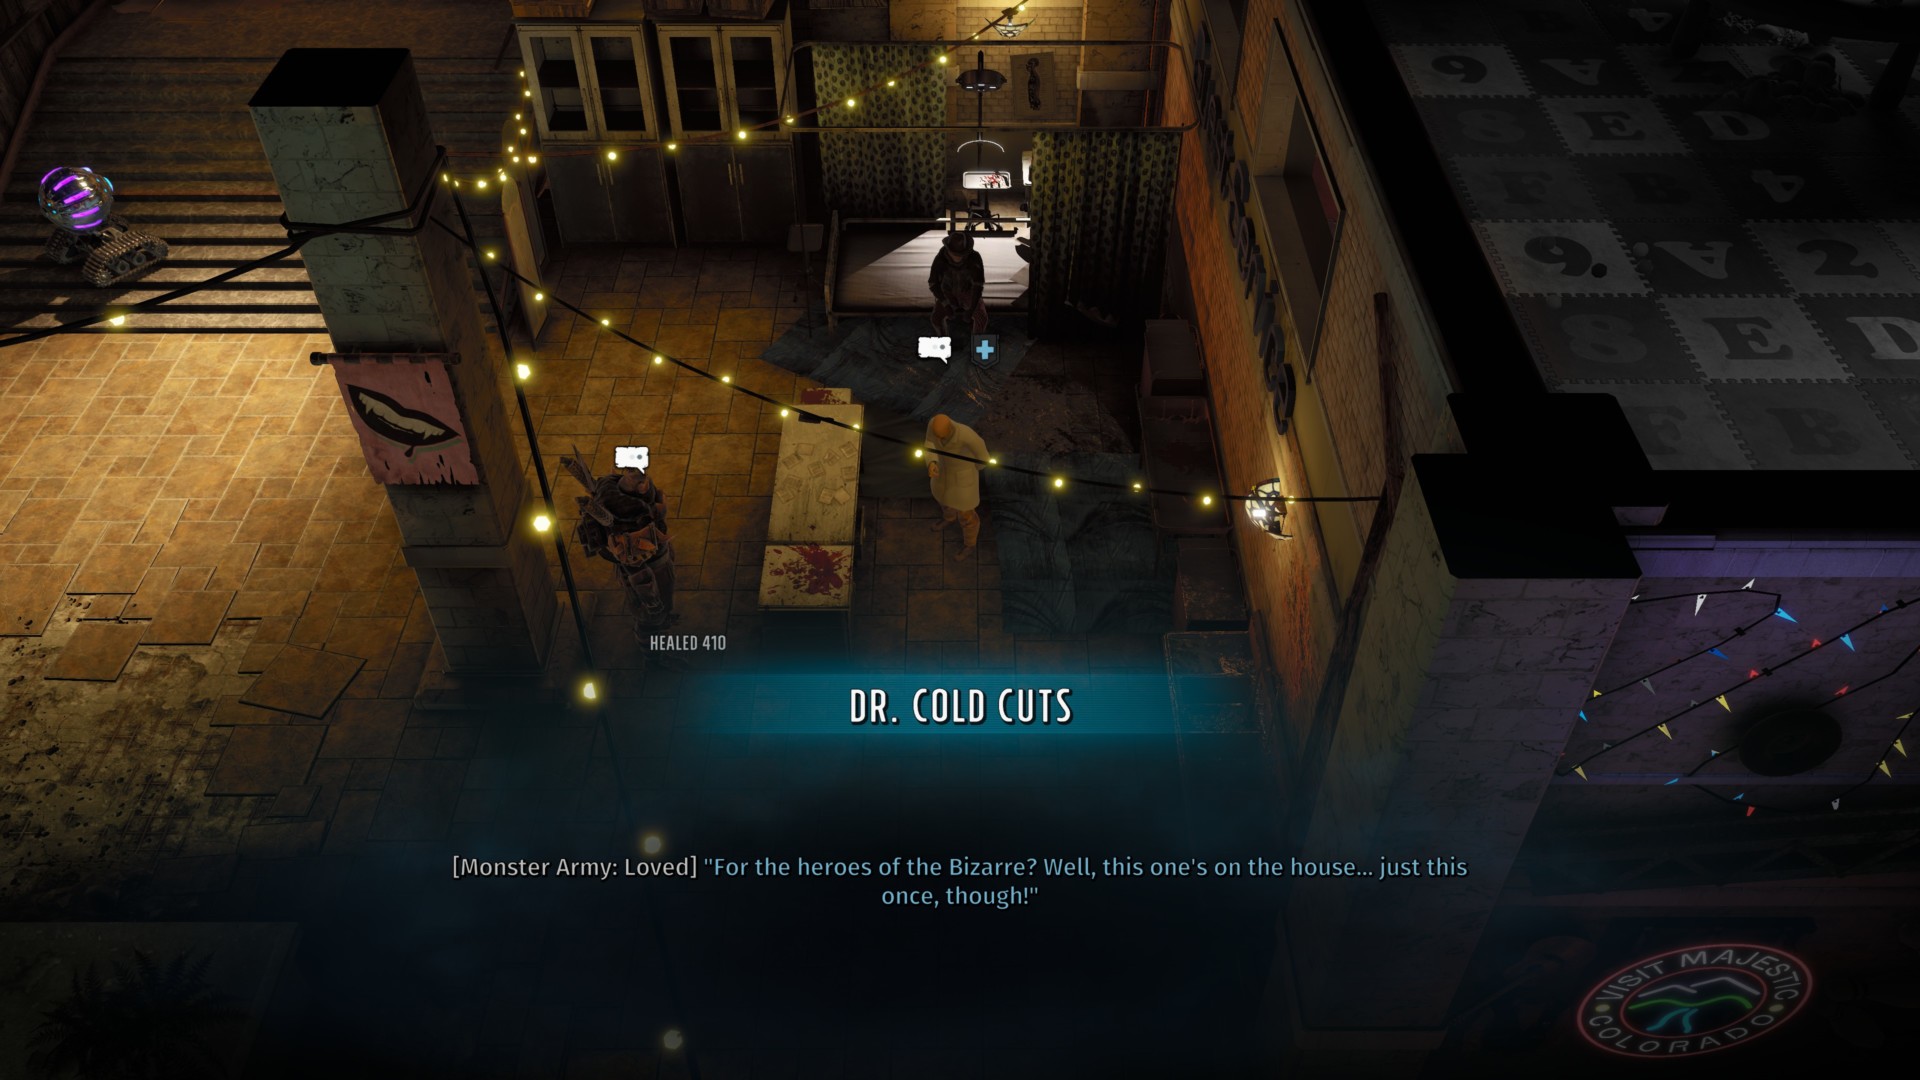
Well, Eidilon wants you to find movie reels in the Monster Army Bunker. Meanwhile, Randy Gett wants you to help him with some troubles in Gett Family Homestead. The Bizarre’s vendors will also have discounts; even the doctor will heal you for free (only once, though).
Likewise, don’t forget to speak with Masato and give him the Ramen Noodles so he can become a vendor in Ranger HQ. As for Ananda in The Bizarre – Exterior, helping the inhabitants will raise his opinion of you, and he’ll happily go to Ranger HQ as well.
Since you’ve spoken with Pareidolia Jones and he’s going to help the refugees, you should return to Colorado Springs and speak with Mama Cotter (as part of the main quest). Now, once you do reach the world map, you’ll get a message from an important character, one that Wasteland series vets will be familiar with.
Important: Your task is to rescue a prisoner — Ironclad Cordite — who’s being held in the Old Survivalist Bunker. Having him in your squad will drastically alter the final 1/3 of your Wasteland 3 campaign.
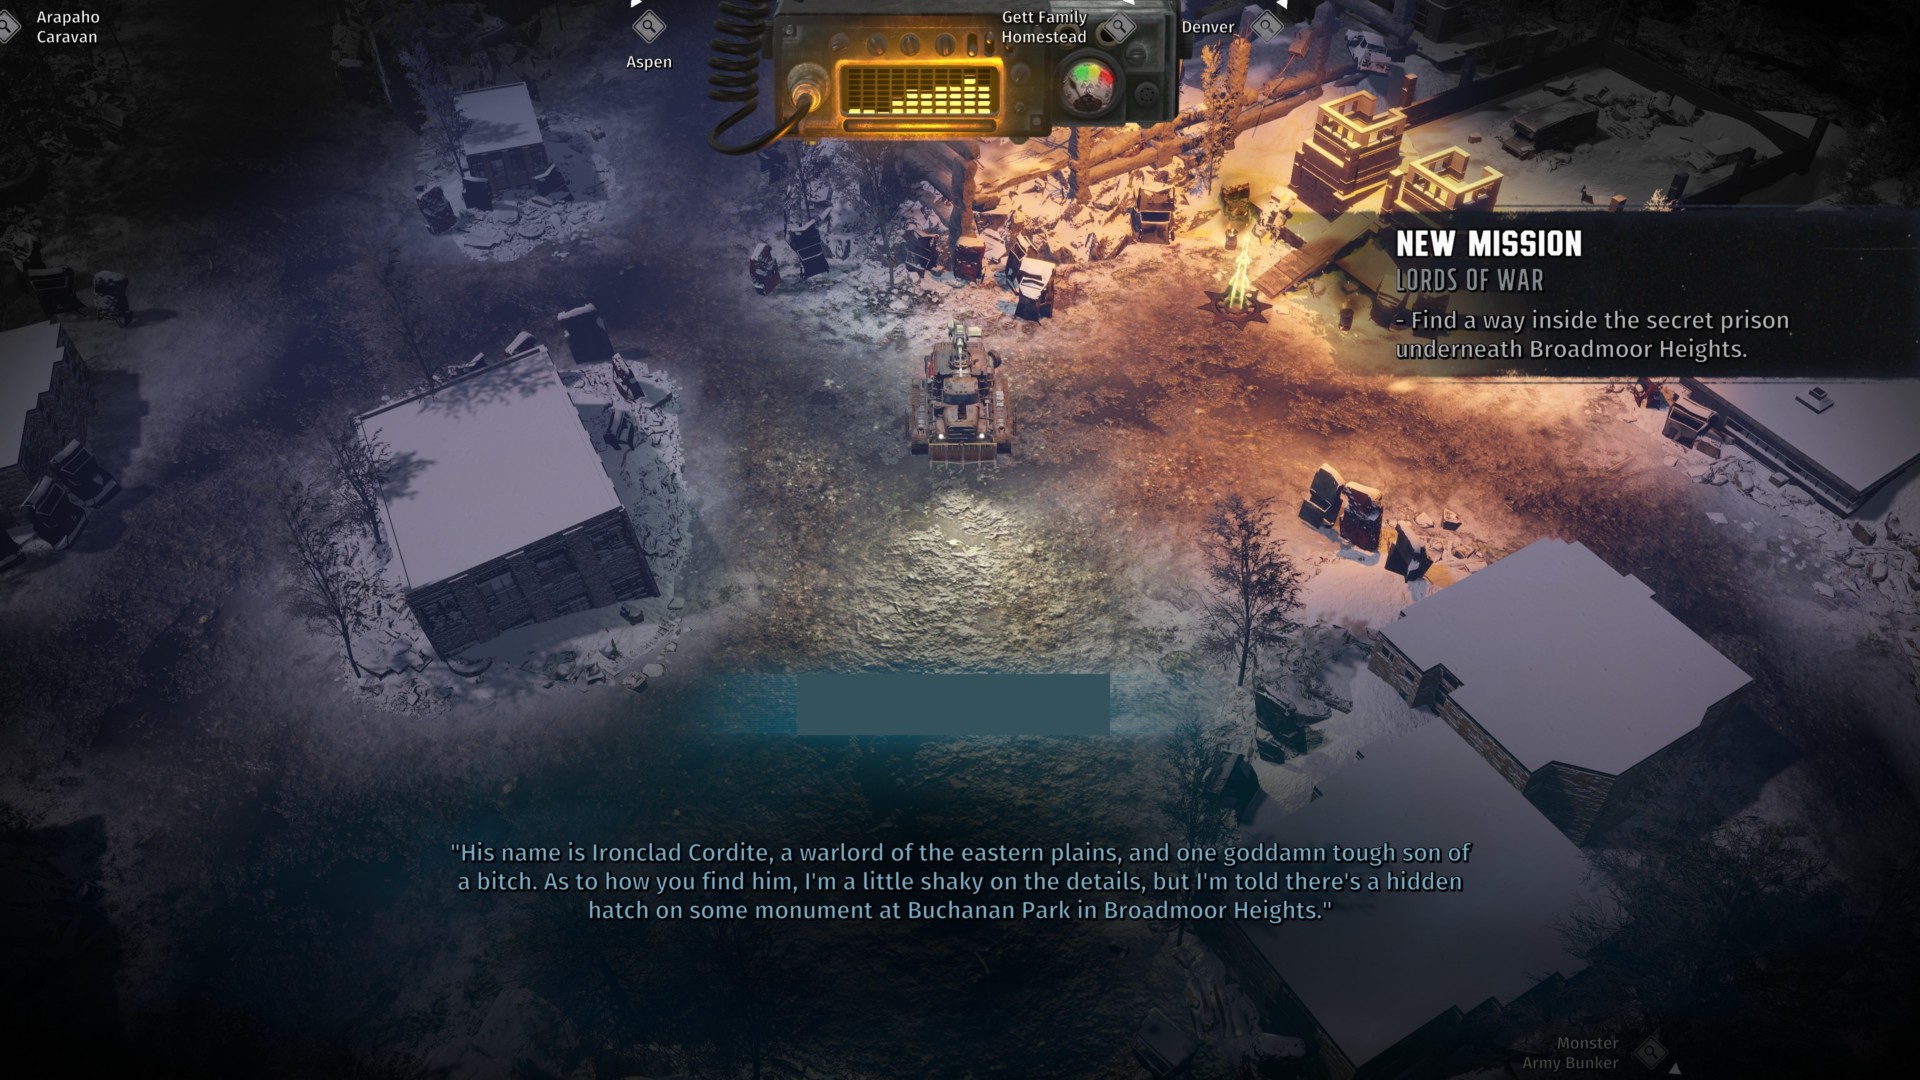
Before we go there, however, let’s just get back to Colorado Springs. Once you reach the area, you’ll receive a message from Charley Knowes (in case you didn’t kill him). He wants “A Very Hostile Takeover” of The Bizarre (which is a sidequest you can do later).
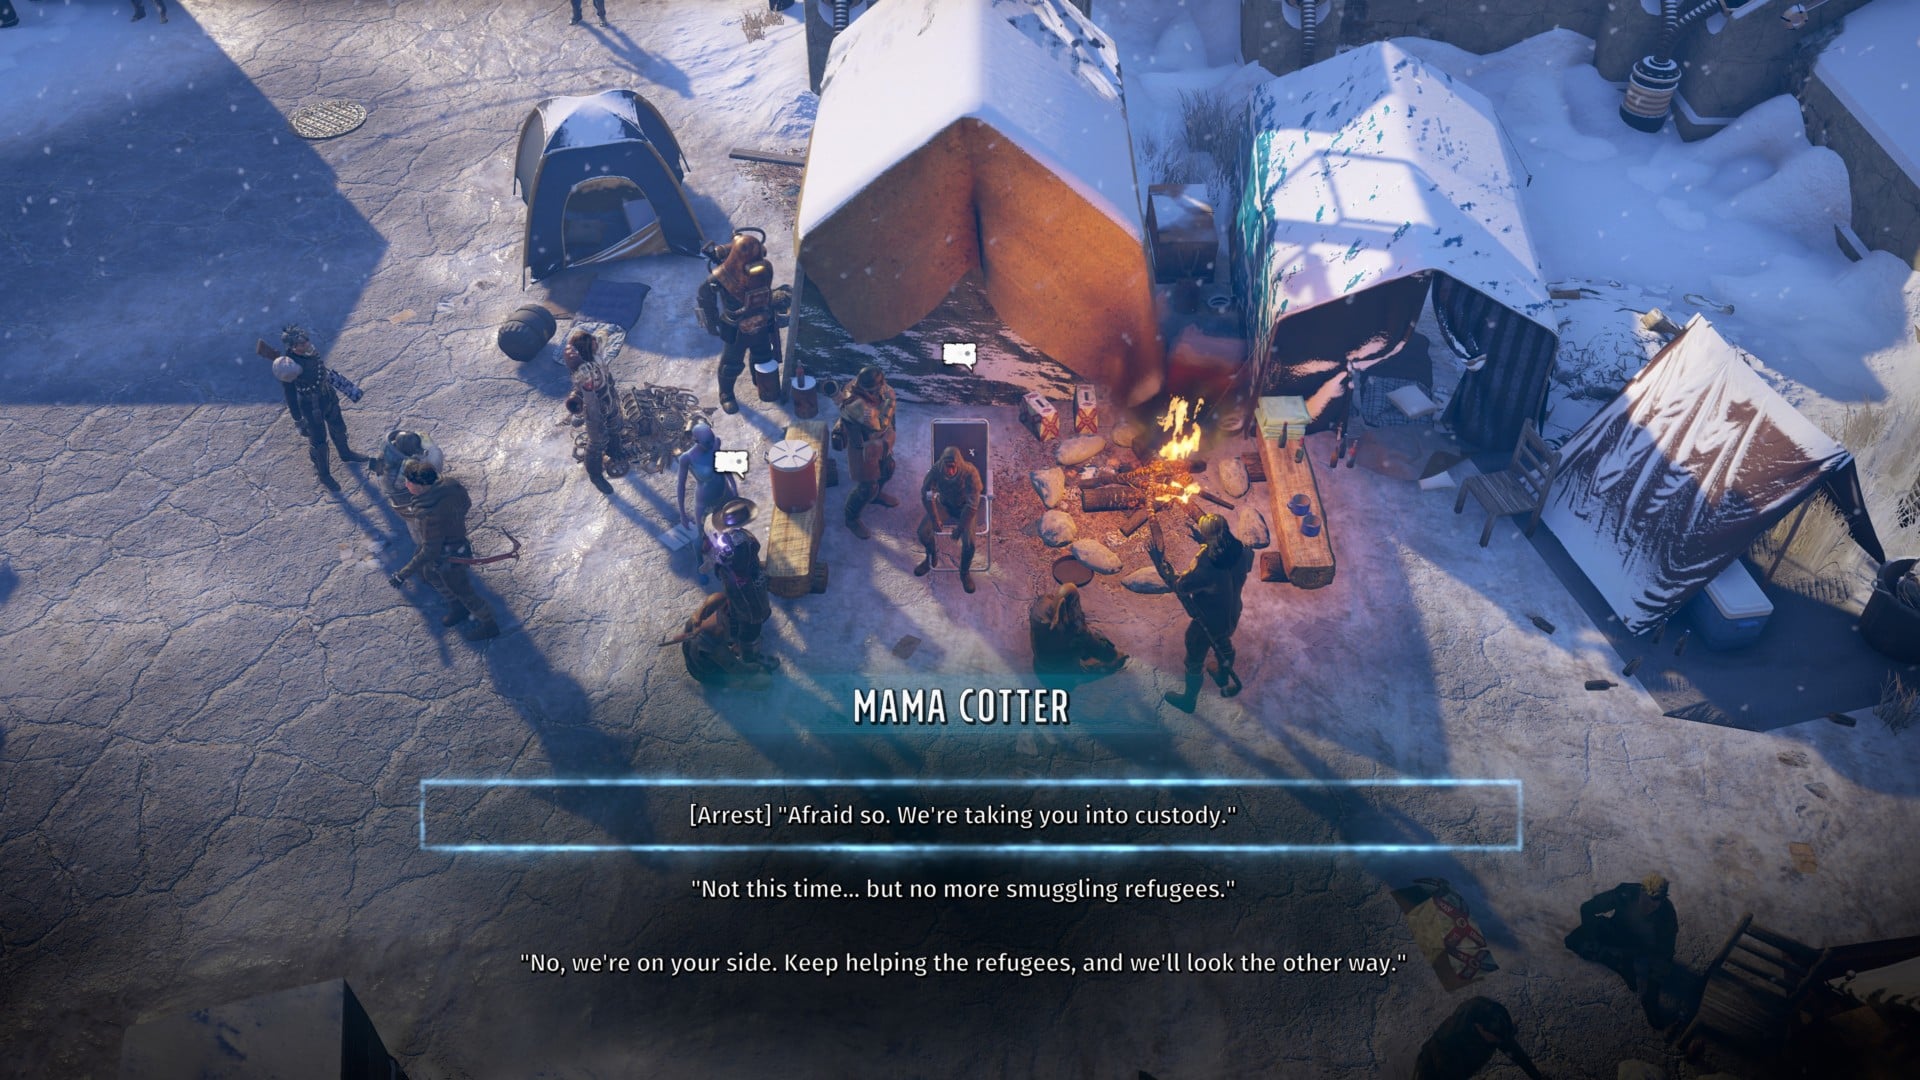
Important: For now, speak with Mama Cotter (who’s just outside the Arapaho Garage/Doc Parker’s Clinic). You have two options:
- Arrest her for conspiring with a smuggler – Increases Hundred Families rep; lowers Wastelander Refugees rep; Gideon Reyes sends the Arapaho mechanics to help in Ranger HQ’s garage; Gideon Reyes becomes a political advisor (Ranger HQ staff).
- Let her go and allow her to continue helping refugees – Increases Wastelander Refugees rep; lowers Hundred Families rep; Mama Cotter sends her kids to help in Ranger HQ’s garage.
Return to Ranger HQ. You’ll find new stuff in the garage, some incidents, and maybe even a unique companion.


Published: Aug 26, 2020 07:45 pm