Given that Mortal Shell is a Souls-like game, a subgenre known for its punishing difficulty, you’ll no doubt run into some problems (and maybe dozens of deaths). Here’s our beginner’s guide to help you with several combat and survival tips.
Note: For more information, check out our Mortal Shell guides and features hub.
Mortal Shell: Combat and survival beginner’s guide
Defeating Hadern
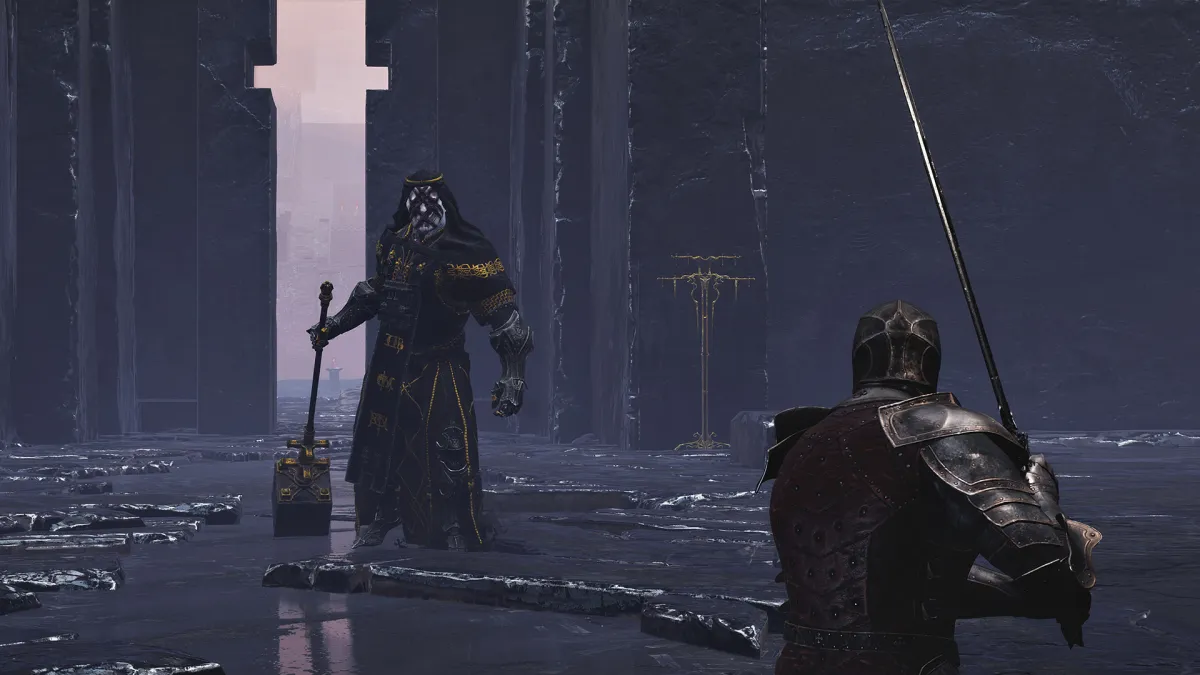
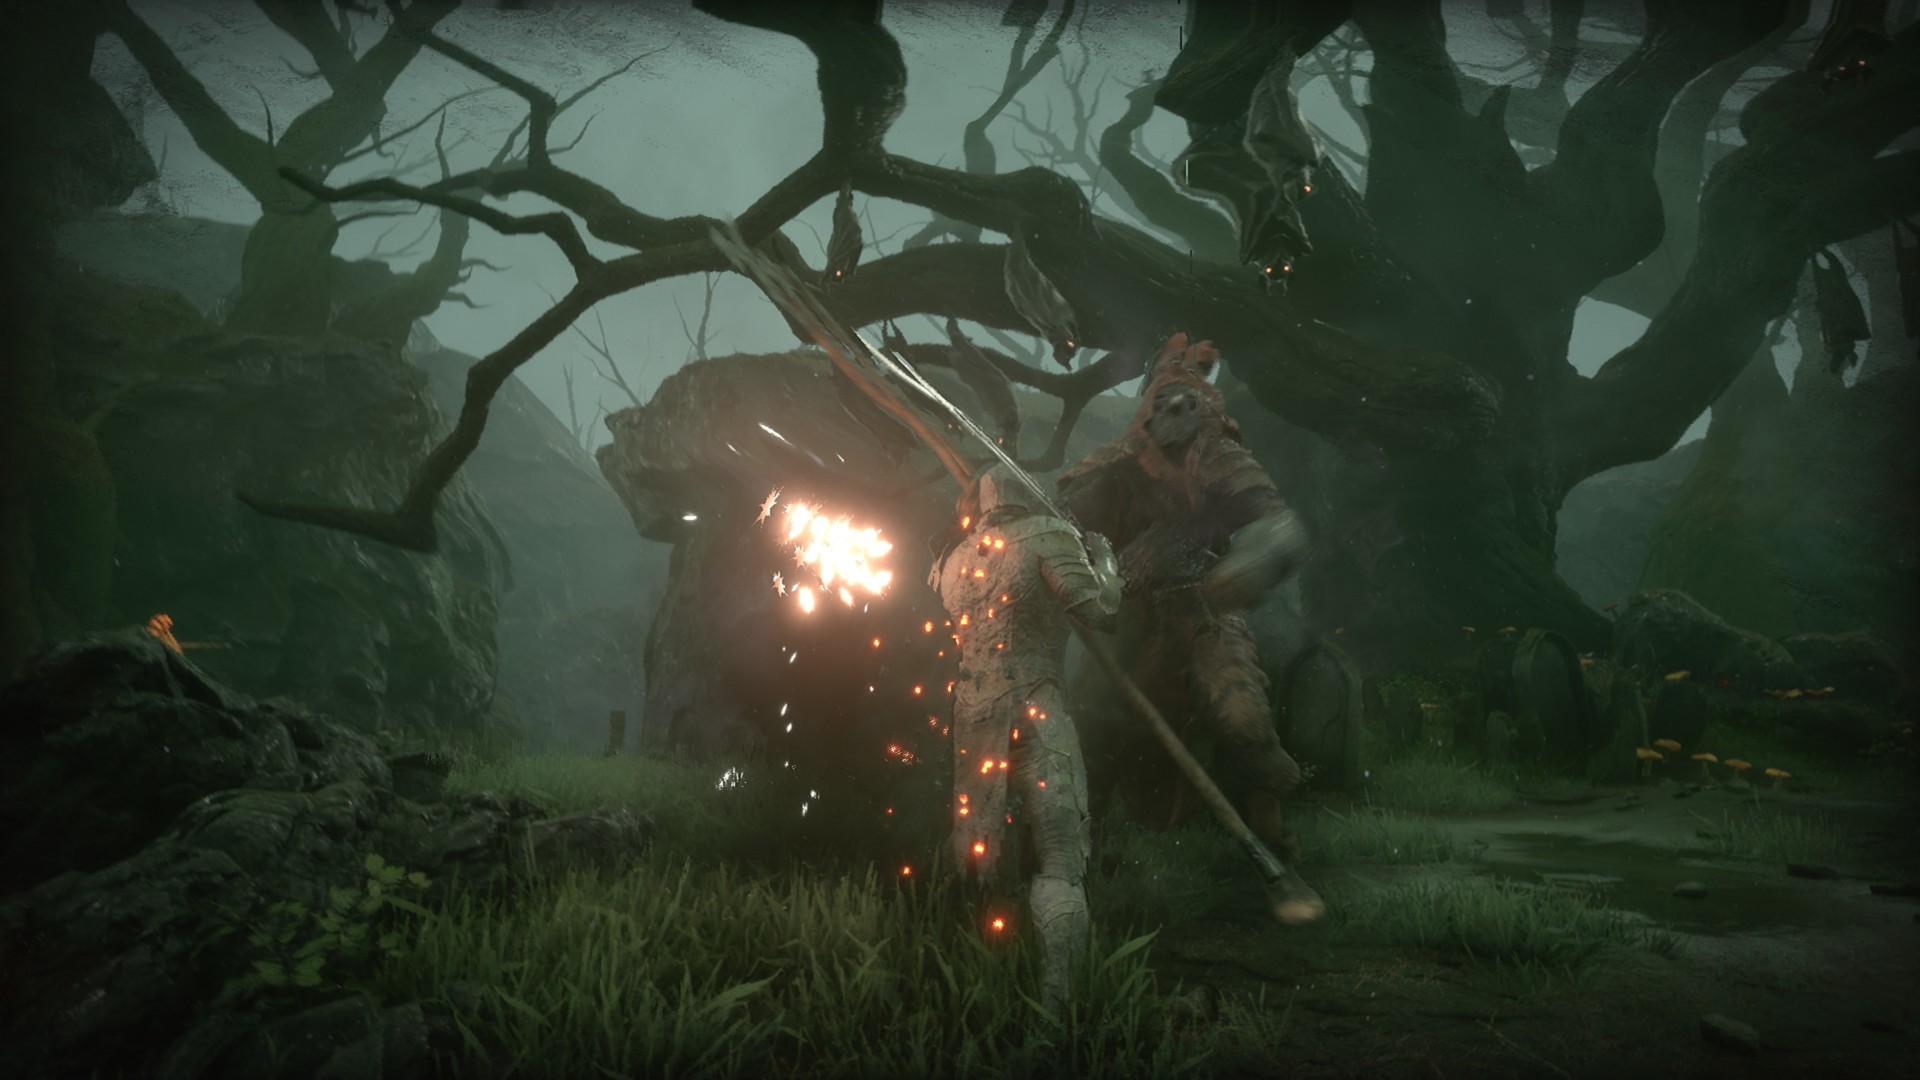
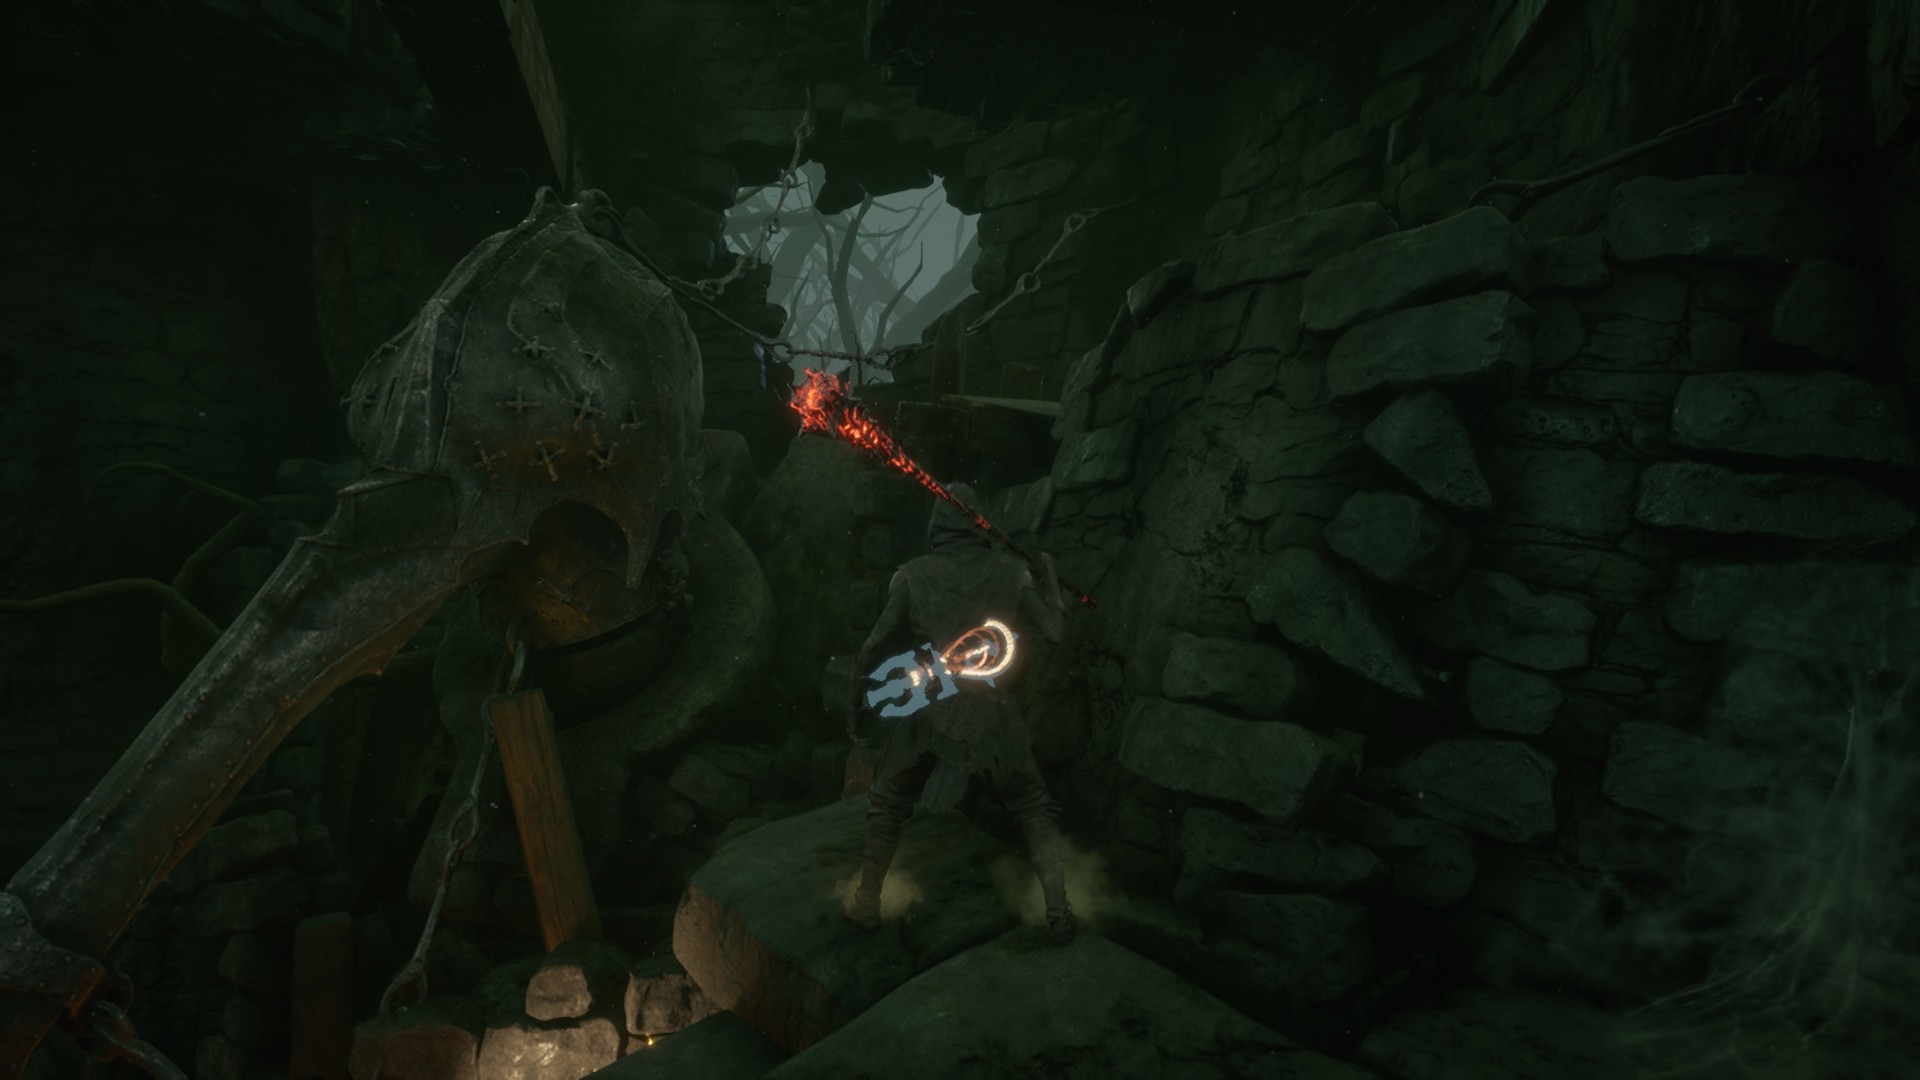
Hadern is a miniboss that you’ll fight in Mortal Shell‘s tutorial area. I guess that’s an anagram for the “harden” mechanic, eh? You don’t actually need to defeat him since he’ll just disappear once you’re at low health. Heck, you’d even encounter him from time to time much later.
However, if you’re able to best this weapon master, you’ll get a “Glimpse of Reverie.” This consumable gives you 15 glimpses which are very helpful for the leveling/upgrade process (more on this later).
You can watch the Hadern tutorial fight in the video below from YouTuber Rubhen925:
Fallgrim Tower: Your central hub
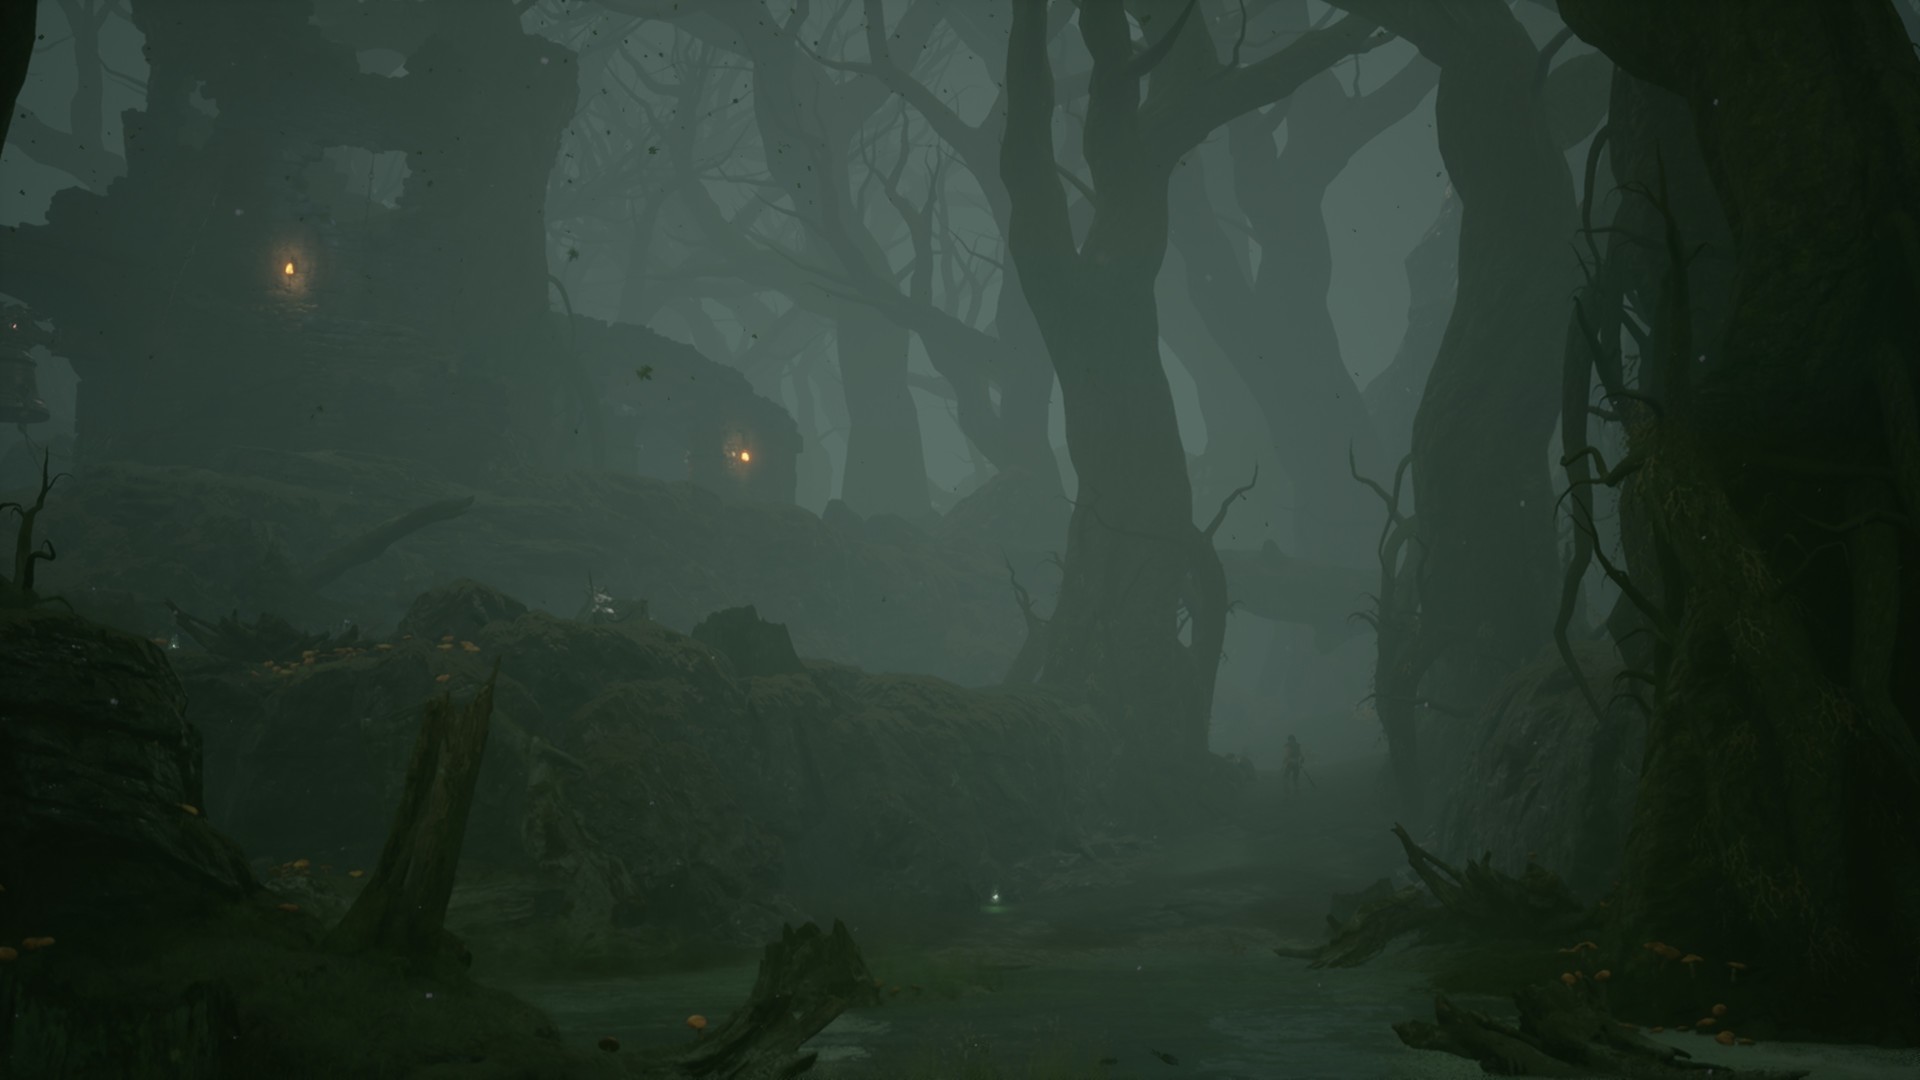
After getting past Mortal Shell‘s tutorial area, you’ll reach the dreary and creepy swamplands of Fallgrim. An insight or vision will then point you towards the tower in your current location. This will act as your central hub.
There are several NPCs in Fallgrim Tower such as Sester Genessa (bonfire), Vlas (a merchant who has a cute cat), the Old Prisoner (related to overall progression), and Thestus (you won’t meet this character until much later).
Sester Genessa: Saving, healing, and fast travel
An NPC called Sester Genessa acts as Mortal Shell‘s “bonfire” since she’ll be your savepoint in most areas. Although the game autosaves your progress frequently, you’ll end up at her location whenever a save is loaded (i.e., when your character dies).
Likewise, you can speak with her to “sip the Divine Tar” which heals you completely, but it also respawns all regular enemies in the zone. This action also opens the perks/level-up panel for your equipped shell (more on this later). As for fast travel, this will become available after maxing out a shell’s upgrades and buying one of her items (Ornate Mask).
Before I forget, other methods of healing include:
- eating Weltcap mushrooms; mushroom-type items will regrow after time passes and you can essentially “farm” them
- eating Roasted Rat
- using a Mortal Token (where you can harden/block an attack and the damage would heal you)
- unlocking one of Tiel the Acolyte’s perks and suffering from poison damage (i.e., eating a Tarspore mushroom)
- using a Scripture of Euphoria and successfully parrying an attack
- doing an enhanced riposte with a particular special ability
Of course, you wouldn’t really know what these items do in-game just yet. The only way their effects are revealed to you is after you use them.
Note 1: Your character slightly slows down during the item usage animation. Still, you can press the use button (“Q” or up via the d-pad) several times and this sometimes lets you use multiple items. It’s perfect for stacking healing-over-time effects.
Note 2: For more about Mortal Shell‘s items and their usage, check out our vendors, items, and familiarity guide.

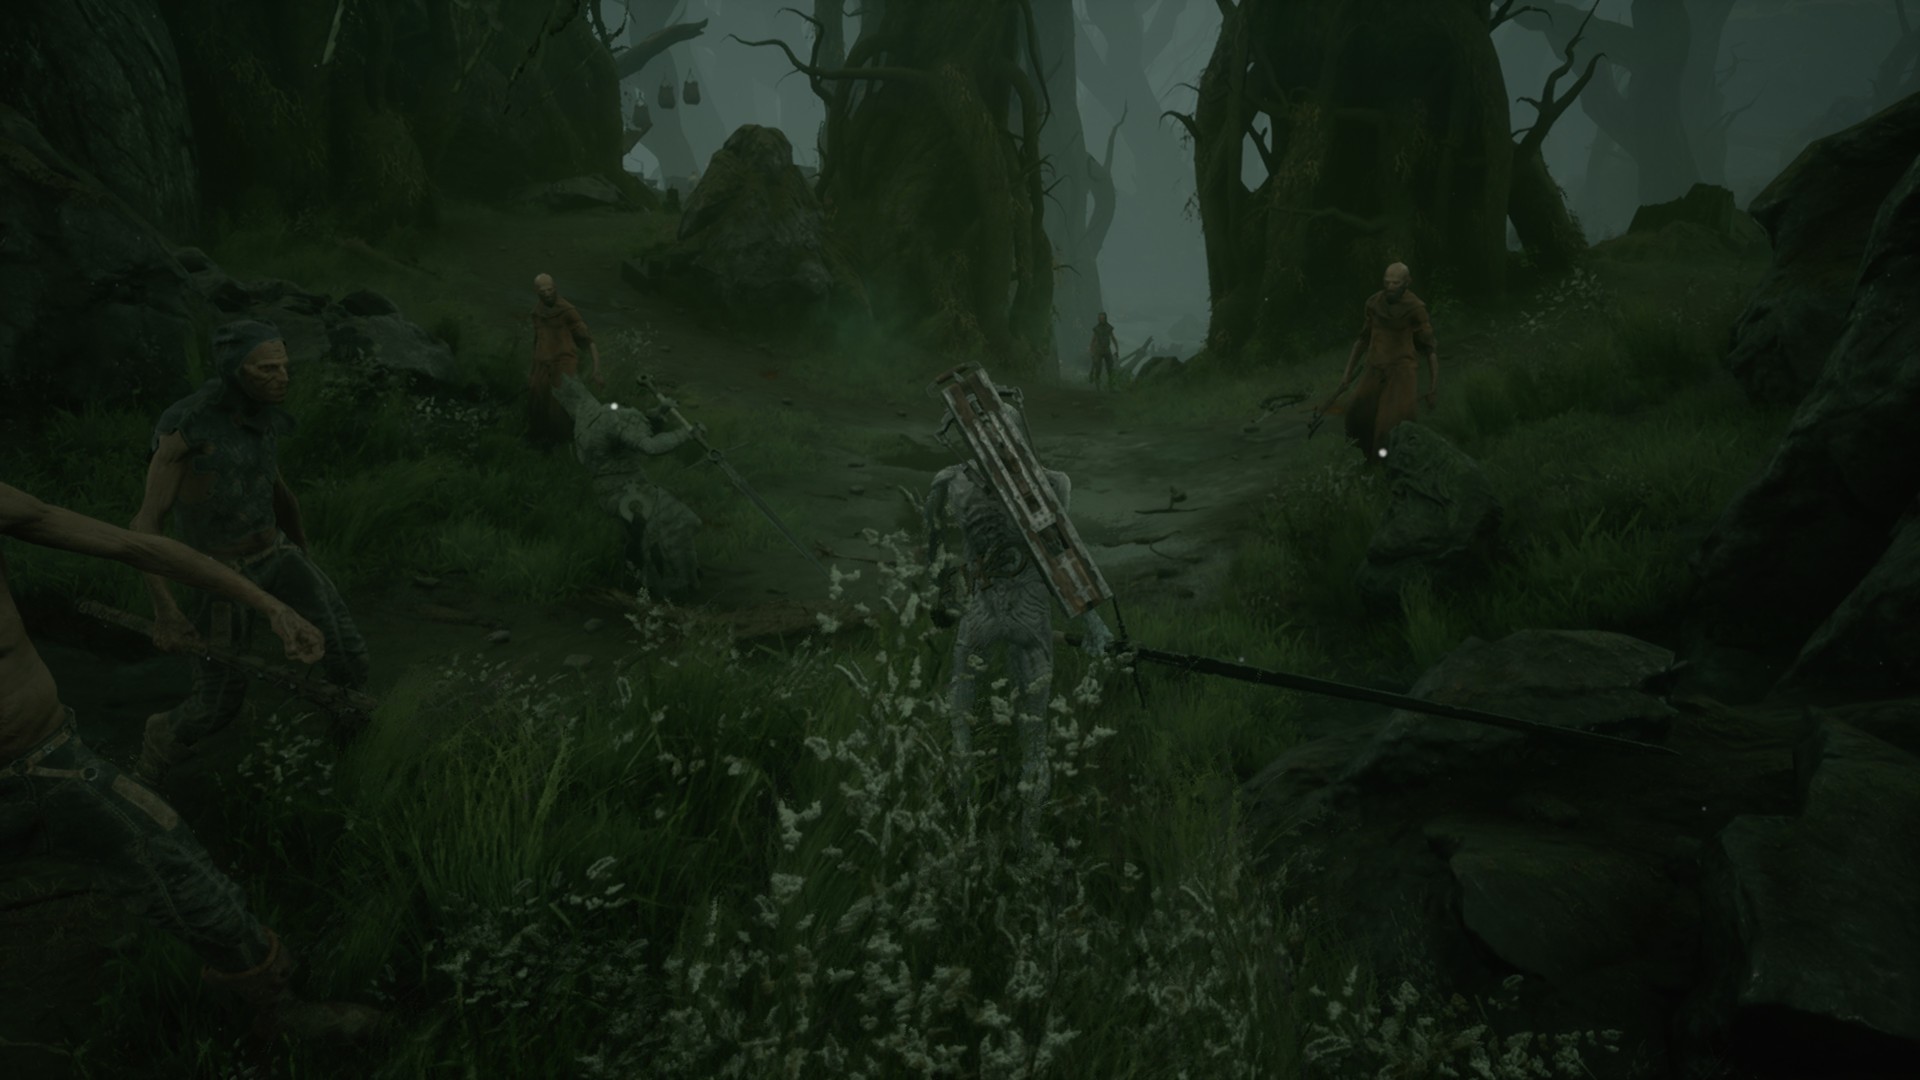
Exploring Fallgrim
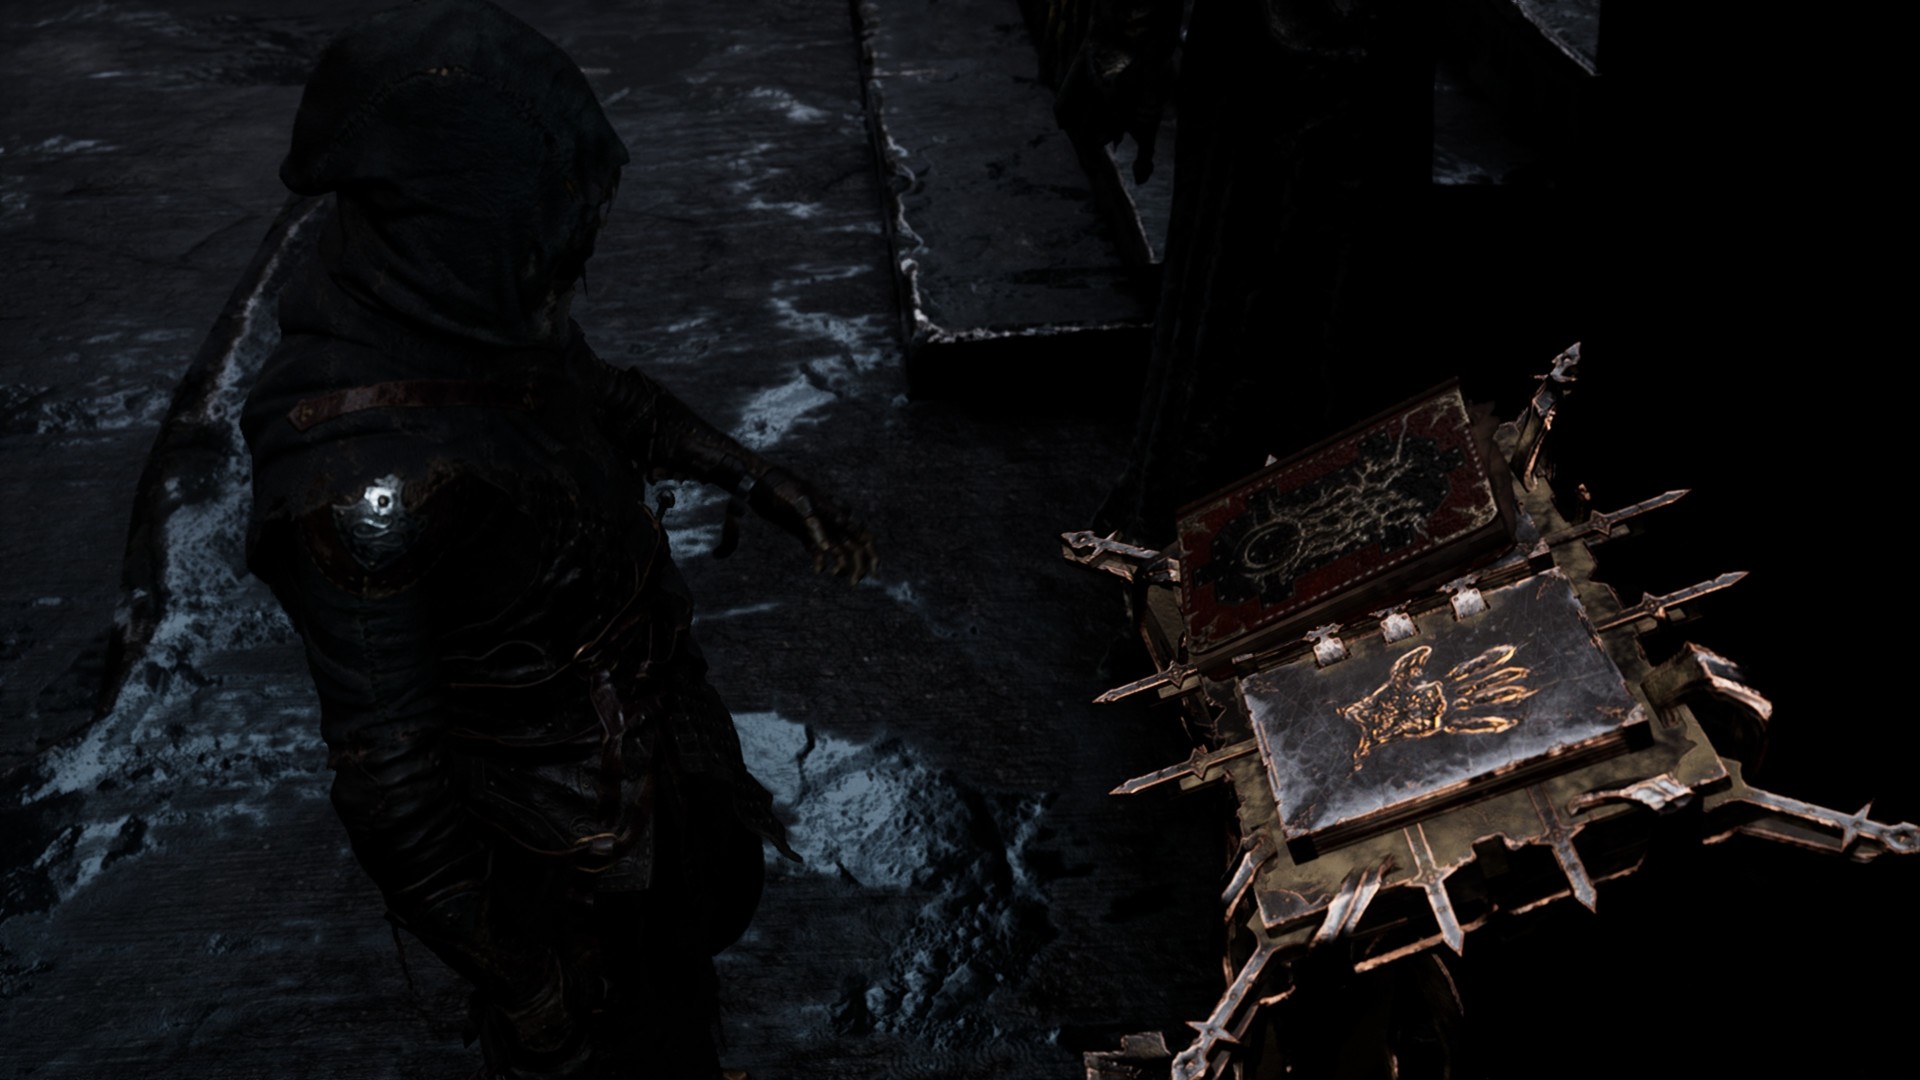
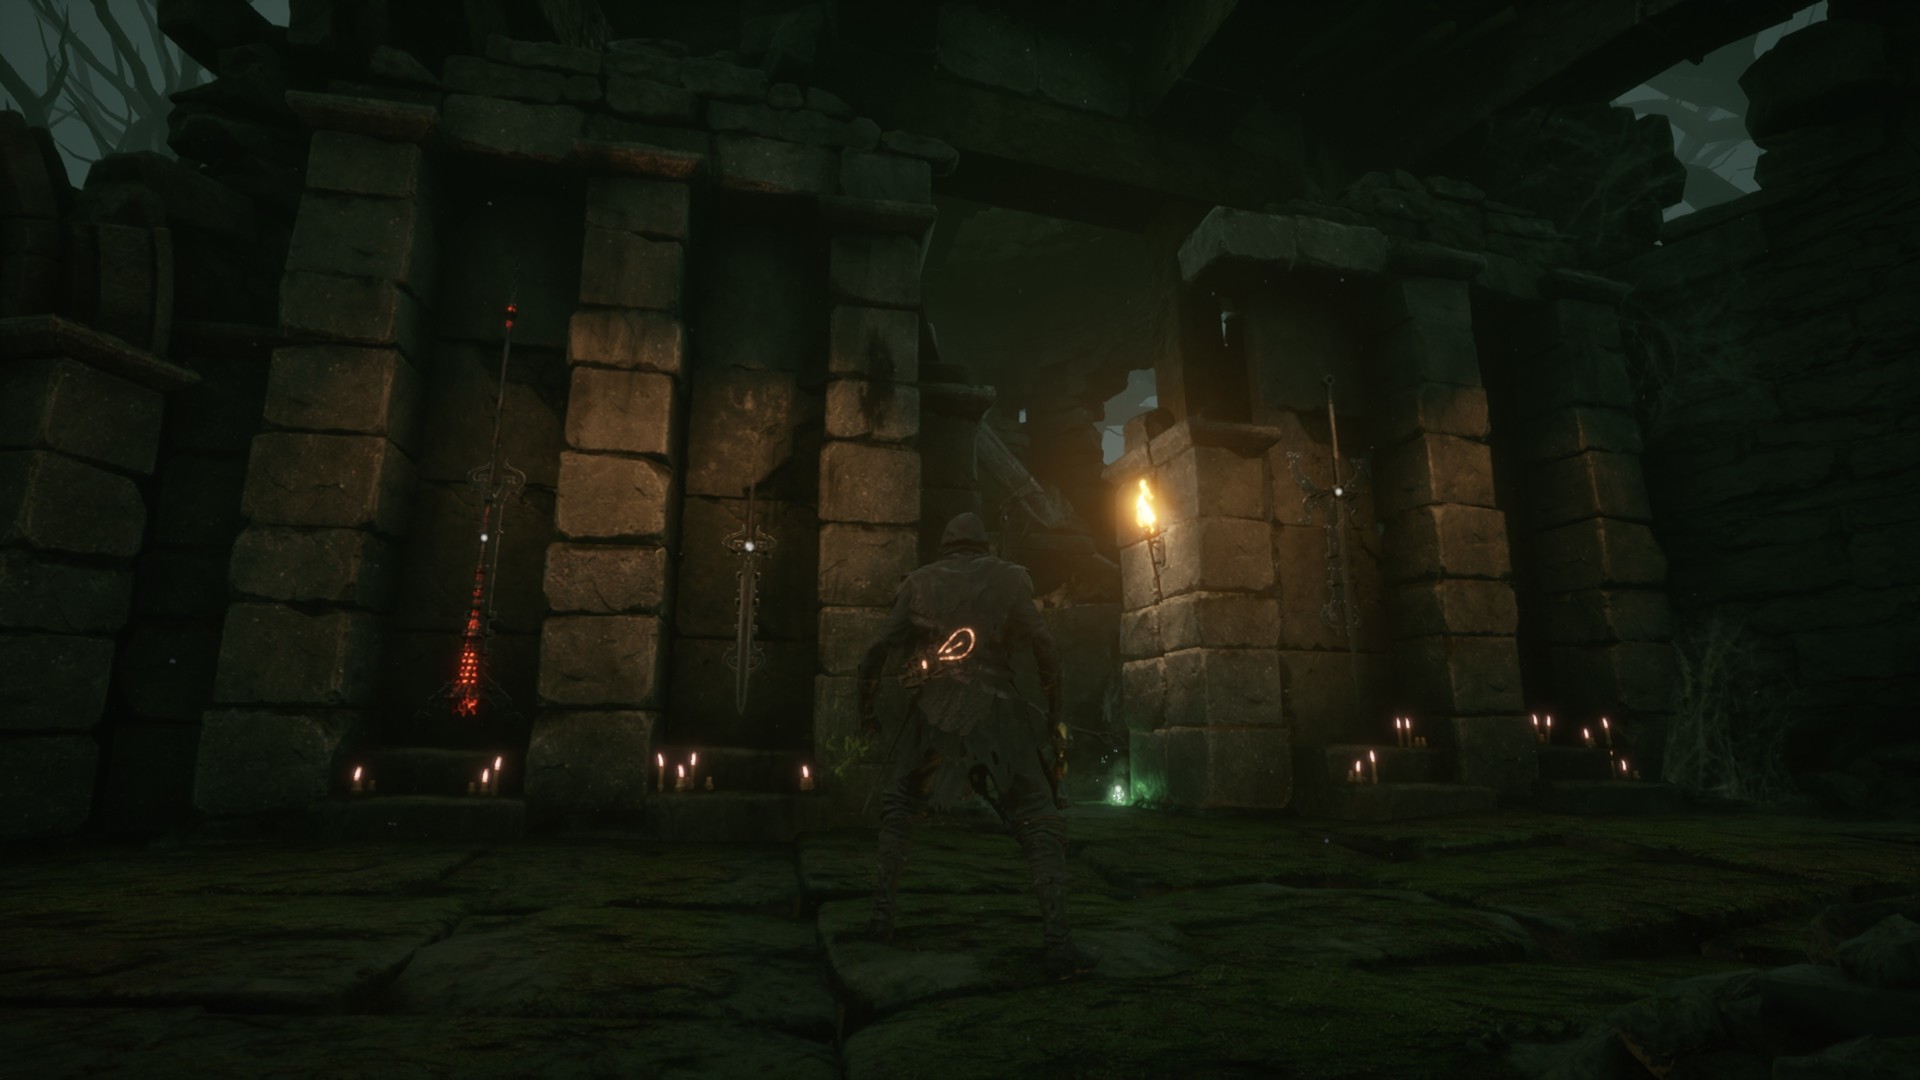
You’ll notice that Fallgrim Tower itself has strange objects that you can interact with — weapon racks and coffins — that give you insights. These are actually clues/directions that you’ll need to follow to obtain some rewards.
For example, if you click on one of the coffins, it might show a path that leads to a cavern. In there, you could find something special.

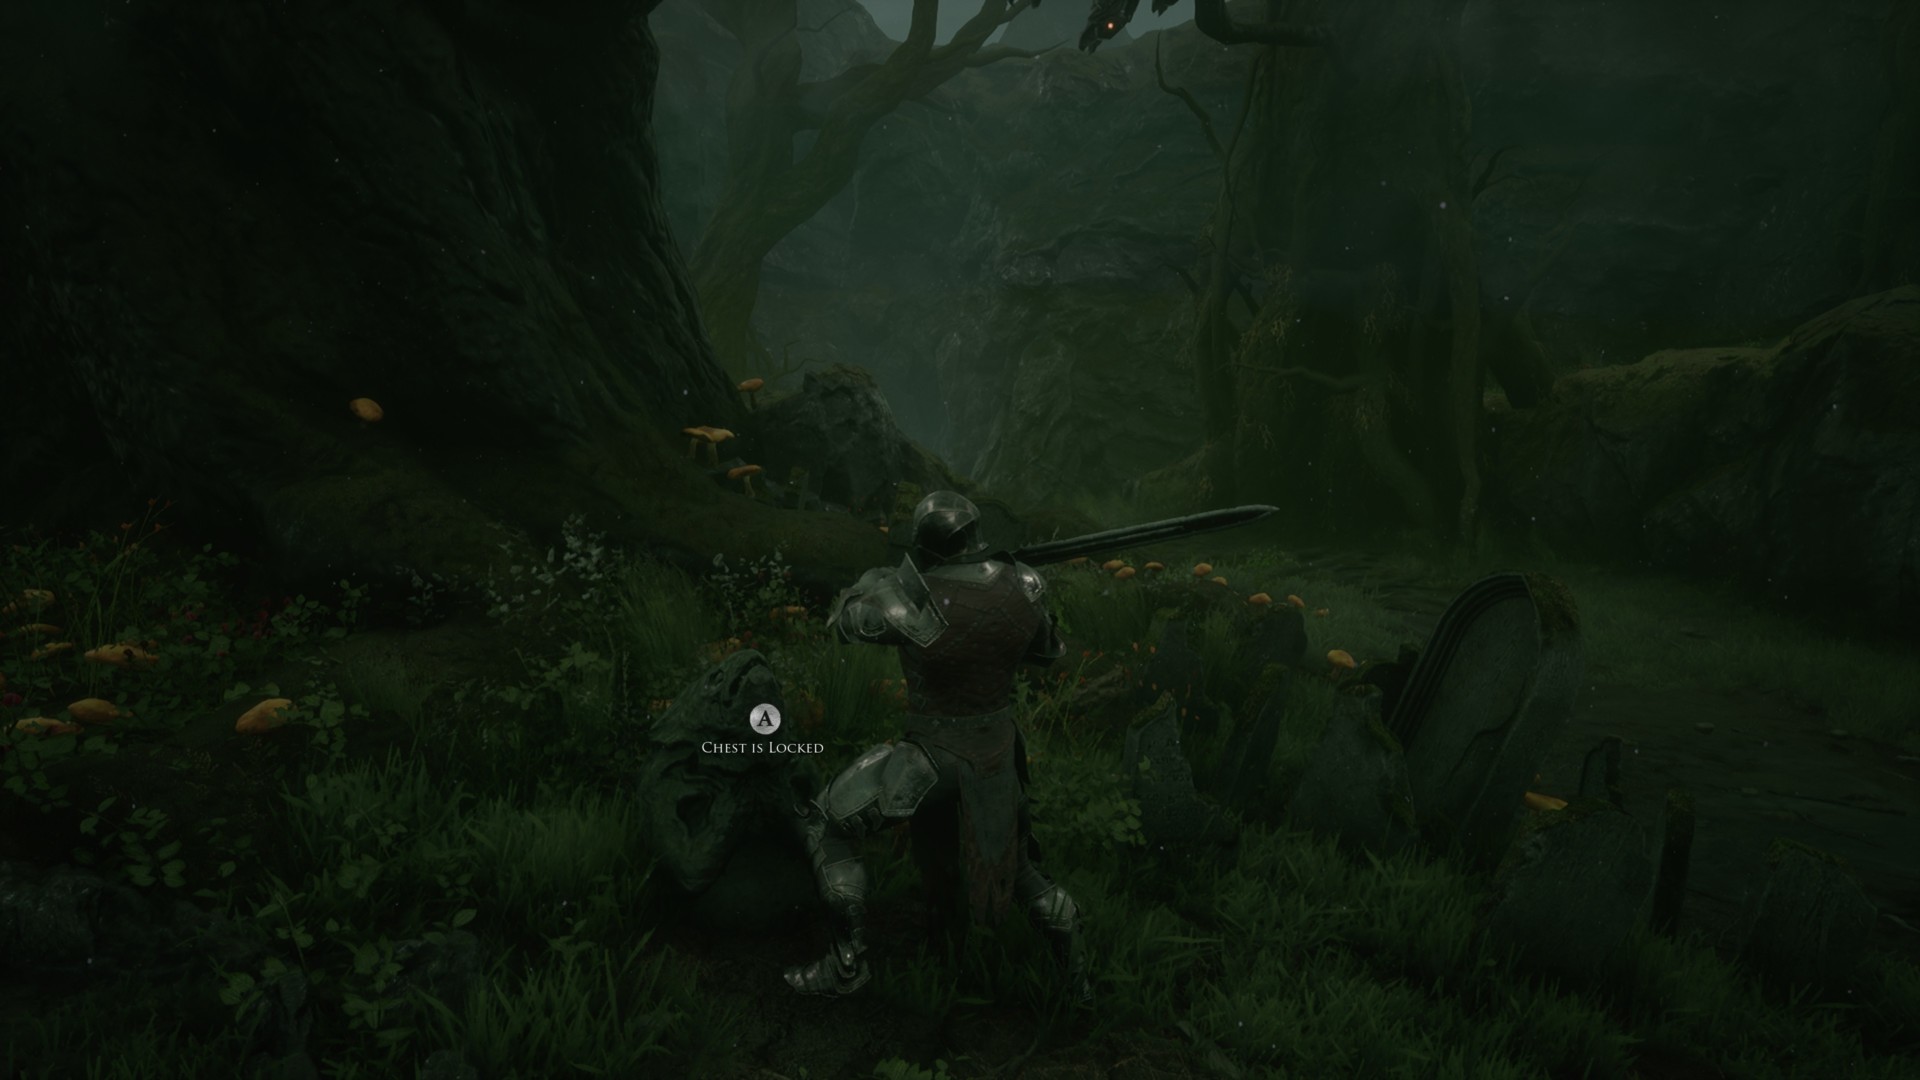
Indeed, Fallgrim’s winding pathways and tunnels will lead you to items and secrets — including stone statue chests that you can’t open yet — and maybe a couple of miniboss encounters. Additionally, Fallgrim’s roads will take you to the Mortal Shell‘s three main zones: Shrine of Ash, Seat of Infinity, and Crypt of Martyrs.
Note 1: To find out how to reach the other zones, you can read our exploration guide.
Note 2: Regarding the stone statue chests, you can learn more via our secrets and fog mechanic guide.
Shells, tar, and glimpses
Mortal Shell doesn’t have classes, builds, or stat allocations. Progression is streamlined by way of “shells” which are armor sets that have pre-determined stats. As such, your HP and stamina values remain fixed depending on the shell you have equipped.
You’ll find all four of these shells in Fallgrim:
- Harros the Vassal – This shell focuses on the hardening mechanic and has average capabilities.
- Tiel the Acolyte – Has high stamina, but very low HP and resolve; focuses more on mobility, dodging, and combos due to stamina.
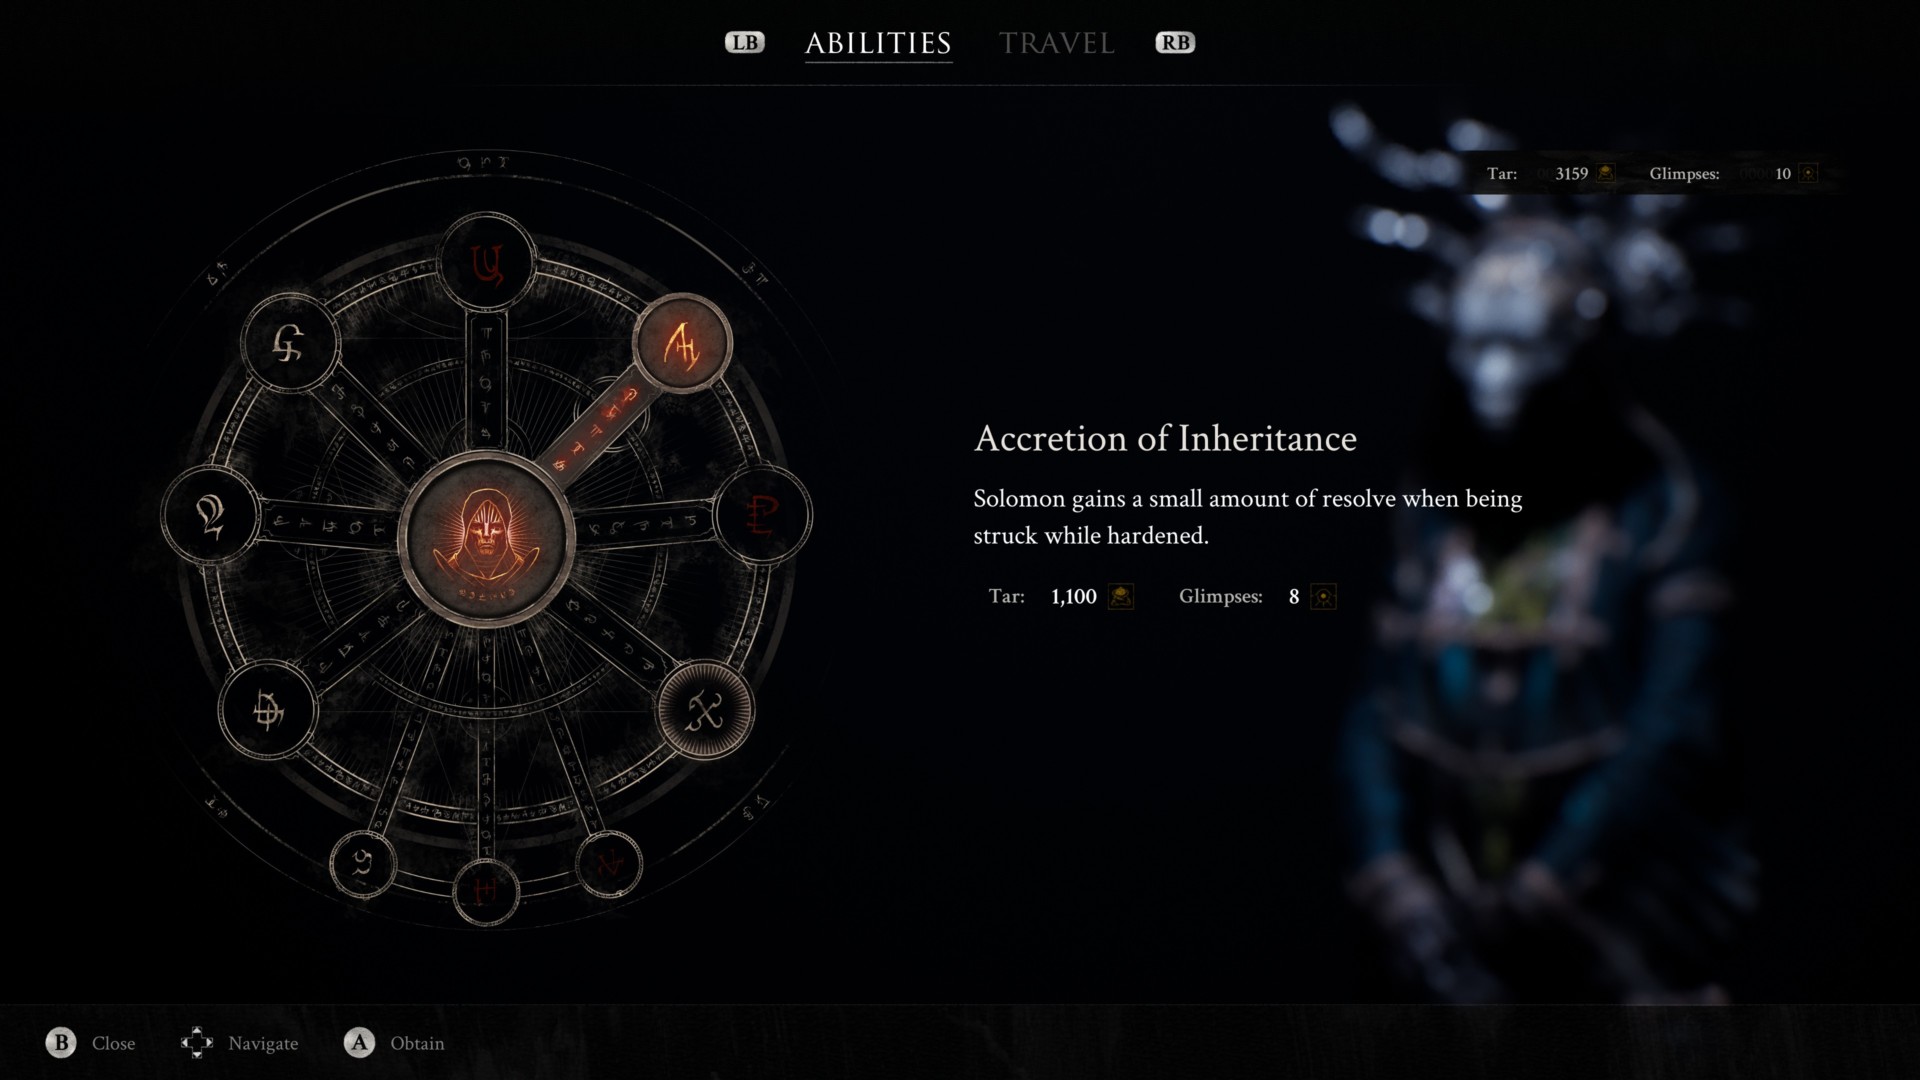
- Solomon the Scholar – Average HP and low stamina, but has higher resolve (which lets you use weapon skills and certain special abilities).
- Eredrim the Venerable – High HP, average stamina and resolve, but very low stamina. This one’s more of a tank who can soak hits, but a couple of dodges or attacks will already empty your stamina gauge.
Once you’ve obtained a shell, you can’t access its perks until you visit Sester Genessa and “learn” the name of its previous owner. After this, you can unlock more perks when you speak with Sester Genessa and if you’ve acquired the necessary resources.
In any case, to obtain shell perks/upgrades, you’ll need:
- Tar – The main/regular currency; sort of like souls or gold; always obtained when you kill enemies; will be lost when you die and you need to pick up your “lost soul” to regain them.
- Glimpses – A special currency that rarely drops from enemies; won’t be lost when you die; is exclusive to the shell you’re using when you picked up the resource (which means you need to farm glimpses again if you want to upgrade a different shell).
Note: As an aside, I’d advise you to just focus on maxing out one shell (or maybe two). You will have a tough time if you’re trying to level-up all four shells given the resource grind.
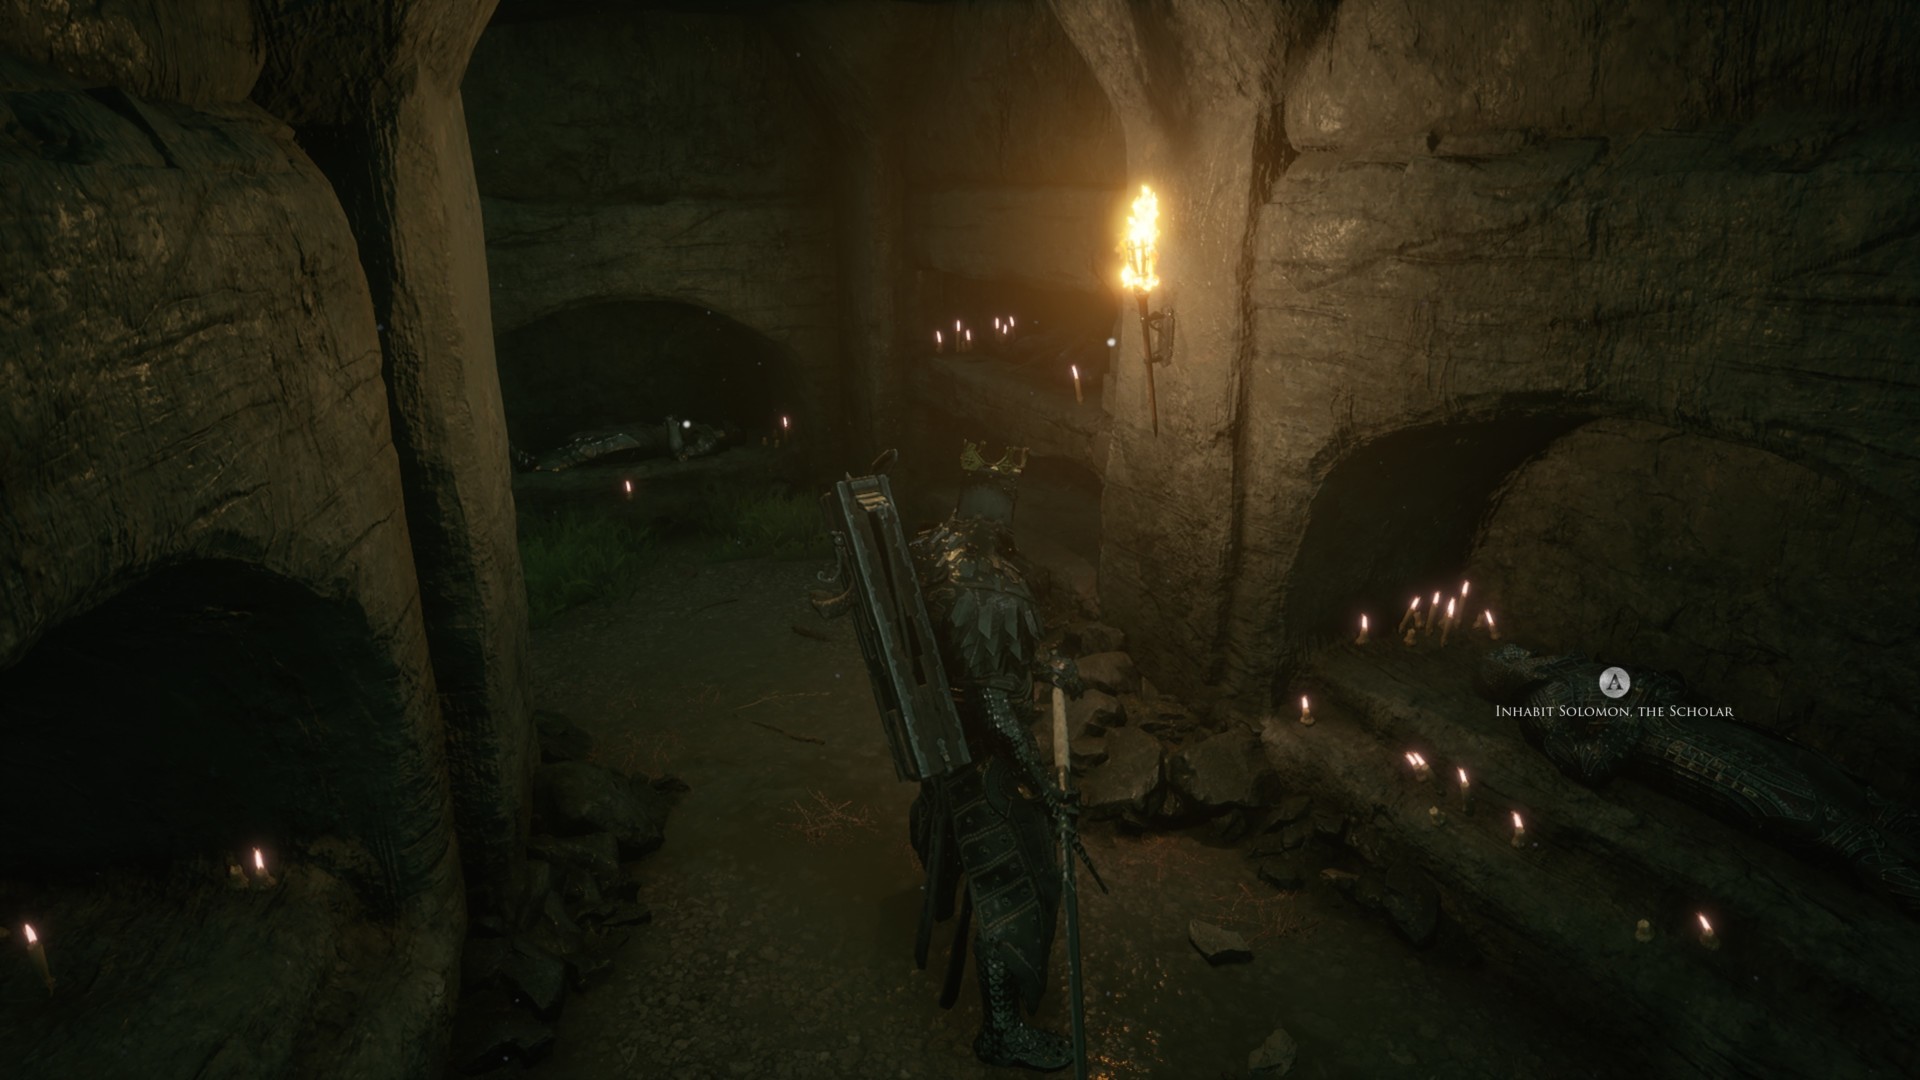
To swap to a different shell that you’ve already unlocked, interact with the coffins in Fallgrim Tower. But, if you’re in an entirely different zone and you want to switch, you’ll need to use an item called an “effigy.” There’s a limited number of these found in locations, but they can be purchased from other vendors too.
Note: We have guides for Harros the Vassal, Tiel the Acolyte, Solomon the Scholar, and Eredrim the Venerable. Check out those pages to learn about their locations and upgrades.
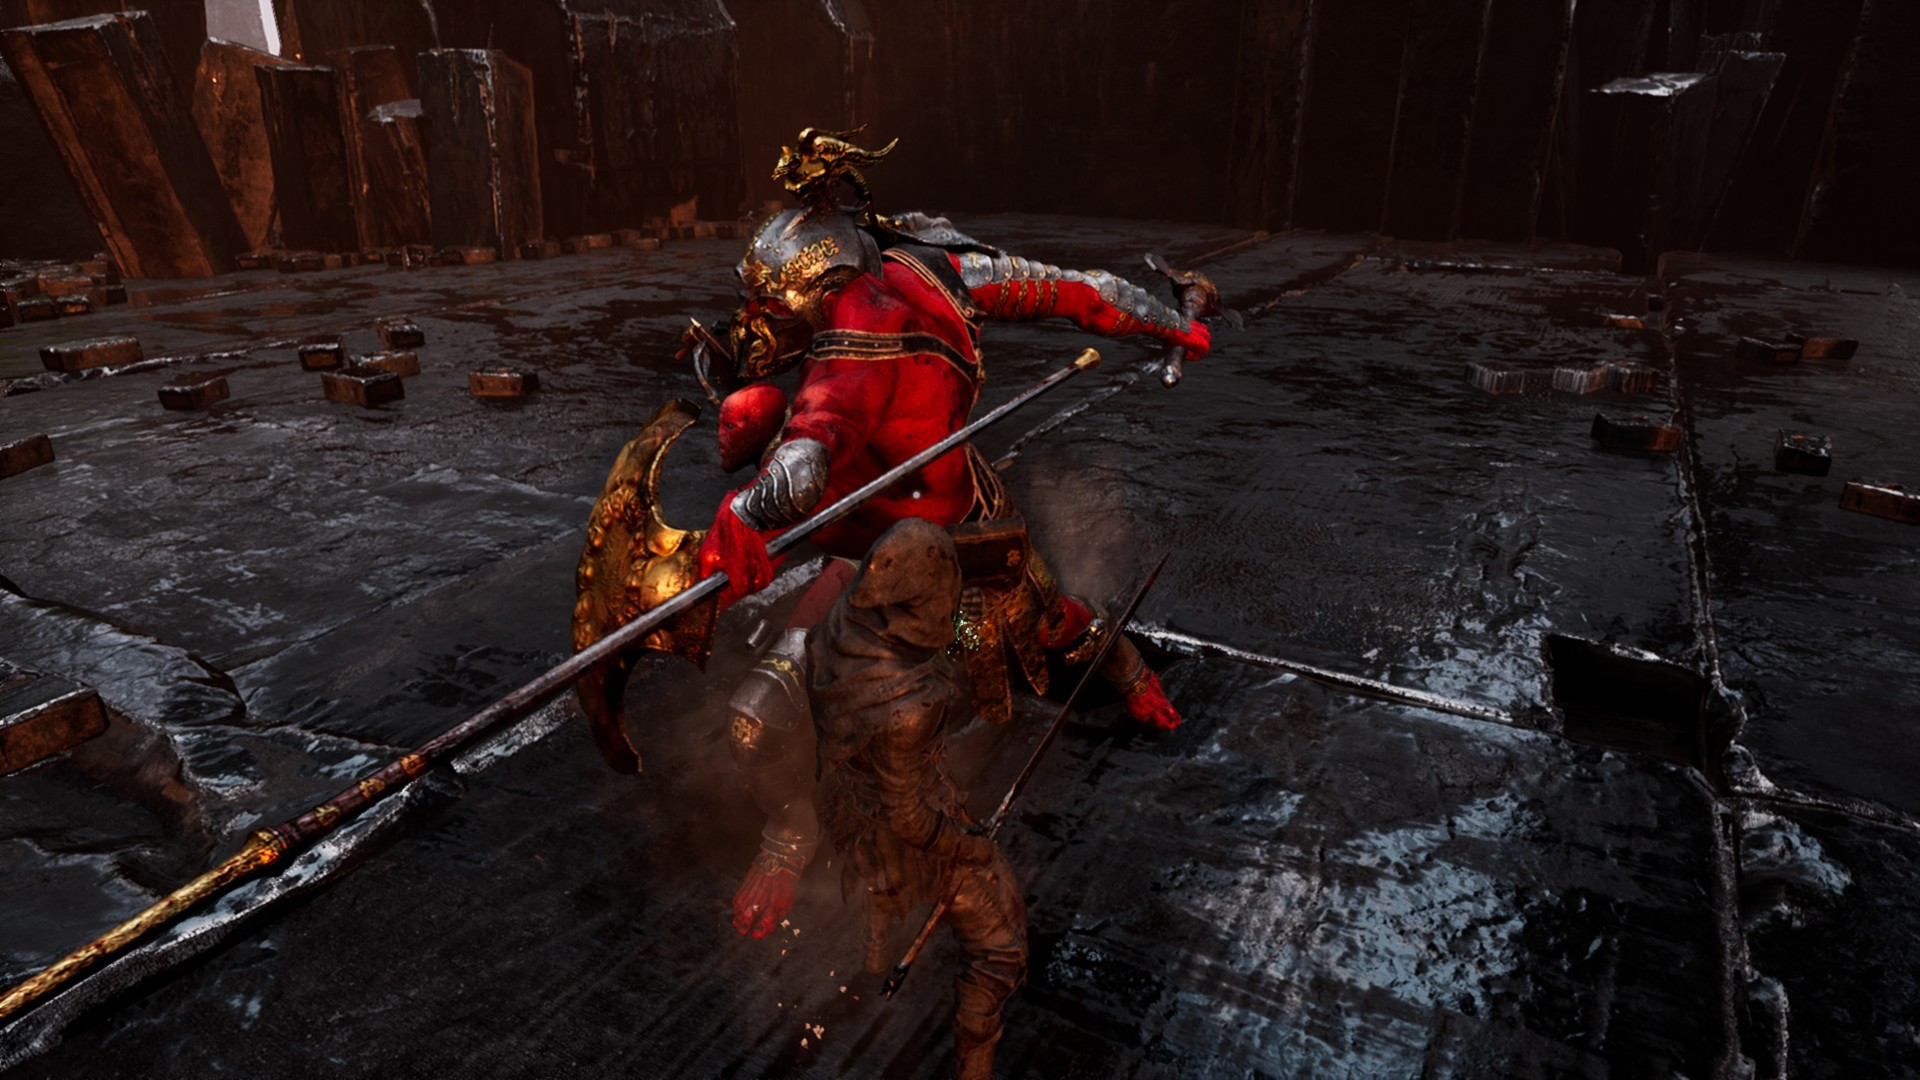
The weapon master and his weapons
Mortal Shell has four melee weapons. Only the first one, the Hallowed Sword, is obtained easily enough in the game’s tutorial area. The rest are found in the three main zones that you’ll discover as you explore Fallgrim. There’s also a fifth weapon called a Ballistazooka that acts more like a special firearm.
You can obtain the other melee weapons by reaching the other zones in Mortal Shell. In the initial area of each zone, you’ll find a book that you can read.
Haha, looks like you’re back in limbo and you’re in for another fight against Hadern, the miniboss that you fought in the tutorial area. If you win, you’ll get to use the weapon that he’s wielding.
Each Harden fight takes place in a separate zone. If you die here, you can just come back and battle him later.
Note: Remember to pick up your lost soul when you die. If you defeat the boss and you forgot to pick up your soul, you’ll lose your tar for good.
Anyway, there are three methods that allow you to swap to another weapon that you’ve unlocked:
- picking them up via the weapon rack in Fallgrim Tower
- using special items like the Disciple’s Rag or Martyr’s Shawl (these have unlimited uses)
- swapping them via a nearby monk’s statue at a zone’s starting room (next to the book that let you fight Hadern)
Weapon upgrades and offerings
In any case, your weapons have certain unique skills that can be used if you’ve upgraded them via the workbench. Unlike shells that use tar or glimpses, weapons require materials to be upgraded:
- Materials that are specific to each weapon (i.e., Winterglass for the Martyr’s Blade) can be found in the region where you fight the Hadern miniboss that wields it.
- Another material called Quenched Acid boosts the damage of each weapon up to level 10.
- The tools item, meanwhile, unlocks the Ballistazooka.
- Solemn Offerings are also found in Mortal Shell‘s other zones (one Solemn Offering per zone). This type of upgrade boosts the healing effectiveness of enhanced ripostes (more on this technique in a while) and it’s applied to all weapons.
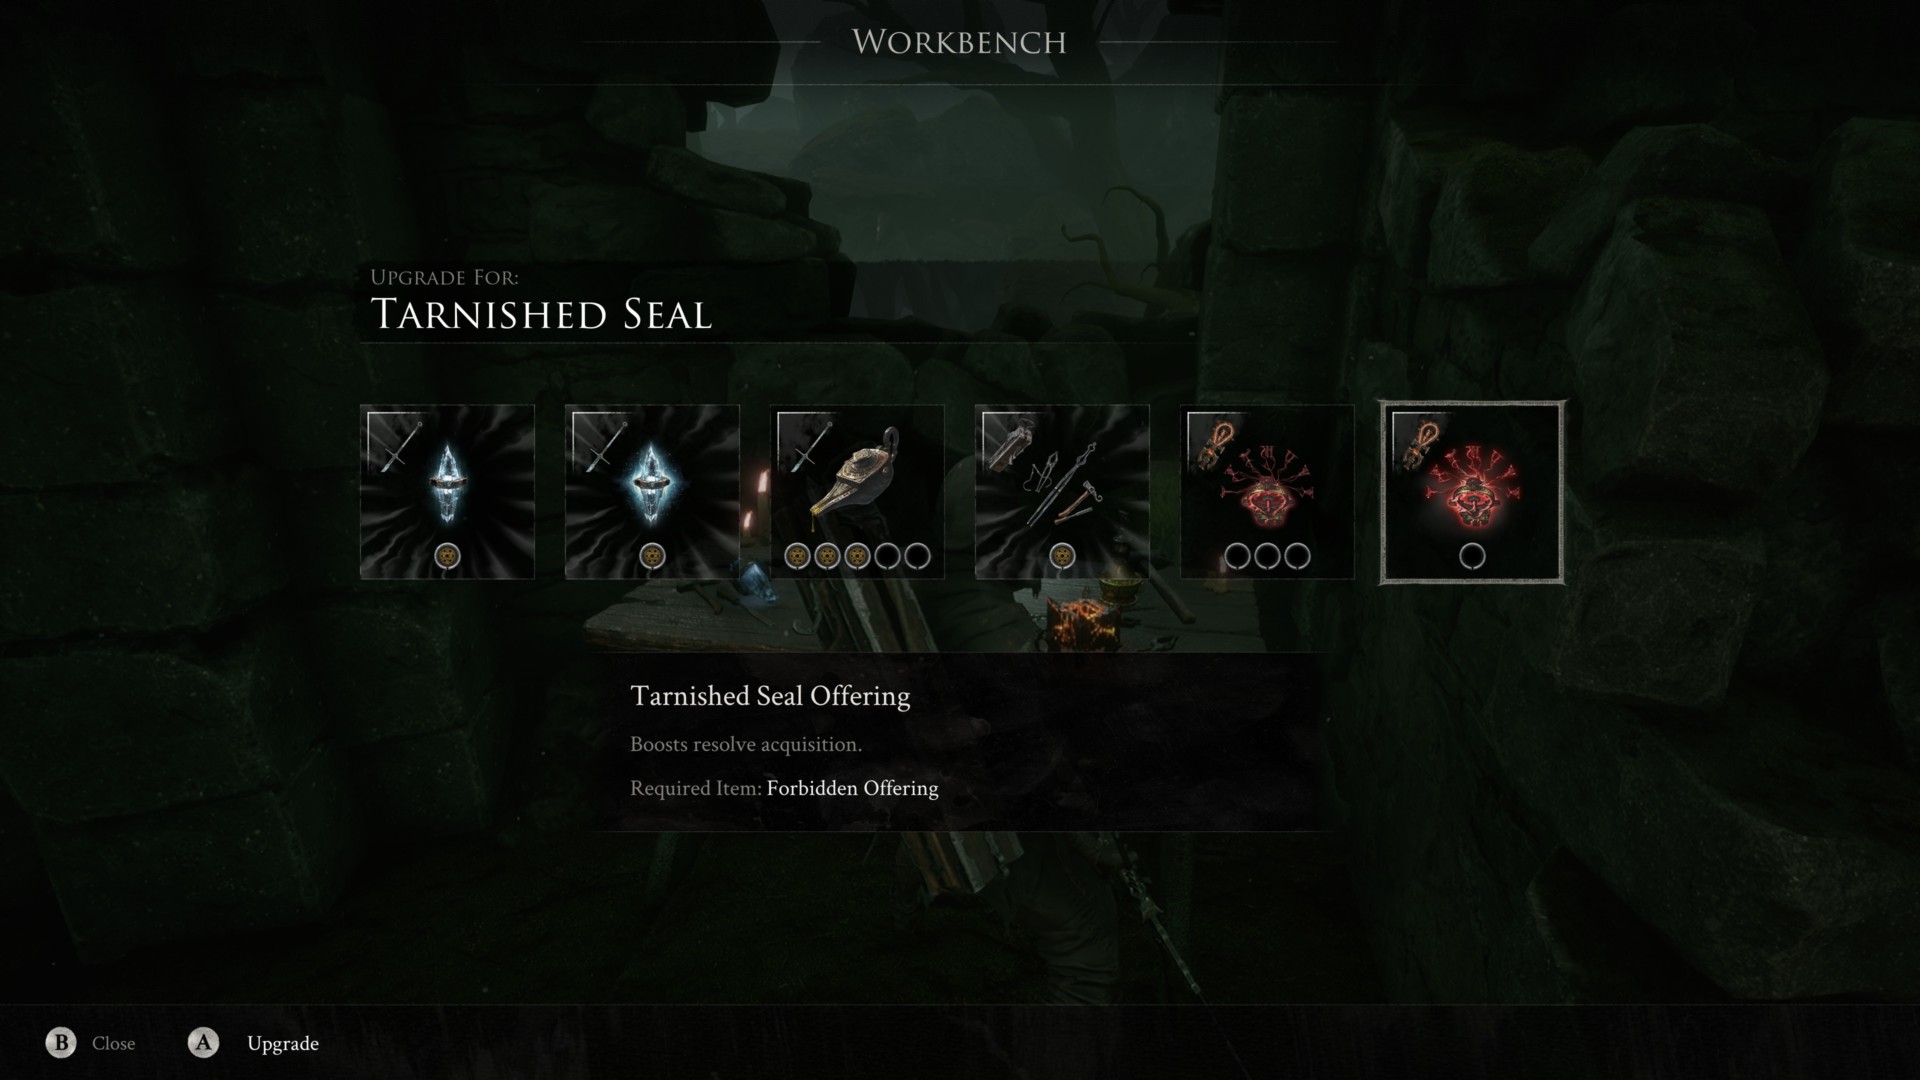
- Lastly, the Forbidden Offering is sold by an NPC called the Corrupted Sester. This upgrade boosts the resolve generation of all weapons.
Note: You can learn more in our respective guides for the Hallowed Sword, Hammer and Chisel, Smoldering Mace, Martyr’s Blade, and Ballistazooka.
Harden for the win
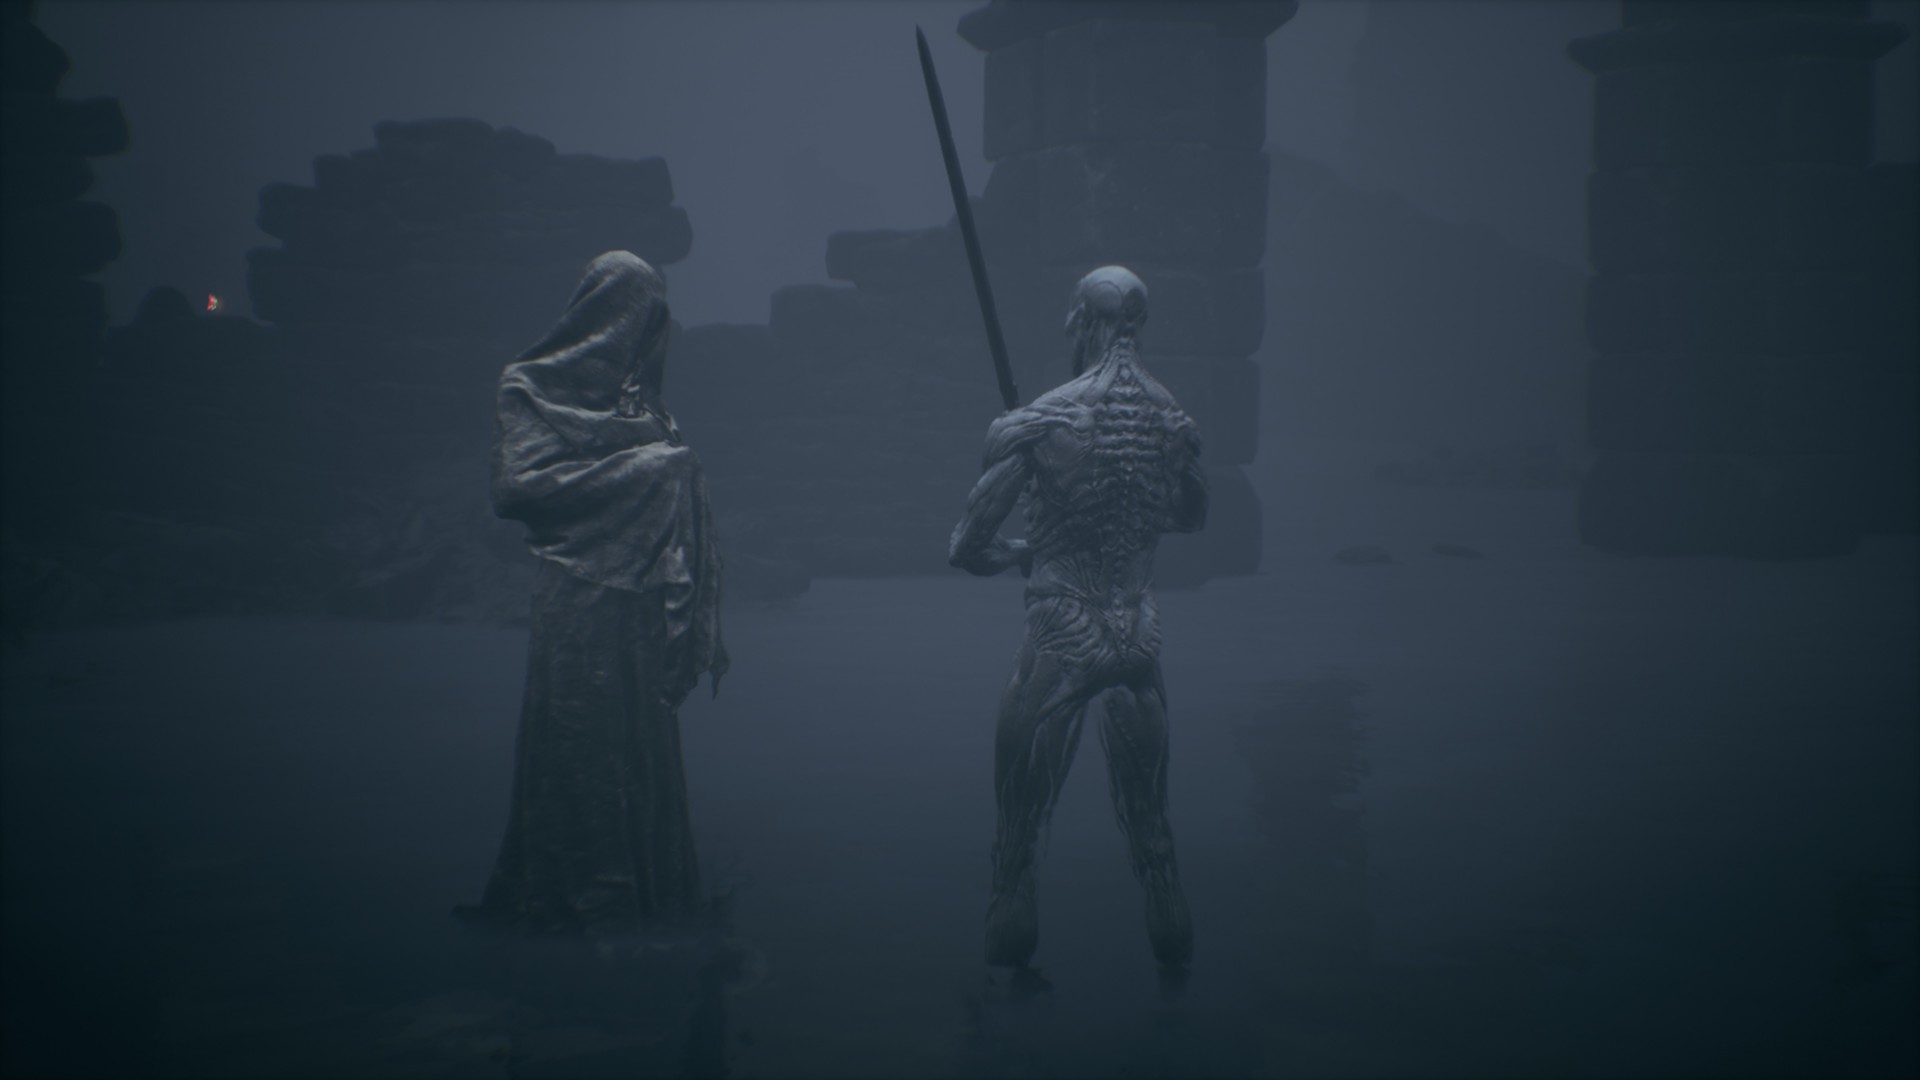
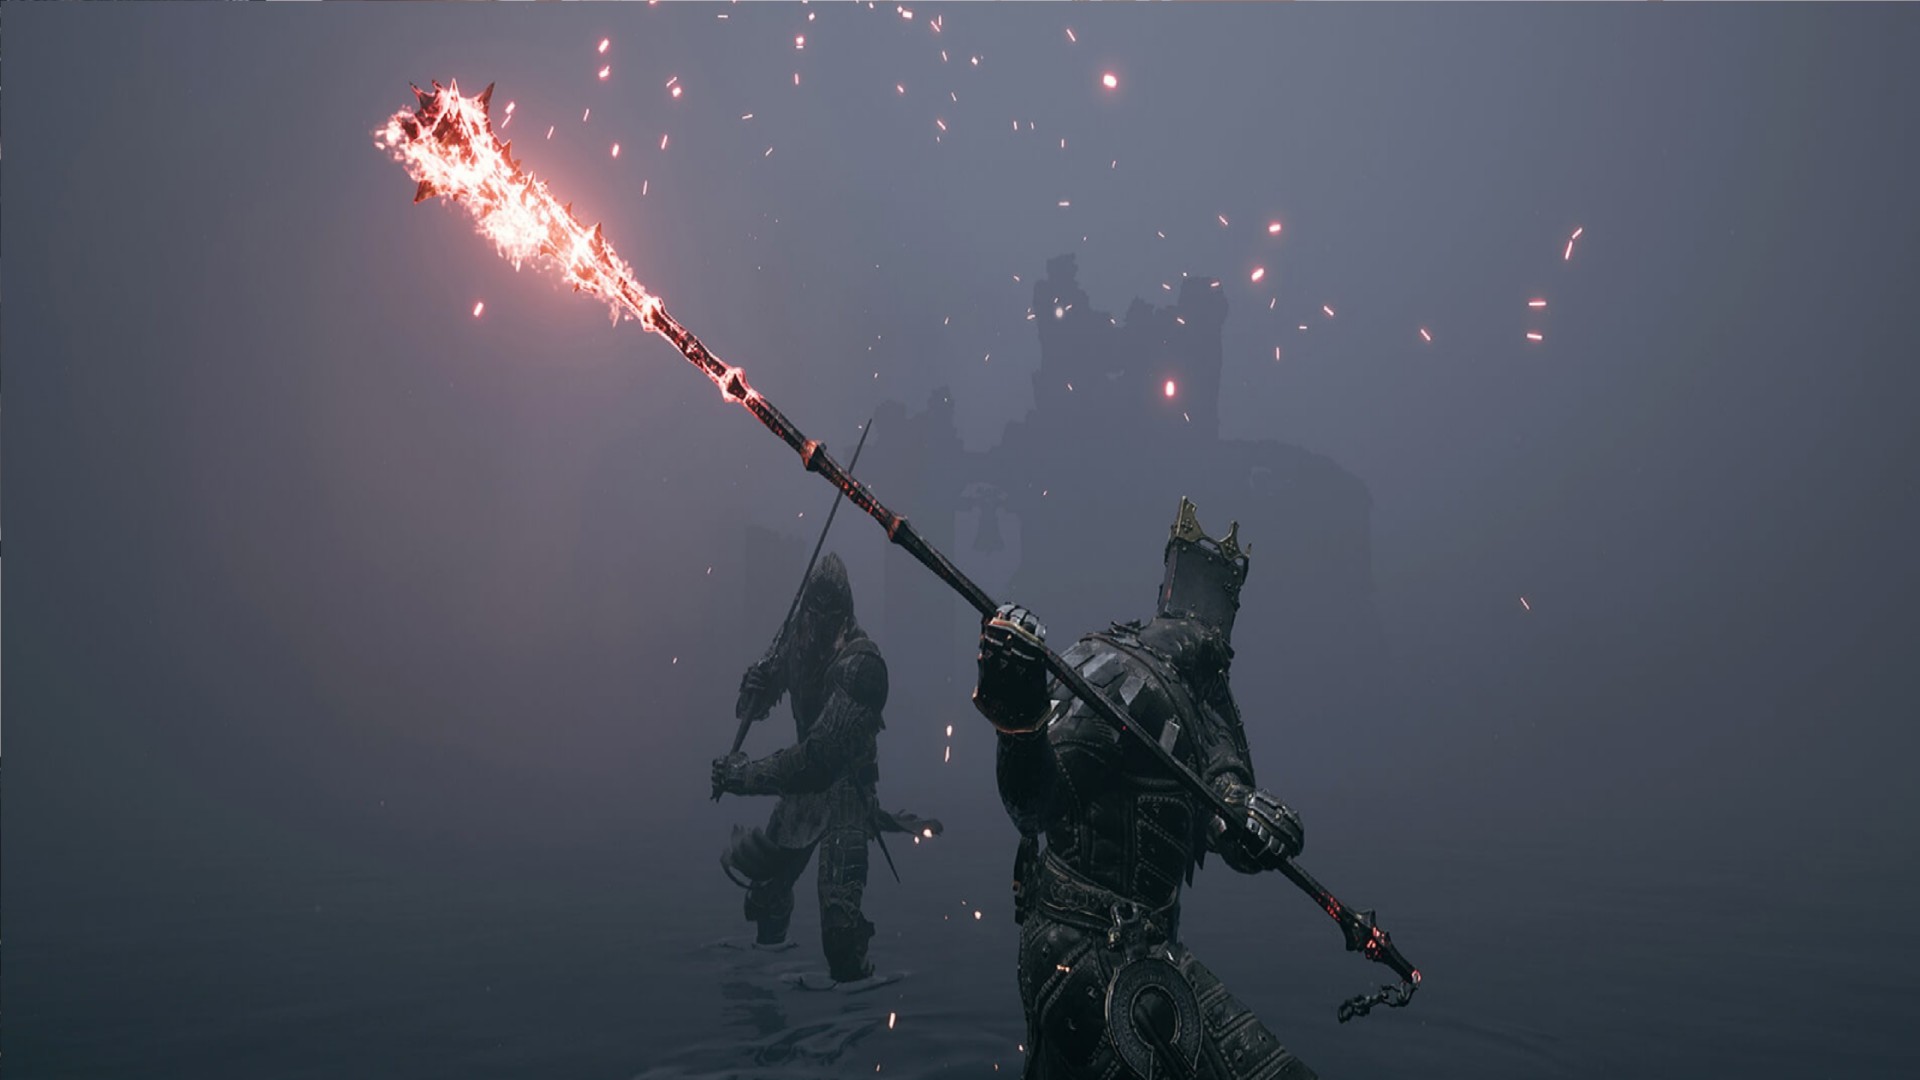
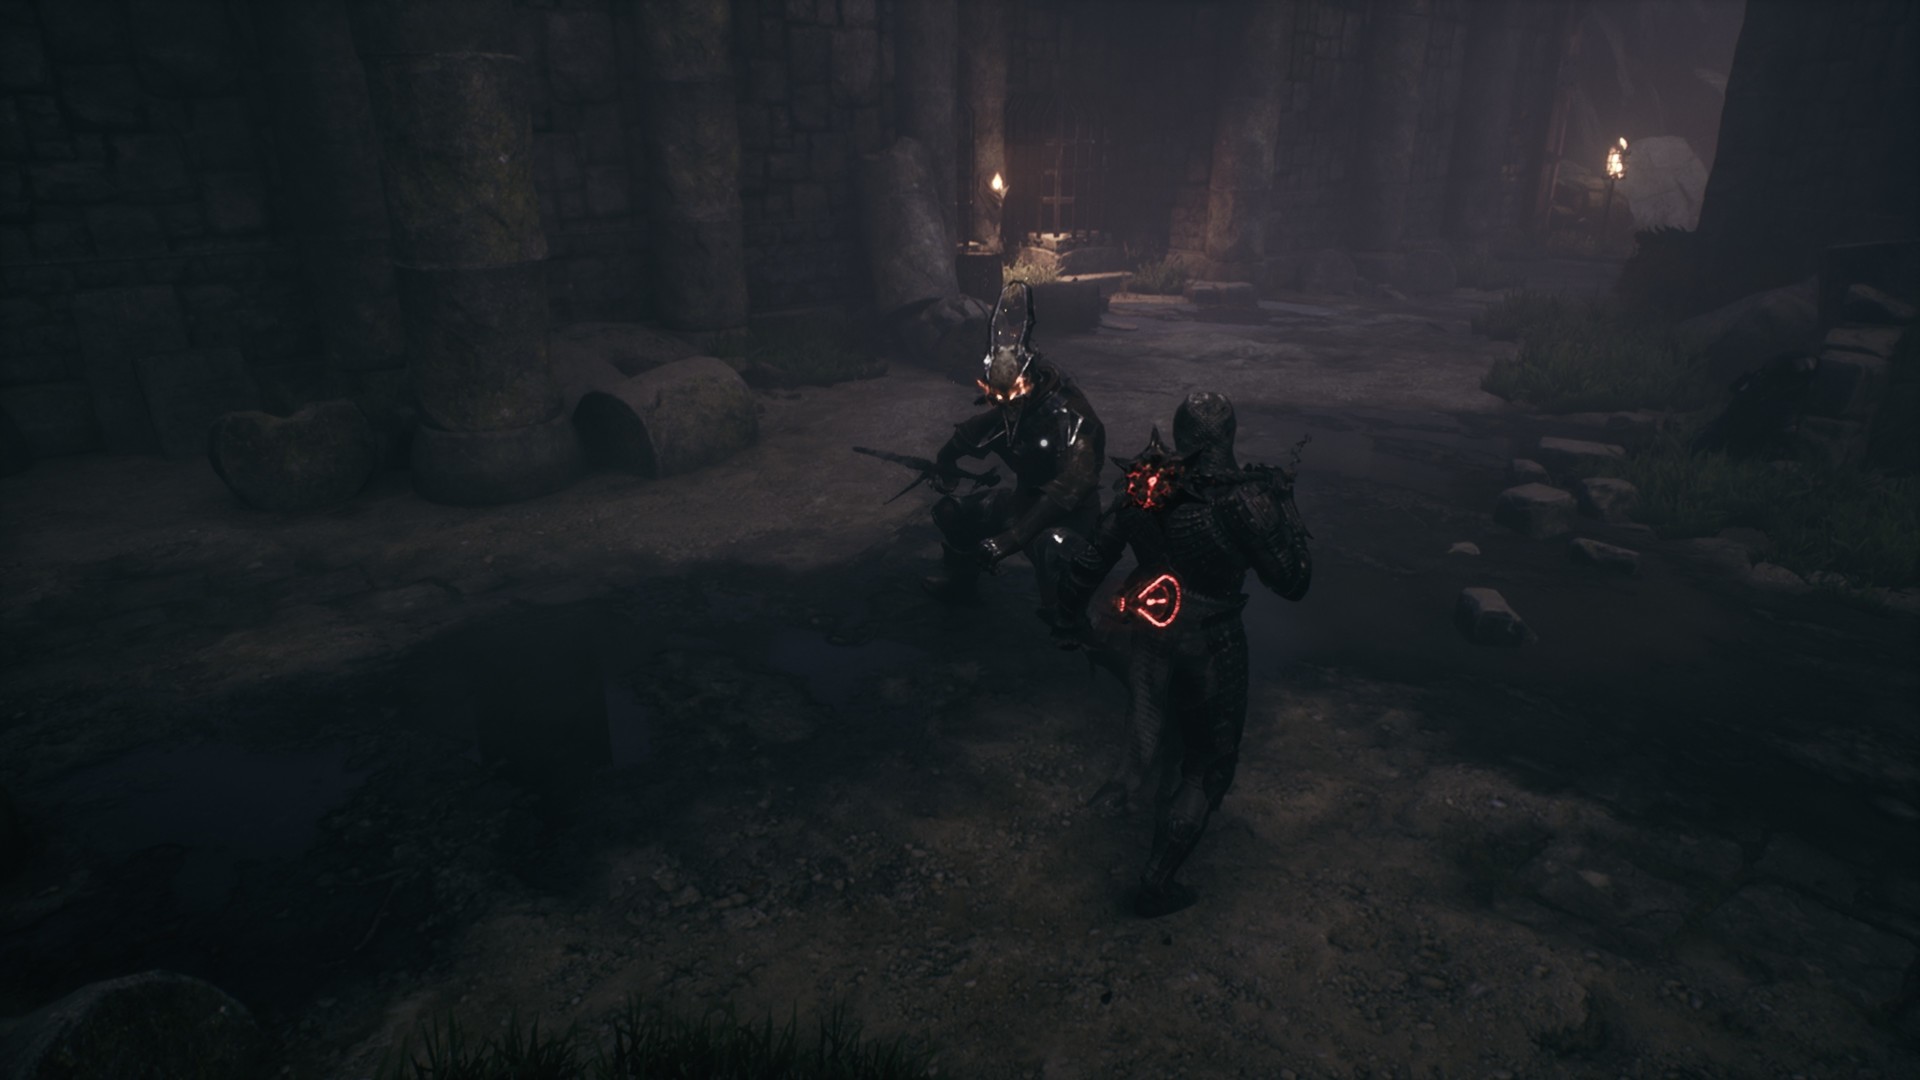
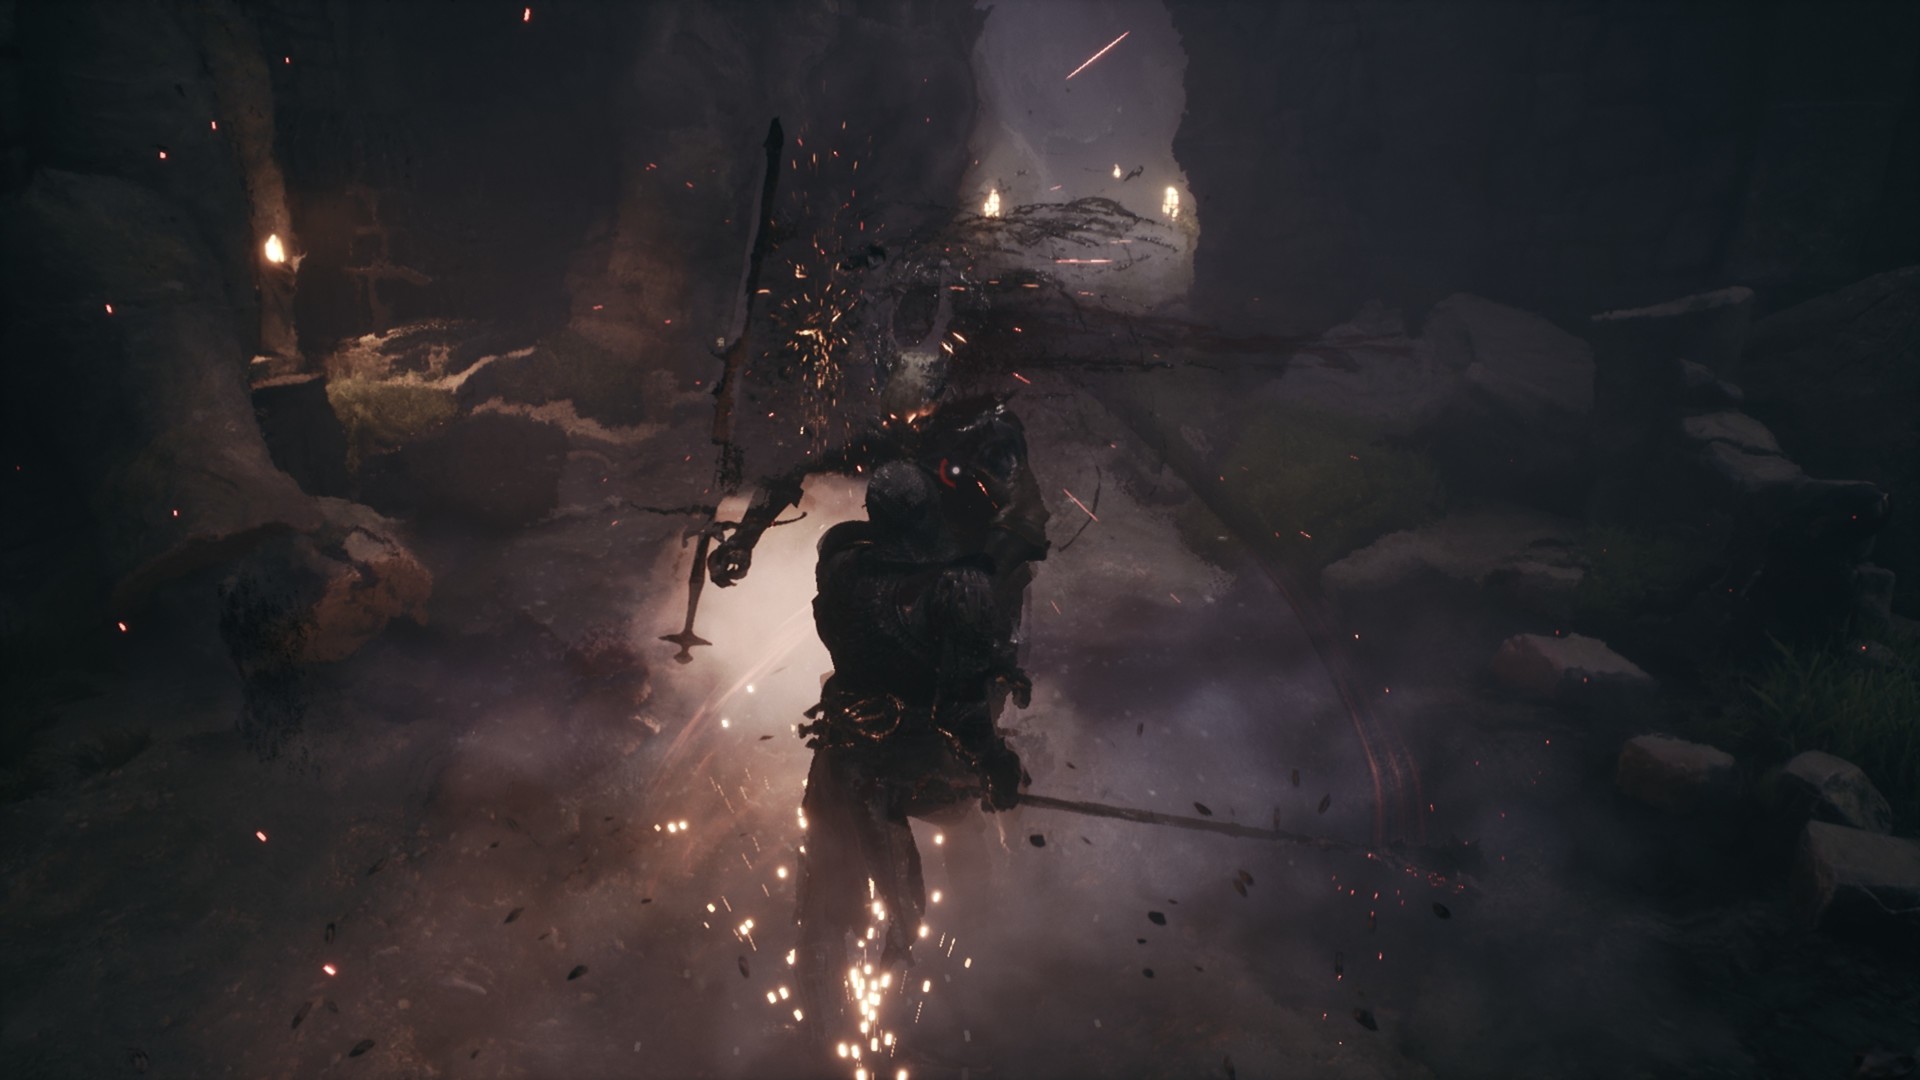
The key mechanic in Mortal Shell‘s combat system is called “hardening.” As mentioned in our official review, this skill — which turns you to stone and makes you impervious to all damage until you’re hit — leads to a fluid and flashy way of blocking attacks and planning your engagements. Hardening costs no stamina and the button for it can be held down indefinitely (until you do get hit), but it does have a short cooldown once its effect has expired.
The idea is to telegraph an enemy’s attack and recognize its attack pattern, be it a lowly mob or a boss. Since hardening can be used in the middle of your attack or dodging animation, and even while you’re falling down a ledge or using an item, you can safely nullify all damage in an instant. It also causes enemies to become off-balanced for a split-second, allowing you to follow-up with a few swings.
For instance, my favorite tactic is to slash a target twice, dodge an incoming swipe, slash again. If my stamina bar is empty and I can’t dodge, I’d turn my character to stone to avoid any mishaps or a boss’ special ability.
Note: Hardening won’t be possible if your character is temporarily stunned, downed, or disabled. Examples include stepping on a bear trap or getting Spartan Kicked by bosses.
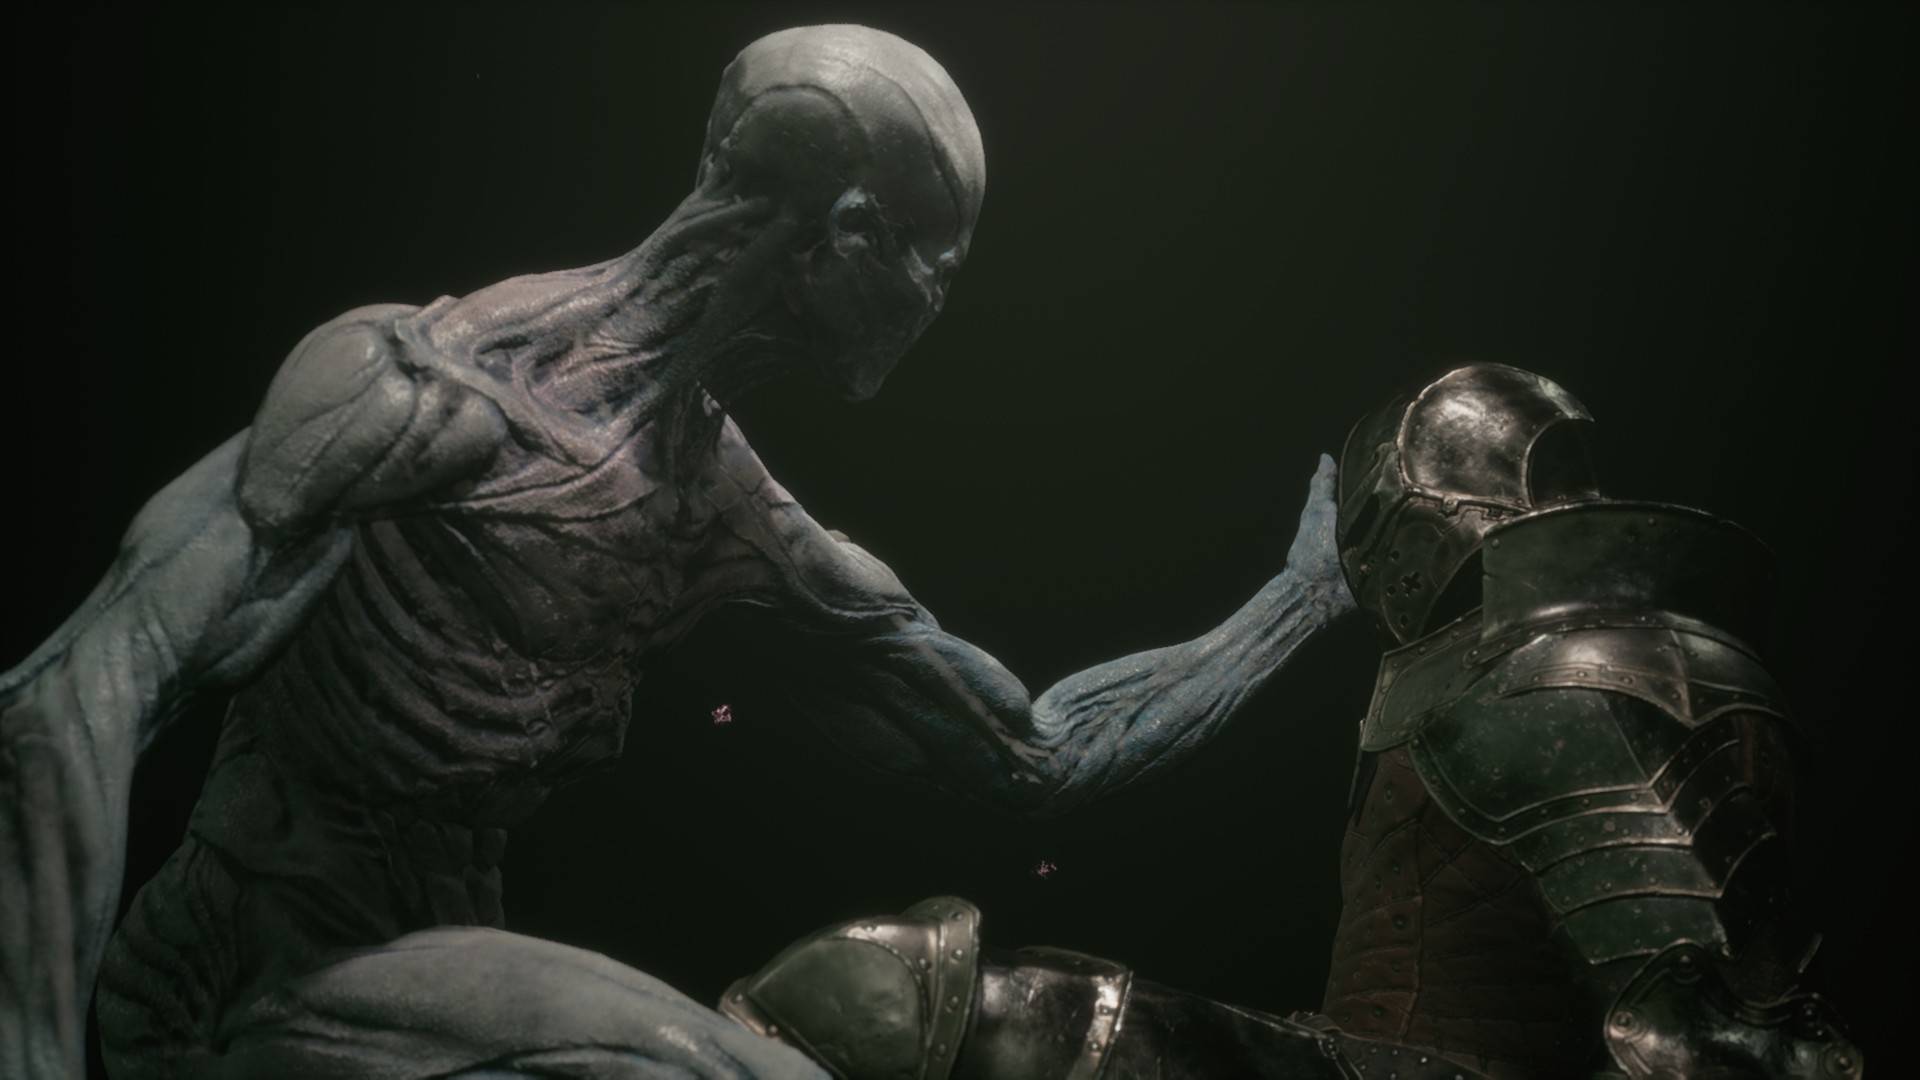
Hardening also comes into play when you die for the first time after loading a save. You’ll get separated from your shell and foes will be petrified for a couple of seconds. You need to interact with your shell quickly to regain your HP. This “second chance” is all you have (at least until you obtain skills or items that let you regain this mechanic). If you end up dead once more, you’ll respawn at the last Sester Genessa that you encountered.
Note: There are various items that affect the hardening and second chance mechanics. Examples include the Mortal Token, Spectral Token, Ornate Token, Tainted Nectar, and Eternal Diapason. Head over to our items guide for more info.
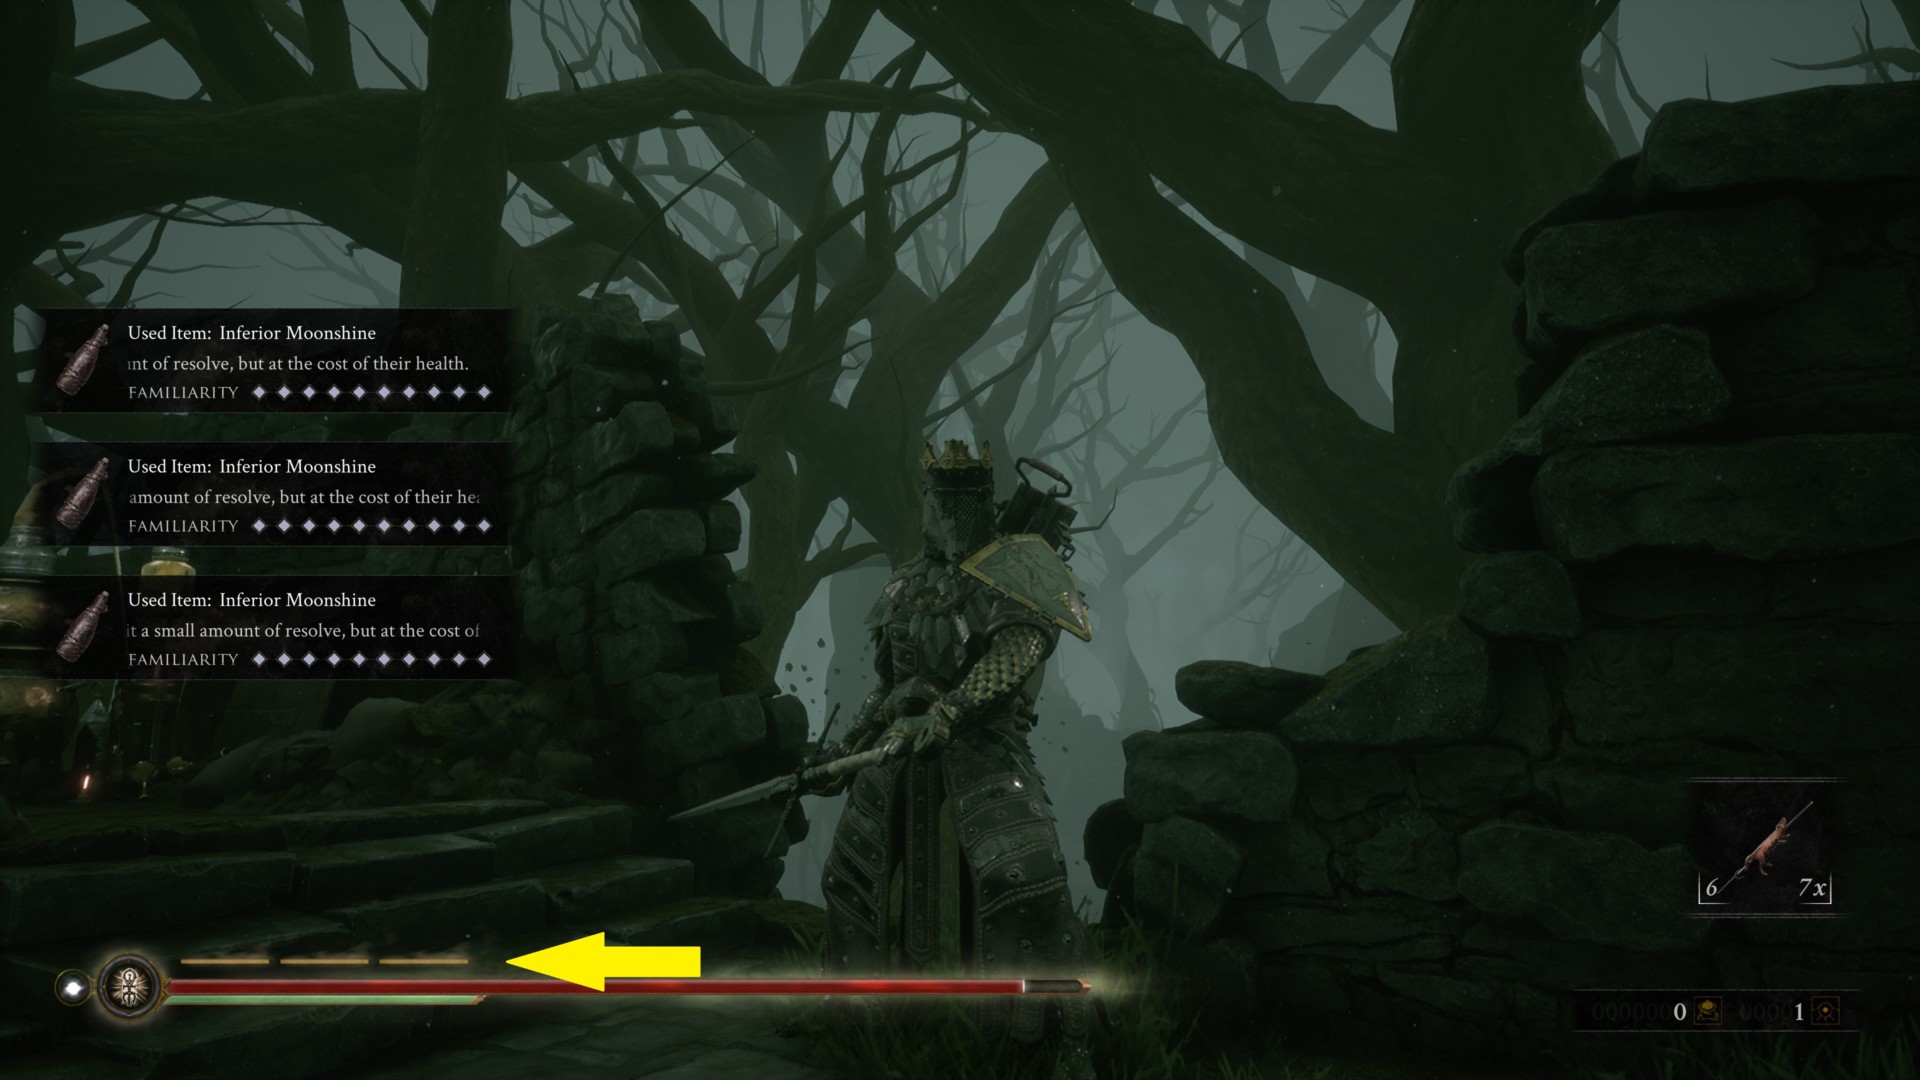
Resolve: Weapon skills and shell perks
As mentioned earlier, your weapons and shells have their own unique capabilities. If you managed to obtain these upgrades, you can unleash them in battle but only if you have resolve (the small yellow bars above your HP gauge).
Resolve is gradually increased by attacking enemies. You can also drink moonshine items to gain a bar of it. However, it’s lost when you use healing items such as roasted rat or rotten food. Likewise, each bar of resolve will decay over time if you’re not in combat and if you haven’t filled it up completely.
Parrying and enhanced ripostes
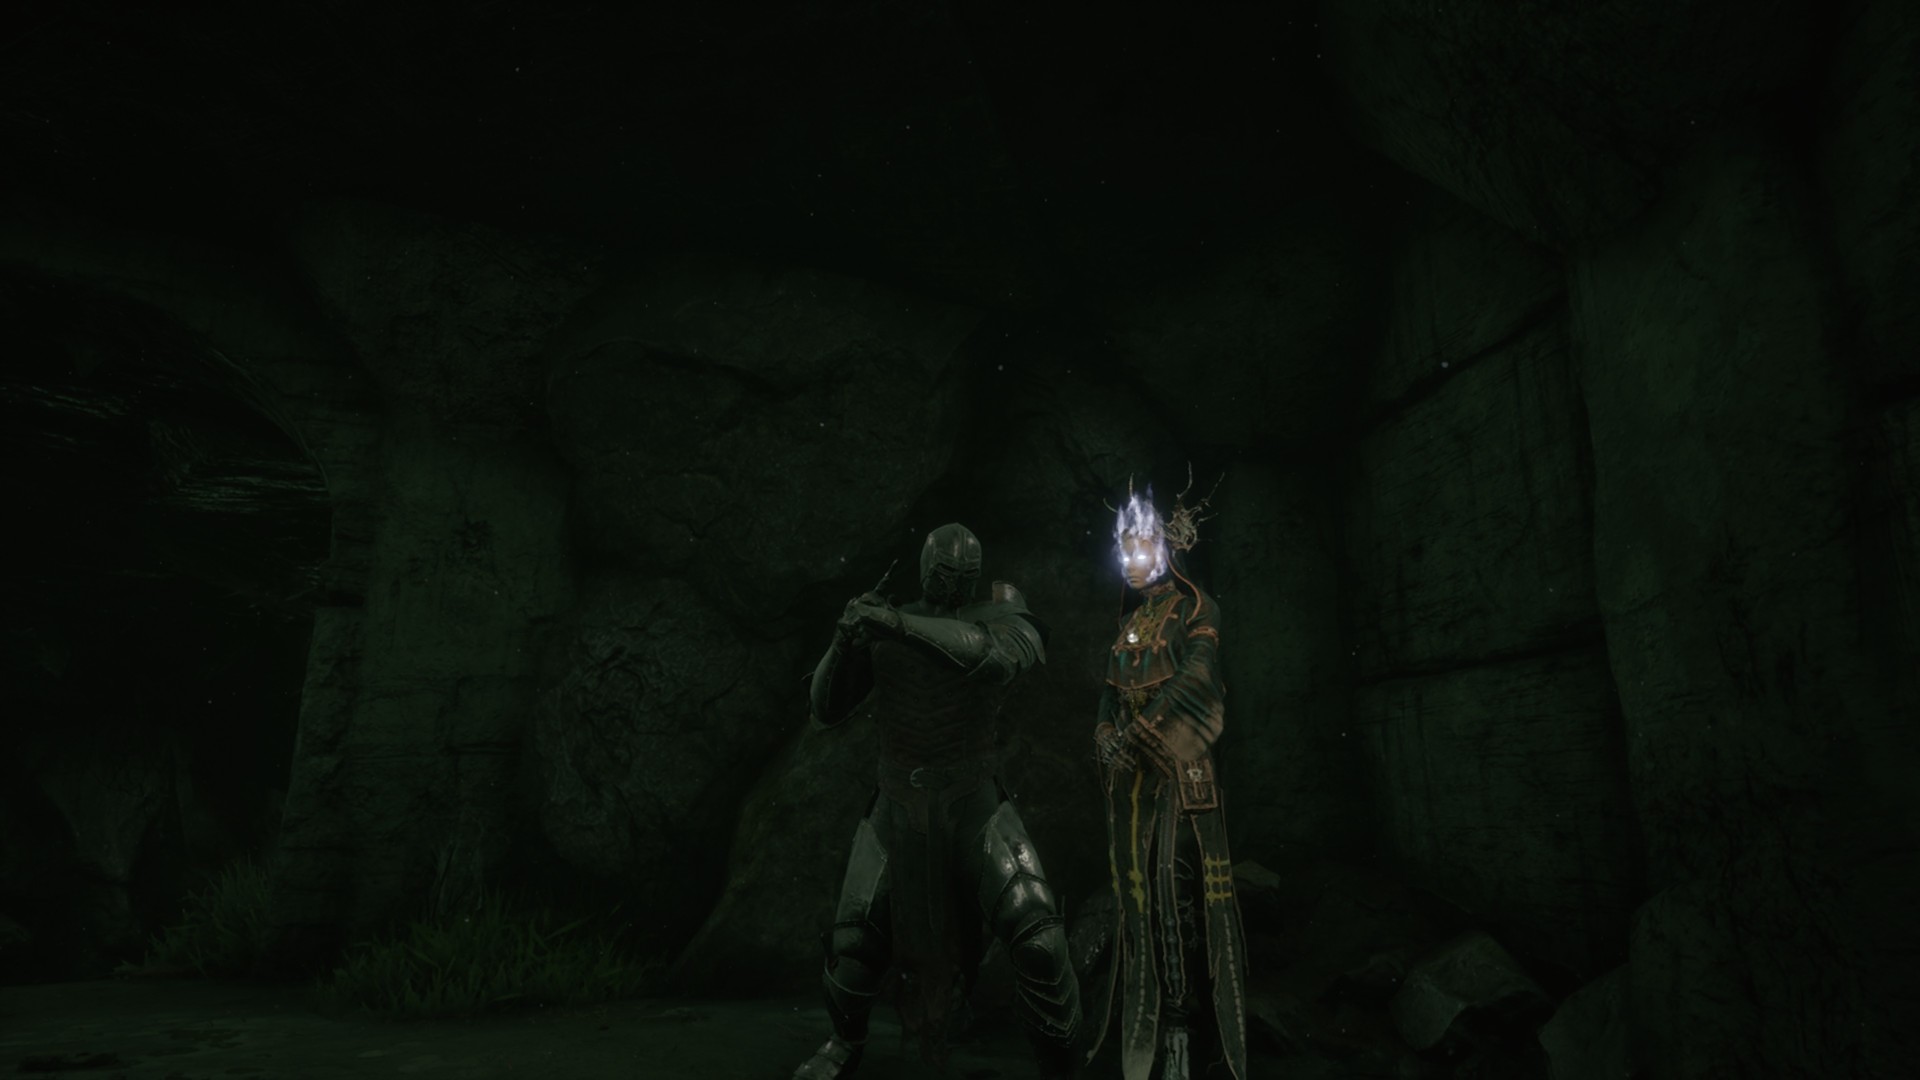
Parrying, a common fixture in Souls-like games, is also in Mortal Shell. This technique is obtained when you speak to the Old Prisoner, the giant plague doctor-esque bird in Fallgrim Tower, and break its chains.
You’ll be given a “Tarnished Seal” (it sort of looks like an ankh) that your character wears on his back. From this point onwards, you can press the parry button to counter a melee hit with the seal. Likewise, the seal turns red and emits a distinct sound effect when an attack cannot be parried — that means dodging or hardening are the only options.
As you progress through Mortal Shell‘s areas and defeat its bosses, you’ll need to return to Fallgrim Tower to give quest items to the Old Prisoner. In turn, you’ll obtain seal infusions that unlock enhanced ripostes.
Successfully parrying an attack will then trigger these special counters with additional effects:
- Healing – Heals your character when you do an enhanced riposte; automatically obtained after speaking with the Old Prisoner and obtaining the Tarnished Seal.
- Inflamed – Causes a massive explosion at the end of the riposte; obtained after beating Imrod and returning the gland.
- Knotted – Slows down the passage of time allowing you to annihilate your foes with combos; obtained after beating Crucix and returning the gland.
- Crystalline – Sends the Foundling out of the shell to dash and deal damage; obtained after beating Tarsus and returning the gland.
Note 1: Because of how Mortal Shell‘s campaign is structured, you can only obtain three out of four enhanced ripostes for your Tarnished Seal. As such, that gland/boss should be your priority for your New Game+ run in order to obtain its gland and respective parry ability.
Note 2: To learn more about Mortal Shell‘s boss fights, you can visit our pages for Crucix the Twiceborn, Imrod the Unrepentant, and Tarsus the First Martyr. There’s also another boss fight to reach New Game+, but be forewarned that the guide has major spoilers.
Mortal Shell is available via the Epic Games Store. For more information, check out our guides and features hub.


Published: Aug 18, 2020 01:15 am