Leveling is fairly straightforward in Marvel’s Midnight Suns. Even if you’re not bringing some heroes in missions, there’s a catch-up mechanic that boosts them a bit closer to the Hunter’s standing. Still, this is a slow and gradual process. If you really need a character to be stronger (i.e., they’re required for a Hero Op), that’s where the THREAT Room comes in. Here’s our Marvel’s Midnight Suns THREAT Room and leveling guide to help you greatly increase your character’s capabilities in a short span of time.
Note: For more information, check out our Marvel’s Midnight Suns guides and features hub.
Marvel’s Midnight Suns THREAT Room and Leveling guide
To start leveling using the THREAT Room in Marvel’s Midnight Suns, you’ll need the New Threat tech:
- Research Level 4
- Complete three missions with Magik
- Spend Credits to build the THREAT Room in the Yard
Oh, and once you’re done with that, make sure you recheck your hero’s deck. You’re going to be fighting a lot of mobs, so AoE spells and high-damage skills will help you get the job done.
Note 1: Each hero may attempt this encounter once per day. You cannot save during this battle and there’s no way to restart the encounter. As such, you’ll want to keep a save before your attempt.
Note 2: Characters only receive XP up to the point when they match the highest-leveled hero in the entire roster. For instance, if the Hunter is level 20, then only those at level 19 and below will receive XP when doing this activity.
Note 3: Level 25 is considered as the cap in this game. However, characters continue to receive some XP past that point to increase stats like health.

Screenshot by PC Invasion
Now, the THREAT Room in Marvel’s Midnight Suns pits your chosen character against dozens of demons. Don’t worry because the vast majority of them are just minions/fodder, so they’ll die in one hit. Likewise, there are several explosive pots and sarcophagi that can be used for environmental attacks. Even better, each enemy you kill automatically refreshes your Card Play, while also drawing another card from your deck. As such, it’s imperative that you chain your kills so that there’s no wasted action.
To be clear, though, the sheer number of hostiles can still overwhelm you if some manage to survive after your turn (i.e., you’re their only target, so you’ll take the brunt of the damage). Moreover, you’ll need to survive three rounds to complete the encounter, though you still keep the levels that you’ve earned.
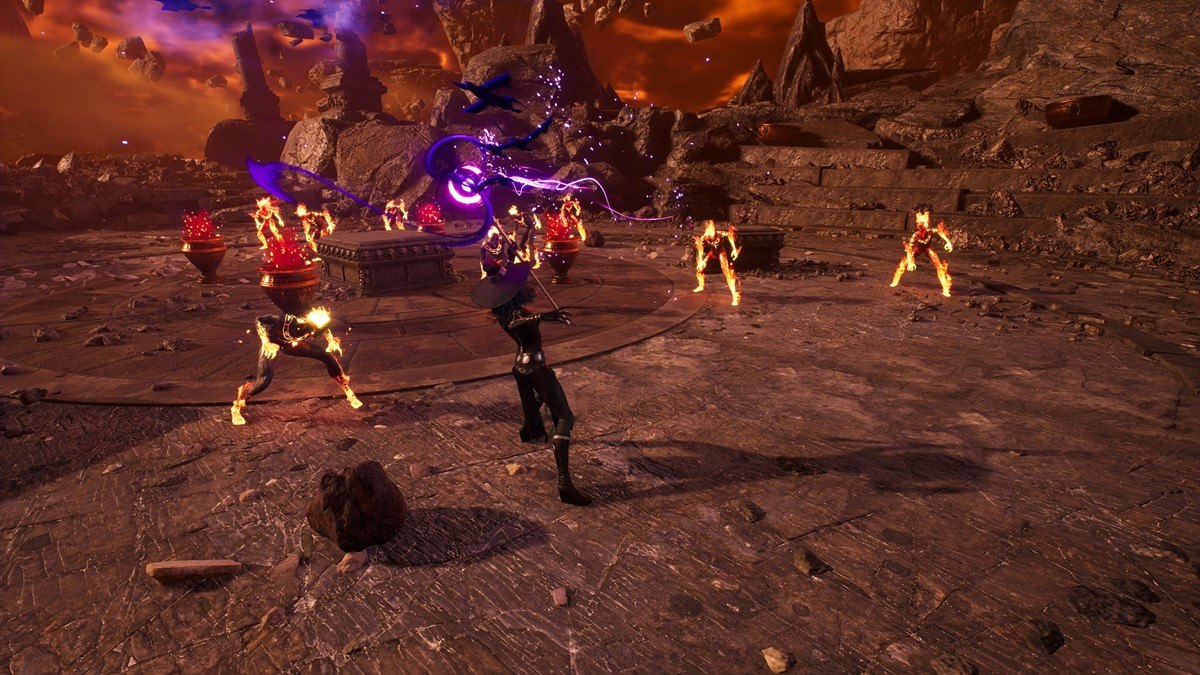
Screenshot by PC Invasion
In any case, here are some tips for each character that’s attempting this bout:
- Hunter – There’s a good chance that the Hunter is your highest-leveled character, which means they won’t get any benefit from the training encounter. At best, you can edit your deck to have a majority of cards of a specific alignment. This way, you can spam abilities to earn some additional alignment points.
- Ghost Rider – A couple of Lash+ and Hell Ride+. Easy as pie. Yeah, you’ll even get a full hand after the Hell Ride discard mechanic. Oh, and you can pop Straight to Hell+ if you’re in a bind. Enemies won’t even target you so you can end your turn safely.
- Nico Minoru – Use single-target abilities to soften up the mobs with more HP. Leave several fodder mobs alive so that there’s a higher chance to proc the Witchfire+ recasts.
- Spider-Man – Chain Strike+ and Up Here+ are your best friends.
- Iron Man – Keep using abilities that draw more of Iron Man’s cards so you can have a lot of Surgical Strike shots. Alternatively, whittle down the tougher mobs before using Air Superiority+. Lastly, Mark Target+ isn’t an absolute necessity since minions refresh Card Plays akin to Marked/Quick, but it does make the beefy foes Vulnerable.
- Doctor Strange – Enhanced Winds of Watoomb+ or Bolt of Balthakk+, with a steady helping of Agamotto’s Gaze+ so you can have them back, as well as Blessing of the Vishanti+. Follow up with Axe of Angarruumus+ for the high HP enemies.
- Captain Marvel – Get Go Binary as soon as possible. Switch to block-increasing abilities before using Bring It On+ with the extra Resist.
- Magik – Gather+. ‘Nuff said. Okay, fine, you can use Limbo’s Grasp+, then knockback the big mobs toward explosives. Reinforcement+ is also there if you need another character (it can get “Free” as a mod, too).
- Captain America – Honestly, you probably won’t run out of cards, thanks to Tactician+, Brooklyn Handshake+, and SPANG!+, so just make do with what you have, while increasing block.
- Wolverine – Lots and lots of chained attacks, preferably hitting a larger mob before the last strike takes out a minion for the Card Play refresh.
- Blade – Make sure most of your cards can apply Bleed. Do the same as Wolverine where you’re targeting a tougher mob with most chain hits before killing fodder on the last slice.
- Scarlet Witch – Wanda is the goddess of AoEs in this game. She’ll easily obliterate opponents using Detonate, Chaos Reigns, and Hex Field, with a Quick Toss or two for the remaining minions.
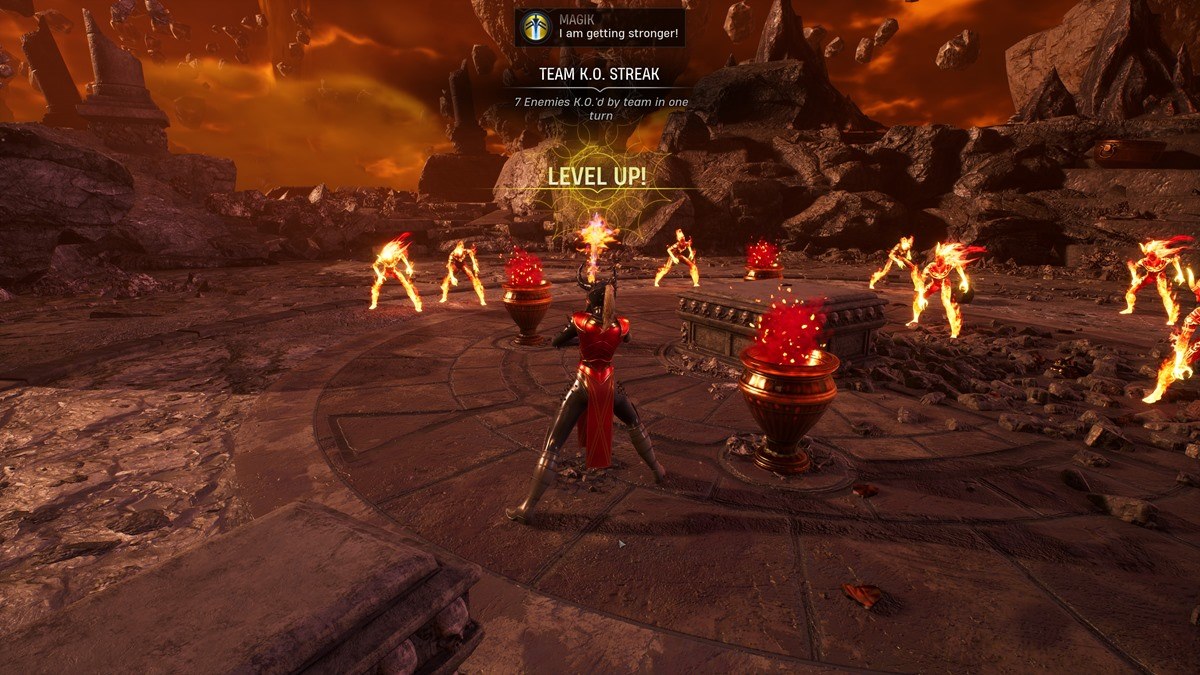
Screenshot by PC Invasion
Marvel’s Midnight Suns is available via Steam.